
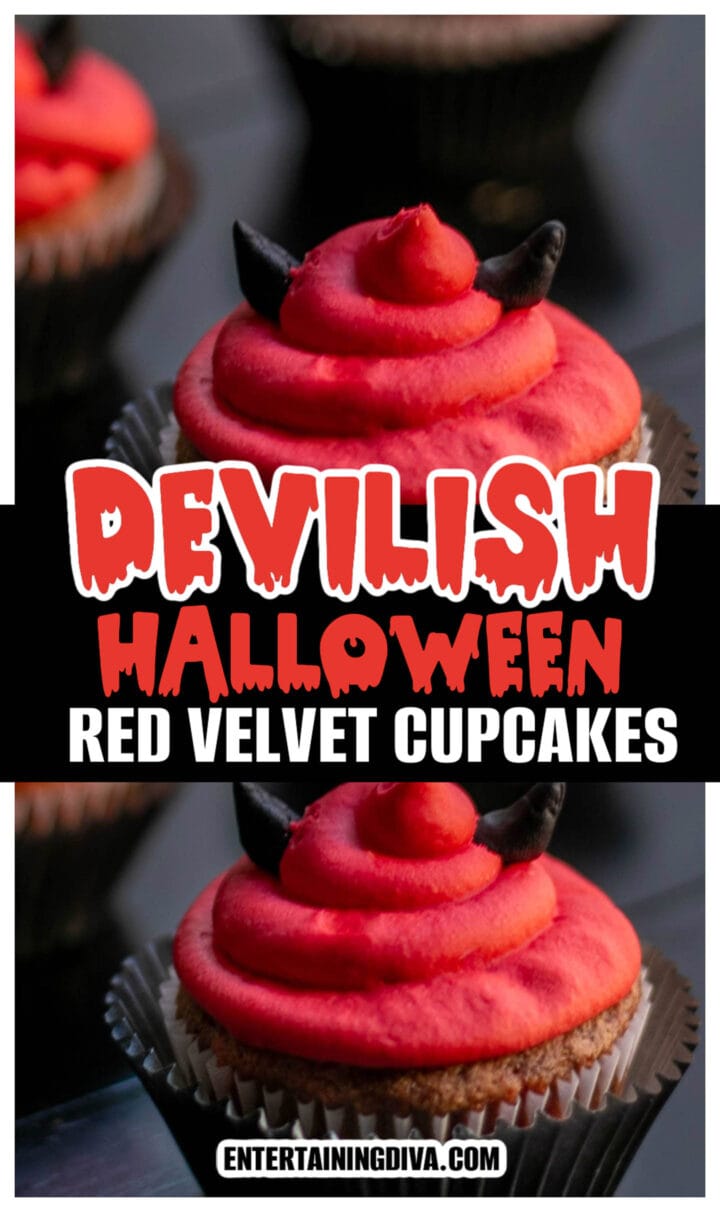
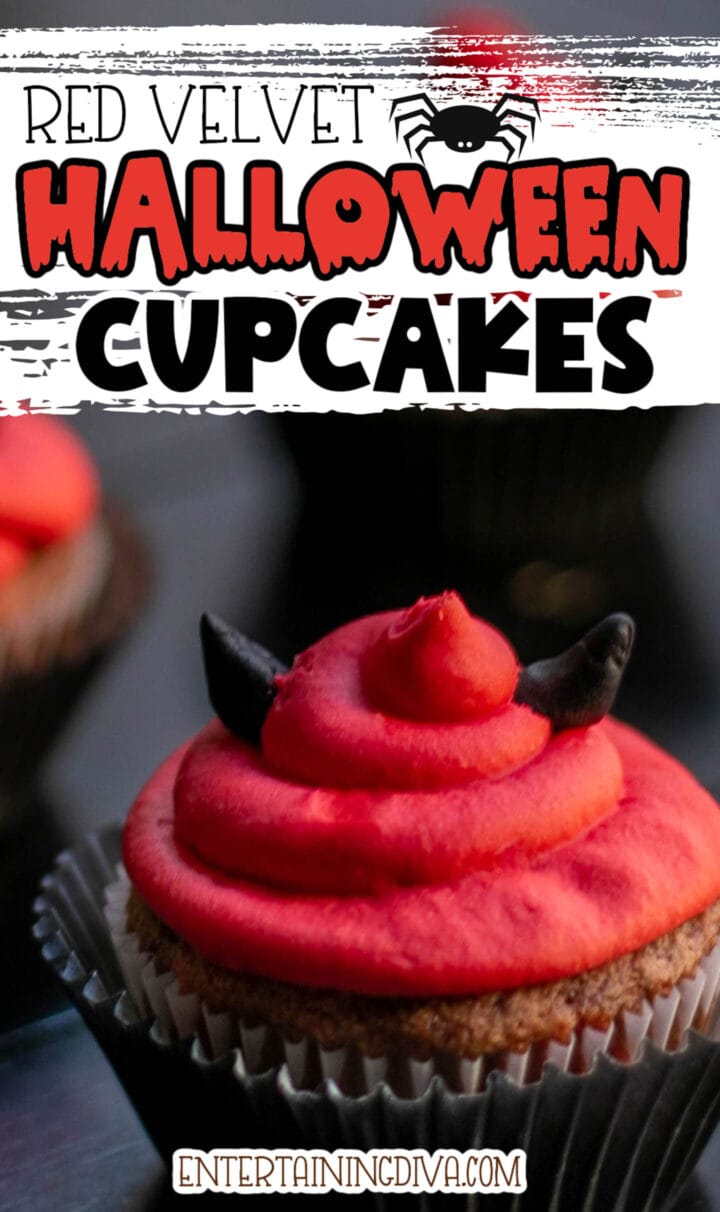
Devilish Red Velvet Halloween Cupcakes
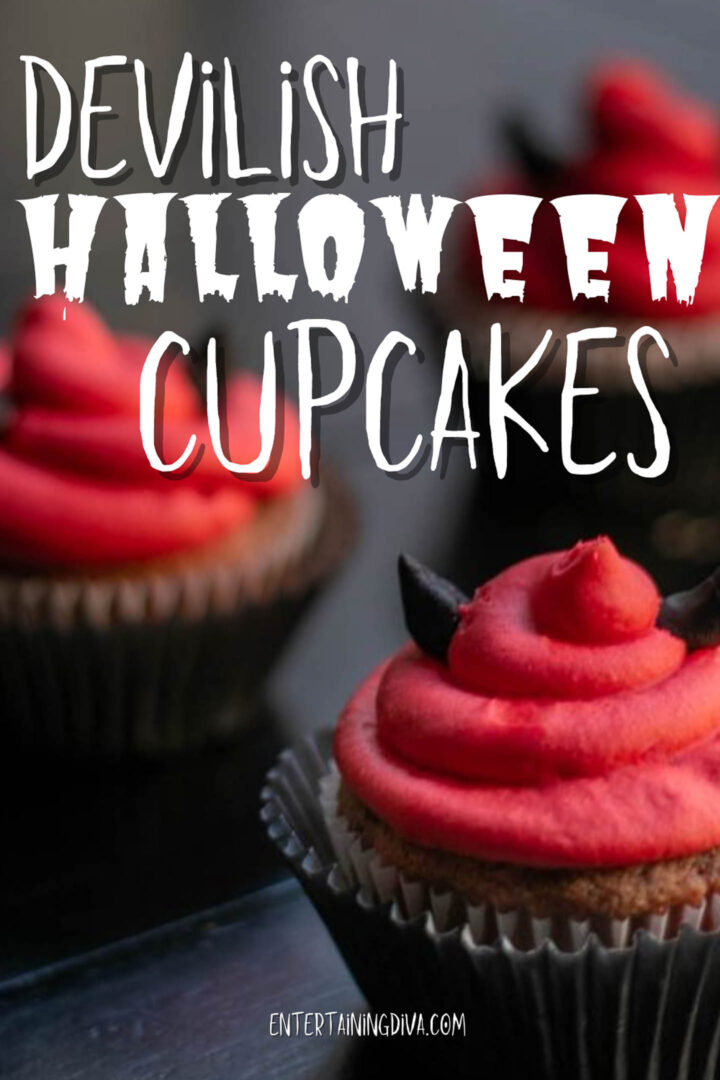

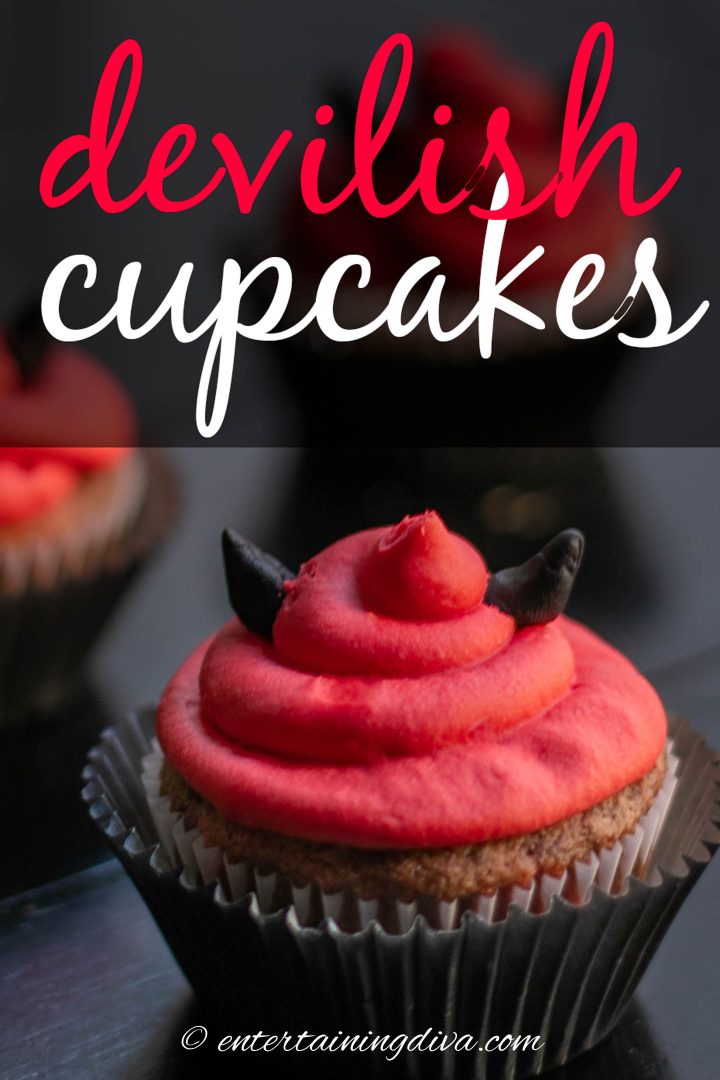
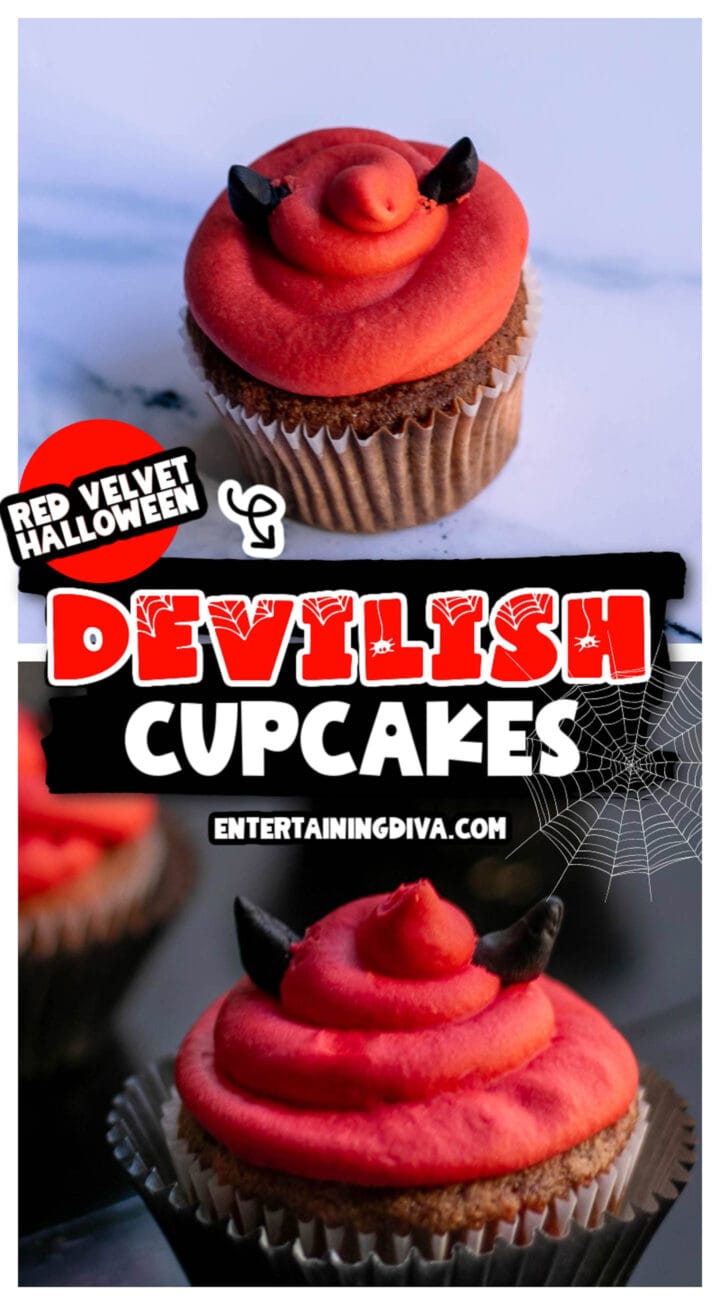
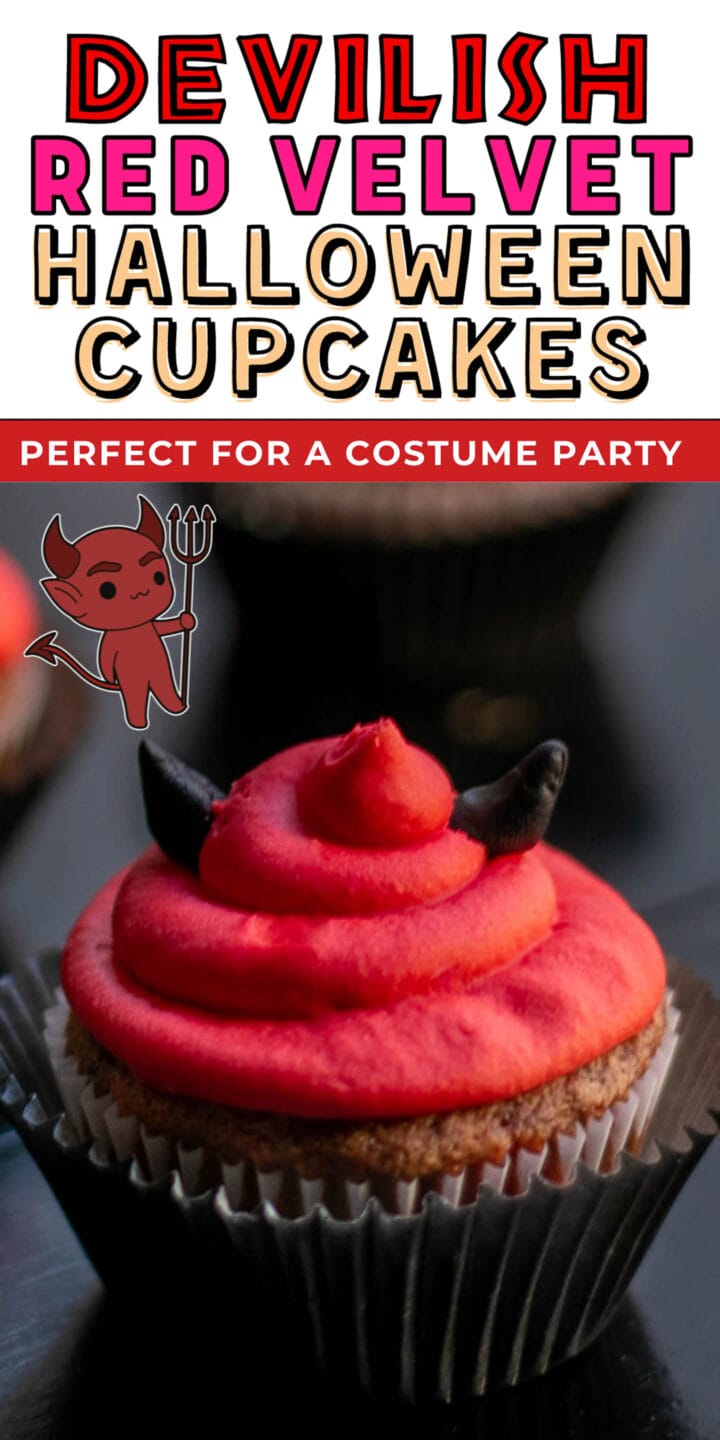
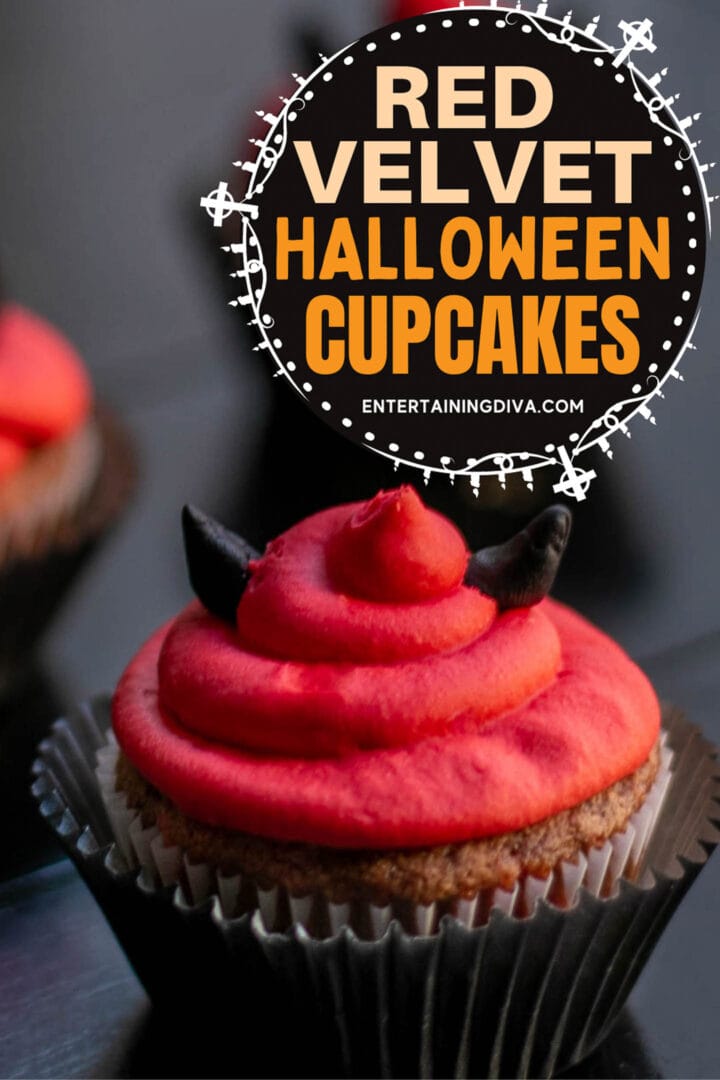

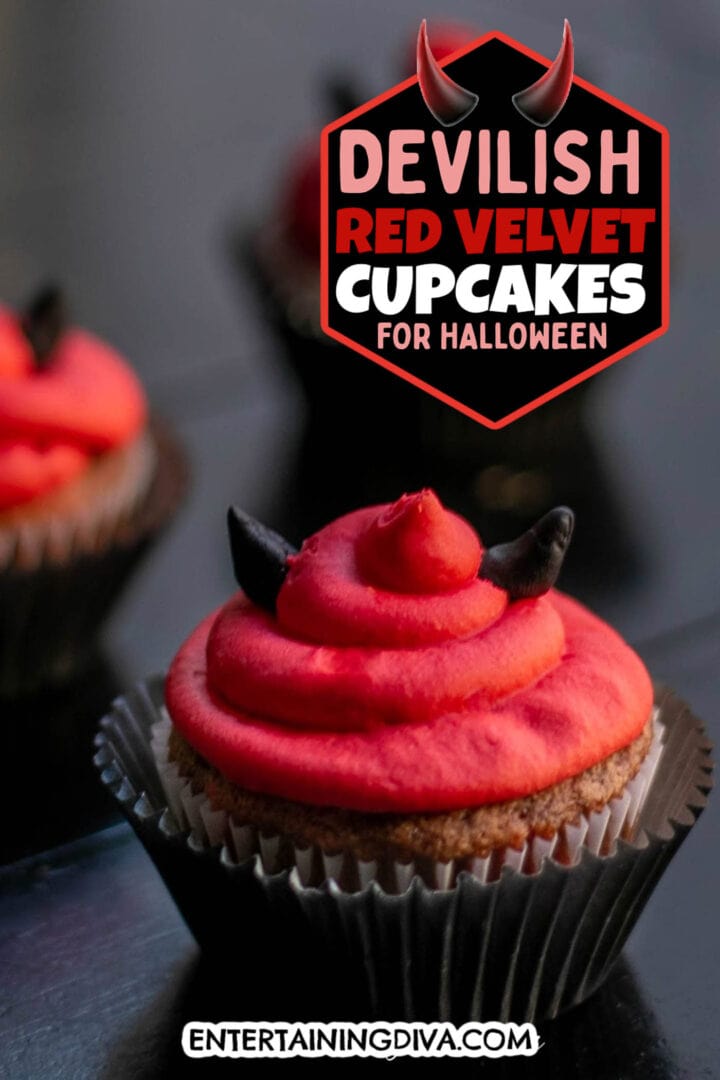
These devilish red velvet Halloween cupcakes are perfect for a costume party. I made them for my fallen angels and devils party a few years ago, and they were a big hit! They’re also easy, so you don’t have to be a master cupcake decorator to make them look good.
For my Halloween parties, I often have big dreams of making those cute desserts you see all over the web this time of year.
My problem is that baking is not my one of strengths…something about having to follow all the directions exactly…
Which is why I was thrilled to find these super-simple cupcakes from ambrosia baking that are easy to make and still get the Halloween spirit across.
I made them with red velvet cake. It’s delicious. And it’s red. So it goes with theme.
Ingredients
This post may contain affiliate links. We make a small commission if you buy the products from these links (at no extra cost to you). As an Amazon Associate, I earn from qualifying purchases. But we only recommend products we would use ourselves. For more information, click here to see our disclosures
Here’s your shopping list:
- 1 package red velvet cake mix – I used Duncan Hines Signature red velvet cake mix
- other ingredients specified by the cake mix: You’ll also need eggs and vegetable oil in the amounts required by you cake mix. For mine, it was 1 cup water, 3 large eggs and ½ cup vegetable oil but it can be different depending on what kind of cake mix you buy.
- 1 container of white buttercream frosting – Again, you could make your own icing. Just make sure NOT to use cream cheese icing since it melts and won’t hold the shape.
- red food coloring – This is to turn the icing red. I used Americolor Super Red gel food coloring* to get a really red color without having to use a ton of it. (I’ll talk more about that below.)
- black fondant* – This is for the horns.
Substitutions
- You can make our homemade red velvet cake instead of using a cake mix if you prefer. Don’t use the icing from this recipe, though. It isn’t stiff enough to be piped.
Special Equipment
- To get enough height on the icing to put the horns in, you’ll need to use a piping bag, coupler and a large round piping tip (I used Wilton #2A). If you don’t have any piping supplies, you might want to get a kit (like this one* from Amazon) that has everything in it. They are usually less expensive than buying each of the items individually.
- Muffin tins with cupcake liners – I used black liners to go with the Halloween theme. You’ll need enough to make 24 cupcakes.
How to make devilish red velvet Halloween cupcakes

This recipe will make about 24 cupcakes.
Prep work
Start by putting 24 cupcake liners into the muffin tins. If you only have one muffin tin, you can cook the cupcakes in 2 batches.
Then pre-heat the oven to the temperature specified on the package, usually 350℉.
Make the cupcakes
To make the cupcakes, just follow the directions on the package.
This usually means mixing the cake mix with eggs, water and vegetable oil. The amount you need of each one will vary depending on the brand of cake mix you are using. So read the side of the package to find out the specifics.
Or if you want to make them from scratch, try our red velvet cake recipe
As with all cakes, only mix the cake batter as long as is necessary to combine all of the ingredients. The cake can turn out tough if it is mixed too long.
Then spoon an equal amount of cake batter into each cupcake liner. They should be about 2/3 full. This will give the cupcakes room to rise without going too far over the top of the liner.
Bake them for the amount of time specified on the package, usually 16 to 18 minutes, or until a toothpick inserted in the middle of one of them comes out clean.
Let the cupcakes cool in the pan on a wire rack for 15 minutes.
Then remove them from the pan and let cool completely on the rack before going to the next step. You don’t want to put the icing on if the cupcakes are still warm because it will melt and make a big mess.
Make red icing
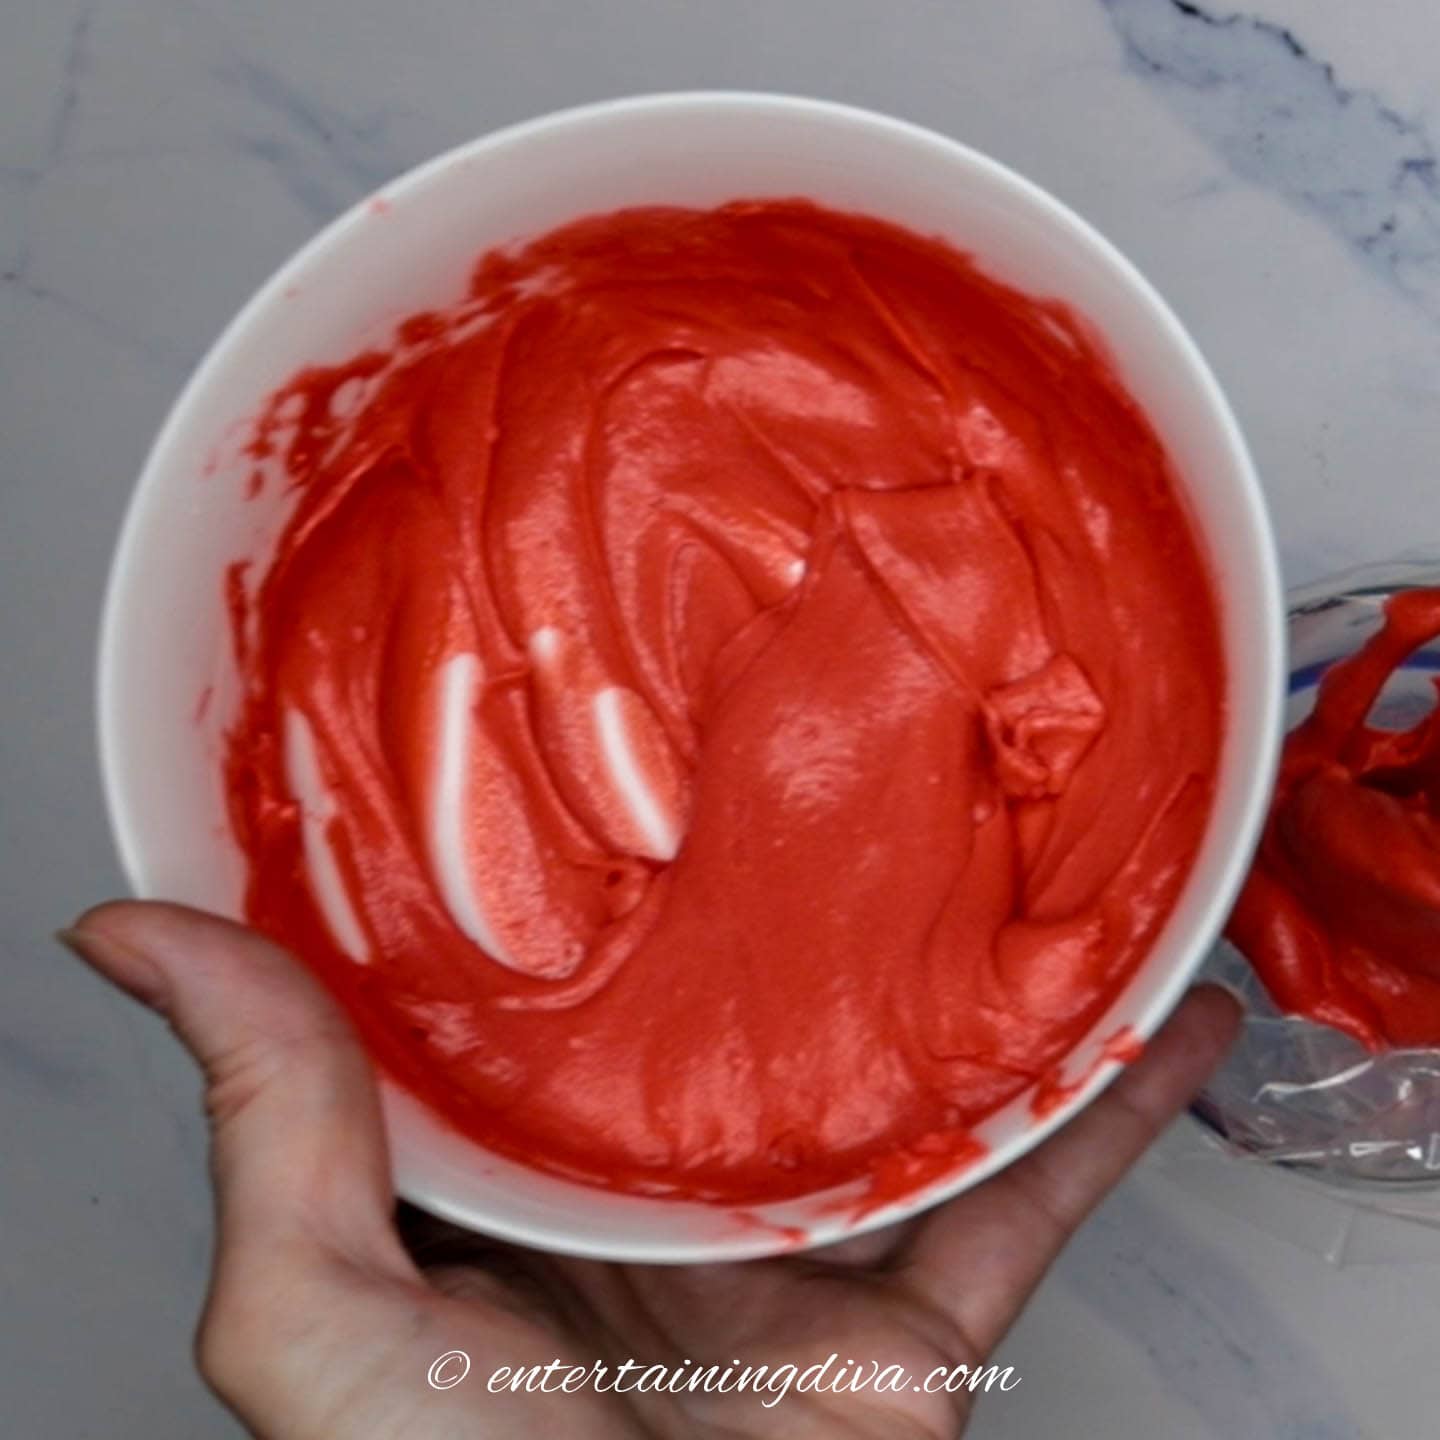
Now we’re ready to make the icing.
The biggest issue is getting the frosting to turn red without using a whole bottle of food coloring. Which makes the icing taste horrible!
So what’s the solution?
Get the right food coloring. This Americolor super red gel food coloring* (available on Amazon) makes a beautiful red color without having to use very much.
Just mix it in a little at a time until you get the tone you want.
I usually do this by hand, but you could also put it in a mixer.
Assemble the piping bag and tip
Before you start make sure to unscrew the ring at the end of the coupler.
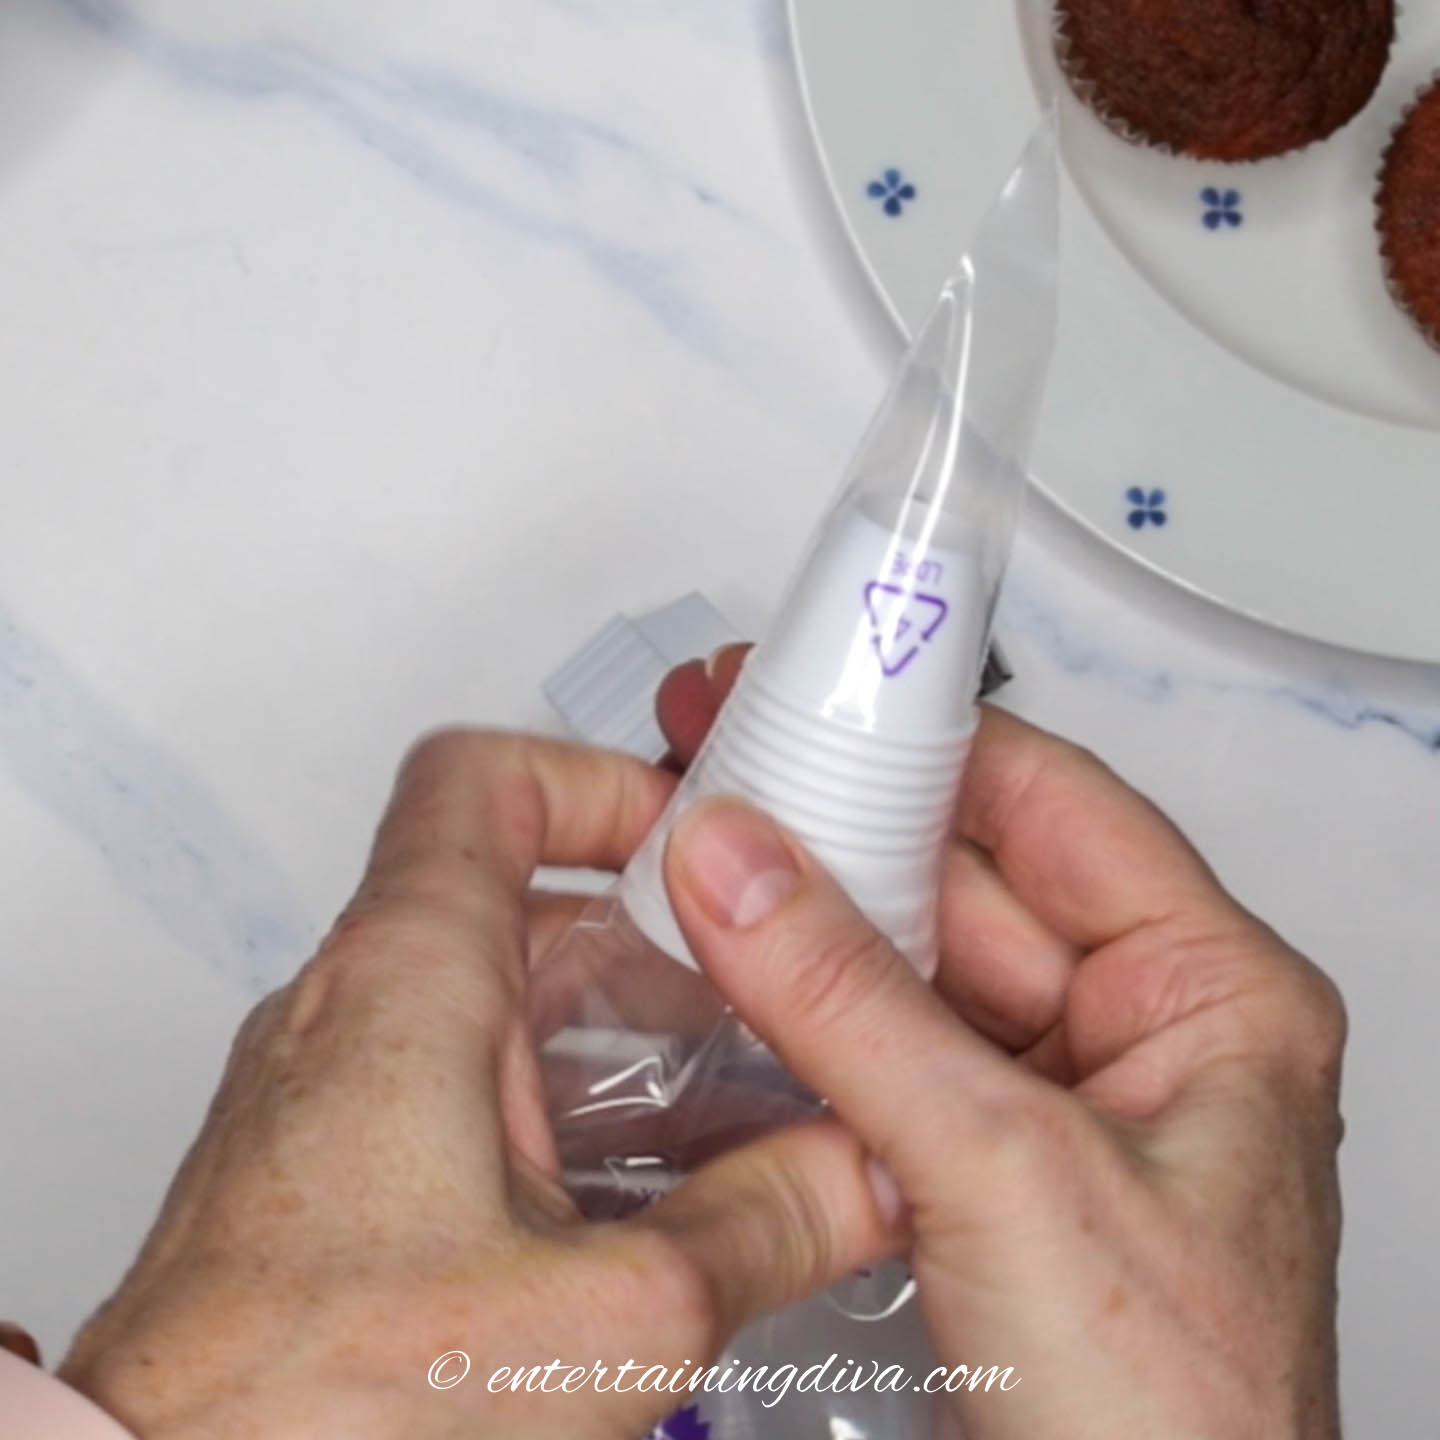
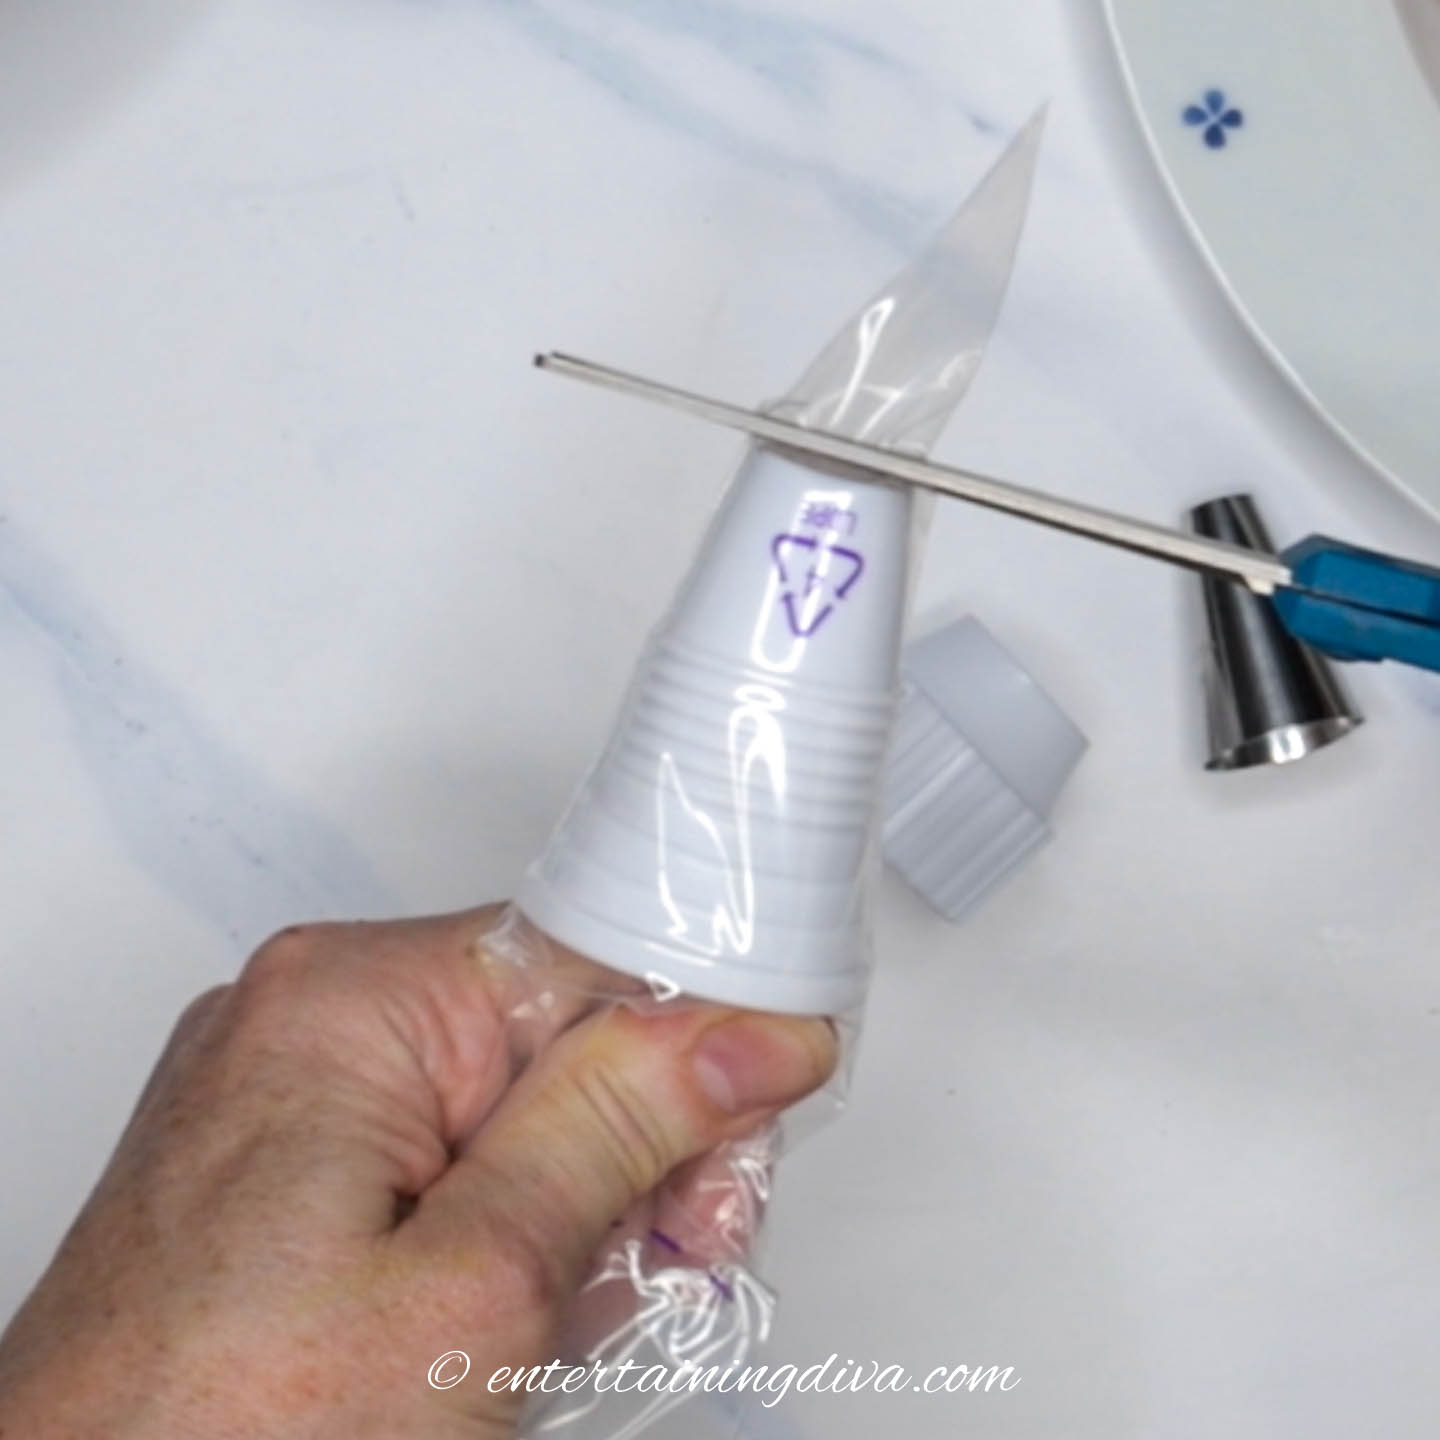
Push the coupler as far down into the piping bag as you can. The small end should be pointing towards the tip of the bag.
Then cut off the end of the bag right where it meets the end of the coupler.
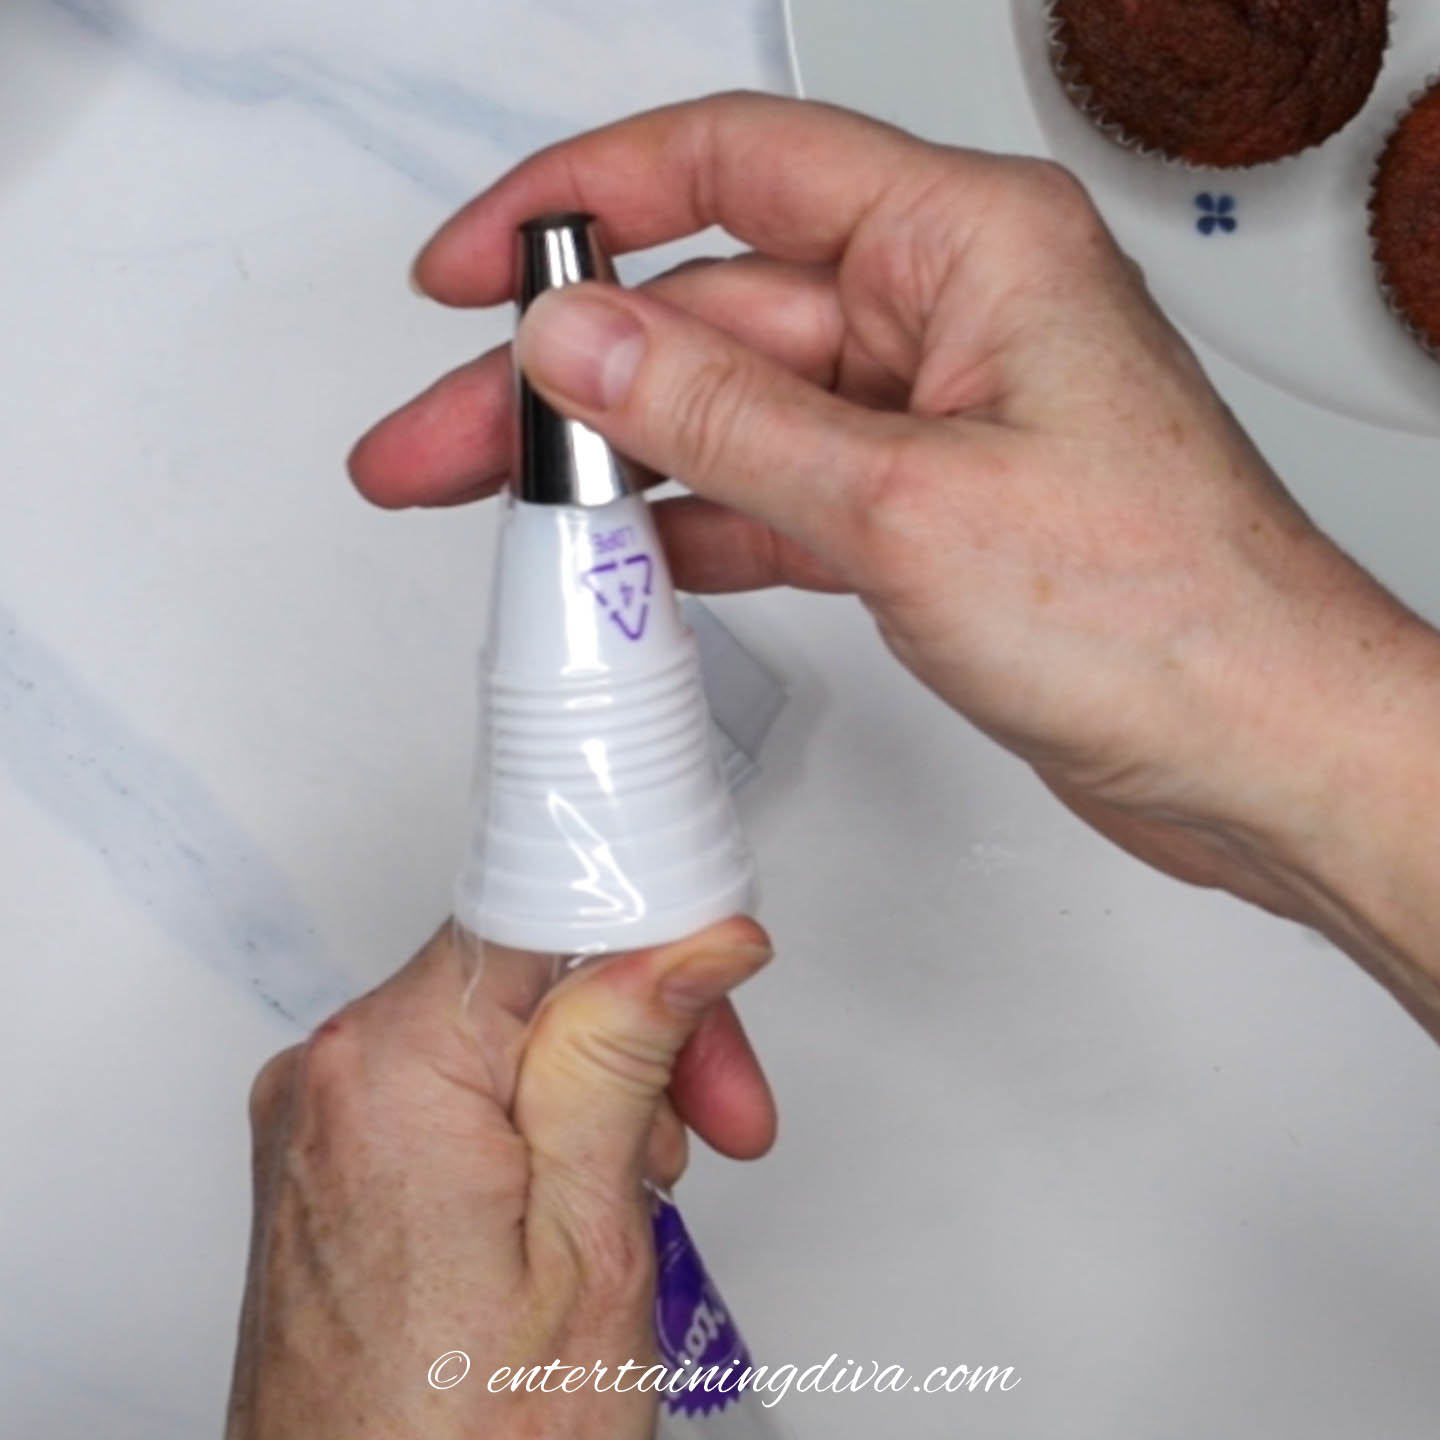
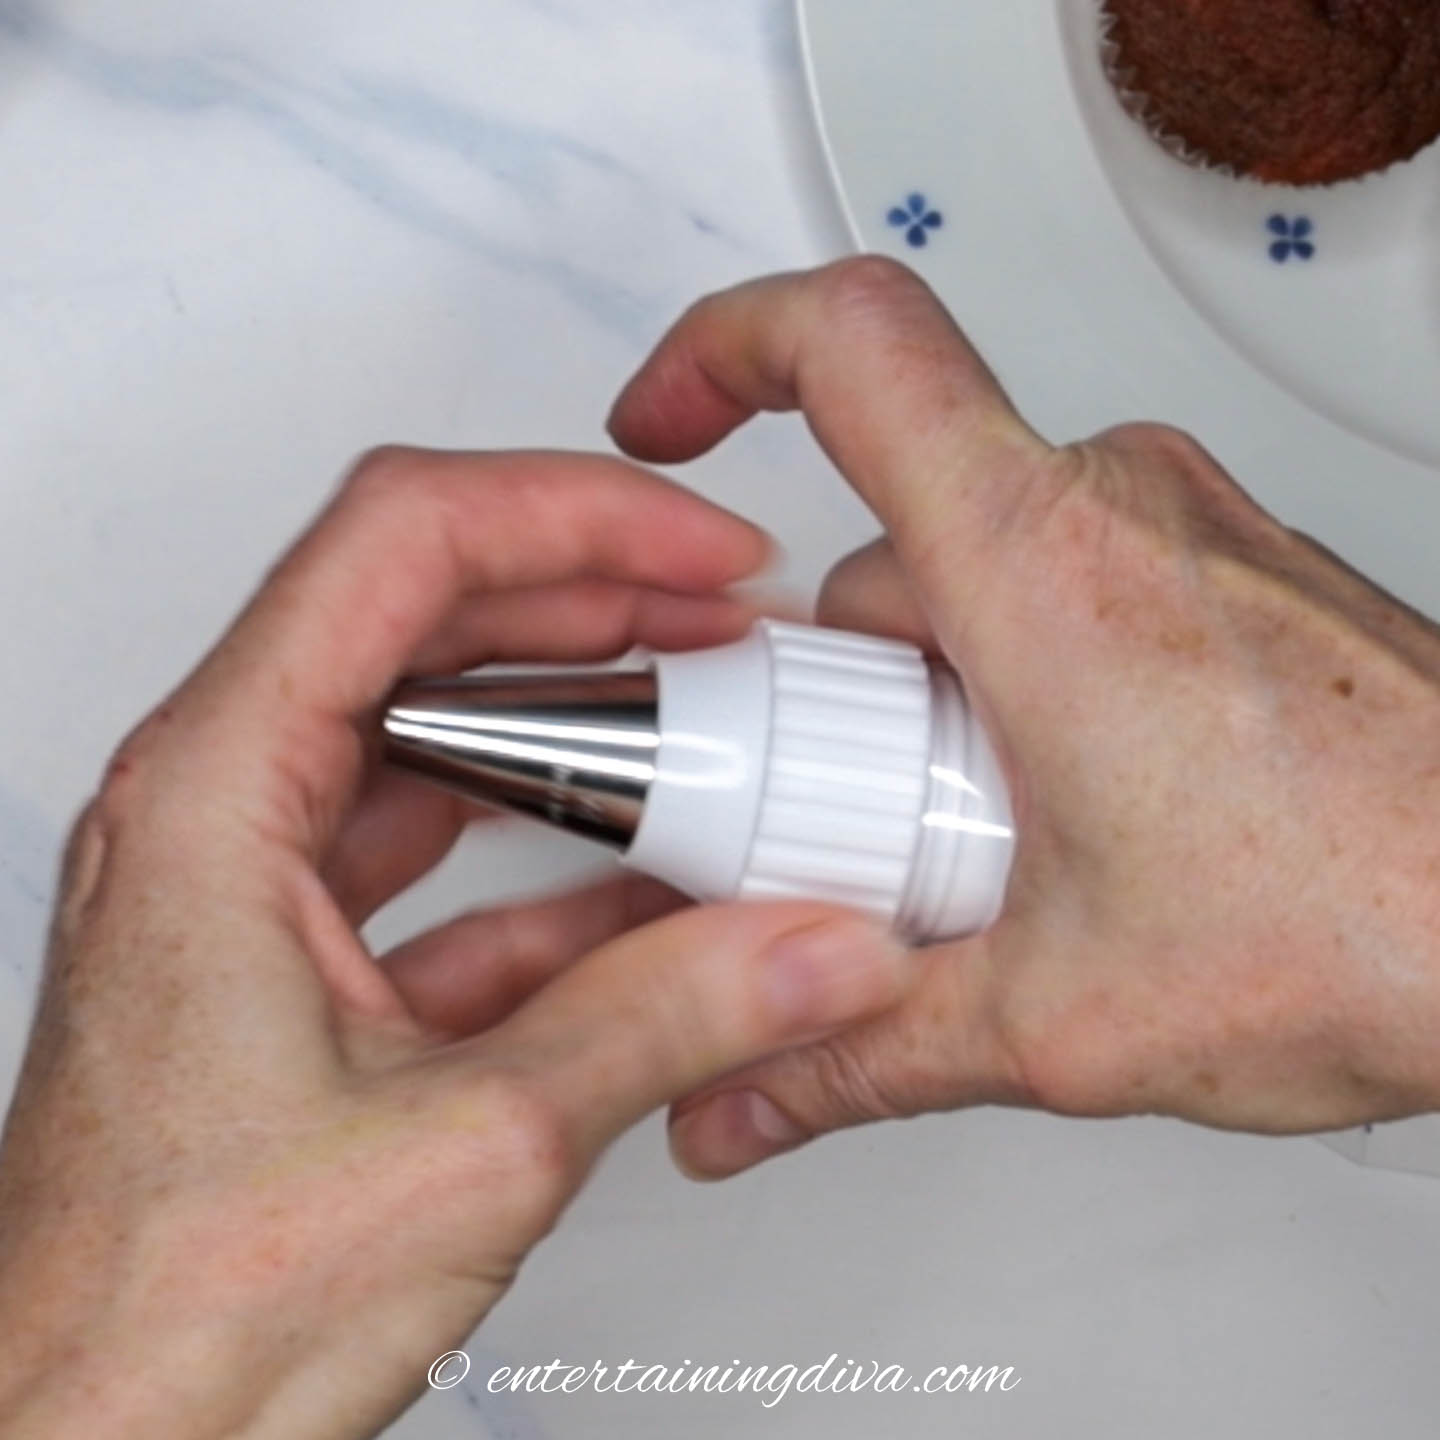
Push the piping tip onto the end of the coupler.
Then screw the ring back onto the coupler so that it holds the tip in place.
If you don’t have a coupler, you can use just the tip and the piping bag. In that case, cut a hole in the bottom of the bag that is just big enough for the end of the tip to fit through. Otherwise, it may pop out when you start to push the icing through.
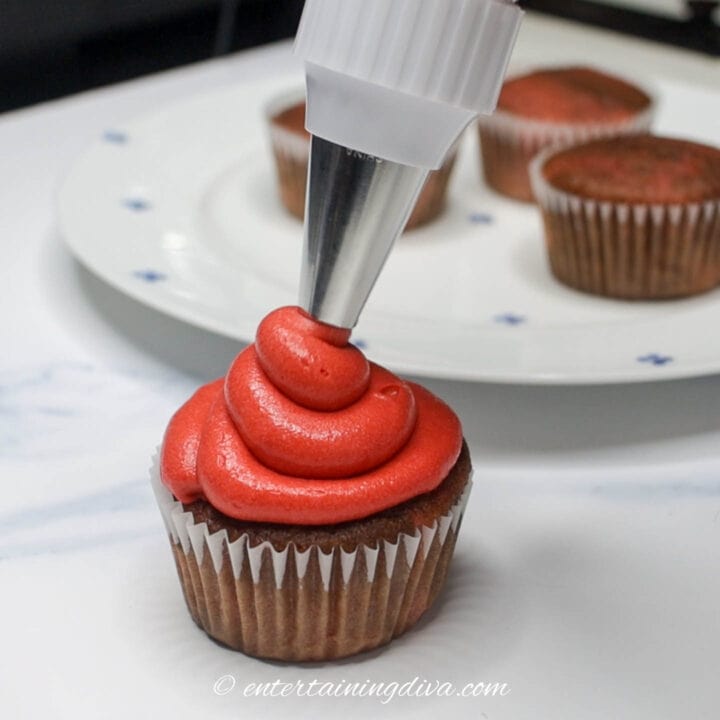
Pipe the icing onto the cupcakes
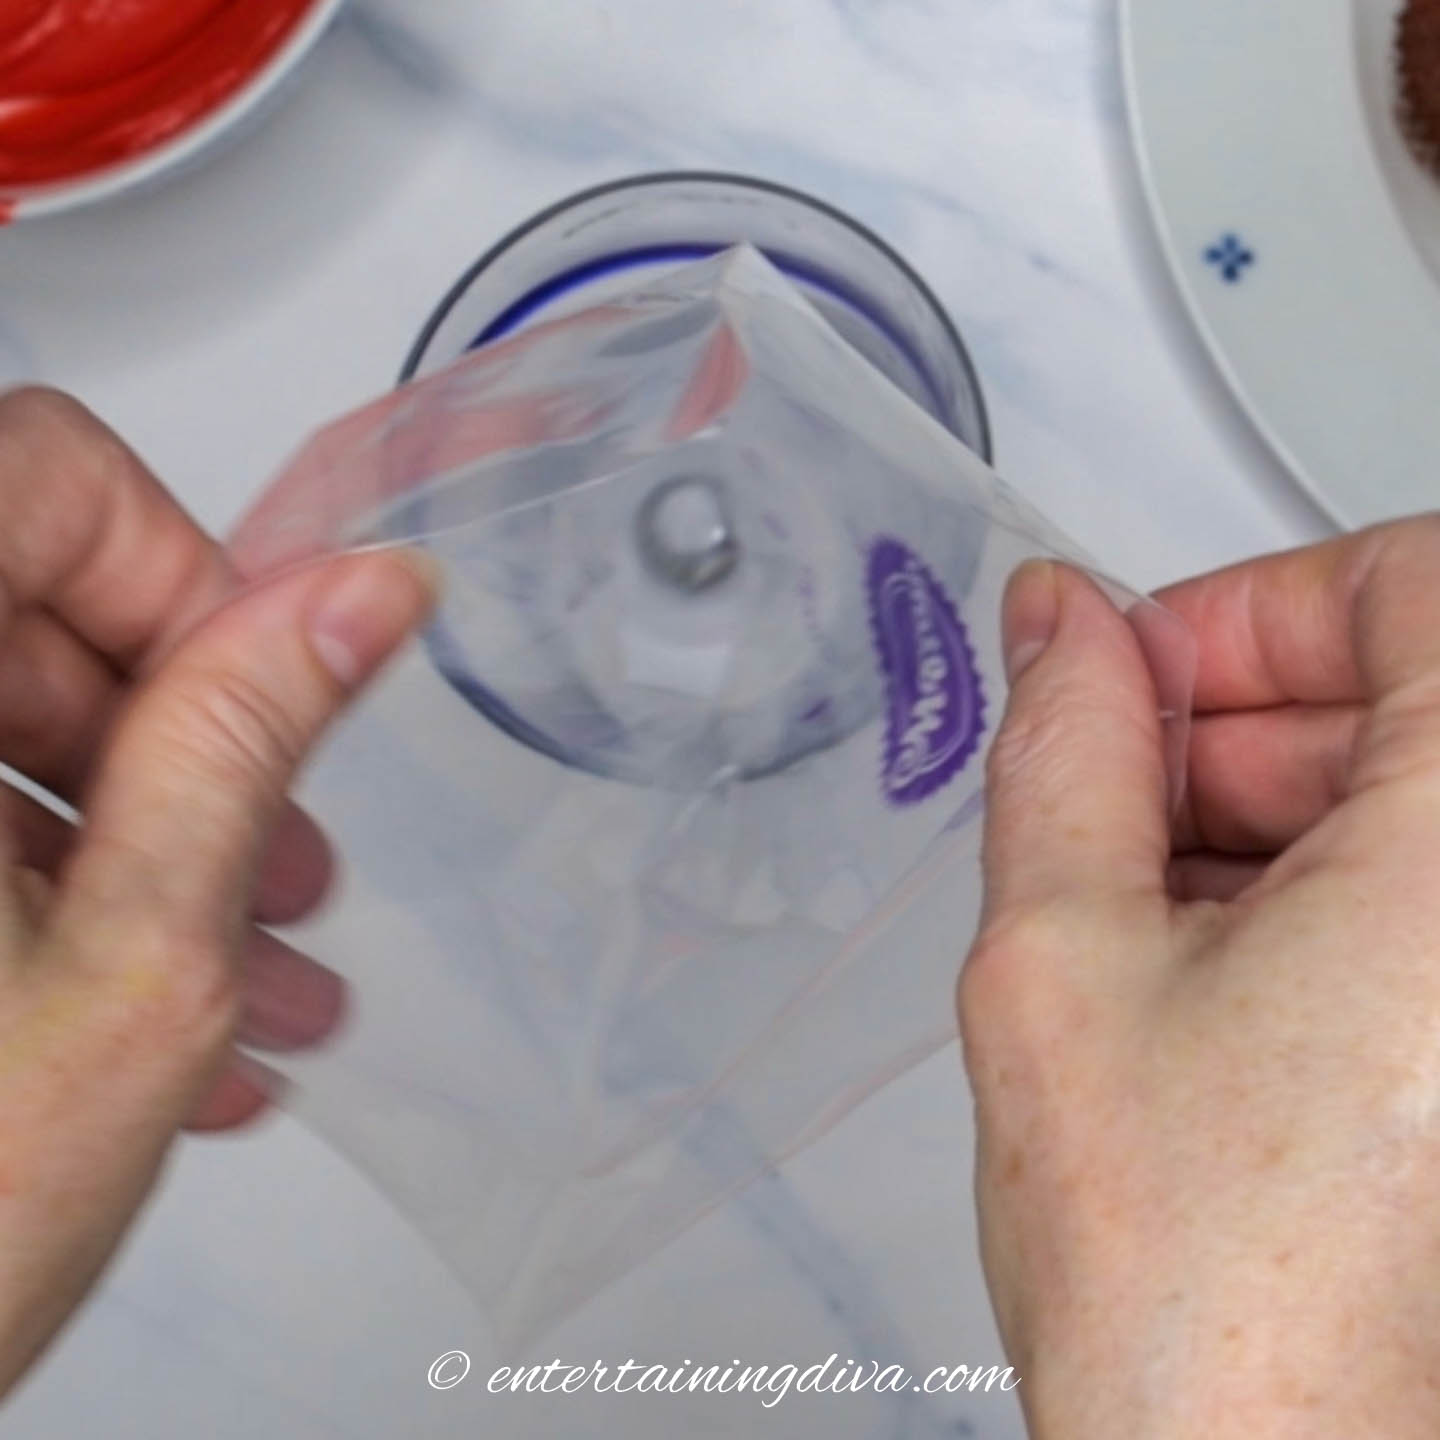
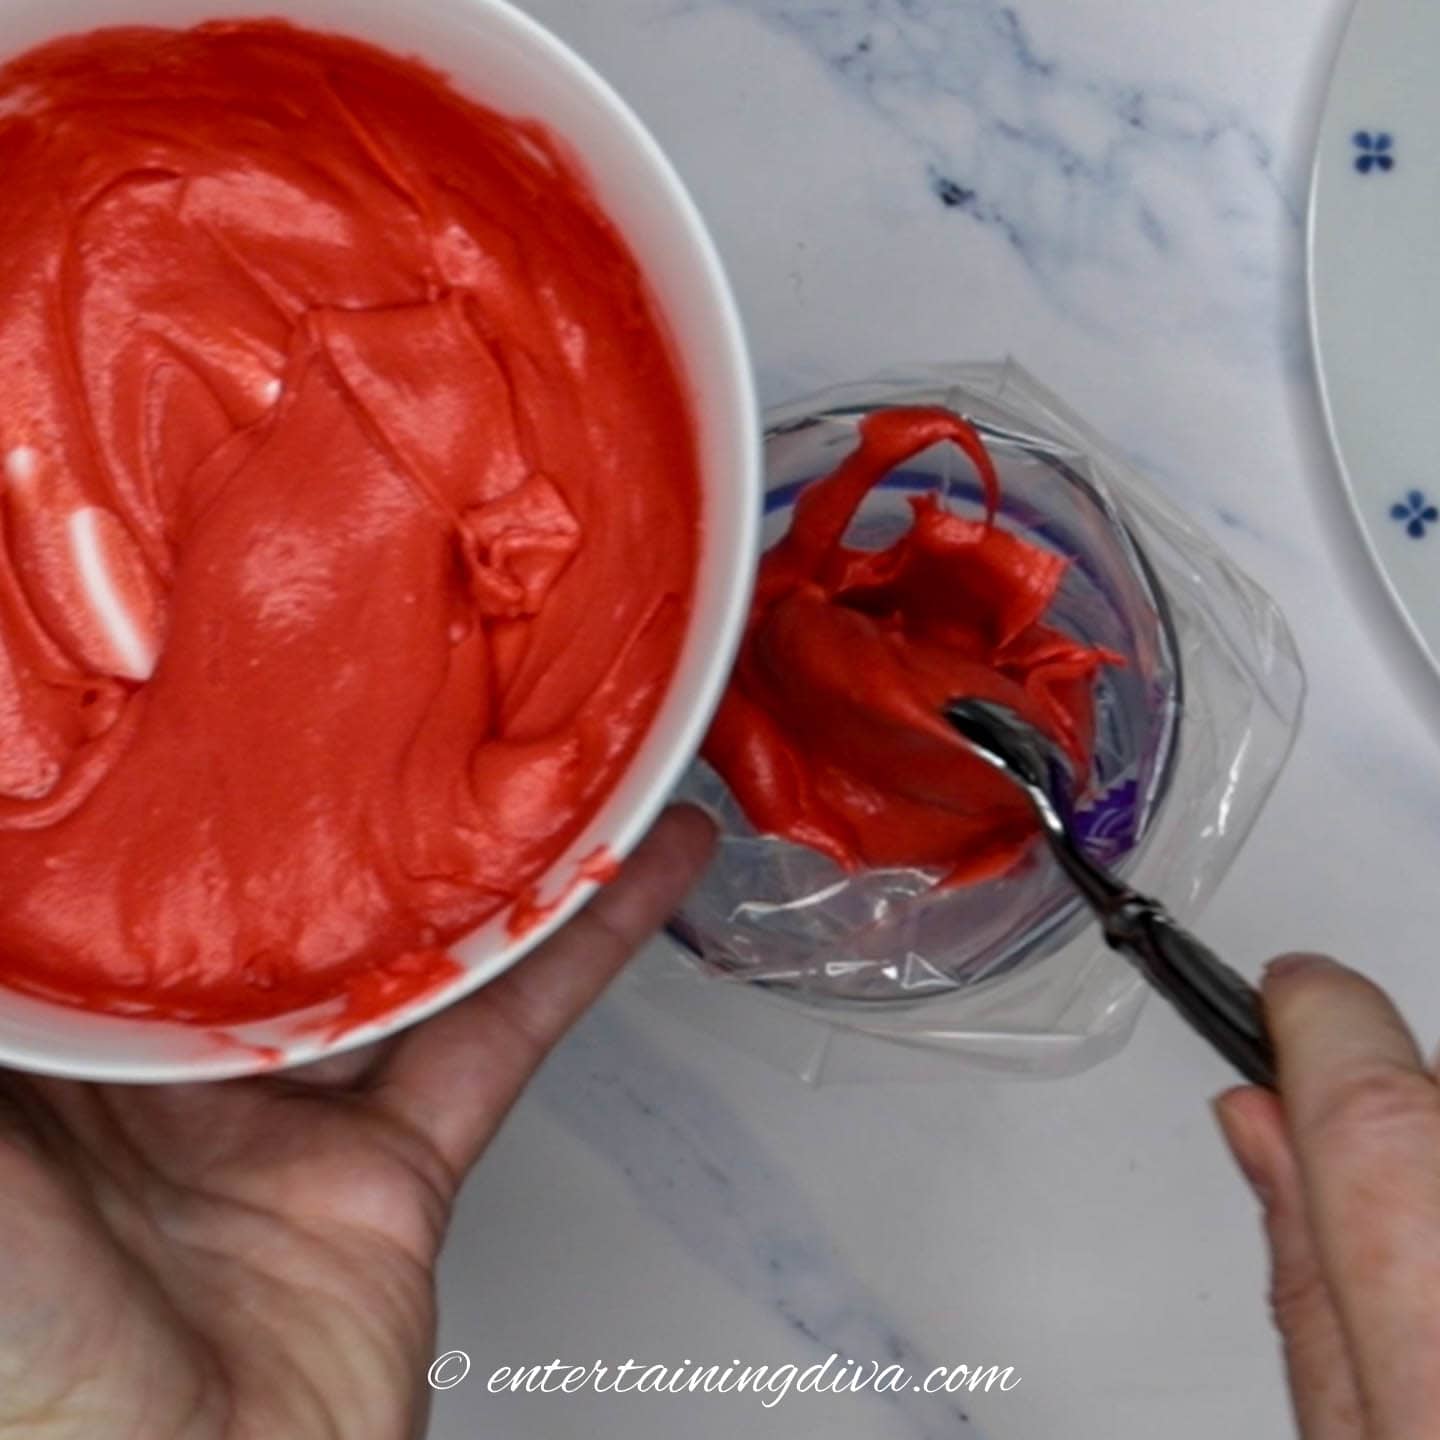

Put the piping bag into a tall glass with the tip down. This isn’t absolutely necessary, but it will hold the bag for you while you’re putting the icing in which makes the job easier.
Fill the bag about half full of icing. You can do more than this if you are comfortable with piping. But I find it harder to control when the bag is that full.
If some of the icing gets caught up near the top, push it down so you have some free space at the top of the bag.
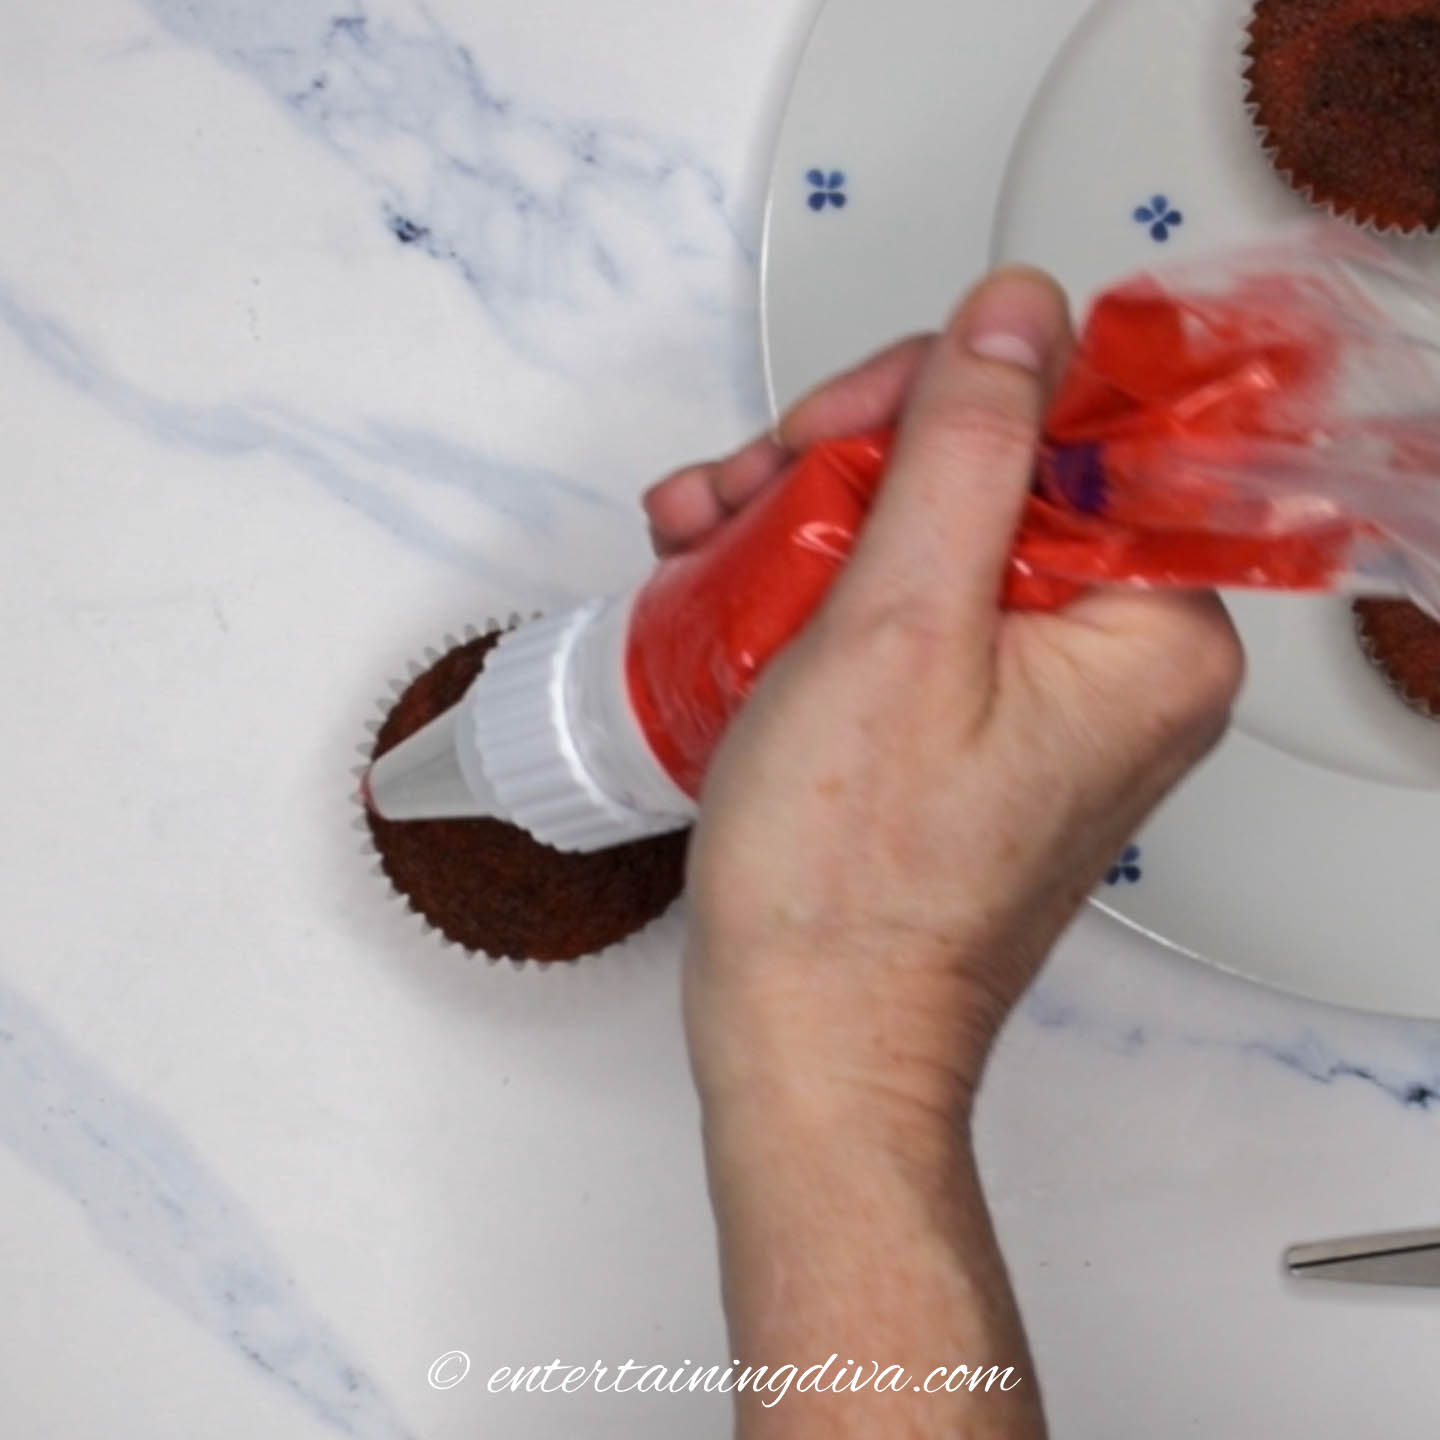
Twist the open end of the bag a couple of times right above the top of the icing.
Then wrap your thumb and forefinger around the twisted part, and wrap the rest of your fingers around the bottom part of the bag.
Squeeze your fingers until icing starts to come out of the piping tip.
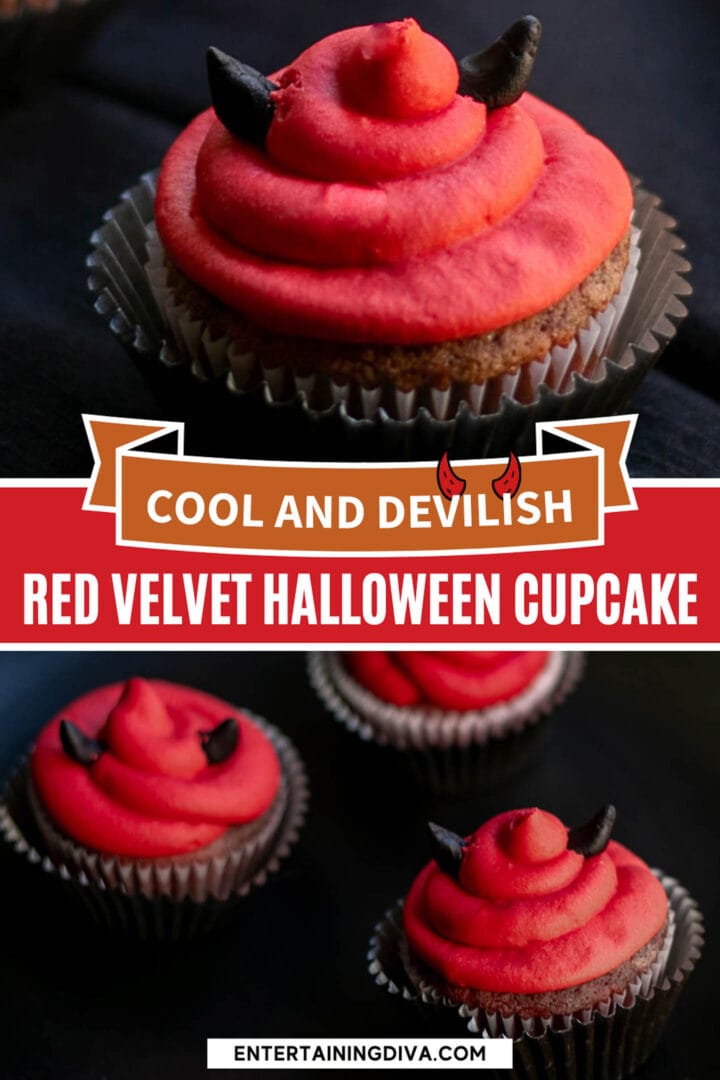
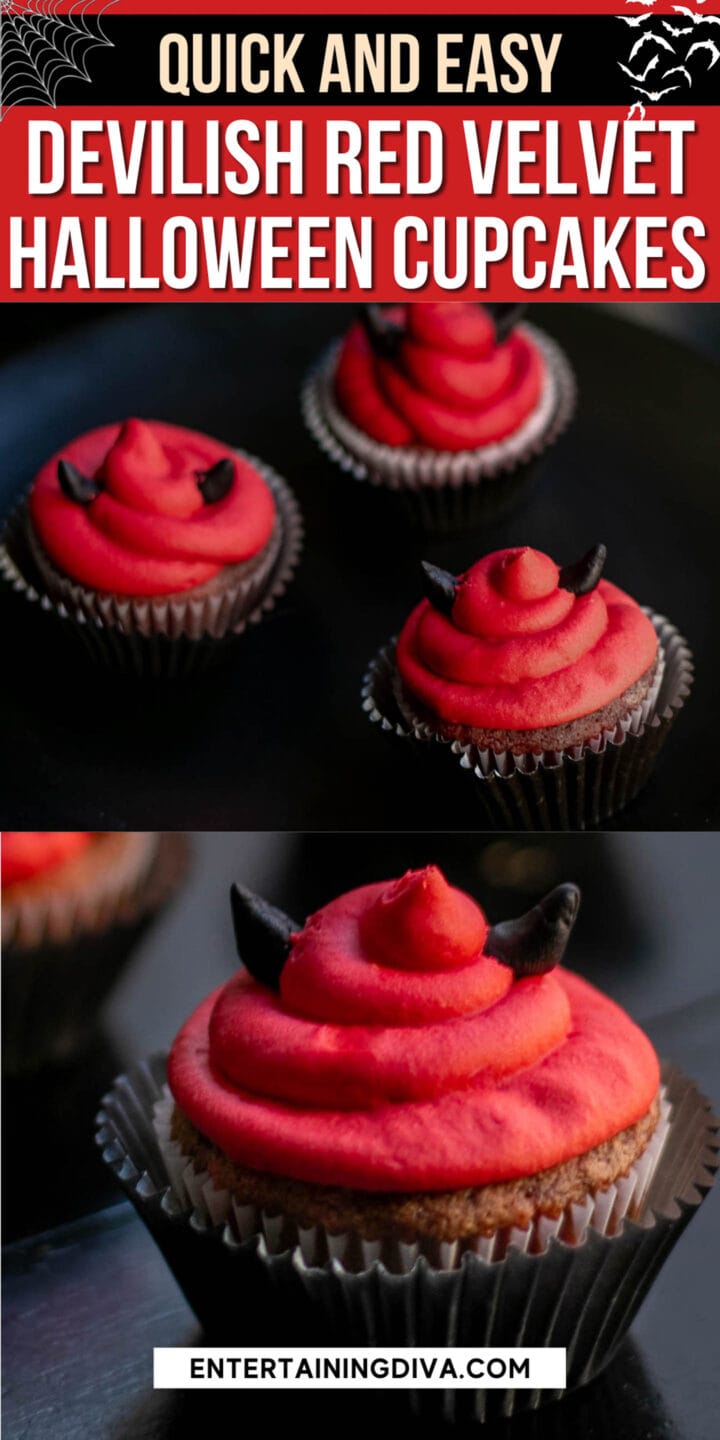
Use a swirling motion to pipe the frosting onto the cupcakes like you would if you were making a soft ice cream cone.
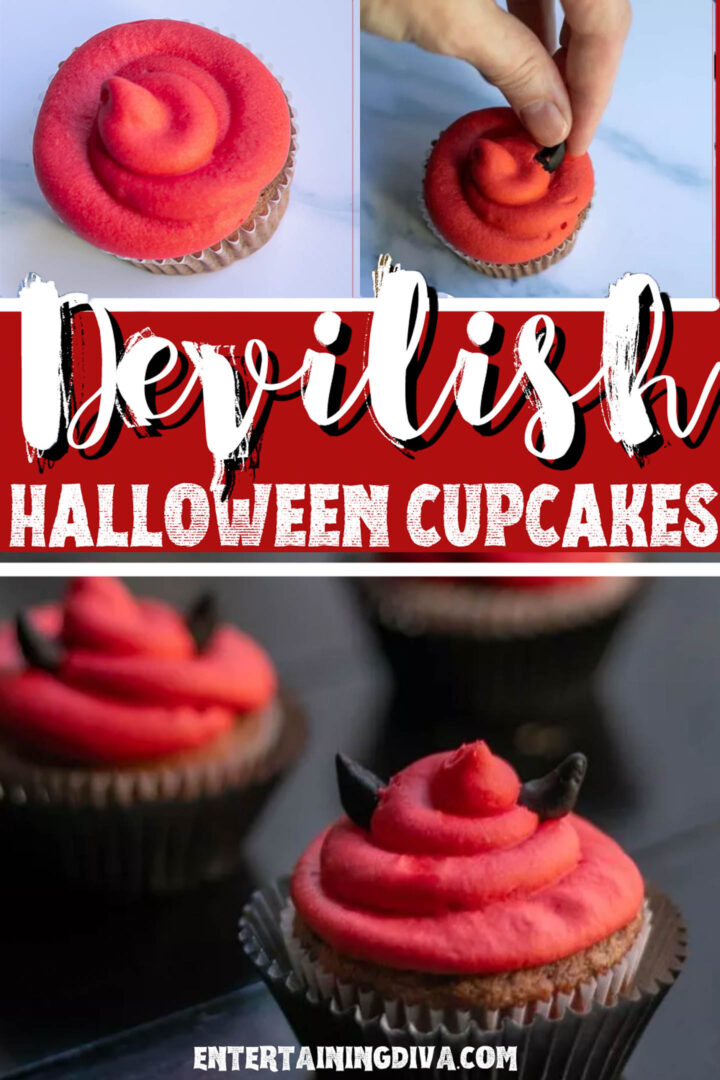
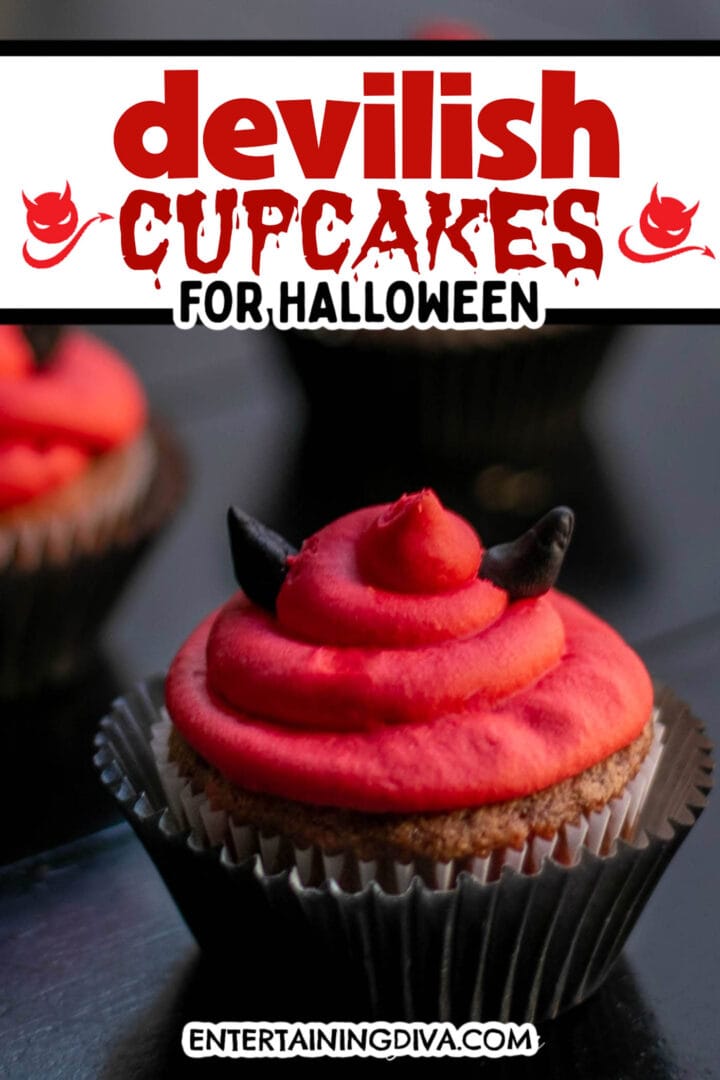
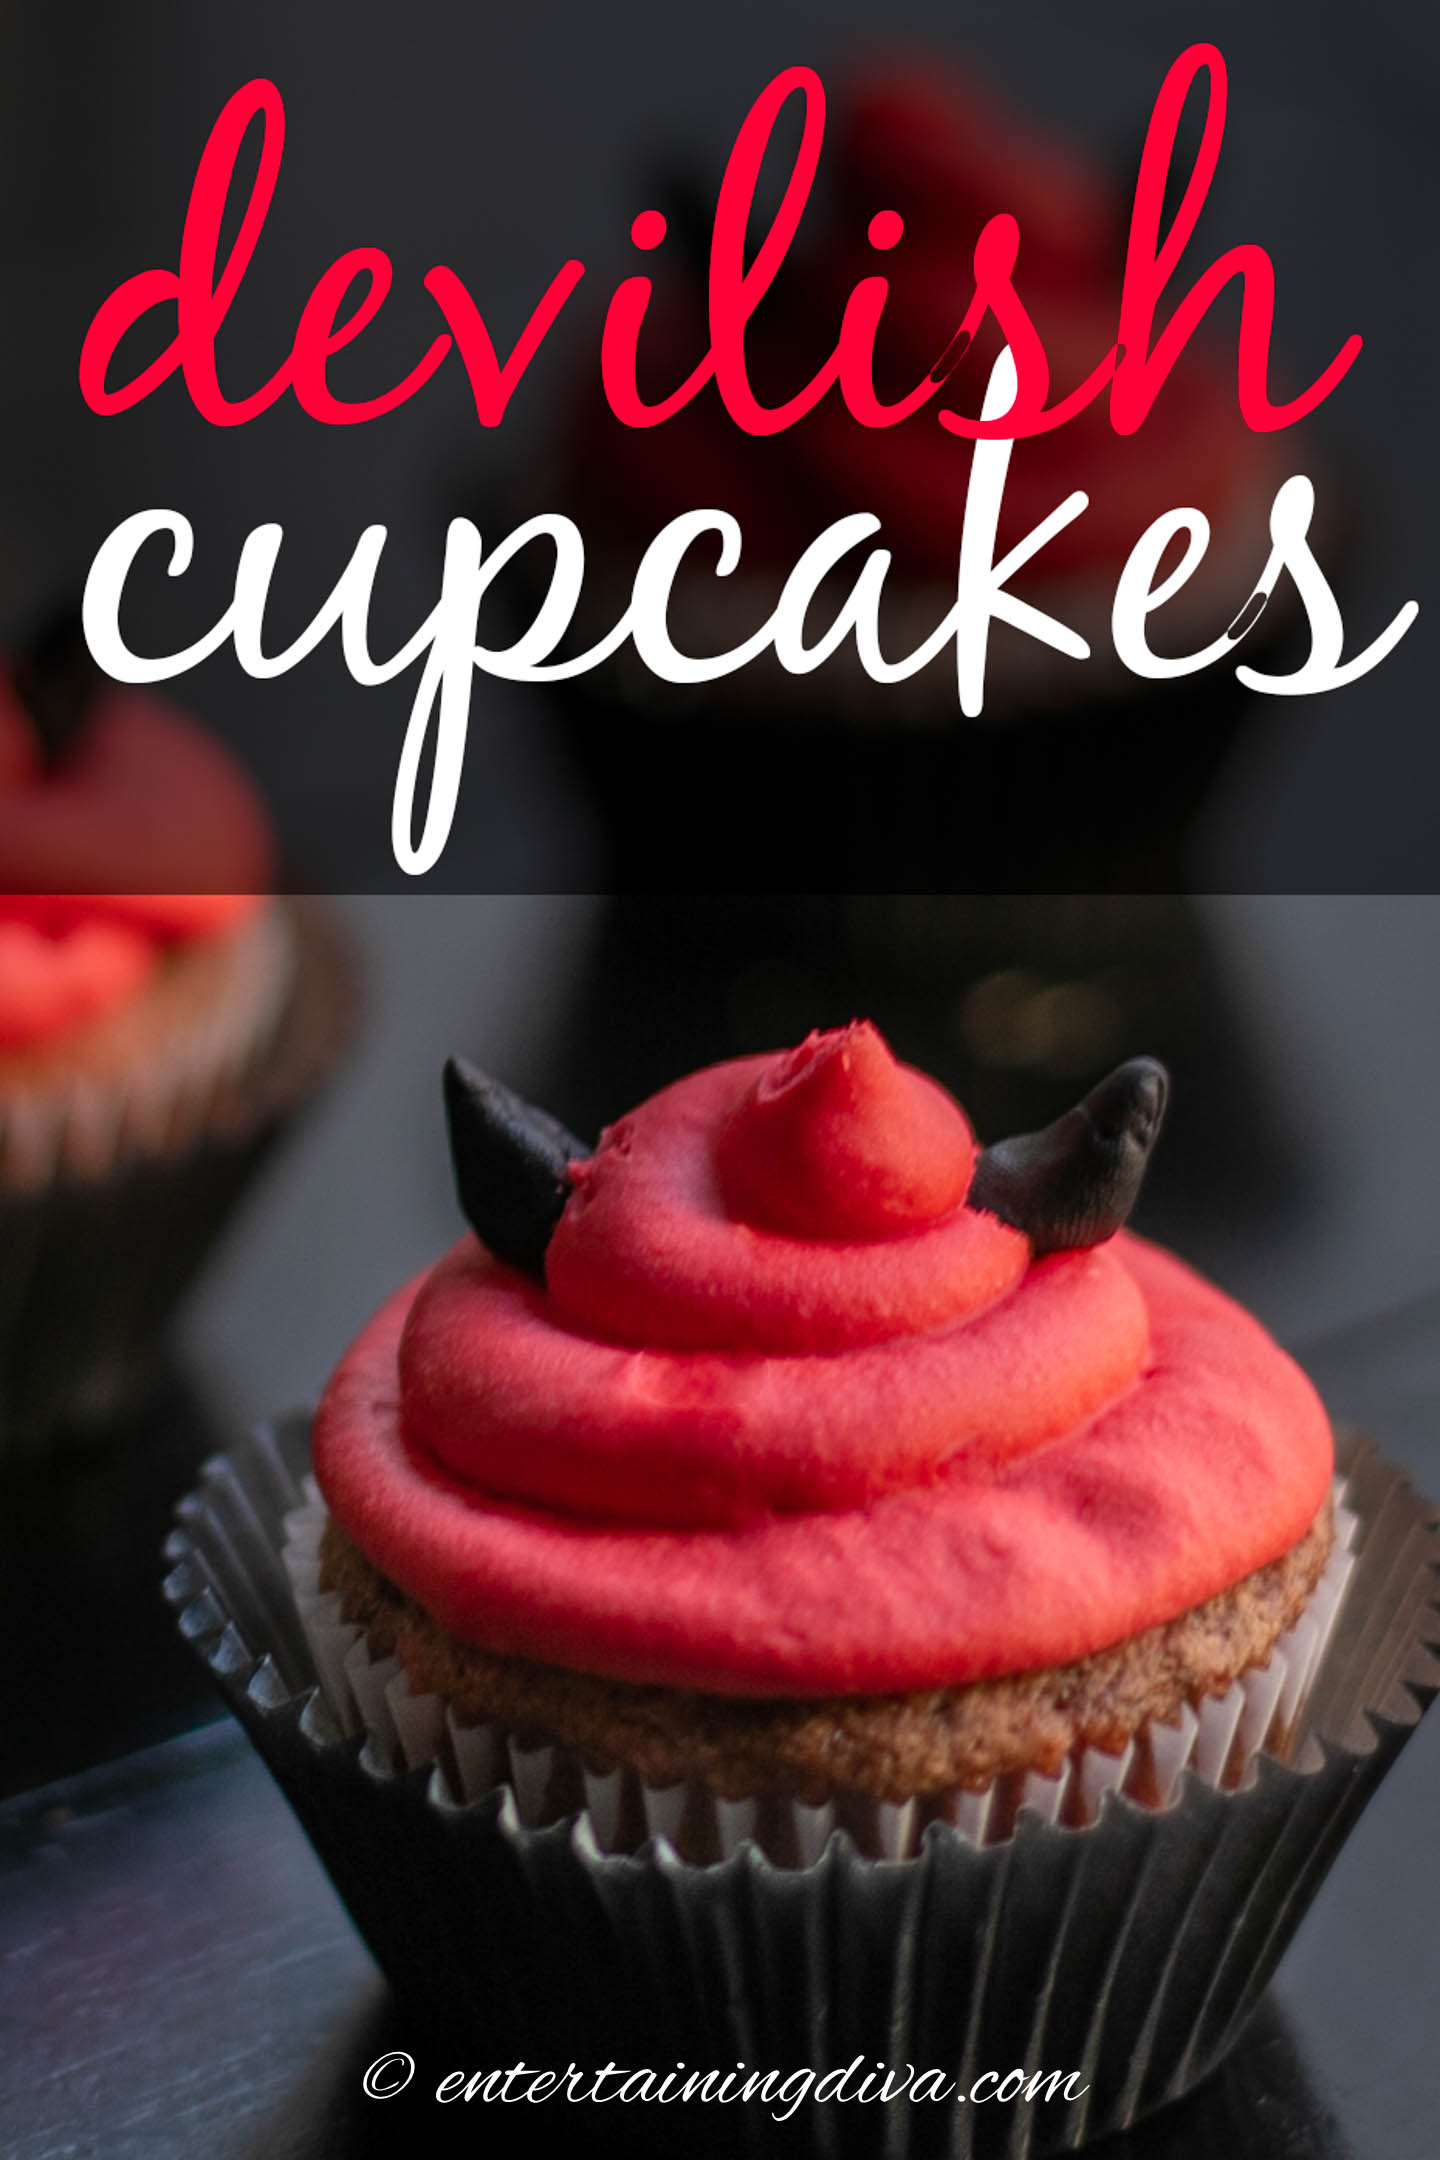
Make the devil horns
Finally, we need to make the horns.
They are made from black fondant. I used this small tub of already-made black fondant* available at Michael’s.
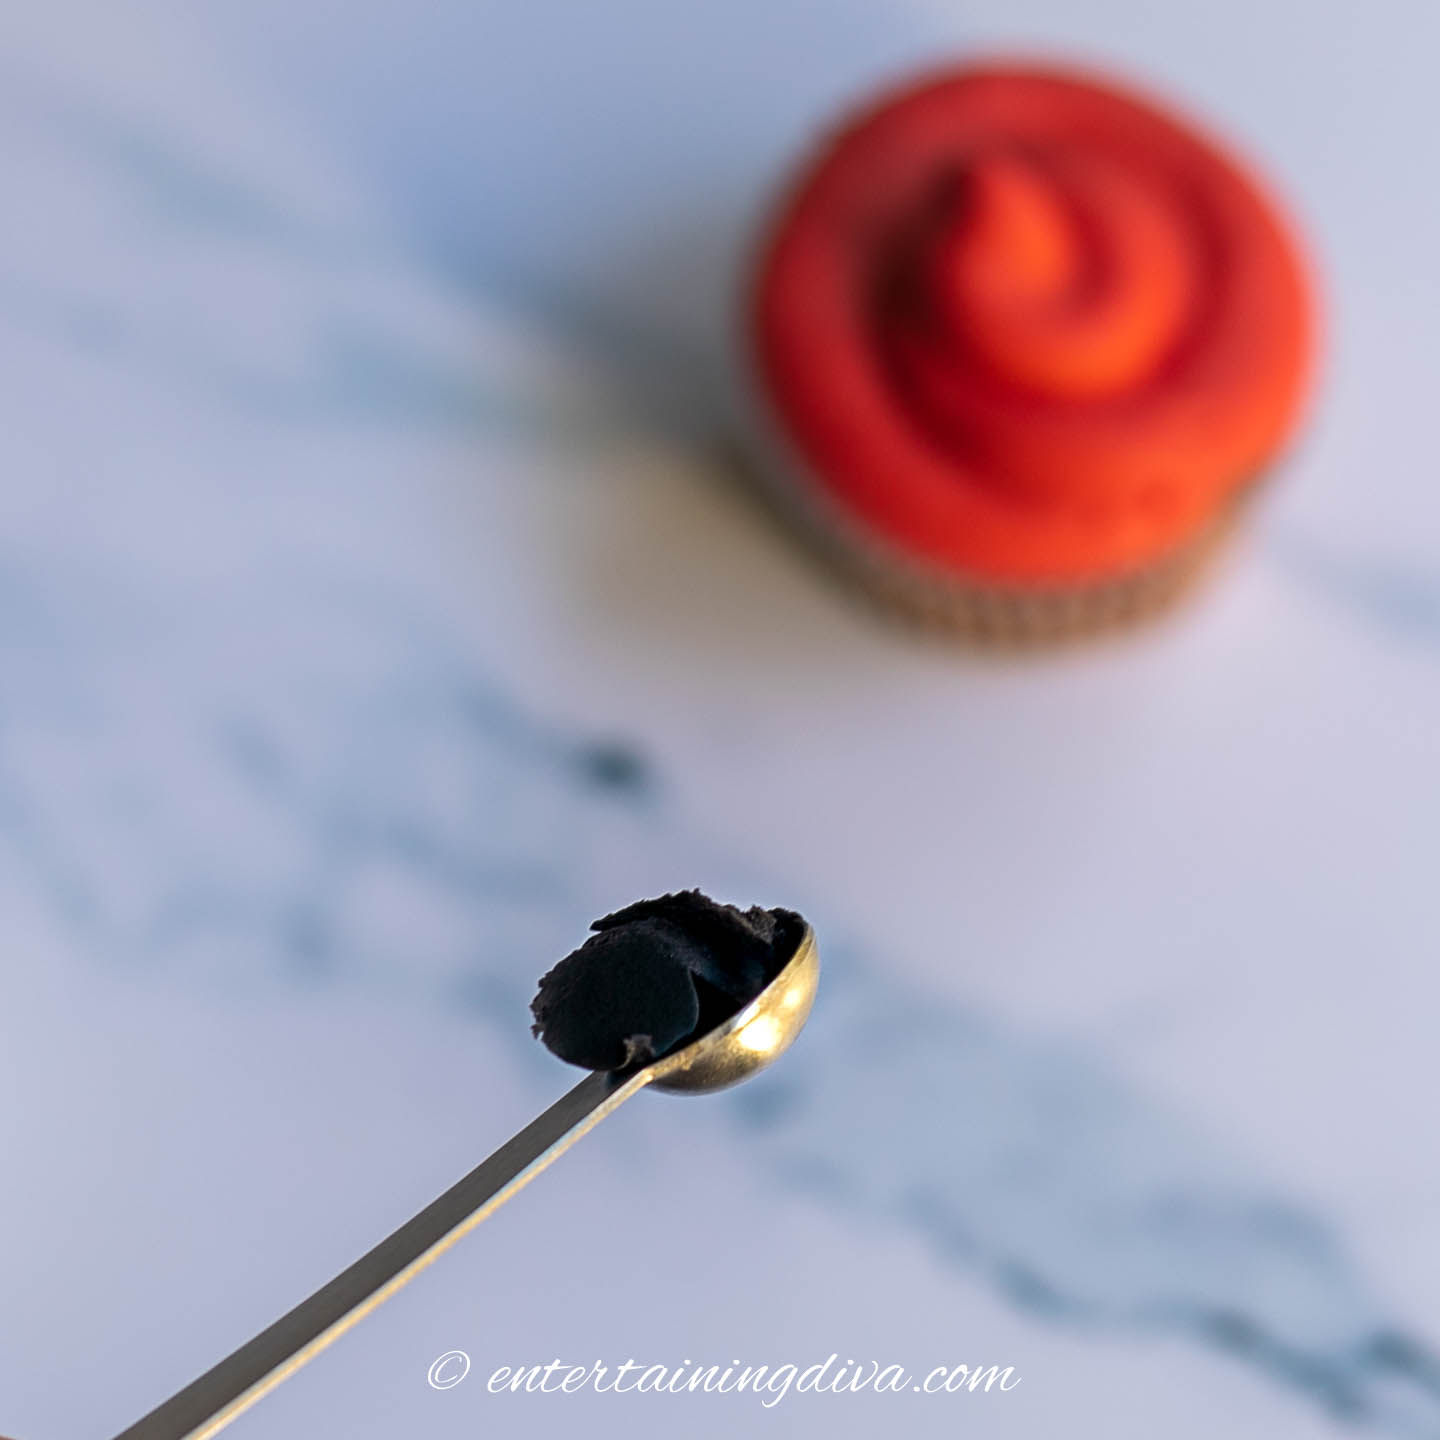
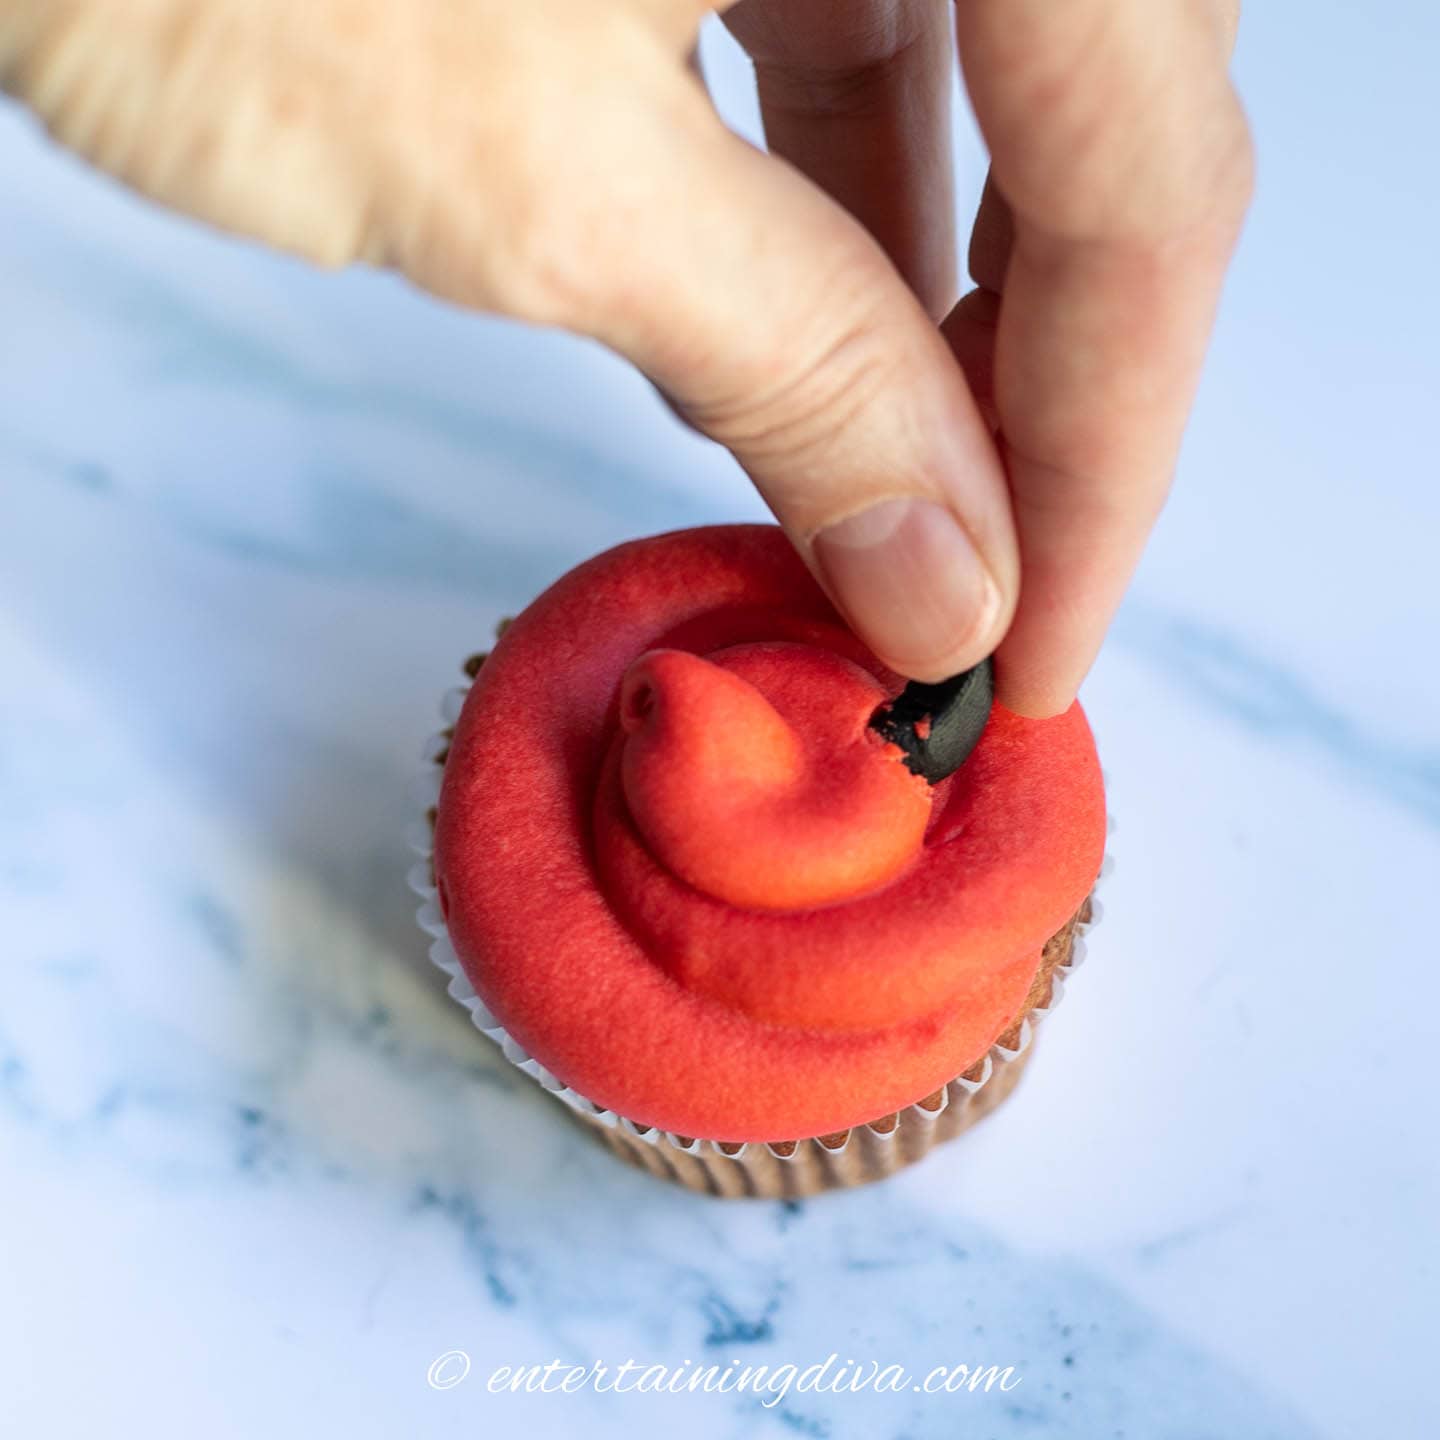
Use a small measuring spoon (1/8 teaspoon) to take a small scoop of fondant out of the container.
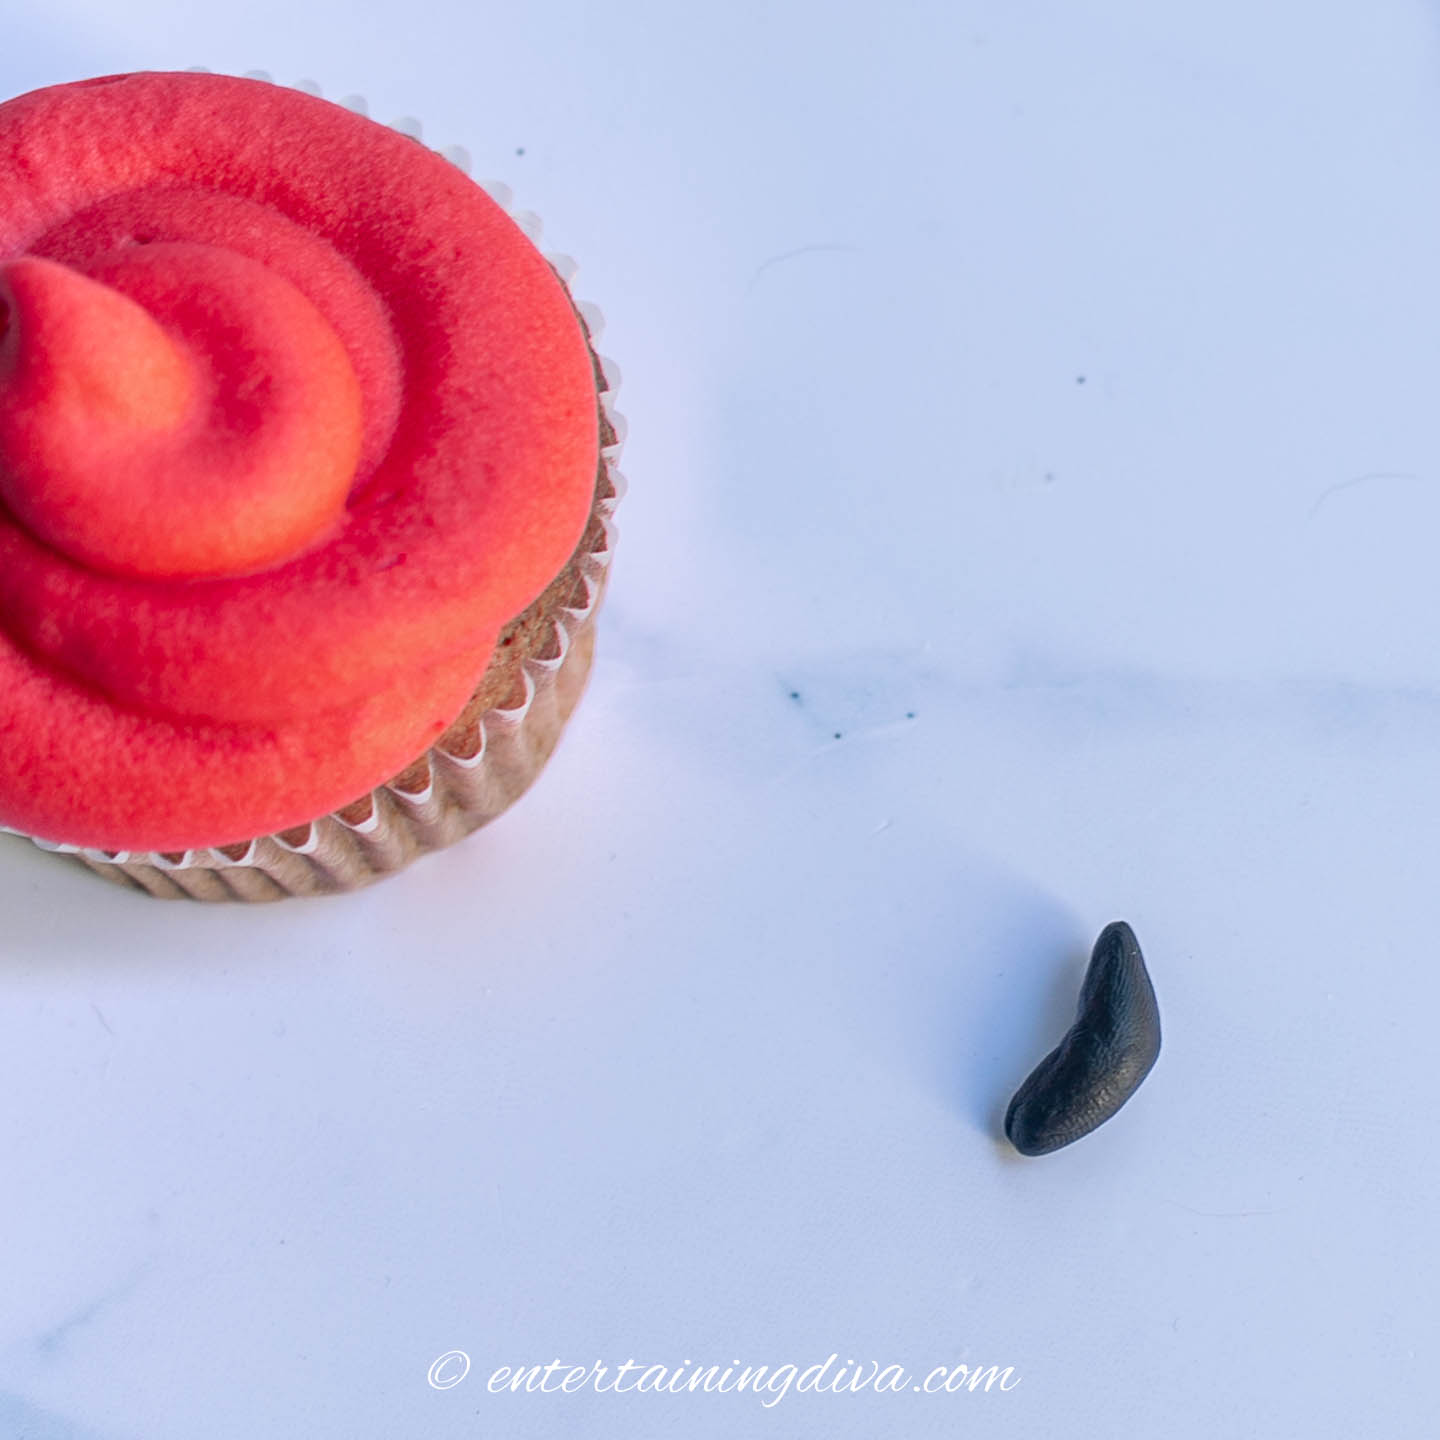
Then roll it into a curved horn shape.
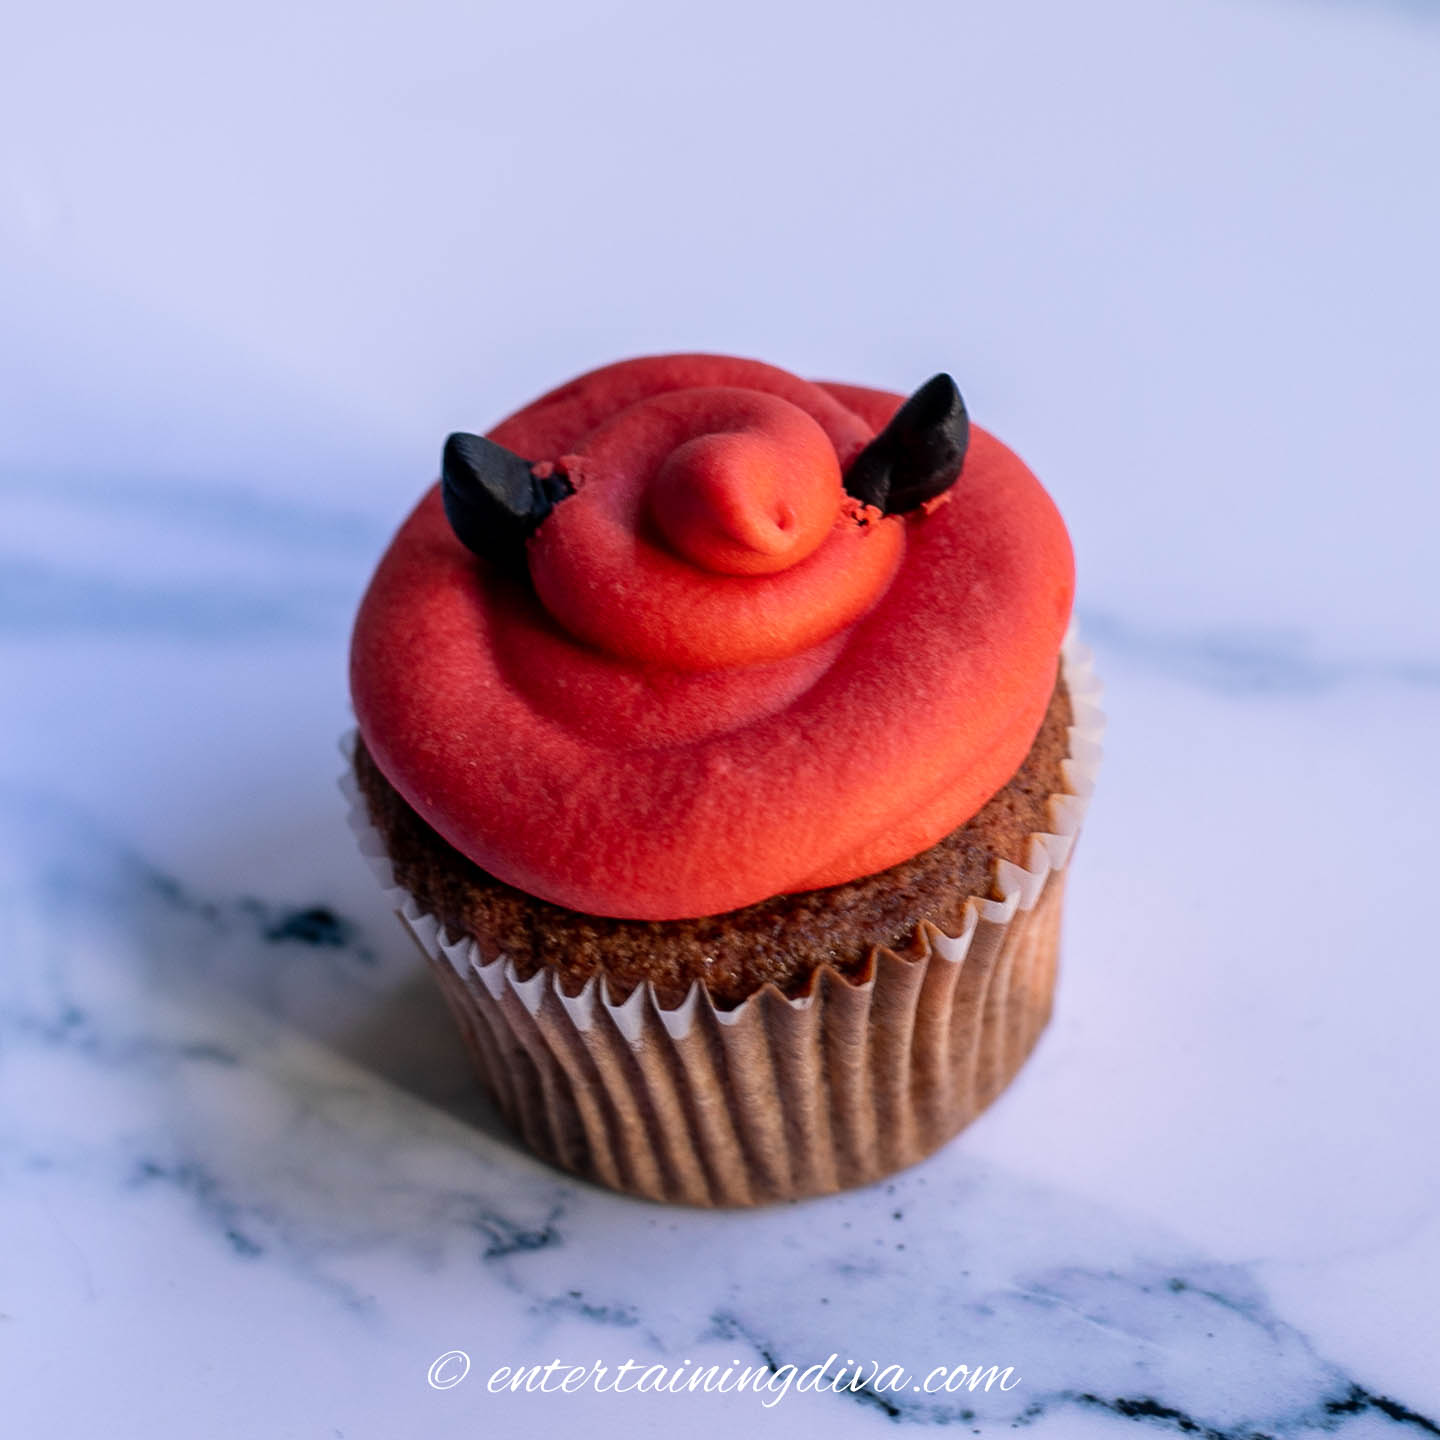
Finally stick one horn into each side of the icing.
And that’s it!
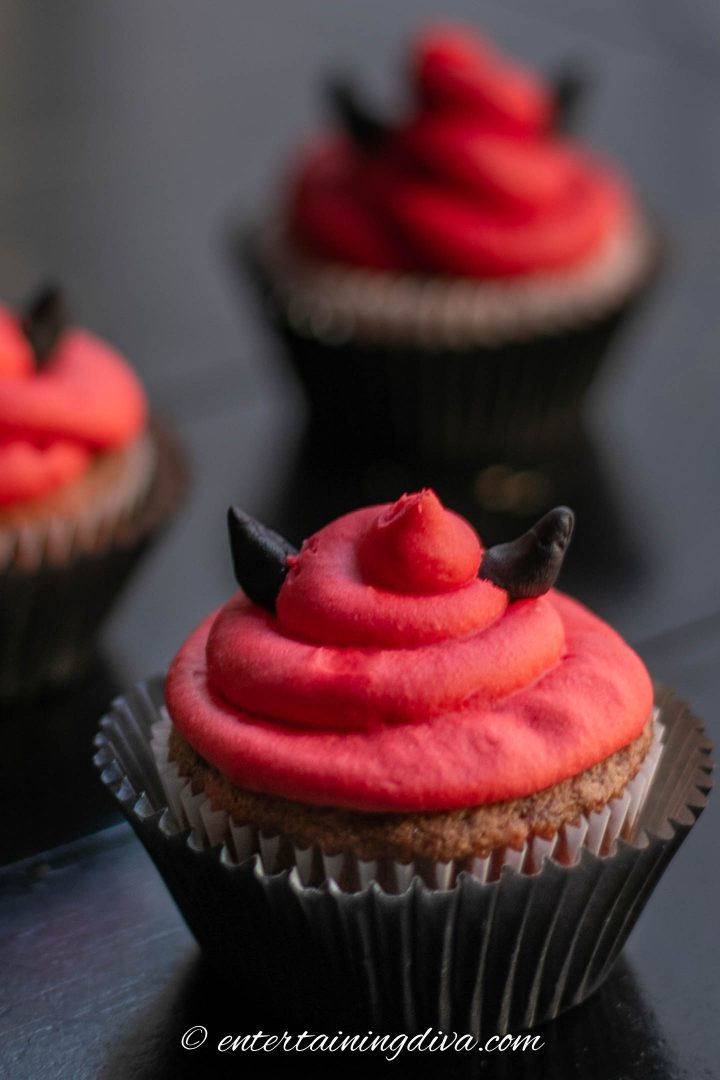
How cute are they?
Other Halloween cupcakes you might like
- Graveyard Halloween cupcakes
- Halloween Ghost cupcakes
- Bloody knife Halloween cupcakes
- Spider cupcakes
- 15 Halloween cupcake ideas

Devilish Red Velvet Halloween Cupcakes
Ingredients
- 1 box Duncan Hines Red Velvet Cake Mix
- 3 large eggs*
- ⅓ cup vegetable oil*
- 1 16-oz can Ready-made Icing
- Americolor Super Red Gel Food Coloring
- 1 small container Ready-made black fondant
* these amounts may vary depending on the brand of cake mix you are using. Follow the instructions on the box.
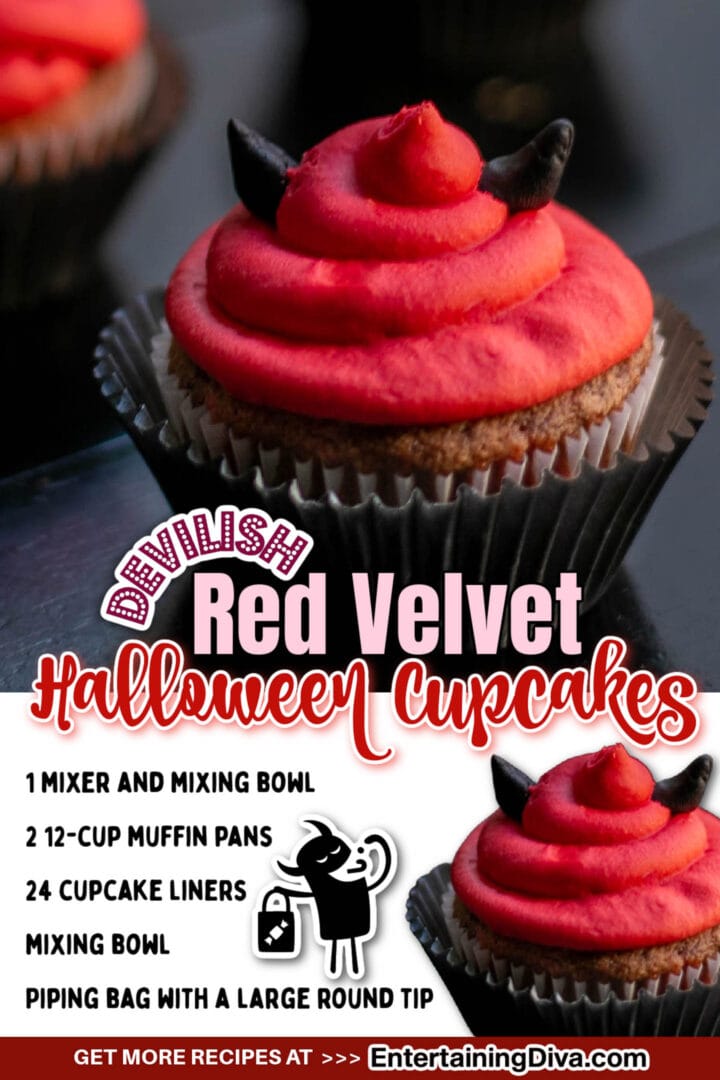
Equipment
- 1 mixer and mixing bowl
- 2 12-cup muffin pans
- 24 cupcake liners
- mixing bowl
- Piping bag with a large round tip
Instructions
Make the cake
- Make the red velvet cake mix following the directions on the box. For Duncan Hines, use a mixer to combine 1 cup water, 3 eggs and ⅓ cup vegetable oil with the cake mix. Other cake mixes may have different amounts of each ingredient, so be sure to check the instructions on the box.
- Insert the cupcake liners into the cupcake pans.
- Fill the liners about ⅔ full with cake mix.
- Bake at the temperature and amount of time specified in the cake mix instructions (usually between 16 and 18 minutes).
- Allow the cupcakes to cool completely.
Make the icing
- Put the icing in a bowl.
- Mix in the red food coloring a little bit at a time until it looks red.
Decorate the cupcakes
- Use a large round piping tip with a piping bag to pipe the red icing onto the cupcakes.
- To make the horns, take a small piece (about 1/8 teaspoon) of the black fondant and roll it into the horn shape with points on both ends. Stick 2 horns into the icing on either side of the cupcake
Notes
- The amount of vegetable oil and eggs you need may vary depending on the brand of cake mix you use. If they are different, follow the instructions on the box.
- The brand of food coloring that you use will make a big difference in how red the icing will be.
Nutrition values are estimates only, using online calculators. Please verify using your own data.
Do you have comments or questions on our devilish red velvet Halloween cupcakes recipe? Tell us in the section below.
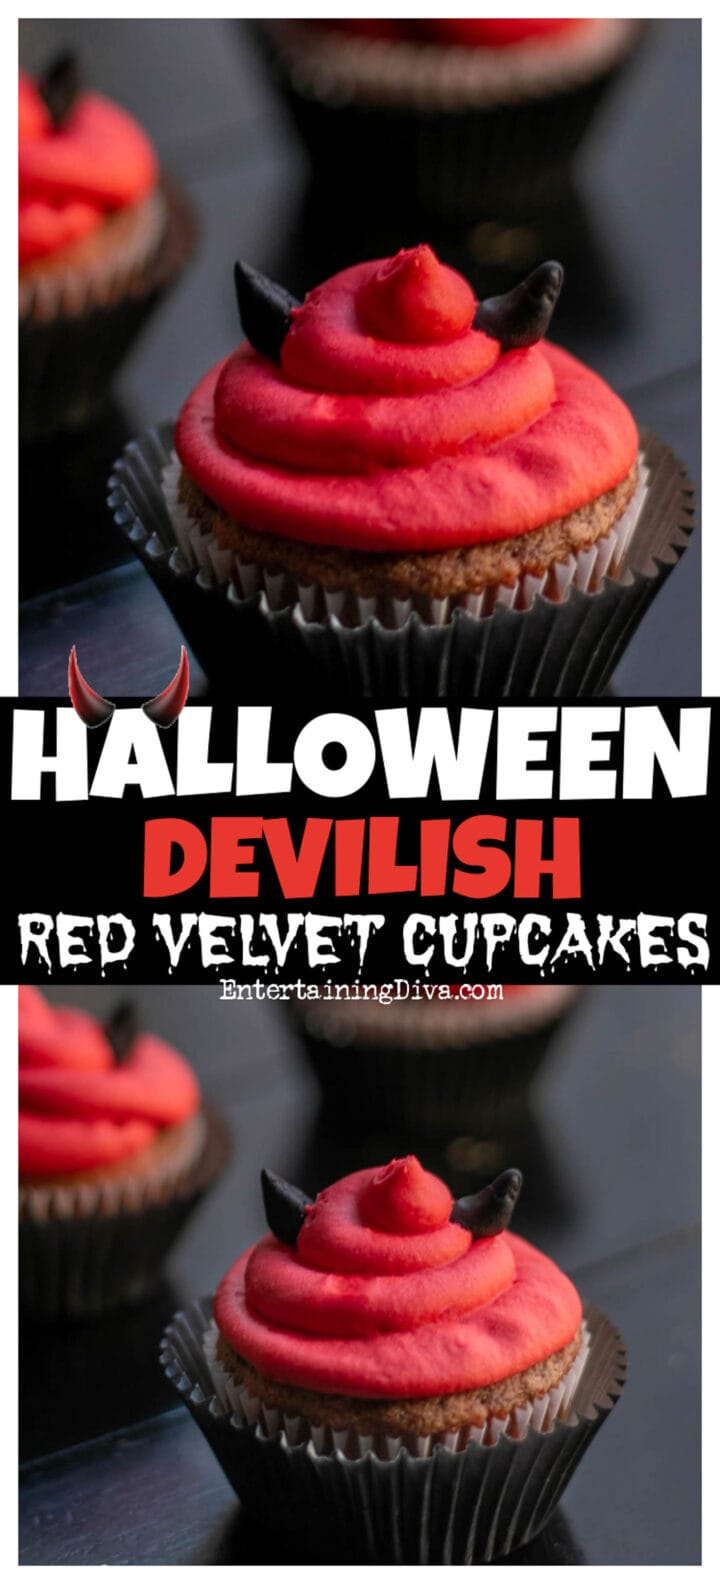
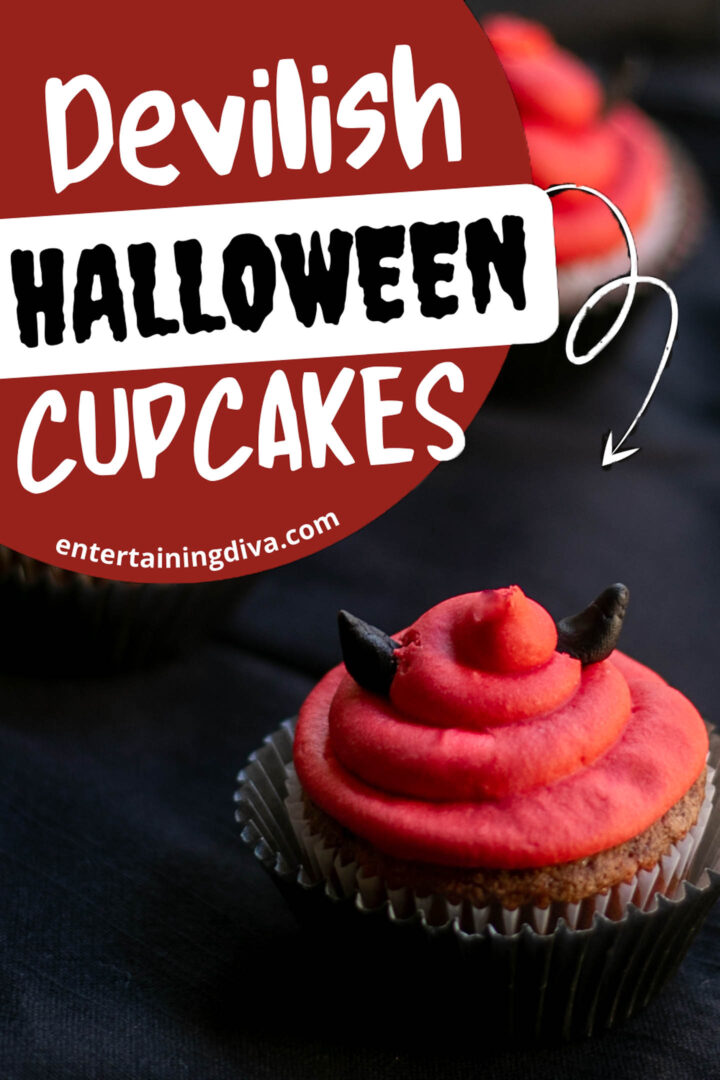
Pin It So You Don't Forget It!
This post was originally published on October 28, 2014 but was updated with new content on March 19, 2024.