
How To Make DIY Giant Paper Flowers (For A Backdrop)
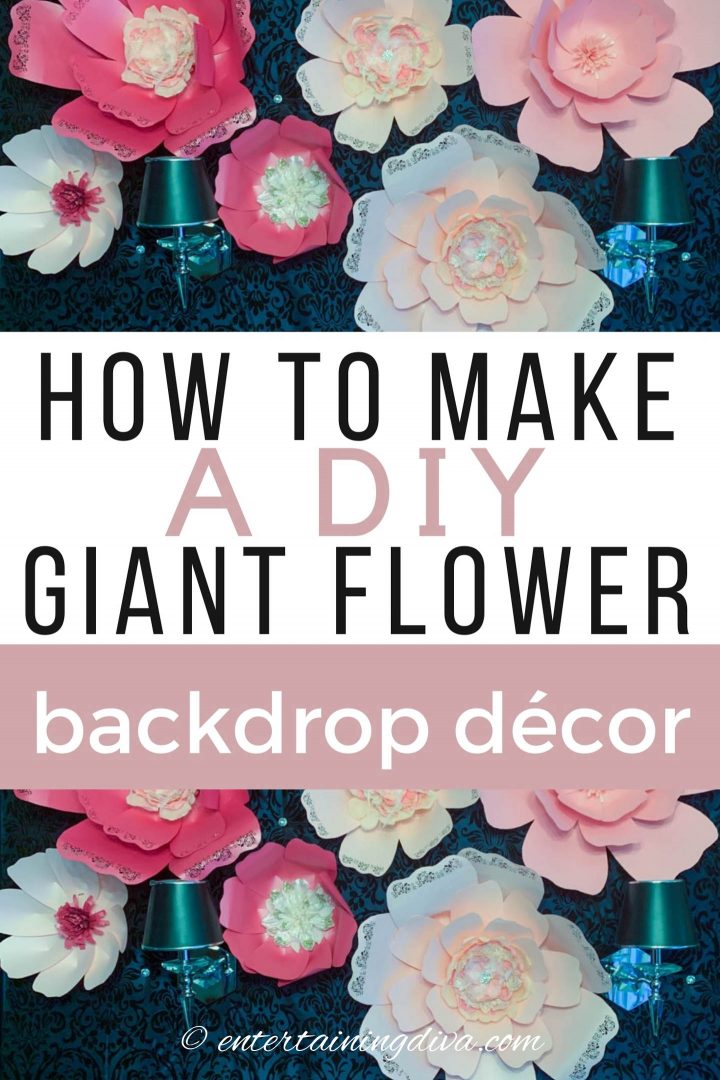
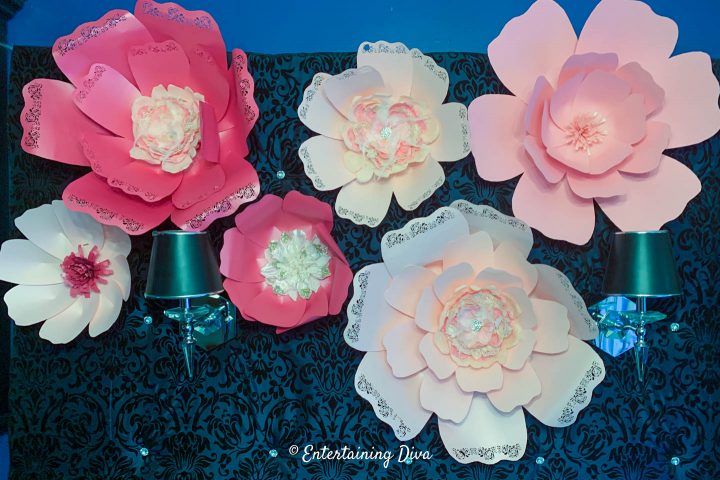
Where you’re hosting a baby shower, a garden-themed birthday party or even an Easter or Mother’s Day brunch, these DIY giant paper flowers will make a beautiful backdrop
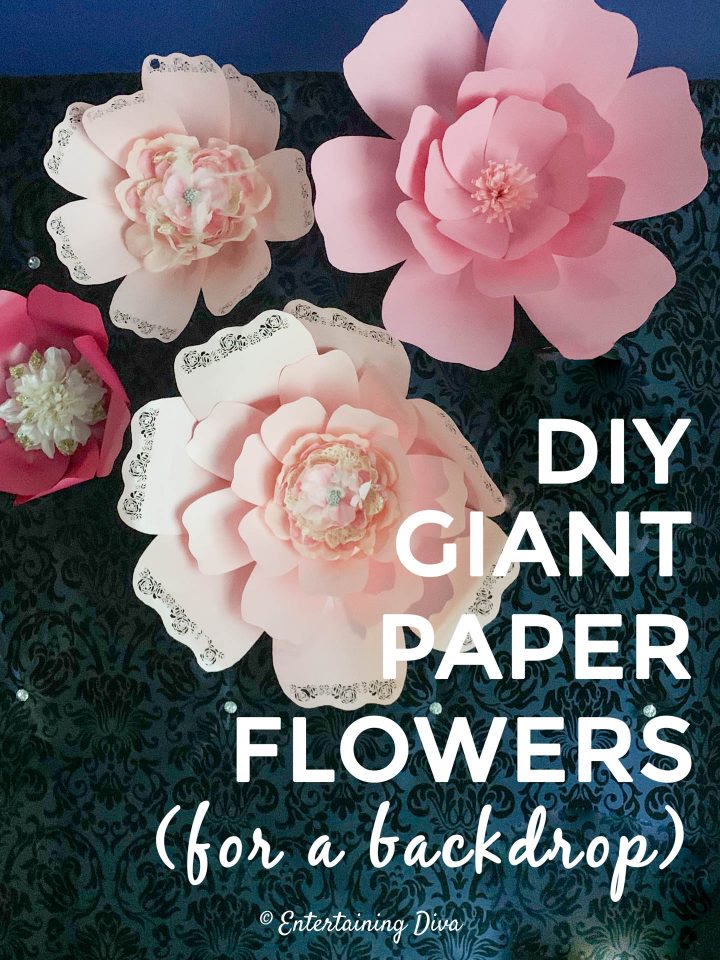
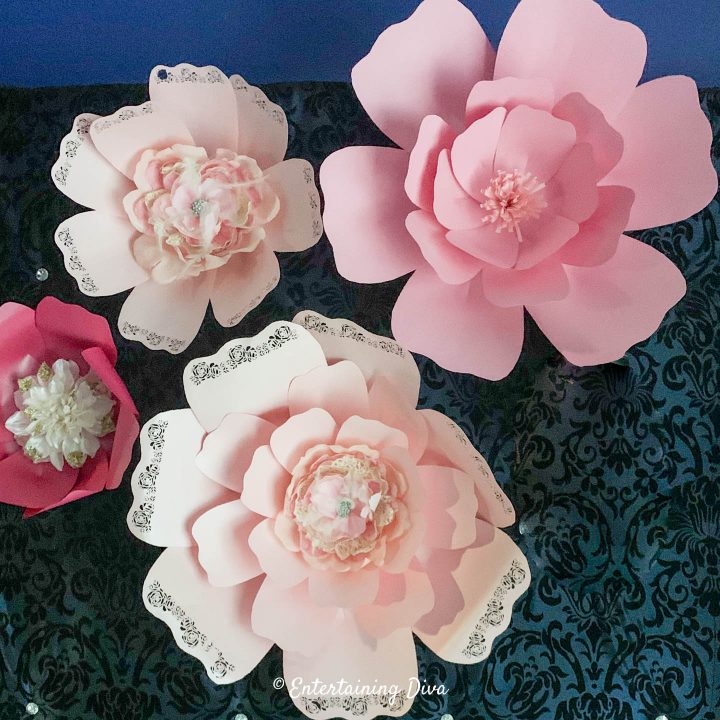
I love party decor like these DIY giant paper flowers.
They’re easy to make, inexpensive, re-usable and don’t take as long to put together as you might think.
Using a mix-and-match approach to petal sizes, colors, flower centers and petal patterns, you can make each of the flowers look different even though they all use the same basic template.
What’s not to like?
Supplies
This post may contain affiliate links. We make a small commission if you buy the products from these links (at no extra cost to you). As an Amazon Associate, I earn from qualifying purchases. But we only recommend products we would use ourselves. For more information, click here to see our disclosures
Materials
- 8 1/2″ x 11″ 65-pound colored paper – I used this multi-colored package of pink paper*. You can find out how many sheets you’ll need based on the size and type of flowers you want to make below.
- faux flowers (optional) – for the centers. For an inexpensive option, use faux peonies from the Dollar Tree*.
- double-sided tape, t-pins* or floral wire for hanging
Tools
- hot glue
- scissors
- Cricut (optional)
How Much Paper Will You Need?
For Large Double Flowers
For the large size, you’ll need:
- 6 to 7 large petals = 6 to 7 sheets of paper
- 6 to 7 of the medium petals = 3 to 3 1/2 sheets of paper
- 6 to 7 of the small petals (optional) = 3 to 3 1/2 sheets of paper
- 1 large round center backing = 1/2 sheet of paper
- 1 faux flower or sheet of paper for the center of the flower = 1 sheet of paper
Total sheets of paper required:
- 12 1/2 to 15 1/2 sheets of paper for 3 rows of petals or
- 9 1/2 to 12 sheets of paper for 2 rows of petals
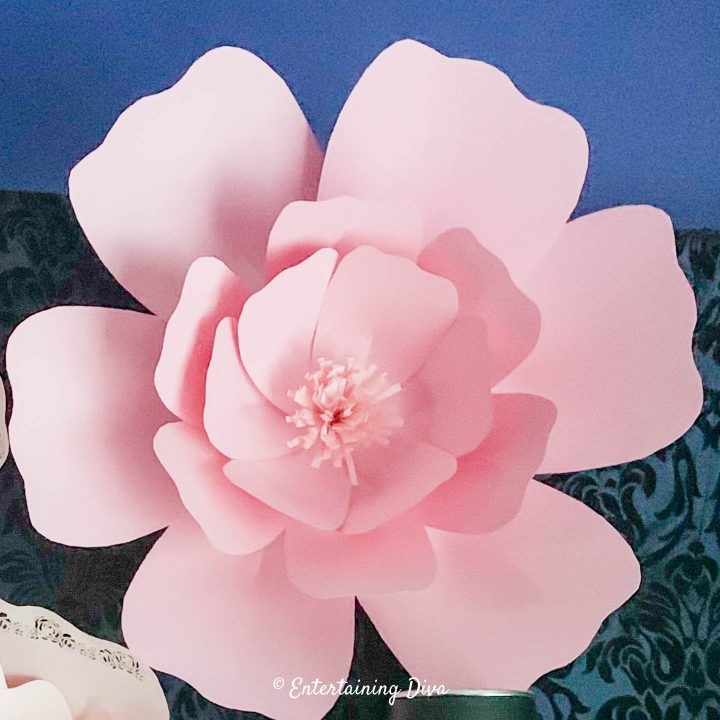
For Large Single Flowers
- 7 to 8 large petals – 7 to 8 sheets of paper
- 1 large center circle backing – 1/2 sheet of paper
- 1 faux flower or sheet of paper for the center of the flower = 1 sheet of paper
Total: 7 1/2 to 9 1/2 sheets of paper
For Medium Double Flowers
- 7 to 8 medium petals = 3 1/2 to 4 sheets of paper
- 7 to 8 small petals = 3 1/2 to 4 sheets of paper
- 1 large center circle = 1/2 sheet of paper
- 1 faux flower or sheet of paper for the center of the flower = 1 sheet of paper
Total: 7 1/2 to 9 1/2 sheets of paper
For Medium Single Flowers
- 7 to 8 medium petals = 3 1/2 to 4 sheets of paper
- 1 small center circle = 1/2 sheet of paper
- 1 faux flower or sheet of paper for the center of the flower = 1 sheet of paper
Total: 4 to 5 1/2 sheets of paper
For Small Flowers
- 7 to 8 small petals = 3 1/2 to 4 sheets of paper
- 1 small center circle = 1/2 sheet of paper
- 1 faux flower or sheet of paper for the center of the flower = 1 sheet of paper
Total: 4 to 5 1/2 sheets of paper
How To Make DIY Giant Paper Flowers
1 | Get The Petal Templates
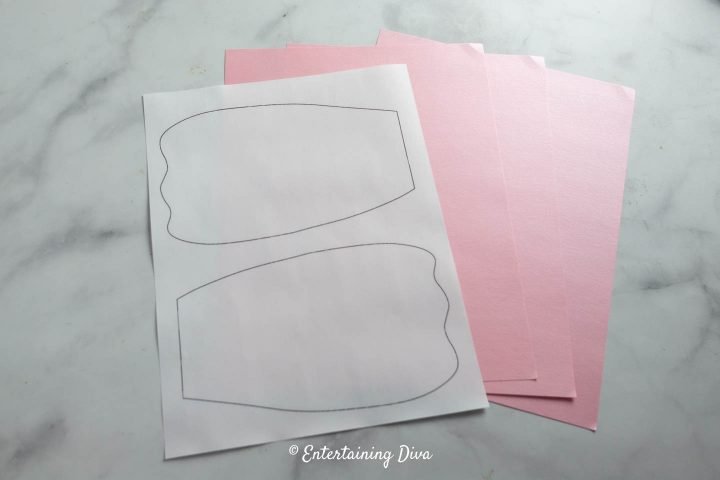
The first step to making these DIY giant paper flowers is to get the petal templates.
There are 2 different petal styles:
- the first are regular flower petals in 3 different sizes. These are available as both a printable template that you can use to manually cut out the petals, and as a Cricut .svg file that you can upload to Design Space.
- the second petal design has a rose-lace edge and comes in 2 sizes. These are only available as a Cricut .svg file (they would be almost impossible to cut by hand!)
If you are a subscriber, you can get them straight from our resource library.
Or you can sign up to become a subscriber, and get access to these files plus all of our other printables.
2 | Cut Out The Petals
Next you’ll need to cut out the petals.
You can do this manually or with a Cricut.
If you are making the plain-edged petals, I think cutting them by hand is the fastest way to do it.
For the rose-lace-edged petals, using a Cricut is your best bet.
To Cut Them Manually
The plain-edged petals are easy to cut out by hand.
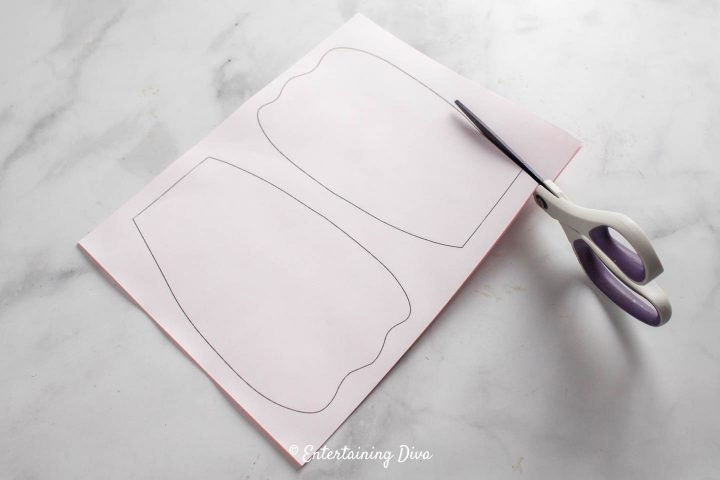
Print out the petal patterns, then use the print out as a template to cut your paper.
You can cut 3 or 4 sheets of paper at a time to make the process go faster.
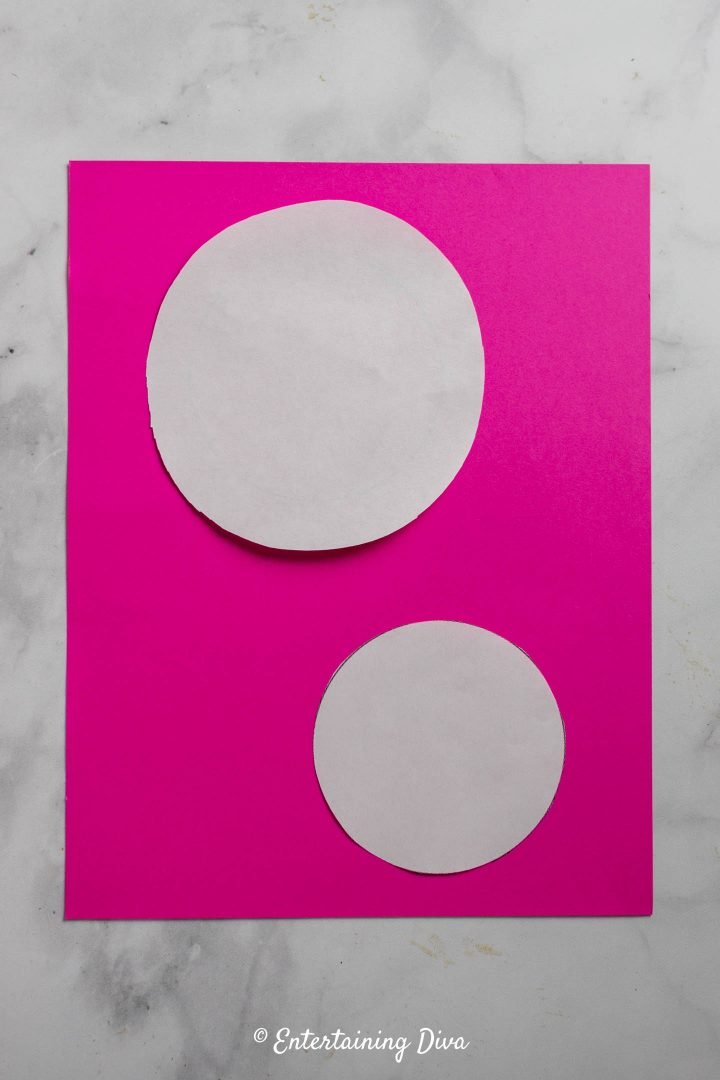
Do the same to cut out the circles that will make the center of the flower.
To Cut With A Cricut
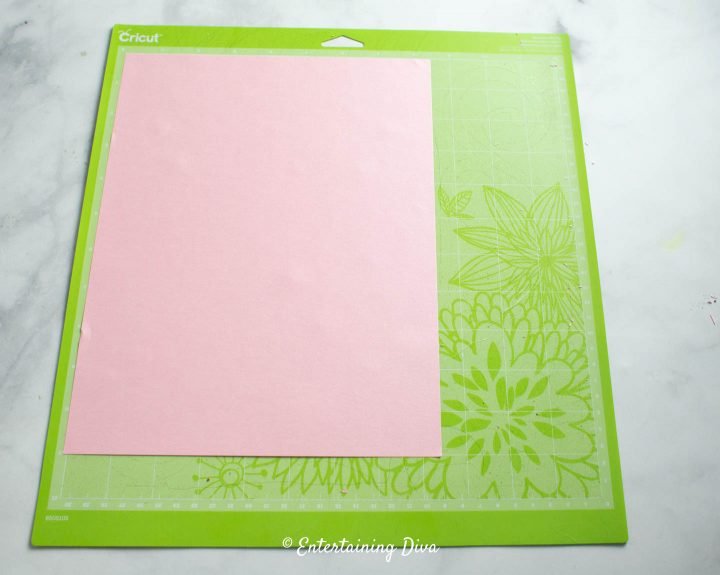
To use a Cricut to cut out the petal templates, just upload the .svg files to Design Space, load up your paper and have it cut as many of each size of flower as you need.
If you’re not sure how to upload the .svg files to Design Space, click HERE to read our tutorial.
Note: You’ll need a sharp blade in order for the rose lace to cut out cleanly.
If you notice that the paper is tearing or the cut out edges are ragged, try poking the blade into a ball of tin foil a few times. This helps to make it sharper.
3 | Make The Petals
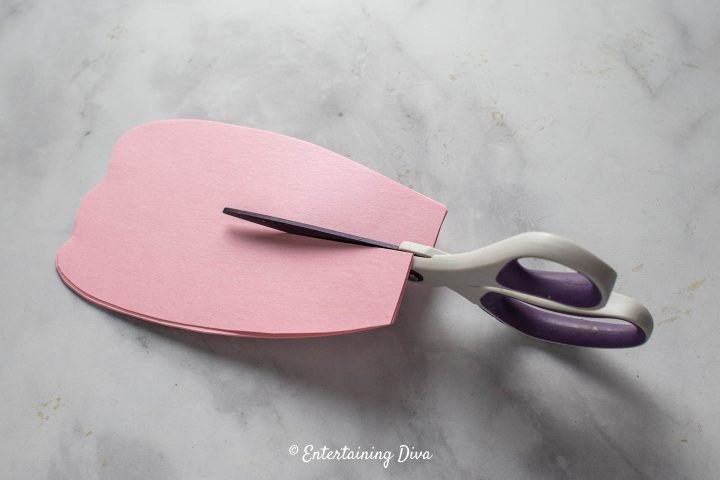
From the bottom of the petals, cut a slit about half way up the center.
The cuts don’t have to be exact, so you can do multiple petals at one time.
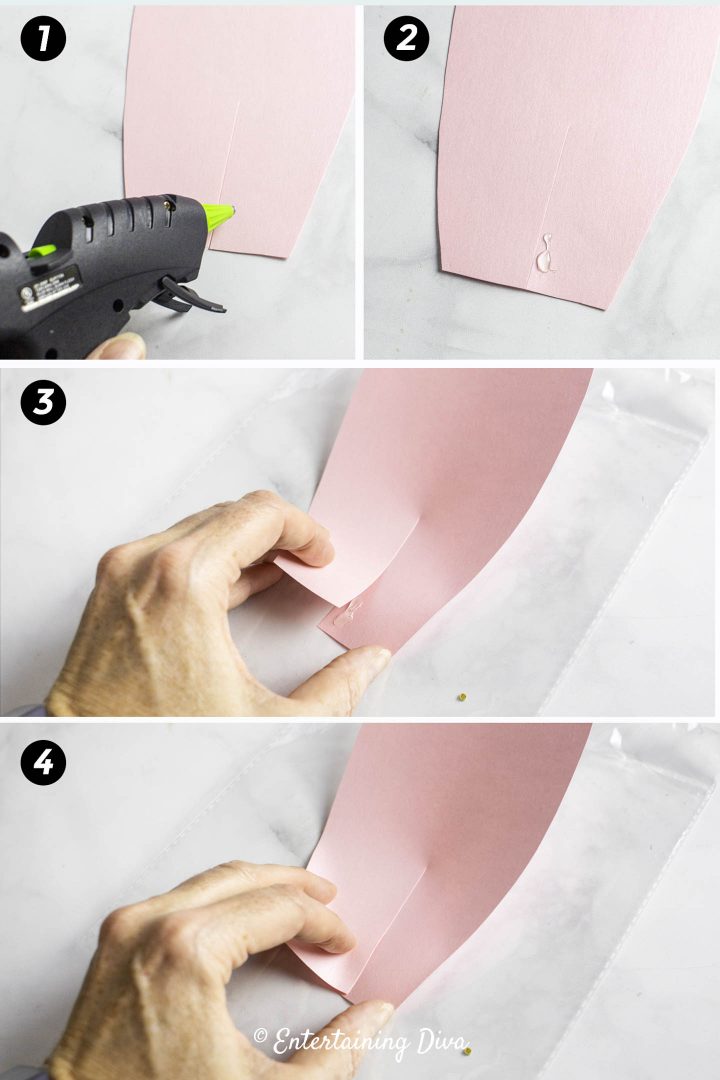
Use the glue gun to put a line of glue down one side of the slit you just cut.
Pull the other edge over so that it sticks to the glue.
This will cause the petal to curl up slightly.
The further you cross the ends over, the further up the petal will curl.
I like to have the inside petals curl up more than the outside ones.
Which means you cross the ends most of the way over for the small petals. But only a little for the big flowers.
4 | Attach The Petals
Now that you have cut out all of the pieces, it’s time to put the flowers together.
The steps here are for creating a large-sized flower with three rows of petals around the center.
However, you can make different sizes of flowers with different looks by:
- changing the size of the petals that you use
- using 1, 2 or 3 rows of petals
- making the petals lay fairly flat or curve up more
- using rose-lace edged petals instead of regular petals
- making the center of the flower from paper or replacing it with a faux flower
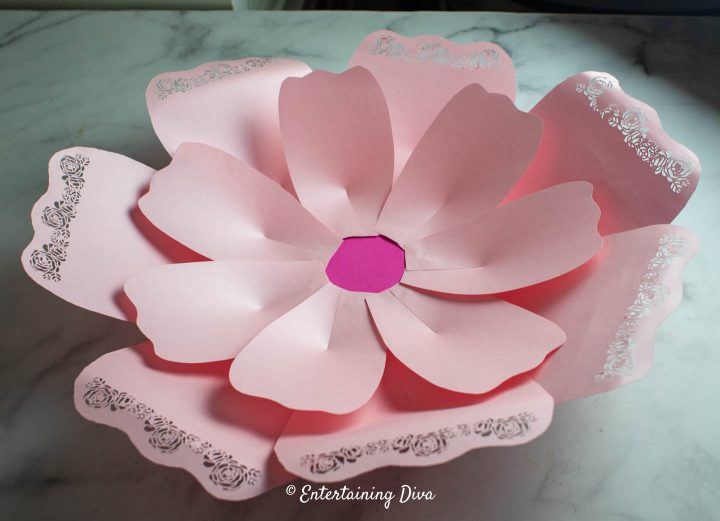
Glue On The Largest Petals
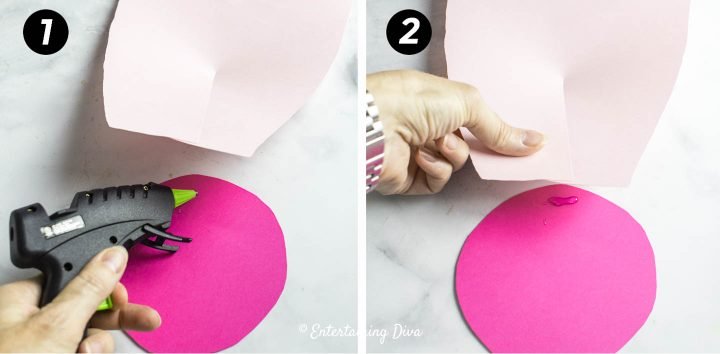
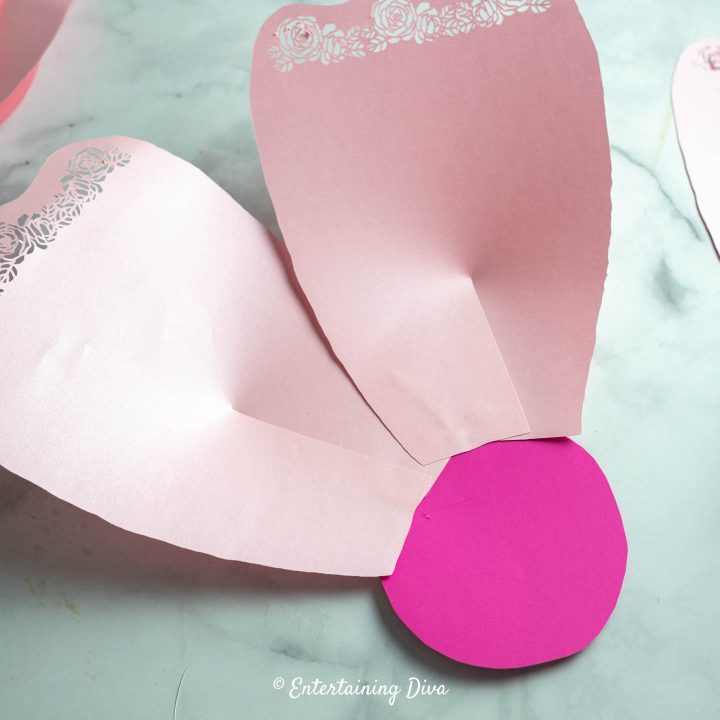
We’re going to start by gluing the large-sized petals to a large-sized center circle.
Start by putting a little hot glue in one spot at the edge of the circle.
Stick on the first of the large petals.
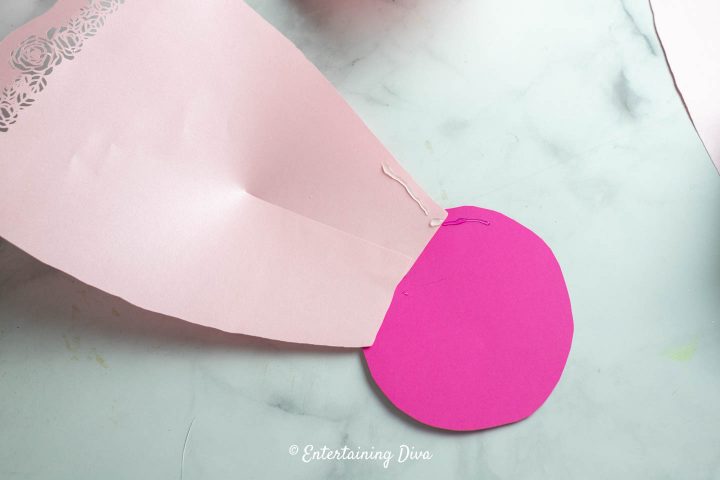
Add more glue to the bottom edge of the petal and onto the top edge of the circle.
Then stick on the next large petal so that it overlaps the previous one.
The more you overlap it, the fuller the flower will look…but the more petals you will need to cut 🙂
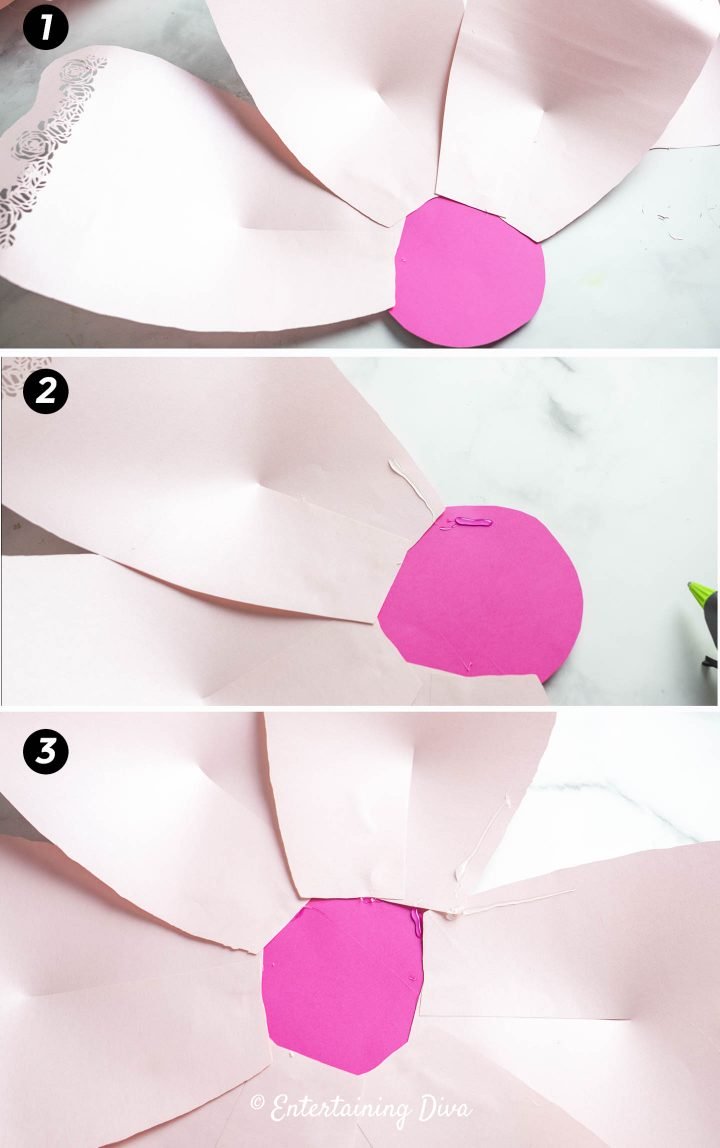
Continue gluing petals on around the circle until you get back to the first one.
Don’t worry if they aren’t evenly spaced. Real flowers aren’t perfect either 🙂
For the last petal, put glue on the bottom edges of the petals that will be on either side of it.
Then stick the last petal on top.
Add the Medium Sized Petals
Next, we’re going to add a circle of the medium-sized petals.
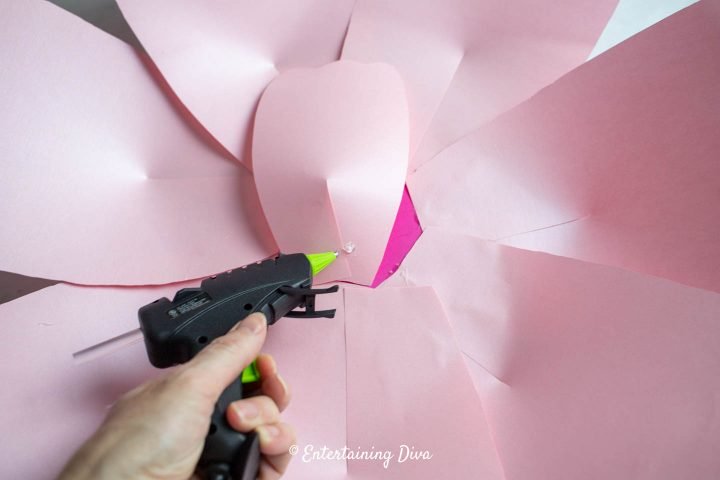
Start by putting some hot glue on the back of a petal at the bottom edge.
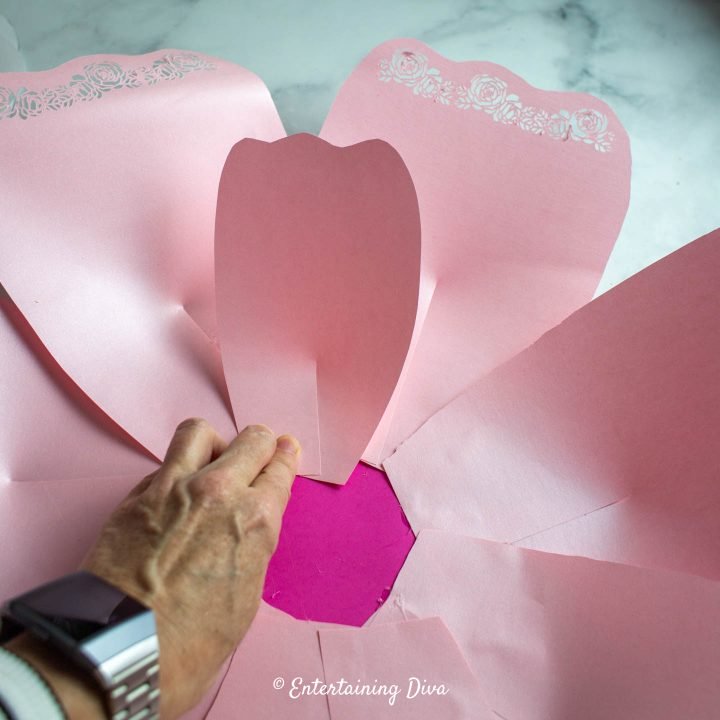
Stick it onto the center circle just below the bottom edge of the larger petals.
I think they look best if the edges are staggered.
To do this, place this petal in between two petals on the back row, rather than directly in front of one of them.
Continue gluing the medium-sized petals on, overlapping them slightly like you did with the first row.
Attach The Small Petals

Now add a third row using the small petals.
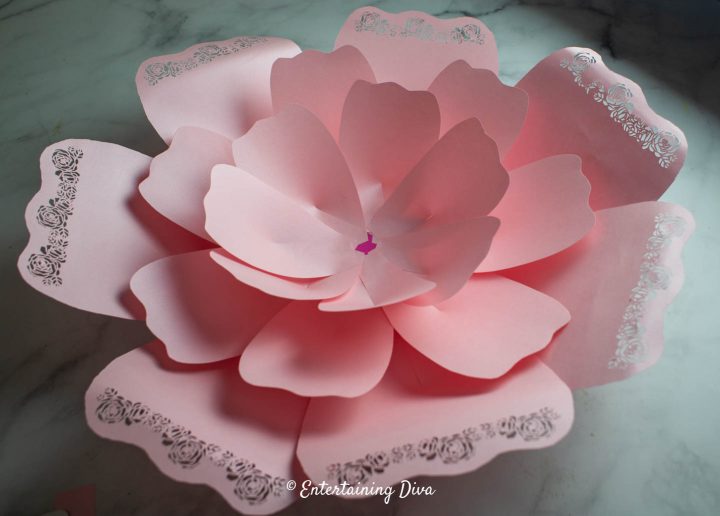
Repeat the same process as before to create a circle in the middle of the flower.
5 | Add the Center
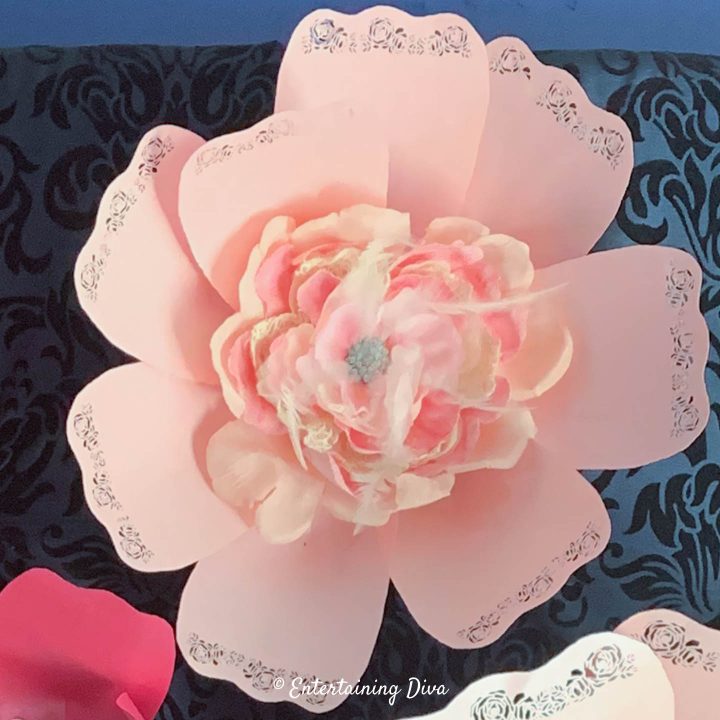
Option 1 – Use A Faux Flower
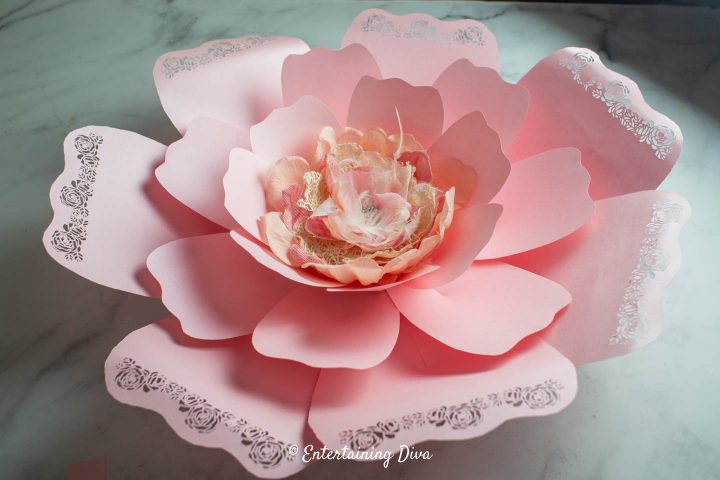
The easiest way to add a center to your flower is to use a store-bought flower.
It should be just big enough to fill the middle of your paper flower, and in a coordinating color.
To attach, just cut the stem off of it and hot glue it to the center of your flower.
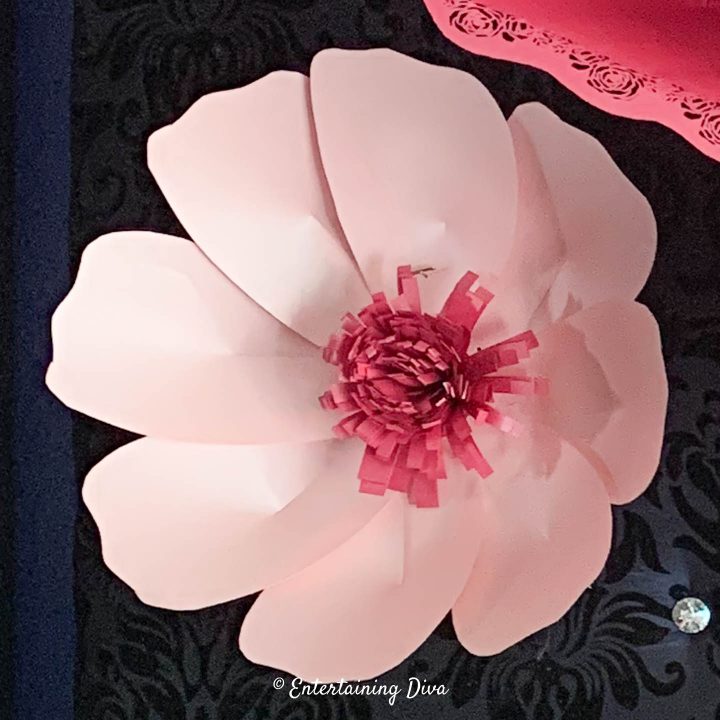
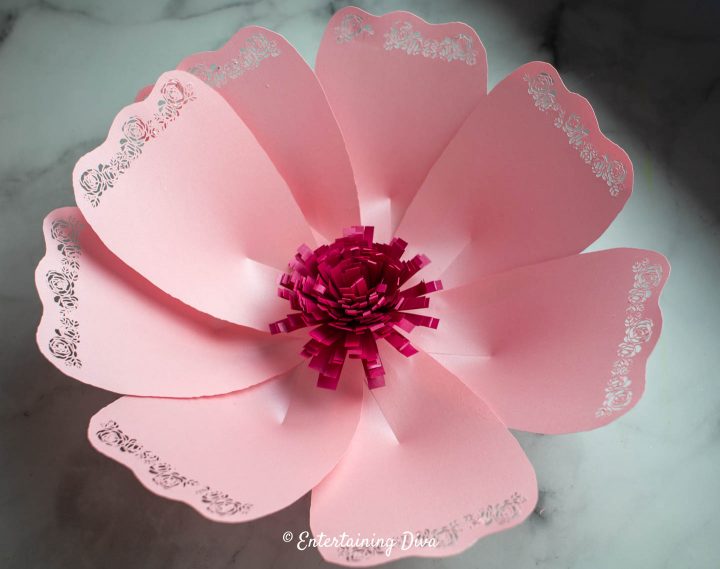
Option 2 – Make a Center
If you prefer to make the center, that is pretty easy to do, too.
You’ll need another sheet of 65 pound paper for this.
Fold And Cut
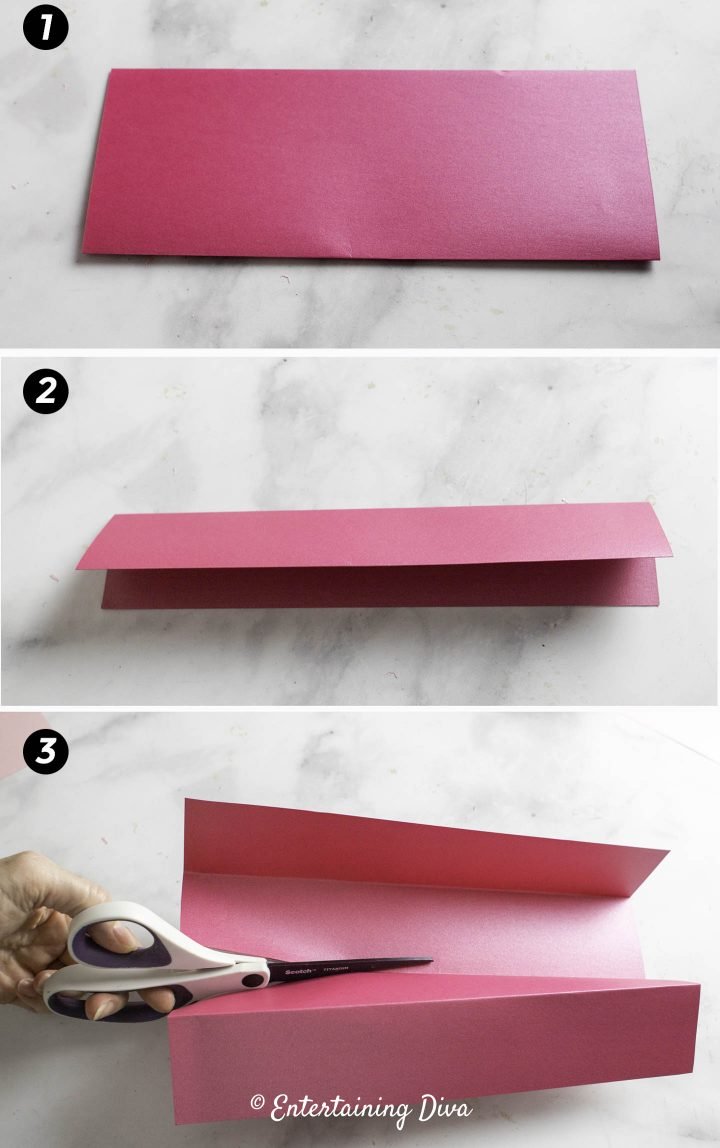
Fold the paper in half lengthwise
And then fold it in half lengthwise again.
Cut the paper down the middle fold so you end up with two pieces of folded paper that are the same size.
Create A Fringe
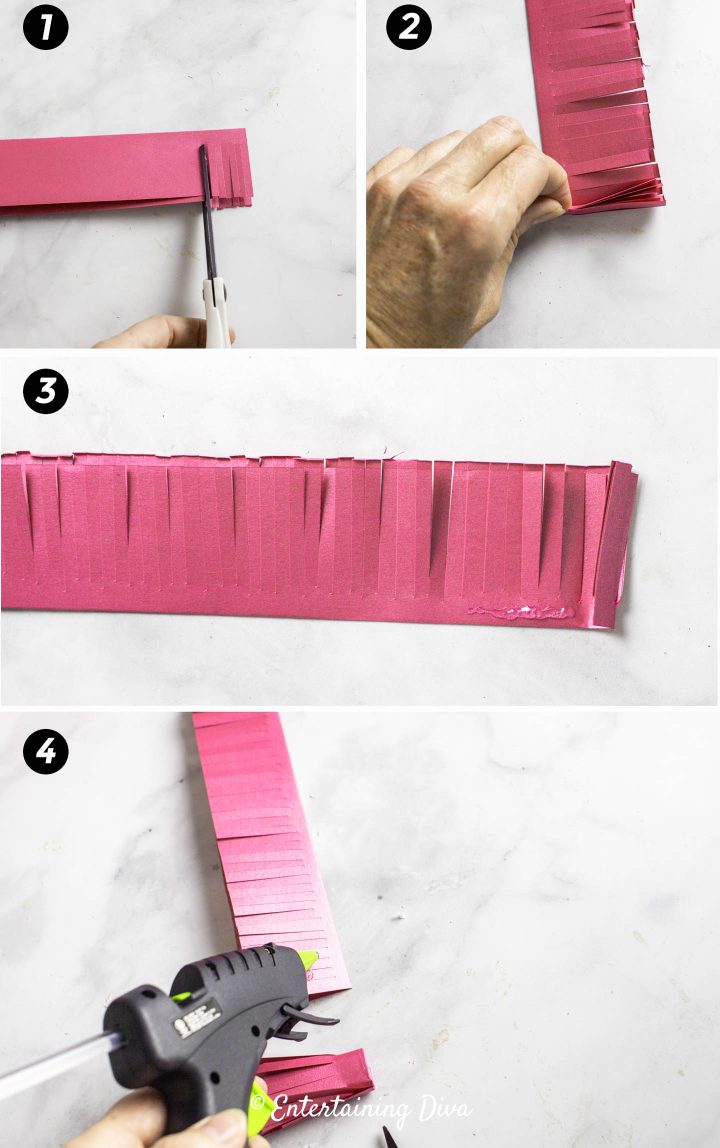
Cut strips in the paper on the loose side of the fold so that you end up with a fringe.
Do the same with both folded pieces of paper.
Roll up one of the pieces of fringe.
Put dabs of hot glue on the bottom edge as you go to hold your roll together.
When you get to the end of the first piece of paper, continue where you left off by adding the second piece of fringe to it.
Fluff and Glue
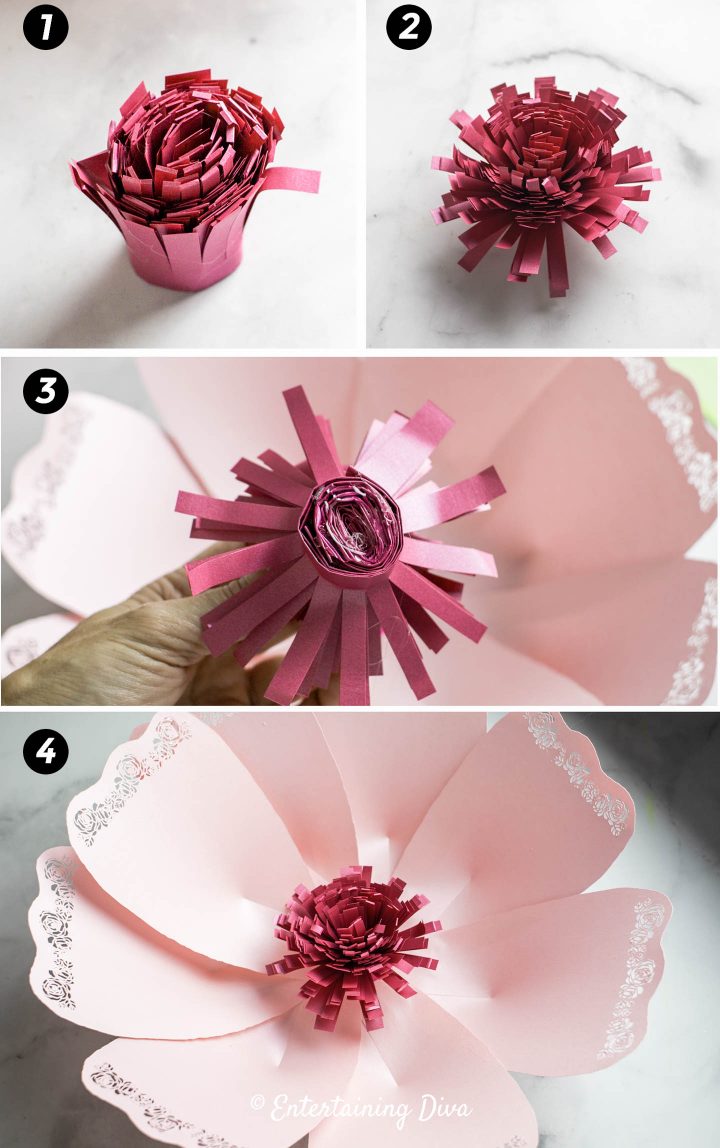
Push out the ends of your roll so that it looks bigger and fluffier.
Then turn it over and put some hot glue on the bottom of the roll.
Stick it to the center of your flower.
Hang The Flowers
Now you’re ready to hang the flowers!
There are a few ways you can do this:
- for smooth surfaces, double-sided tape works quite well
- to hang on a backdrop like faux boxwood or grass, make two small holes in adjacent petals. Then thread floral wire through the holes and tie the ends onto the backdrop.
- to attach to a fabric surface like curtains or an upholstered backdrop, T-pins* work well.
Other DIY Party Decor You Might Like
Have comments or questions about our DIY giant paper flowers? Tell us in the section below.
Pin It So You Don't Forget It!

This post was originally published on May 2, 2020 but was updated with new content on December 18, 2023.
Love the pattern but why does it cut twice on my critcut. I am a newbie to the critcut so maybe it is something I am doing wrong.
Thanks
Susan
Hi Susan…for some types of materials, the Cricut will go over the design twice to make sure that it has cut all the way through. Otherwise, some of the cutouts might tear when you try to remove them.