How To Sew A Box Cushion (With Piping and a Zipper)
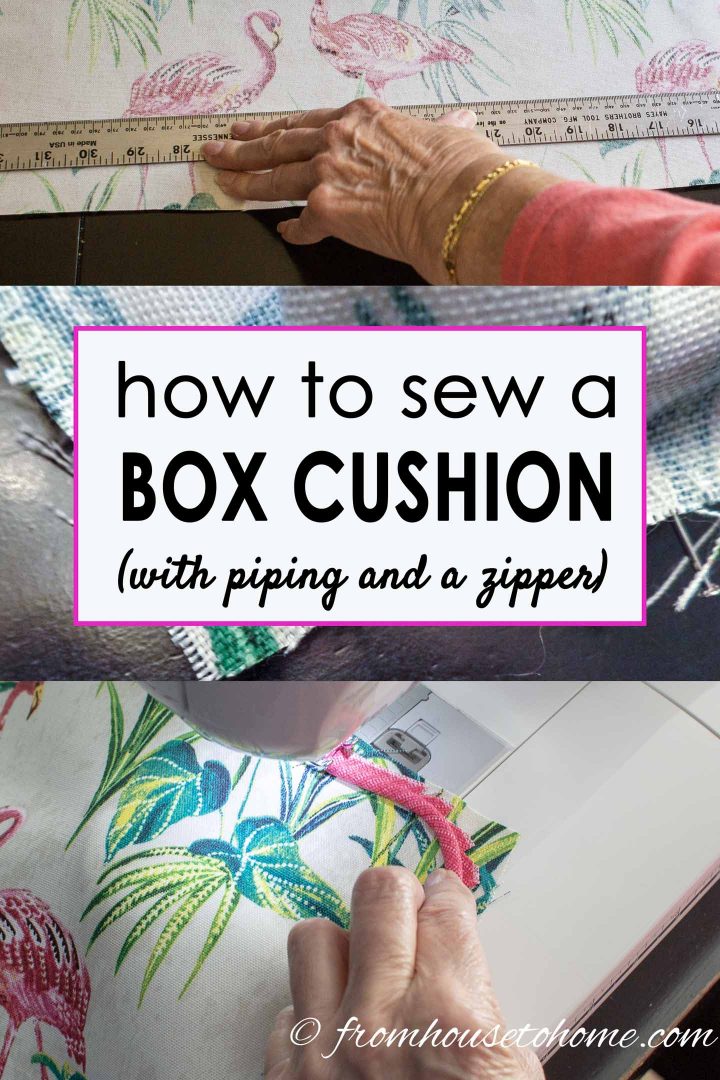
If you’ve ever wanted to update your sofa cushions, or change your outdoor patio decor without buying all new furniture, chances are knowing how to sew a box cushion (with piping and a zipper) would be a good skill to have.
It’s a great way to completely update the look of your room (or deck) without spending a ton of money.
And, since you’re picking your own fabric, there’s a great selection of different colors and patterns to choose from. So you can get exactly the look you want.
Fortunately, you don’t need fancy sewing skills to be able to make box cushion covers yourself. Although there are a couple of extra sewing machine feet you will probably want to get (see the supplies below)…they will make your life so much easier!
But before we get to the details of how to sew a box cushion, some of you may be asking…
What Is A Box Cushion?
This post may contain affiliate links. We make a small commission if you buy the products from these links (at no extra cost to you). As an Amazon Associate, I earn from qualifying purchases. But we only recommend products we would use ourselves. For more information, click here to see our disclosures.
Box cushions or raised cushions are usually intended to be used as chair seats.
They consist of two pieces of fabric (a top and a bottom), often both have a piping surround, and a joining strip or gusset in the middle.
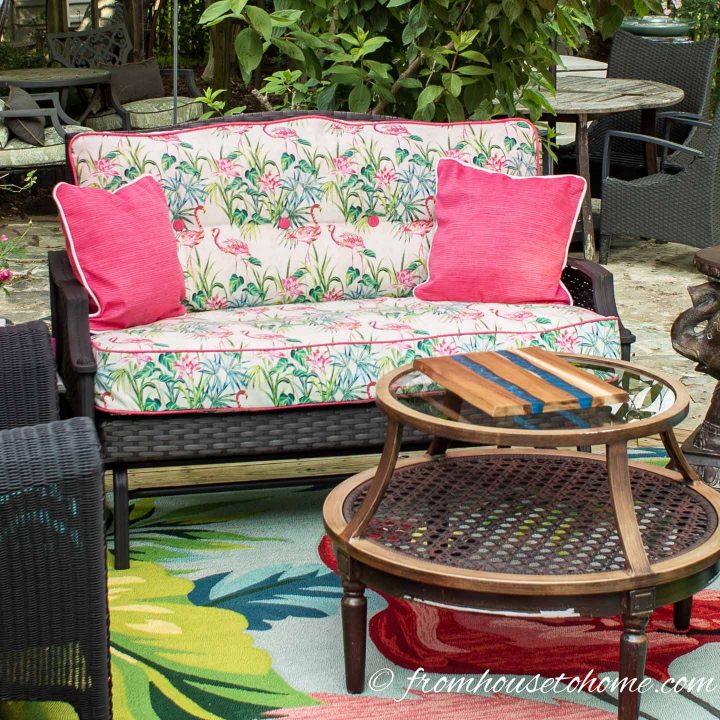
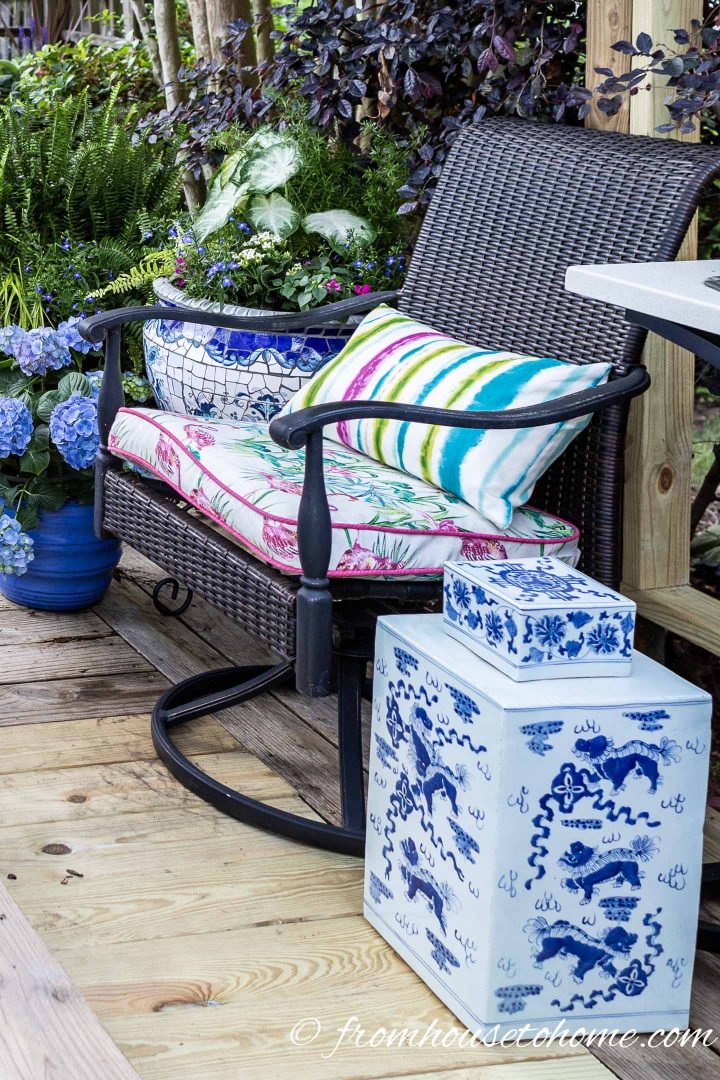
A typical example is a couch seat cushion, like the flamingo-patterned cushion on this outdoor sofa.
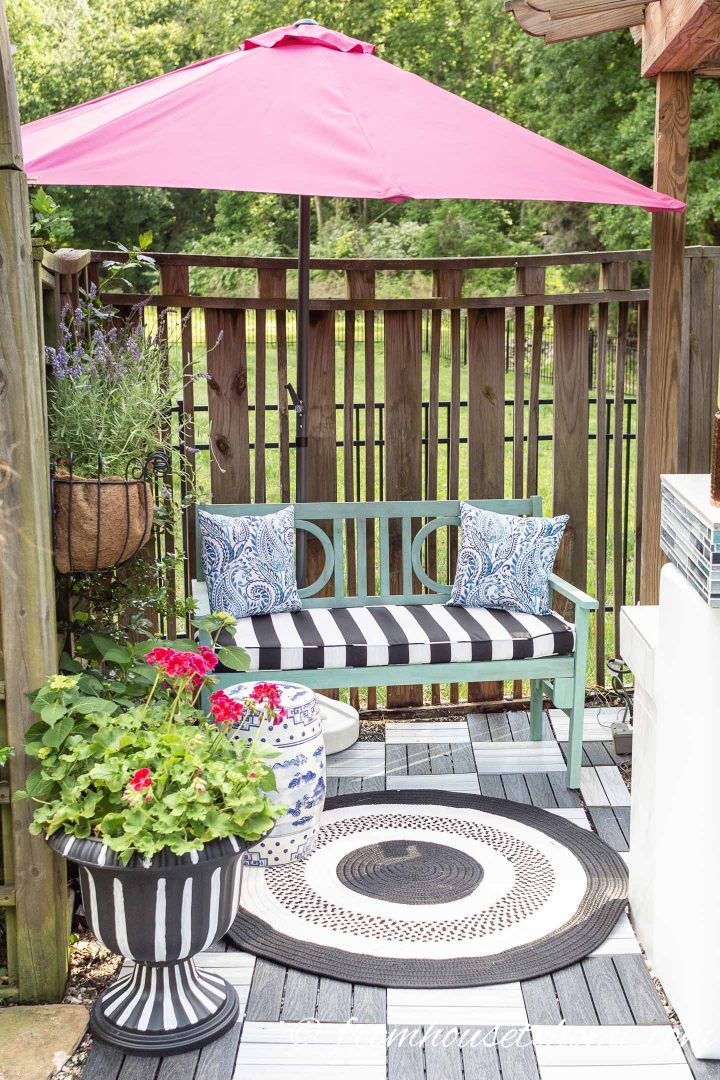
But often easy chairs, side chairs, benches, swings, etc. will also have a box cushion for added comfort.
The inside is usually foam wrapped with a layer of polyfill.
Okay…now on to our box cushion tutorial…
Supplies For Sewing A Box Cushion
Materials
- Fabric
- Coordinating thread
- Zipper by the yard with zipper pulls*. These are easier to use than pre-cut zippers because you can make them the exact length that you need them to be.
- Piping (or Welting) (optional)
- Paper (optional)
Tools
- Seam ripper*
- Sewing Machine
- Zipper foot*
- Piping foot*
- Straight pins
- Scissors
- Iron
Step 1 | Make A Pattern For The Top and Bottom
Option 1 – Replacing Existing Cushion Covers
If you have cushions that already have covers on them, the easiest thing to do is use the existing cushion cover as a pattern for your new cushion covers.
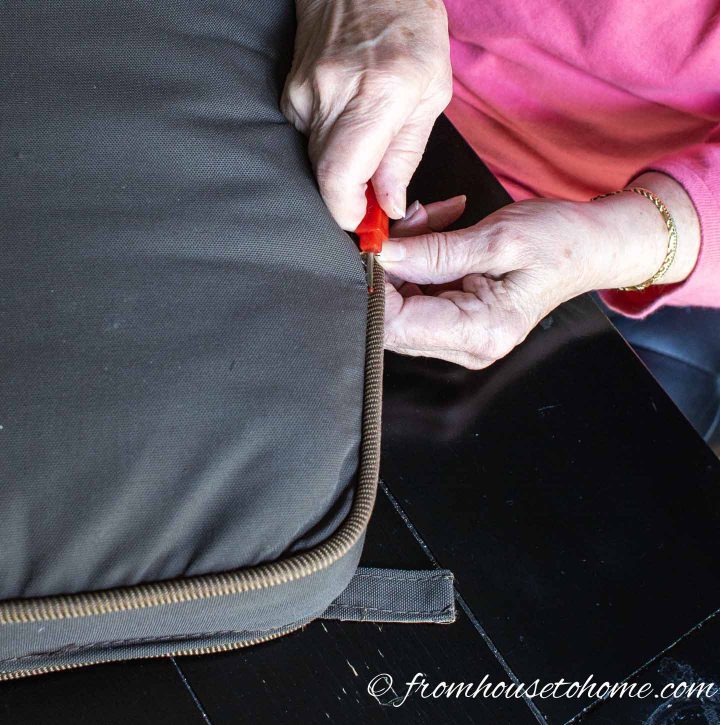
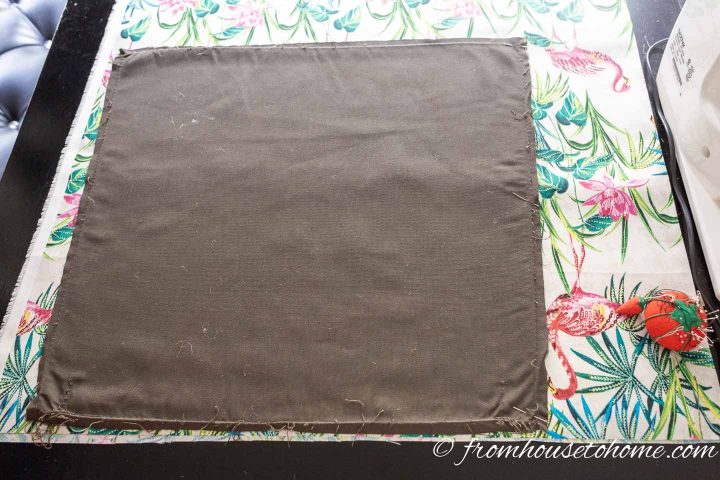
1. To reclaim the pattern, carefully take the old box cushion cover apart using a seam ripper.

2. Then press the top piece of the old cover flat with an iron. This will be your pattern for the top and bottom of your new cushion cover.
Option 2 – New Cushion Covers
For new cushions, you need to know how wide and deep to cut the top and bottom fabric pieces.
1. To do this, measure how long and wide the cushion is that you are covering. Then add 1 inch to each of those measurements for the final cutting length and width.
2. Tape multiple sheets of paper together so you end up with one large piece of paper that is big enough to cover the top of your cushion.
3. Then make a pattern by drawing your cushion measurements out on the paper. Double-check that the size looks right by holding it up to your cushion. (It should be an inch longer and wider than the foam for your cushion).
Step 2 | Cut The Top and Bottom Fabric Pieces
1. Fold your fabric in half so the right sides are facing out. If your fabric has a pattern, make sure that the pattern is going in the same direction on both sides. If your fabric has stripes, make sure that the stripes line up on both sides of the fabric.
2. Lay your pattern on the doubled fabric. If your fabric has a pattern, like the flamingo fabric I used, be sure it is going in the right direction. i.e. the pattern will be facing up from the front of the cushion when it is sewn.
3. Pin the pattern to your fabric through all thicknesses, and cut out.
4. Mark the center of the back and front of the cushion for both fabric pieces by folding them in half and sticking pins in at the fold.
Step 3 | Measure For The Gusset
The joining strip (or gusset) will be cut in 2 pieces of fabric. So you need to take two length measurements and two width measurements:
Measurement 1. Long gusset length – Start at one of the back corners of the cushion. Measure all the way around the cushion to the other back corner (this should include both sides and the front of the cushion). Subtract 3 inches from this measurement for the final cutting length. eg. for 20″ square cushions, this would be 20″ + 20″ + 20″ – 3″ = 57″
Measurement 2. Short gusset length – Measure the length of the back of the cushion (the part that wasn’t included in the first measurement). Add 5 inches to this measurement for the final cutting length. eg. for 20″ square cushions this would be 20″ + 5″ = 25″.
Measurement 3. Long gusset width – Measure the depth of the cushion foam. Add 1 inch to this measurement. eg. for a cushion 3″ thick, this would be 3″ + 1″ = 4″.
Measurement 4. Short gusset width – The short gusset width will be 1 inch wider than the long gusset width (this is where the zipper will go). In other words, it should be the depth of the cushion foam plus 2 inches. eg. for a cushion 3″ thick, this would be 3″ + 2″ = 5″.
Step 4 | Cut The Gusset
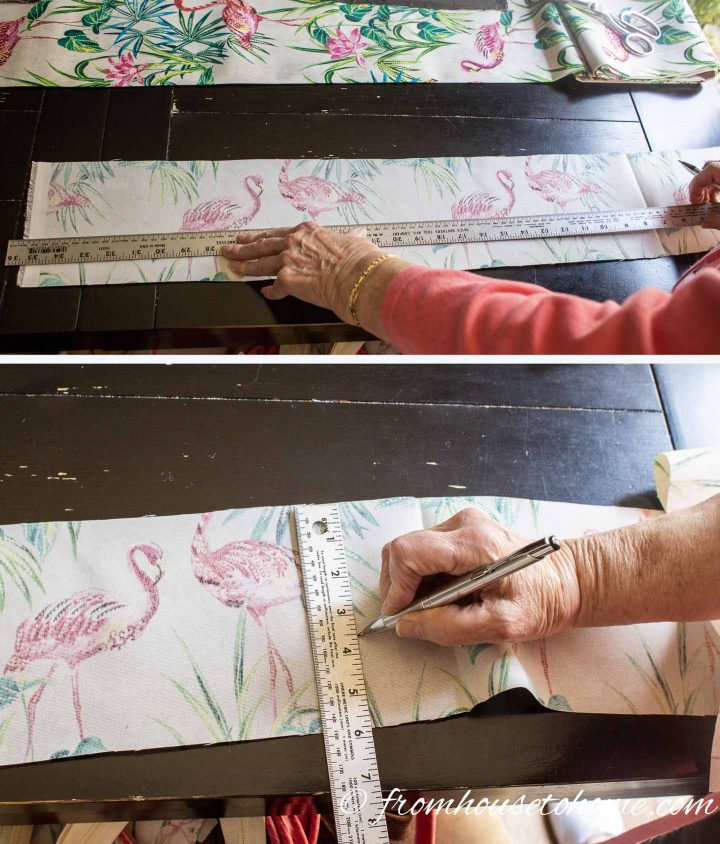
1. Making sure that the pattern will be upright, draw the measurements for the longer gusset piece on your fabric with a pencil. It should be the long gusset length from measurement 1. above and the gusset width from measurement 3. above.
Note: If you have stripes in your fabric, make sure that they will line up with the stripes on the front of your top and bottom fabric pieces. Do this by matching the center mark you made on your top fabric piece to the center of the gusset.
2. Draw the shorter gusset piece on your fabric with a pencil using measurement 2. from above as the length and measurement 4. from above as the width. Again, make sure that the pattern will be upright and the stripes (if your fabric has them) will line up with the center mark of your top fabric piece.
3. Cut both gusset fabric pieces along your lines.
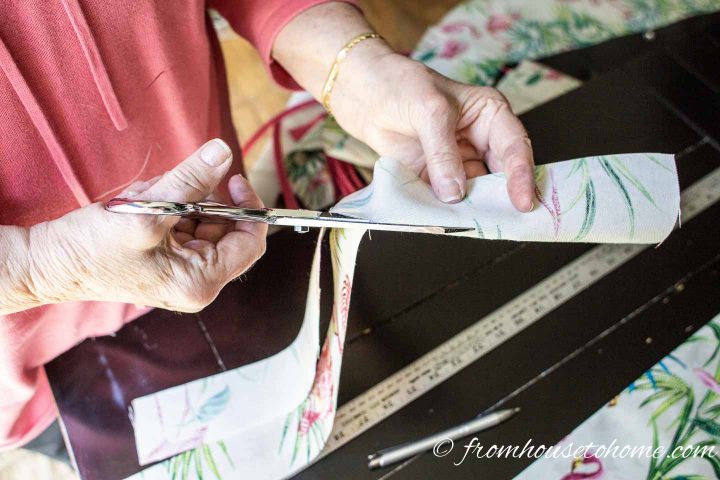
4. Then cut the shorter gusset in half length wise. You should end up with 2 shorter gusset pieces of fabric that are the same length as measurement 2. above but half the width of measurement 4.
Step 5 | Add The Zipper and Sew The Gusset Together
1. Sew the zipper into the two shorter gusset pieces that you just cut in half. If you’re not sure how to put in a zipper, you can find our step by step instructions HERE.
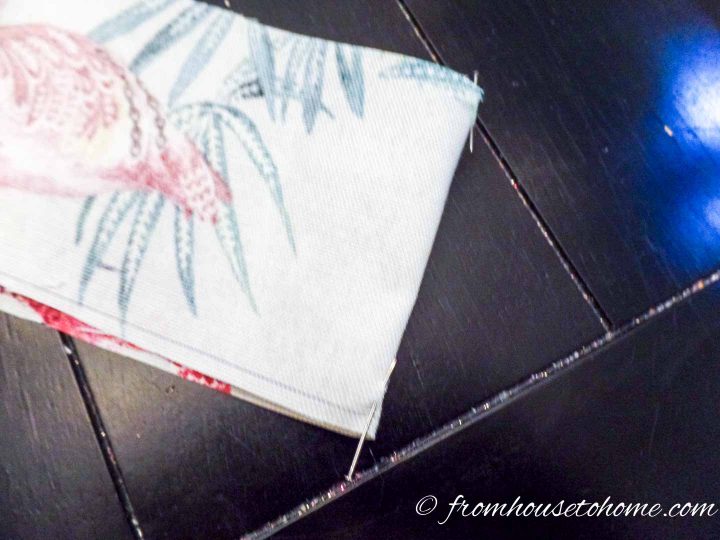
2. Find the center point of the front and back gusset pieces by folding them in half.
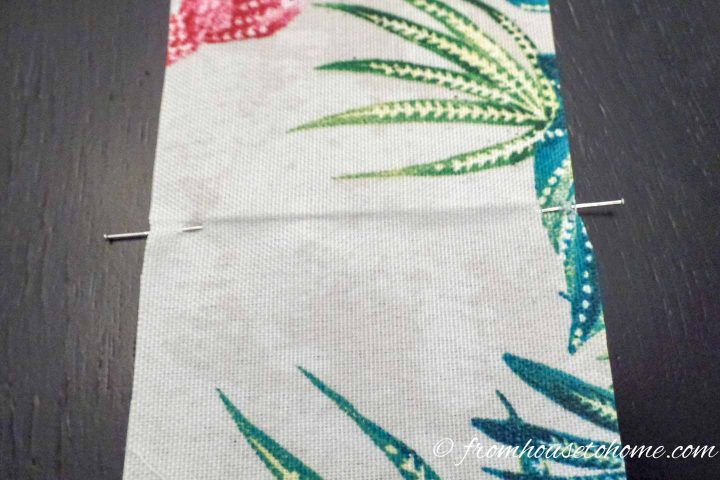
3. Then mark where the fold is with pins.
4. With right sides of the fabric together, match up the end of the long gusset piece with the end of the short gusset piece.
5. Sew the ends together with a 1/2 inch seam.
6. Repeat to join the other ends together so that you have a circle that will fit the entire circumference of the cushion with an inserted zipper that will extend 2″ beyond the back corners onto the sides.
Step 6 | Attach The Piping (Optional)
You can make box cushions with or without piping, but piping does help to define the edges. If you choose to go without, you can skip this step.
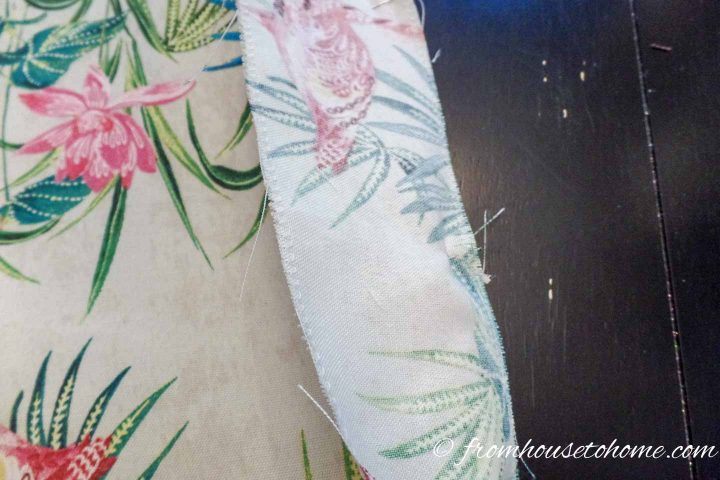
1. Pin the piping to the right side of the top and bottom fabric pieces so that the raw edge of the fabric is even with the raw edge of the piping.
2. Use the basting stitch on your machine (usually the longest stitch available) to sew the piping in place.
3. To make the piping fit around the corners more easily, clip notches in the raw edge.
Then it should wrap around the corner without pulling.
For all of our tips and step by step instructions on adding piping to a pillow, click HERE.
Step 7 | Sew The Top Of The Cushion To The Gusset
Before sewing the cushion closed, make sure to open the zipper part way so that it will be easier to open all the way later.
1. Match the marked centers (where you put the pins) of the gusset to those on the top piece of fabric. Make sure that the zippered edge of the gusset is at the back edge of the fabric. (If your fabric has a pattern it will be at the top of the pattern).
2. Carefully pin the top piece of fabric to the up side of the gusset making sure right sides are together and edges meet.
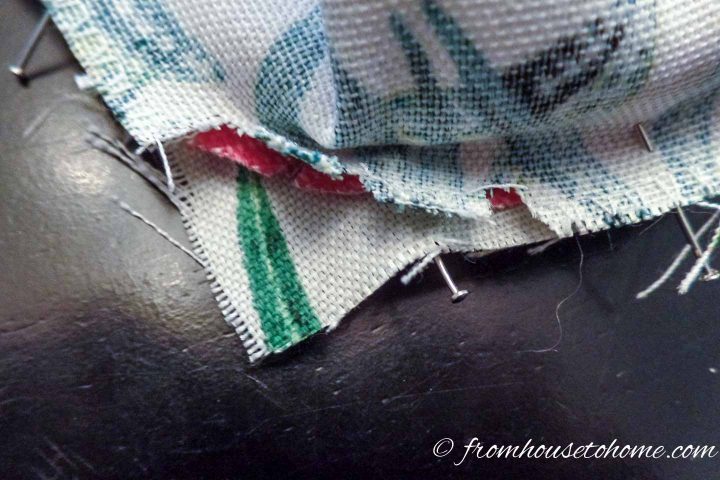
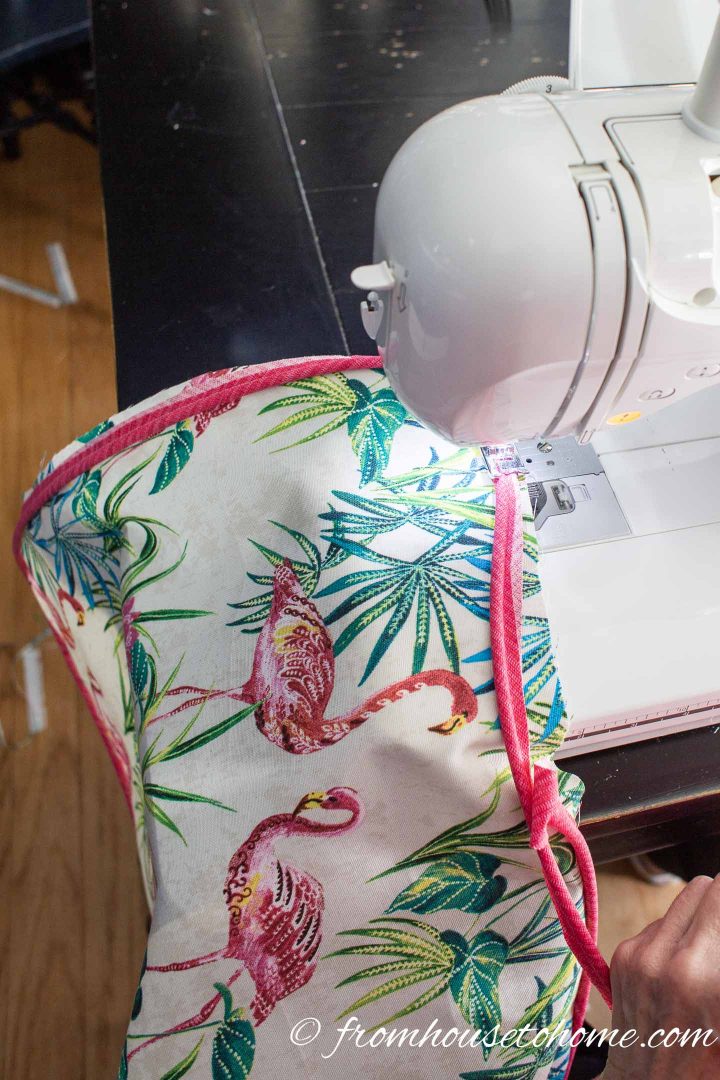
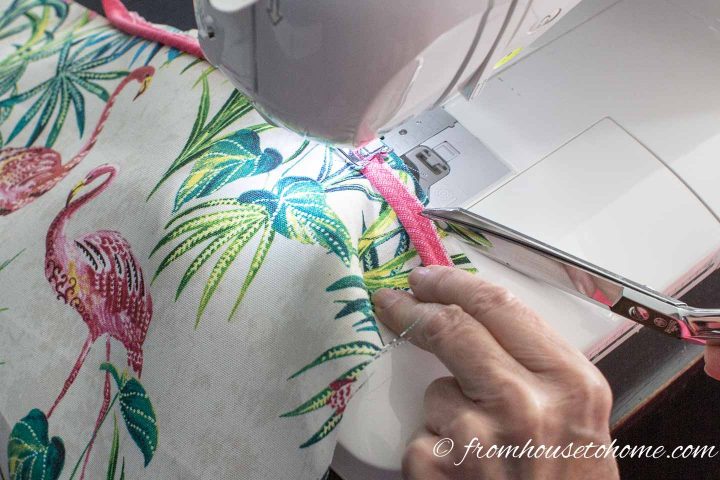
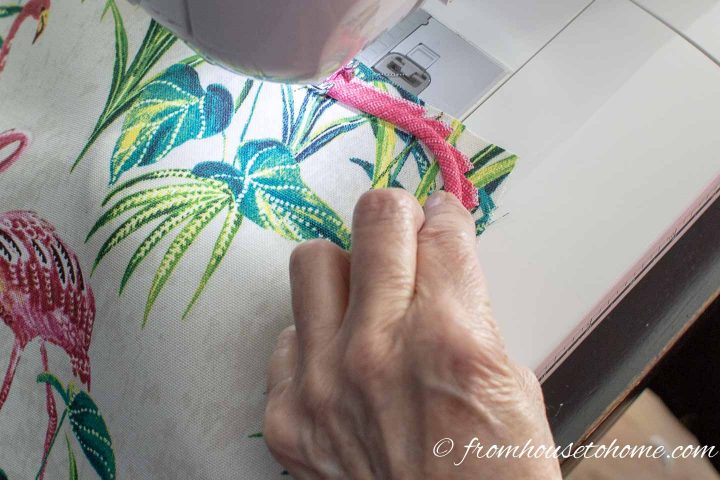
3. Clip notches in the gusset fabric at the corners to alleviate puckering (similar to the piping). Standing the gusset fabric up will also get it to fold around the corners.
4. Using a standard sewing stitch and a piping foot, sew the top piece of fabric to the gusset through all thicknesses with a 1/2 inch seam. It should be right at the edge of the piping.
If you have trouble with the corners, try making your stitch length shorter…it helps to make navigating the corners easier.
5. Repeat the same steps to attach the bottom piece of fabric to the gusset.
Make sure that the corners are aligned. If your material has a pattern, also make sure that the pattern is going in the same direction on both sides.
6. Sew all around the unfinished seam edges using a zigzag stitch. This will prevent fraying.
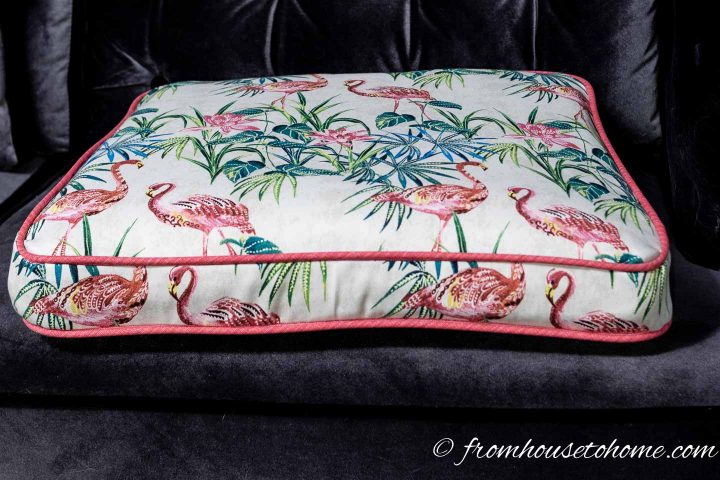
7. Turn the pillow cover right site out and insert the foam cushion.
Zip closed and you’re done!
A brand new cover for your box seat cushion!
Other Sewing Projects You Might Like
- How to Make An Envelope Cushion Cover Step By Step
- How To Make Cheap DIY Outdoor Curtains That Look Custom
- Step by Step Tutorial: How To Make Roman Shades
Have comments or questions on how to sew a box cushion with piping and a zipper? Tell us in the section below.
This post was originally published on June 3, 2019 but was updated with new content on January 14, 2021.
Hi, thank you for the tutorial. I’m wondering what size piping would work for a cushion like the one you made. I’m stuck between 1/8 and 1/4. Which did you use in the tutorial?
Thank you so much,
Josie
Hi Josie…we used 1/4″ piping. Because box cushions are usually larger in size, I probably wouldn’t go much smaller than that. Otherwise, the piping isn’t very noticeable (unless that’s the look you’re going for).
Hi. Thank you for the video. Where did you get the beautiful fabric?
Hi Stacie…I bought the fabric at a local fabric store (Tony’s Fabrics in Greenville, SC). Unfortunately, it isn’t in business anymore and I haven’t seen this pattern anywhere else.
Thank you so much for this tutorial it is exactly what i needed to get the confidence to tackle a jacobean couch!
Bless you. Thank you for taking the time to make such a thorough tutorial with excellent photos and instructions. You have been a tremendous help to me.
I’m happy you found the cushion instructions helpful, Katherine.
About how long did it take you to make a cushion? Asking because I want to make 8, 3 ft long cushions and trying to figure out if I have enough time.
Hello Nicole, It takes me about a day to make one large cushion.
Hi, my name is Martha. I am making a gussetted cushion with a striped fabric. I am making my piping from the same fabric. My question is do I need to cut the piping fabric on the bias or can I cut it on the straight and just try to match the pattern along front edges?
Hello Martha, It is much easier to get the piping smooth around the corners if the fabric has been cut on the bias. However, it can be done on the straight. My upholsterer used piping from straight cut fabric on my sofa. Rather than trying to match the stripes, he chose one of the stripe colors for the piping. That means he cut the fabric for the piping on the length rather than the width. The plain piping against the striped cushion looks lovely. If you are using piping made from straight fabric, be sure to make 3 or 4 little snips at each corner to keep the piping from puckering.
Hi Flora. Your information was both prompt and most helpful. Thank you.
My fabric is 55 inches wide. I am making 3 cushions to fit my long banquette bench. Each will be 28.25 x 18 inches. I do not have enough width on my fabric to cut the long gusset. My fabric has a bird/floral pattern and I dont want to have them sideways on the sides of the cushions! Should I just make 4 gussets meeting at corners and zipper across the back only? Or should I piece together and have odd seams on the sides…odd seams can be on the insides where the cushions butt up next to eachother. Suggestions? I’m not that great of a seamstress, but I think I can do this! I hope so anyways.
Hello Lisa, I would piece together the fabric at the sides, where the joins will be less obvious. If you can match the pattern at the joins, they will be even less visible. Putting the joins at the corners will make them bulky and difficult to sew, especially if you are using piping.
Thank you so much for this tutorial; this is exactly what I was looking for! Do you recommend an industrial sewing machine, or a standard domestic machine?
Hello Andis, I use my Bernina domestic machine for all my sewing.
Hijackie L.,
I have quick question on the measurement of the short gusset width: your directions say the short glass it should be an additional inch wider to accommodate the zipper? As I am looking at the directions, it seems as though you added 1.5 inches? Should I add 1 inch or 1.5 inches, or perhaps I missed something in the directions? Thanks so much for your help,
Your directions with photos are excellent!
Lori
Hi Lori…sorry for the confusion. We had a typo. It should be 1″ assuming a 1/2″ seam (which is what I usually use). (If you want to use a 3/4″ seam, then it would be 1 1/2″ inches.)
Hello, My name is Jackie and I just found your “How to make a box cushion. The only problem is that I do not own a sewing machine and I do not know how to sew.
I love the flamingo pattern you have choosen for outdoor wicker settee.
I have been looking for the last four weeks for just the right cute pipe settee cushion and two pillows for my new hayneedle wicker glider I just bought. I am so picky on style and how it should look on my front porch that; I just could not fine something I really liked until I came across your page. Would you be willing to to make the exact back cushion and settee cushion, if I give you the dimensions?
Regards,
Jackie L.
Sorry Jackie, I no longer do custom sewing. We purchased the fabric from Jo Ann but I think it is no longer available. I do hope you will be able to find something else you love for your settee.