
Gorgeous DIY Feather Centerpieces: How To Make Ostrich Feather Centerpieces (+ 7 variations)
DIY feather centerpieces are an easy way to add some glamour and elegance to any wedding, event, party or dinner. Learn how to make your own ostrich feather centerpieces with these simple step by step instructions.
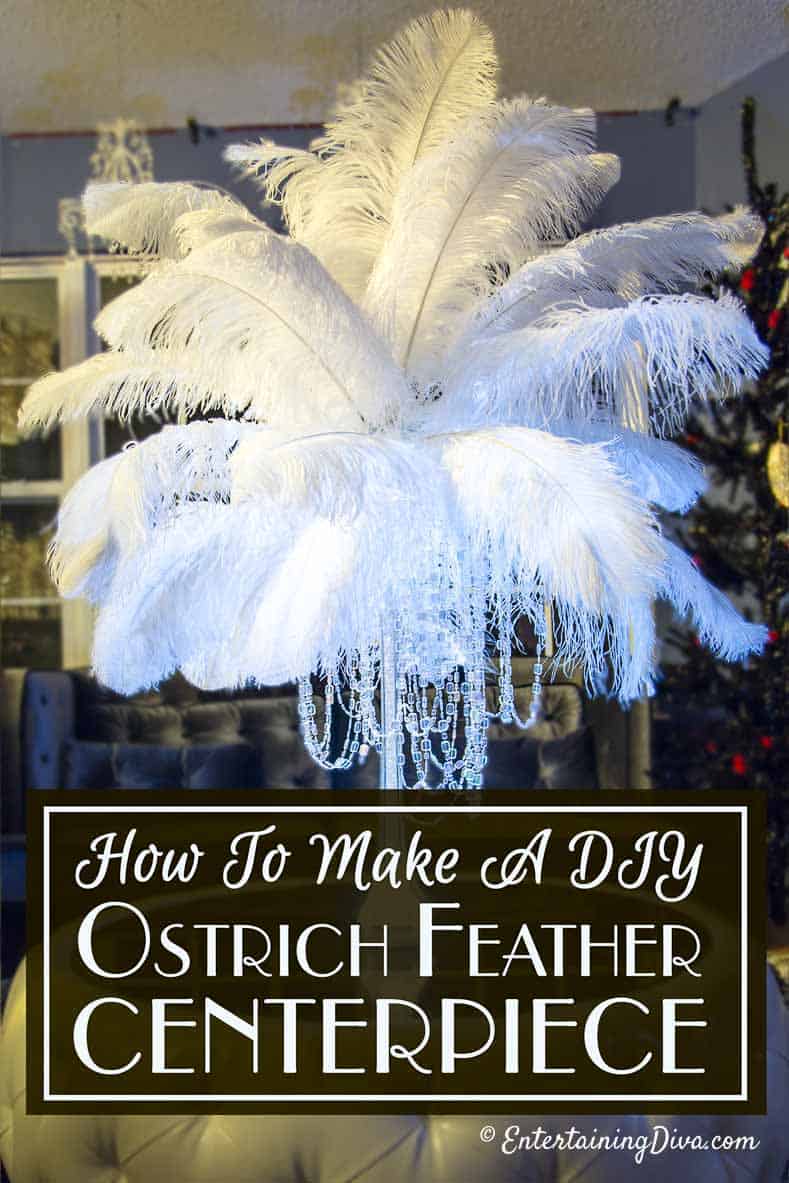
DIY feather centerpieces are an easy way to add some glamour and elegance to any wedding, event, party or dinner. Because they are tall, they are perfect on tables where you want people to be able to see across.
Even better? Centerpieces with feathers can be made in advance (unlike floral arrangements) so you don’t have to be fussing with them at the last moment.
Ostrich feathers are available in pretty much every color, which means they are very easy to match to your decor.
And they are available in many different sizes so you can control the size of your centerpiece.
Watch this video to see how to make the feather centerpiece, and then read the rest of the page for more details and centerpiece variations:
In this Post
What You Need
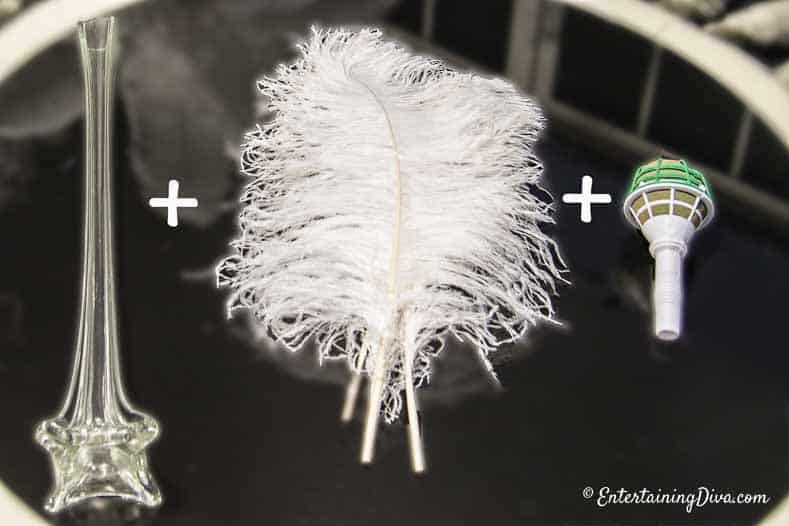
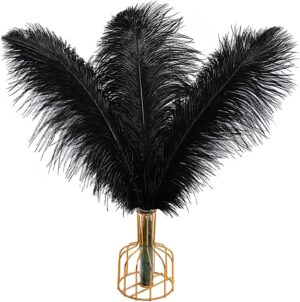
These are the basic supplies that you will need to make your DIY feather centerpieces…a tall vase, some ostrich feathers and a bouquet holder.
- 27 – 12″ to 14″ ostrich feathers* or 20″ to 24″ ostrich feathers* – I usually use the less expensive shorter feathers, but if you want really luxurious looking vases, the longer feathers are better. If you want to see the difference…when you’re looking at the pictures below, the vases with the white feathers are using longer ones, the vases with the colored feathers are using shorter ones
- 16″ to 24″ tall Eiffel Tower vase* – I usually use a 20″ vase, but you can go a little shorter or a little taller. Generally, you would want to use shorter feathers in the shorter vase and longer feathers in the taller one.
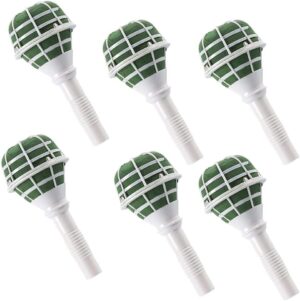
- Bouquet holder* – this is what holds the feathers in place.
Be careful of feather “kits” that have prices which seem too good to be true. They often advertise long 20″ to 28″ feathers, but are really 10″ to 14″ feathers with an extra long stem tied to them.
(Optional) Vase Accessories
To dress up your DIY feather centerpieces, you can add any of the accessories below. I’ll show you how they look when we get to the variations. Use these to come up with your own unique centerpieces.
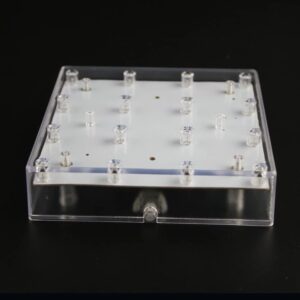
- Square LED light base*
- Adhesive dots*
- Feather boas*
- Mardi Gras beads*
- Glimmer lights*
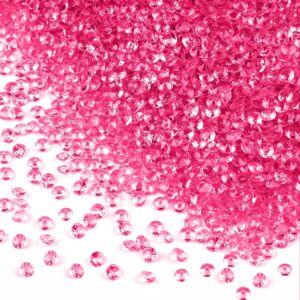
- Acrylic crystal vase filler*
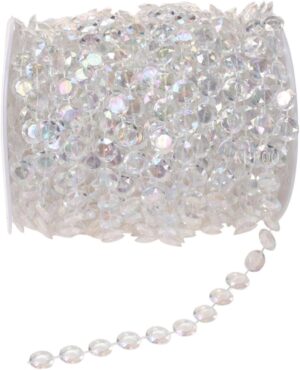
- Clear crystal-like beads by the roll*
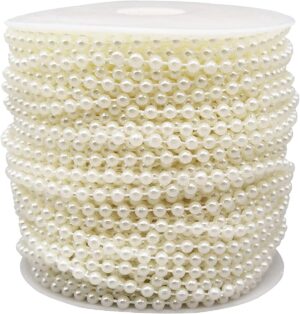
- Plastic pearl beads*
How To Make Ostrich Feather Centerpieces
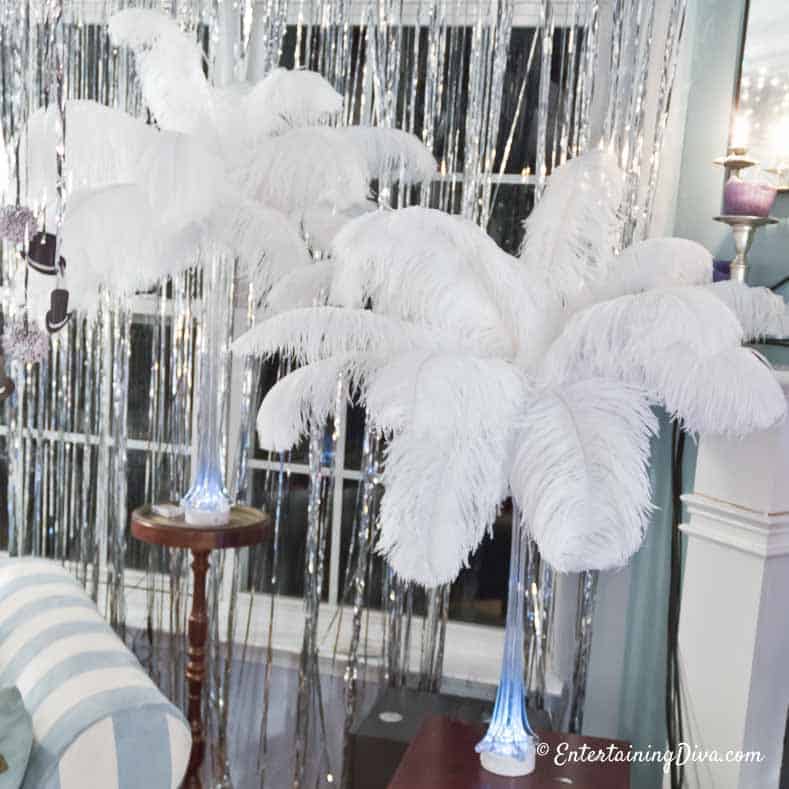
Using feathers that are all one color creates a sophisticated look that is very easy to create.
White feather centerpieces are the most popular color, but of course feel free to choose whatever color matches your event decor!
Getting Started
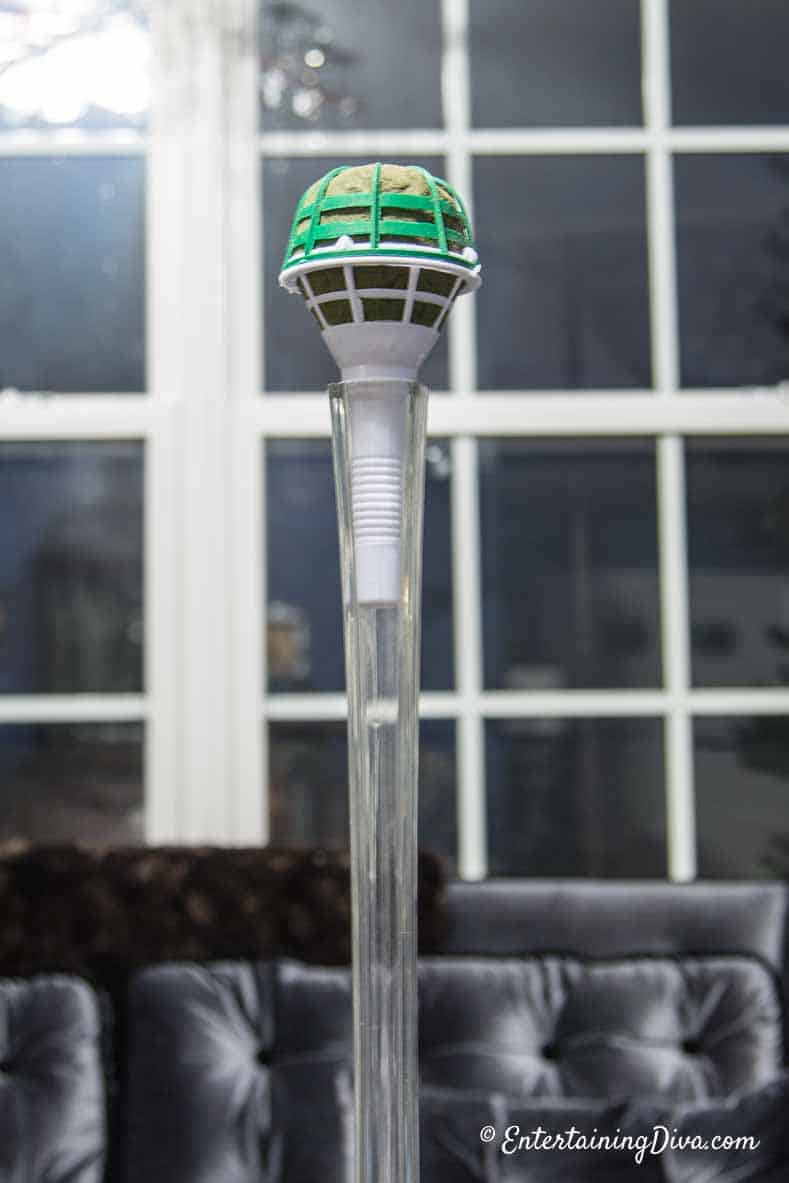
Insert the end of the bouquet holder* into the top of the vase*.
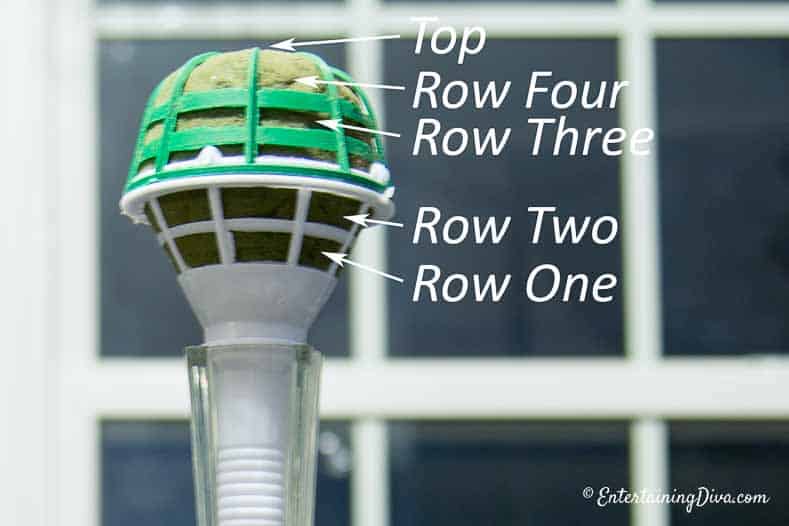
Start with the bottom row (row one) of the bouquet holder.
First Row Of Feathers
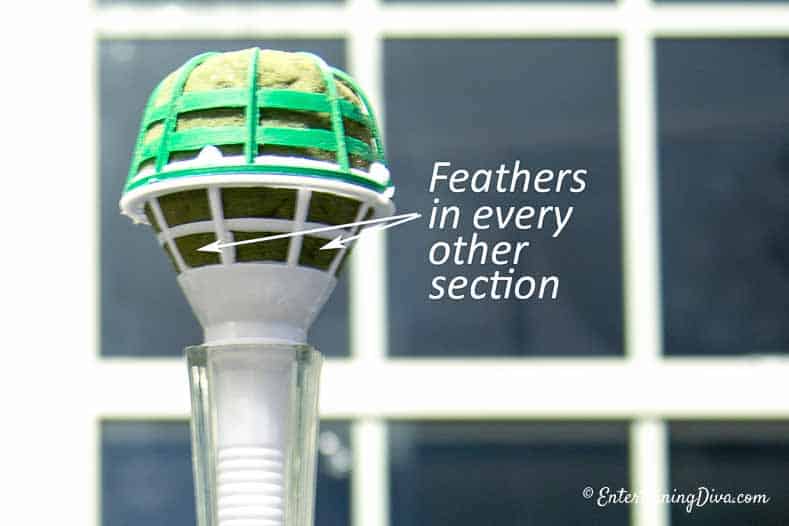
Use one feather in every other section of the bottom row.
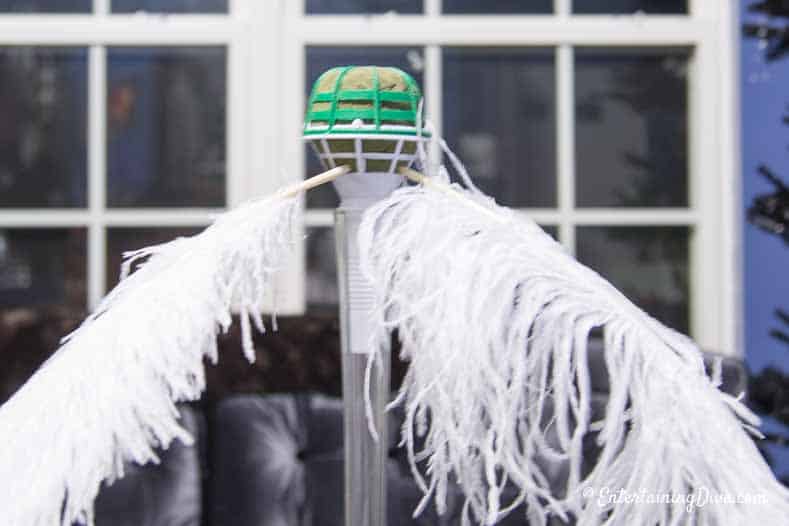
Stick the ends of the feathers into the floral foam in the bouquet holder, with the feathers pointing in a downwards direction
Second Row Of Feathers
Move up to row 2 in the bouquet holder.
For Long Feathers
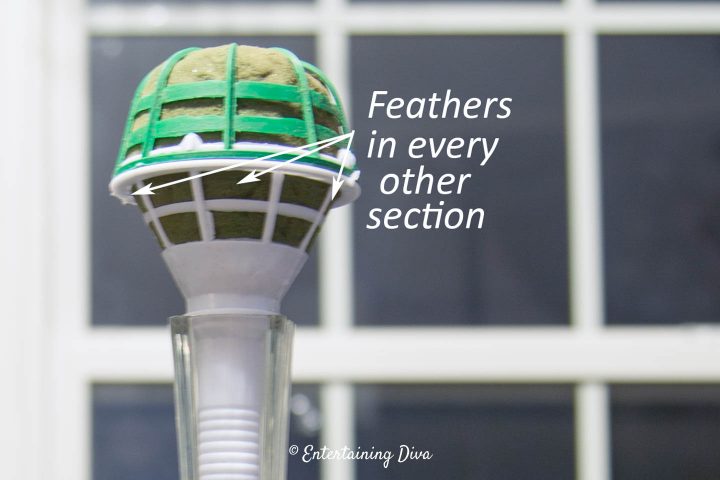
If you are using feathers that are 20″ or longer, add one feather in every other section, in the alternate holes from where the first row feathers are located.
For Shorter Feathers.
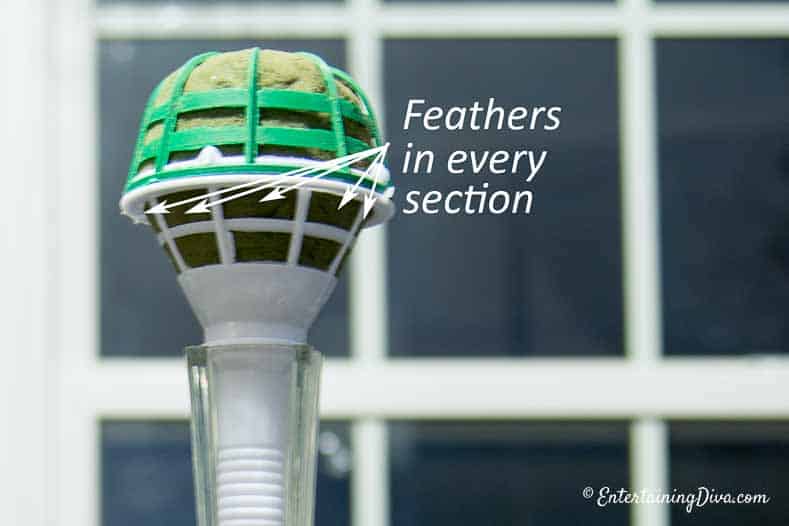
For shorter feathers (less than 20″), add one feather per section.
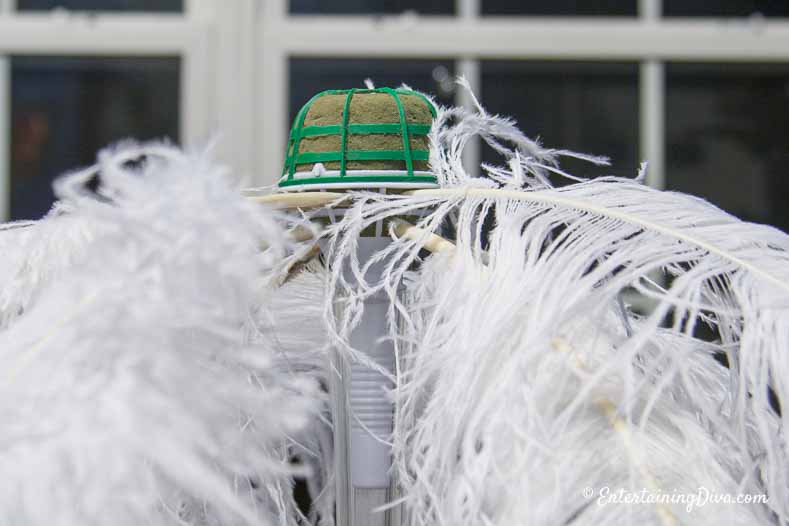
Point the feathers in a more outwards direction (although they probably still will be on a downwards slant).
Third Row Of Feathers
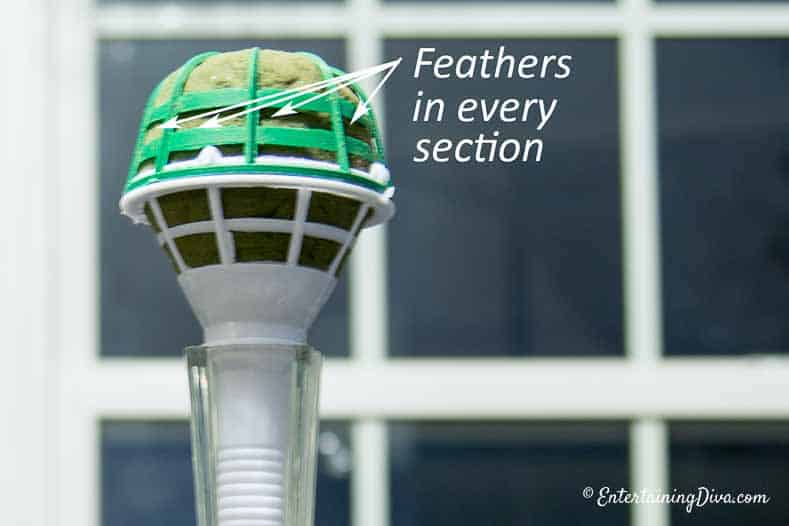
Move up to the next row. If your bouquet holder has a really narrow row like mine does, skip it…it isn’t big enough for some of the feather stems to fit in.
Add 1 feather per section (like you did in row 2) but have the feathers pointing on an upward angle.
Try to space the feathers out so that they are not directly over the ones in the last row.
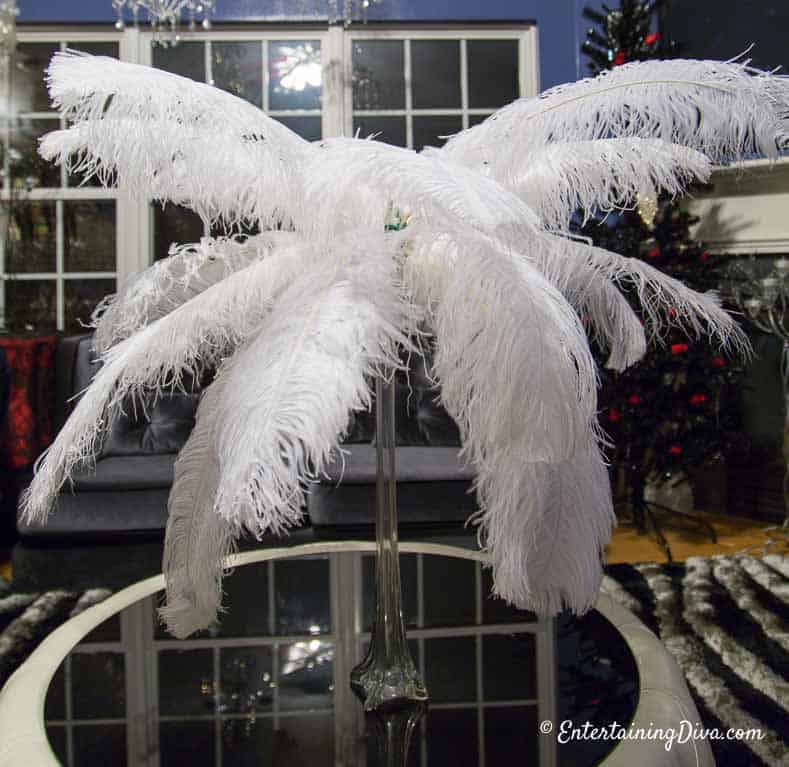
Don’t worry if it still doesn’t look right…it will all work out when you are finished!
Top Row Of Feathers
Move up to the top row of the bouquet holder.
Long Feathers
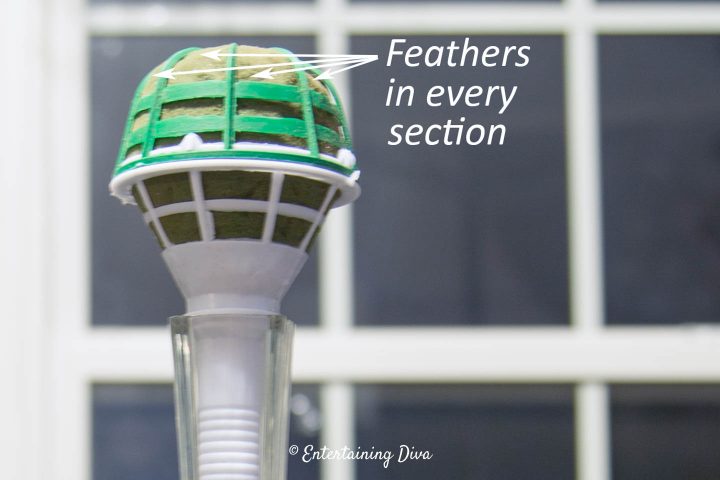
For longer feathers, add one feather in every section. These feathers should be pointing more upwards and less out than the last row.
Shorter Feathers
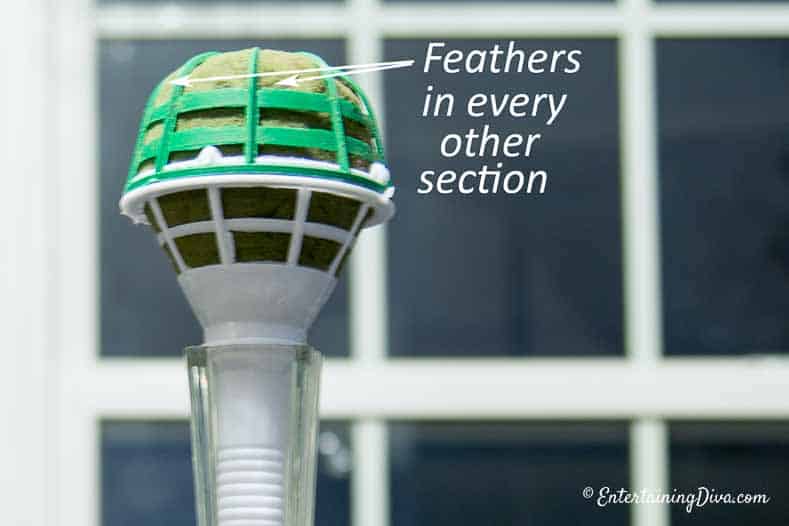
For shorter sections, add one feather in every other section like you did on the bottom row. These feathers should be pointing more upwards and less out than the last row.
The Finishing Feathers
Finally, add 3 more feathers to the very top of the bouquet holder pointing up and filling in the gaps from the top row.
Then take a look around your centerpiece to see if there are any gaps. To fill in the spaces, you can either re-position existing feathers, or add a new feather in the gap.
The Finished DIY Feather Centerpiece
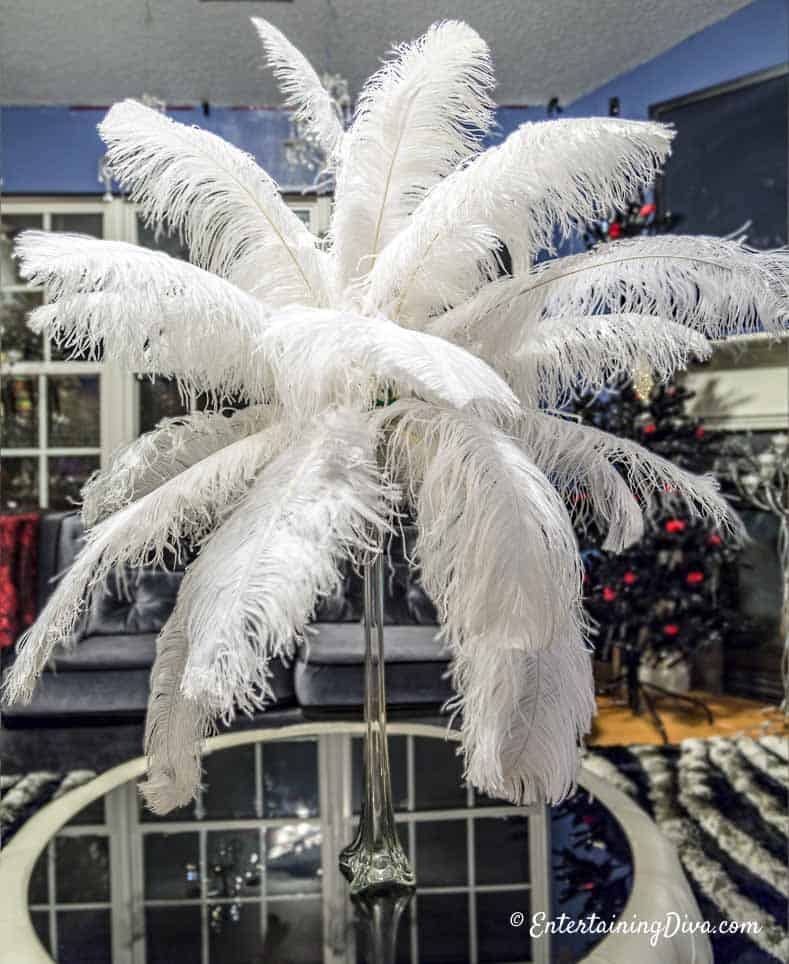
Take a look at your creation to see if there are any spots that seem a little sparse. Either re-position the feathers you already have to fill in the gaps, or add more feathers in the spaces.
You can re-use the bouquet holders for future feather centerpieces…just remove these feathers and use the same holes for the next event!
If all you want is the standard feather centerpiece, you are done!
But if you want to see some variations on feather colors and vase decor, keep reading to find some ways to dress up your ostrich feather centerpieces.
Variation 1: Light Up The Vase
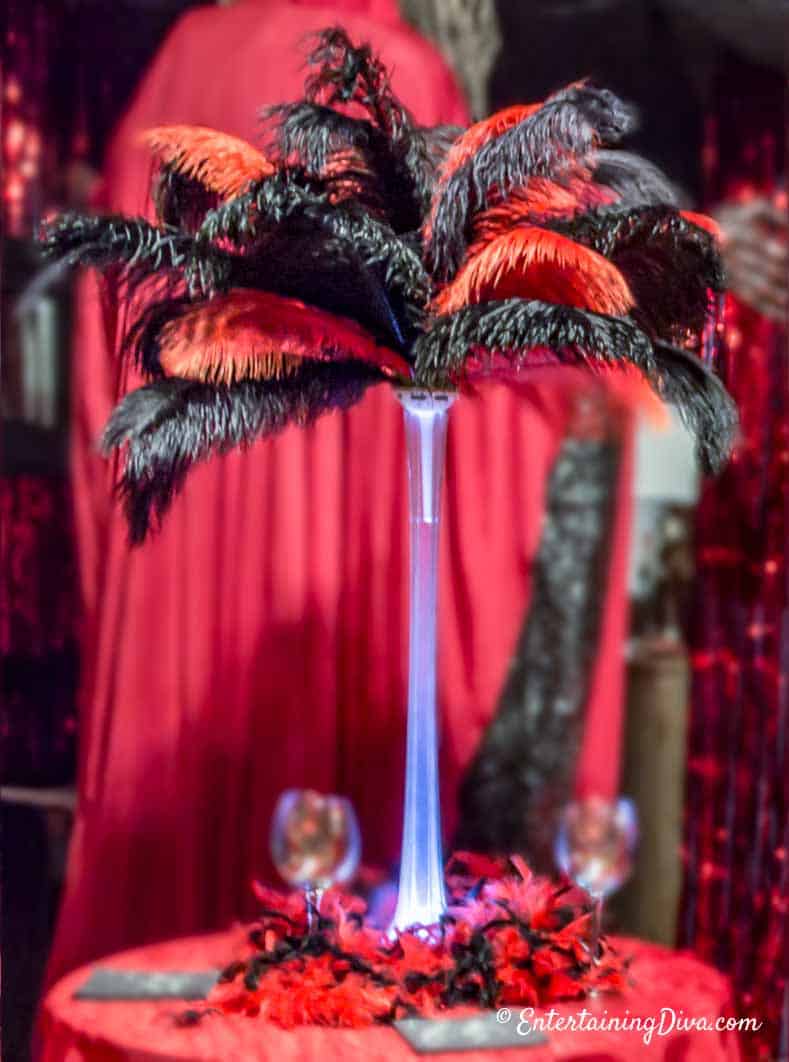
To get the vases to light up, place them on top of a mini LED light base*.
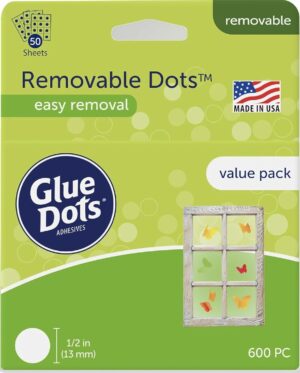
Using adhesive dots* to stick the light base to the bottom of the vase will make sure the vase doesn’t fall off.
I usually try to add something add the bottom of the vase to hide the light base…feather boas* work really well!
Variation 2: Eiffel Tower Vase Filler
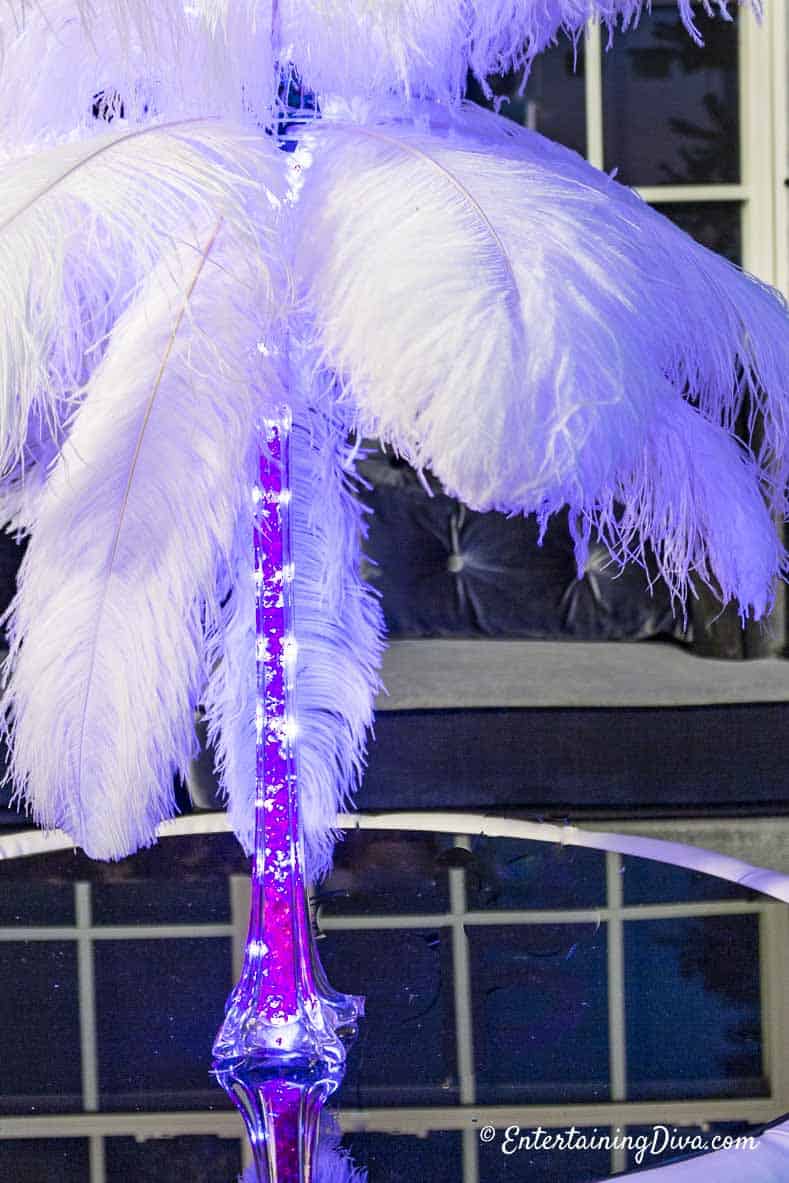
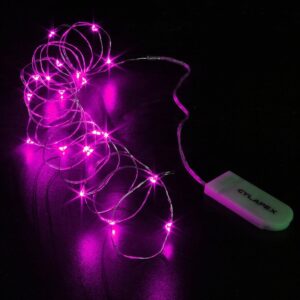
You can use different vase fillers to create different effects. In this centerpiece, I put a pink glimmer light string* inside the vase and then filled it with pink acrylic crystals*.
I used pink, but you can get these lights and crystals in pretty much any color you need. Just make sure to leave enough space at the top of the vase for the bouquet holder stem to slide in. You also need to make sure that the crystals are no more than 1/4″ wide. Otherwise, they may get stuck halfway down and they are very hard to get out!
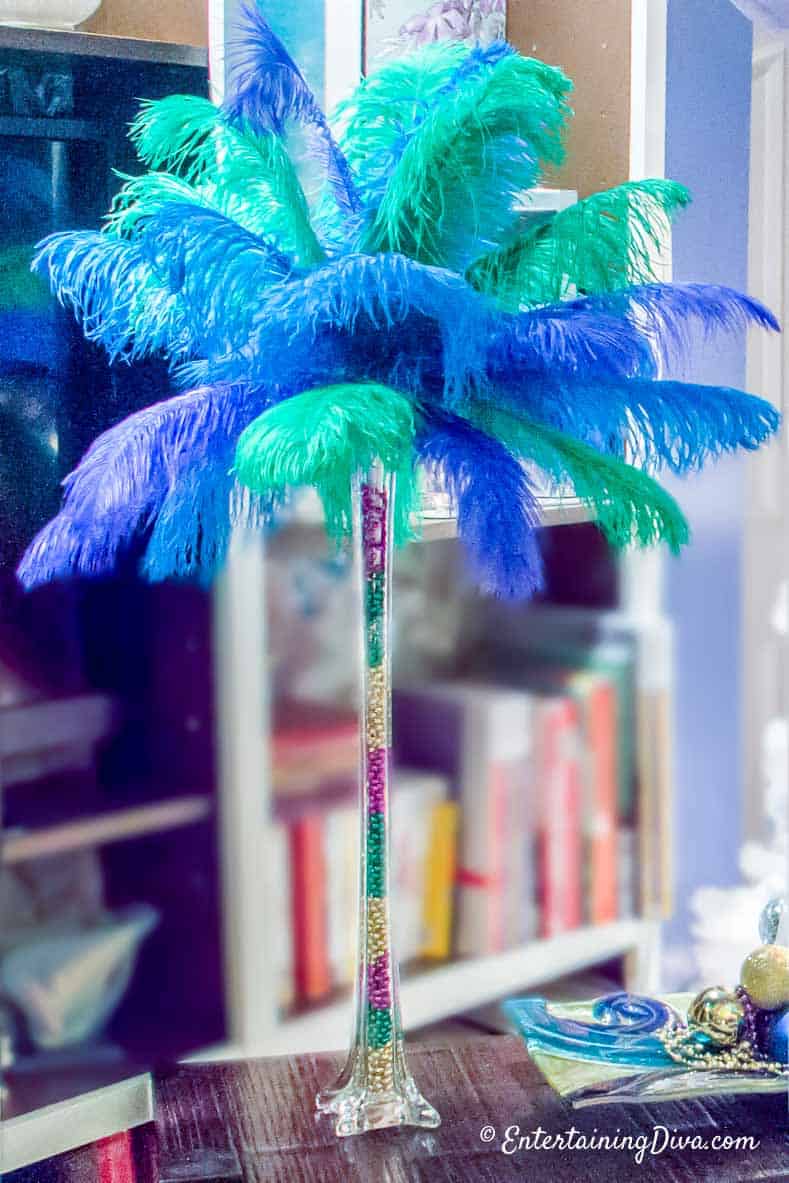
Mardi Gras Beads* are a really good vase filler. They are small enough to easily fit in the vase, are very inexpensive, and come in pretty much any color you want.
I used traditional Mardi Gras colors for this one, but you could use whatever color you want.
Variation 3: Add Hanging Crystals Or Beads
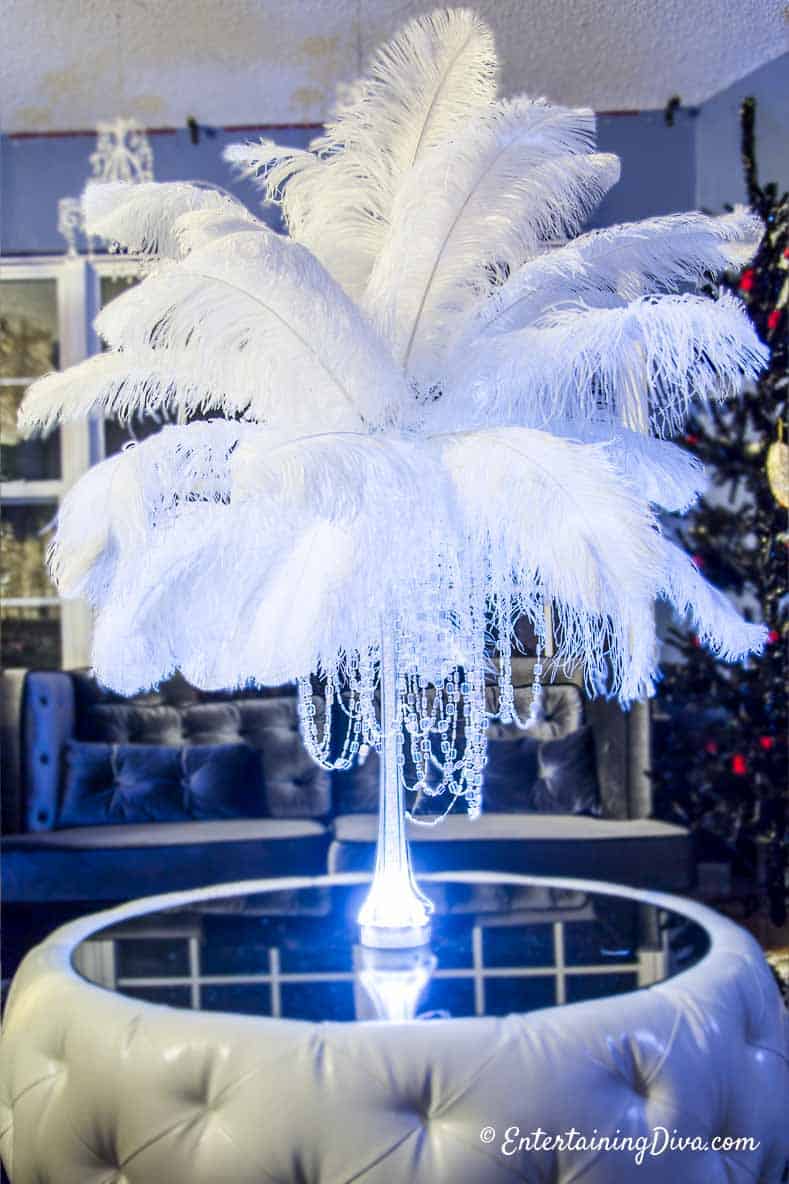
I used this variation at my Great Gatsby Party. Hanging strands of “crystals*” or “pearls*” (plastic of course) from the feathers adds some glam to your decor. (Everyone who knows me, knows I love some glam!!)
Get the step-by-step tutorial for this DIY Gatsby feather centerpiece HERE.
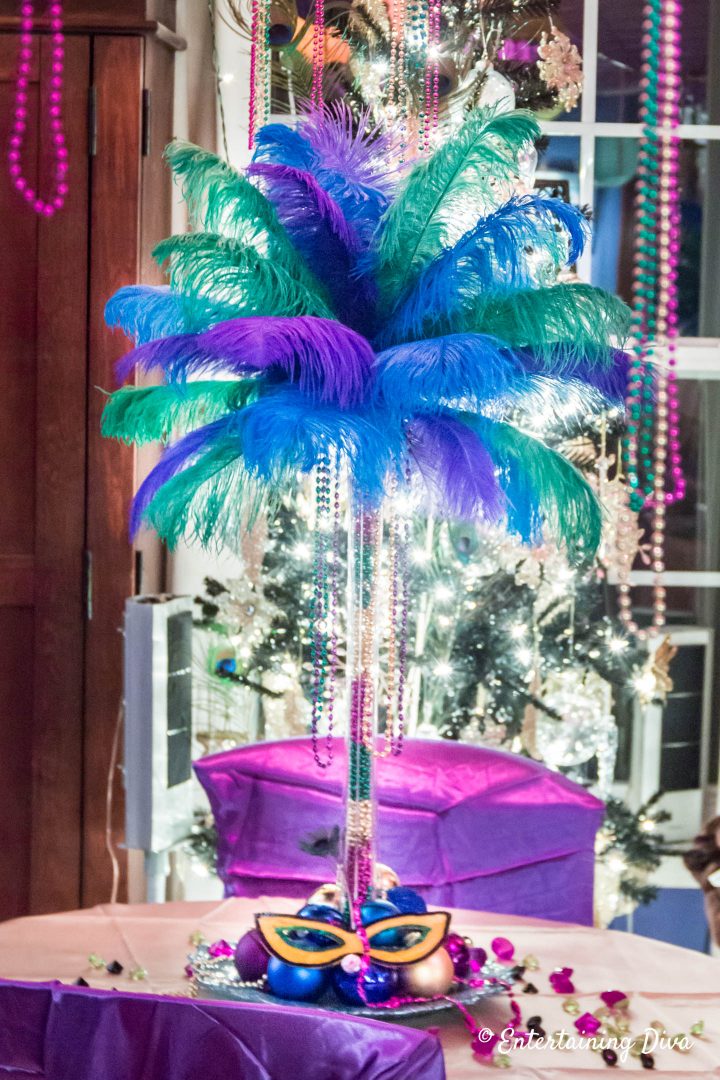
I did something similar with this feather centerpiece for my Mardi Gras party, except I hung Mardi Gras beads instead of crystals from the feathers.
Variation 4: Light The Feathers
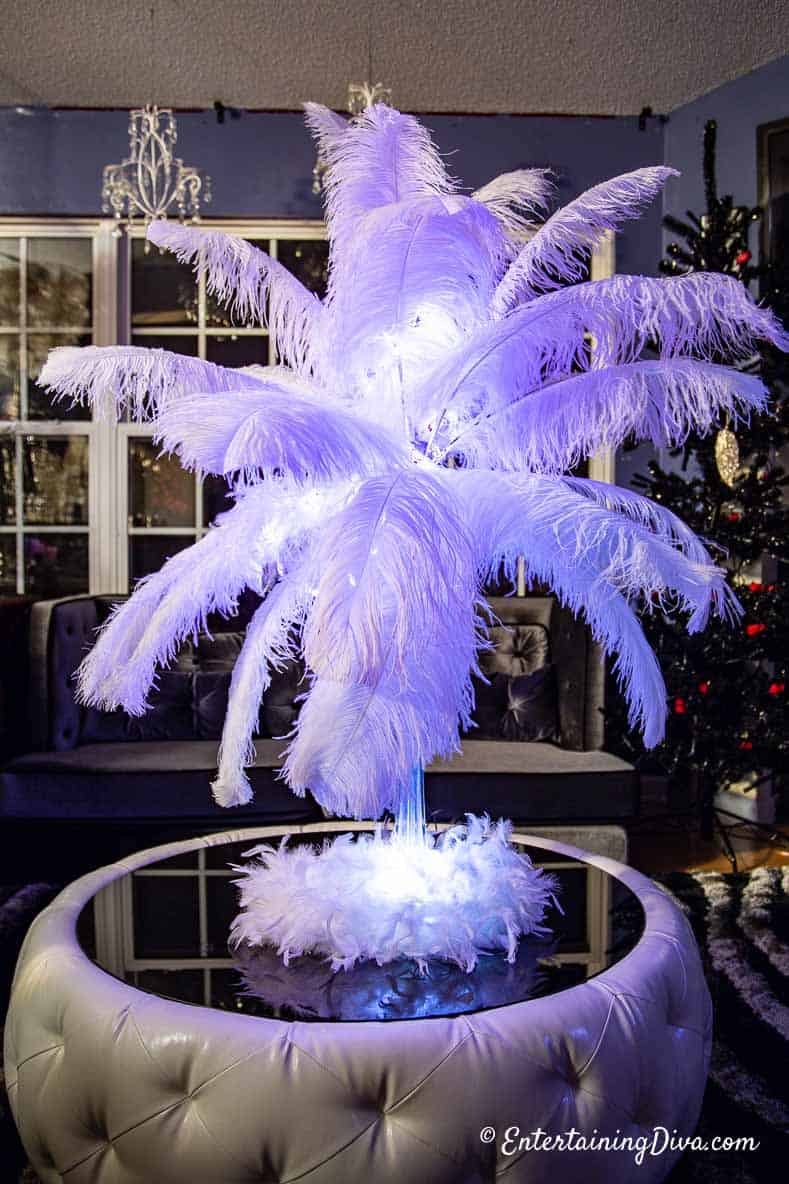
Adding some small lights to the feathers is another way to dress up your ostrich feather centerpieces.
In this case, I strung pink glimmer lights* through the feathers to make them glow. You’ll need lights that don’t weight very much and are battery operated so you don’t have to plug them in.
I also used this base light* which I covered up with feather boas*.
Variation 5: Two Toned Ostrich Feather Centerpieces
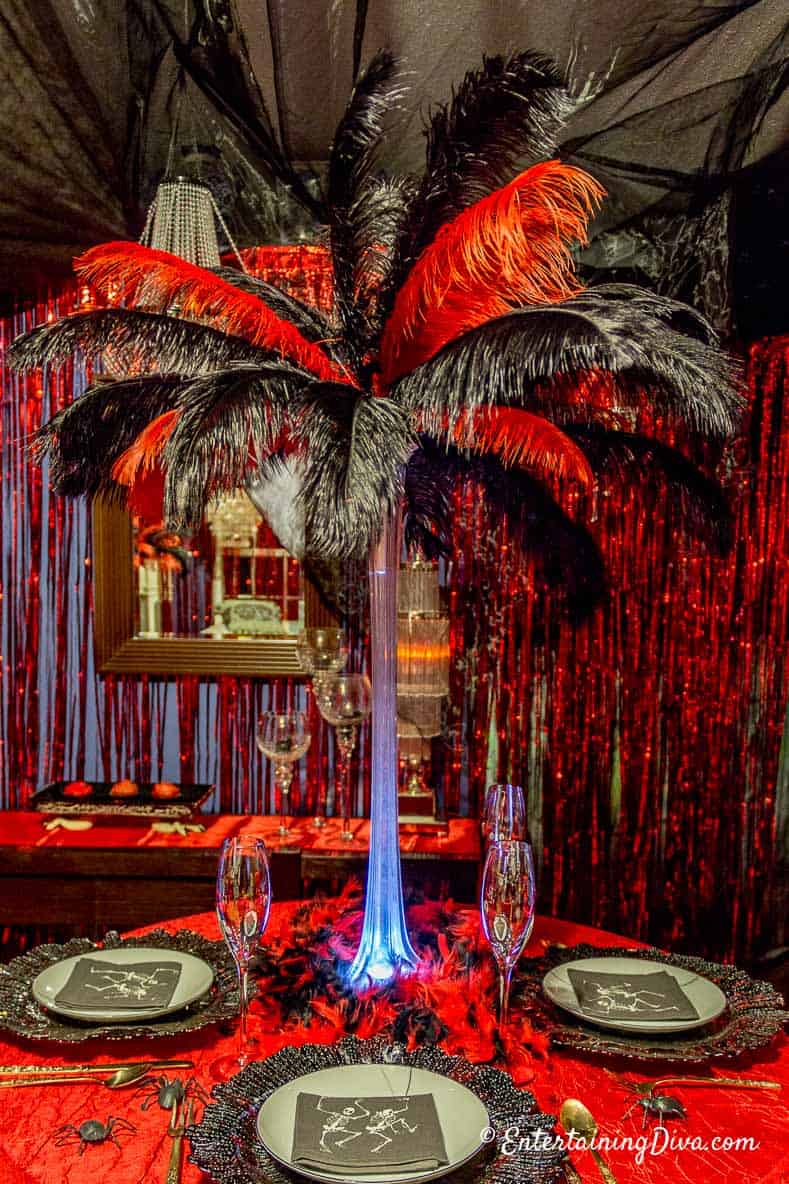
To make a feather centerpiece using an accent color, you will need to choose the main feather color and an accent color.
For my Fallen Angels and Devils party, black ostrich feathers* were the dominant color with accents of red feathers*.
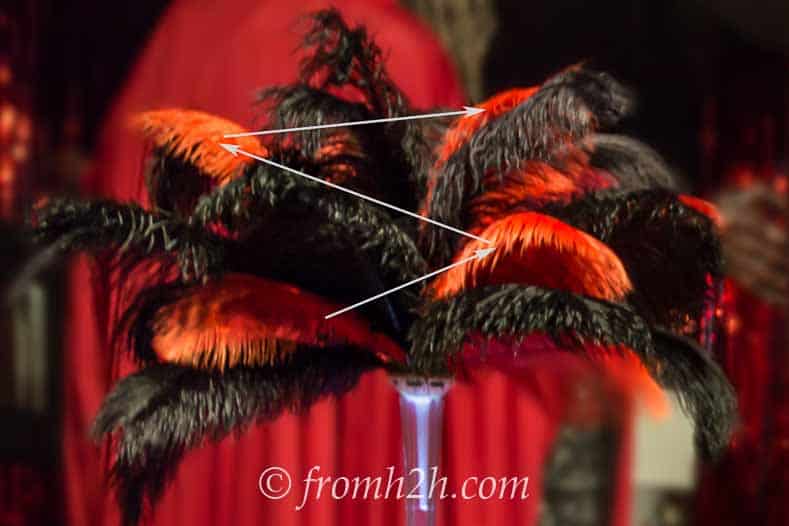
The instructions for putting together the feather centerpiece together are pretty much the same as for a 1-color vase. The only difference is to use an accent color feather in place of the main color feather every once in a while.
I usually use 1 to 2 accent color feathers per row and try to place them in a zig-zag pattern so that they look randomly placed but still balanced.
This works out to about 18 main color feathers and 9 accent color feathers per vase.
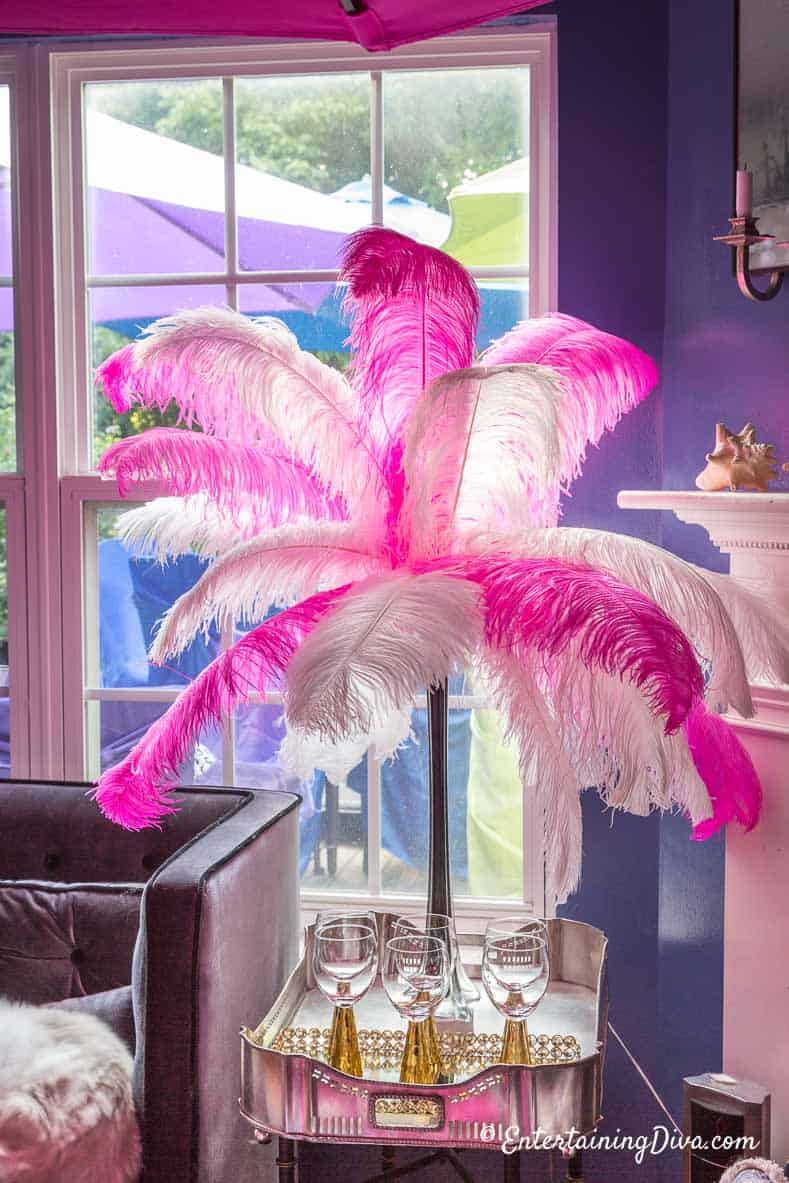
I also used this feather pattern at our Mad Hatter Tea Party…with pink and white feathers in black Eiffel tower vases.
Variation 6: Layered Ostrich Feather Centerpieces
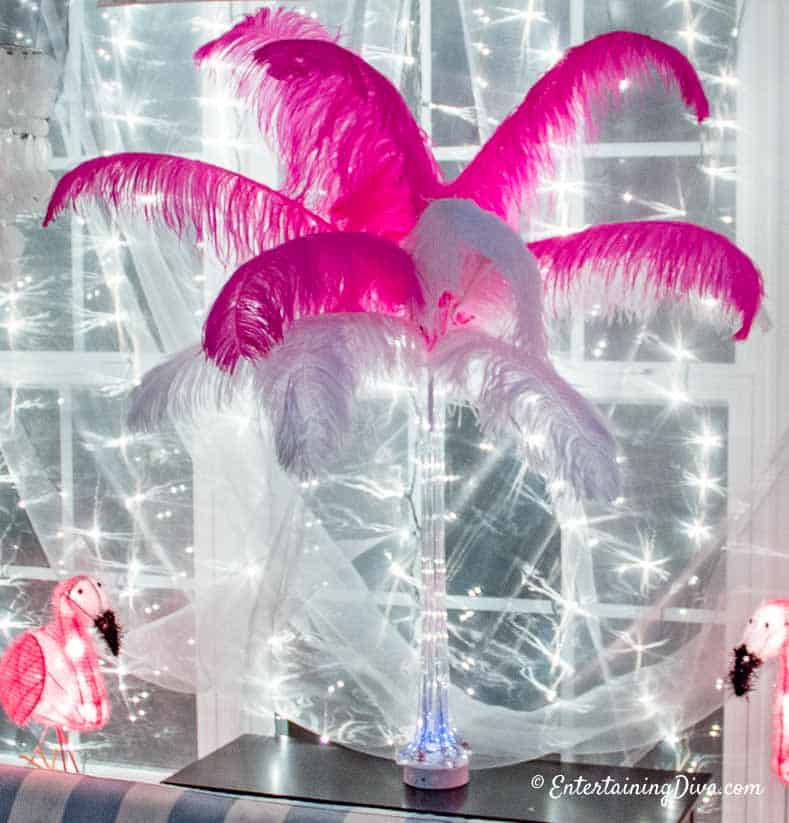
Putting the layered feather centerpiece together is very similar to doing one color, except that you switch to the second color for the top two rows of feathers.
I used white ostrich feathers* on the bottom and pink ones* on the top for my friend’s pink 50th birthday party. (Recognize those feathers? They’re the same ones as the Alice in Wonderland party above. I definitely re-use what I have to cut down on the cost when I’m planning parties!)
To put these DIY feather centerpieces together, follow the same instructions as the single color feather vase, using the first color for the bottom two rows of the centerpiece.
For the third row, mix in a couple of the first color feathers with the second color feathers as a transition row.
Then use all of the second color feathers on the top rows.
This means you need about 14 feathers of the bottom color and 13 feathers of the top color.
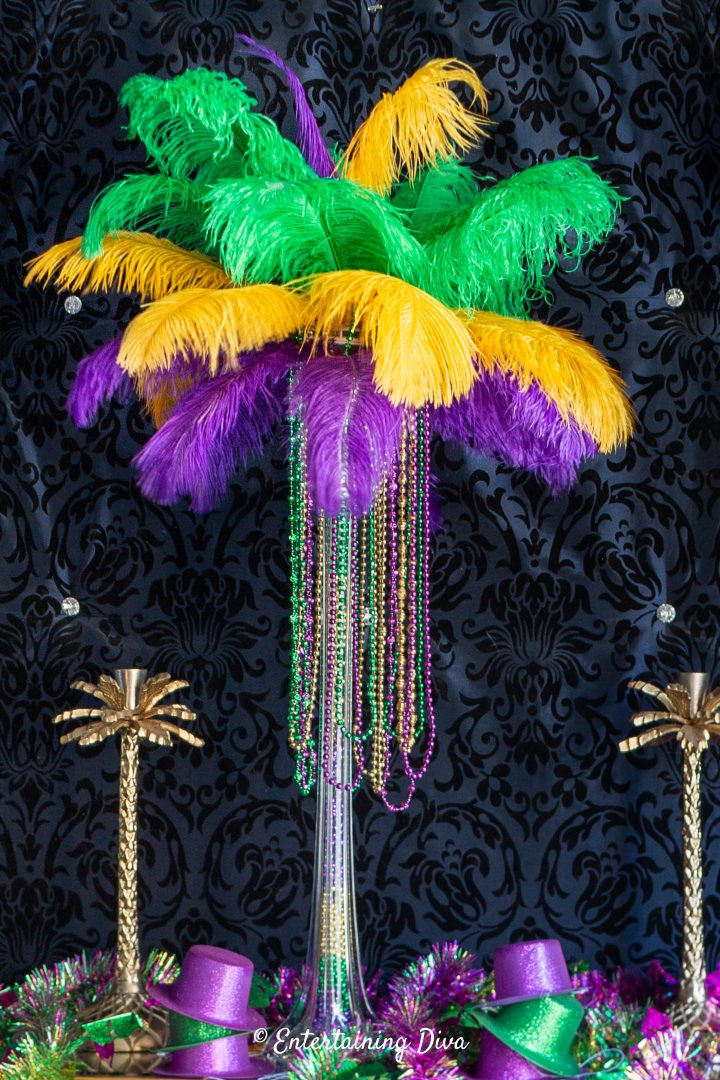
If you really want to get fancy you can use 3 or 4 colors for a rainbow layered effect, like I did for these Mardi Gras feather centerpieces.
Get the step-by-step instructions for making the Mardi Gras feather centerpieces HERE.
Variation 7: Mix and Match Ostrich Feather Centerpieces
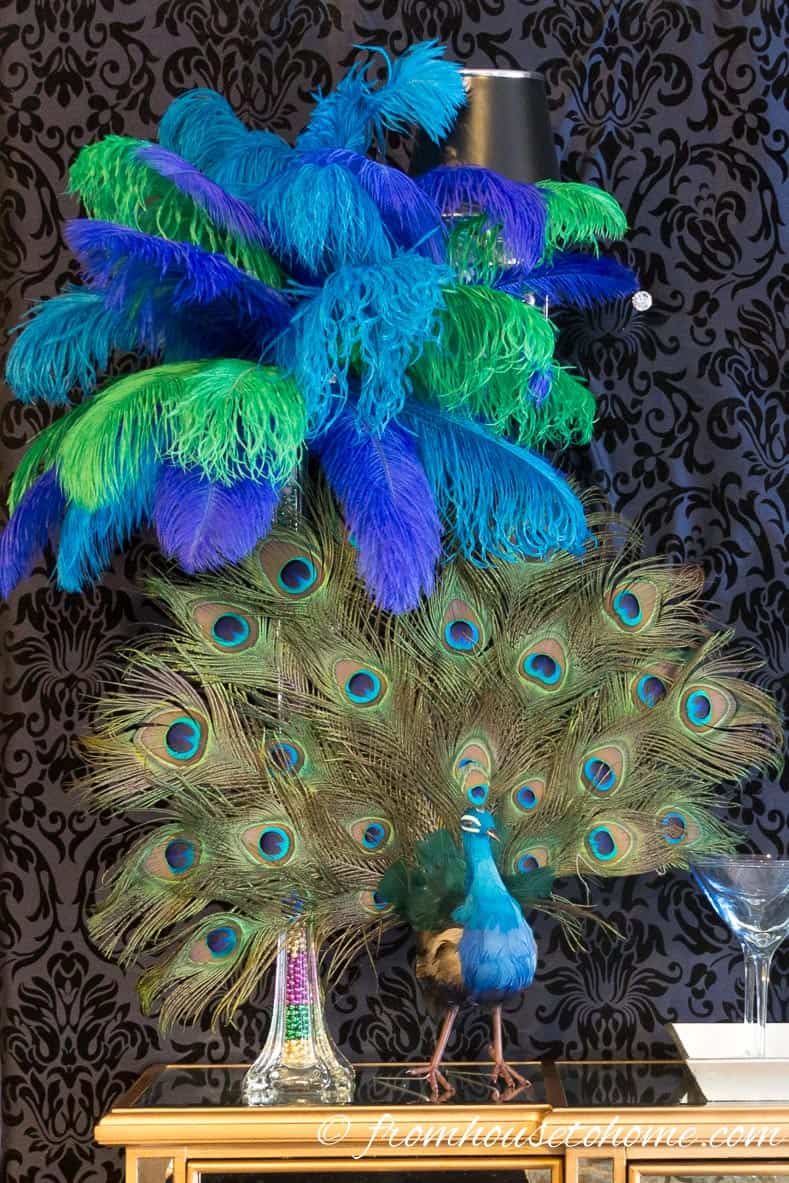
For my peacock-colored centerpiece, the feather colors were royal blue*, turquoise* and green*. I used this as part of the decor for my Mardi Gras masquerade party.
For this centerpiece look, you will need to alternate the feather colors as you insert them into the bouquet holder…so in this case, I used a royal blue feather, then a turquoise feather and then a green feather to get the mottled look.
Other than that, the instructions for putting them into the bouquet holder are the same as for the single color centerpiece.
The peacock at the bottom of the vase is meant to be an event decoration, but it goes pretty well with my centerpiece!
Hopefully, you now know how to make your own spectacular ostrich feather centerpieces and have some inspiration for dressing them up a little.
Sources
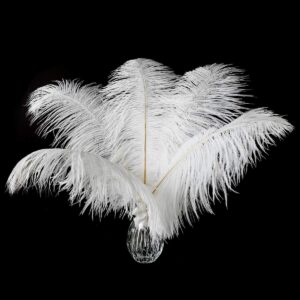
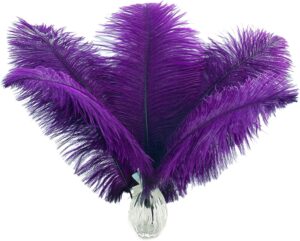
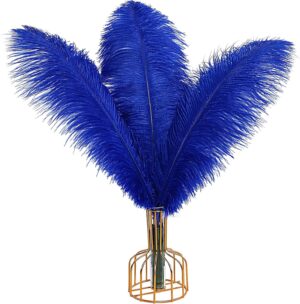
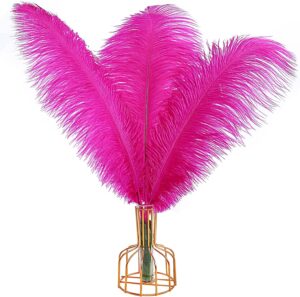
Here are all of the supplies that I used to make the feather centerpieces shown above:






Frequently asked questions
As a recap, here are the answers to the questions I get asked the most about making ostrich feather centerpieces.
What size of ostrich feathers do you need for feather vases?
I generally use 12″ to 14″ ostrich feathers*. They are easier to find in many different colors and cost less than the larger ones.
But if you want to create really luxurious ostrich feather centerpieces, you might want to go for 20″ to 24″ ostrich feathers*.
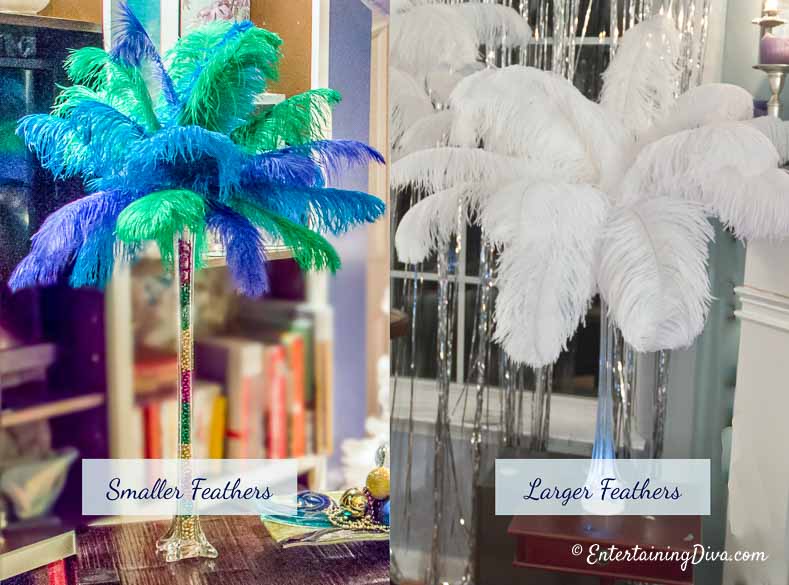
You can see the difference in the way they look in the picture above. The vase is the same size in both cases.
How many ostrich feathers do you need for a vase?
Each vase needs between 27 and 30 feathers to fill it out.
However, there is a little leeway. If you want it to look fuller, add a few more feathers. If you want to save a little money, use a few less.
Where can I buy ostrich feathers?
I buy most of my feathers from amazon.com*. The prices are good, they have a wide selection of colors and you can return them easily if you don’t get what you want.
However, if you are buying in bulk and don’t mind waiting, I have also found some good deals on aliexpress.com*. Most of them ship from China so they may take a few weeks to arrive, and you do need to shop around to make sure you are getting a good price.
Where can I buy the square light that goes under the vase?
I buy mine from amazon.com. You can find them HERE*.
What size of vase do I need?
I use 20″ Eiffel Tower vases* for all of my ostrich feather centerpieces. However, both the shorter 16″ vases and the taller 24″ vases will work. Generally, if you are using a shorter vase, you will want to go with shorter feathers. If you are using a taller vase, the longer ostrich feathers will look best.
How do the feathers stay in place?
Bouquet holders are the easiest way to get the feathers to stay in place. The handle holds the bouquet holder steady in the vase, and the floral foam holds the feathers at the right angles.
I like to use the ones that have plastic dividers over the tops of them. It makes spacing the feathers out evenly much easier.
You can find them HERE* (on Amazon)
Other DIY centerpiece ideas you might like
- Glam Gatsby feather centerpiece
- Mardi Gras feather centerpiece
- 8 Elegant DIY Great Gatsby Centerpieces
- 5 Elegant and Easy Floral Centerpieces
- DIY Sand and Pearls Candle Holder
Comments or questions on how to make ostrich feather centerpieces? Tell us in the section below.
Pin It So You Don't Forget It!

This post was originally published on November 4, 2015 but was updated with new content on January 11, 2025.