
DIY Pearl Tabletop Christmas Tree
This DIY pearl tabletop Christmas tree is a charming and easy way to add a touch of elegance to your holiday decor. It’s a simple project that is perfect for small spaces.

I am always on the lookout for interesting table top trees to add to my decorative Christmas tree collection.
So when I saw these Crystal and Pearl champagne trees*, I got really excited. Until I saw the price.
So I used them as the inspiration for a DIY project.
Imagine my delight when I found similar small, narrow trees at Home Goods that came with sparkles already applied.
It was simple to hot glue pearls to the branches, and the results are stunning.
Best of all, the total cost for 3 pearl decorated trees was less than one of those ones I found online.
Keep reading to find out how make a DIY pearl tabletop Christmas tree.
Looking for more small DIY Christmas trees? You'll love this Diy Wall Christmas Tree.
Supplies
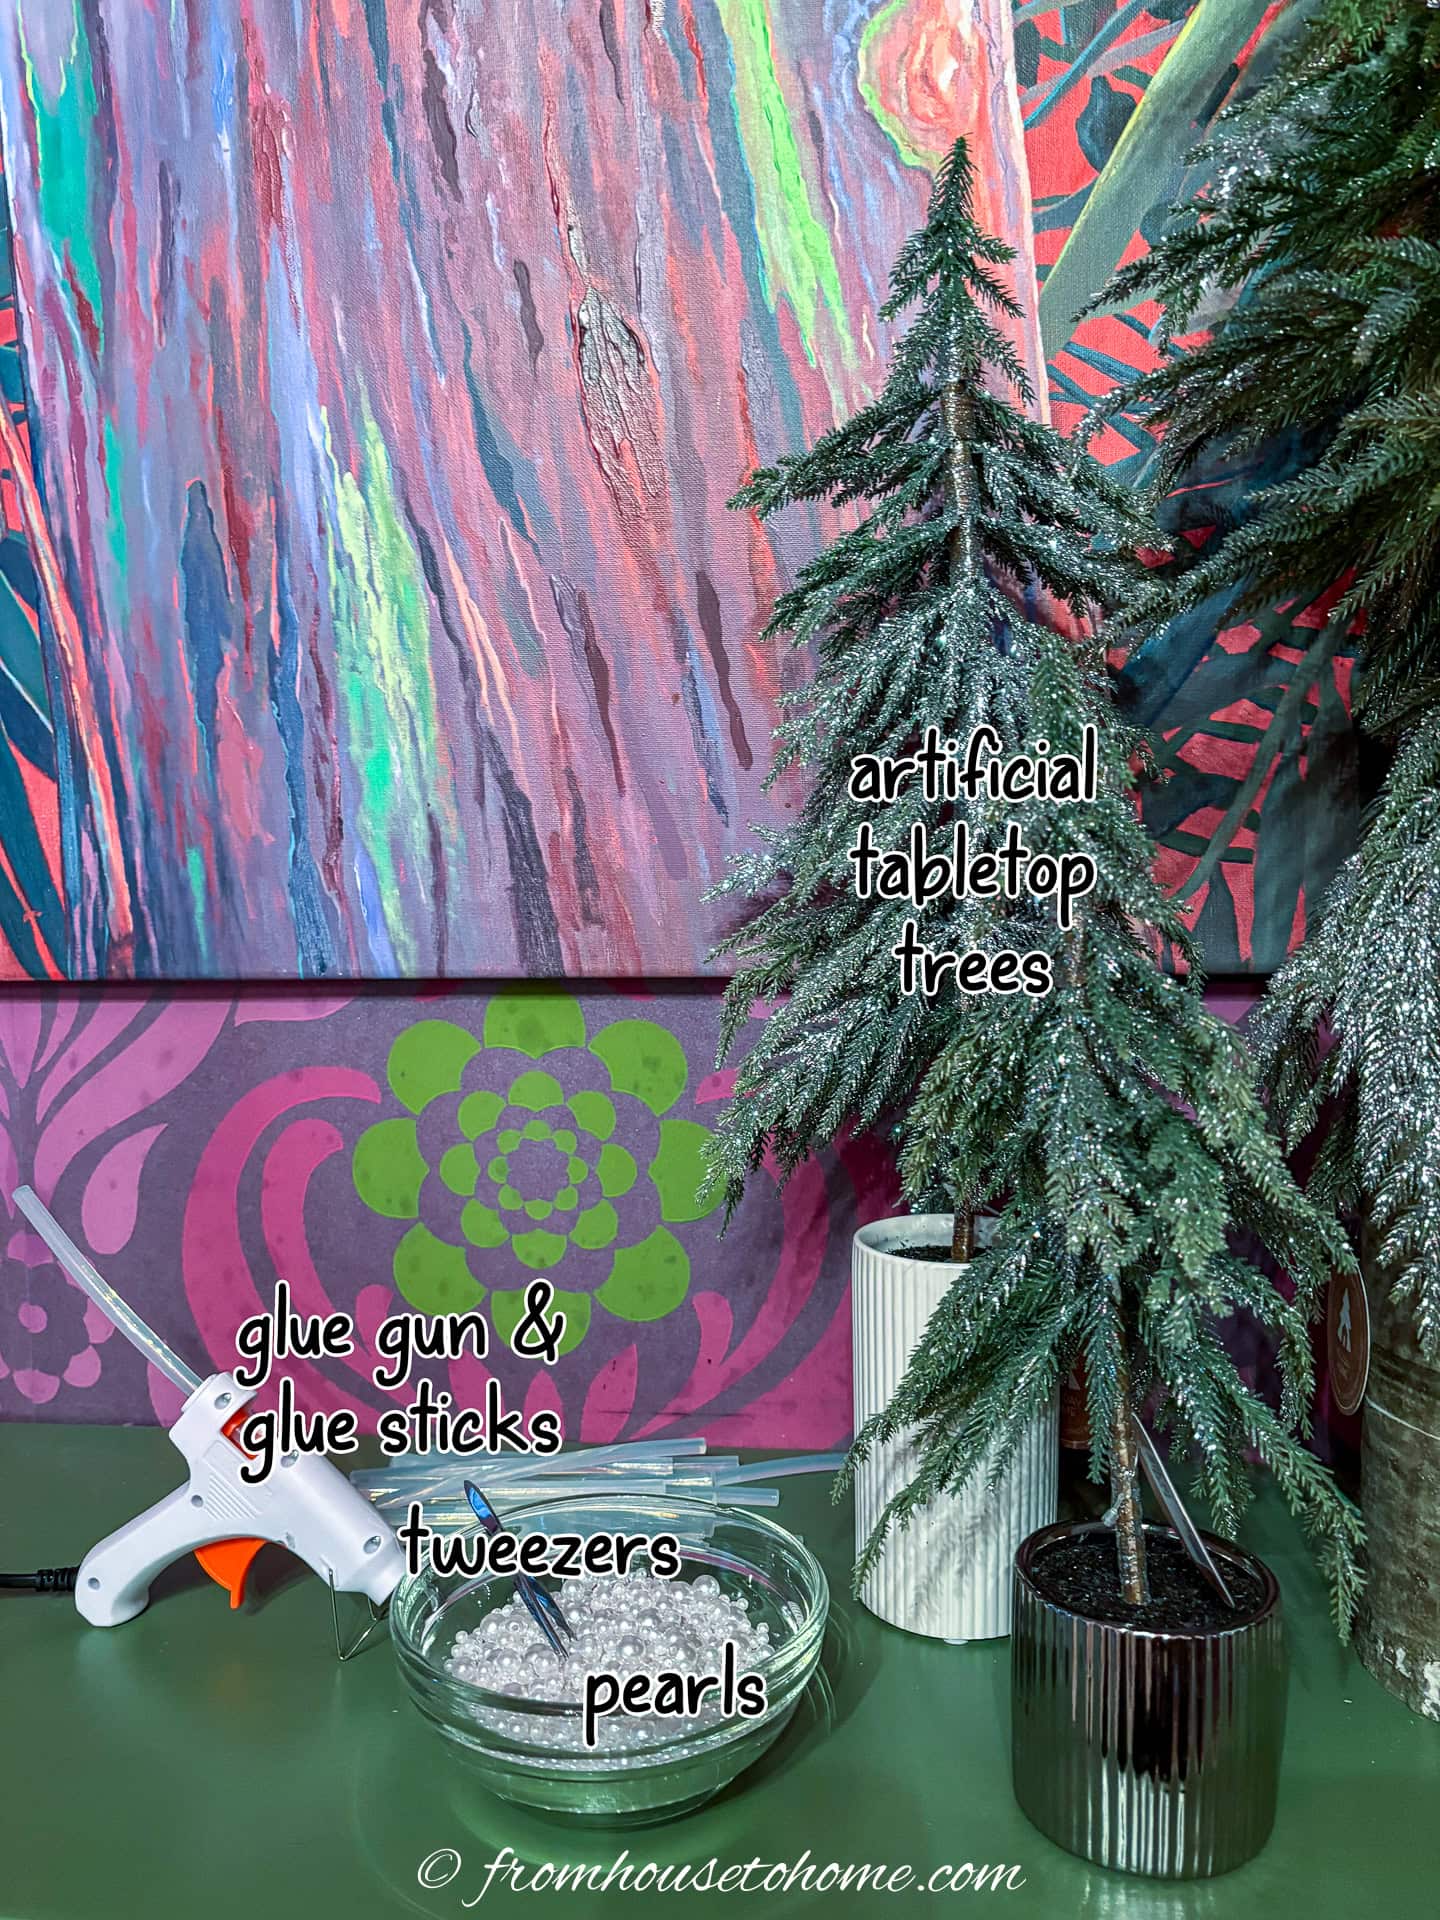
Materials
- 3 small artificial trees in different heights. I found mine at HomeGoods and they measure 14″, 21″, and 39″.
- 3 packages pearl beads in a variety of sizes* – 1500 beads in each one.
- Ribbon to cover the base (optional)
Equipment
- small glue gun* and glue sticks
- extra glue sticks*
- tweezers
How to make a DIY pearl tabletop Christmas tree
1 | Fluff the tree
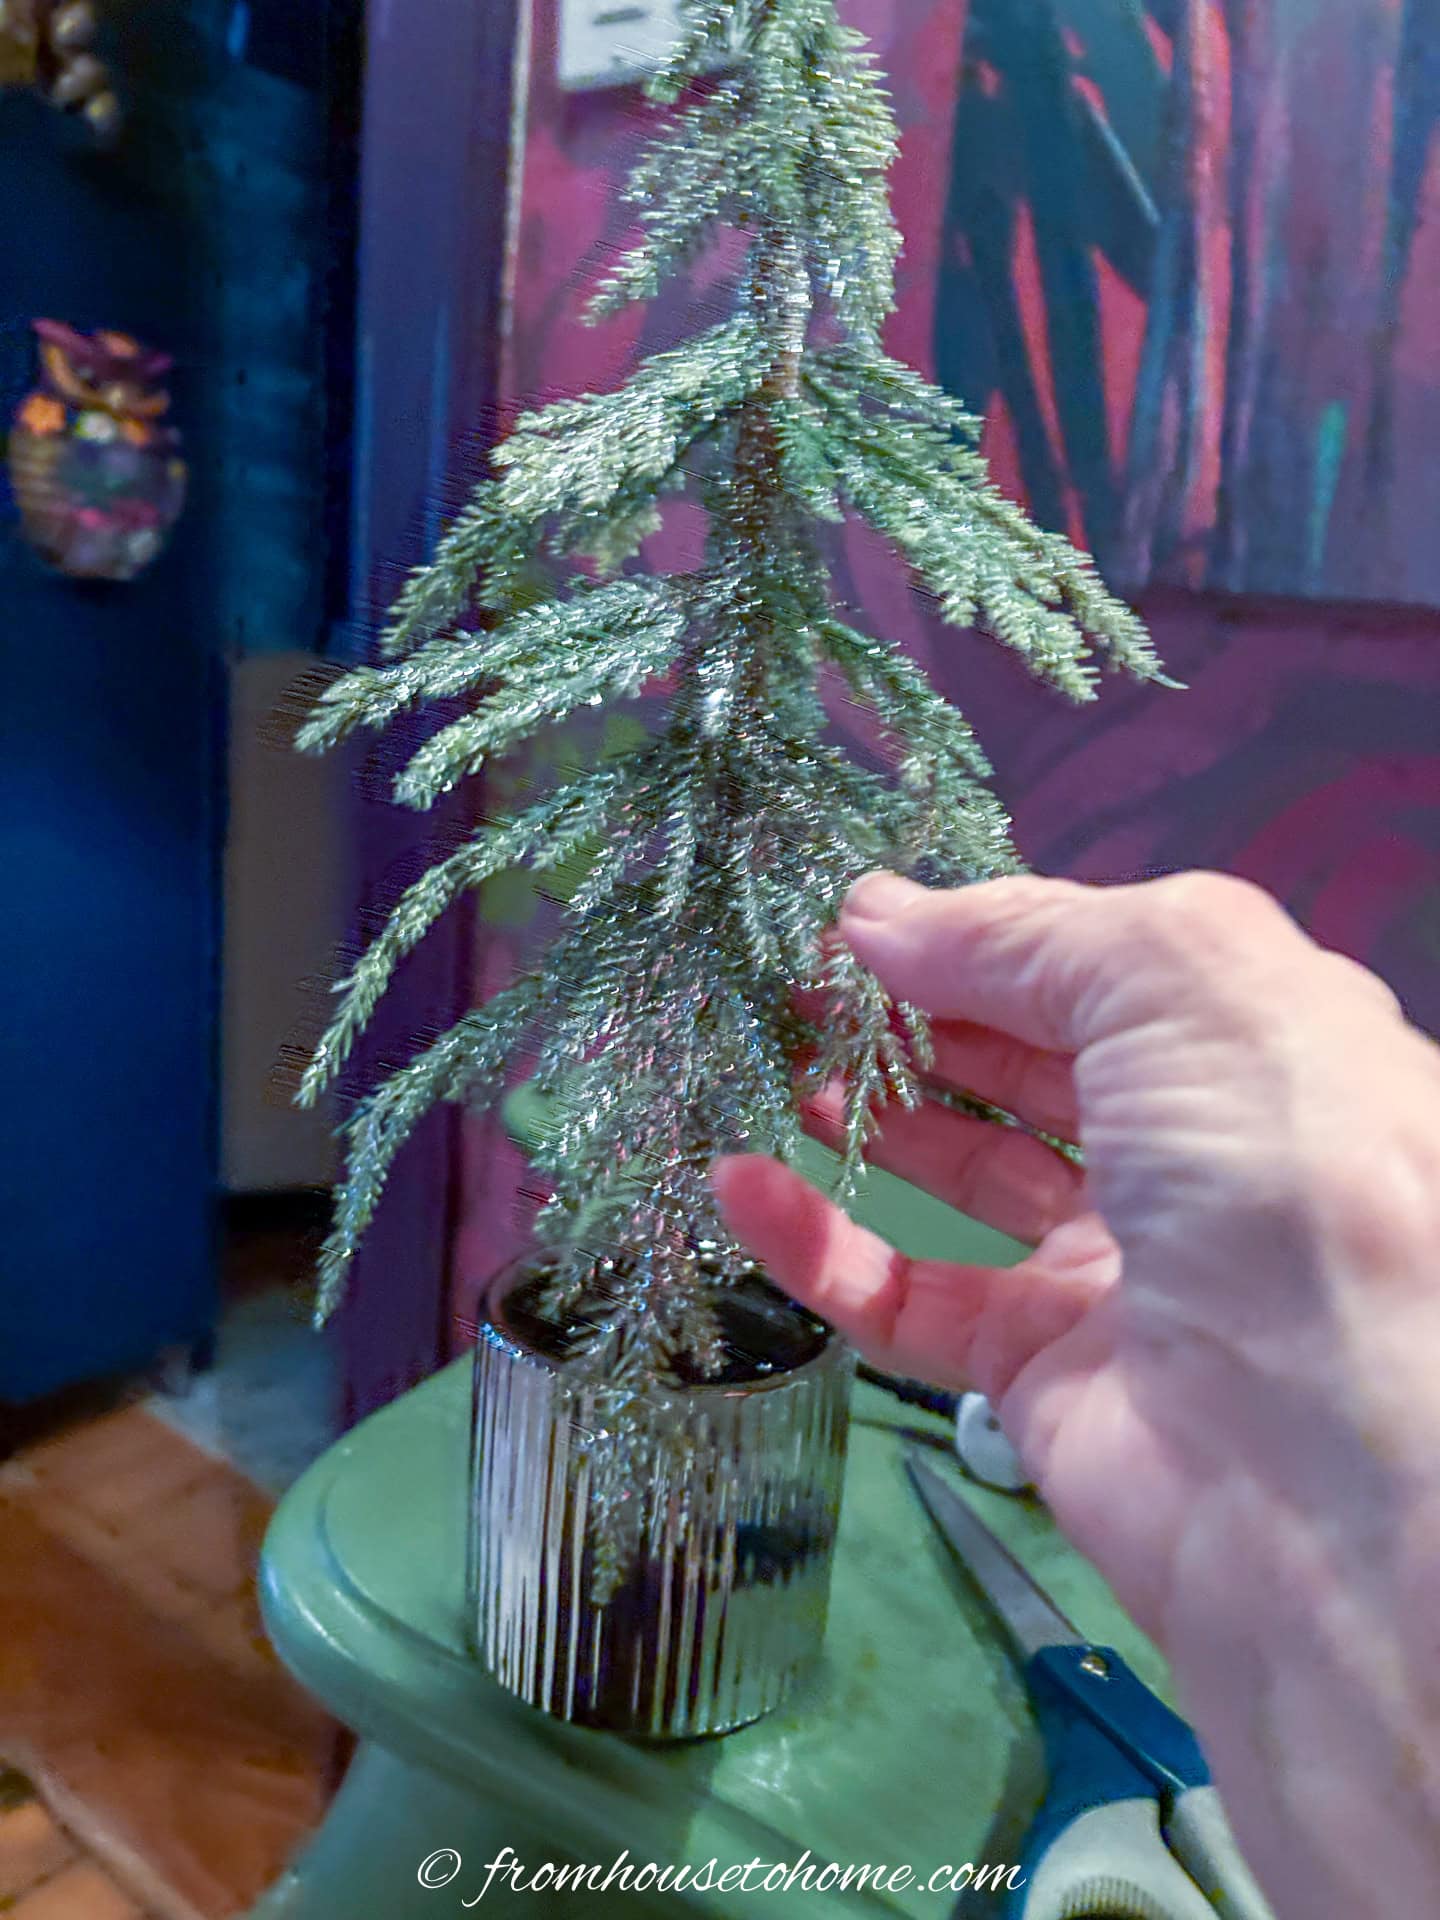
Adjust the branches on the tree if they aren’t pleasingly aligned.
2 | Glue on the pearls
Starting at a bottom branch, near the stem, glue on the pearls at intervals working towards the tip.
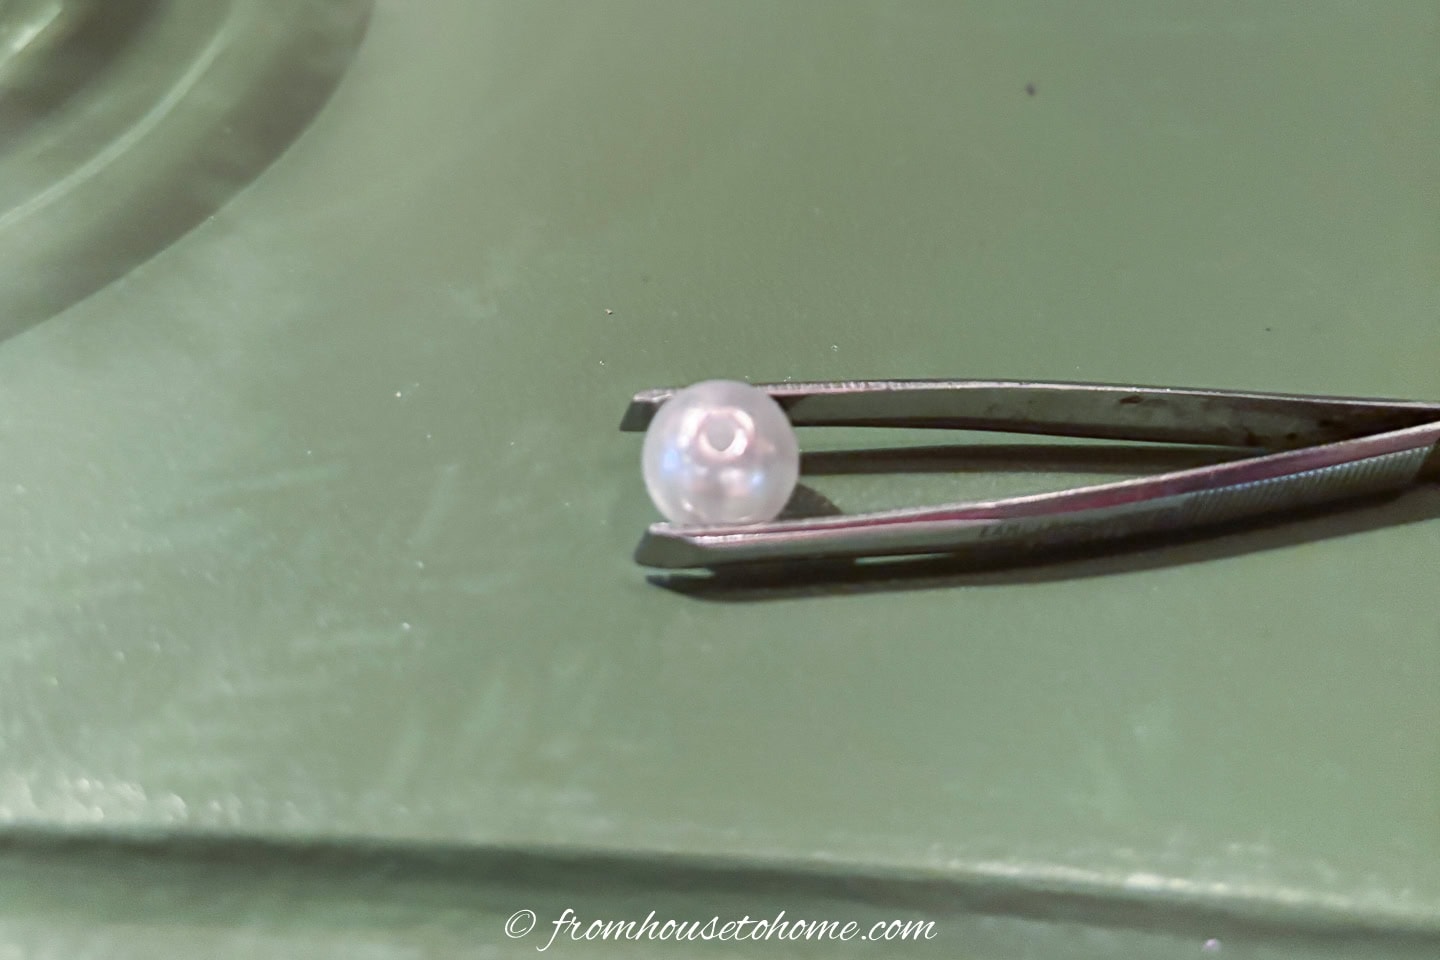
I used both hands for this. Pick up one pearl at a time, using the tweezers in your dominate hand.
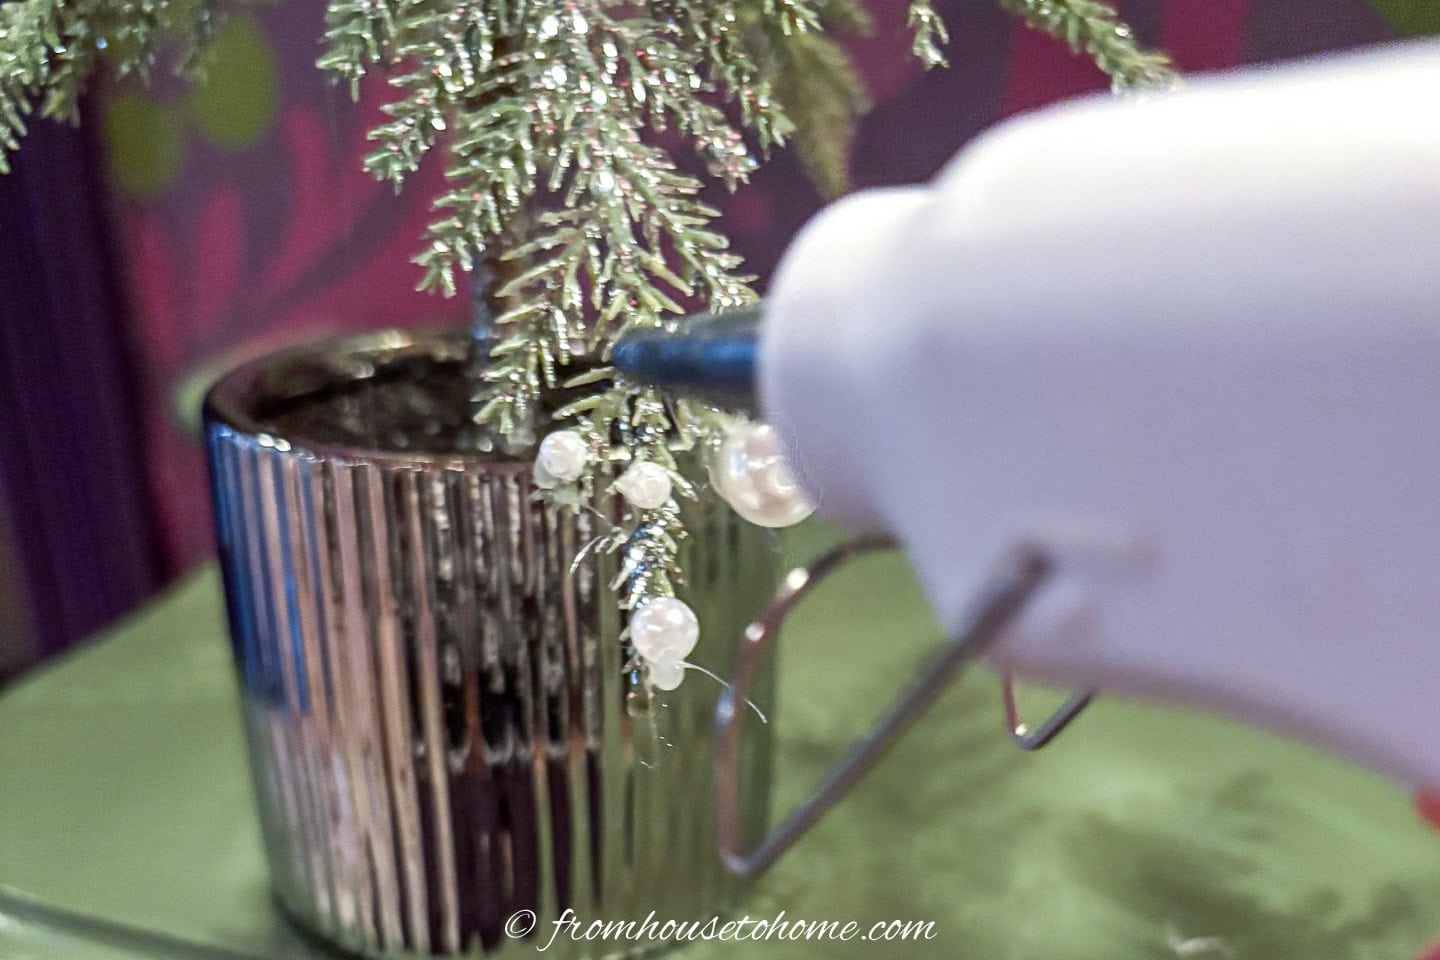
Almost simultaneously, put a small dot of hot glue on the branch with the hot glue gun held in the other hand.
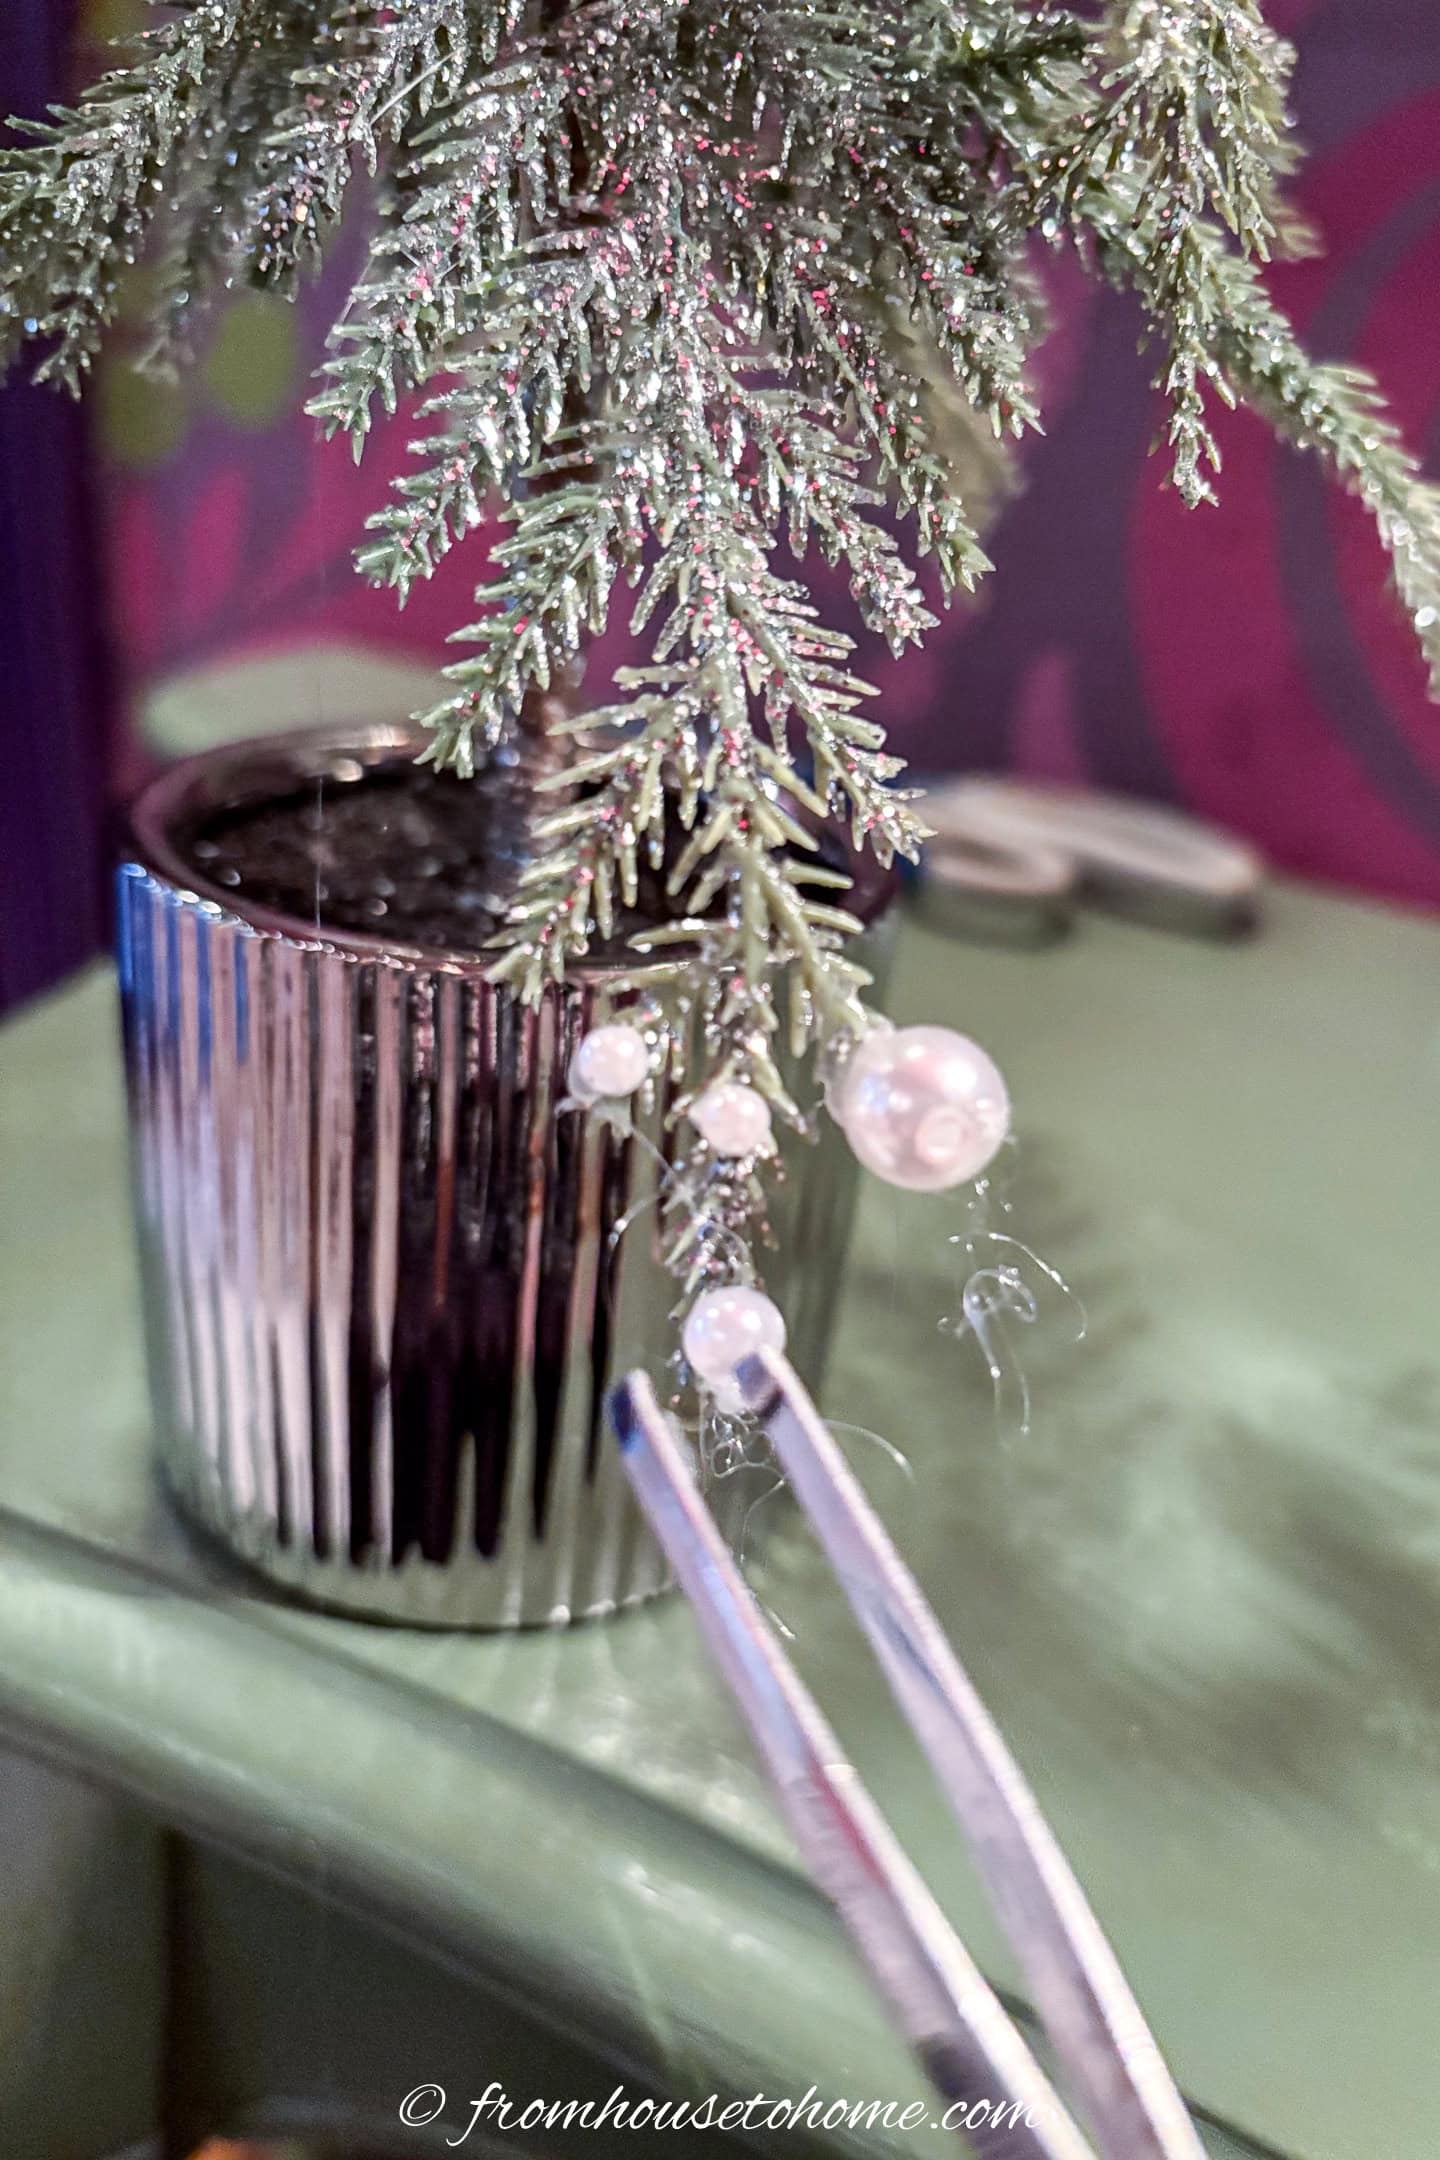
Now drop the pearl onto the dab of glue. The glue dries quickly. So be ready to add a pearl as soon as you form a dot on the foliage.
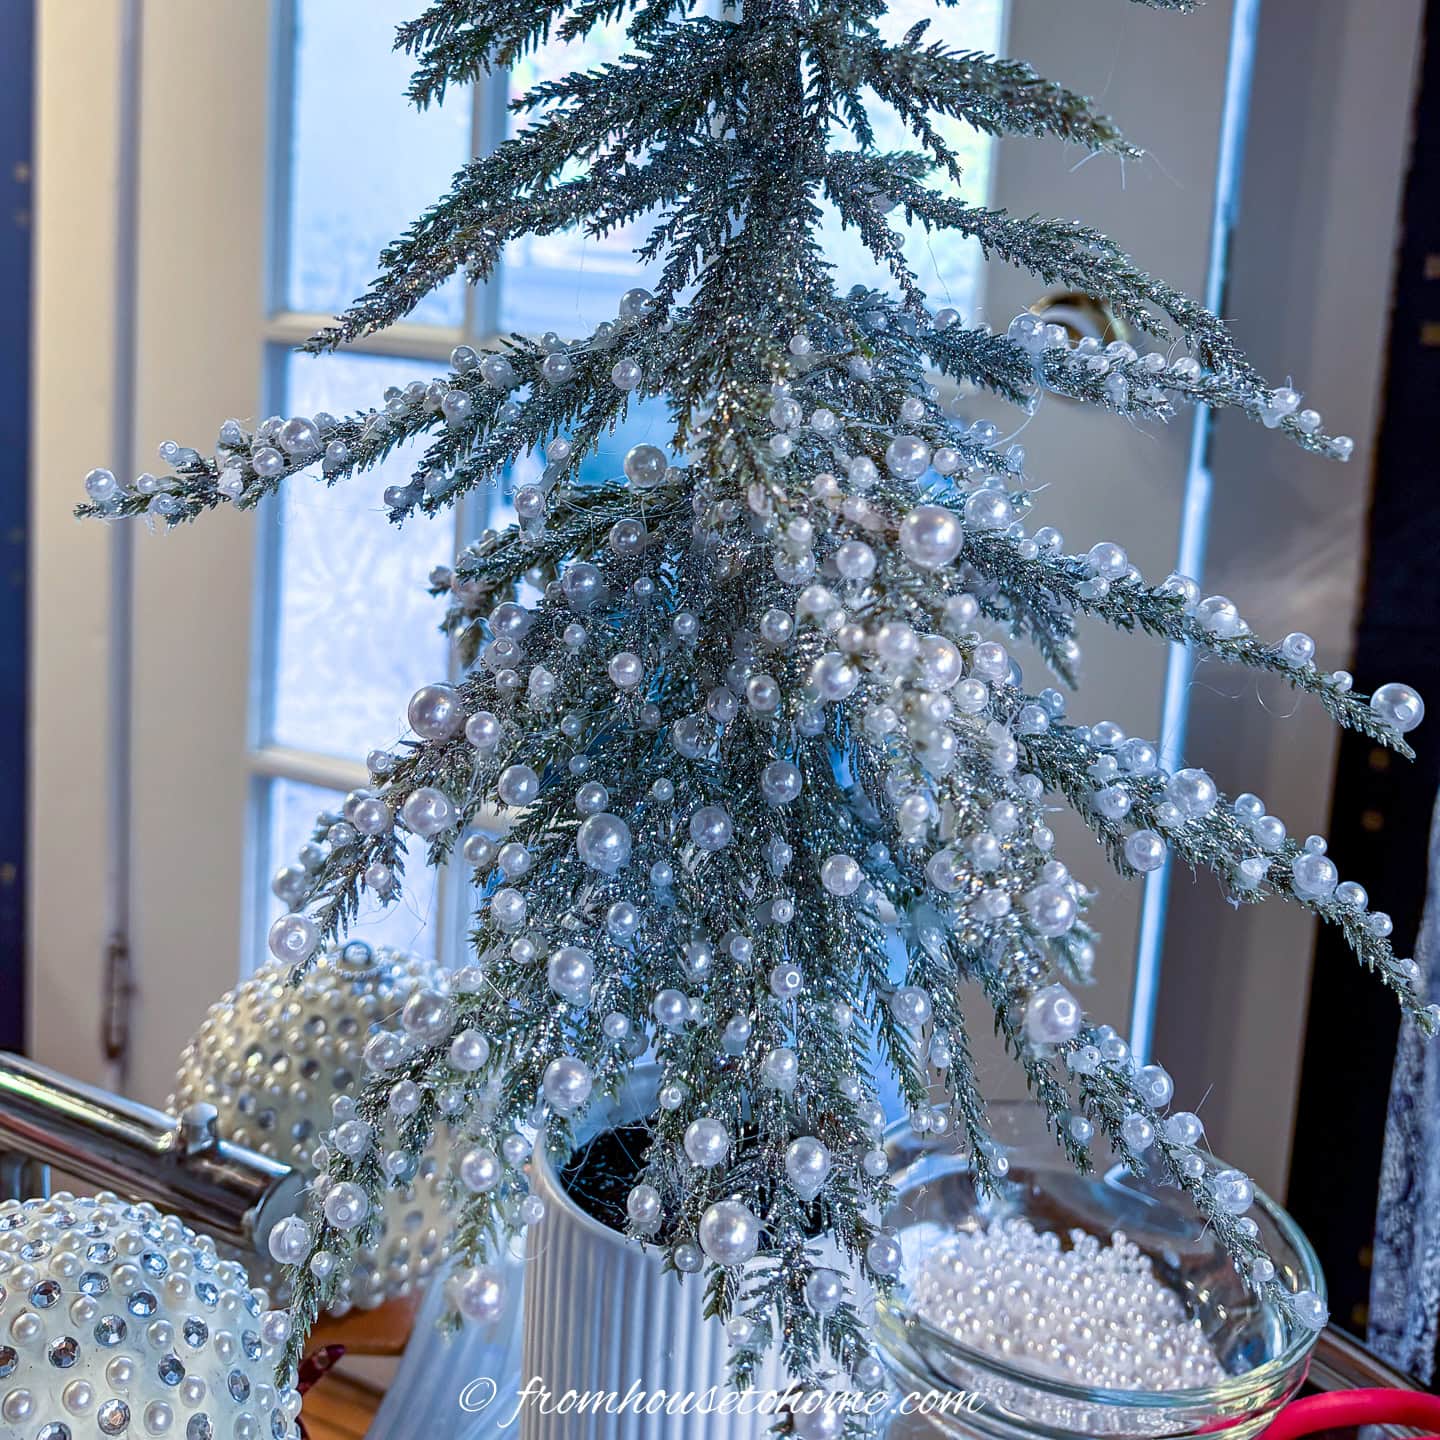
Continue adding pearls one branch at a time.
Tips for the best results:
- Vary the sizes of the pearls so it looks natural. But save some of the larger pearls to concentrate them at the top of the tree.
- I worked around the tree by layer, but that is personal preference.
- Some branches need to be bent up temporarily for easier access close to the tree trunk.
- You will notice that dried glue accumulates on the tweezers. Scrape that glue off as necessary, with a knife or with your fingers (about every 4th or 5th pearl).
Note: The tip of the glue gun and the melted wax are extremely hot. Be careful to prevent second degree burns. If you get the hot wax on your skin, it will cause a painful blister.
The finished trees

After all of the branches were covered with pearls, I covered the bottom stands of each tree with ribbon for continuity of appearance.

I love how the smaller ones look on the fireplace mantel.
I added a string of pink pearls to the green tree in this picture so they have a similar look.

And the largest one is big enough to put in front of the fireplace.
Have comments or questions about our DIY pearl tabletop Christmas trees? Tell us in the section below.
Pin It So You Don't Forget It!
What a wonderful ideas!! Thanks for sharing.
Hi Tamara, glad you like this easy to duplicate table top tree idea.