
Blue And Cream Guest Bedroom Makeover
Transform your boring builder-grade bedroom with our blue and cream guest bedroom makeover tips. Follow our steps to upgrade your space and create a serene, stylish retreat for your guests.
When I moved into my builder grade house, every room was painted builder beige.
And if you’ve been around here before, you know that beige just isn’t my thing.
So I’ve been on a mission to not only get rid of all the beige. But also update every room so it doesn’t look so boring.
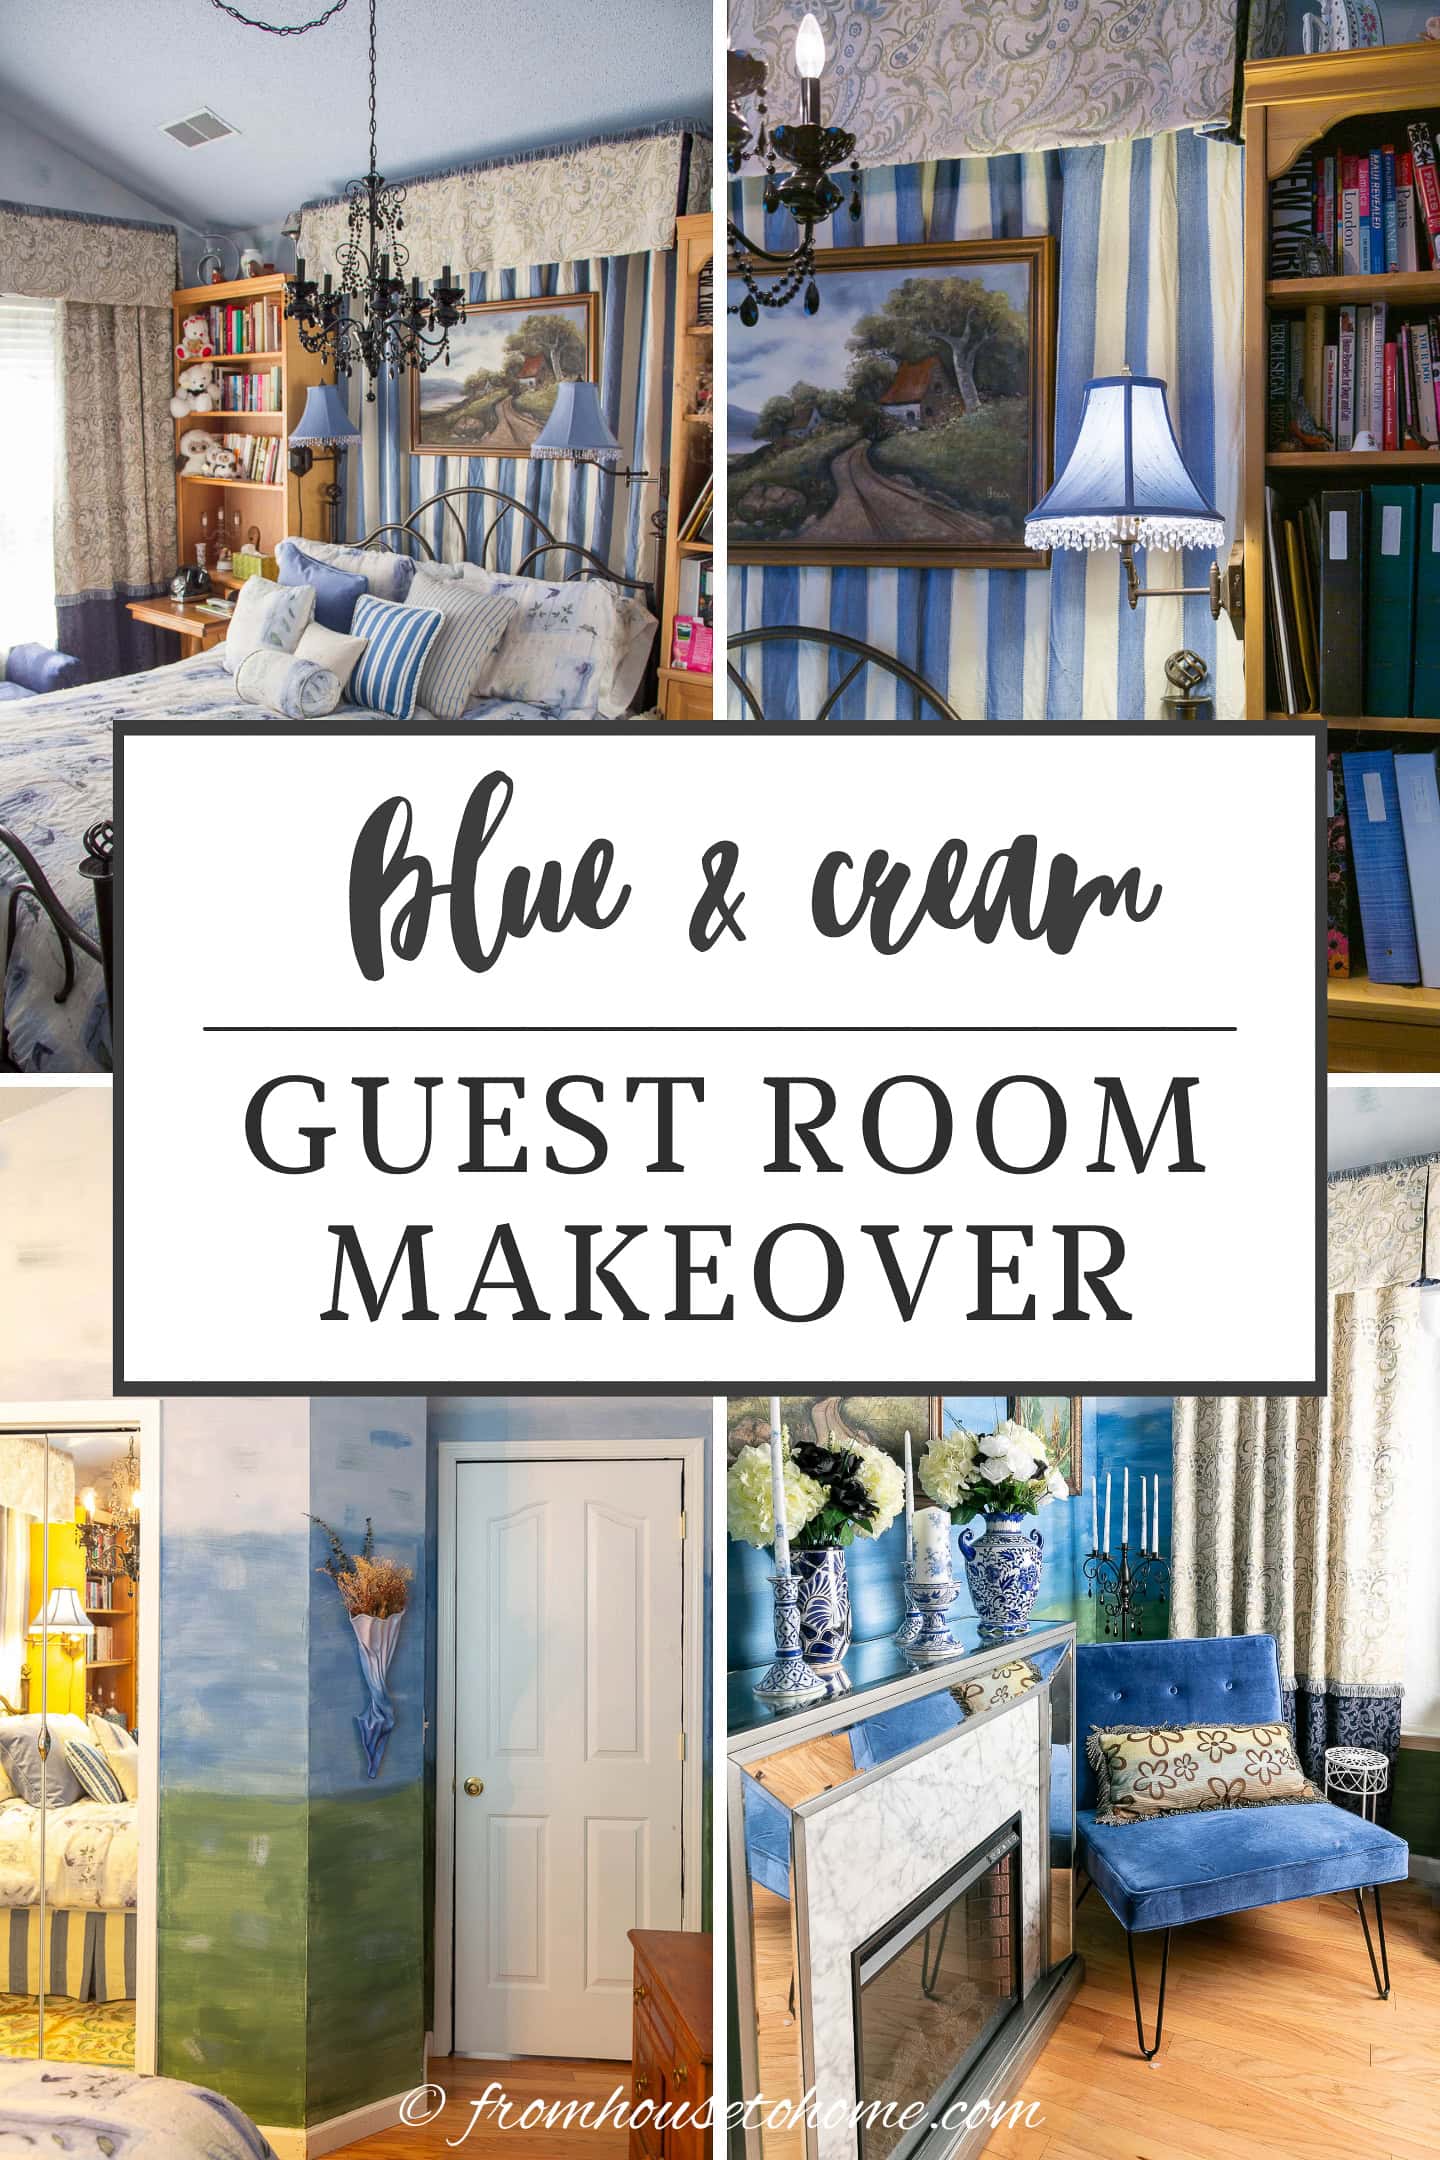
And this blue and cream guest bedroom makeover is the next room on the list.

Get a FREE Room Makeover Workbook by signing up for our newsletter
You’ll also get access to our members-only resource library with all of our other printables.
We won’t send you spam. Unsubscribe at any time.
The “Before” Room
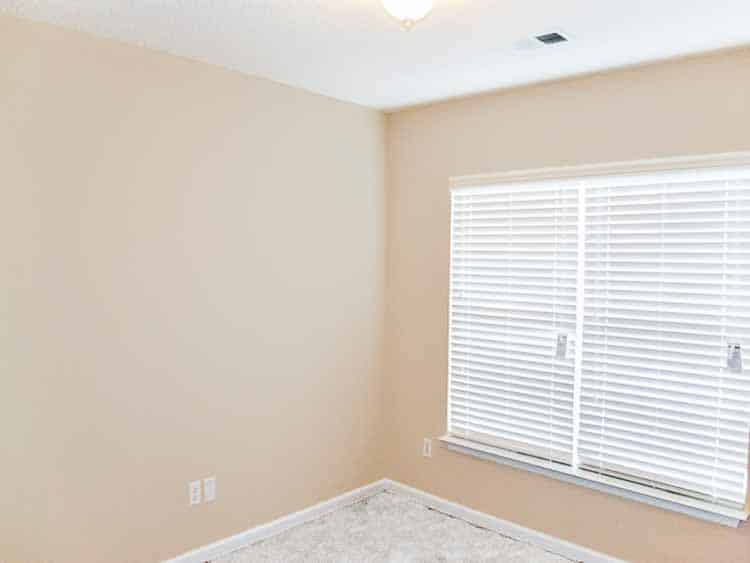
The “Before” version of the guest bedroom really wasn’t awful.
The room is a decent size for a guest room.
It has a large window so there’s lots of light.
And it has a vaulted ceiling which makes the room feel larger than it is.
However, the colors were standard builder colors, and since beige isn’t my thing, I knew that would have to change.
And the downside of having a big window (that faces east) is all of that light can make sleeping difficult. There’s also a street light right outside this window, so having window coverings that keep the light out would be super important!
I also have a list of things every guest room should have to make guests feel comfortable (like a comfortable bed, a place to put their stuff, reading material, etc.) so I wanted to make sure I covered all of those items.
The Inspiration
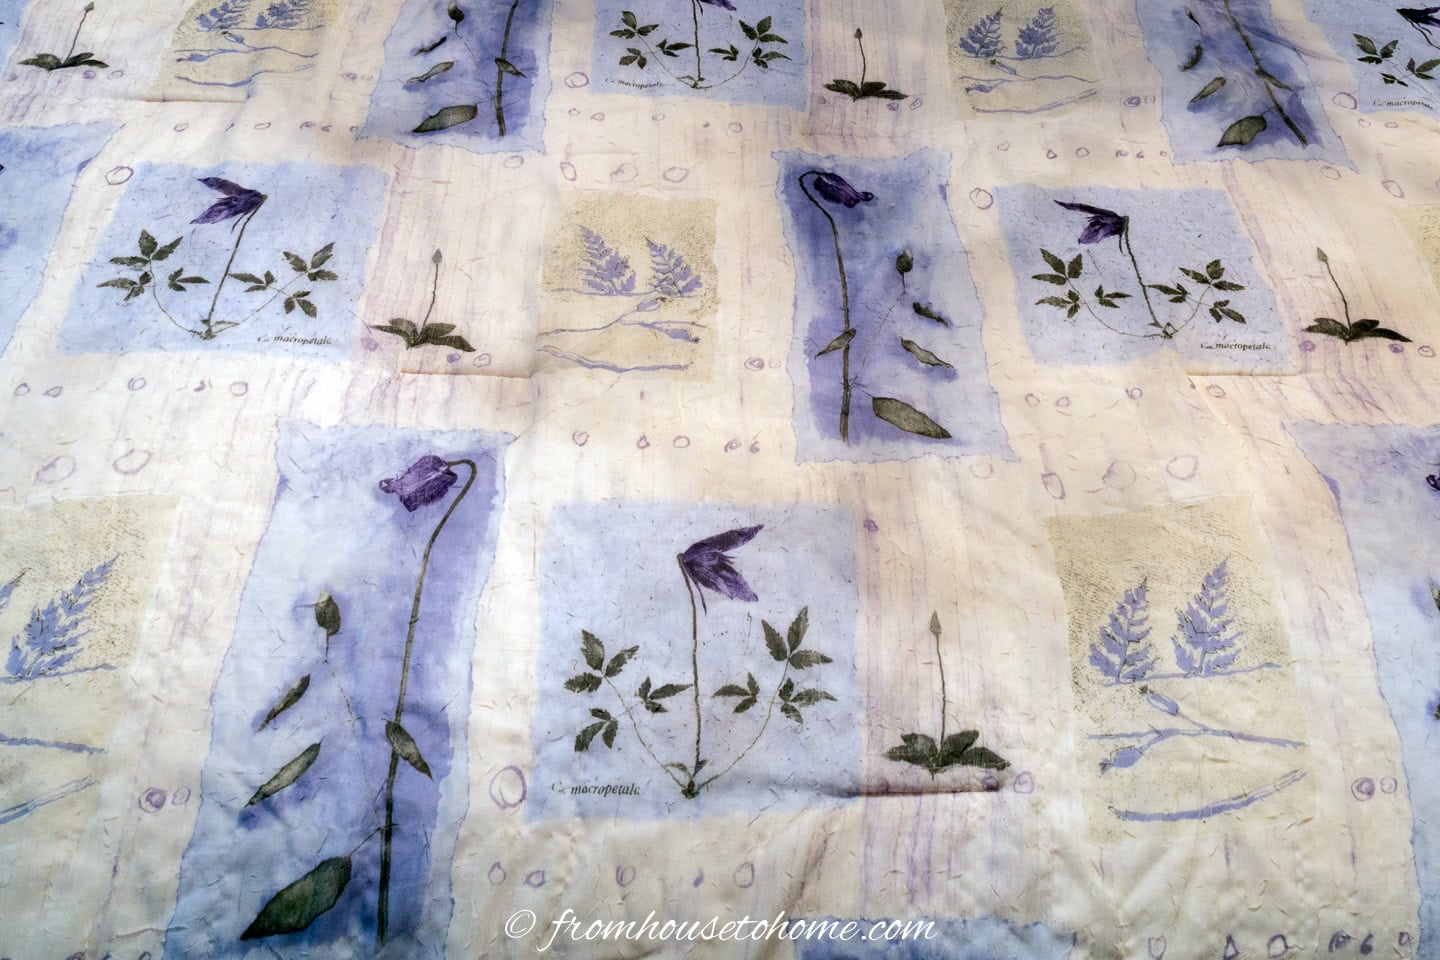
My inspiration for this room didn’t come from a decorating magazine or Pinterest picture (which is where I get a lot of my inspirations from), but from the bedding I wanted to use.
I actually bought this bedding at an end-of-line clearance sale a while ago and have been waiting for the perfect room to use it in.
The bedding is a contemporary-style floral print on a creamy-yellow colored background.
I knew I wanted to draw from the blues and greens in the flowers while using the cream color as the grounding color. I also liked the idea of nature-inspired elements (to go with the flowers) and natural wood tones (to go with the cream).
The easiest way to choose a color scheme for your room is to find something to use as inspiration.
This can be a picture of a room.
But it can also be a piece of fabric, artwork or even a piece of clothing that you love.
Then just pick the colors out of it you want to use in your room.
You know they go together and that you love the combination. So they will work well in your space.
1 | Paint
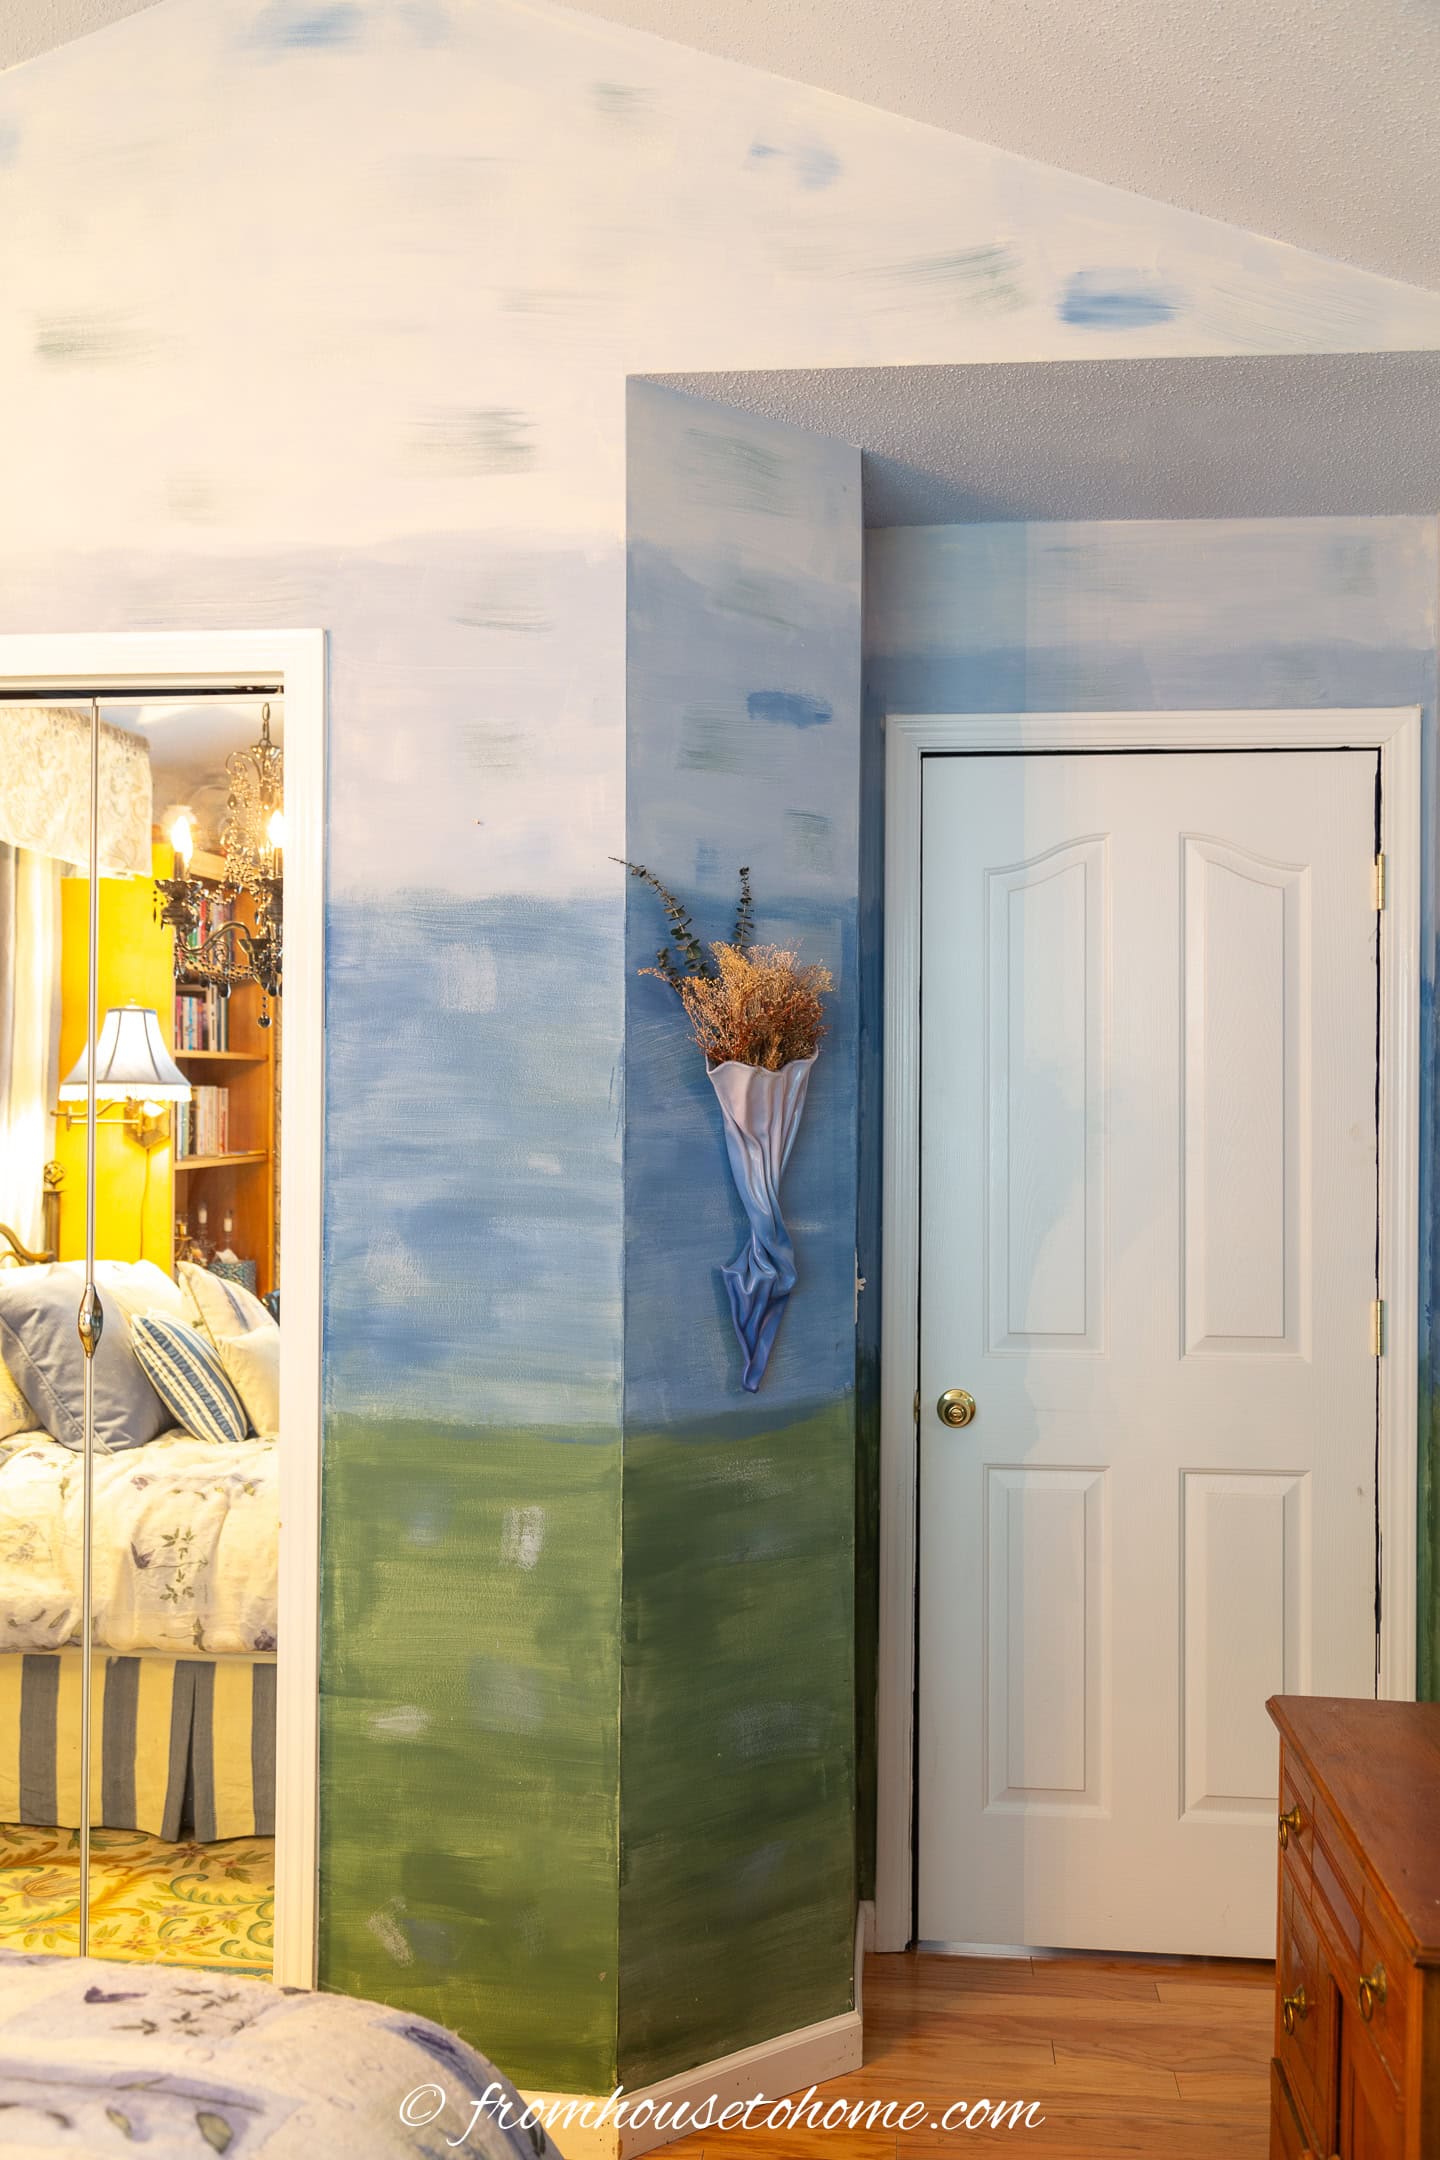
I decided to continue the nature-inspired theme with the paint treatment.
Originally I was thinking of painting a blue sky scene (complete with clouds) on the ceiling, but I was having trouble deciding what to do with the walls.
Then my mother came up with the idea to do this ombre watercolor paint treatment.
It started with green on the bottom (like grass). Then used different shades of blue going up the wall until the top color was a pale blue that continued onto the ceiling (like the sky).
We chose paint colors that were similar to the greens and blues in the flowers of my inspiration bedding. And I love the final effect!
Related: How to choose the perfect paint colors
2 | Replace carpet with wood floors
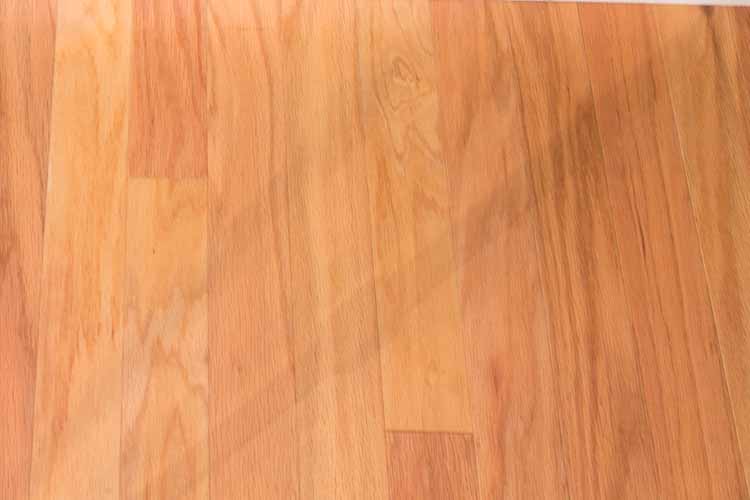
Next I replaced the carpet with hardwood flooring.
There were 2 reasons for this decision:
- The first has nothing specifically to do with this room. I have pets which makes it nearly impossible to keep carpet clean. So one of my missions is to get rid of all of the wall-to-wall carpet in my house.
- The second reason was that the hardwood floor is a natural wood tone that would go with my nature-inspired theme.
Since I already have hardwood floors in a lot of the house, I went with a matching color (natural oak) and thickness so it would create a cohesive look throughout the space.
And the fact that I was installing over a concrete slab (and didn’t want to spend a ton of money) meant that I used a glue-down engineered hardwood.
I installed the floor myself, which ended up being a lot easier than I thought it would be. It’s a little messy because of the glue, and a little time consuming, but it saved me a lot of money!
3 | Add an area rug
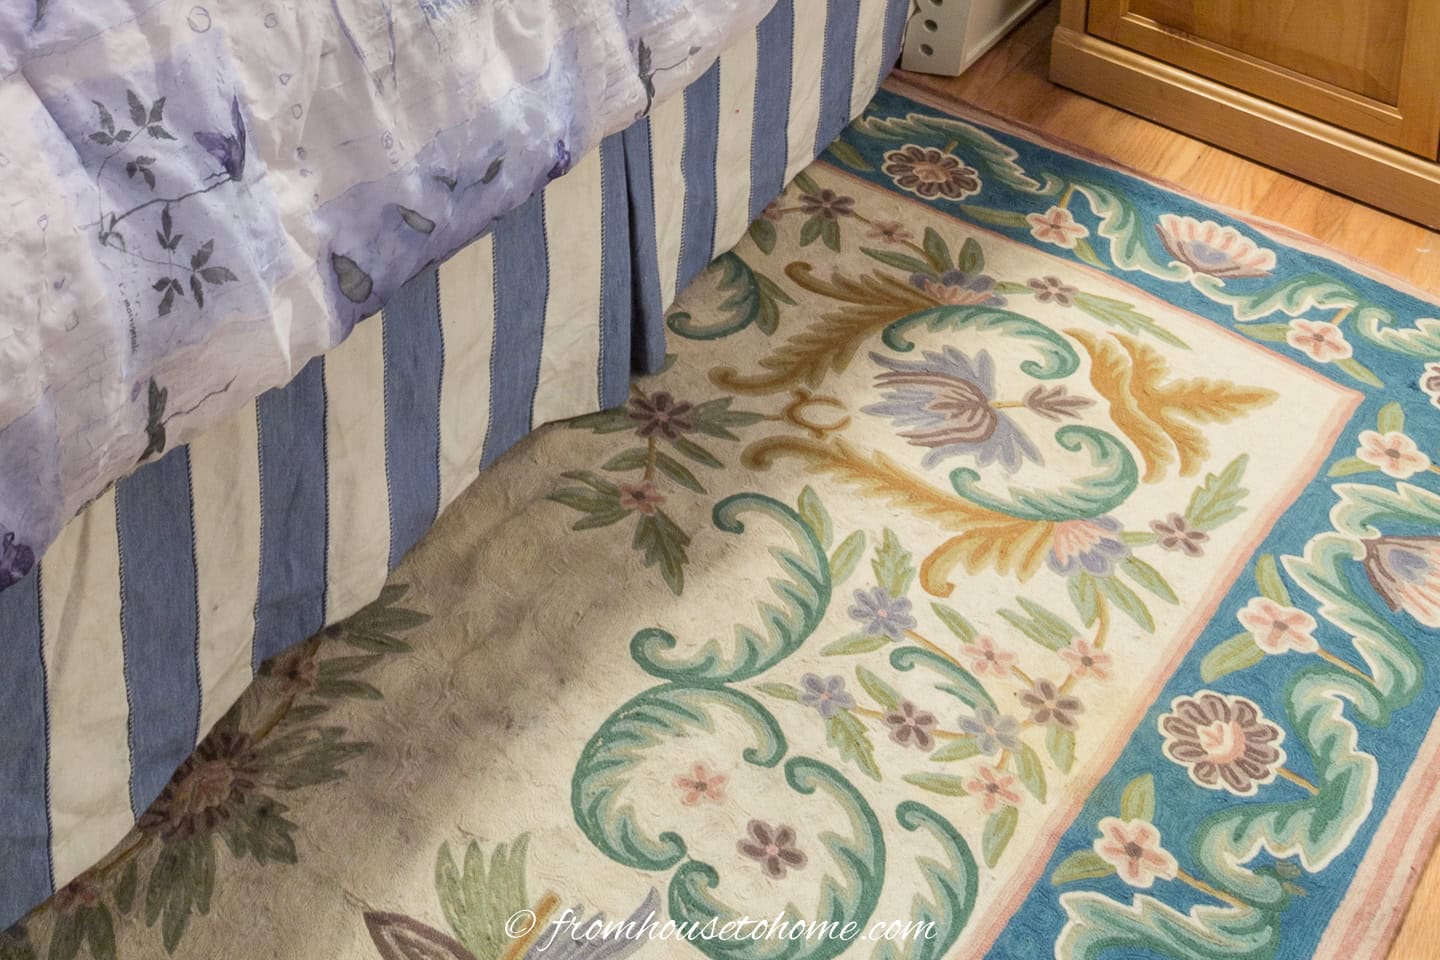
An area rug always helps soften the room when you have hard floors.
And I think everyone likes to step onto a warm floor rather than a cold one when they are first getting out of bed. (That concrete slab is great for providing a stable surface for the flooring, but also makes it pretty cold to walk on).
I used to have this area rug in the living room, but it was starting to wear pretty badly.
Since I still love it, and it has the right colors in it, I decided to use it in the guest room where it would get less wear and tear.
4 | Hang new curtains
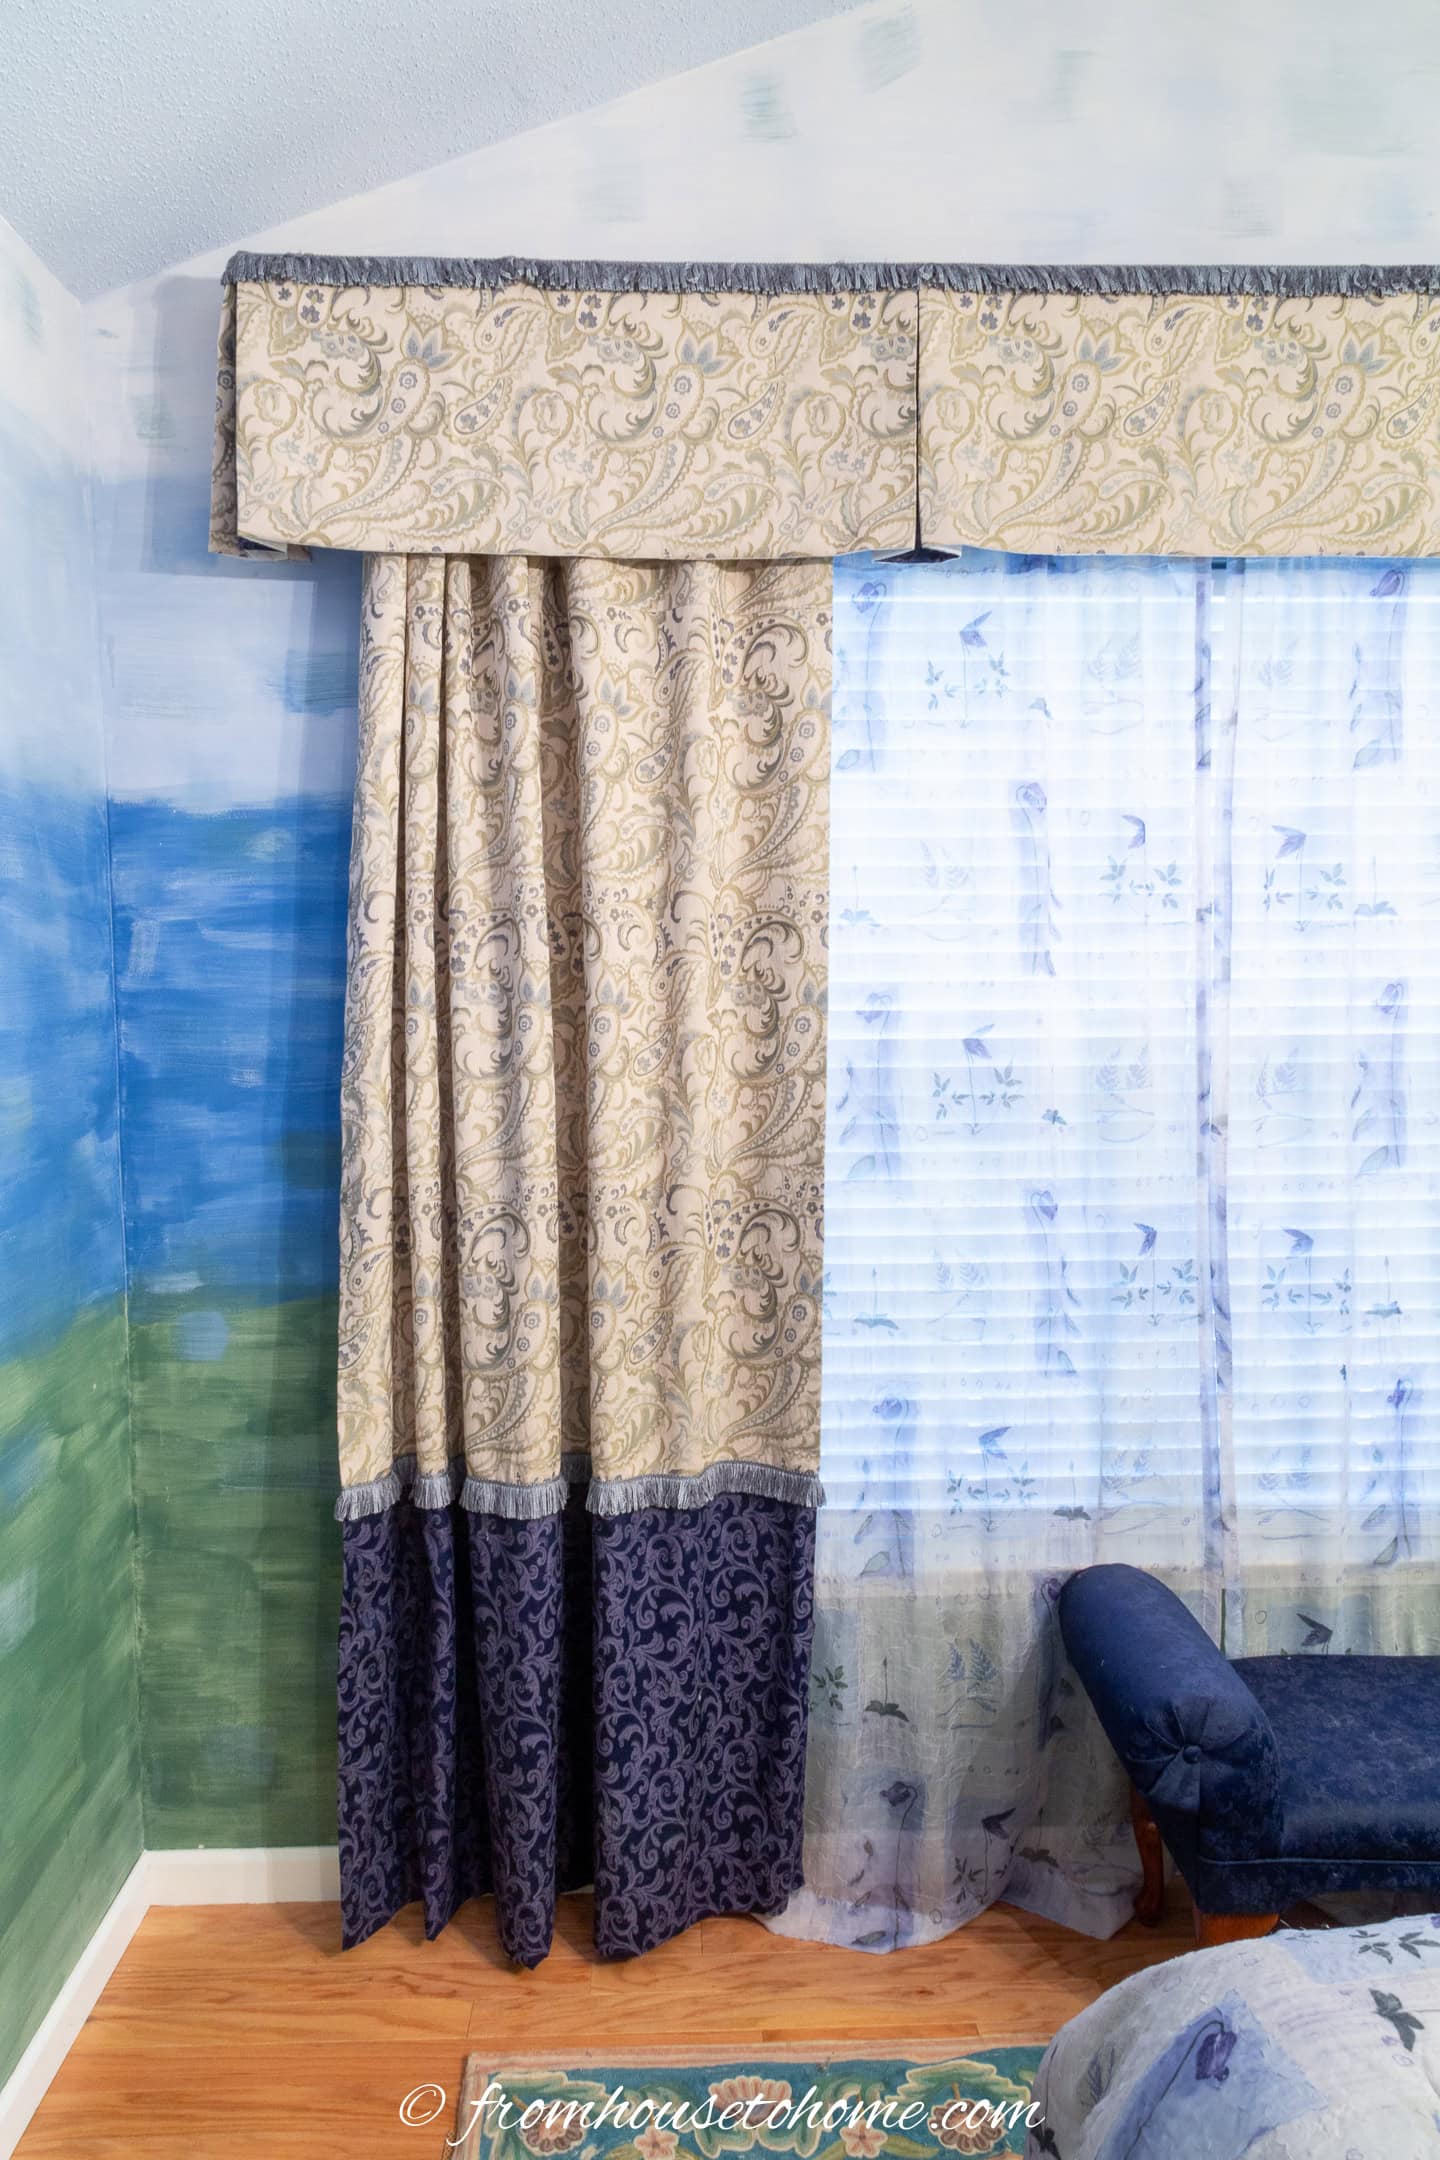
Since the window in this room is fairly large and faces east, I needed to make sure that the window treatments would block out the light.
The first step was to install blinds inside the window well.
To make them look a little nicer from the inside, I hung store-bought sheer curtains in front of them.
Then asked my mother (very nicely) if she would sew some curtains for me. Which she did.
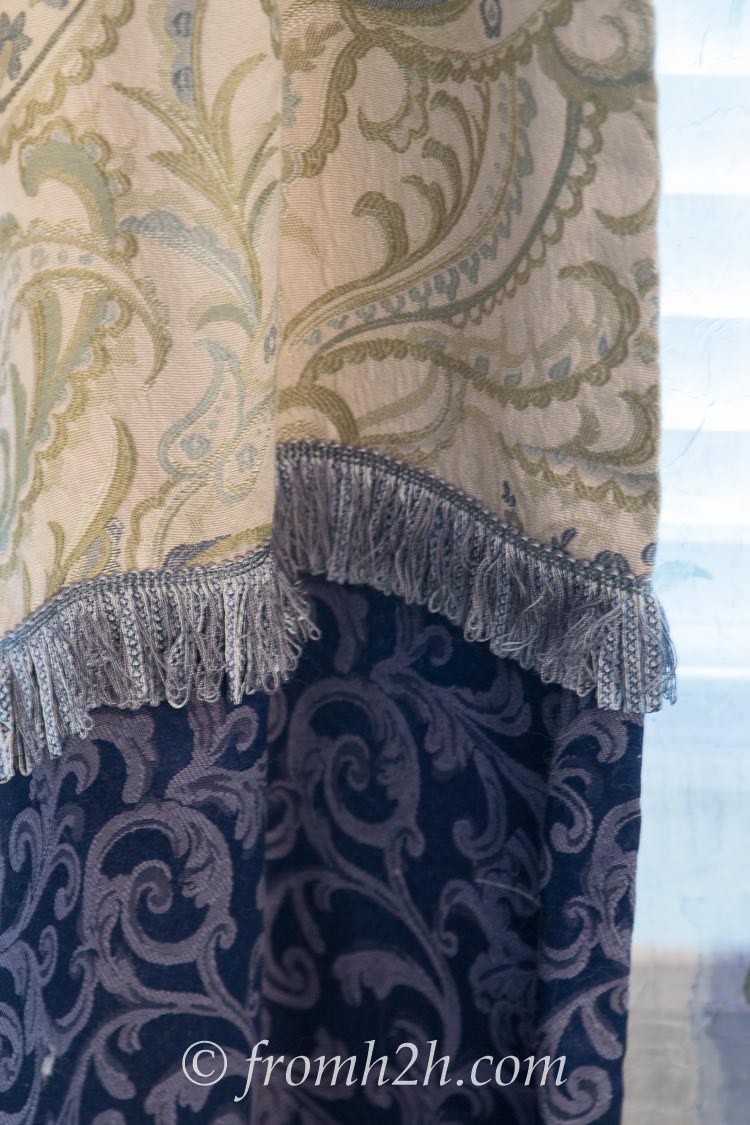
The drapes are made with two different fabrics, a dark blue tone-on-tone paisley print on the bottom, and a blue, green and cream paisley print on the top. A little fringe trim separates the two sections.
Installing the drapes so that they go beyond the size of the window makes the window look even larger. I always try to have the top of the window treatments installed at the ceiling and the sides of the drapes extend at least a foot or two past the sides of the window.
Between the blinds and the curtains, guests can control how much or how little light they want to have in the room.
5 | Add a comfortable bed

The bed in this room is a queen sized bed.
For guest rooms, I always try to put in the largest bed the room will hold. I have never heart of anyone complaining that the bed was too big 🙂

I also wanted to add some extra height to the bed since the room does have ceilings that are higher than normal. This helps to make the room look proportional.
To do this, I decided to create a cornice over the bed that was installed close to the ceiling. And hang drapes behind the headboard that would make the entire bed seem taller.
Once again my mother was there to help with the sewing.
The cornice fabric is the same one that we used for the top of the window treatments. And the fabric in the drapes behind the headboard is a wide blue and cream stripe in similar colors to the bedding.
She also sewed a bed skirt out of the blue and cream stripe which helps to tie the whole look together.

A few blue and cream cushions on the bed make it look inviting.
But don’t use too many or it becomes a hassle for your guests to take them off and put them back on again.
And make sure there’s an easy place for your guests to put them when they are using the bed.
6 | Add storage
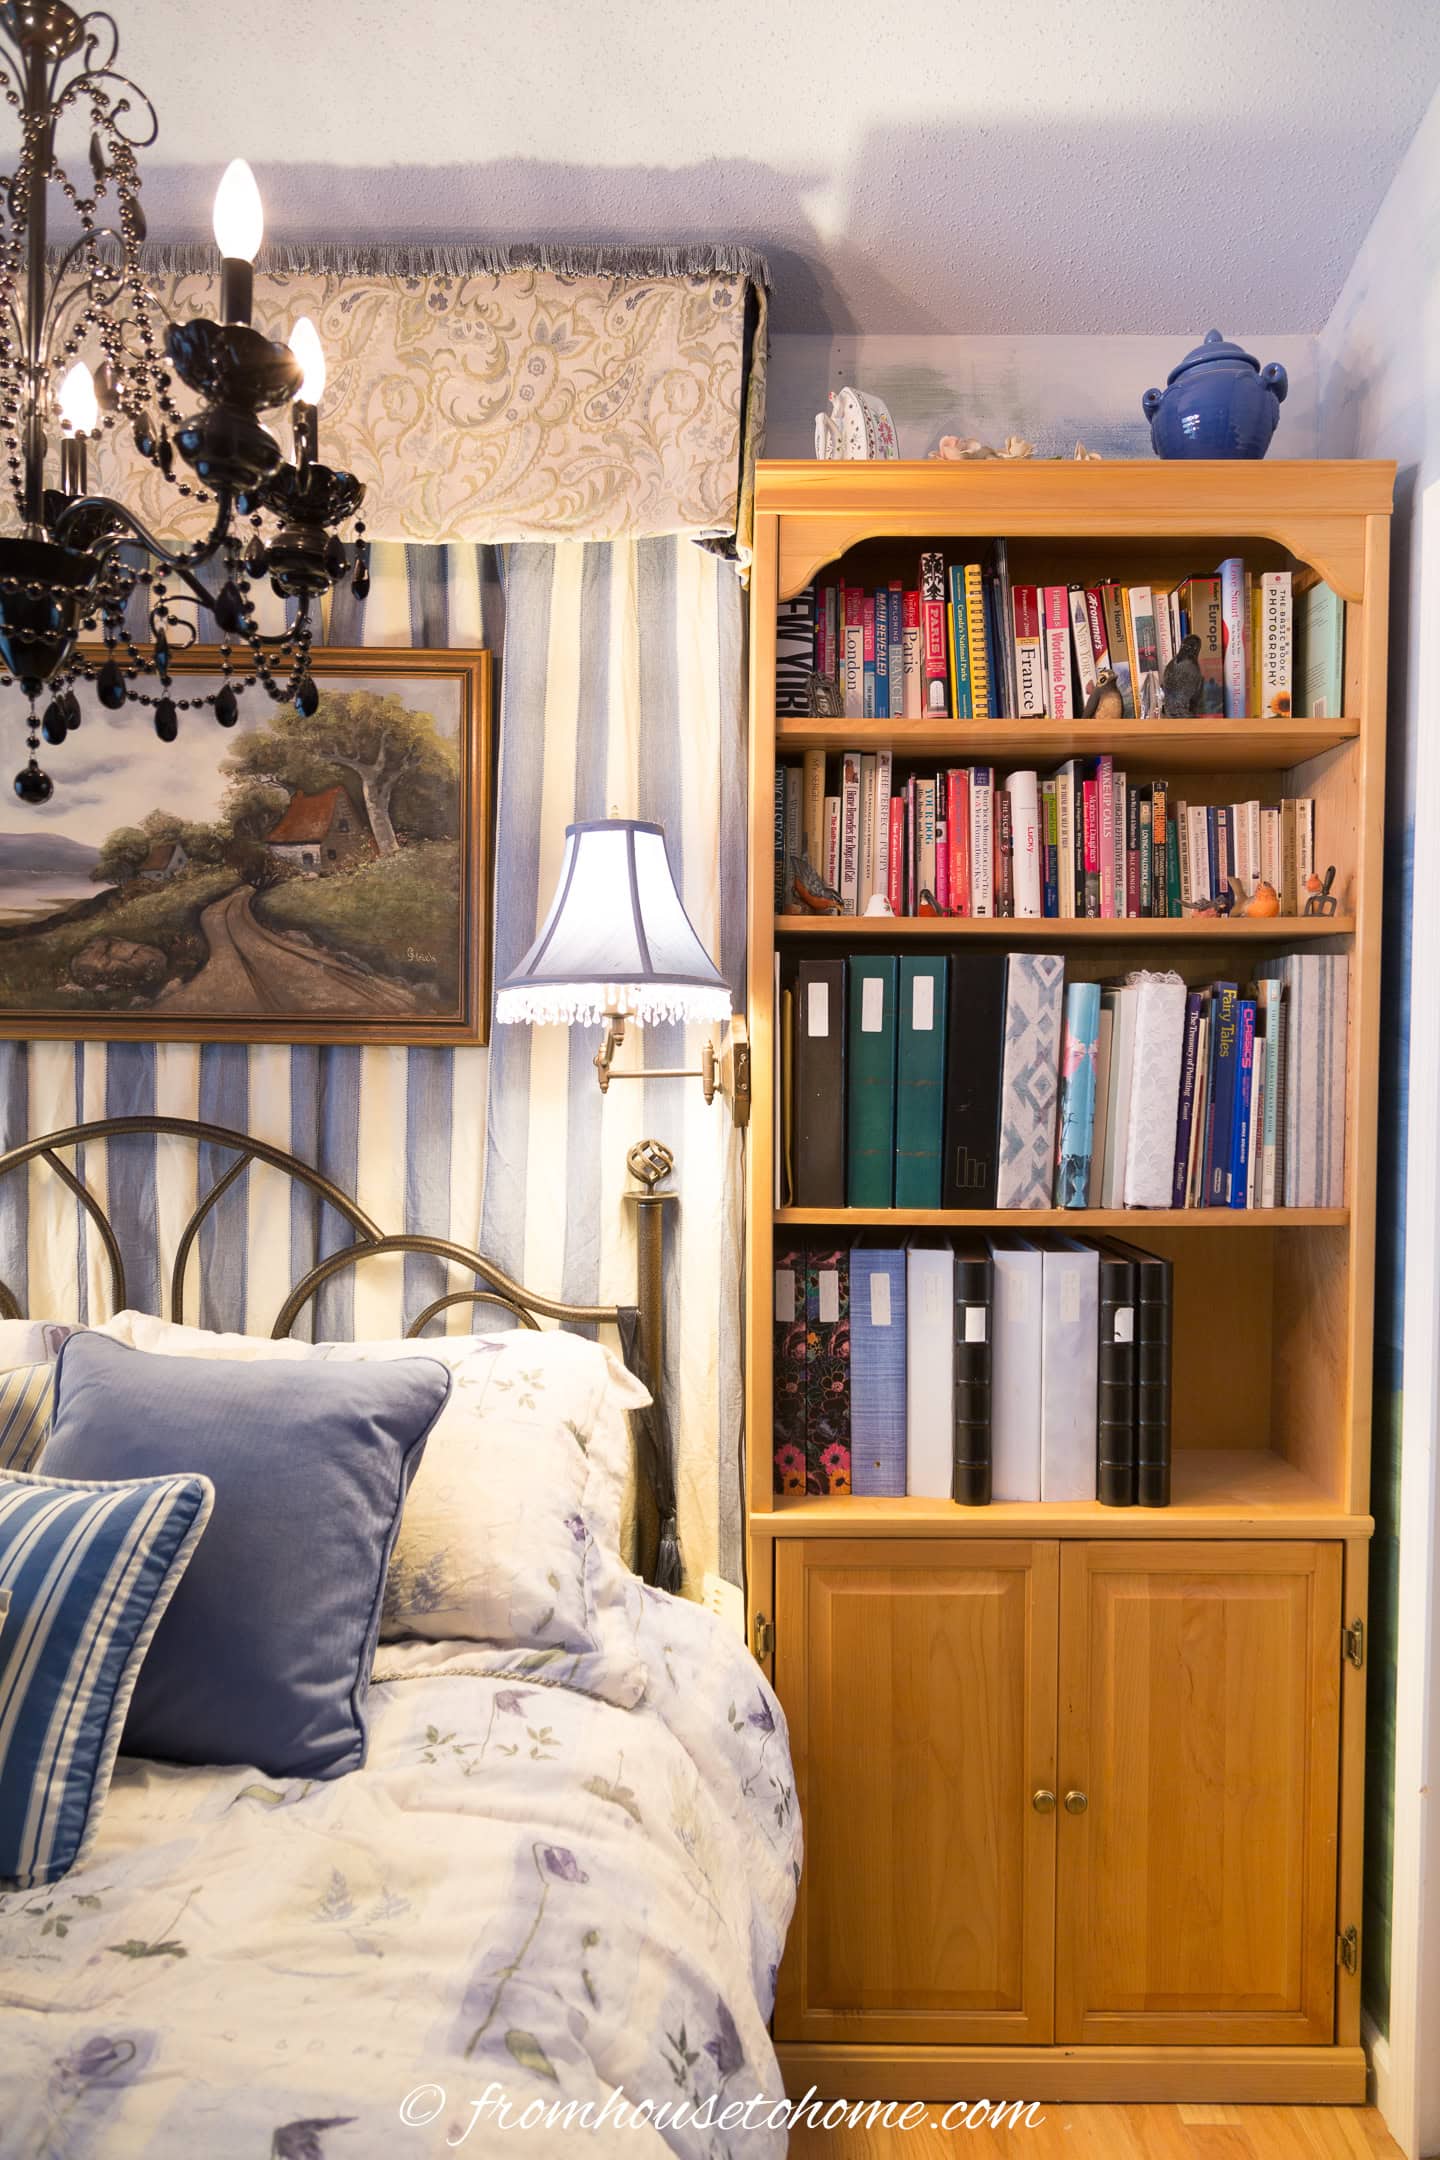
The bookcases on either side of the bed hold books that anyone who comes to stay might be interested in reading.
I bought these shelves unfinished and applied a couple of coats of urethane to keep the natural color.
Since the bookshelves and the floor are both made of oak, the color is almost exactly the same.
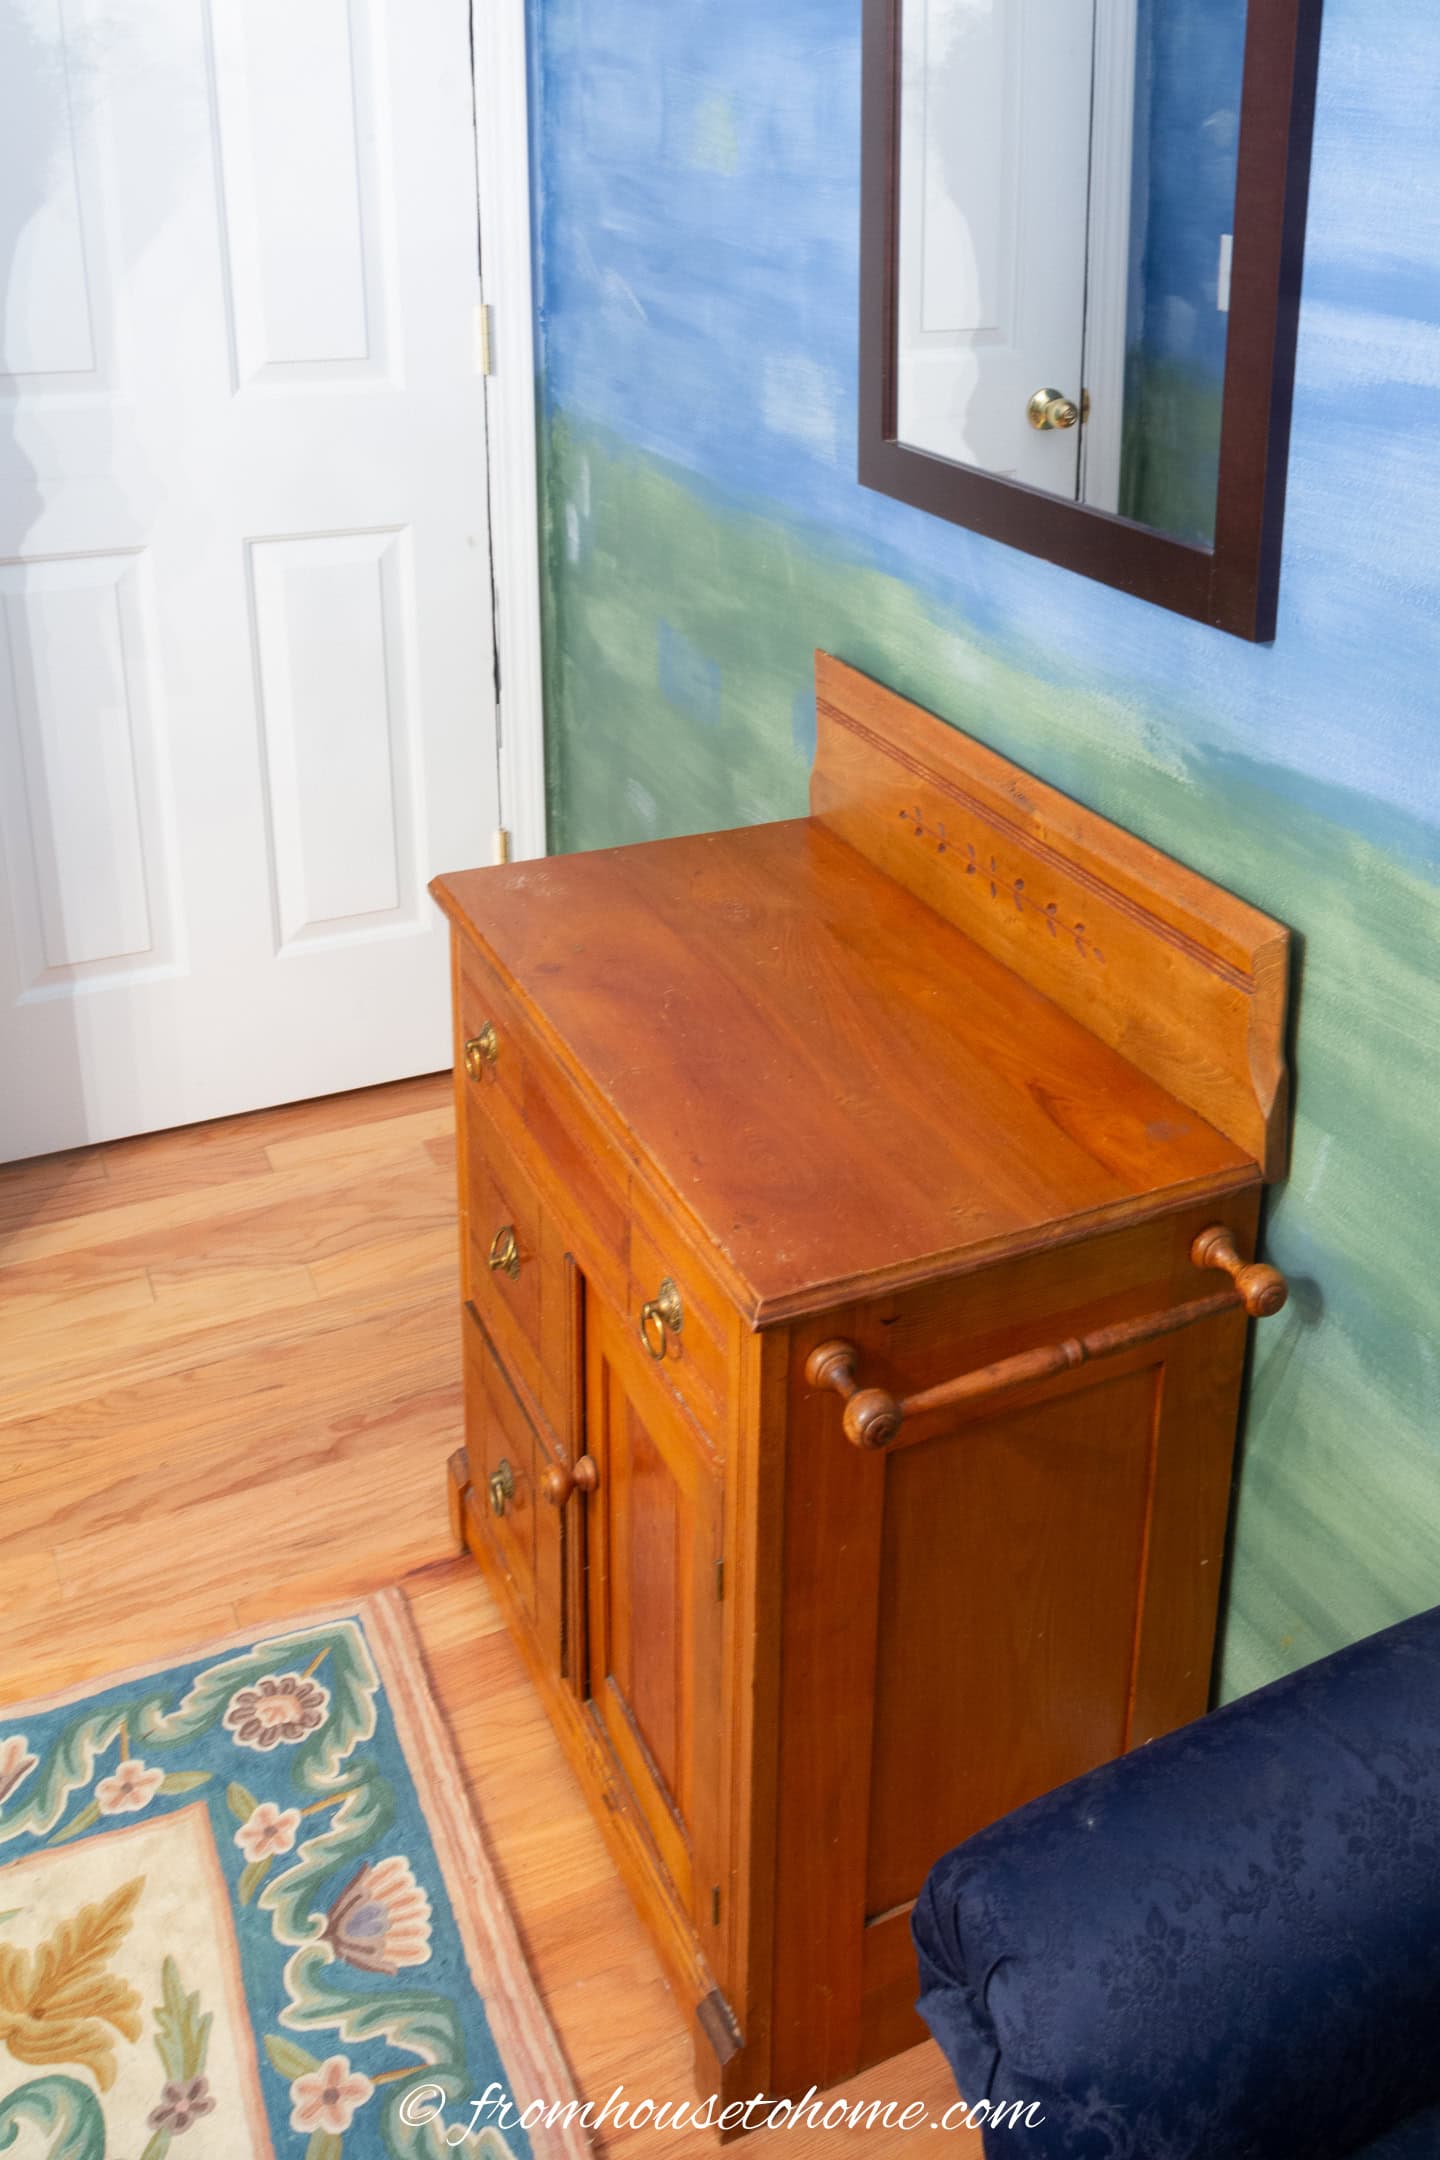
I bought an antique wash stand to use instead of a dresser (which just happened to be the same color as the floor).
It has a large enough surface for people to put their suitcase on. And a few drawers for putting away clothes.
But has a little more character than a traditional dresser.
7 | Upgrade The Lighting

Replacing the builder-grade boob light was high on my priority list.
And I love chandeliers!
So any room that can function with a chandelier gets one in my house. Which is pretty much every room :).
I also believe that every room needs some black.
This room didn’t have either, so I got a black chandelier.
It’s a little unexpected, but I like that it ties in with the wrought iron bed and makes more of a statement than a regular clear crystal chandelier would.
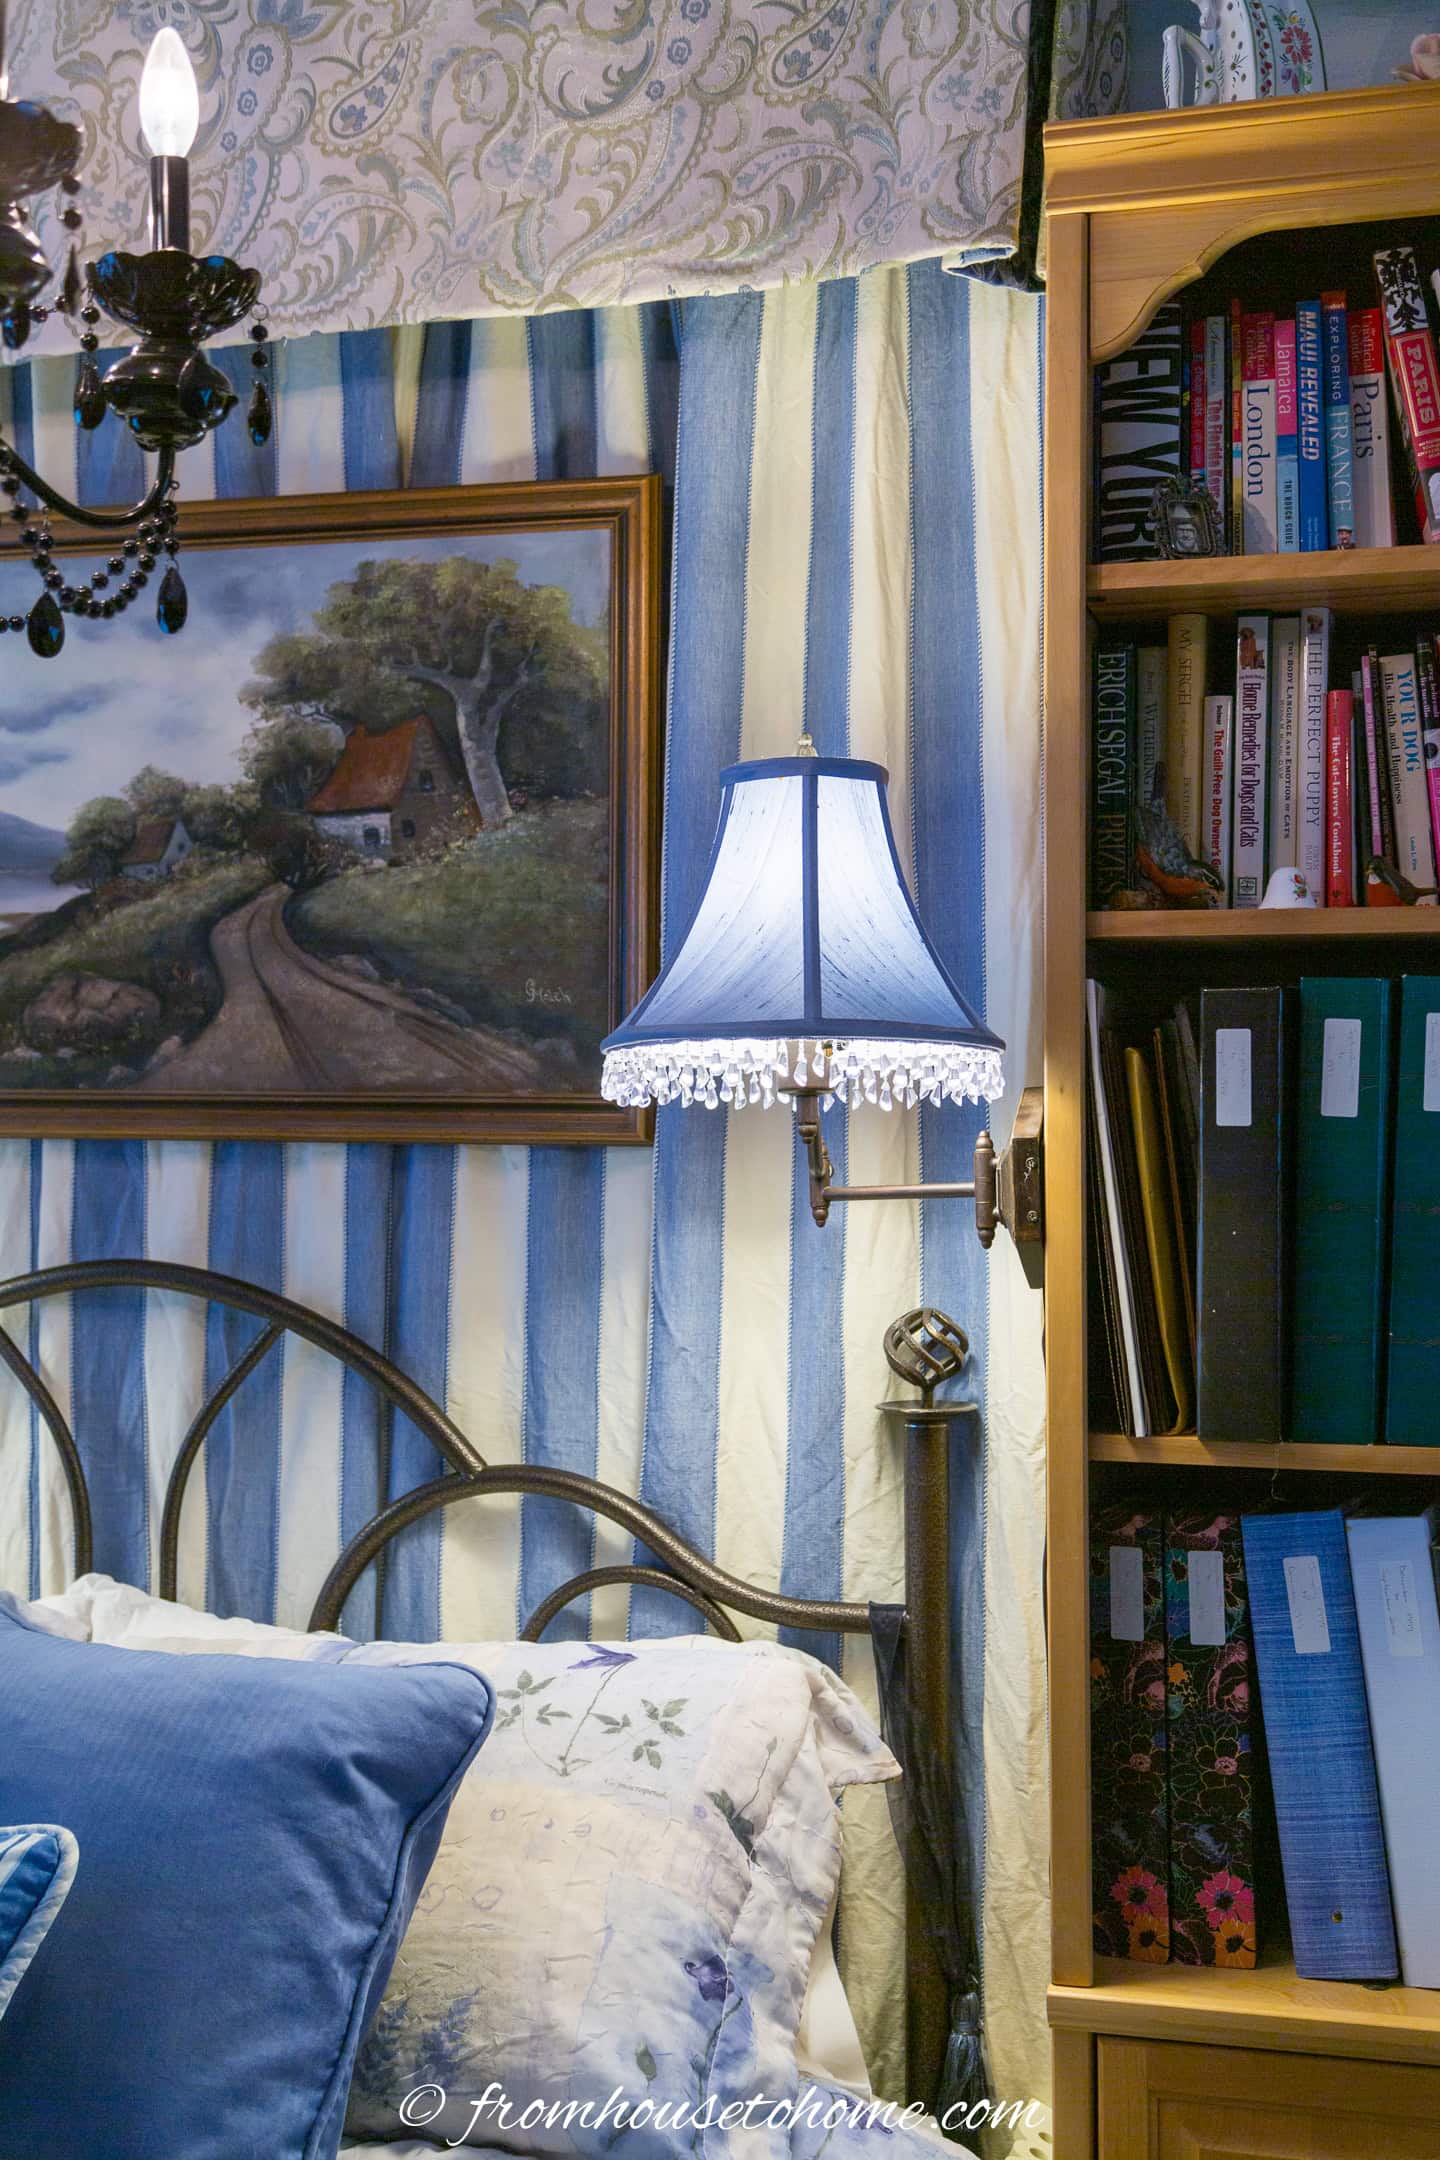
I also think that bedrooms should have bedside lighting that is easy to access from the bed and can be used for reading.
In this case, installing swing arm lamps on the sides of the bookshelves was the perfect solution.
They are easy to get to, don’t take up any table space and we made them look a little prettier by gluing beaded trim to the bottom of the shade.
8 | Replace the closet doors

The original closet doors in this room were standard bi-fold doors which worked perfectly well. (There isn’t enough space in this room to have closet doors that swing open).
The problem was there wasn’t really a good place to put a mirror.
And I think all rooms where people will be getting dressed need a full-length mirror.
So I replaced the regular bi-fold doors with these mirror bi-fold doors* which solved both issues.
9 | Add seating
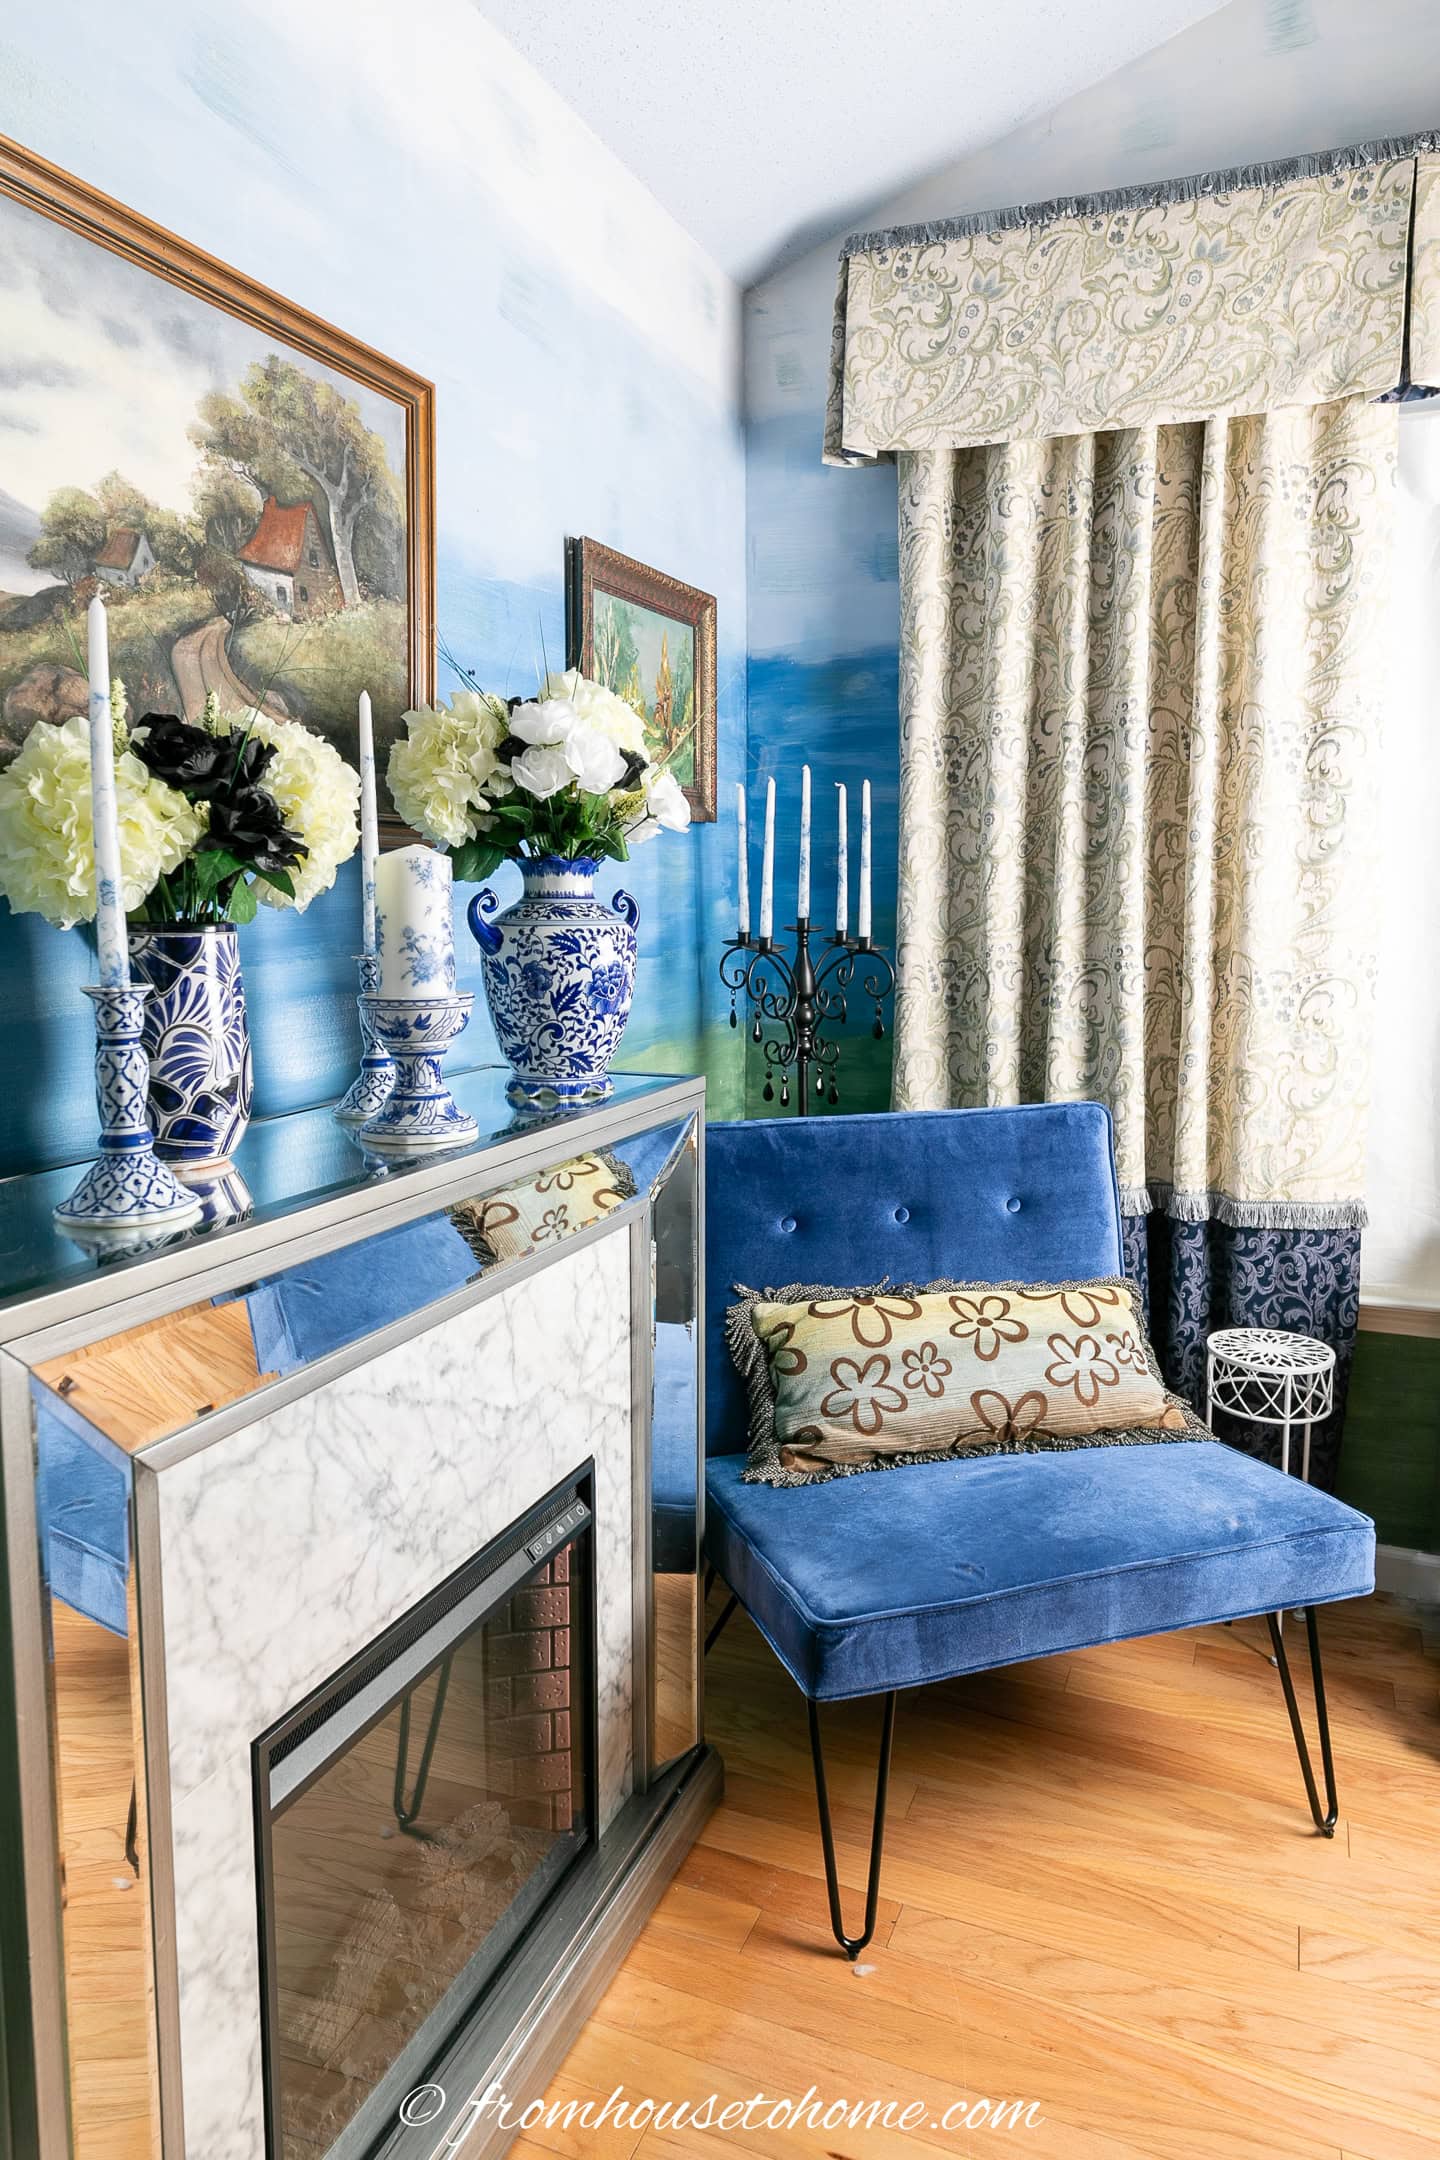
I think all bedrooms should have a place to sit down and take your shoes off.
So I put in a comfy blue velvet chair.
Since the room isn’t very big, I went with an arm-less design that is comfortable to sit in but doesn’t take up much space in the room.
If you don’t have room for a chair, a small bench may work better for you. They are narrower and usually fit quite easily under the window or at the end of the bed.
10 | Add Some Accessories
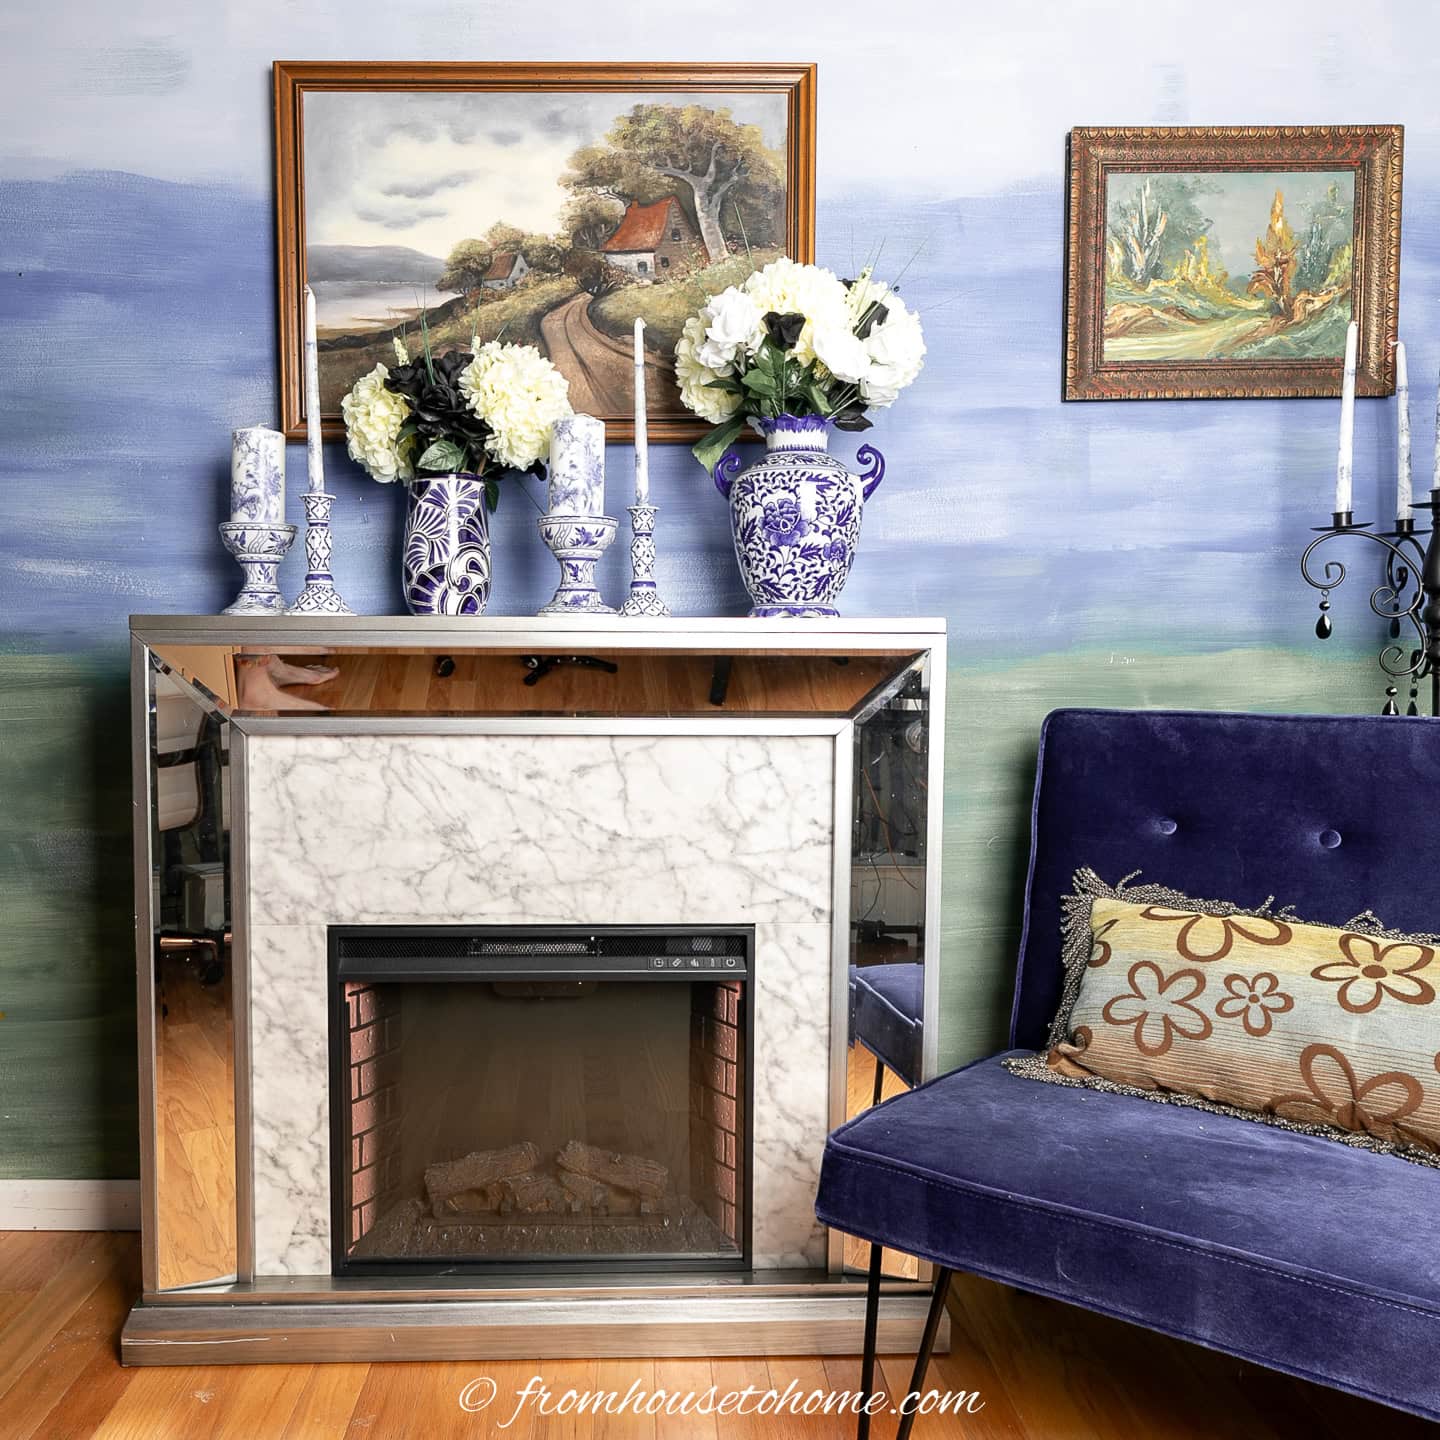
The last step is to hang some pictures and accessories to add some interest to the room.
Since this room doesn’t have many architectural details and I had some extra wall space across from the bed, I also decided to put in this electric fireplace.
It plugs into the wall, has a remote control and doesn’t have to be vented so it can go in any location you want it to.
And fireplaces immediately make any room feel warm and inviting.
The Finished Guest Bedroom
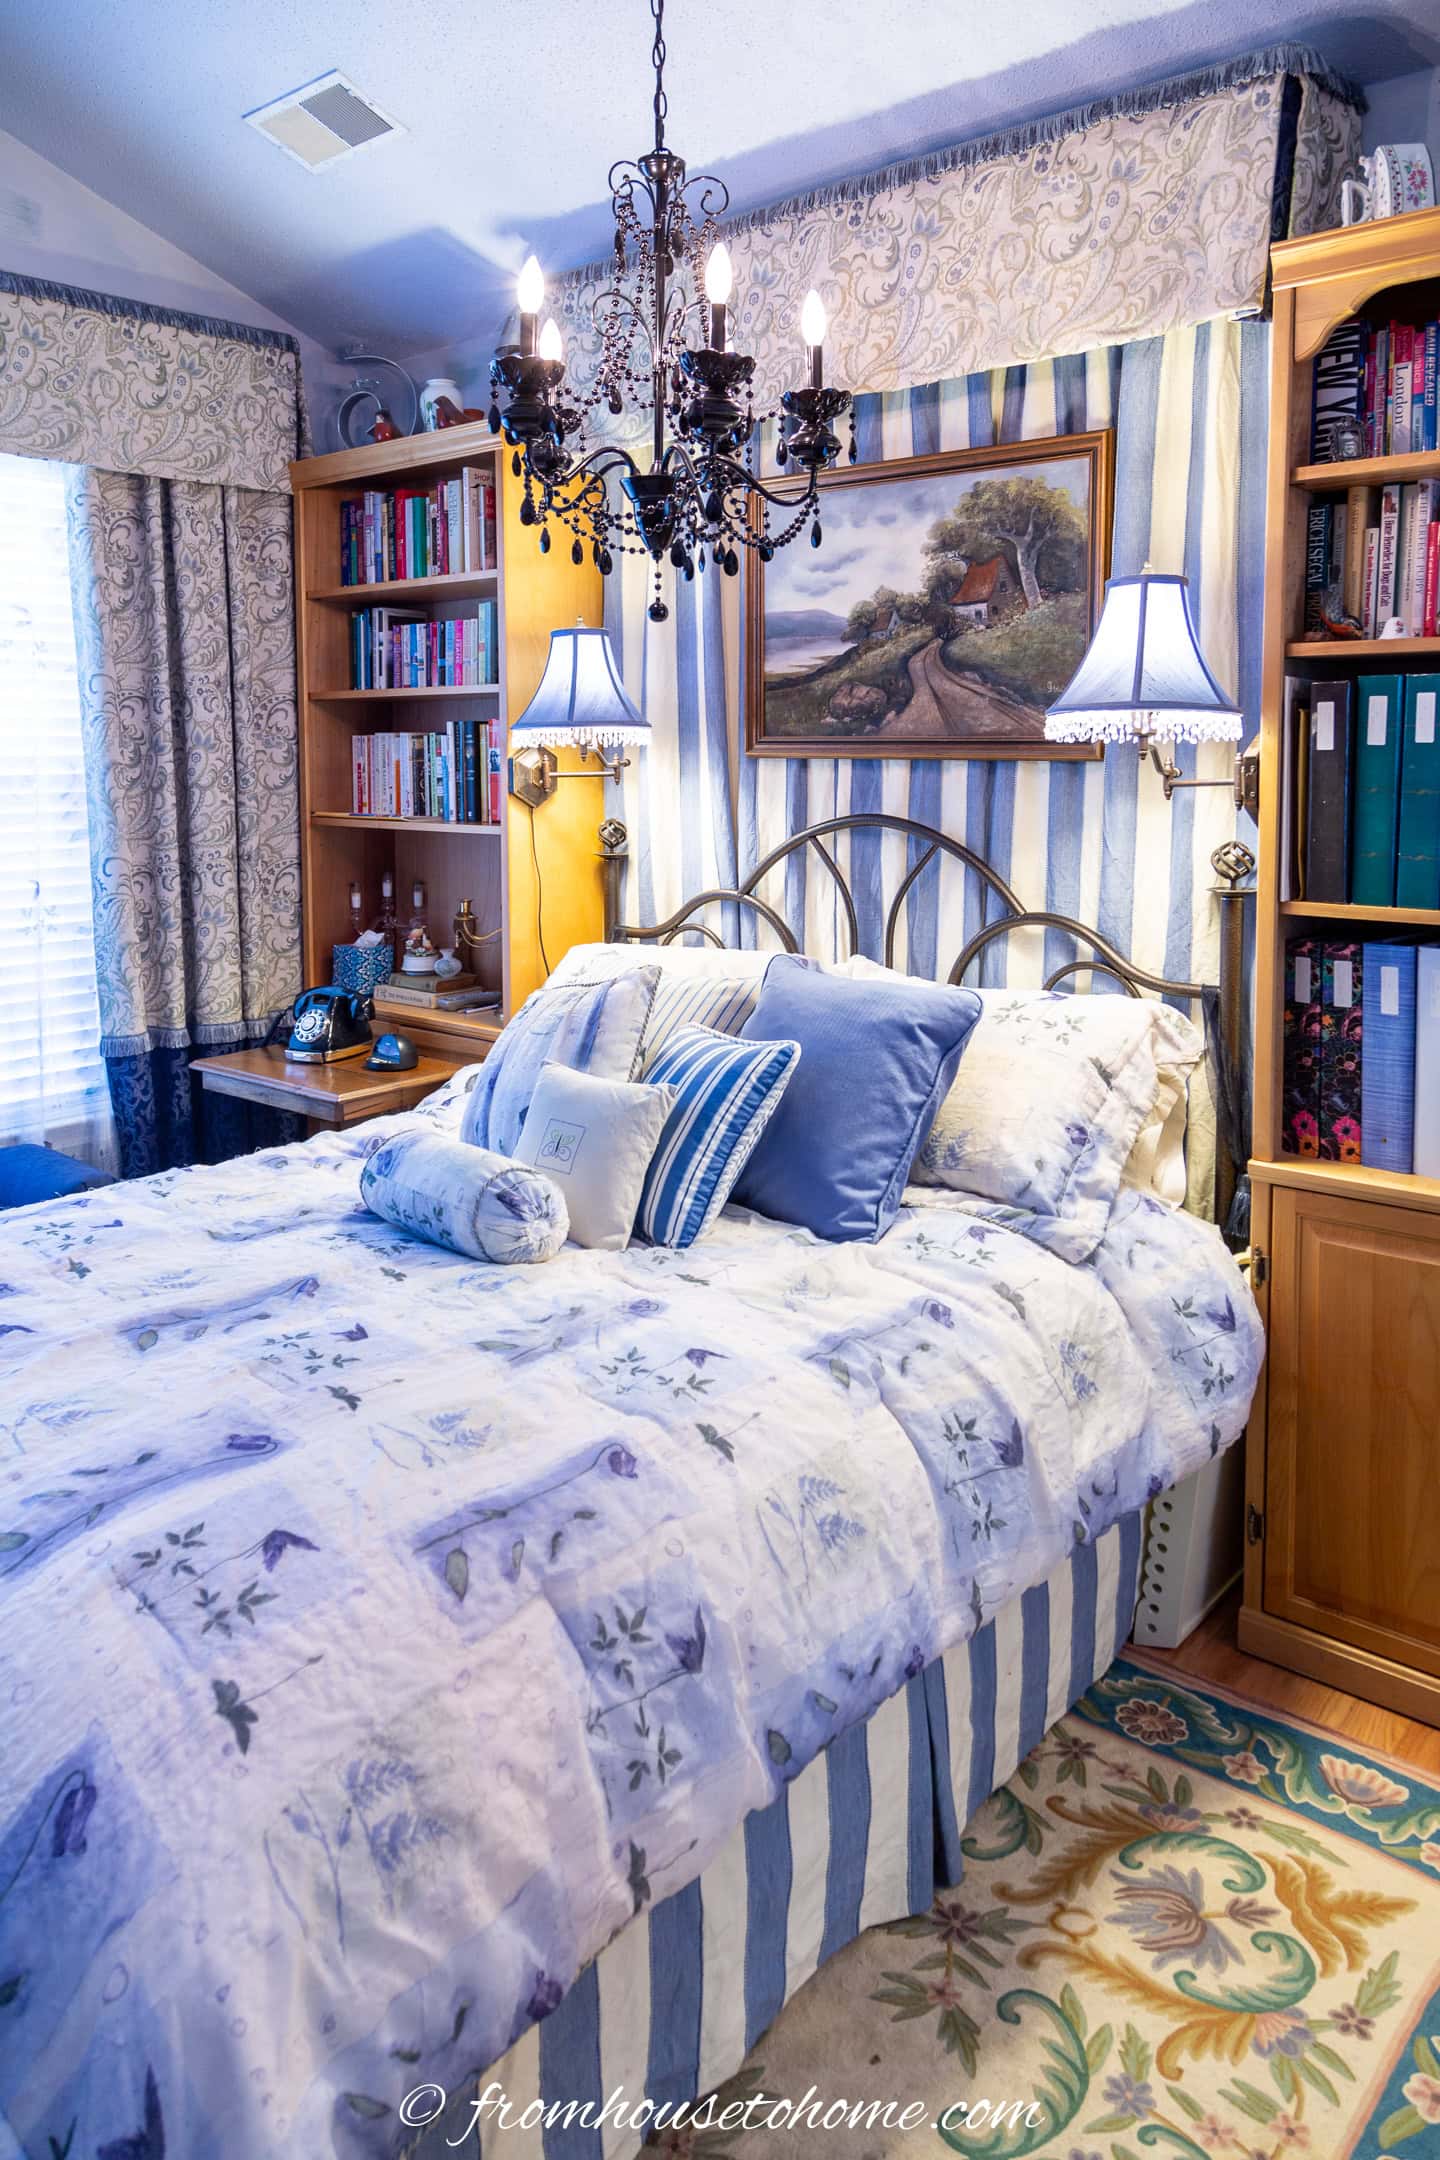
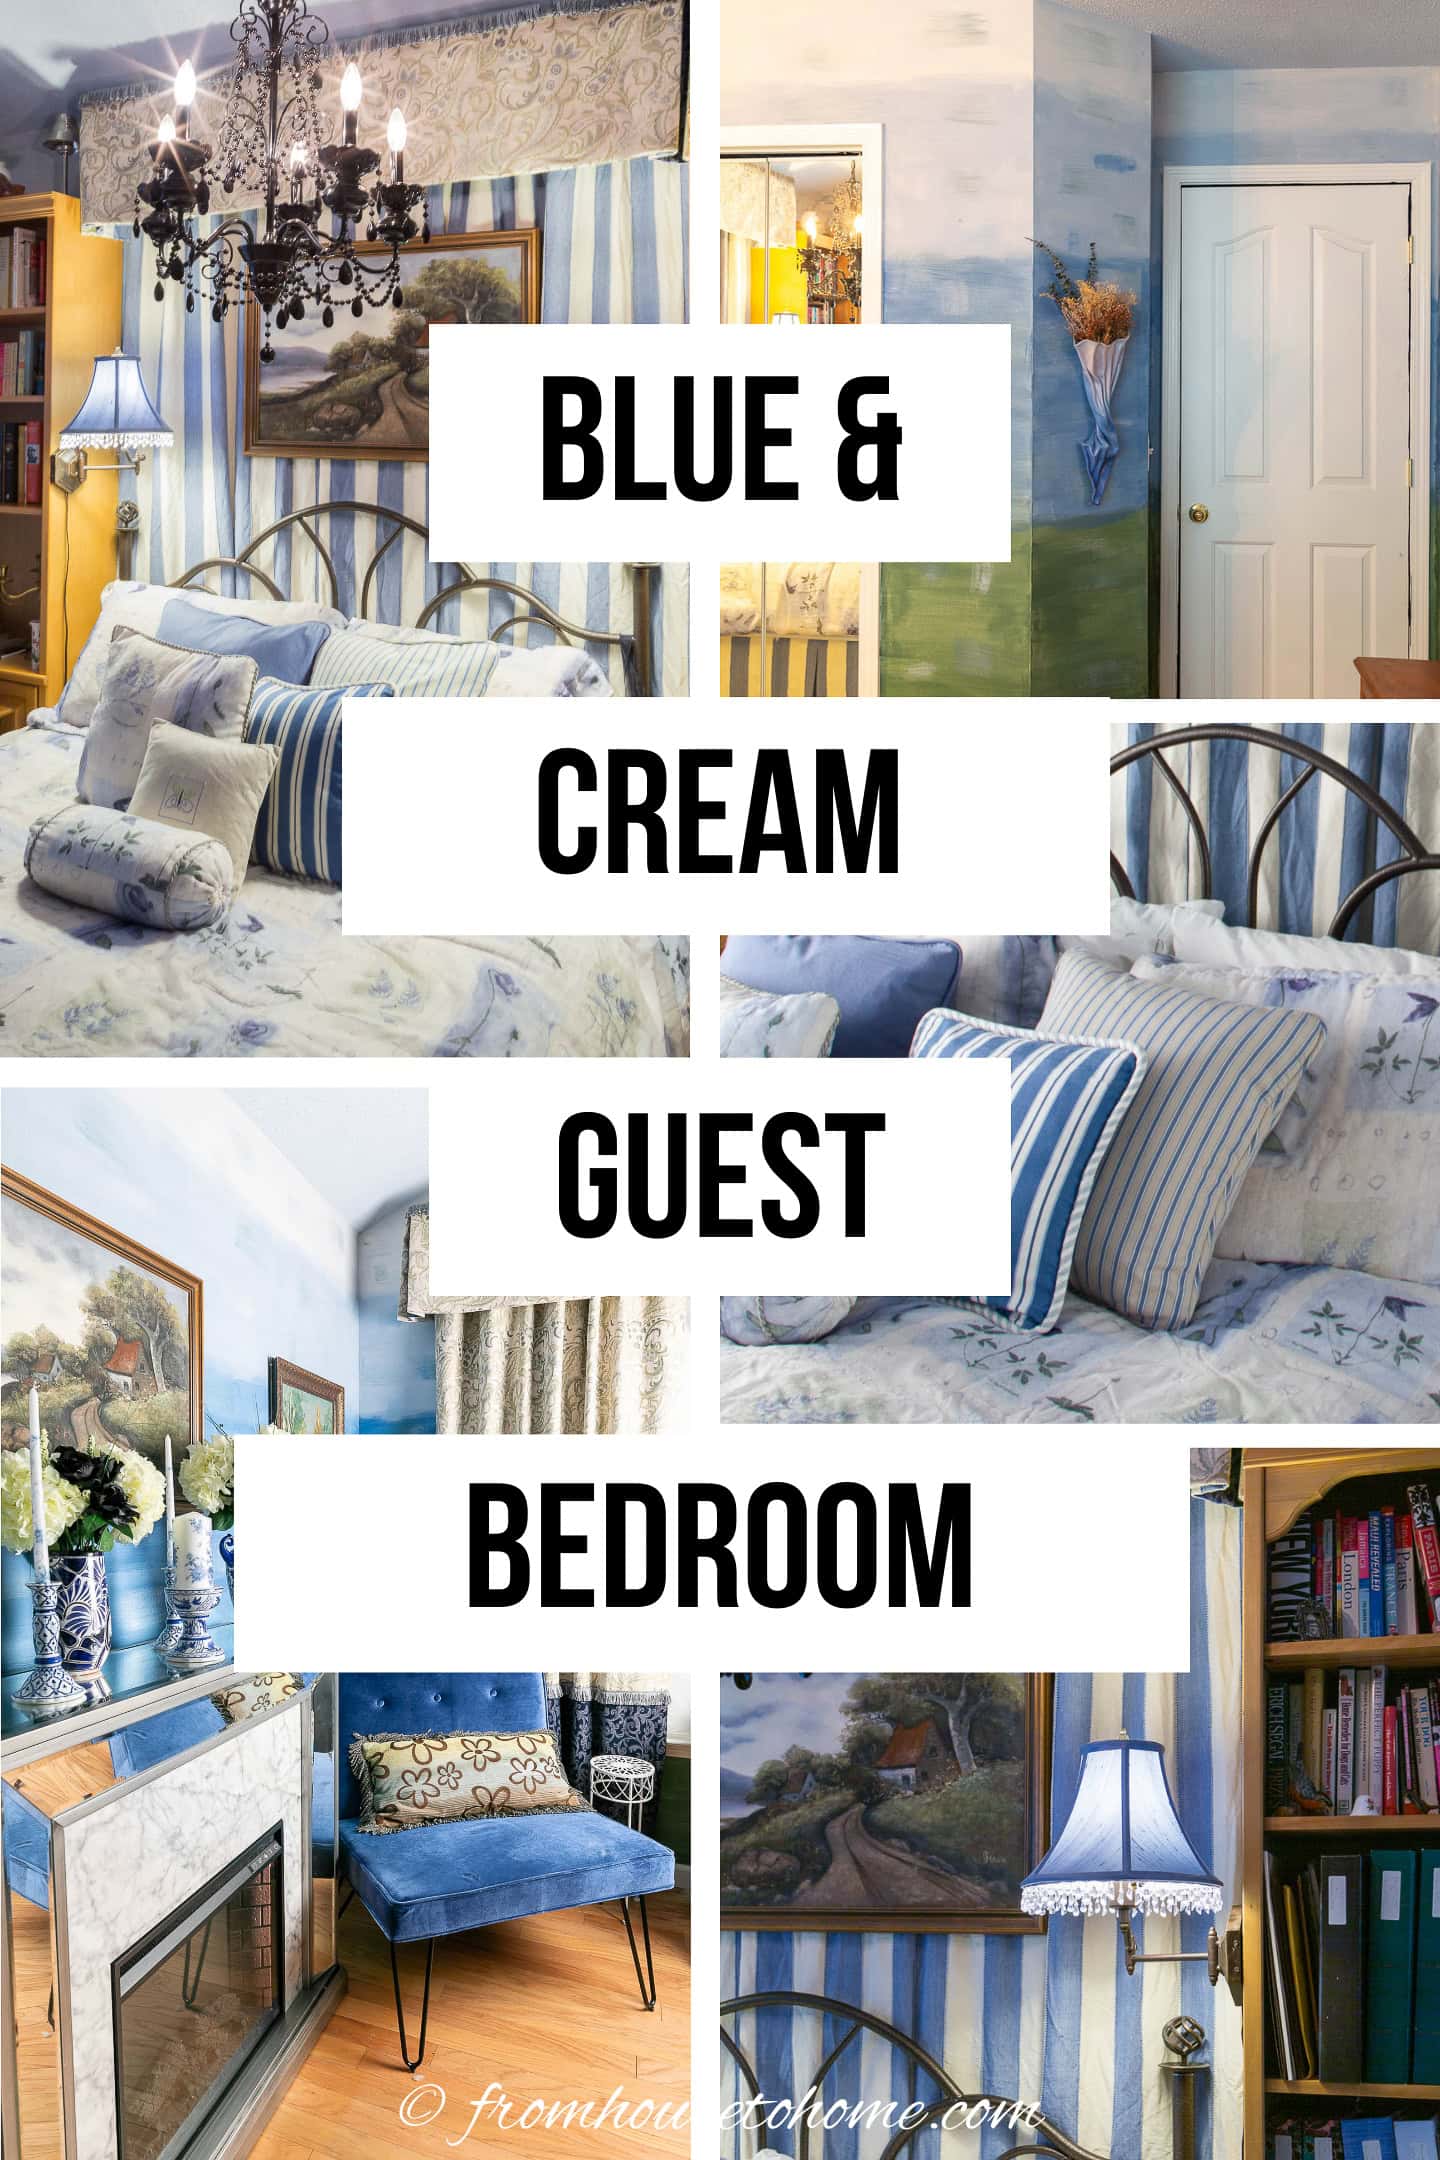
The finished guest room definitely has more personality than it did originally.
Have comments or questions about our blue and cream guest bedroom makeover? Tell us in the section below.
Pin It So You Don't Forget It!
This post was originally published on October 12, 2015 but was updated with new content on July 31, 2024.
Where did you buy the unfinished bookcases? I love them!
Thanks, JoAnn! I actually got them at Lowe’s believe it or not. It was a few years ago so I’m not sure if they still carry them. But they were pretty inexpensive, too 🙂