How To Convert A Hardwire Pendant Light To A Plug In
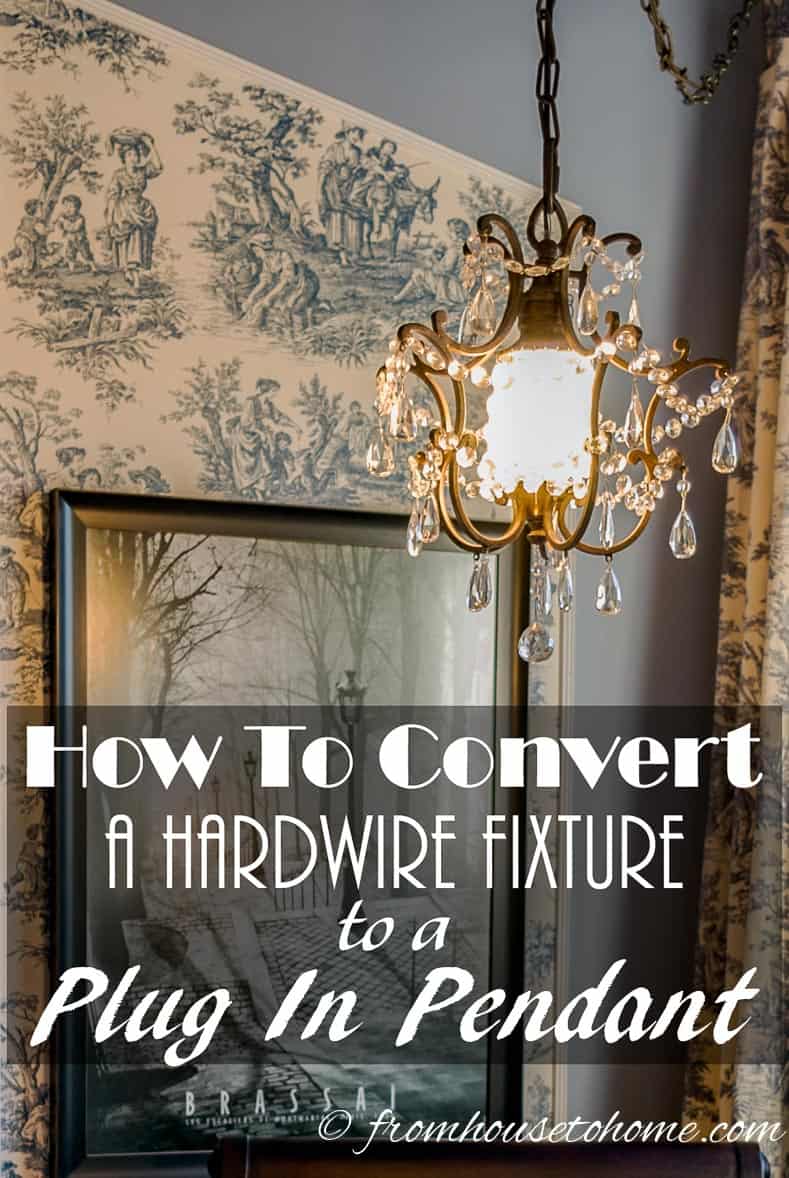
Every once in a while, I am looking for a pendant light and I find the perfect one…only to realize that it is supposed to be hard-wired and I want to be able to plug it in to an outlet. I used to continue my search trying to find the perfect plug-able pendant light until I learned this trick…and it is so easy, you don’t need to be an electrician to make it happen.
Want to see the bedroom where this pendant was used? Click here to go to the post.
Click Next to find out how to convert a hardwire fixture to a plug in pendant.
What You Need
[columns] [span6]
[/span6][span6]
[/span6][/columns]
[columns] [span6]
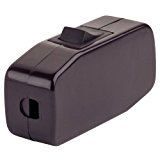
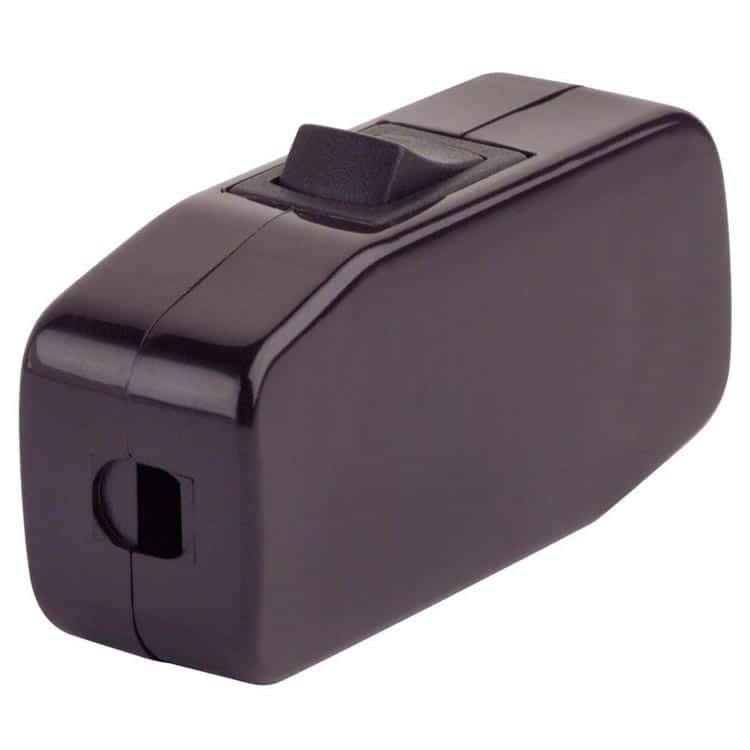
Lamp cord switch (optional)
[/span6][span6]
[/span6][/columns]
[columns] [span6]
[/span6][span6]
[/span6][/columns]
[columns] [span6]
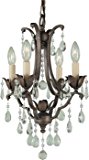
Maison De Ville Crystal Chandelier Lighting
[/span6][span6]
[/span6][/columns]
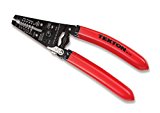
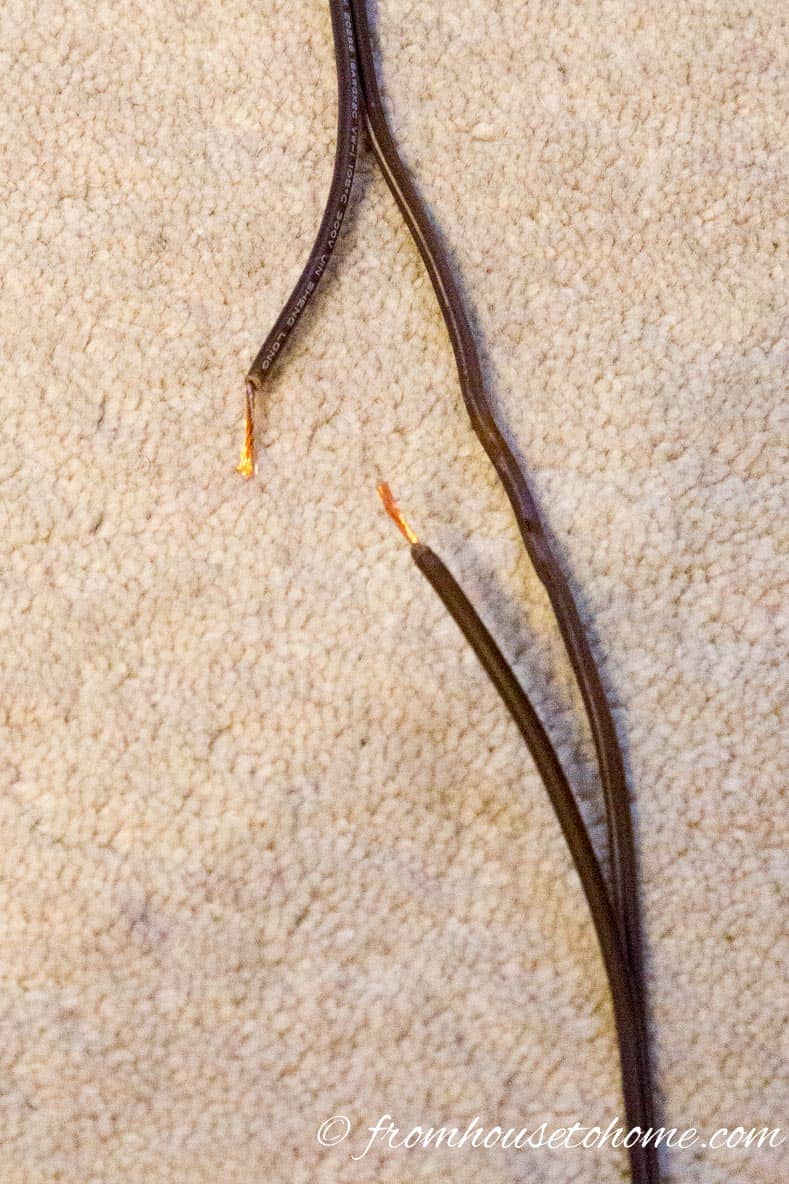
Step 1: Prepare the Wire
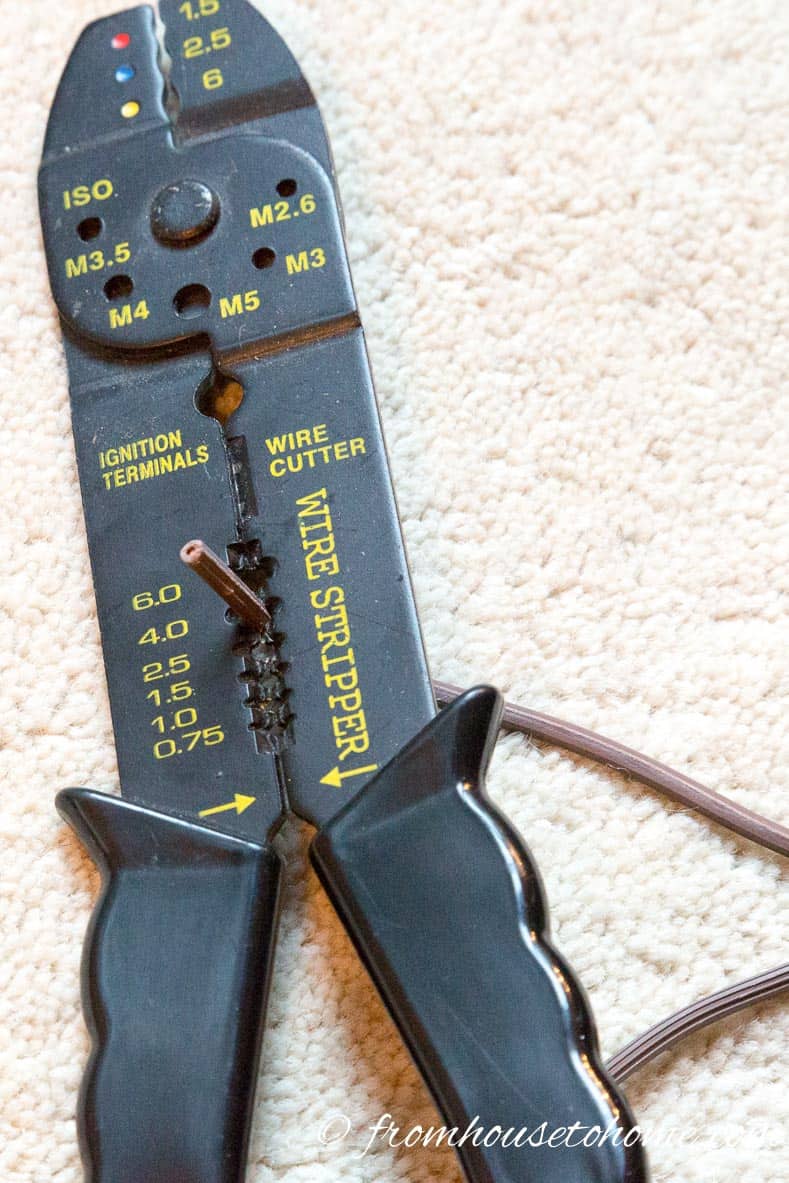
1. If there is no exposed copper, use the wire stripper to remove about a 1/2″ of the wire outer covering to reveal the copper.
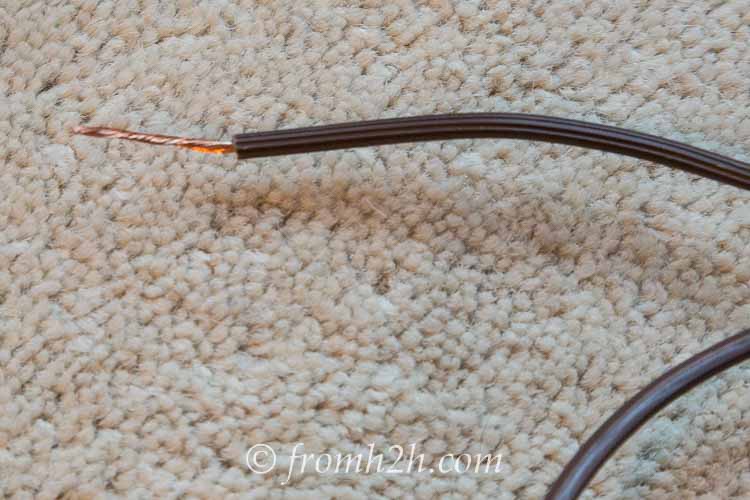
2. If the wire is made up of multiple wires, twist them together to make it easier.
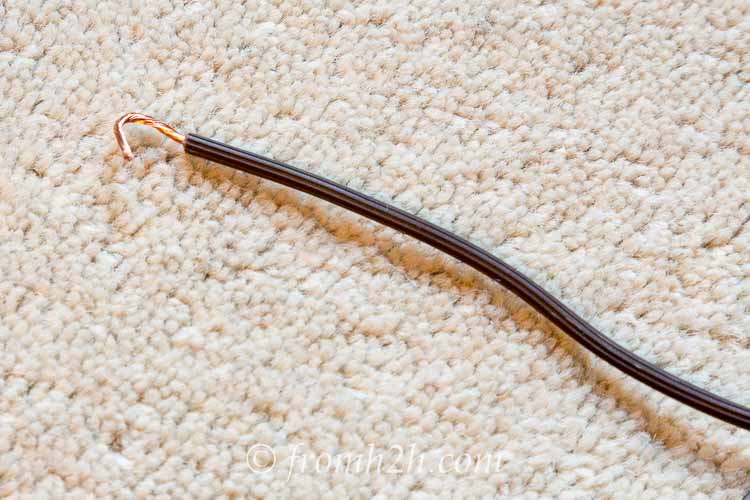
3. Make a hook in the wire end.
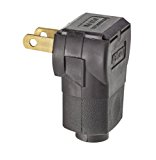
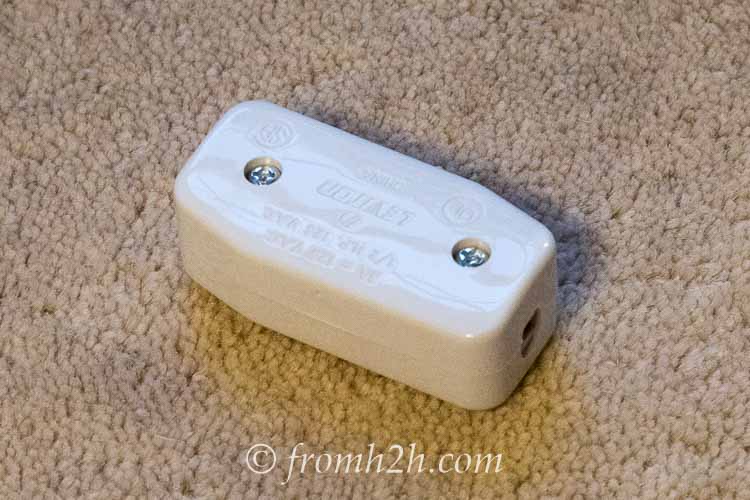
Step 2: Attach the Plug
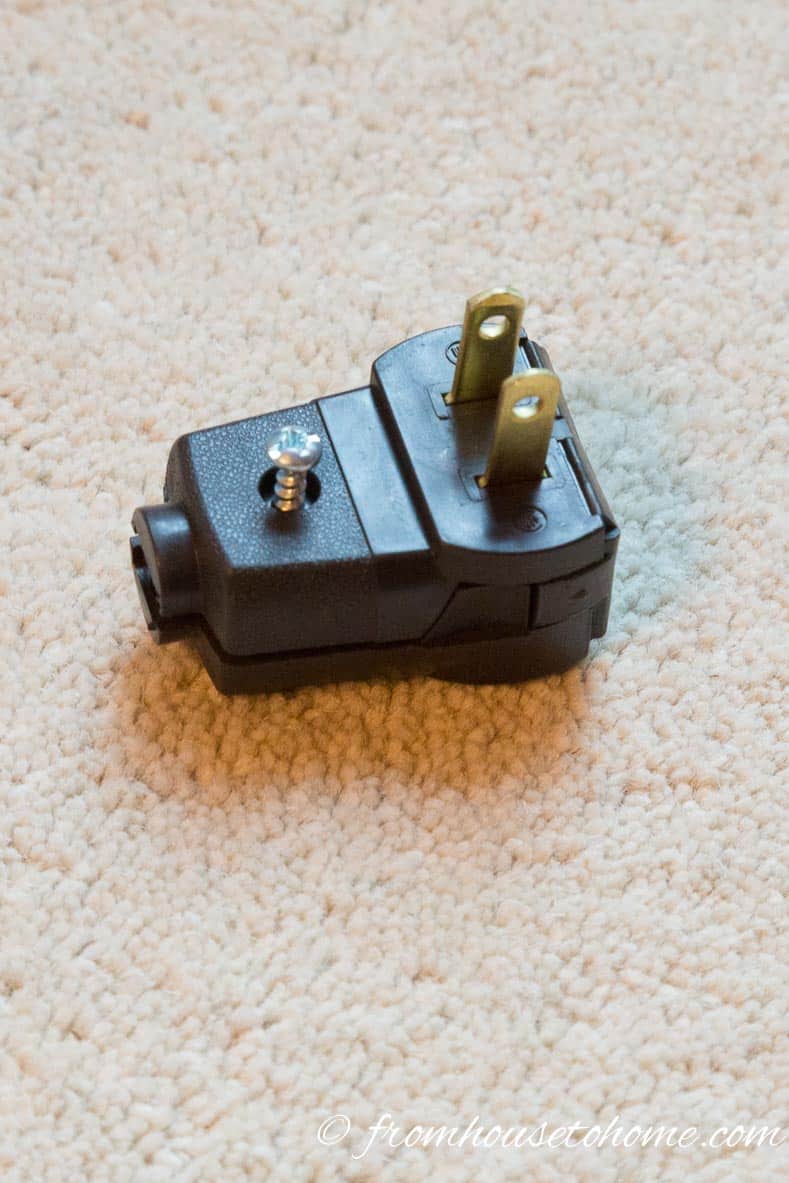
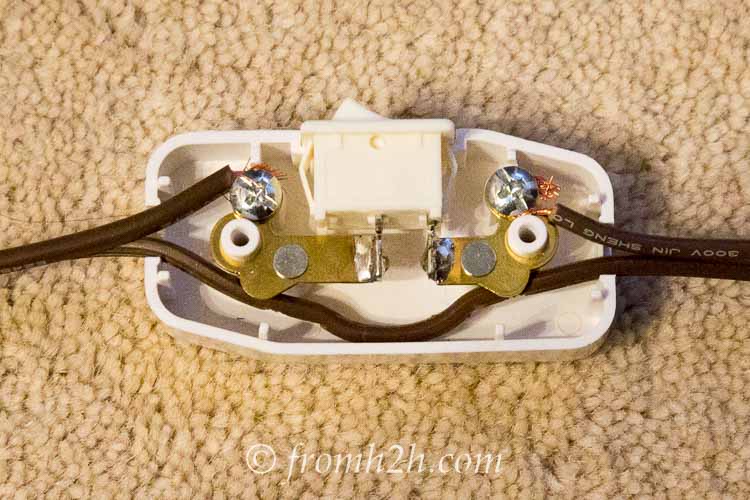
I like this plug design because the wires are screwed onto the casing. This is a more secure design than some of the plugs that are available…if someone happens to pull the cord, the plug should stay attached.
1. Undo the screw on the plug casing and open plug casing.
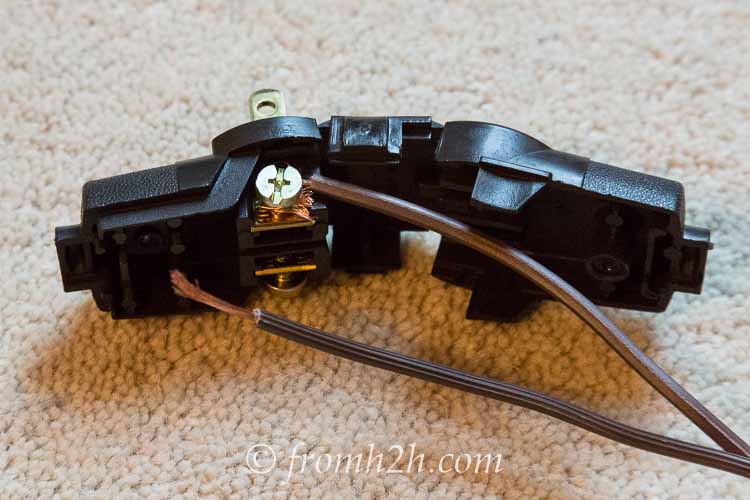
2. Wrap the hooked wire around one of the screws on the inside of the plug, and tighten the screw.
3. Repeat this process with the wire and screw on the other side of the plug.
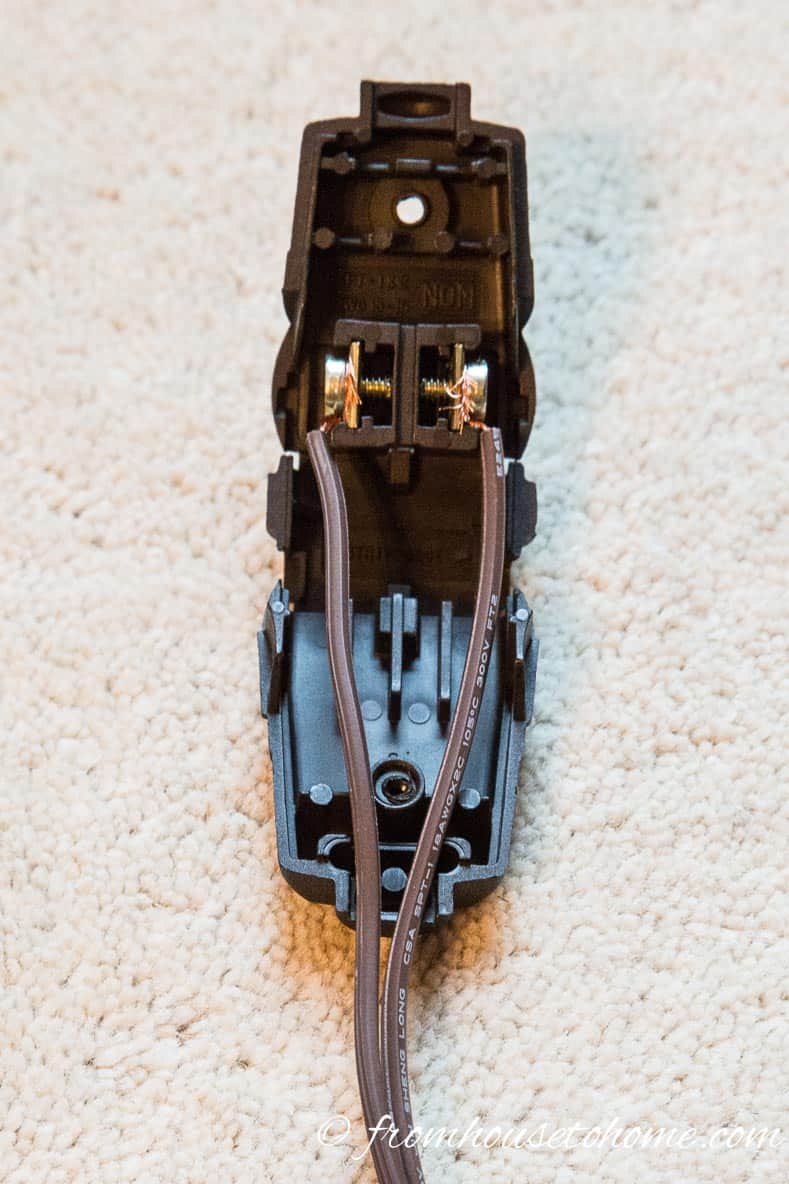
4. Make sure the wires are lined up in the slot at the bottom of the plug.
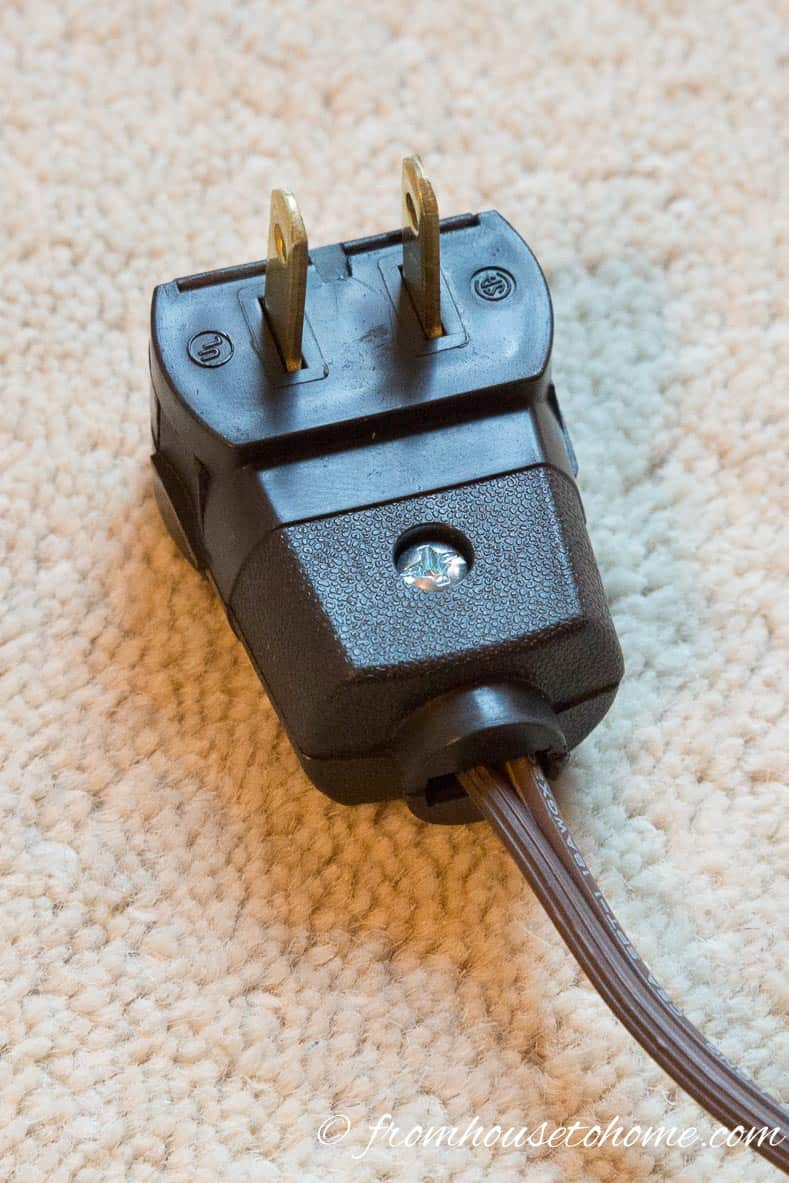
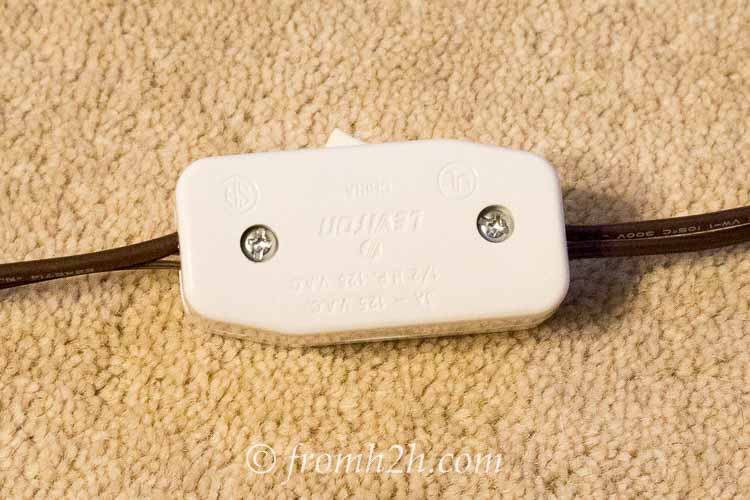
5. Close the plug casing and tighten the screw closed.
6. Plug the light in and make sure that it works.
Step 3: (Optional) Add A Switch
I like to install a switch so that I don’t have to plug and unplug the light every time I want to turn it on and off.
This type of switch works better than than the little ones with the rotating wheel because the wiring is securely attached to the switch…in my experience the little rotating wheel switches are difficult to install and do not always work consistently.
NOTE: Make sure the light is unplugged before doing this step!
1. Cut the hot wire in the location where you want the switch to be. The hot wire will either be black or smooth (not ribbed…you should not feel bumps when you run your finger across it). Strip both ends of the cut wire, twist it and make a hook in the wire similar to step 2 above.
2. Open the switch cover by undoing the screws.
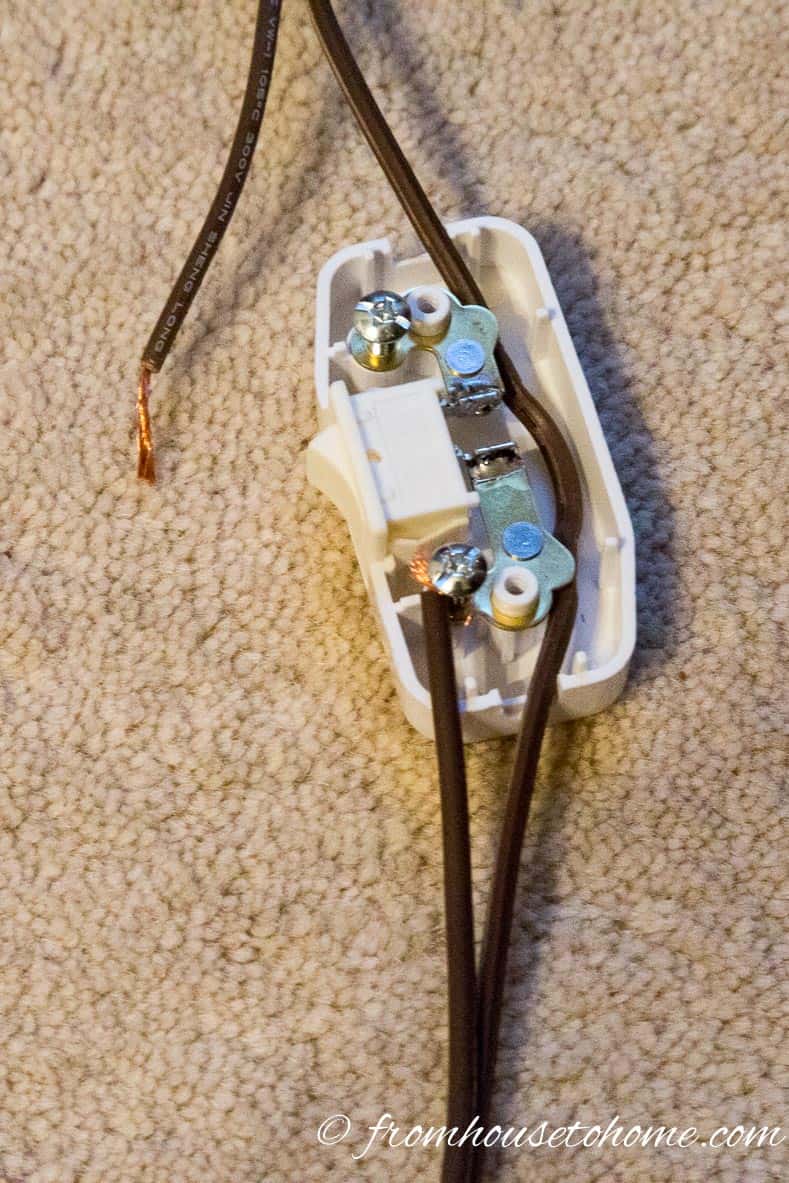
3. Attach one of the cut wires to one of the screws inside the switch and tighten the screw.
4. Repeat the process for the other wire and the other screw.
5. Feed the non-cut wire through the other side of the switch. Then make sure the wires on both ends line up with the open slots at each end of the switch casing.
6. Put the switch casing back together and tighten the screws on the outside.
7. Plug the light back in and test that the switch is working.
Step 4: Hang the Light Fixture
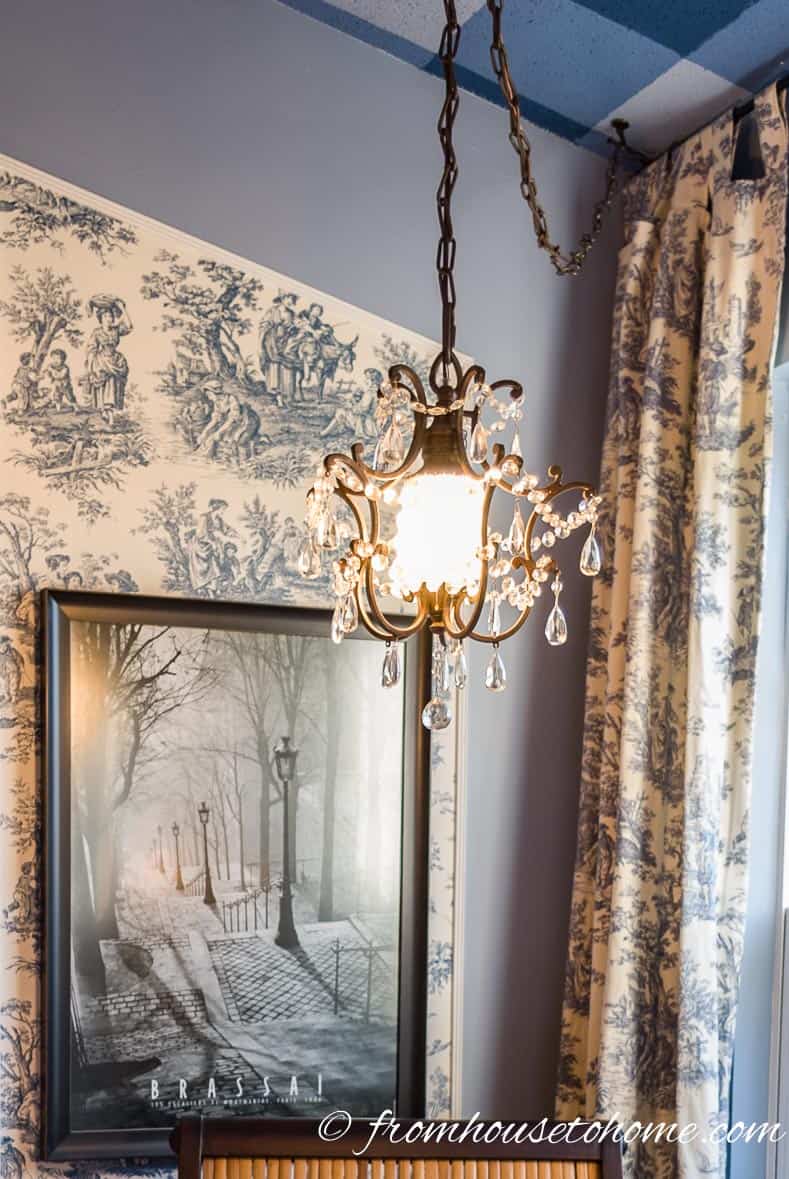
Hang the light fixture from the ceiling with a hook. I usually try to install it close to some curtains so that I can run the cord down behind the curtains where you can’t see it.
Enjoy your new light fixture!
Have comments or questions on How to Convert a Hardwire Fixture to a Plug In Pendant? Tell us in the section below
This post was originally published on October 7, 2015 but was updated with new content on October 21, 2022.
I have a black and white wire, both silver on the end once I strip back the casing. Would I still be able to use this type of plug to convert them? I just bought a beautiful pendant after reading your article and already purchased the plug, so I’m really hoping so. 😅 Any info you have is greatly appreciated, thank you!
Hi Jessica…yes, it should still work the exact same way. If you’re adding the switch, too, just make sure to cut the black wire instead of the white one. If it’s an LED light fixture and doesn’t work when you plug it in the first time, try unplugging it and putting the plug back in the other way (so the prongs go in the opposite holes). Sometimes they have directional wiring that works one way but not the other. Hope that helps!
My pendent lighting is LED and has a single wire (black) attached to the light. How would I go about wiring this to the non polarized angle plug?
Also inside the canopy there is an LED driver with a brown and blue wire coming from one end (these wires are free. From the opposite end there is a white and grey wire that are coupled together and paired with the pendent light main (black) wire.
Based on this information is there anything special that I need to do to get power to the light with the non polarized plug?
Hi Bre…sorry for the late response, I missed your comment somehow. I’m not going to be much help with this one since I haven’t tried to convert a light fixture that only had one main wire coming from it. If it came with instructions, I would see how it is supposed to be connected if you were hardwiring it (which also requires more than one wire). Then use that same method to connect the wires to the plug instead.
I have rewired using an extension cord this gives you the extra cord you need as well as a ground wire and a plug. I then plug the light into a remote for easy on/off.
Thanks for the tips, Joan! The remote sounds like a great idea 🙂
What do you do with the ground wire? My lamp had a extra wire coming through the chain.
Hi Susie…I just cut it off. Plug-in light fixtures aren’t required to have a ground wire. If you can find a 3-prong lamp plug, you could connect the ground wire…but I’ve never been able to find one.
I’m looking for plugs like the ones you describe. What are they called or where could I find one? What search word will help me find the one you featured? Thanks for this empowering run through !
Hi Erin…It’s a “non-polarized angle plug”. If you search for that term, you can find them on Amazon. (The one I used is here). Hope that helps!
And to think I paid the lighting store to make the conversion! How do you lengthen the cord? Your instructions are very precise. i love the fixture.
I have not tried lengthening the cord on any of the ones I have done. I don’t think you would want to join more wire on to the cord that’s already there (especially for a hanging light) since those connections aren’t very secure…if it came apart while the light was on, that could easily cause a fire or shock someone. You could take a look at how the wire is connected to the fixture itself and see if it can be replaced easily. But I usually take the easy way out and make sure the fixtures I buy have long enough cords (or plug it into an extension cord if it’s hidden).