DIY Square Wreath With Deco Mesh, Ribbons and Pipe Cleaners


Learn how to add some pizzazz to your front door holiday decor with this easy and beautiful DIY crafty Christmas wreath tutorial.
Traditionally, I like to decorate my front door for the holidays by creating a Christmas wreath using fresh greenery, but this year I had a notion of something different.
When I saw Nick Kreticos’ post for a fall wreath on Hometalk, I knew I had my inspiration.
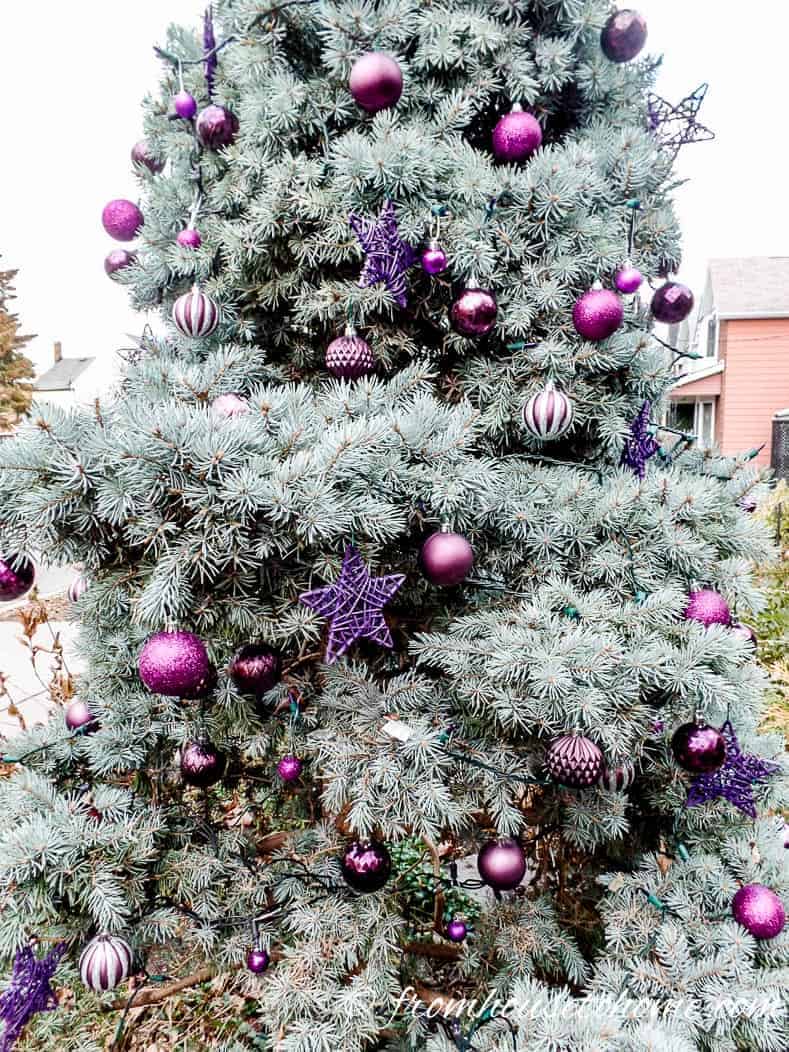
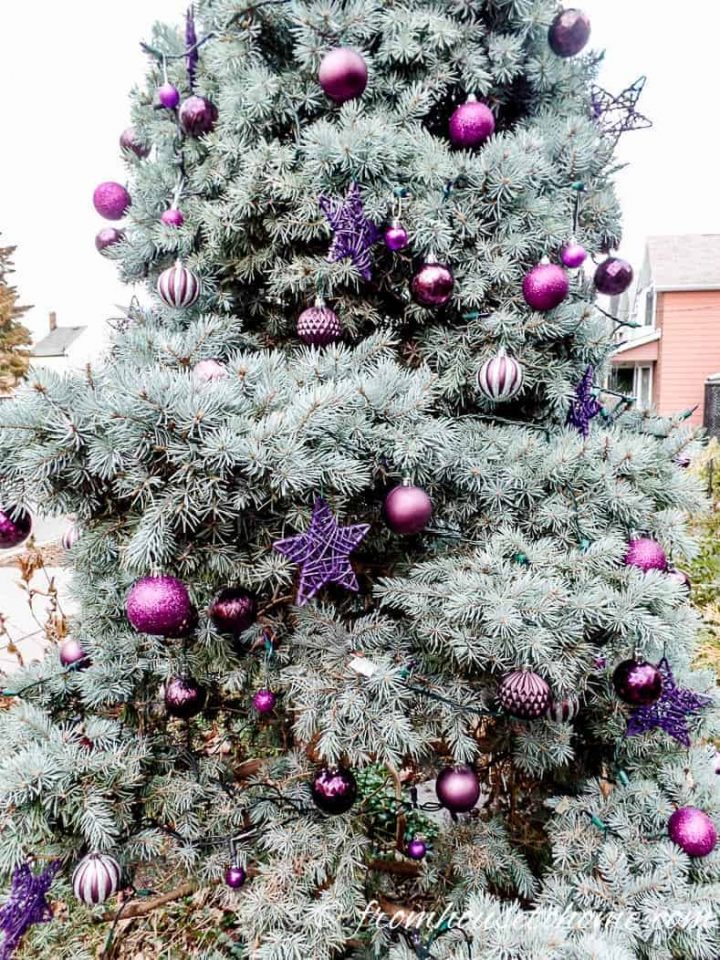
Since I had decorated the spruce tree in my front garden with purple Christmas ornaments and lights, I wanted the same color scheme for the wreath materials that would adorn the front door.
Although putting this homemade wreath together takes a little time (there’s a lot of ribbon cutting involved!), it isn’t hard. And the end result is so pretty, it is definitely worth the effort.
Keep reading to find out how to make this DIY crafty Christmas wreath.
[kt_box opacity=”0.3″ padding_top=”20″ padding_bottom=”20″ padding_left=”20″ padding_right=”20″ background=”#1e73be”]
What You Need
I have included the colors that I used in my wreath, but the beauty of this is, you can choose whatever ones will match your decor.
24 pipe cleaners*. I chose red to blend with the other colors I will be using.
7 yards of 10″ wide metallic mesh*. I chose a plum color.
Roll of 1/4″ raffia paper ribbon. I used a purple color.
7 yards of 2 1/2″ wide wired ribbon. I liked a lavender shade.
11 yards of 1 1/2″ ribbon. Mine is a 2 tone fuchsia pink for contrast.
Optional bells or Christmas balls
[/kt_box]
Step 1: Attach the Pipe Cleaners
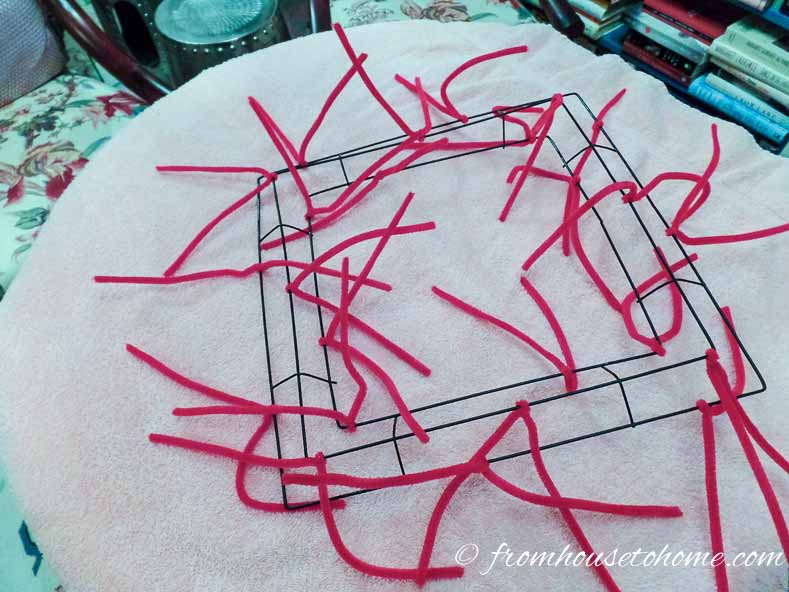
Twist one pipe cleaner onto each section of the wreath form.
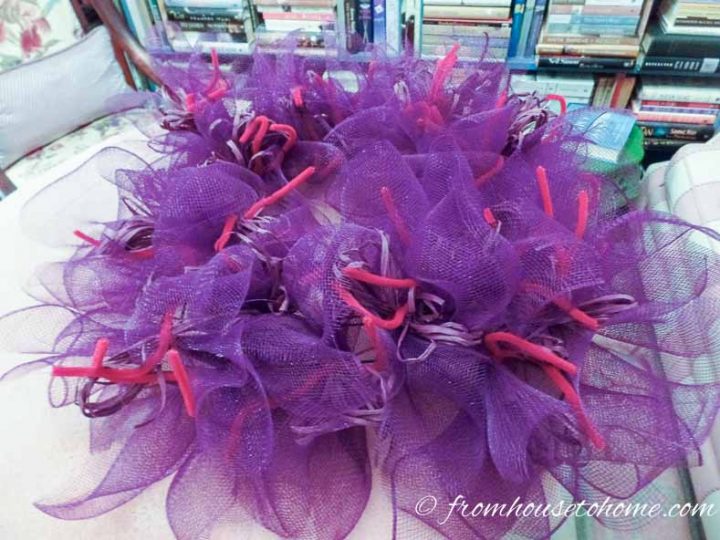
Step 2: Attach Mesh Bows
Cut the metallic mesh into 24 pieces that are each 10 inches long.
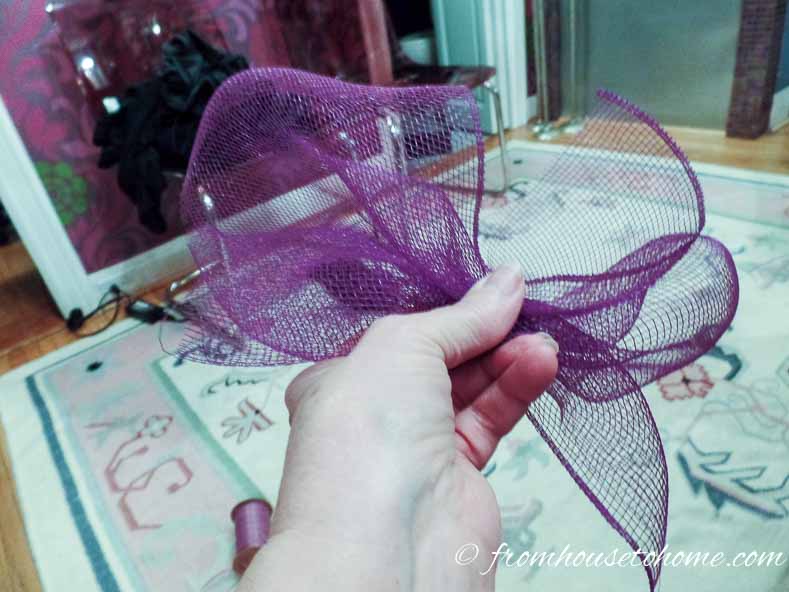
Scrunch the mesh as if you were forming a bow. Attach it to the wreath form by twisting one of the pipe cleaners around it.
Make sure to attach the ribbon near the base of the pipe cleaner (close to the wreath form) since we will be adding more ribbons on to the same pipe cleaners.
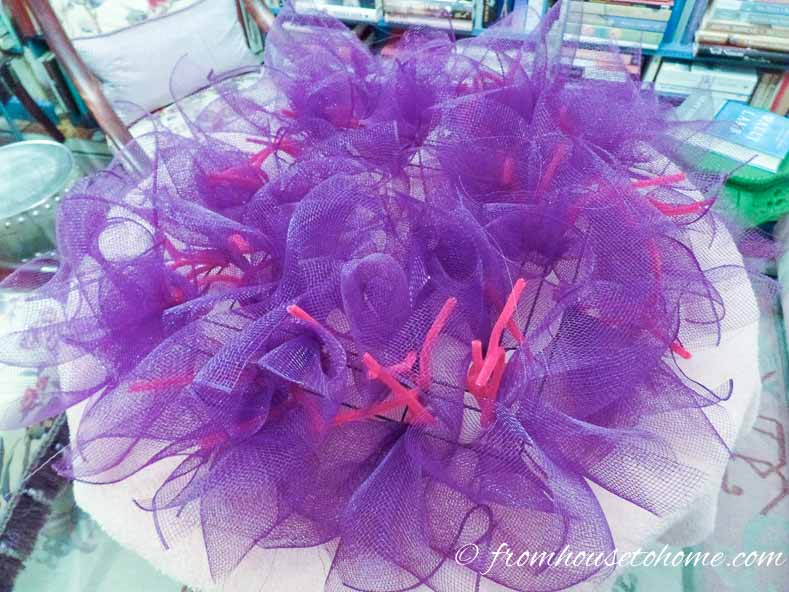
Repeat for the rest of the metallic mesh pieces until all of the pipe cleaners have a mesh bow attached to them.
Step 3: Add Raffia Ribbon
1. Cut the raffia ribbon into 24 pieces that are each 10 feet long.
2. Now form a “bunch” using the raffia ribbon. I wound 12 times around a 5″ long piece of cardboard to get them all to be about the same size.
3. Grab the resulting bunch in the center and attach it to one to each of the pipe cleaners.

4. Repeat until all of the pipe cleaners have a bunch of raffia ribbon attached to them.
Step 4: Attach Ribbons
1. Cut the 2 1/2″ ribbon into 24 pieces that are each 10 inches long.
2. Attach the 10″ pieces of 2 1/2″ ribbon to each spot so that the ends are sticking out.
3. Cut the 1 1/2″ ribbon into 24 pieces that are each 16 inches long.
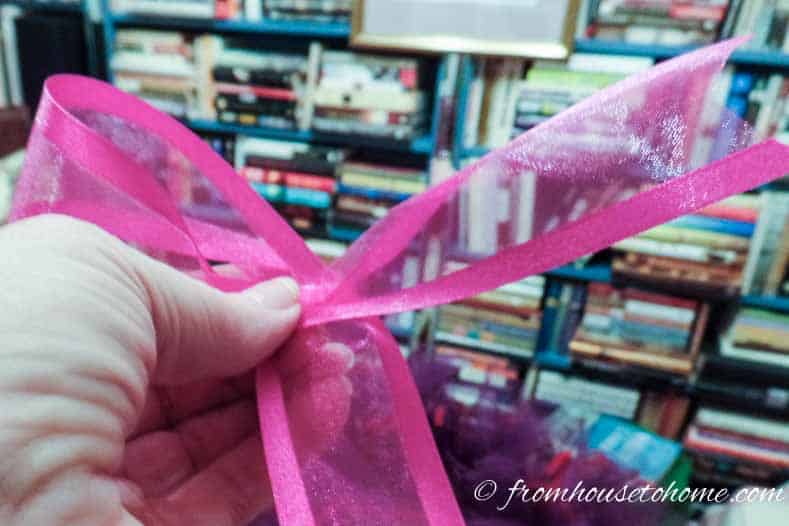
4. Make a small loop in the center of the 1 1/2″ ribbon, as if starting to tie a bow, and twist one of the pipe cleaners around it.
5. Repeat until all of the pipe cleaners have a ribbon loop attached to them.
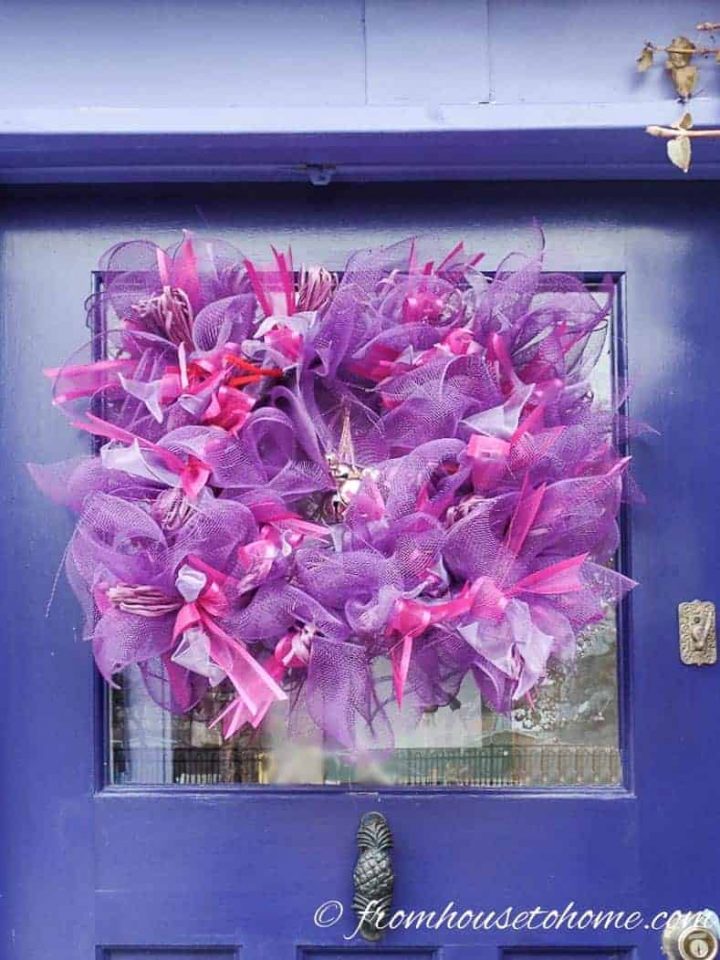
Step 5: The DIY Crafty Christmas Wreath Finishing Touches
1. Move the ends of the pipe cleaners to the back so that they are not seen.
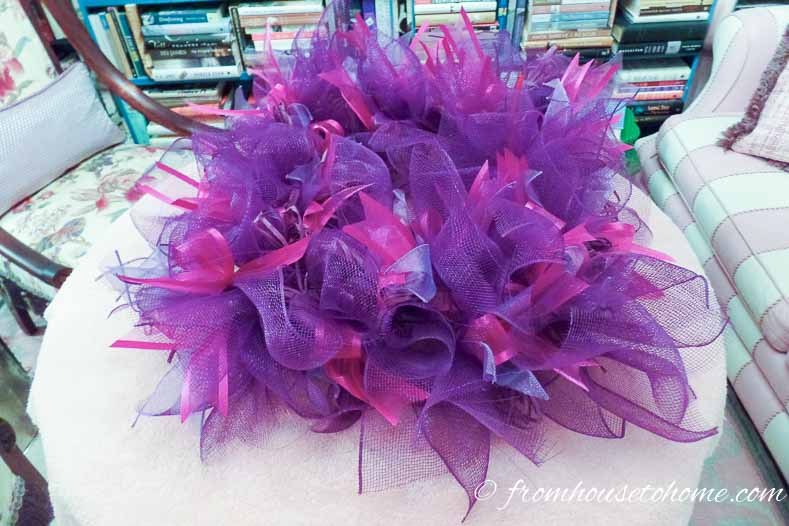
2. Then fluff the bows and mesh attractively.
3. Finally, I attached some silver metal bells to a center wire of the wreath for added interest. You could also use Christmas ornaments here.

4. Hang your crafty Christmas wreath on the door using a command hook. (Yes, you can really remove them later without causing any damage to your paint!)
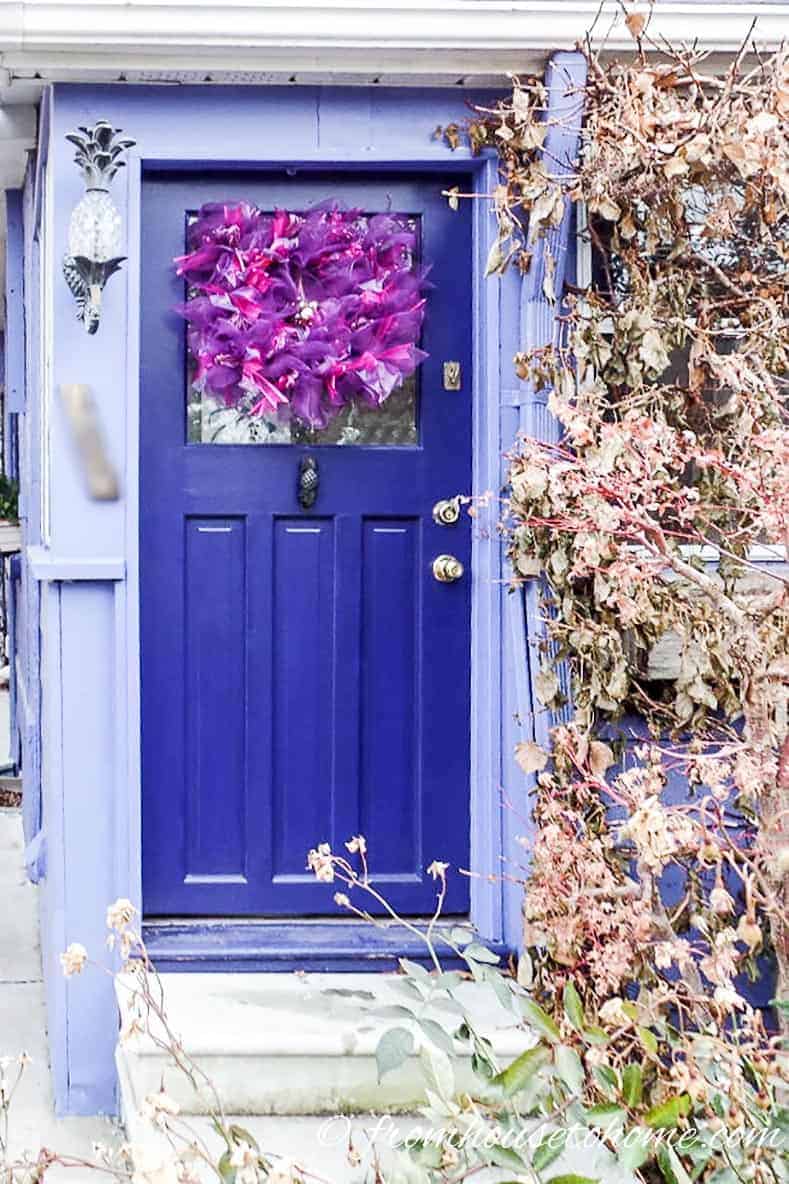
The square shape fits right into the window on my front door and the colors really stand out on my front door.
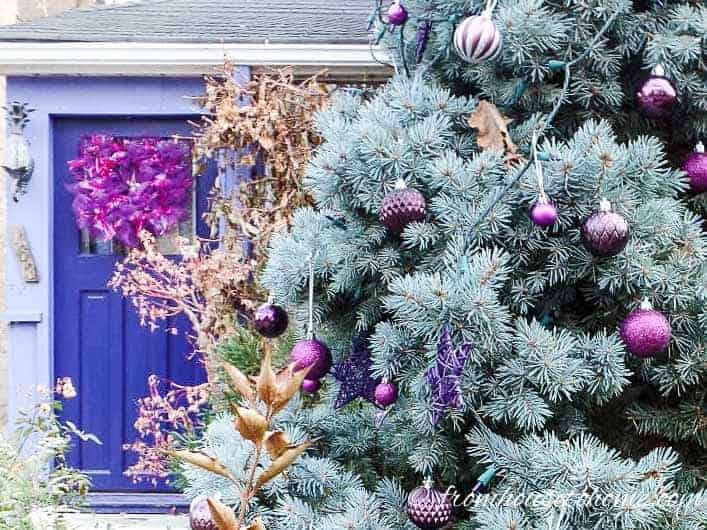
It ties in perfectly with my outdoor Christmas tree decor!
If you’re looking for more crafty Christmas decorating ideas, try out this candy cane centerpiece and these mason jar candle holders.
Commands or questions on this DIY crafty Christmas wreath? Tell us in the section below.
This post was originally published on December 12, 2017 but was updated with new content on April 18, 2022.