How to Create Built Ins From Mismatched Furniture
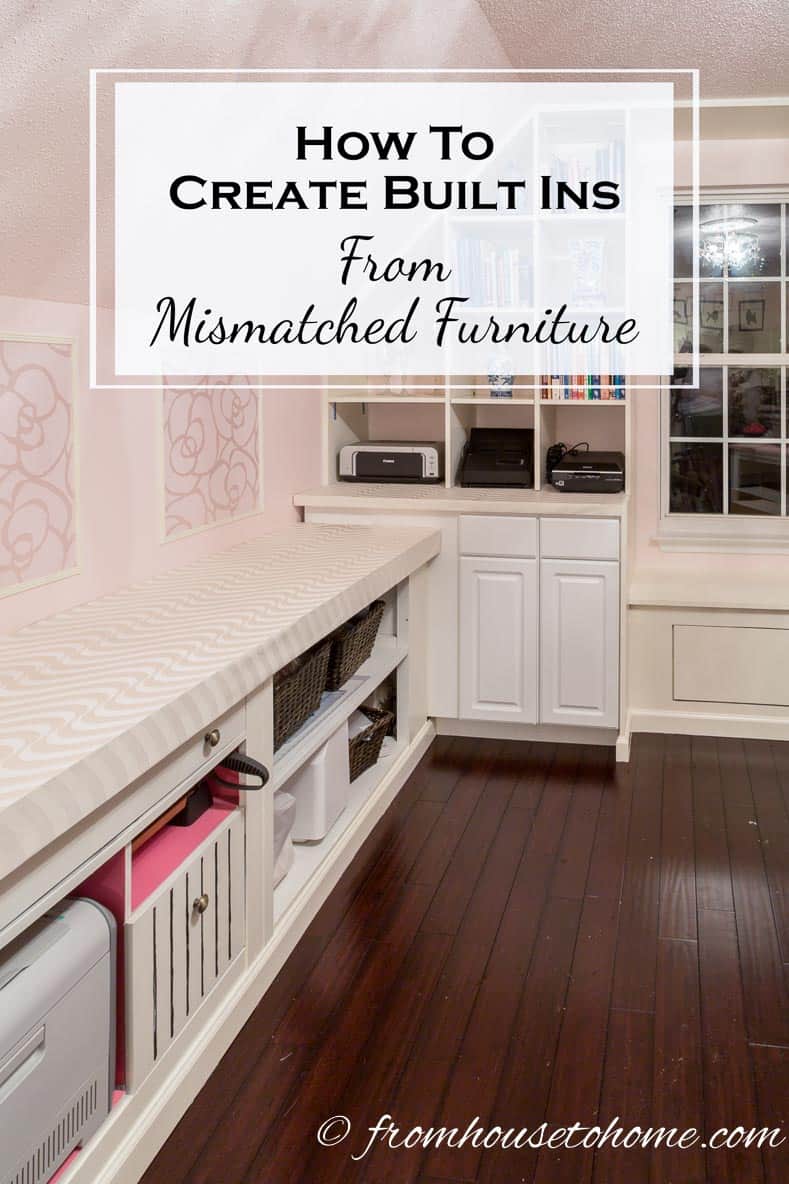
As part of my home office makeover, I wanted to have built-ins along two walls of the room.
I desperately needed the storage, and liked the idea of built-ins since they are an efficient use of space. (It’s not a very big room).
Since I already owned a bunch of mis-matched furniture, I didn’t really want to go buy a lot of new cabinets, when I could use what I already had.
The problem was that the cabinets were different heights and had different styles.
So I had to come up with ways to make them look like they were meant to be together. And I ended up with some really functional built-ins for my office that didn’t cost much money to create!
Keep reading to find out how to create built ins from mismatched furniture.
Figure Out The Plan
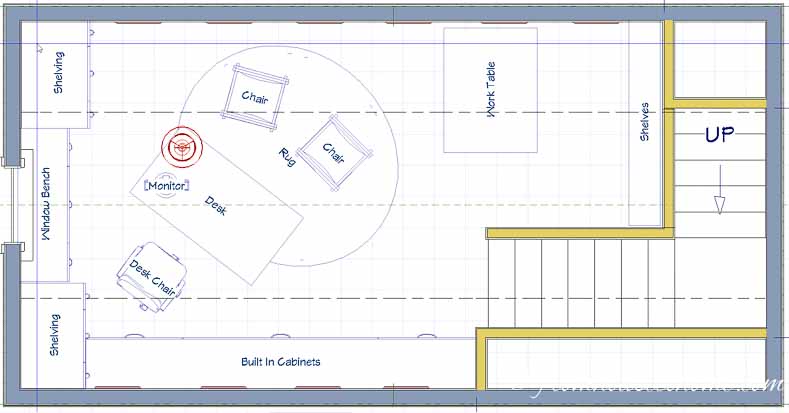
Measure the space where you want the built-ins to go. Then figure out how your existing furniture can be arranged so that it fits the space.
The easiest way to do this to draw a to-scale drawing…that way you can move the furniture around without physically having to do it.
If you have any large gaps that need to be filled, kitchen cabinets make good built-ins. Use upper cabinets for thinner sections or base cabinets for wider ones.
Remove Existing Baseboards
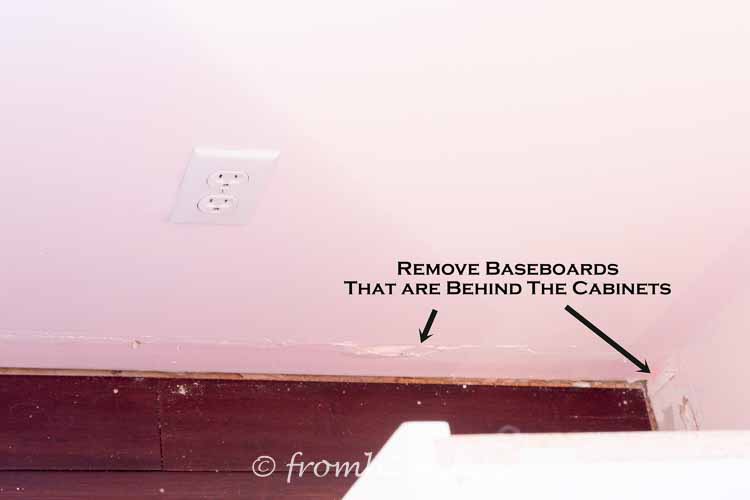
To make the “built-ins” fit flat against the wall, you will need to remove any existing baseboards (and any other kinds of mouldings that would be covered by the cabinets).
If you want to re-use the baseboards later, try not to break them in the process. I do this by running a utility knife blade along the top (to cut any caulk that might be there)…and then use a small pry-bar to get behind the moldings and remove them without damaging them.
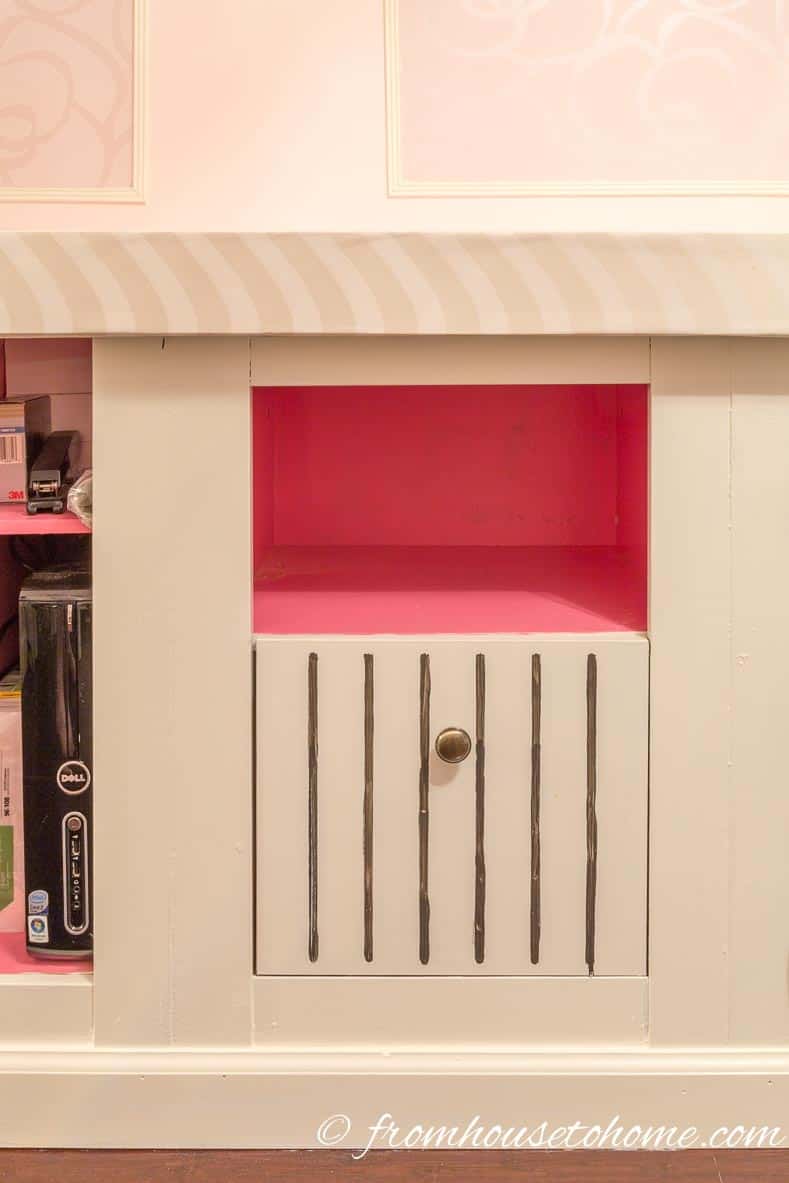
Add Access To Electrical Outlets
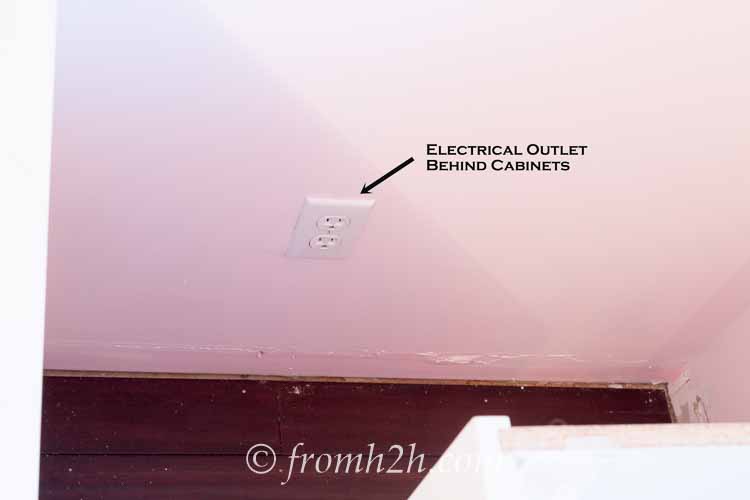
Check the area where the cabinets are going to see if there are any electrical outlets or heat vents that will be covered. If so, you will need to plan how you will get access to them once the built-ins are complete.
For electrical outlets, you have 2 options:
1. Cut a hole in the cabinet where the outlet is so that you have access to it from inside the cabinet. To do this:
a. Measure and draw a box where the cutout needs to go in the cabinet.

b. Drill holes in the corners of the box. Make sure the hole is big enough for the jig saw blade to fit in.
c. Put the jigsaw blade into one of the holes and cut along one of the lines you drew.
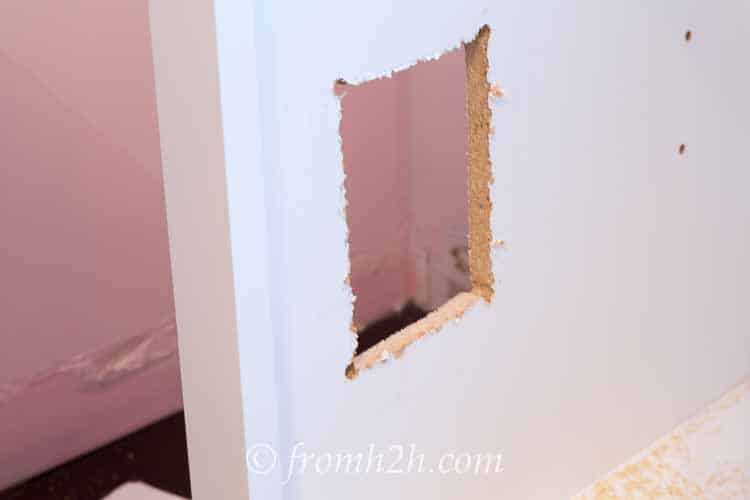
d. Continue with the other sides until the hole has been cut out.
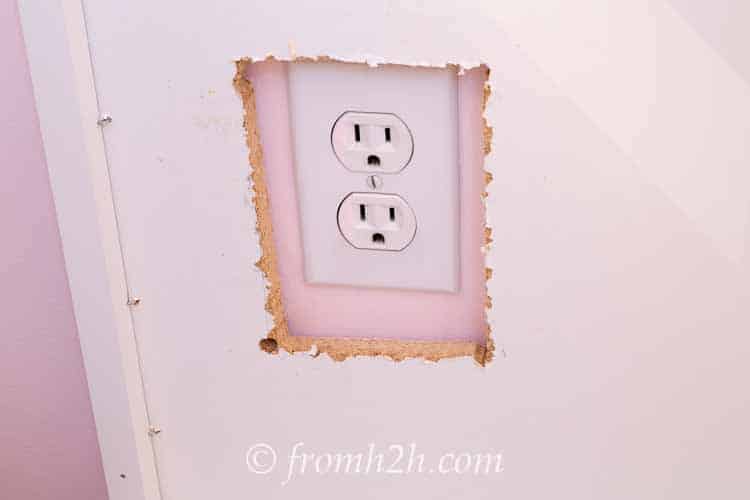
e. Check it against the wall to make sure you can see all of the electrical outlet through it. Since this is inside a cabinet and can’t be seen, I didn’t bother making the edges neat…but you could paint them to match the cabinet if you don’t like the look of it.
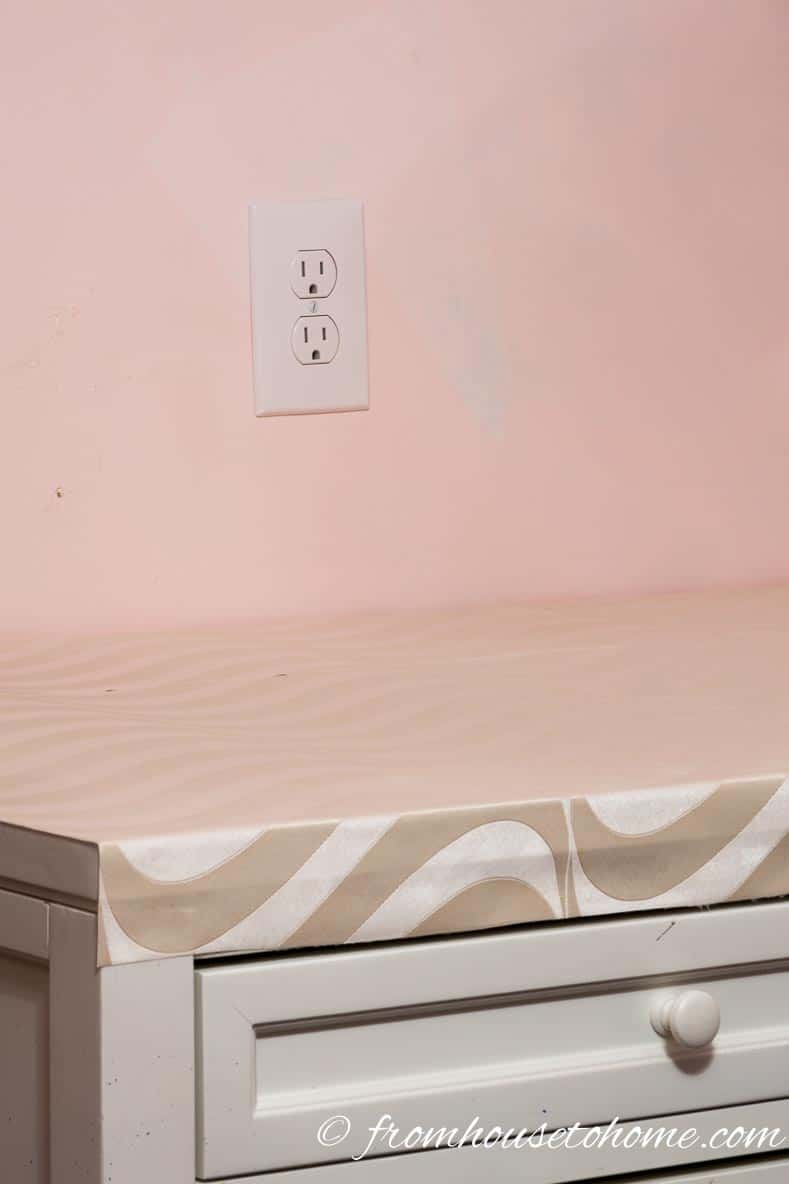
2. Move the electrical outlet up so that it is above the cabinets. If you are comfortable doing electrical work yourself, follow these directions from instructables.com to do this. Otherwise, an electrician can do this for you very quickly.
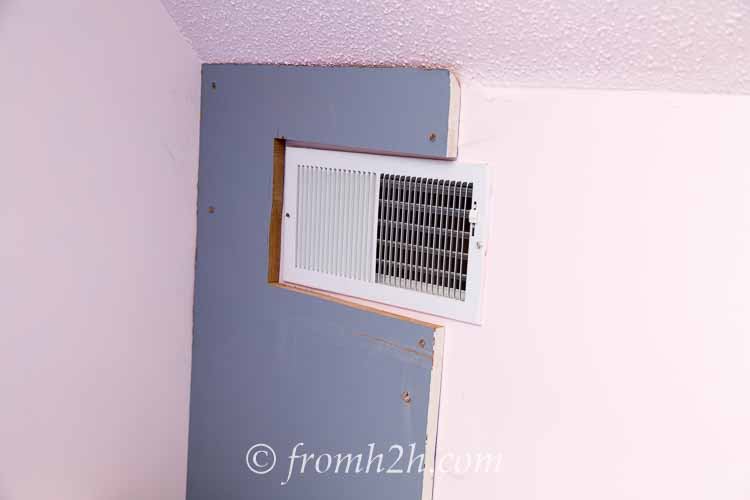
Extend Heat Vents
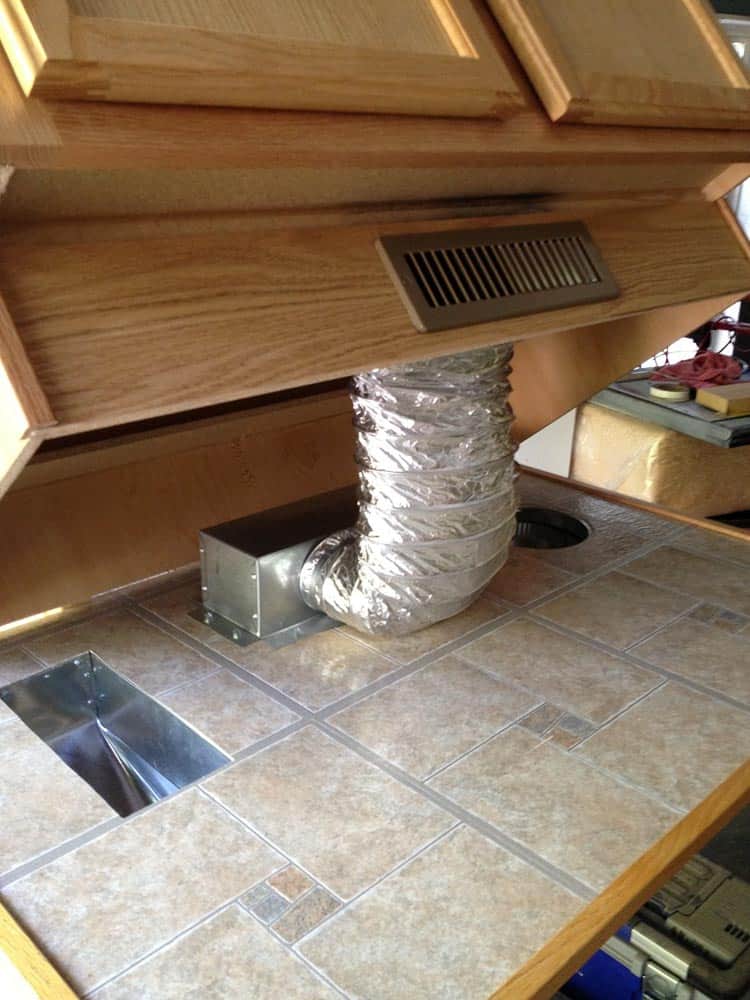
If you will be covering any heat vents, you will need to plan how they will be vented.
If the vent is behind a cabinet, you will need to extend the duct work and install the vent in the bottom of the cabinet, similar to this vent kit.
If it’s a shelf, you can cut out a section of it to leave the vent open. Just make sure that the board is also attached to the wall so that it can help to support the shelf weight.
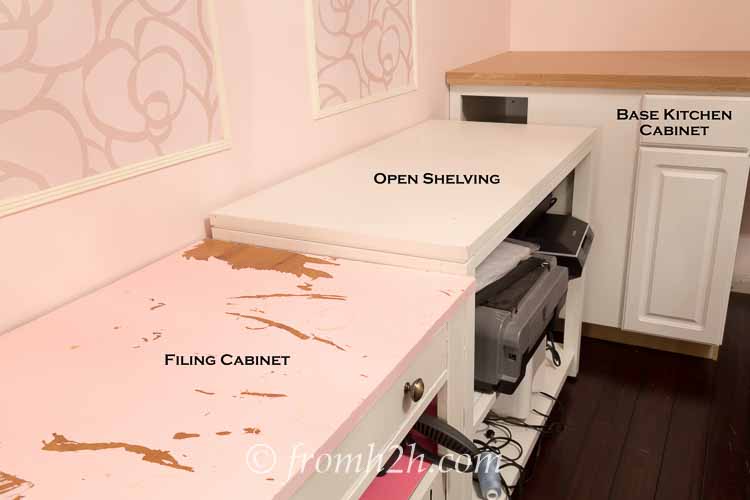
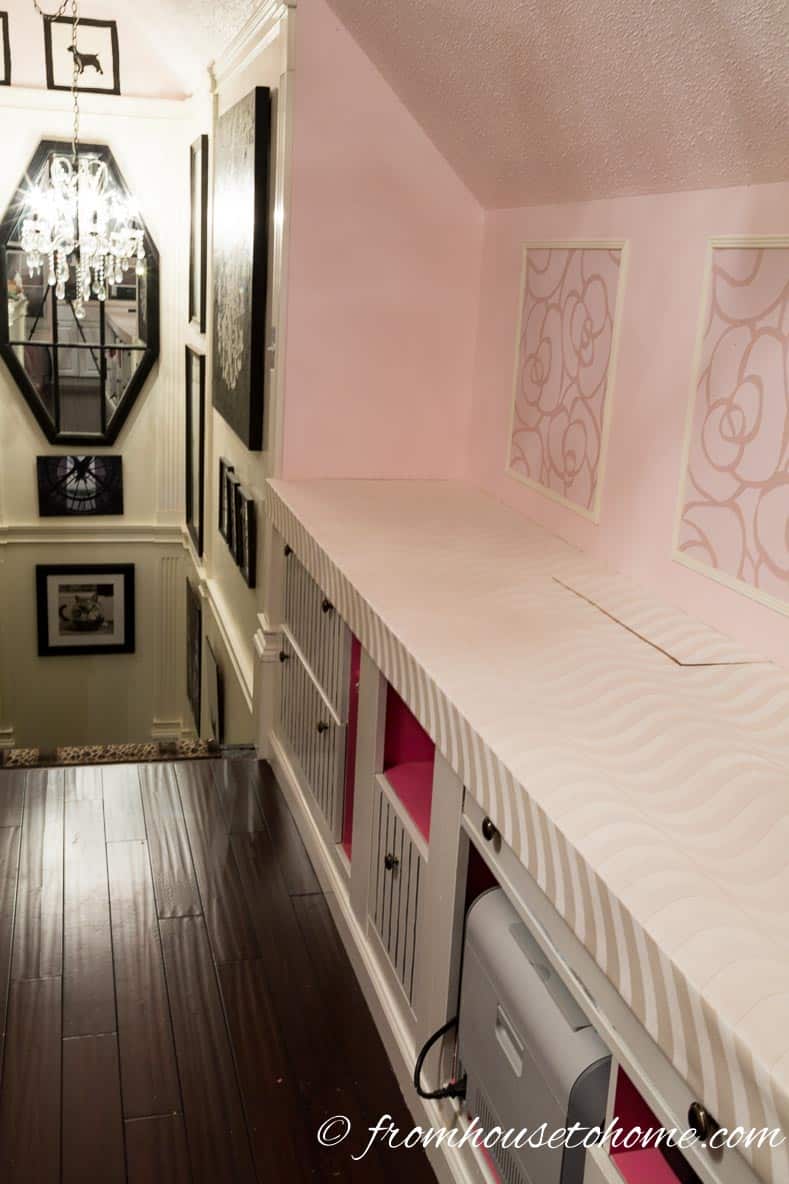
Add a Countertop
Adding a countertop across the top of all of the base cabinets will help unite the look of them.

You can also use it to even out cabinets that are not the same height.

Simply add some spacers on the lower cabinets so that the tops of them provide a surface that is the same height as the highest cabinet.
Then you can either install a slab of wood, stone, an actual kitchen countertop or make your own countertop.
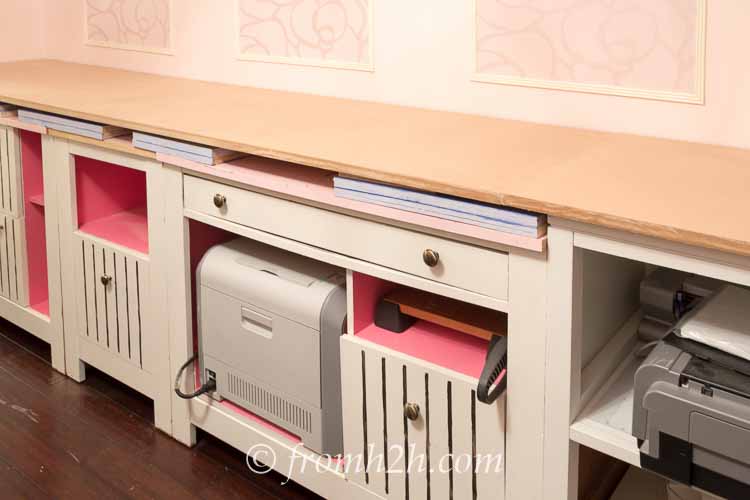
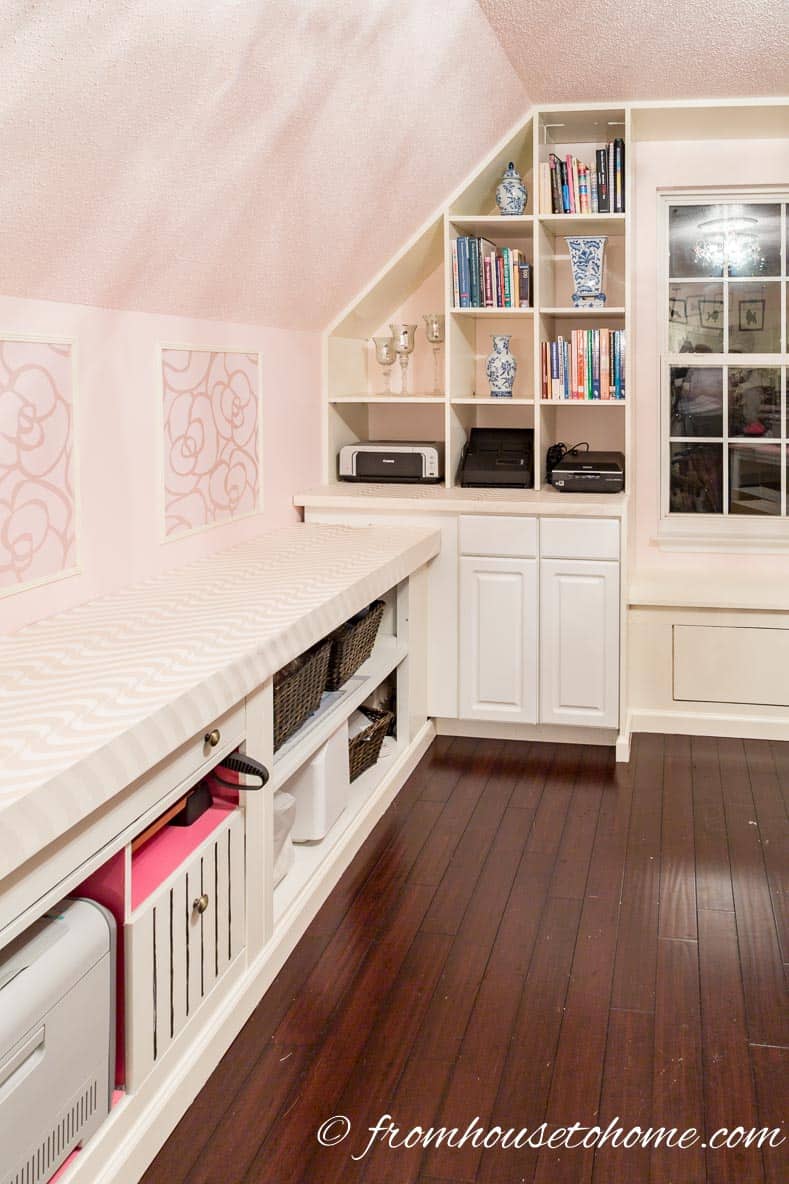
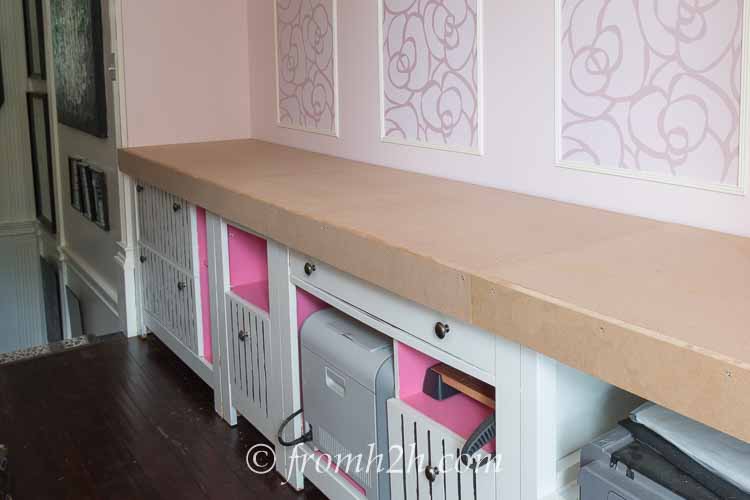
In my office, I decided to make my own out of MDF 4′ x 8′ sheets cut to size.
I added an overhang that went down far enough to cover the spacers and the difference in the fronts of the cabinets.

Then I covered it with wallpaper, creating a really inexpensive countertop with some style. Click here to get the instructions on how to do this.
Fill In Big Gaps
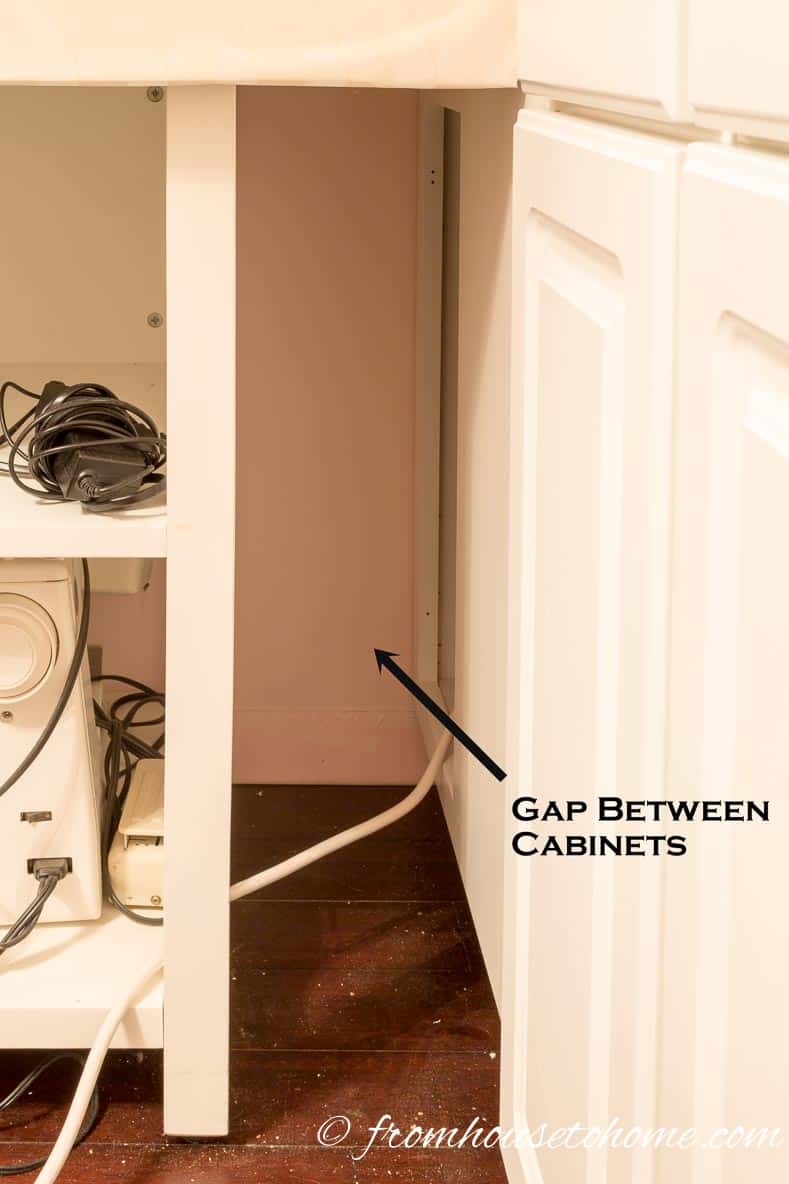
If there are any gaps that are too small to fill with a cabinet, fill in the space with board.
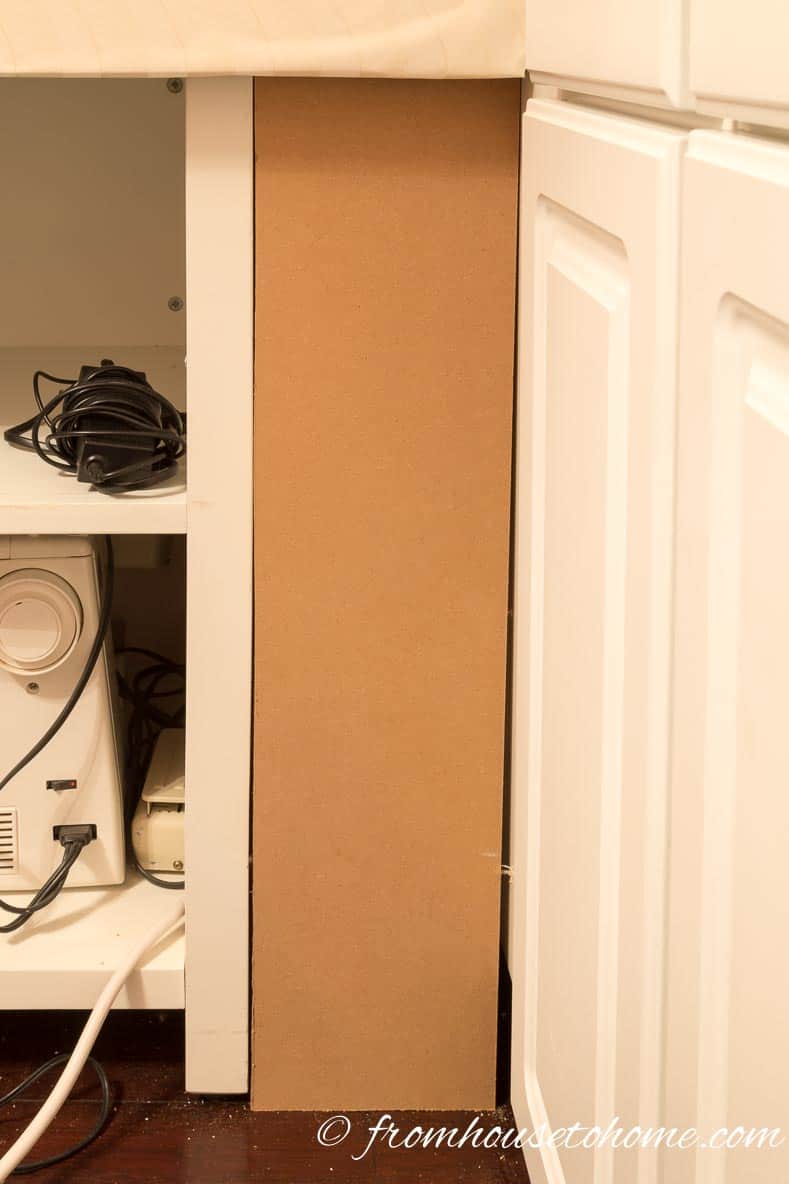
Don’t worry about the fact that it doesn’t blend in…we will be fixing that…
Add Baseboards
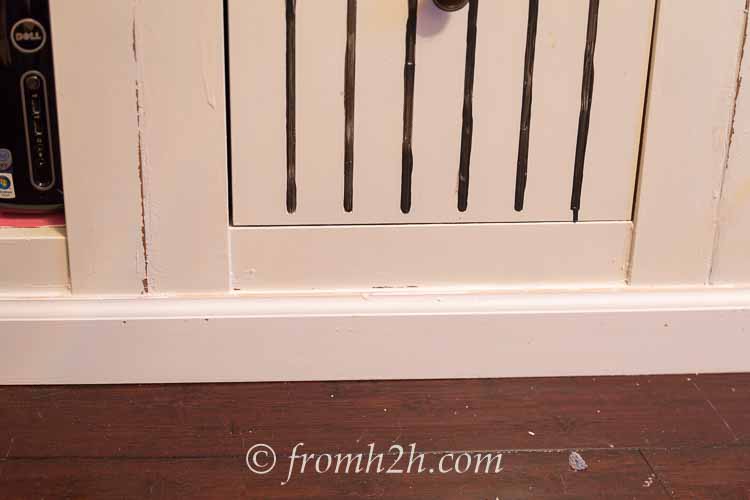
Install baseboards around the bottom of all of the cabinets.
This will automatically make all of them look like they were built to be together. It also helps to hide any spaces if some of your mismatched furniture have legs and some don’t. Just make sure to get baseboards that are tall enough to cover the gaps.
Fill In Small Gaps
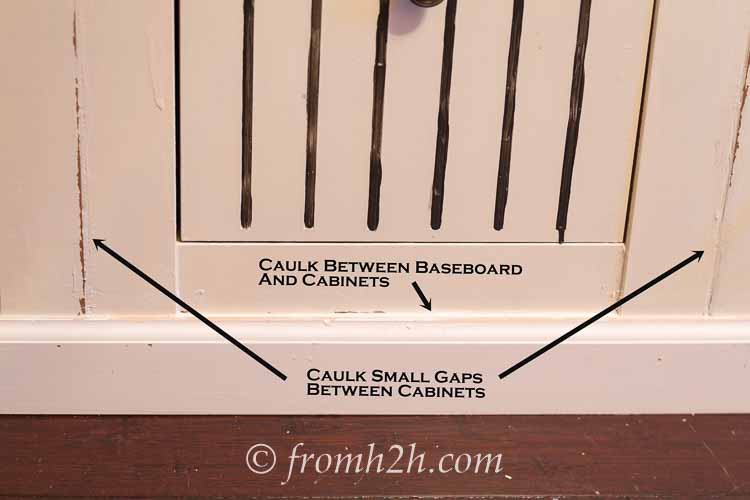
Take a look at your “built ins”…are there any small gaps? These could be between the baseboards and the cabinets, or between the cabinets themselves.
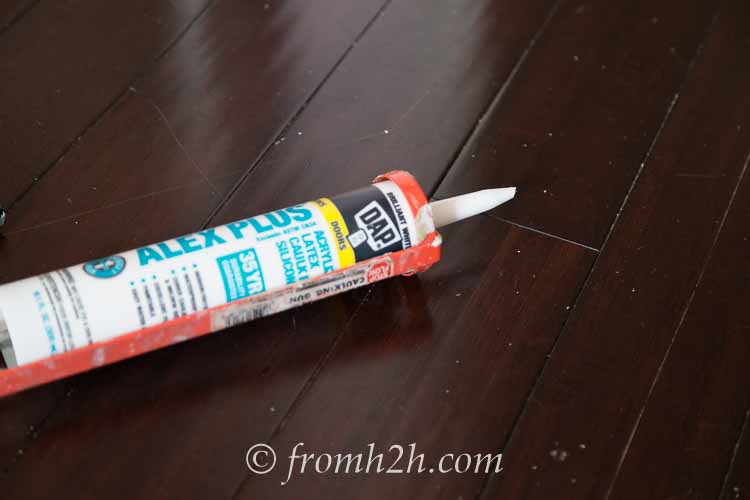
Use caulk to fill in these gaps. Cutting the caulk tube close to the end will create a small hole that gives you more control over how much caulk comes out.
Use a caulk gun to run the caulk along all of the areas where gaps exist.
Then use a putty knife to remove any excess caulk. If there is any residue, wipe it off with a damp cloth.
Wait until the caulk is dry. Then check to make sure that the gaps do not need a second caulk application (sometimes it will shrink into the hole and need to be “topped up”).
Paint Everything The Same Color
Paint can mask all kind of differences! Pick a paint scheme and paint all of the cabinets and shelves the same color.
If you used any caulking, make sure it is dry before you start painting.
When you’re finished, it’s hard to tell that these used to be separate pieces of furniture!
Have comments or questions on How To Create Built Ins From Mismatched Furniture? Tell us in the section below.
This post was originally published on May 9, 2016 but was updated with new content on July 7, 2023.