Easy DIY Copper Christmas Ornaments


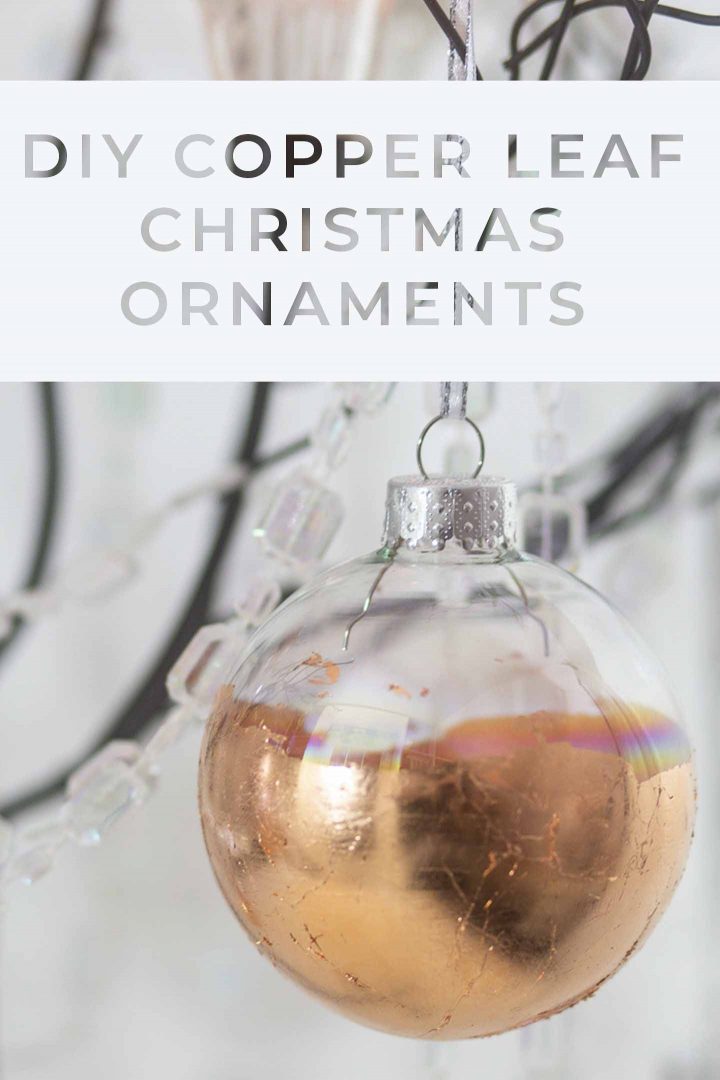
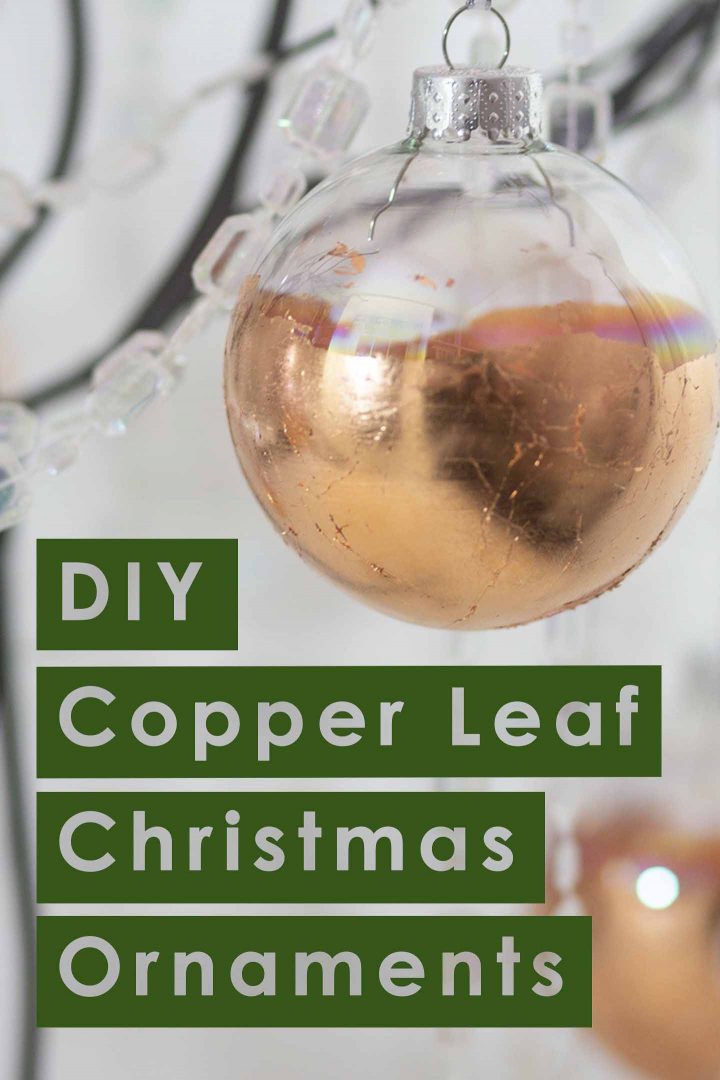


These DIY copper Christmas ornaments are super easy to make and will add an elegant touch to your Christmas tree decor this year.
If you saw my pink and copper fall tablescape, you know that I’ve kind of fallen in love with that color scheme! So I’ve decided to use it again on one of my Christmas trees, and these DIY copper Christmas ornaments are the first step to getting that done.

Now that Halloween is over, I’m trying to get into the holiday spirit and get started on my Christmas decorations.
To make Christmas decorating a little easier on myself this year, I decided to reuse the color schemes from my fall decor. That way I don’t have to think up something new, so it saves a little brain power 🙂
Since I loved my blush pink and copper fall tablescape so much, I’ve decided to use these colors for one of my Christmas trees.
The problem I have is that I don’t have any copper Christmas ornaments and they’re really hard to find! Plus I don’t want to spend a lot of money on new copper Christmas decor. Which means a DIY project is in order!
Fortunately, I have experience turning inexpensive holiday decorations into copper ones, like I did with the faux pumpkin makeover I did last year.
And I just happen to have some supplies left over from that project, so I didn’t have to buy anything new.
DIY copper leaf Christmas ornaments it is!
Including my very first DIY video ever! Which you can watch right here:
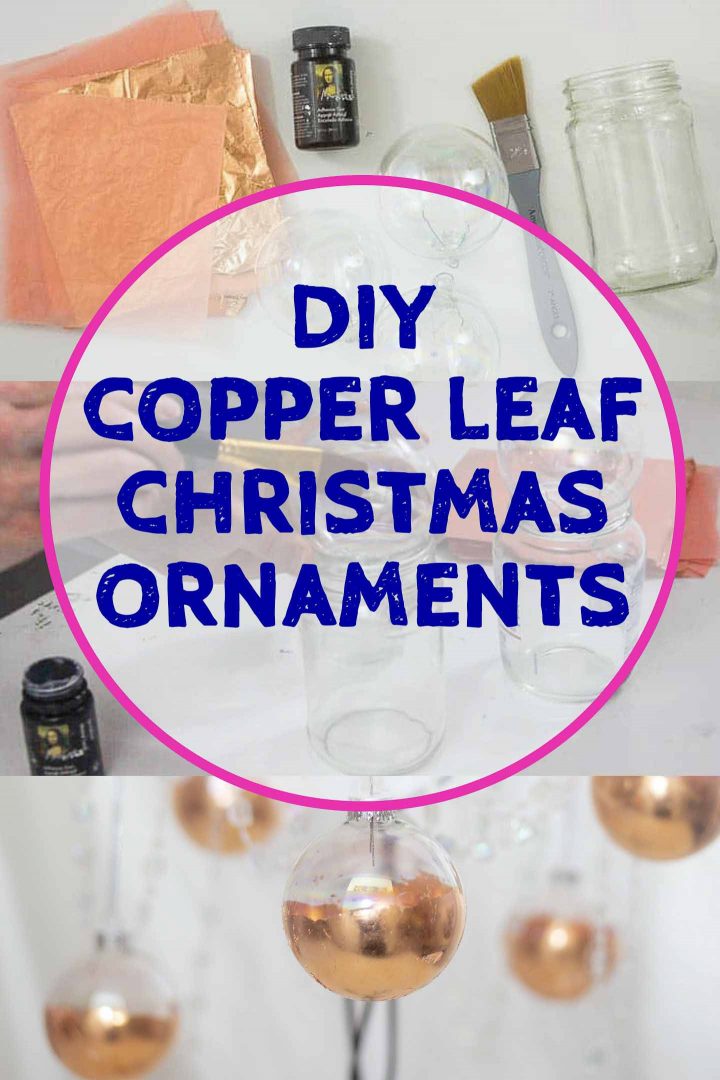
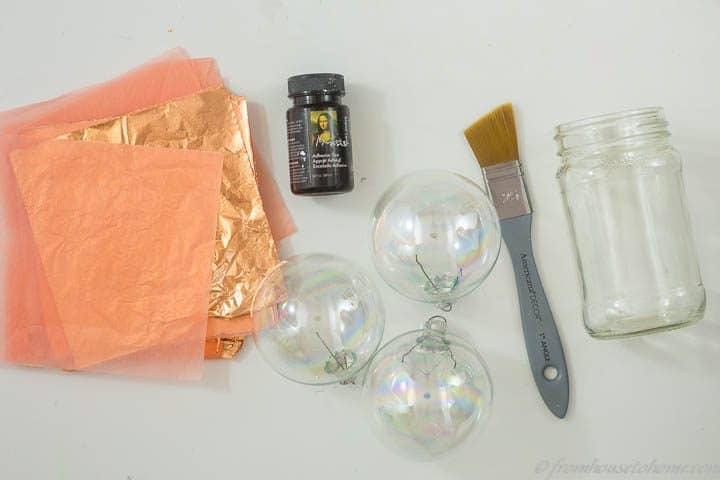
What You Need
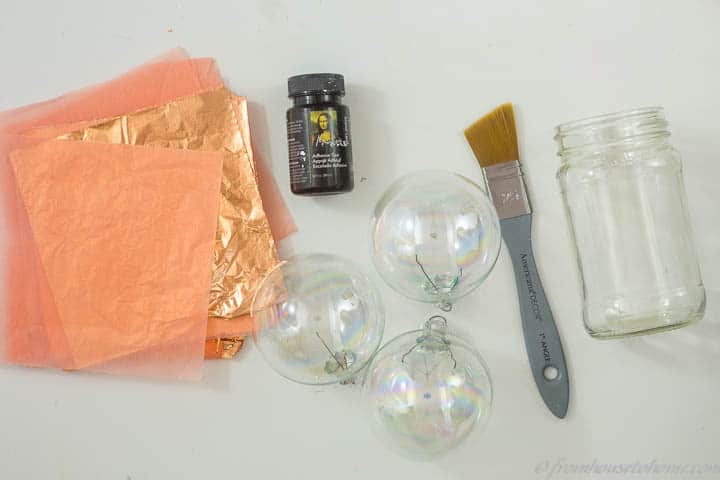
Materials
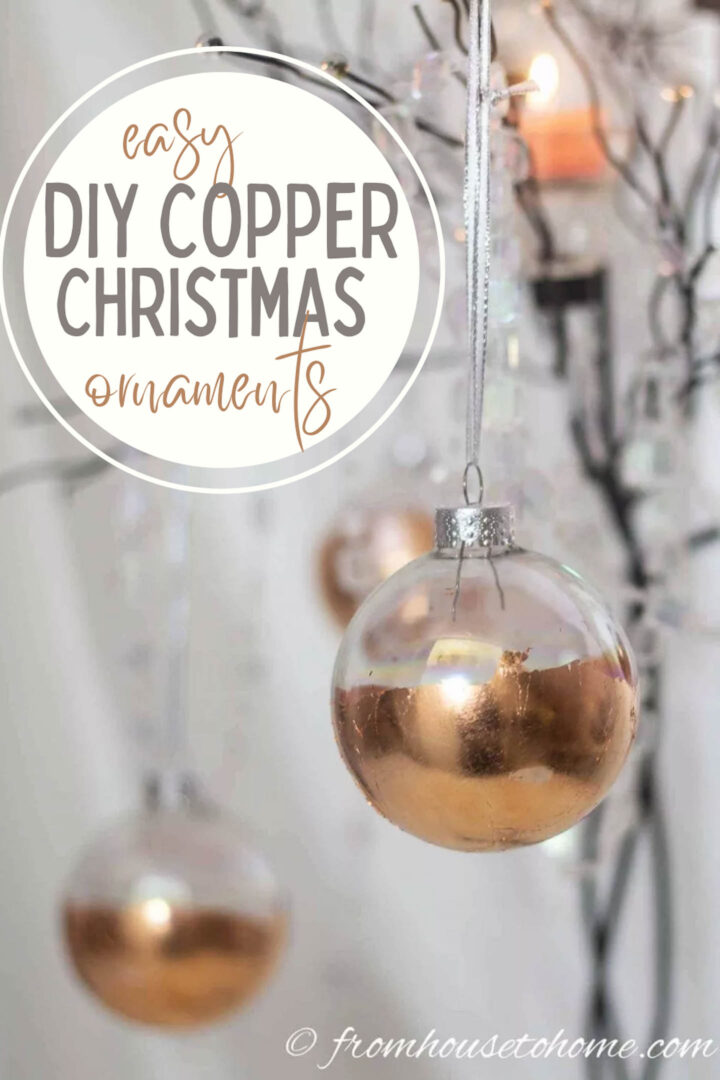
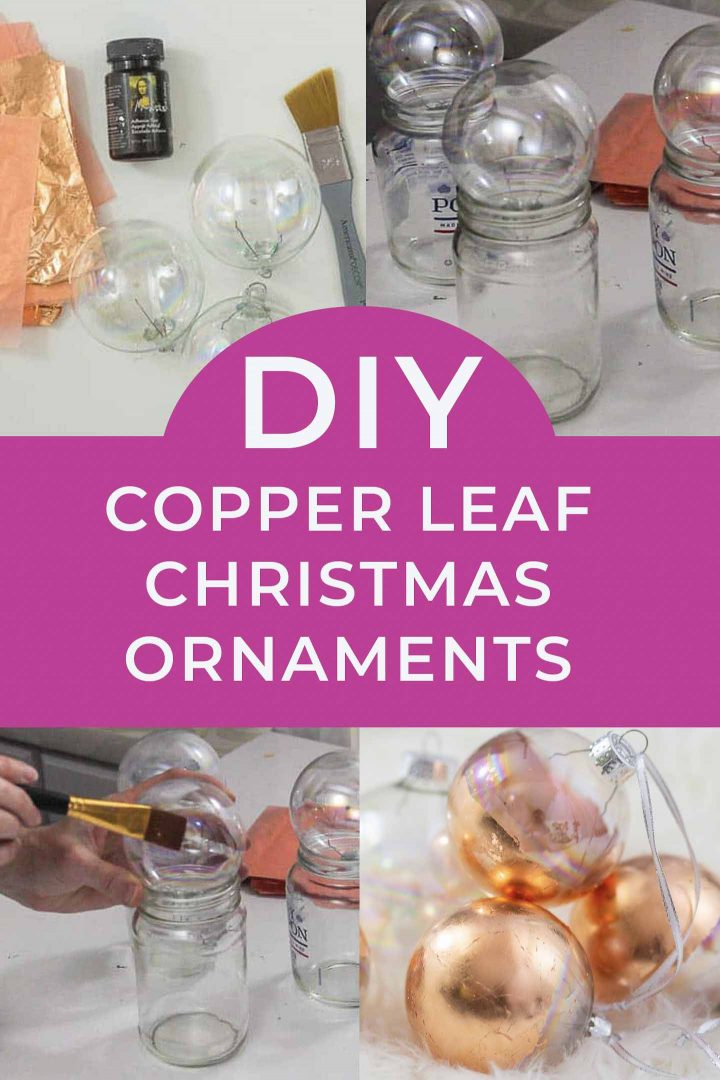
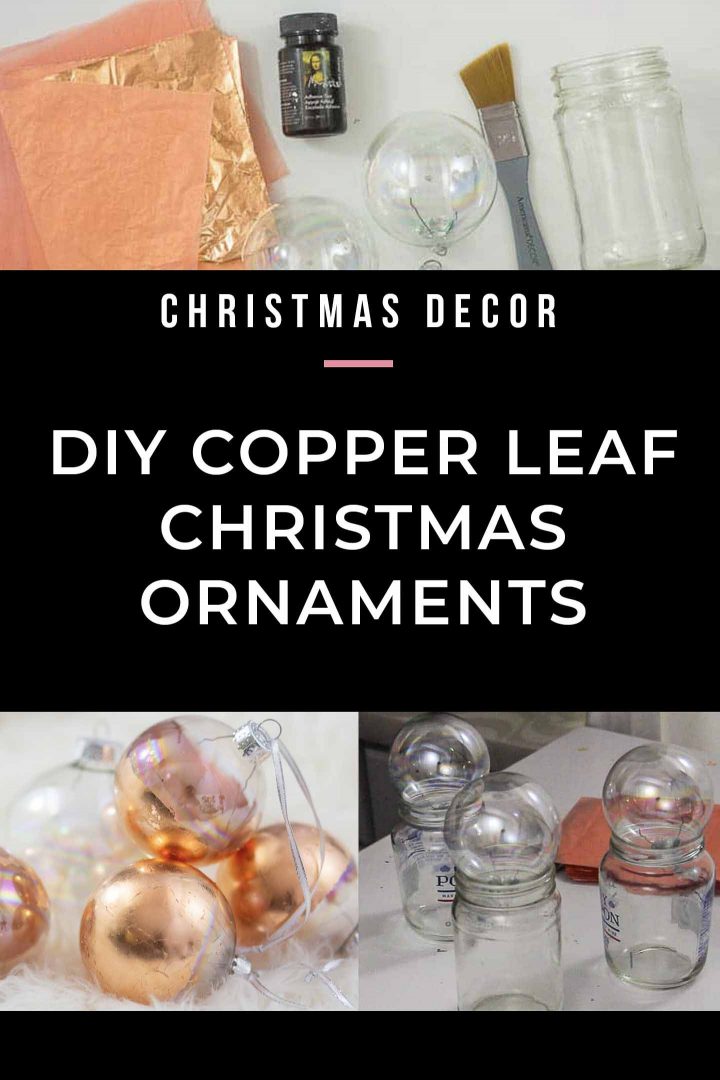
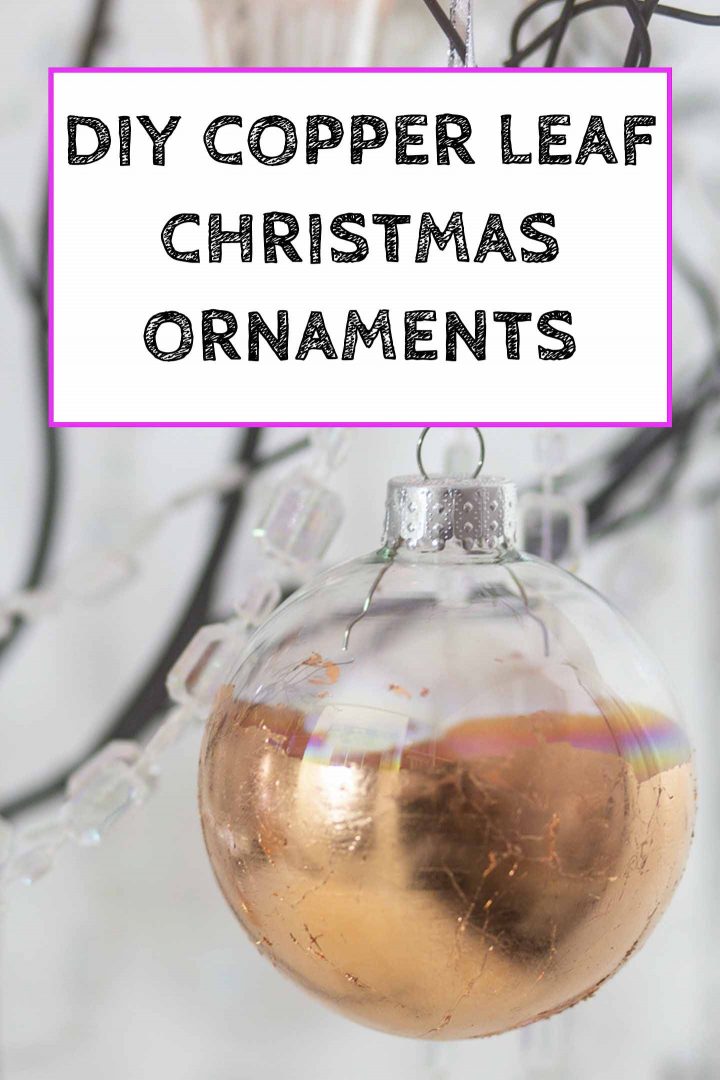
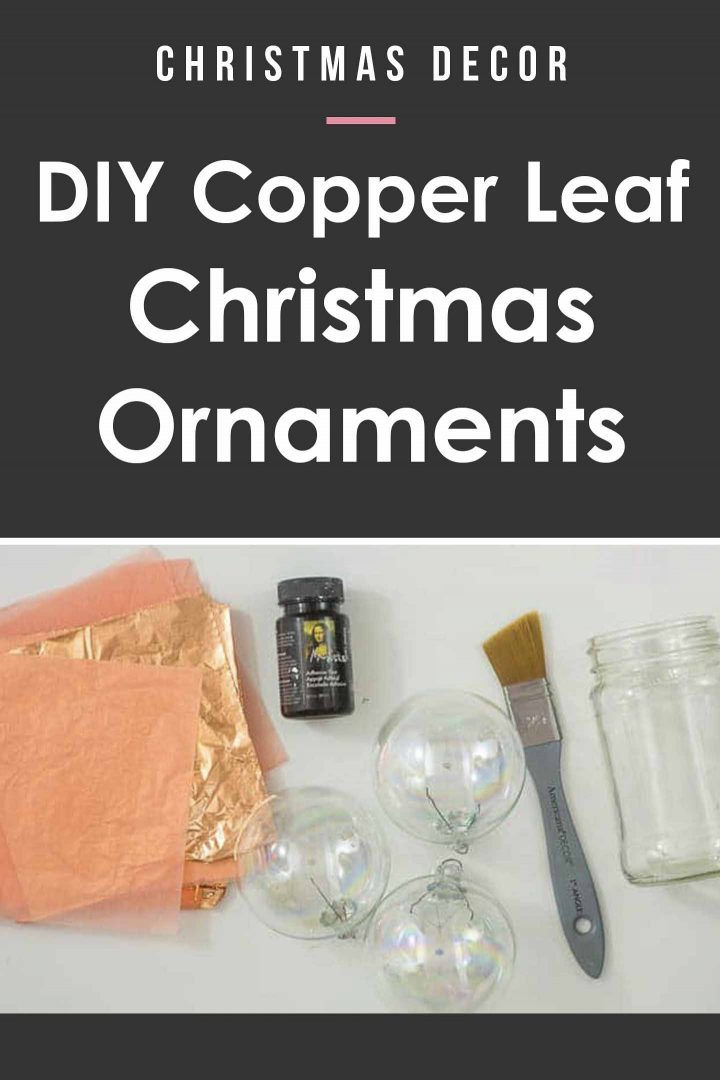
- Christmas ornaments – I used clear glass balls, but you can use whatever color and shape you want. Plastic ornaments should work, too.
- Copper leaf* – of course, you can use any color of foil leaf that you want.
- Leaf adhesive* – the small size bottle is more than enough
Tools
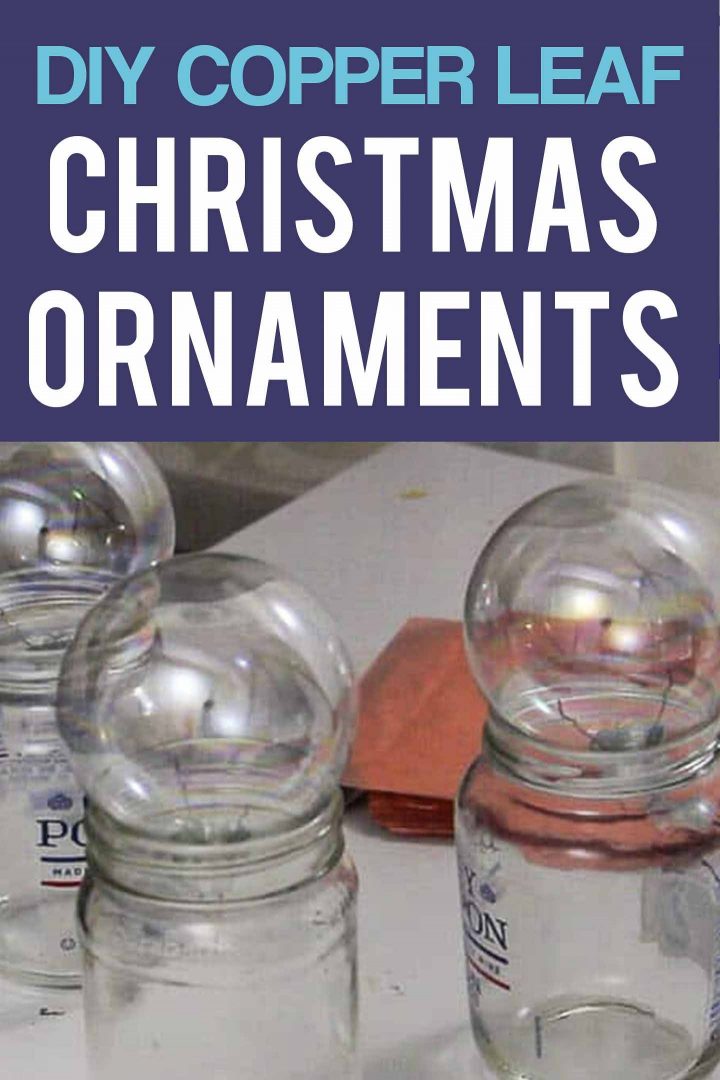
- Something with a round opening that is smaller than the width of your Christmas ornaments like a jar or a glass
- Small paint brush
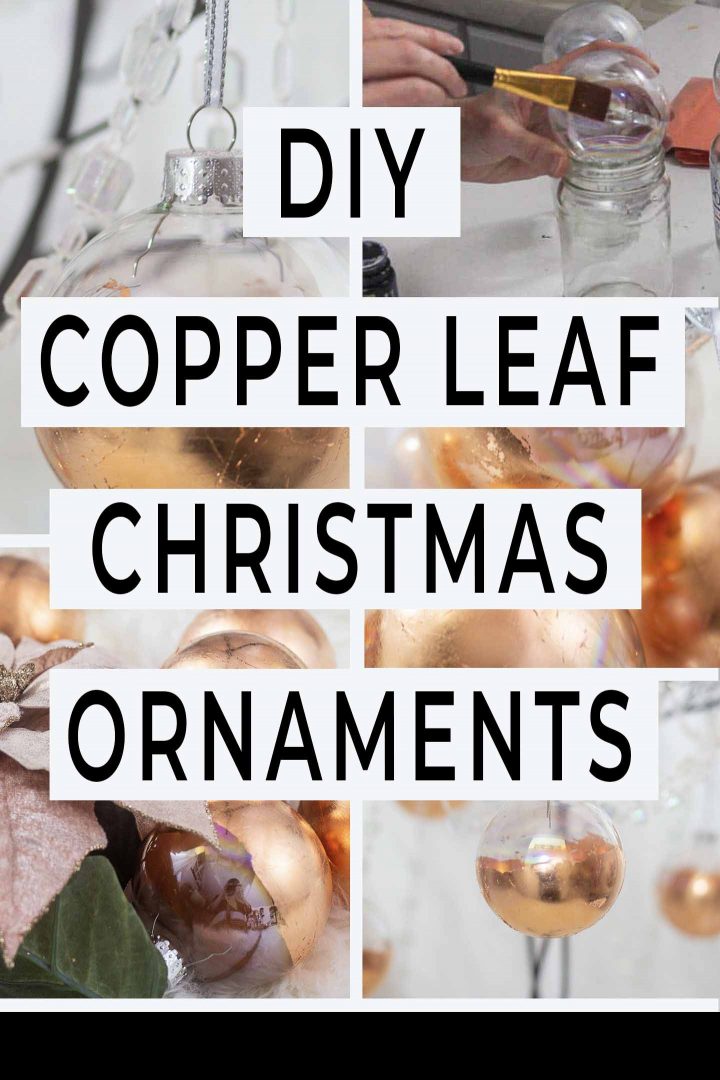
How To Make DIY Copper Christmas Ornaments
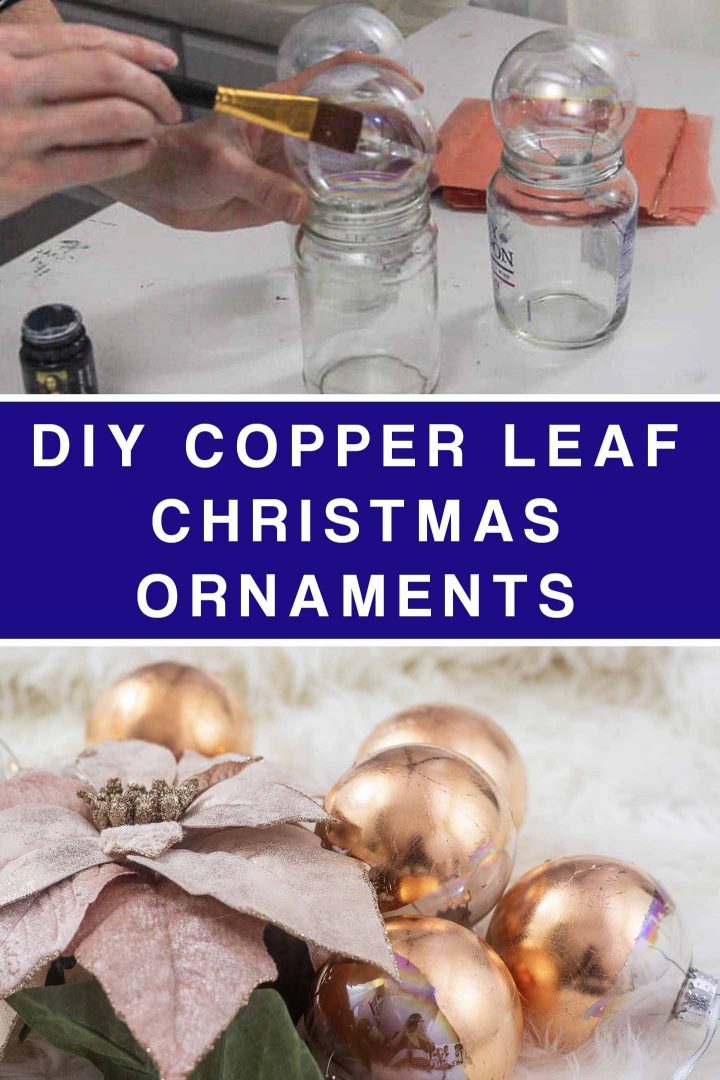
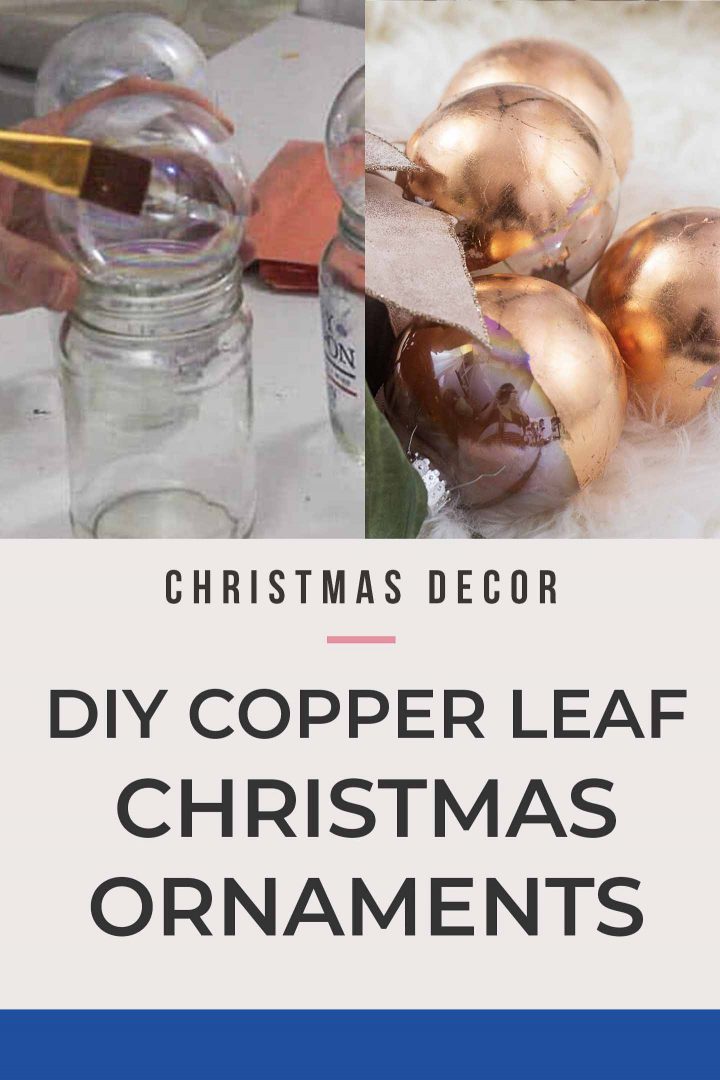
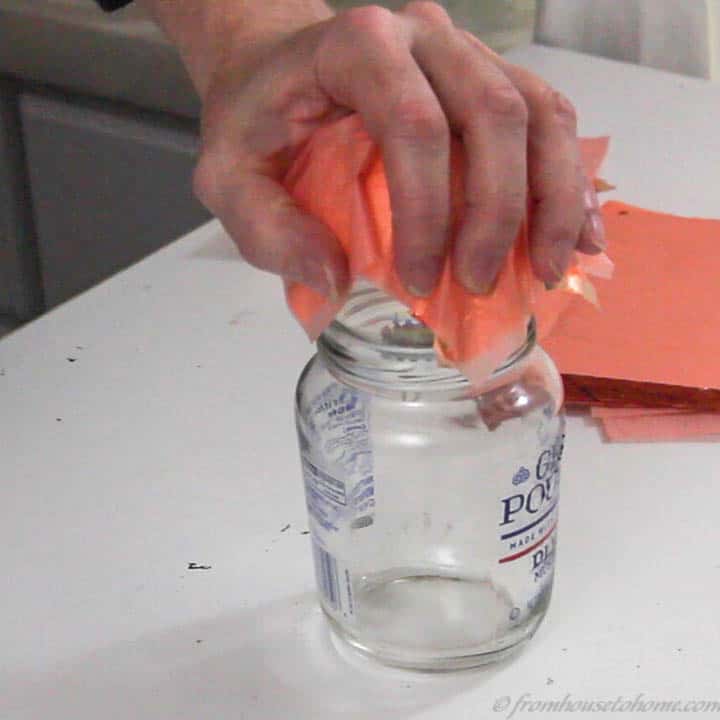
1. Paint On The Adhesive
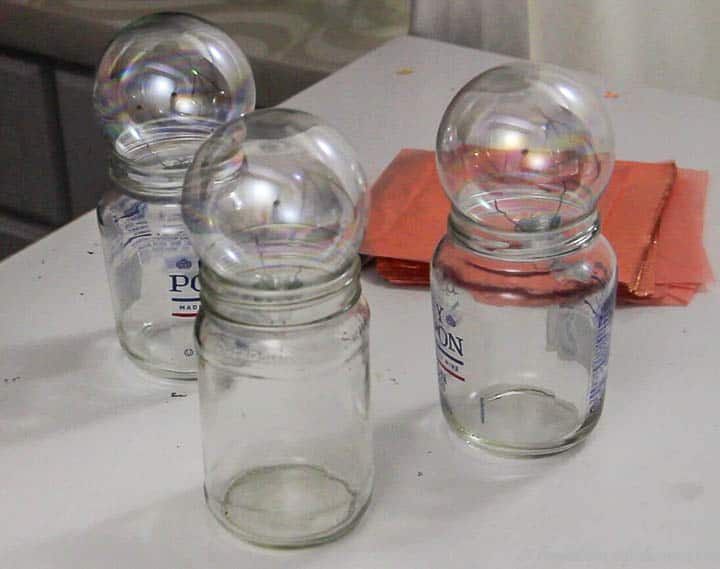
To make applying the adhesive easier, place your ornament in the mouth of the jar with the stem facing down. If you don’t have a jar or glass that will work, you can also cut a hole in a cardboard box.
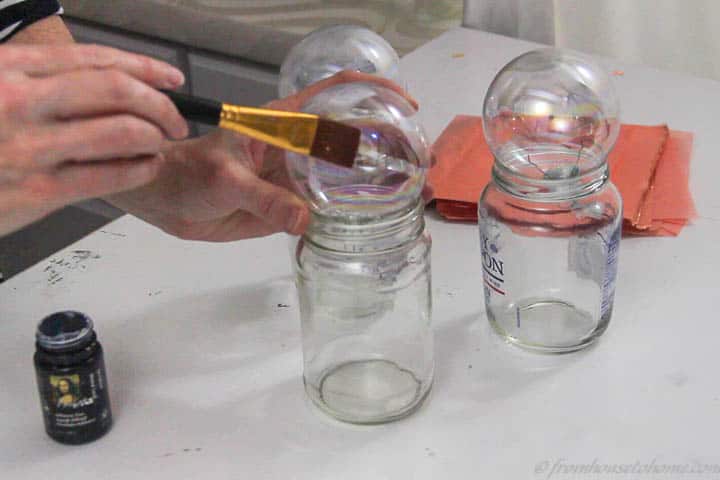
Use a small brush to cover the bottom of your ornaments with the leaf adhesive. Use a very thin layer. It doesn’t need very much to adhere the copper leaf.
Since the adhesive needs to sit for a few minutes, you can apply it to all of the ornaments in your stand before going on to the next step.
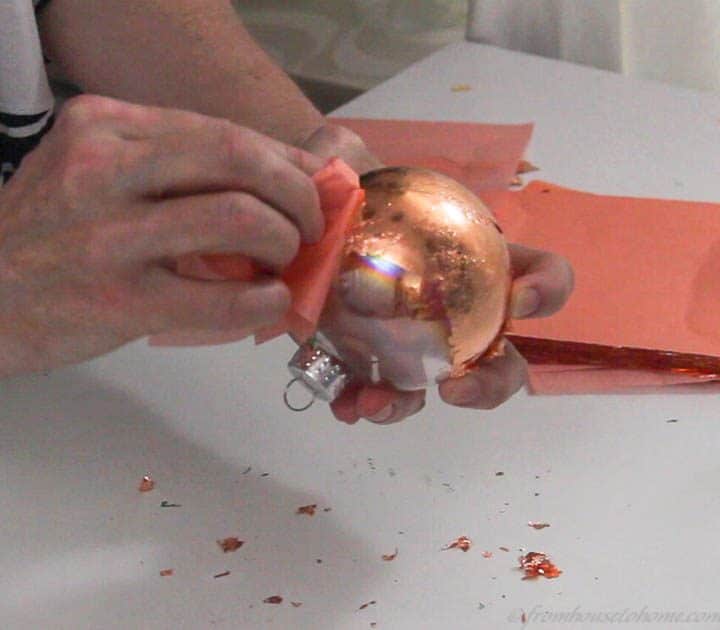
2. Apply The Copper Leaf
Now we’re going to apply the copper leaf. The glue should turn clear when it has set.
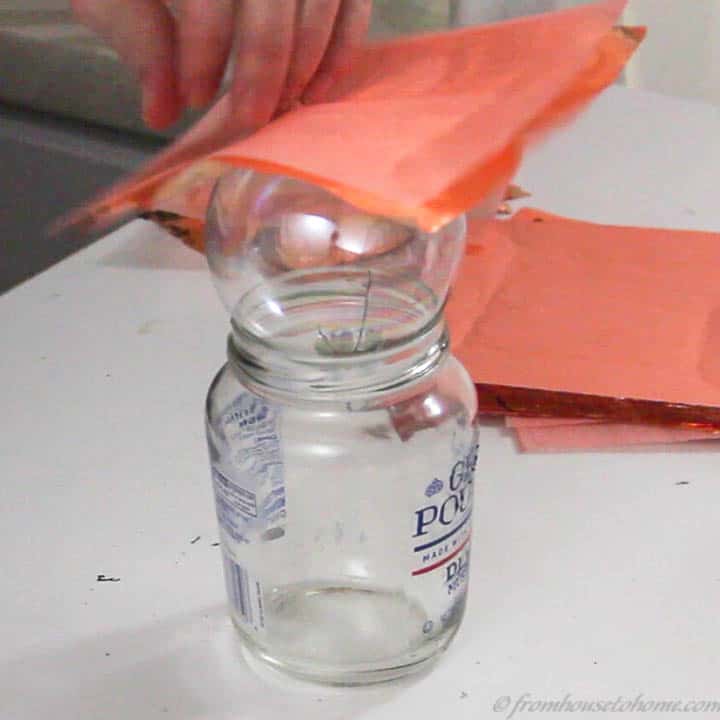
Lift up the copper leaf with the tissue that comes with it.
Press it down over the ornament and pat it so that the leaf sticks to the adhesive. Don’t worry if there are uneven bits, we’ll take them off in the next step.
If you have a large ornament, you may need to use another sheet or two of the leaf to cover all of the adhesive.
3. Buff The Copper Leaf

Use the tissue to gently the buff the copper leaf. This should smooth out any bumps on the ornament and remove any rough edges or bits that aren’t stuck to the ball.
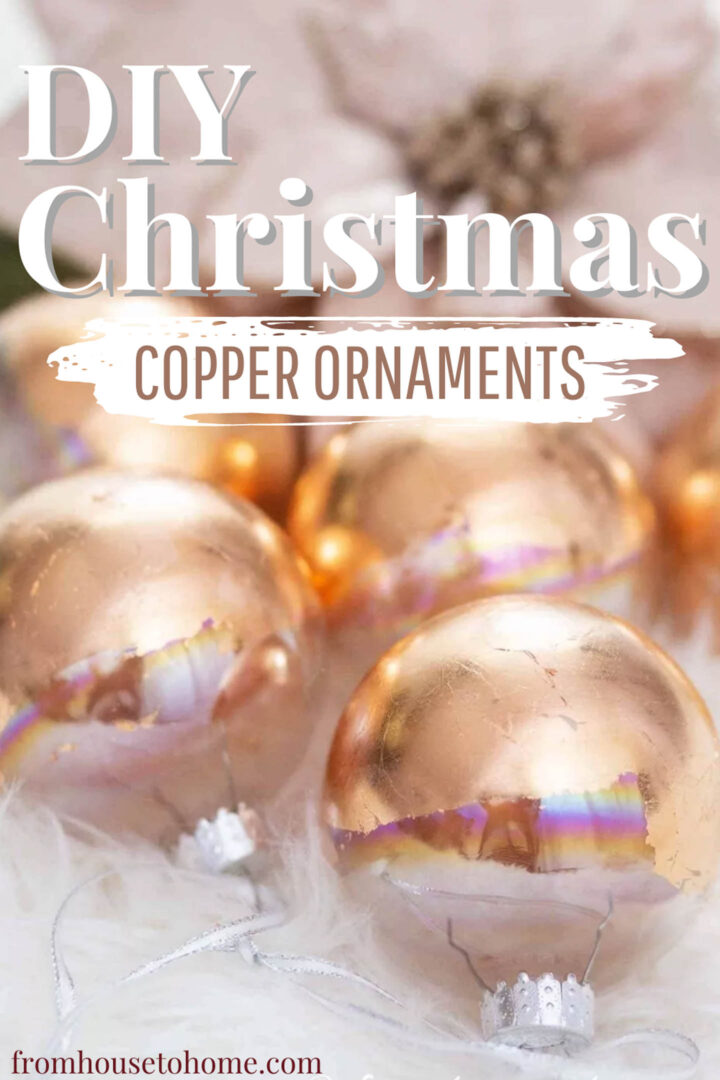
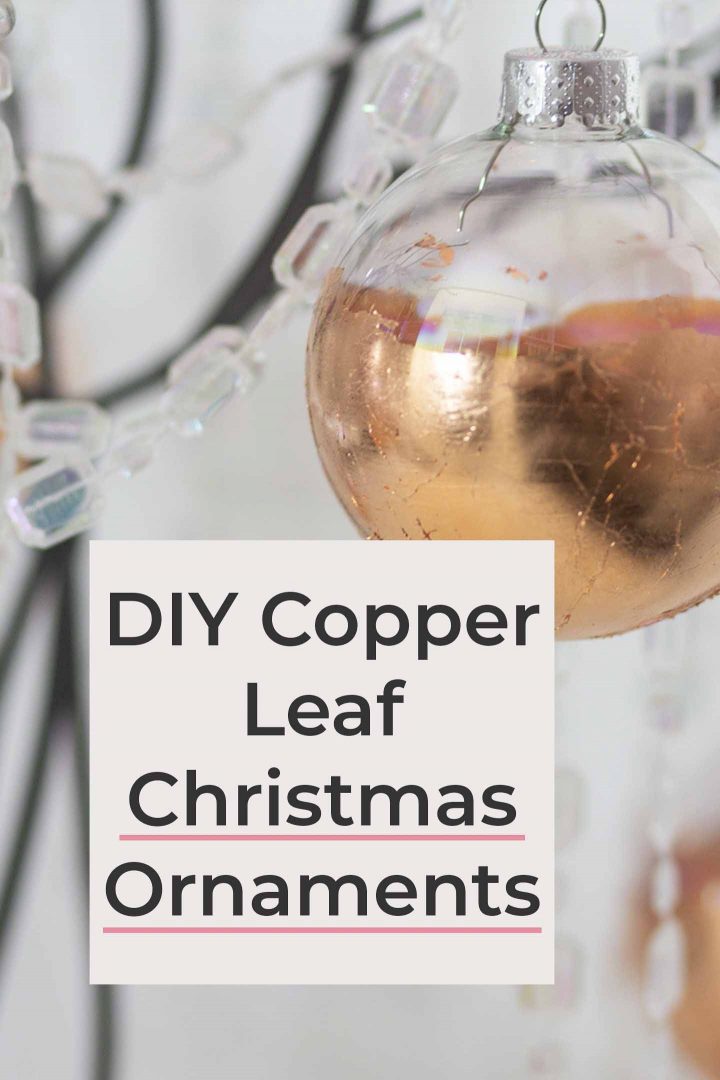
You will end up with uneven edges around the middle of the ball, but I like it this way.
4. Fill In Any Large Gaps
If there are any large gaps or you think the leaf was applied too unevenly, you can fill in the spaces by painting on some more adhesive and applying another layer of the copper leaf.
If you want the entire ornament to be copper, you can flip it over in your stand and repeat the process on the top half. Make sure to overlap the leaf on the bottom half so there isn’t a seam.

Add a pretty ribbon to hang it with and you have some beautiful DIY copper Christmas ornaments!

For now, I’ve hung them on a candle tree.

But I’ll be using them on my blush pink and copper Christmas tree.
Check back in a couple of weeks to see how that turns out!

Even More DIY Christmas Decor Projects
But Wait…There’s More!
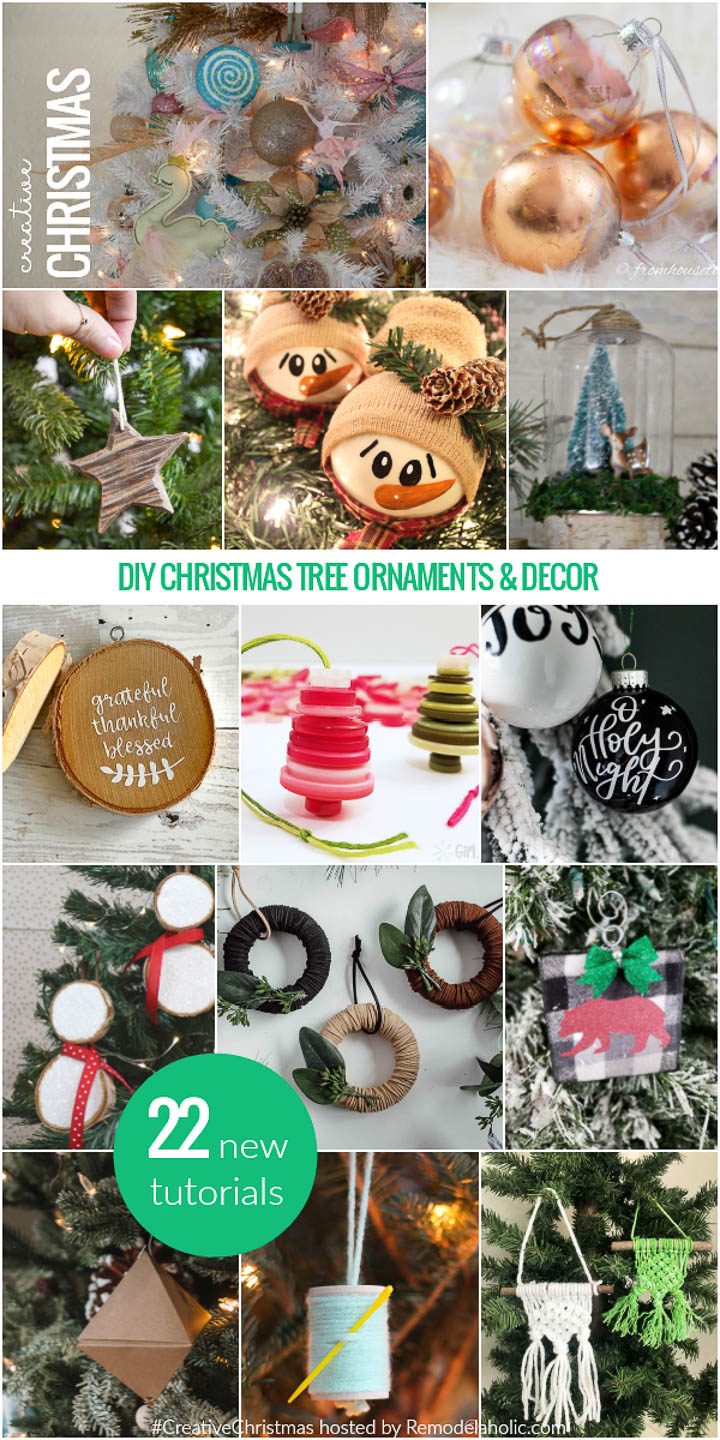
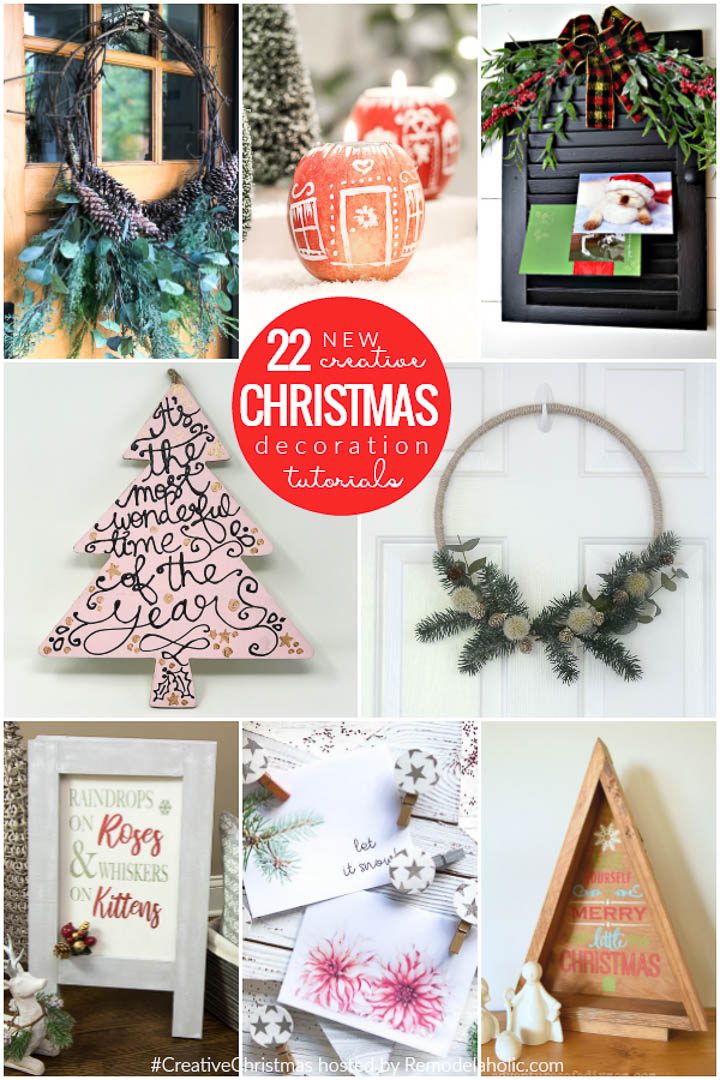
I have teamed up with a few of my blogging friends for the Creative Christmas Challenge hosted by Remodelaholic. That means you have a whole list of DIY Christmas decor projects to browse through!
Here’s a YouTube playlist with many of the projects:
And the list of links for all of them:
Nutcracker Christmas Tree Decorating | Remodelaholic
Copper Christmas Ornaments | From House to Home
DIY Rustic Carved Wood Ornaments | Ugly Duckling House
Snowman Globe Ornaments | Kailyn Williamson
Dollar Store Snow Globe Ornaments | Our Crafty Mom
Wood Disc Ornaments | Everyday Party Magazine
Button Christmas Ornaments | Girl Just DIY
Handlettered Ornaments 3 Ways | Lemon Thistle
Wood Slice Snowman Ornament | Creative Ramblings
Mini Wreath Ornaments | Love Create Celebrate
Buffalo Plaid Ornaments | Leap of Faith Crafting
Easy DIY Geometric Ornaments | Practical and Pretty
7 Cheap and Easy Christmas Ornaments | Toolbox Divas
Macrame Ornaments | Frazzled JOY
Grapevine Christmas Wreaths | Grace in My Space
DIY Apple Candle Village | Life on Summerhill
Festive DIY Christmas Card Holder | Red Cottage Chronicles
Lettered Tree Sign | Smiling Colors
Modern Christmas Wreath | Sister’s What!
Reversible Holiday Easel | Queen Bee of Honey Dos
Pretty Decorative Clothespins | Sustain My Craft Habit
DIY Wooden Triangle Christmas Tree | Adventures of a DIY Mom
Have comments or questions about our DIY copper Christmas ornaments? Tell us in the section below.
Pin It So You Don't Forget It!

This post was originally published on November 10, 2018 but was updated with new content on November 17, 2021.
I love these copper ornaments. Thanks for your post!
Thanks, Josef!
Wanda, these are just gorgeous! You inspired me to finally try gold leafing. I have some pink ornaments and am going to try to add gold to the bottom!
Thanks, Michelle! Pink and gold will be really pretty (I did some red & gold ones for one of my other trees, and I love the way they turned out). It’s a lot easier than I thought it would be before I tried it 🙂
These are so pretty, Wanda! I have fought with metal leaf before and never realized I was just doing it the hard way… duh! 😉 Thanks for joining Creative Christmas!
Thanks, Lorene! Yes, it’s really pretty easy once you get the hang of it 🙂
Love the process for these! So pretty
Thanks, Sarah! I’m pretty happy with the way they turned out 🙂
These turned out gorgeous! I never thought about making copper ornaments, I love this idea!
Thanks, Amy! I was pretty happy with the way they turned out, too 🙂
I love these copper ornaments, your tutorial is really helpful too thanks!
Thanks, Sarah! I’m pretty happy with the way they turned out, too 🙂
I love updating plain ornaments, and your copper ones are beautiful. They look pretty easy to leaf, thanks for the tips.
You did great on your first video and I’m sure you’ll have many more very soon.
Thanks, Toni! The leaf is really easy to put on…it seems like it would be harder, but it’s really not 🙂