How To Make A DIY Fabric Roller Shade

DIY fabric roller shades are a simple, streamlined and inexpensive curtain that doesn’t take up a lot of space. And they don’t require much sewing. Which makes them the perfect window treatment solution for many different rooms and decor styles.
If you’re looking for a homemade blind that doesn’t take up much space, is really easy to install, and doesn’t require a lot of sewing, then a DIY fabric roller blind may be just what you’re looking for.
You can use whatever fabric you wish so it will match your decor.
And buy a fairly inexpensive DIY roller shade kit which will supply everything else you need to put it together.
Since I am not a fan of spring rollers (they never seem to work properly), I like to use clutch roller blinds. Which are the ones that have a chain on one side that you pull to roll the shade open and closed.
They’re even great for some unconventional uses.
Like when I redecorated my home office and needed something on the doorway to provide privacy when the room is used as a bedroom.
Here are the steps I used to make a DIY fabric roller shade from scratch.
Supplies
Materials
- fabric – This should be wide and long enough to cover the width of the opening. If it is not long enough, you can add a piece, but this does not work for widening it. The blind will not roll up straight if you have a vertical seam.
- decorative trim (optional)
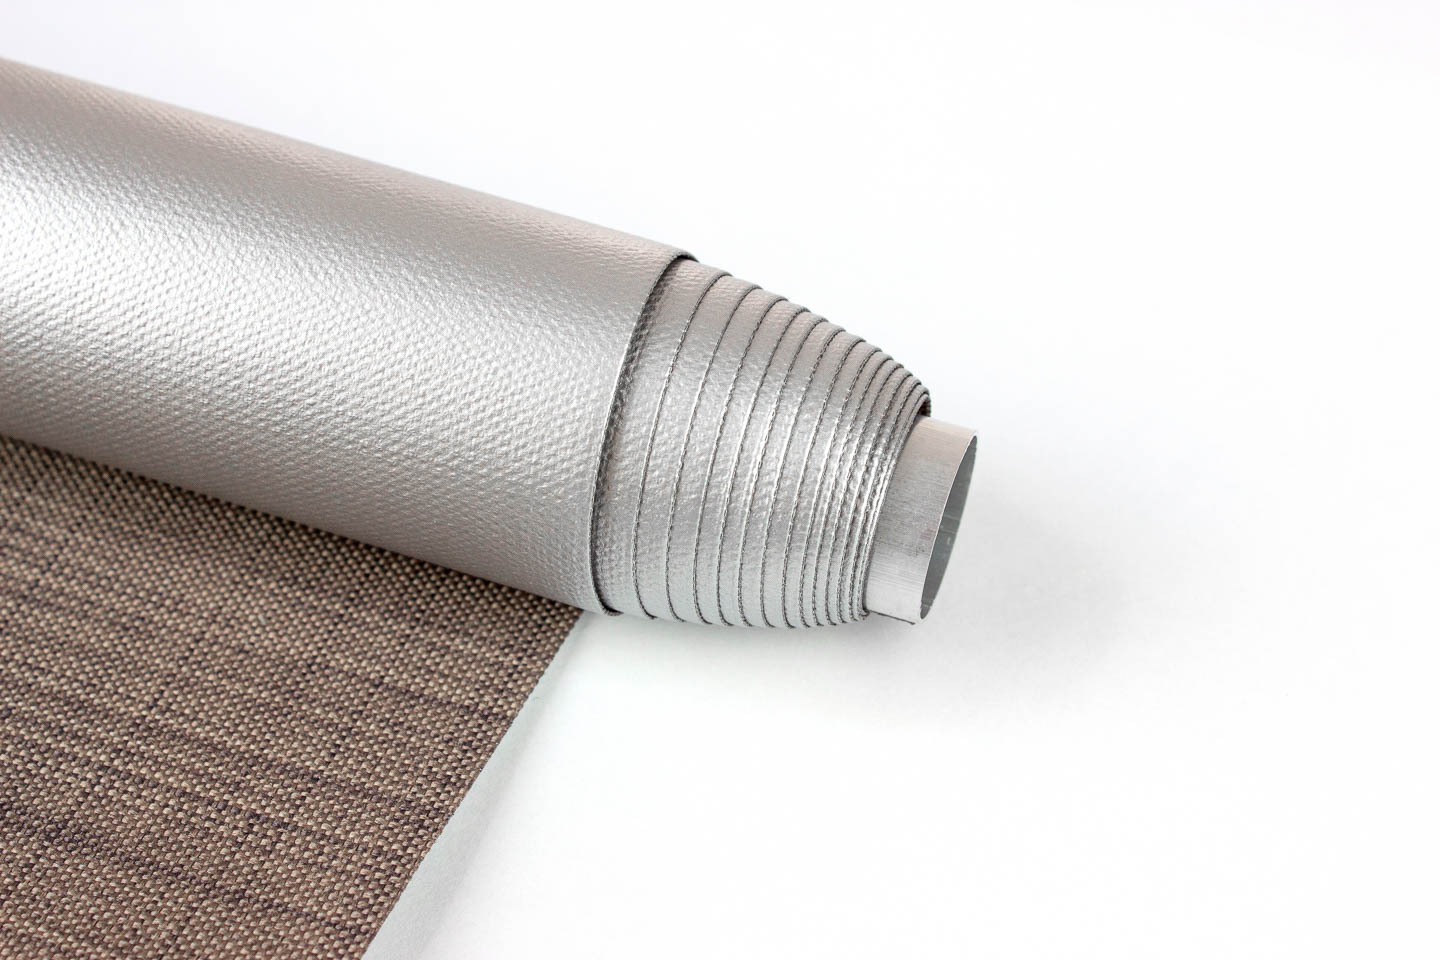
- clutch roller shade kit – The kit comes with: 1 clutch gear, 1 idle installation bracket, 1.5″ roller shade tube, plastic ball chain. Choose a kit with a roller width that is at least as wide as your opening. Since the outside measurement of my door is 33 1/4″ across, I ordered the kit that is 48″ wide. See below for measuring instructions.
- continuous loop ball chain (optional) – I like to use chain that is shorter than the one that comes in the kit for child and pet safety. I ordered the 2′ long chain, but yours may need to be longer depending on how high the top of your window is.
- 1″ x 1/4″ wooden or plastic stick – for the bottom of shade (available at hardware stores). This needs to be at least as long as the width of your shade.
Equipment
- measuring tape
- scissors
- sewing machine
- iron
- screw drivers or power drill with bits
- hacksaw
- pencil
- level
1 | How to measure for roller shades
Inside or outside mount?
The first thing you need to do is decide if you need an inside mount or an outside mount.
An inside mount will be fitted between the casing, so that it is installed inside the window frame (or in my case, the door).
An outside mount is attached to the frame on either side of the opening. Mine is an outside mount.
Inside mount measurements
With a measuring tape, measure the distance from the top inside of the window frame to the bottom sill where the blind will end.
Now measure the distance between the left and right sides of the frame where the mounting brackets will go at the top of the window.
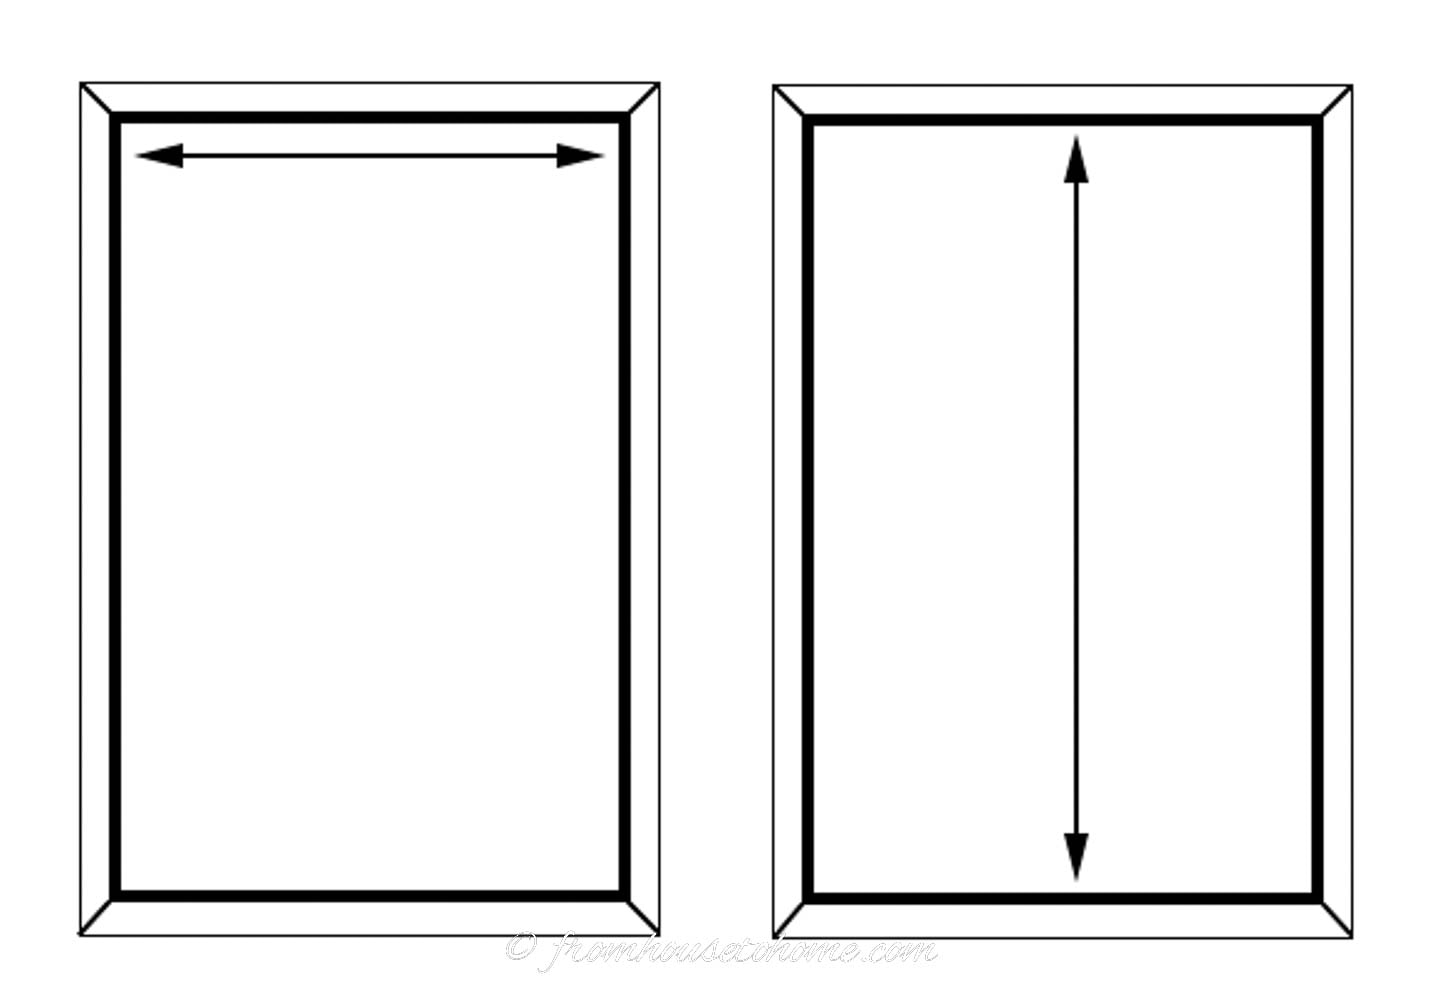
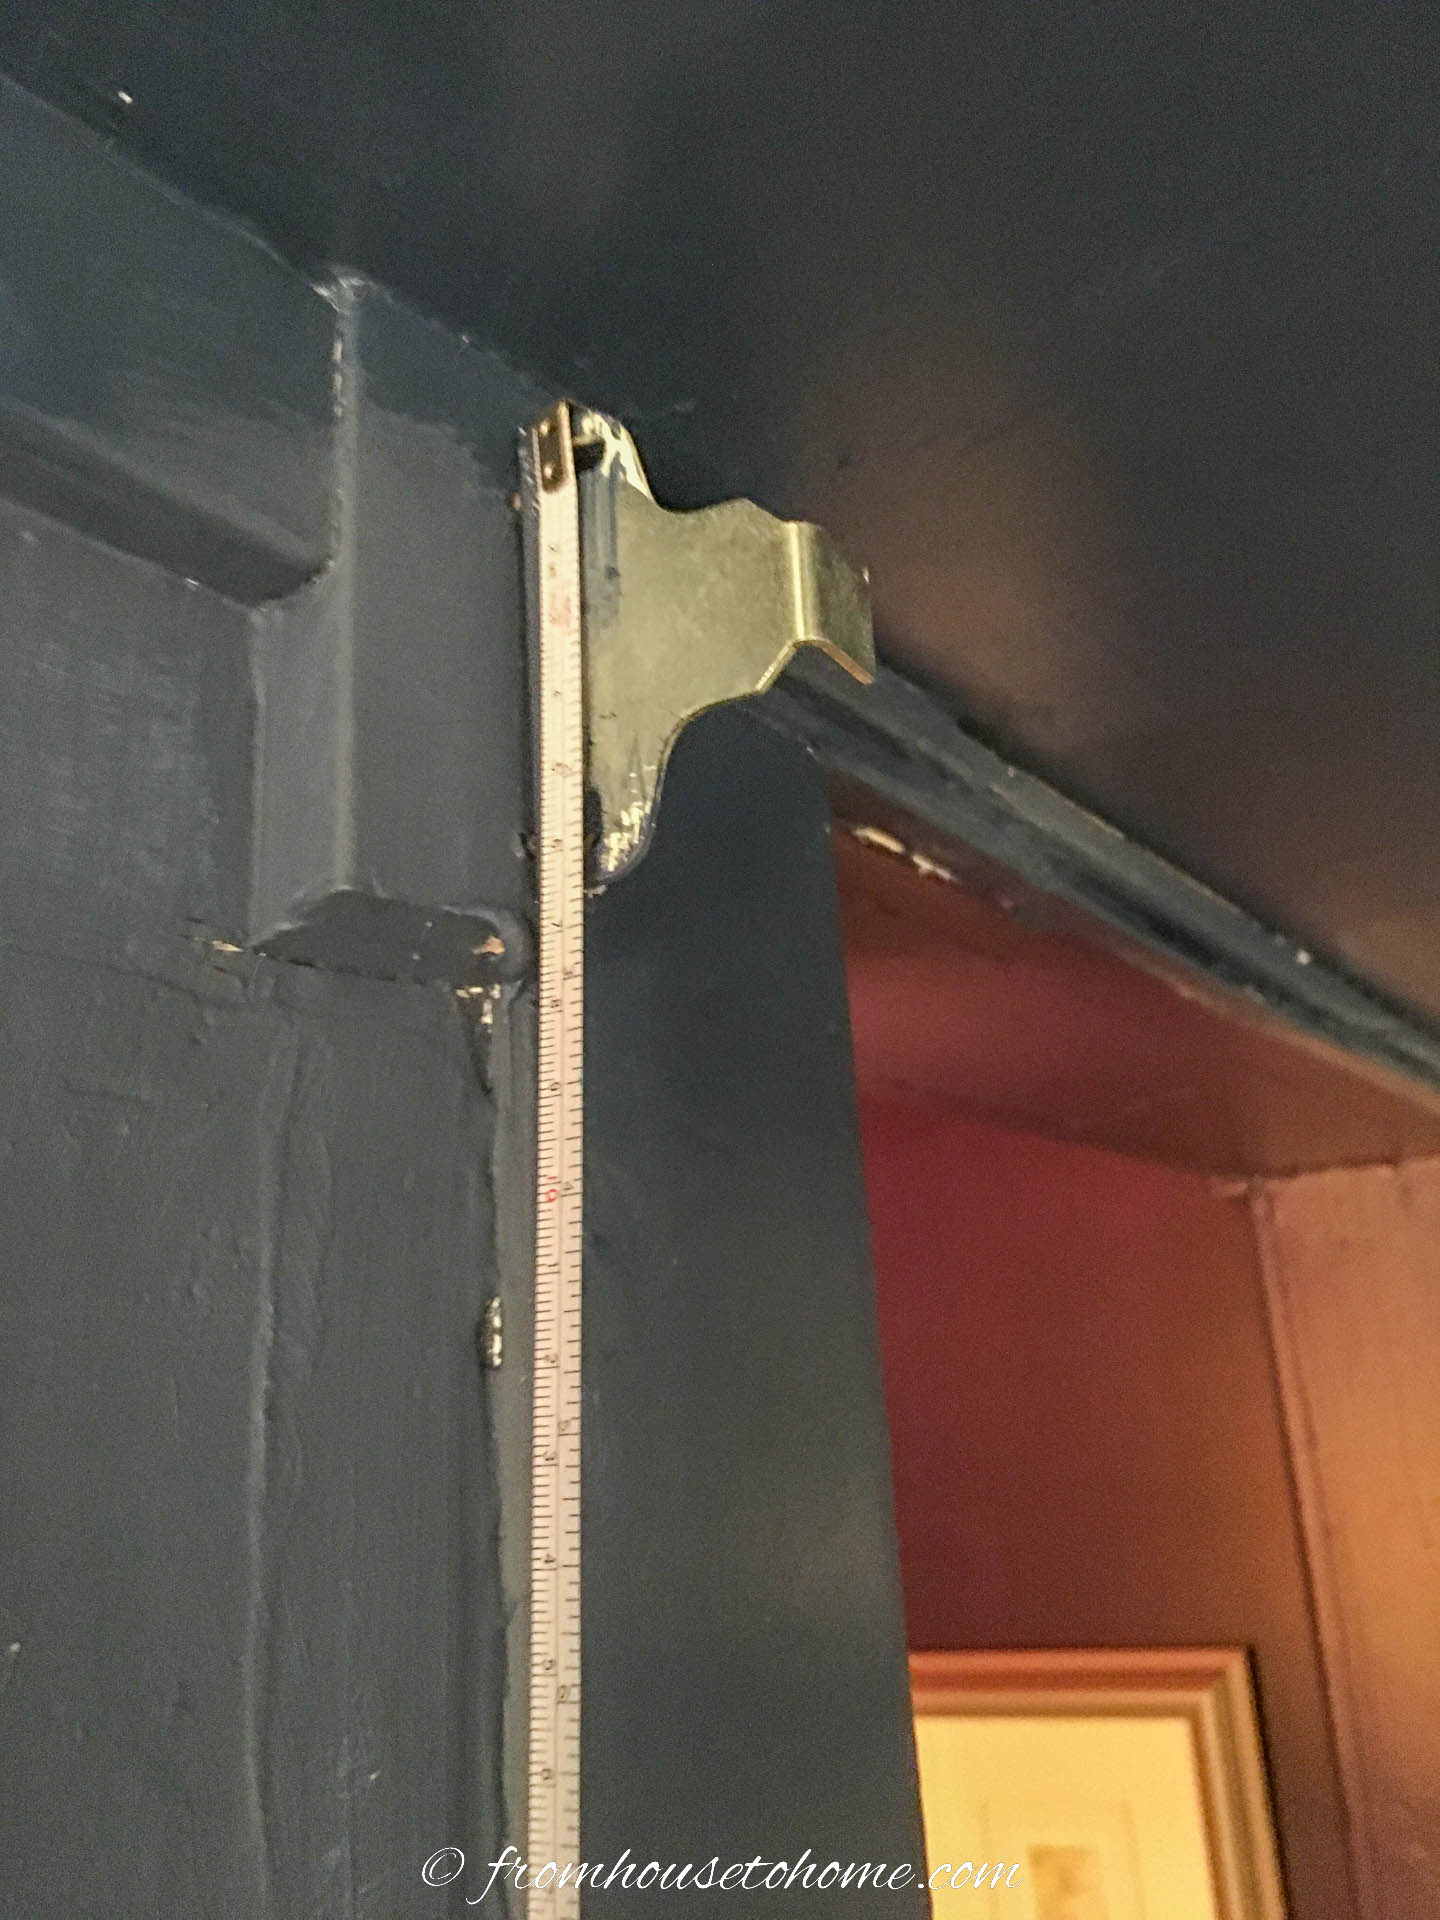
Outside mount measurements
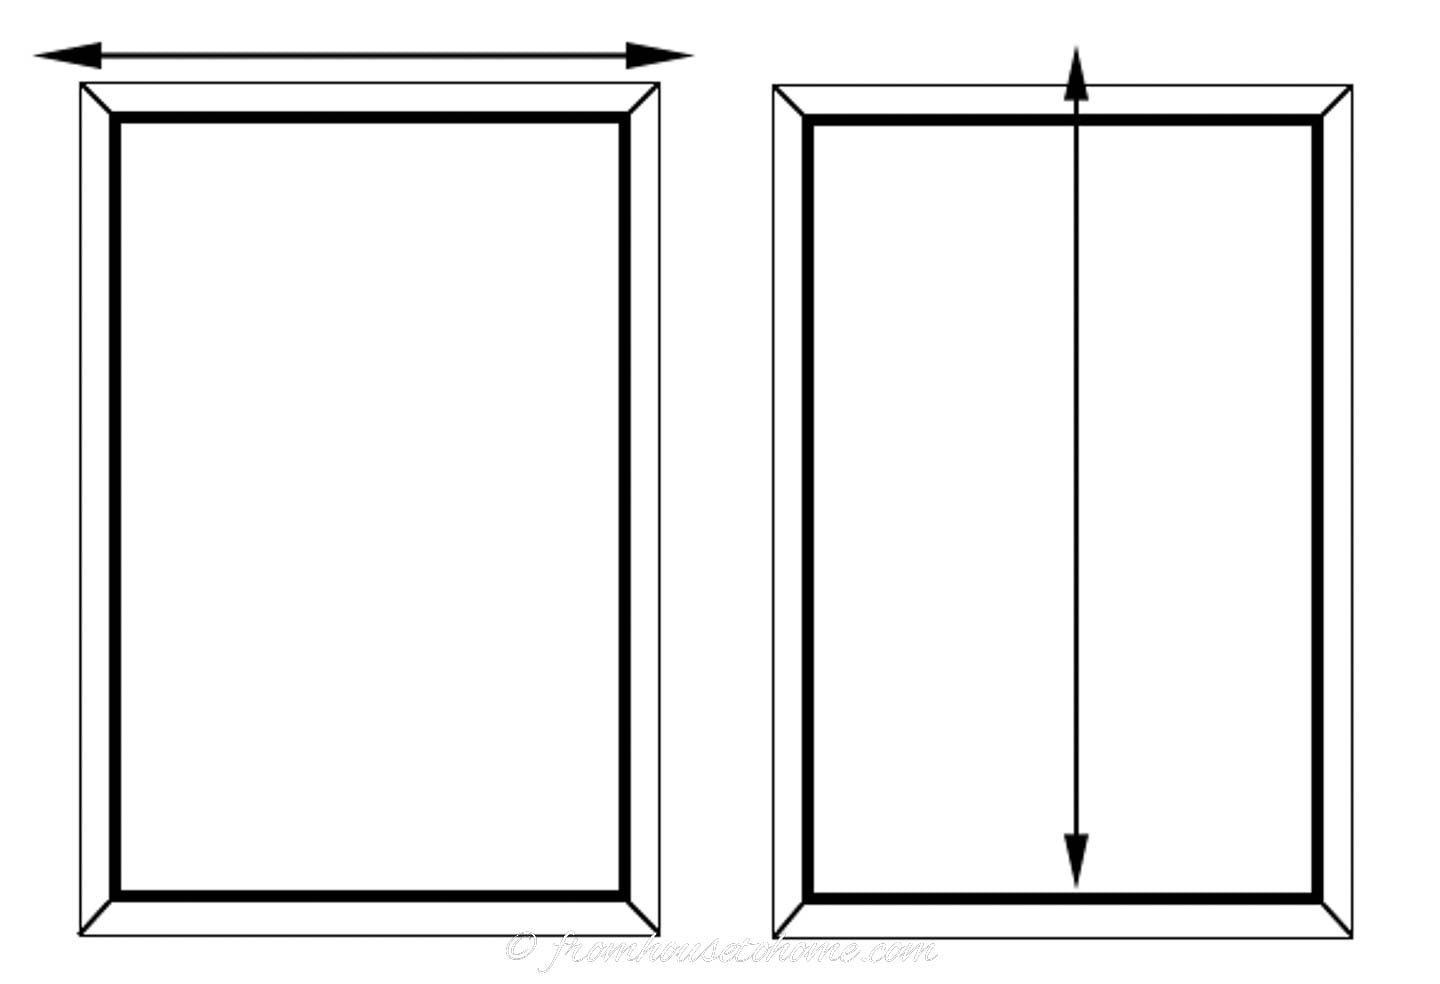
Figure out how far out and above your window you want your shade to be.
Use a pencil to mark the spots on either side of the window, making sure they are level.
Measure the width across the top of the window, from the outside edge of where the brackets will be mounted.
Then measure the length from the top of where the mounting bracket will be installed to the bottom of the opening. In my case, 78″.
Note: If you are doing multiple windows, each one must be measured separately. Even if they look like they are the same size, they will vary slightly.
2 | How much fabric will you need?
Length
Determine the length of your shade by adding 14″ to the length that you measured above (in my case 78″ +14″ = 92″).
This will give you enough extra fabric to create the bottom gusset that will hold the wooden board which keeps the shade straight.
And leave some fabric on the roller when the shade is all the way down (so you won’t see the bare roller).
Width
The width of the fabric needs to take into account the size of the brackets, which may be slightly different depending on which brackets you have.
The information sheet that comes with the brackets should tell you what their width is. (In my case, the bracket width was 5/8″.)
Since there is a bracket on each side, we’ll need to double that number (in my case, that’s 5/8″ x 2 = 1¼”).
Then use the measurement from step 1 above minus the doubled bracket width to determine the width of the shade (in my example the width would be 33¼” – 1¼” = 32″).
3| Cut fabric to size
Straighten the top of the fabric
First, we’ll need to cut the top edge of your fabric to make sure it is straight.
To do this make a small cut on the side of the fabric (at the selvage edge).
Then find a thread from the cut and pull it all the way out.
It will leave a straight line across the fabric.
Cut along this line.
Measure and mark the length
From the straight edge that you just cut, measure down the length of the shade that you calculated in step 2 above.
Pull a thread across the fabric at this spot and cut along the line (like you did above).
Note: If you are using a patterned fabric and making blinds for more than one window, make sure that you start the top measurement at the same place in the pattern. That way the blinds will match across all of the windows.
Measure and mark the width
How you measure the width of the fabric will depend on whether or not it has a pattern.
Fabric without a pattern:
Cut off the selvage edge on one side of your fabric.
Measure across the width (32″ in my case) and mark it with a pencil.
Pull a thread and cut along the line that it leaves.
Fabric with a pattern:
If you are using a patterned fabric, it needs to be centered on the shade.
Determine the center of the pattern that you would like to have on your blind. (If your shade is quite wide, you may not have much of a choice depending on how wide your fabric is).
Then measure half of the shade width on either side of the center. In my example this would be 32″ ÷ 2=16″.
Mark both of these measurements with a pencil.
Pull a thread at each of those points.
Then cut with scissors or a sharp rotary cutter along the lines to get a perfectly square piece for the shade.
4 | Sew the shade
If your material frays, sew a zigzag stitch along the length of both sides. You cannot hem the sides because the shade will not roll up evenly when hemmed.
Now we’ll make a 1 1/2″ gusset in the bottom of the shade which will hold the stick that keeps the shade straight.
At the bottom of the shade, fold over the fabric ½” so that the wrong sides are together. Use an iron to press in place.
Then fold it over again toward the underside so that the fold is 1½” wide. Press it in place with iron and pin along the edge.
Sew along the folded edge 1½” from the bottom of the shade.
5 | Add trim (optional)
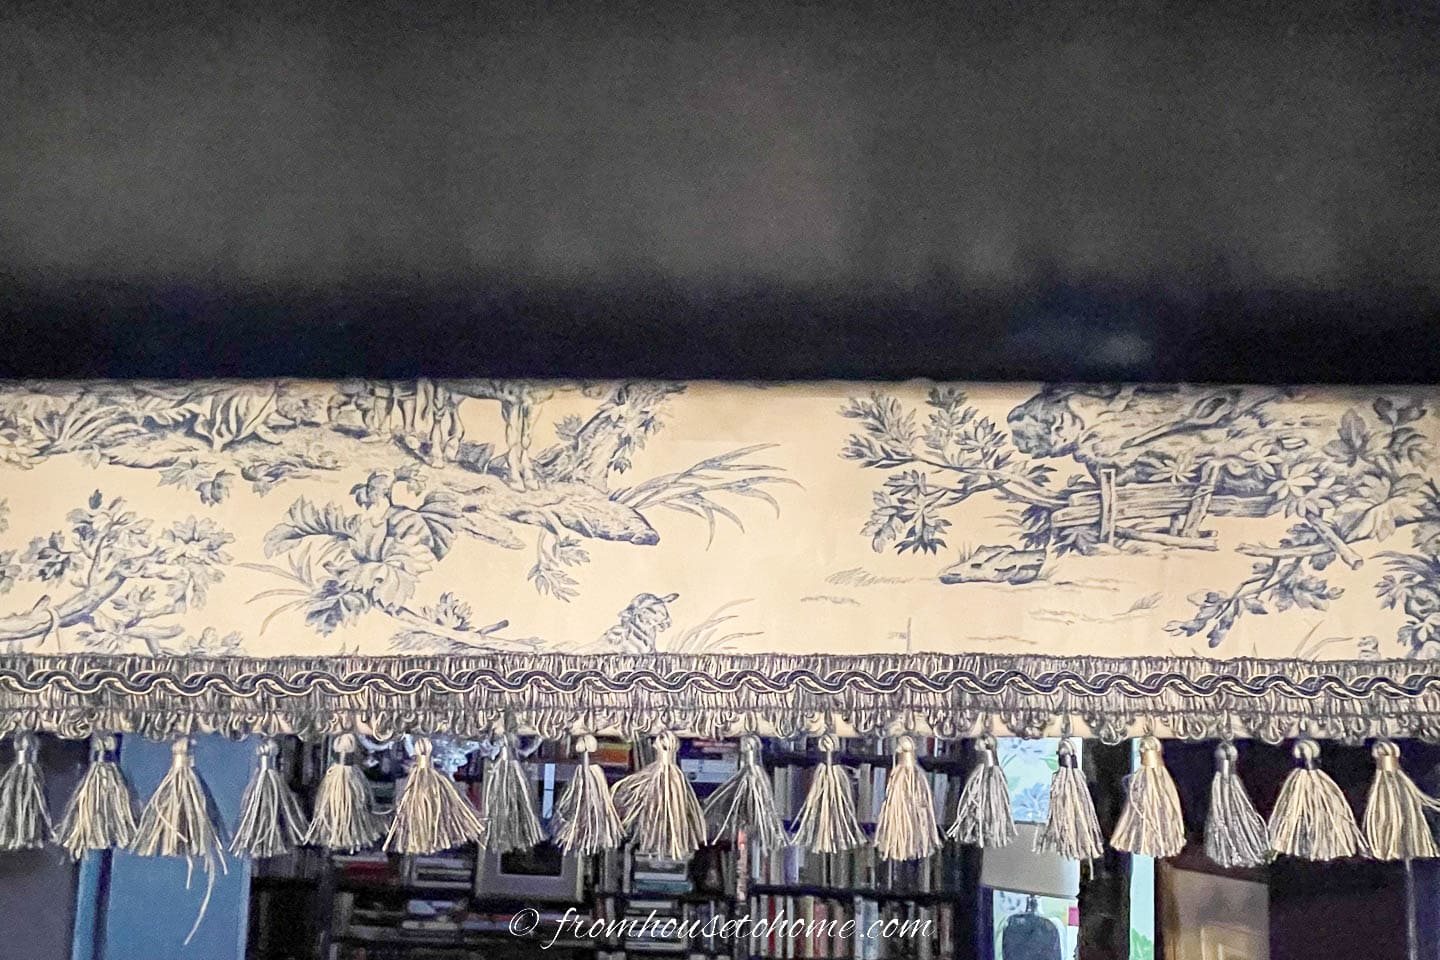
If you are going to use decorative trim, now is the time to add it.
Pin the edge of the trim along the sewn seam on the right side of the fabric.
Sew straight through all thicknesses.
This way the fringe will hide the gusset when the shade is hung.
6 | Cut roller and bottom rail to size:
Use the hack saw to cut the aluminum roller the same width as the fabric (32″ in my case).
Cut the wooden bottom rail the same size as the fabric width (32″ in my case), using a saw.
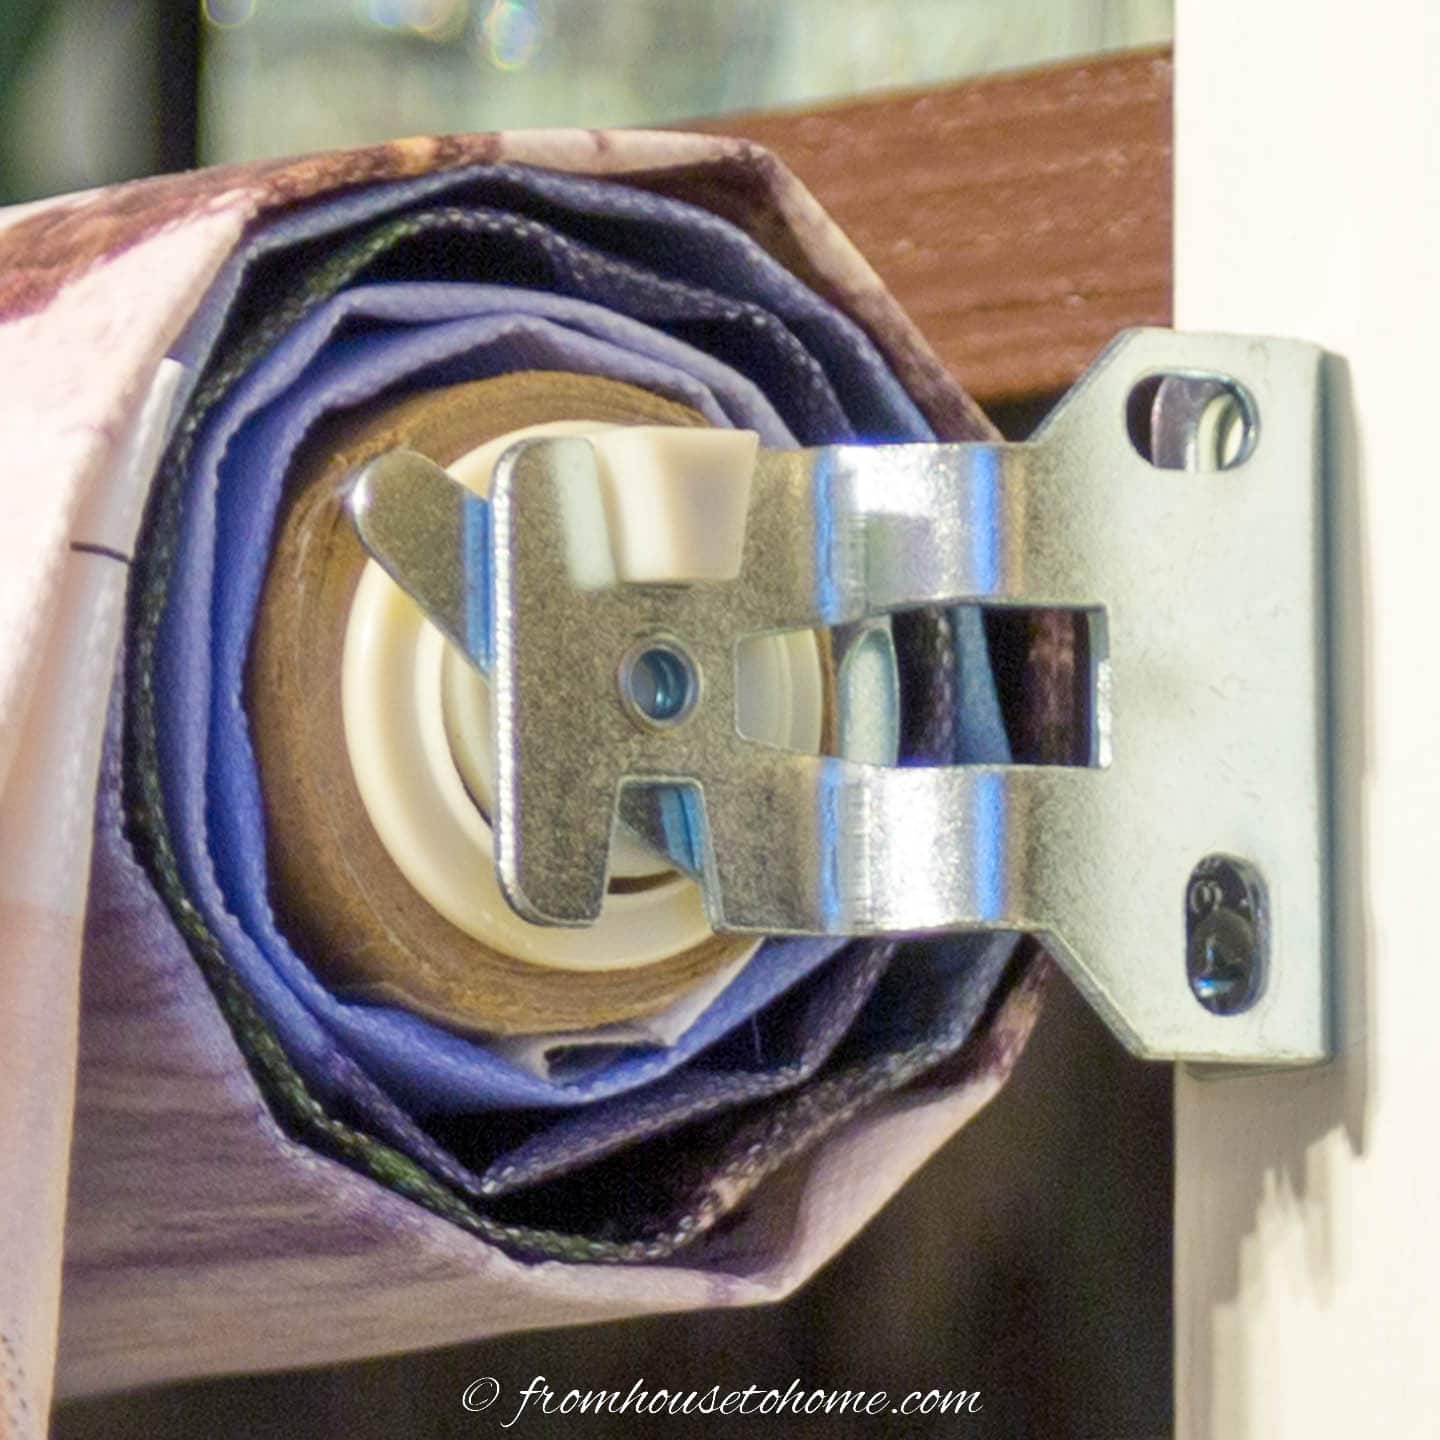
7 | Put the roller shade together
Attach the fabric
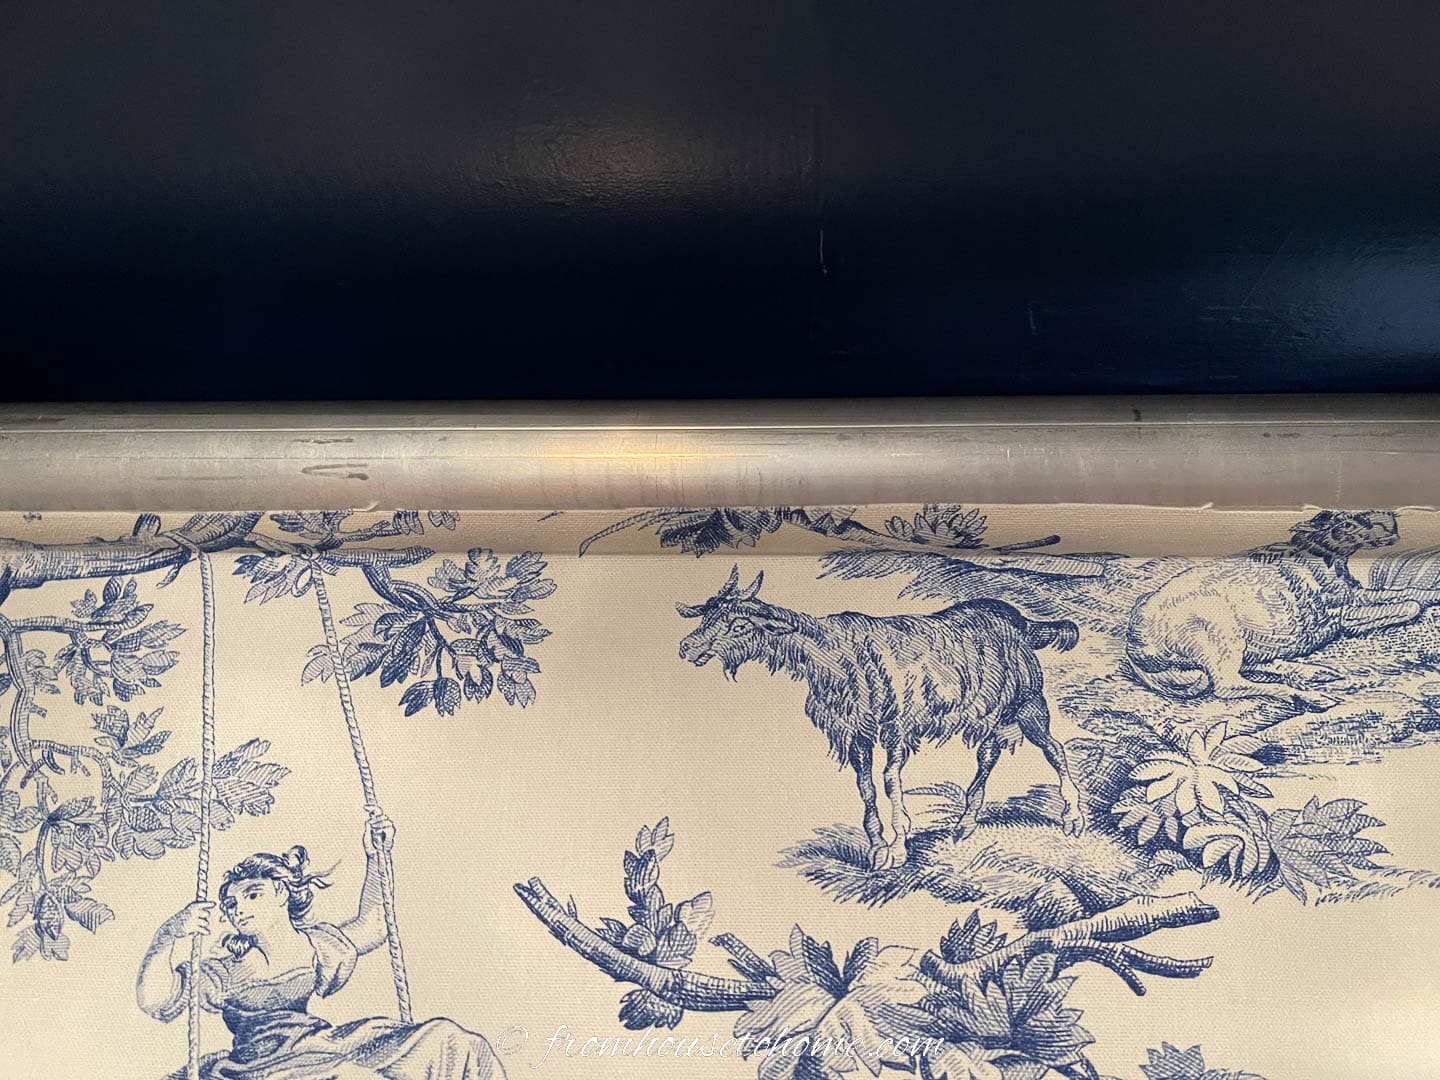
First we’ll need to attach the fabric to the roller.
Line up the top of the shade so that the fabric will abut one of the horizontal grooves on the roller closest to the masking tape.
Remove the colored tape backing from the roller.
Stick the backside of the fabric to the tape. This is called a reverse wind and will ensure that you don’t see the wrong side of the fabric on the roller when the blind is up.
Make sure the edge of the fabric abuts the groove on the roller perfectly straight. Otherwise your blind will not roll up straight.
Do not stretch the fabric as you apply it to the tape.
After it is in place, press firmly along the taped fabric to ensure good adherence.
Add the bottom rail
Then insert the flat wooden bottom rail into the gusset.
Roll up the blind firmly.
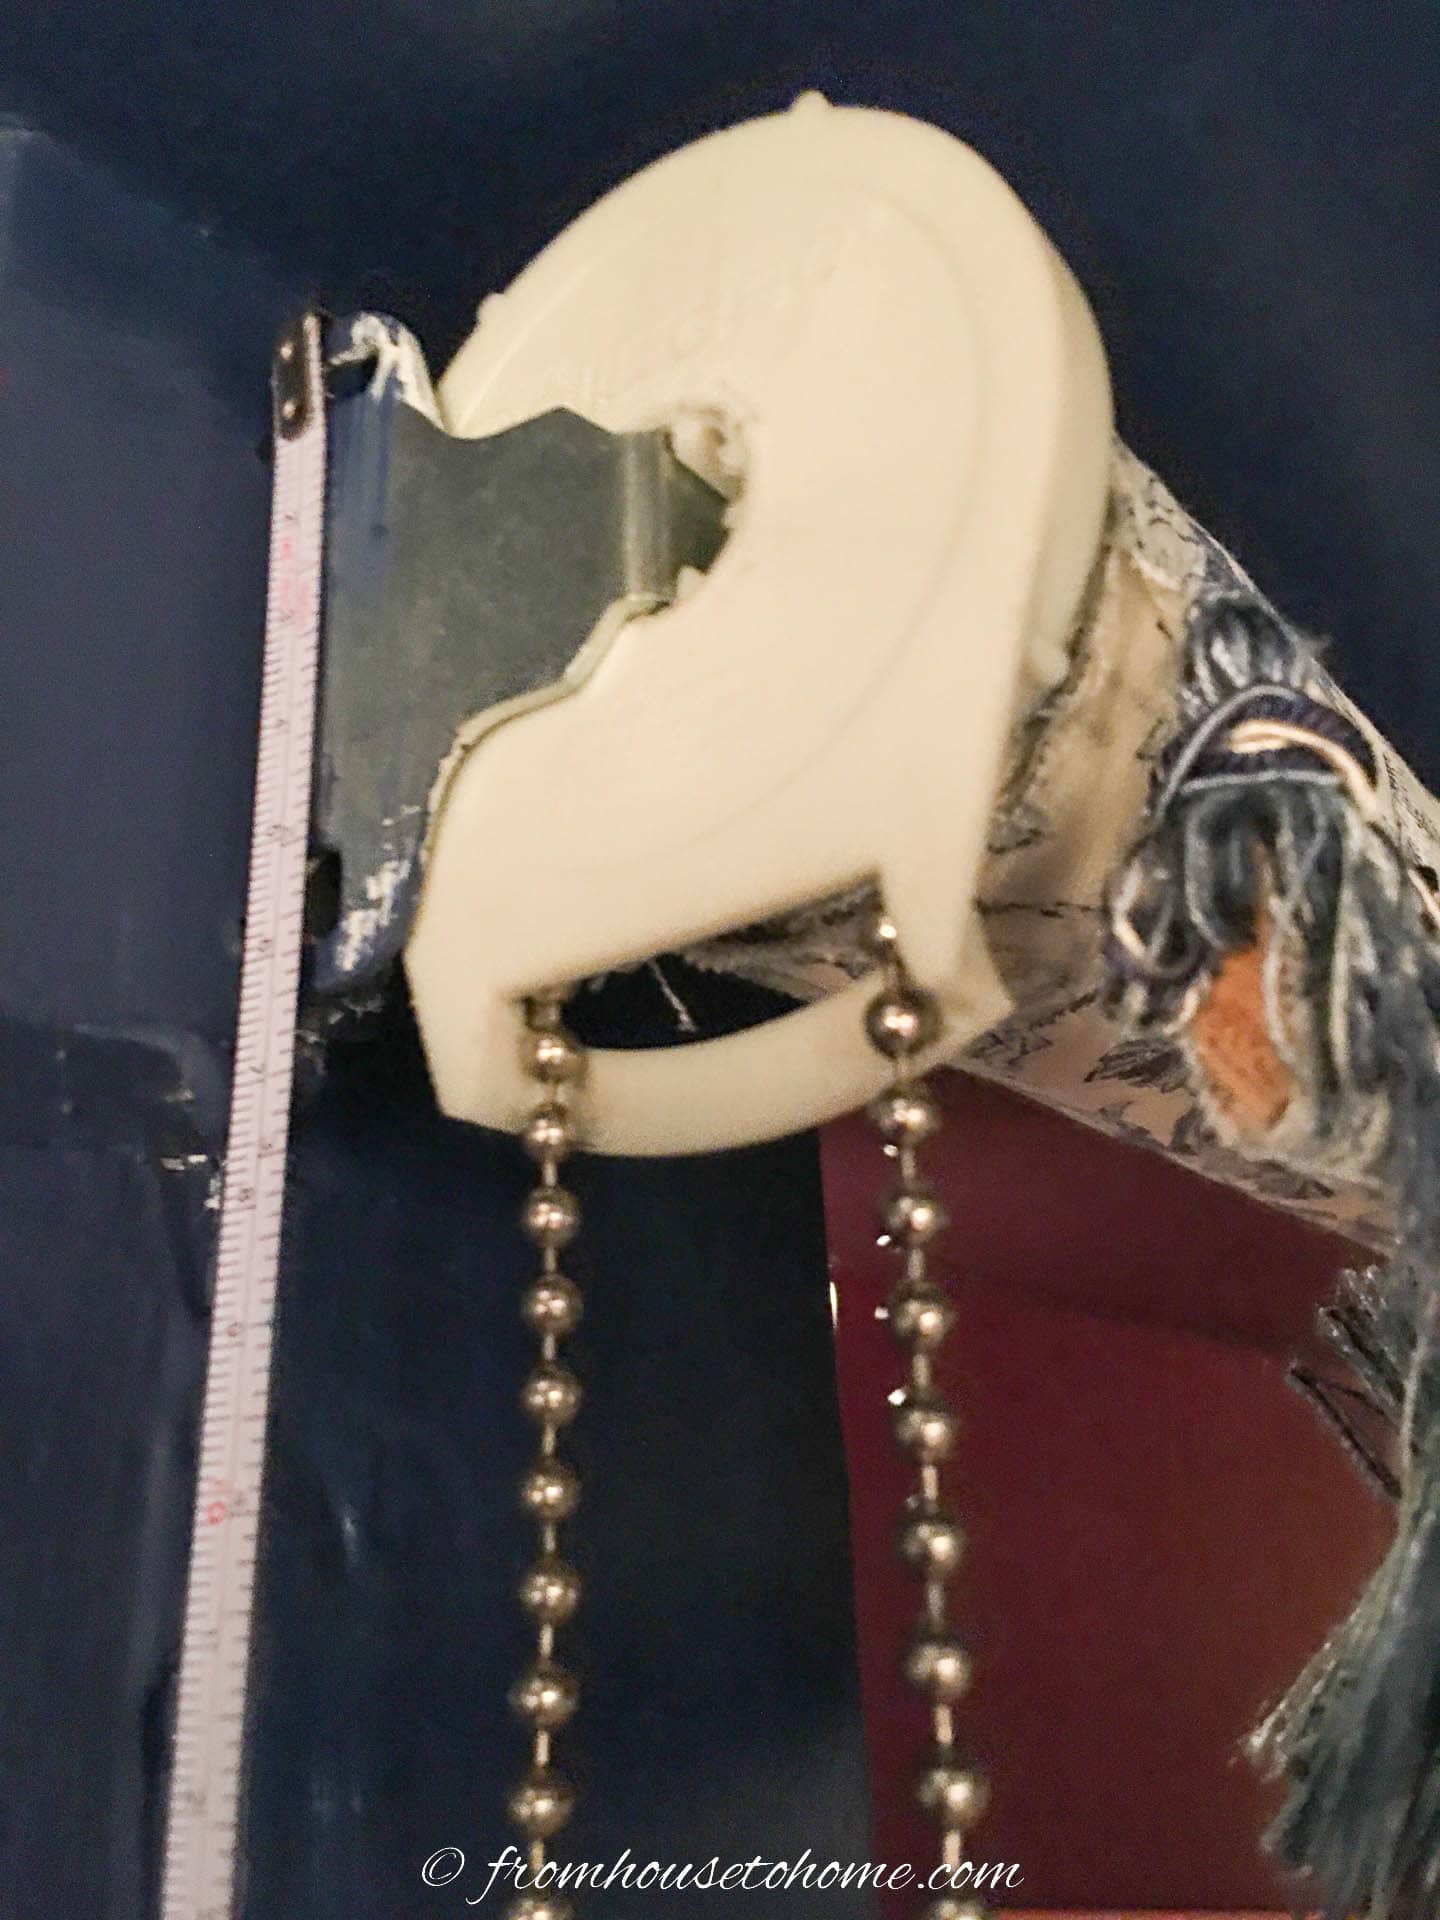
Insert the ends
Decide which side you want the chain to come down on.
Then with the front of the shade facing you and the fabric rolled up, push the clutch into the roller on the desired side. Make sure it is pushed in as far as it will go.
Check to make sure the chain is oriented properly.
On the opposite end of the roller, firmly push in the end plug.
8 | Install the chain
To install the chain, insert a loop of chain through the hole in the clutch mechanism.
Loop the chain around the clutch and insert 2 consecutive balls of the chain into 2 cogs.
Now pull the chain clockwise until all of the cogs are full of balls.
Watch the video above for a good demo of this step.
9 | Install the brackets
The first step to installing the brackets is to figure out which one goes on each side.
The straight one is where the clutch will go, so this is the side with the chain.
I find it helpful to hold up the roller (right side of the fabric facing out) to make sure I get it installed correctly.
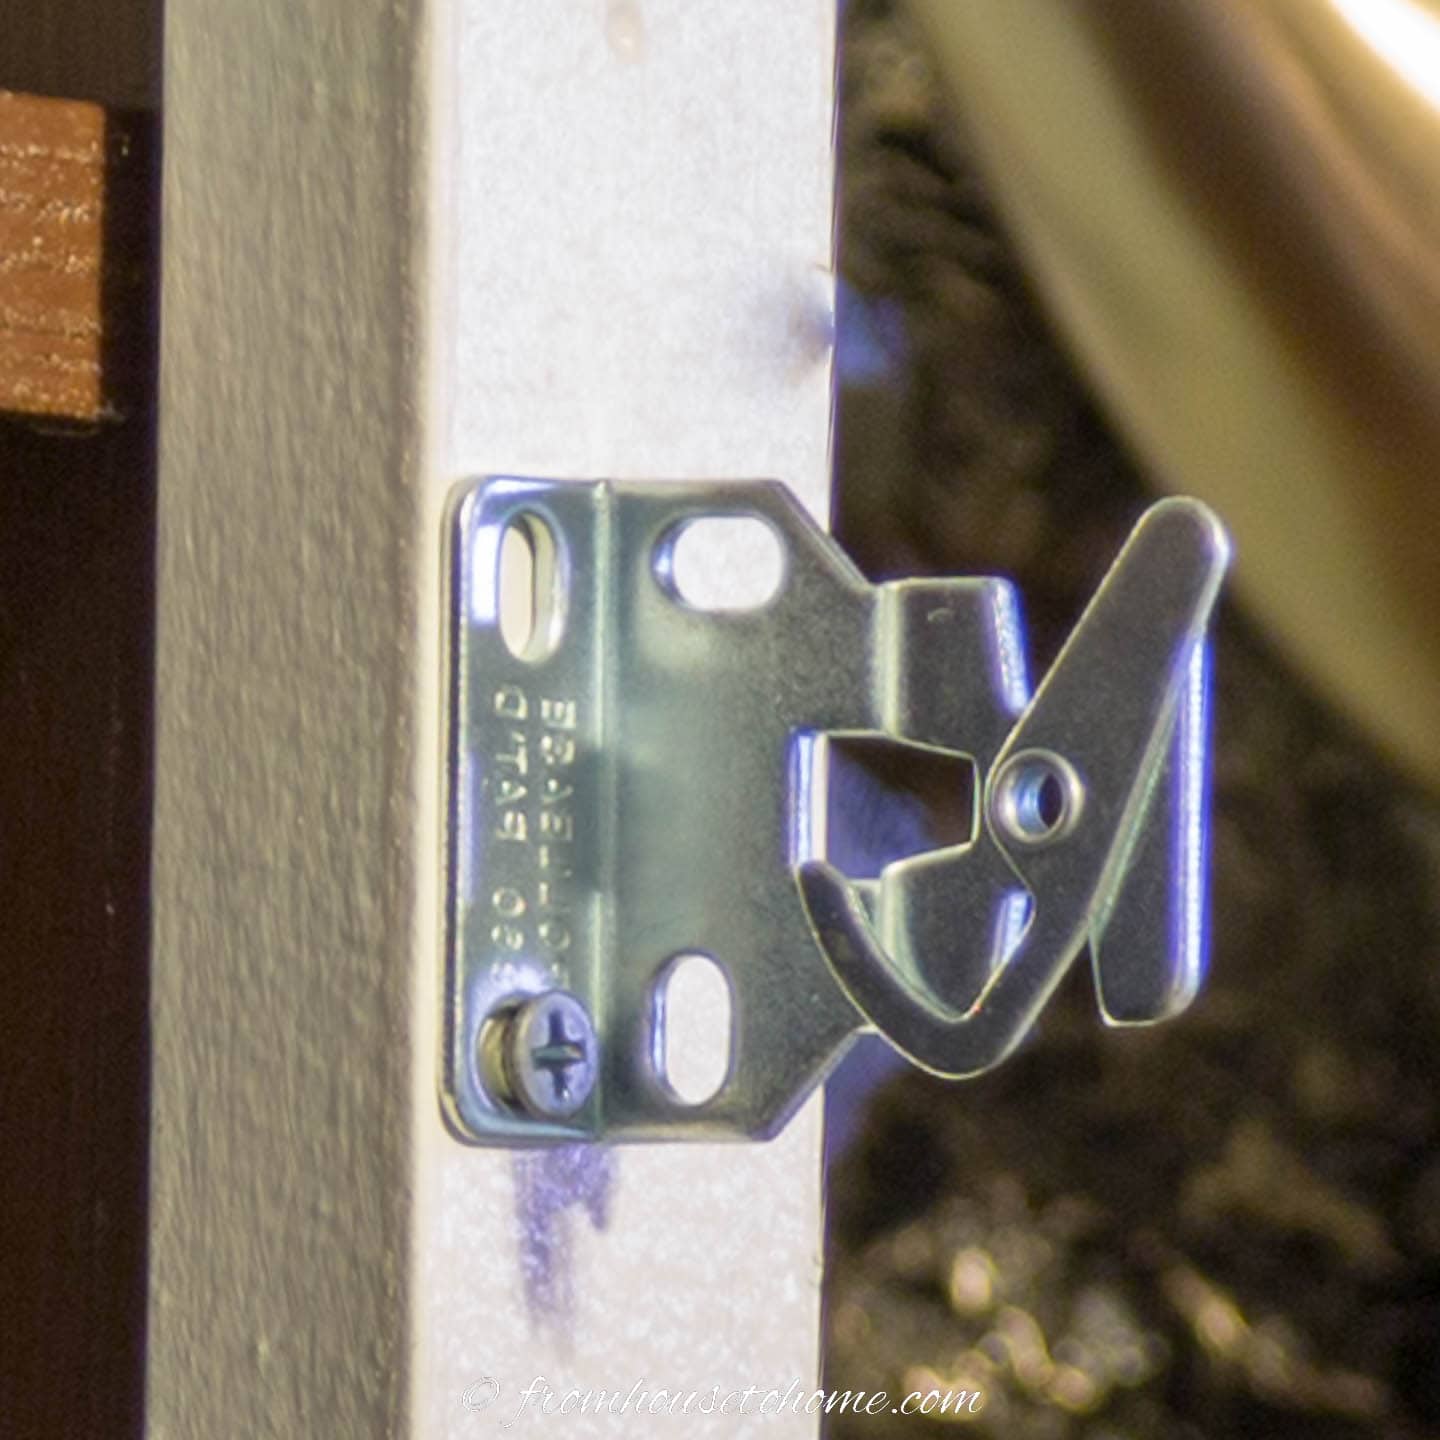
The bracket with the rotating clip is for the other end.
When installing the brackets, you’ll want to make sure that they are perfectly level. Otherwise your blind won’t roll up properly.
Inside mount brackets should be installed as close to the window and the top sash as possible, leaving room for the bulk of the wound shade.
Install outside mounts where you have previously marked.
Mark the screw holes and use the power drill to screw the brackets into place.
10 | Hang the shade
Make sure you have the fabric side of the roller facing towards you.
Then slide the straight bracket into a groove in the clutch.
On the other end, make sure that the rotating clip is pulled back.
Then place the other end of the roller into the groove at the top of the bracket.
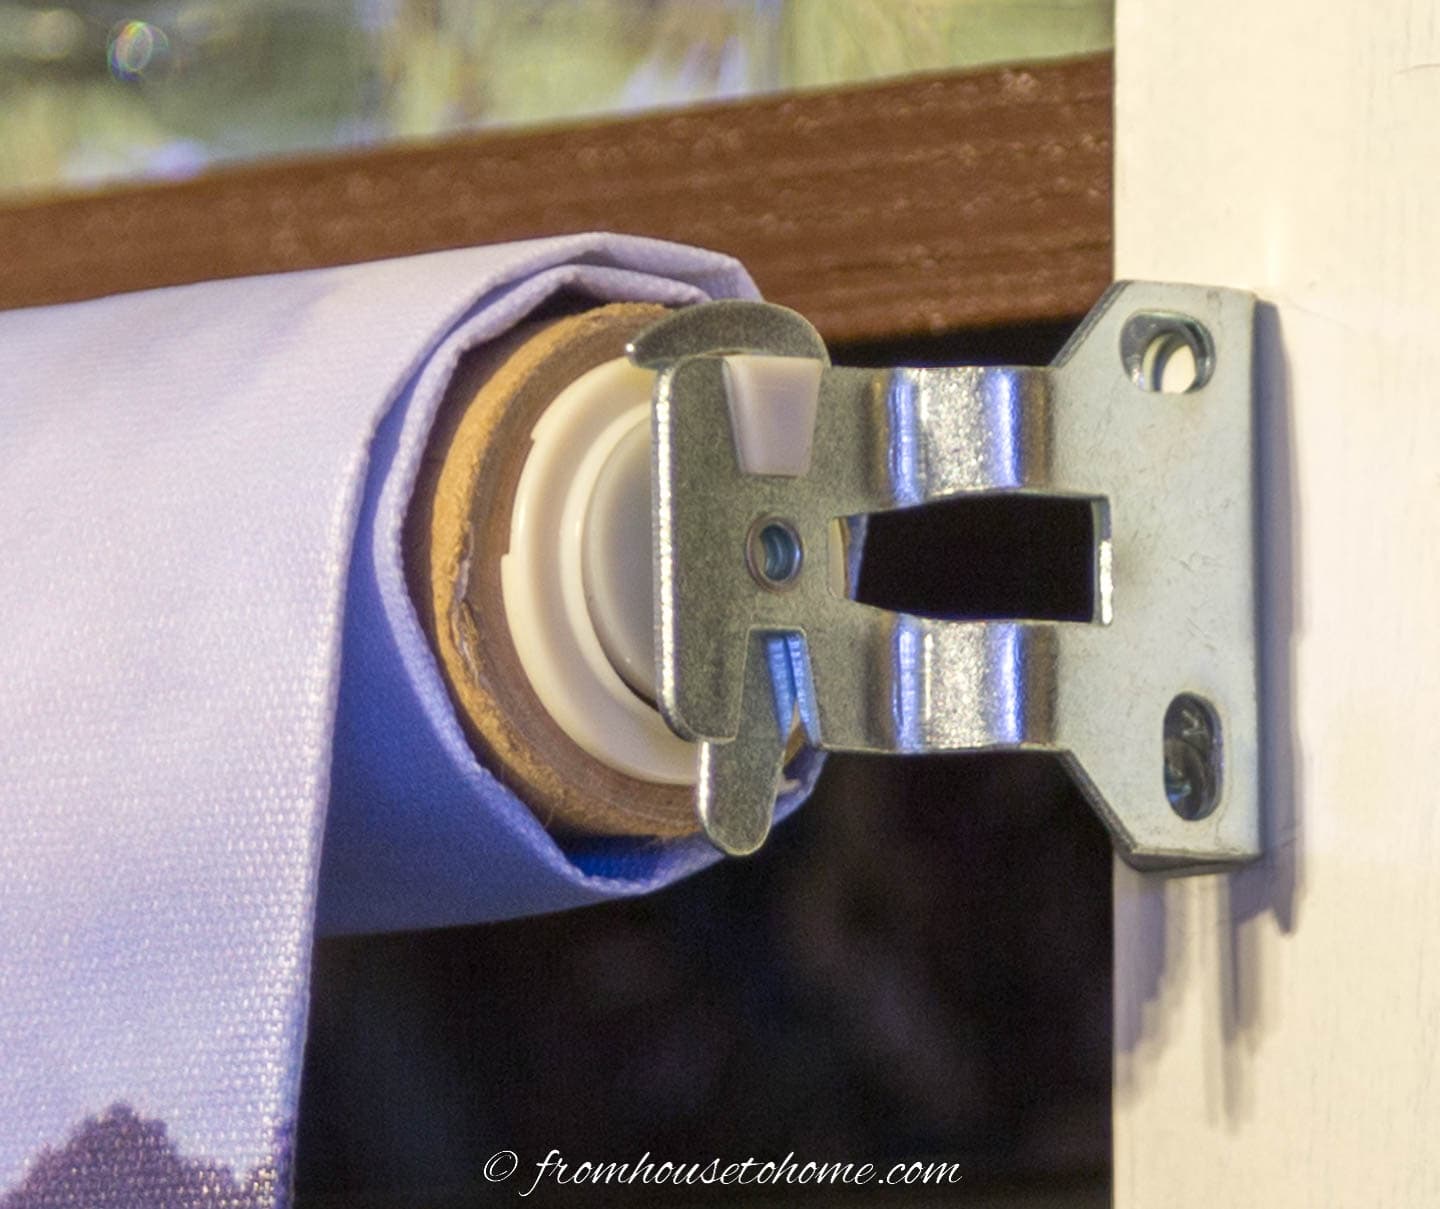
Rotate the clip around so that it closes over the top to hold the roller in place.
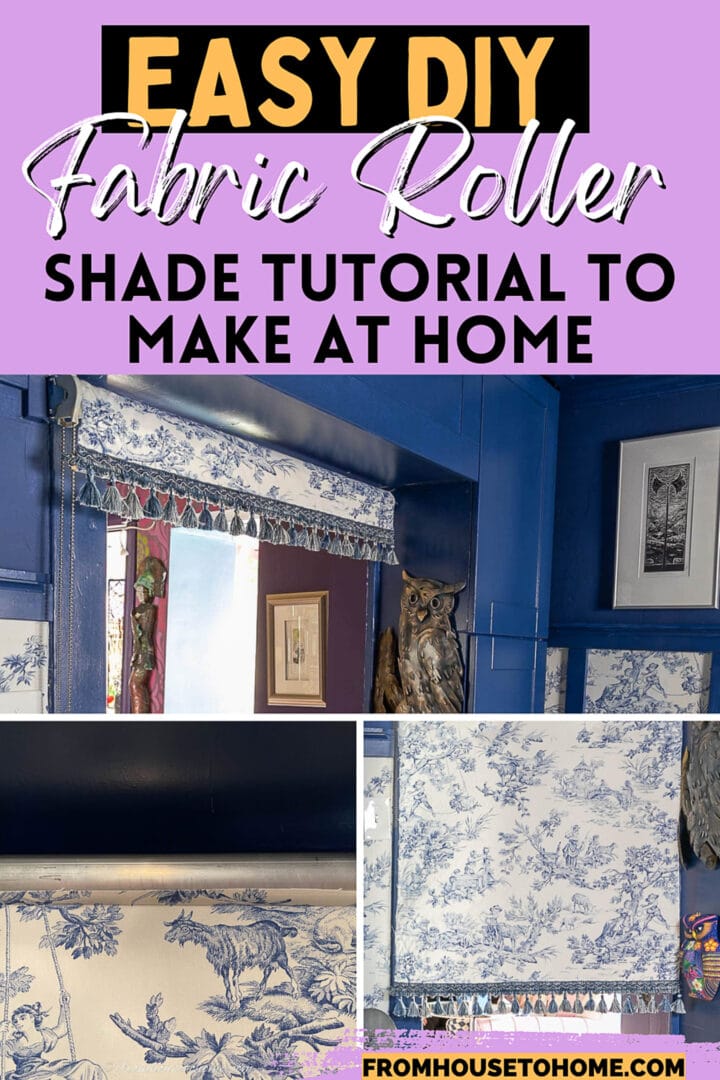
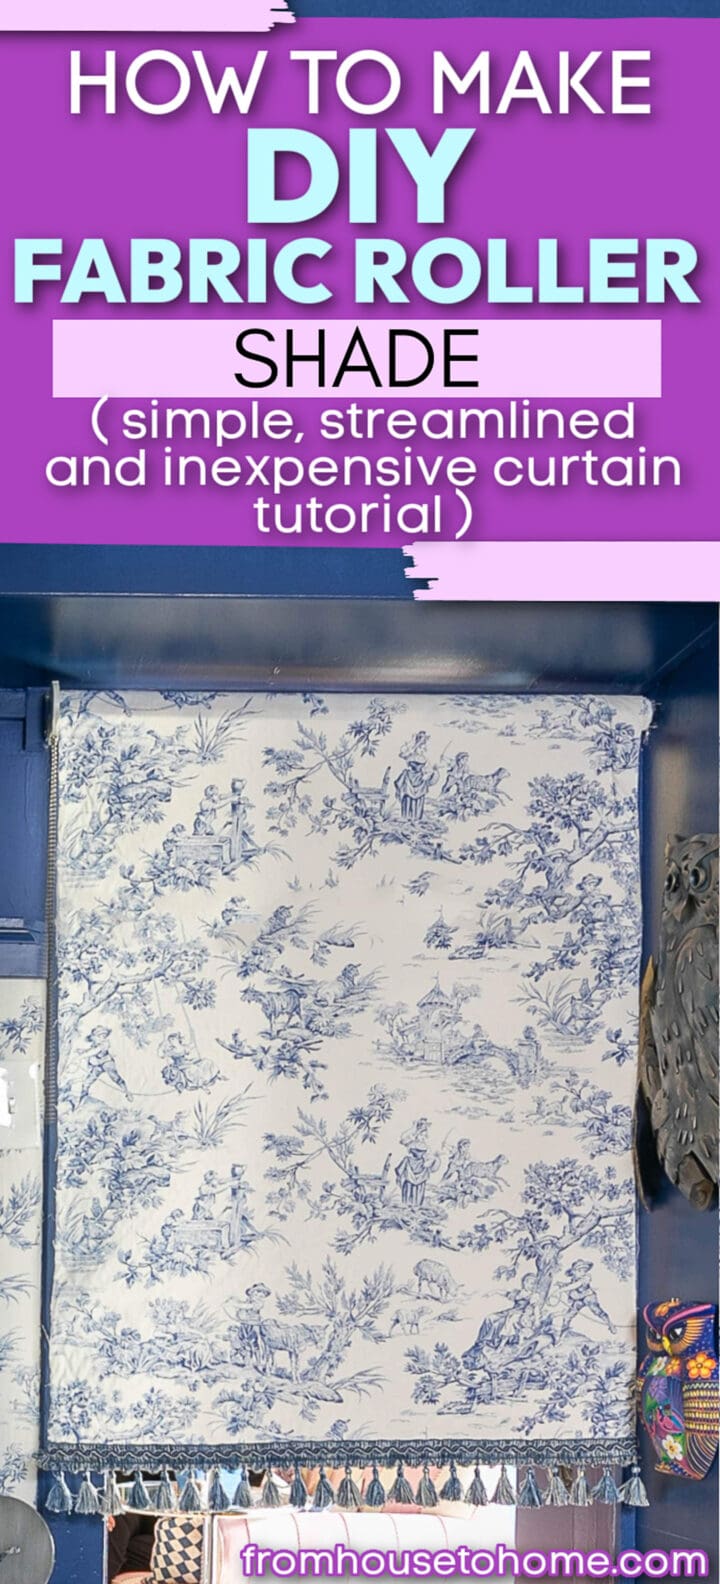
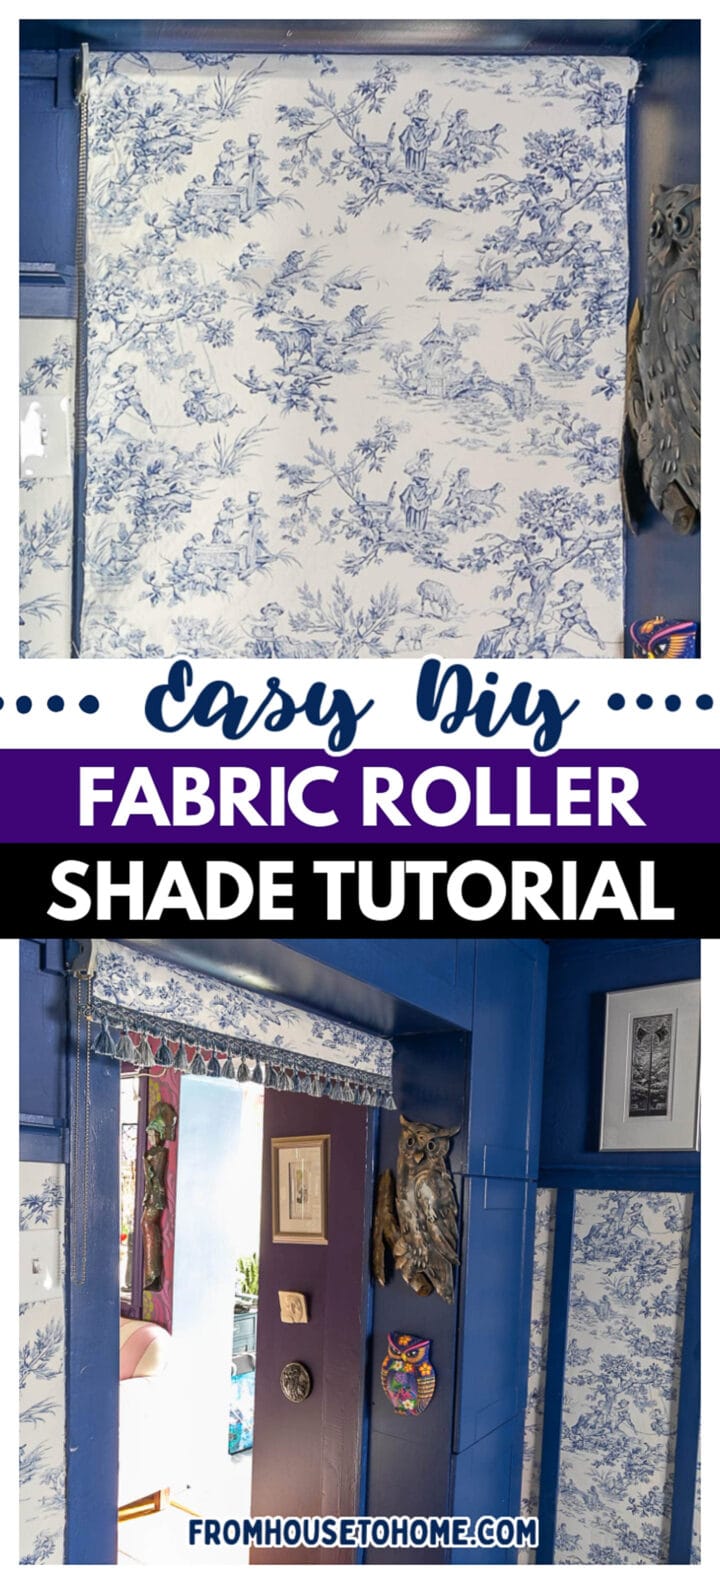
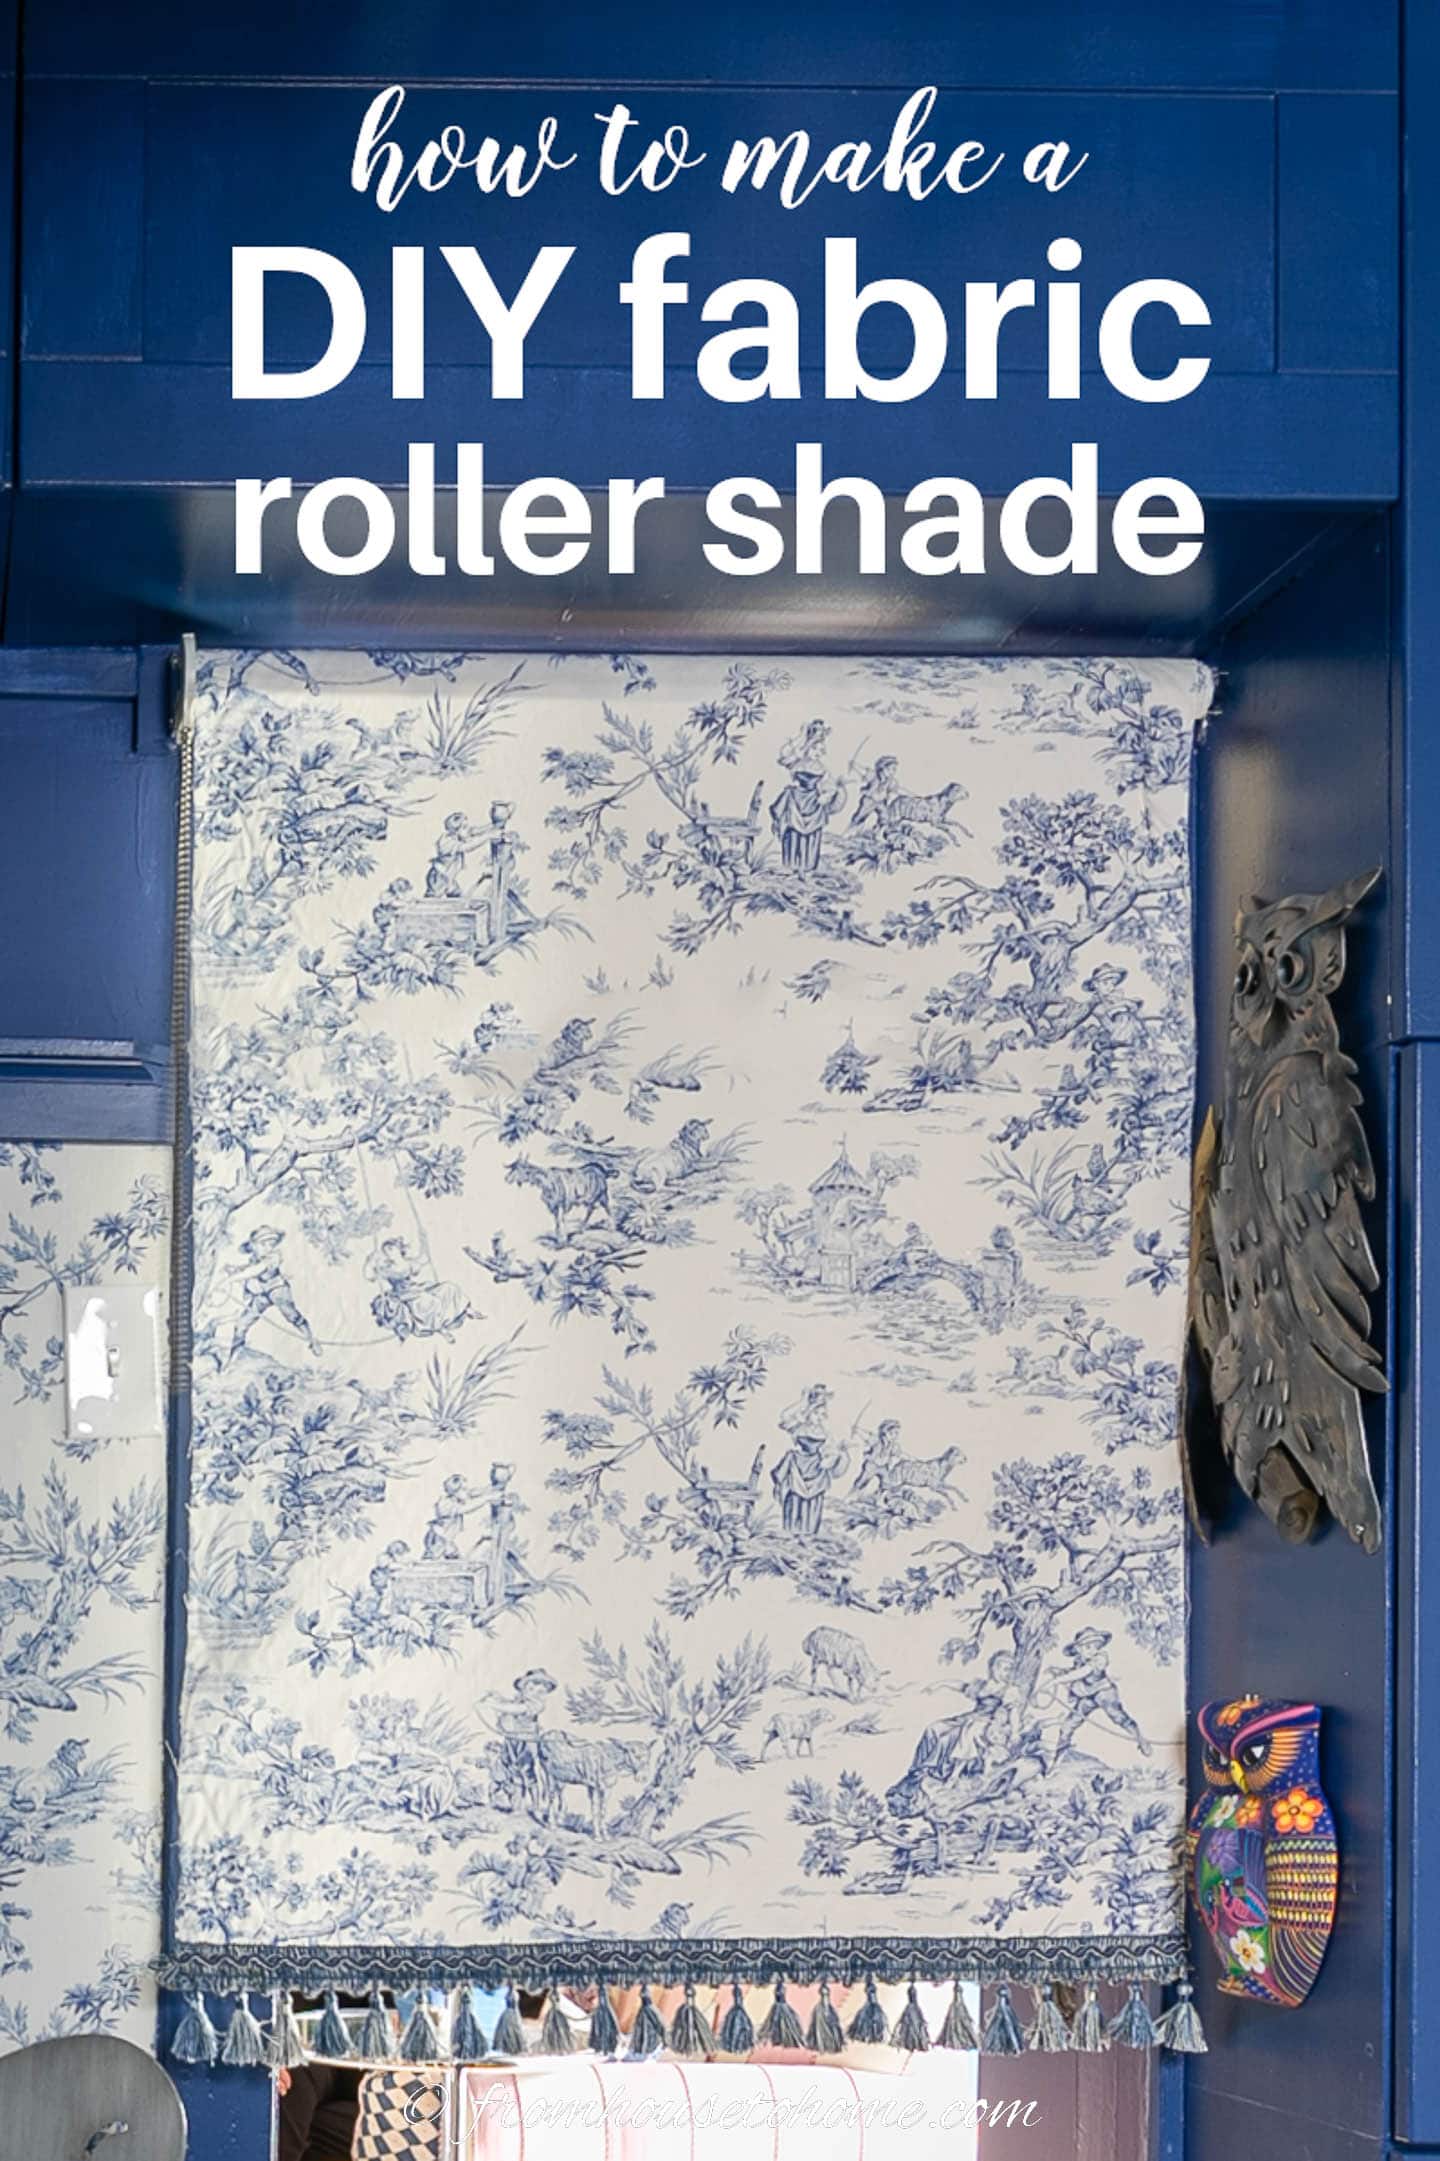
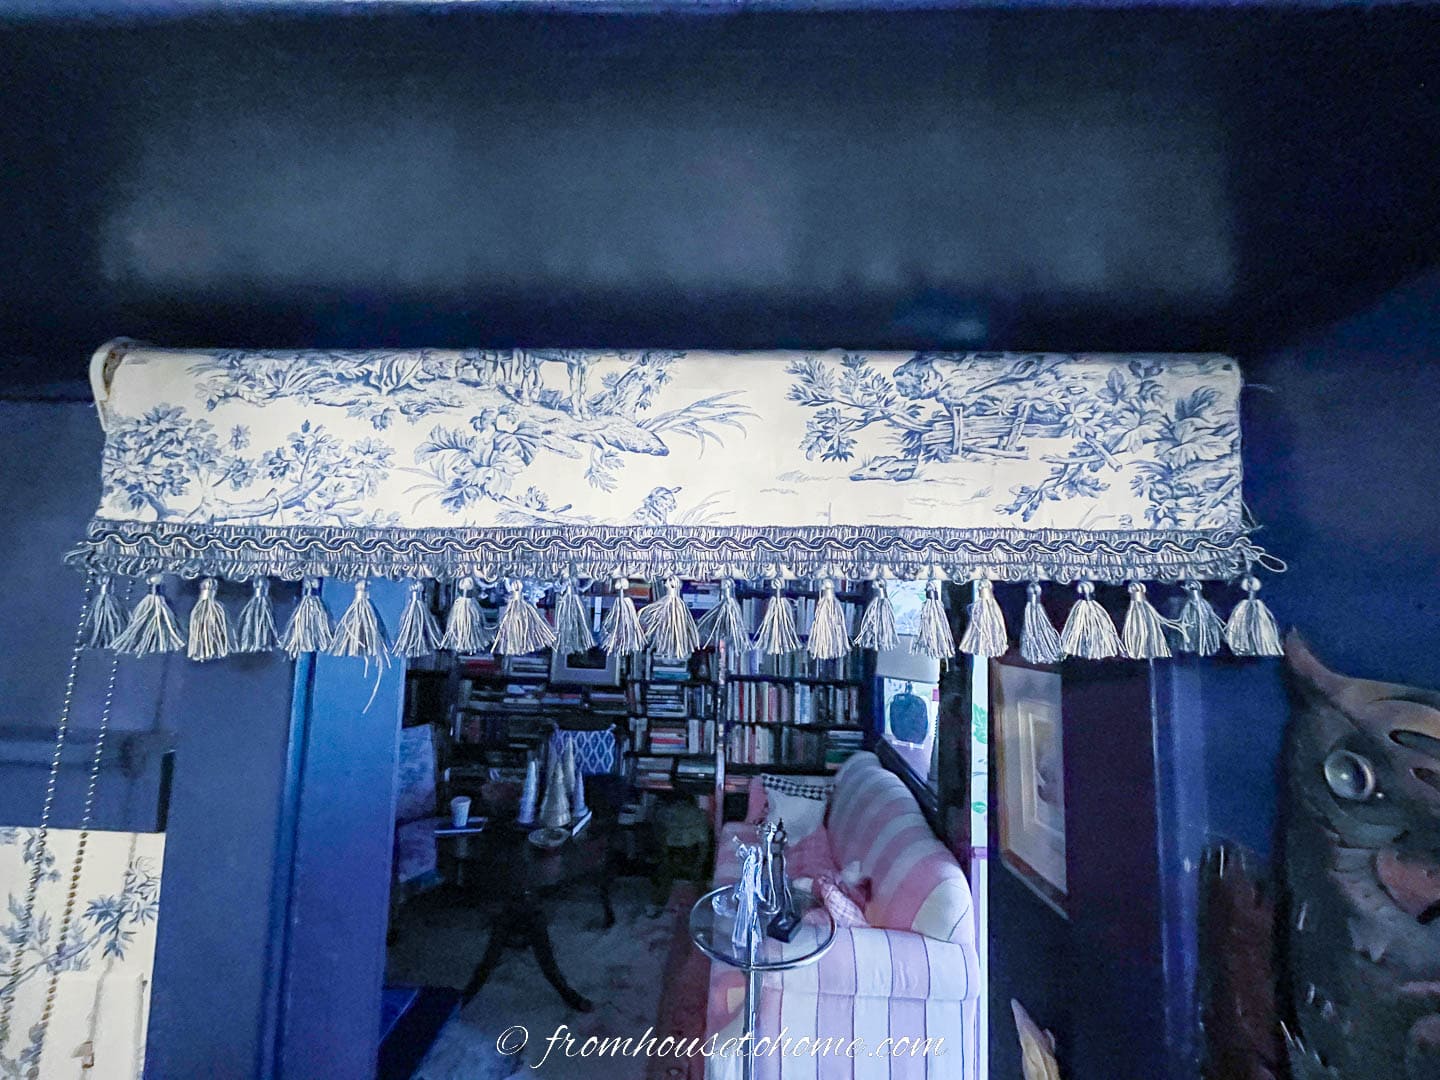
The finished roller shade
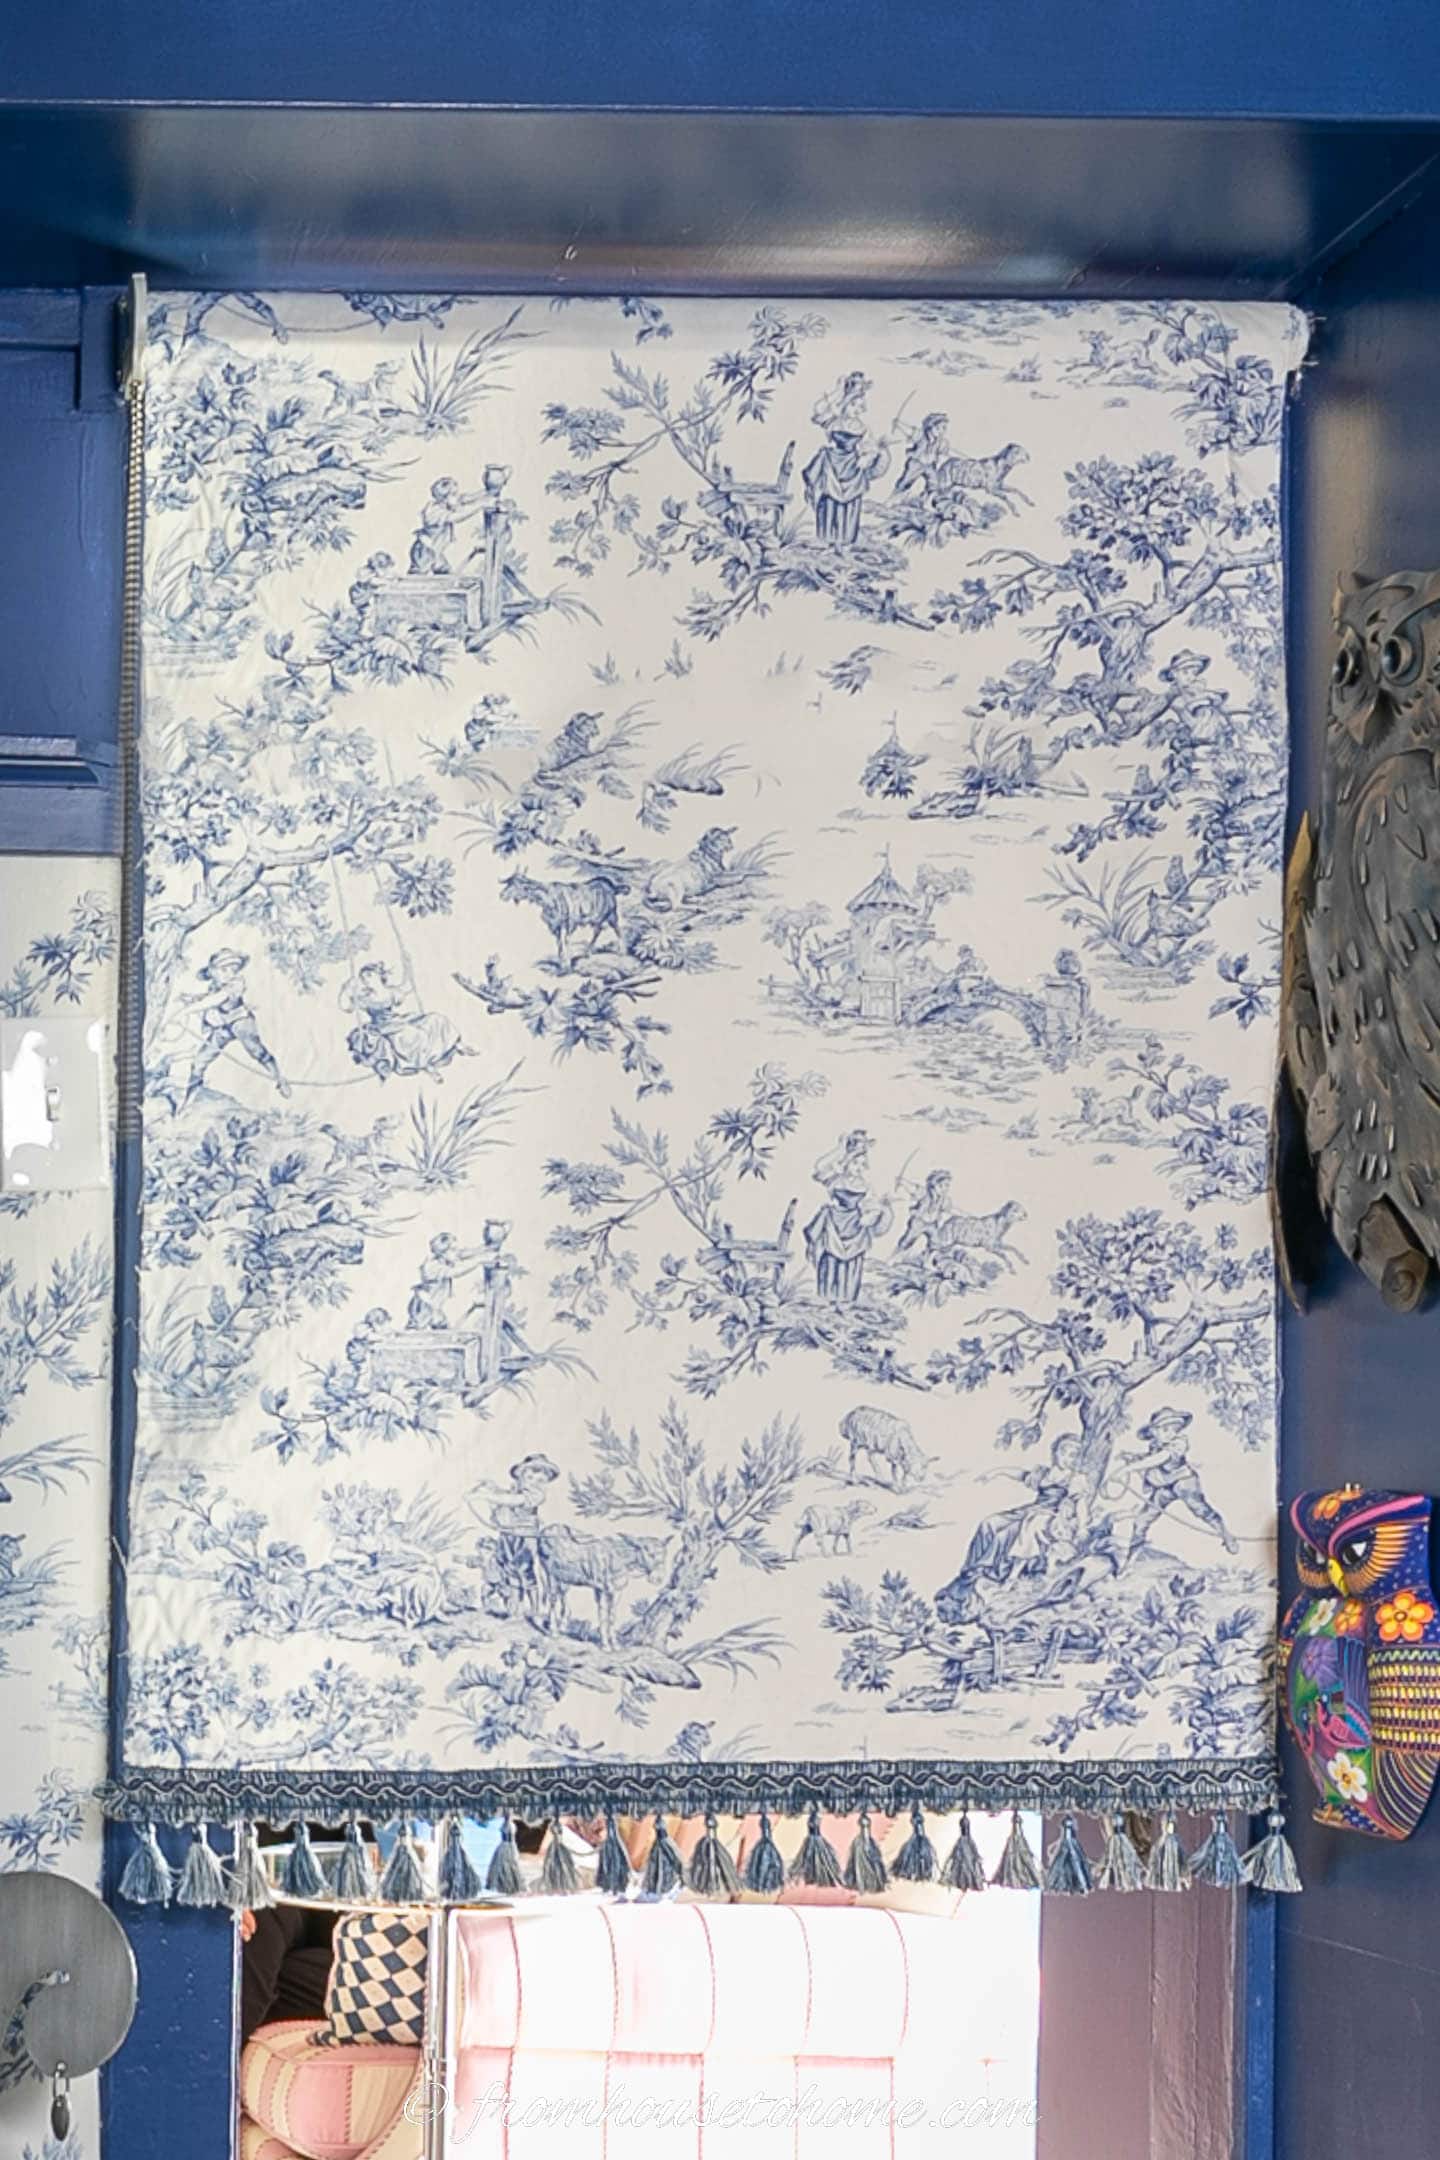
Here’s the finished roller shade when it’s rolled part-way down.
Which is the great thing about clutch rollers. It’s really easy to roll the blind down as far as you want it. And it will stay exactly where you put it.
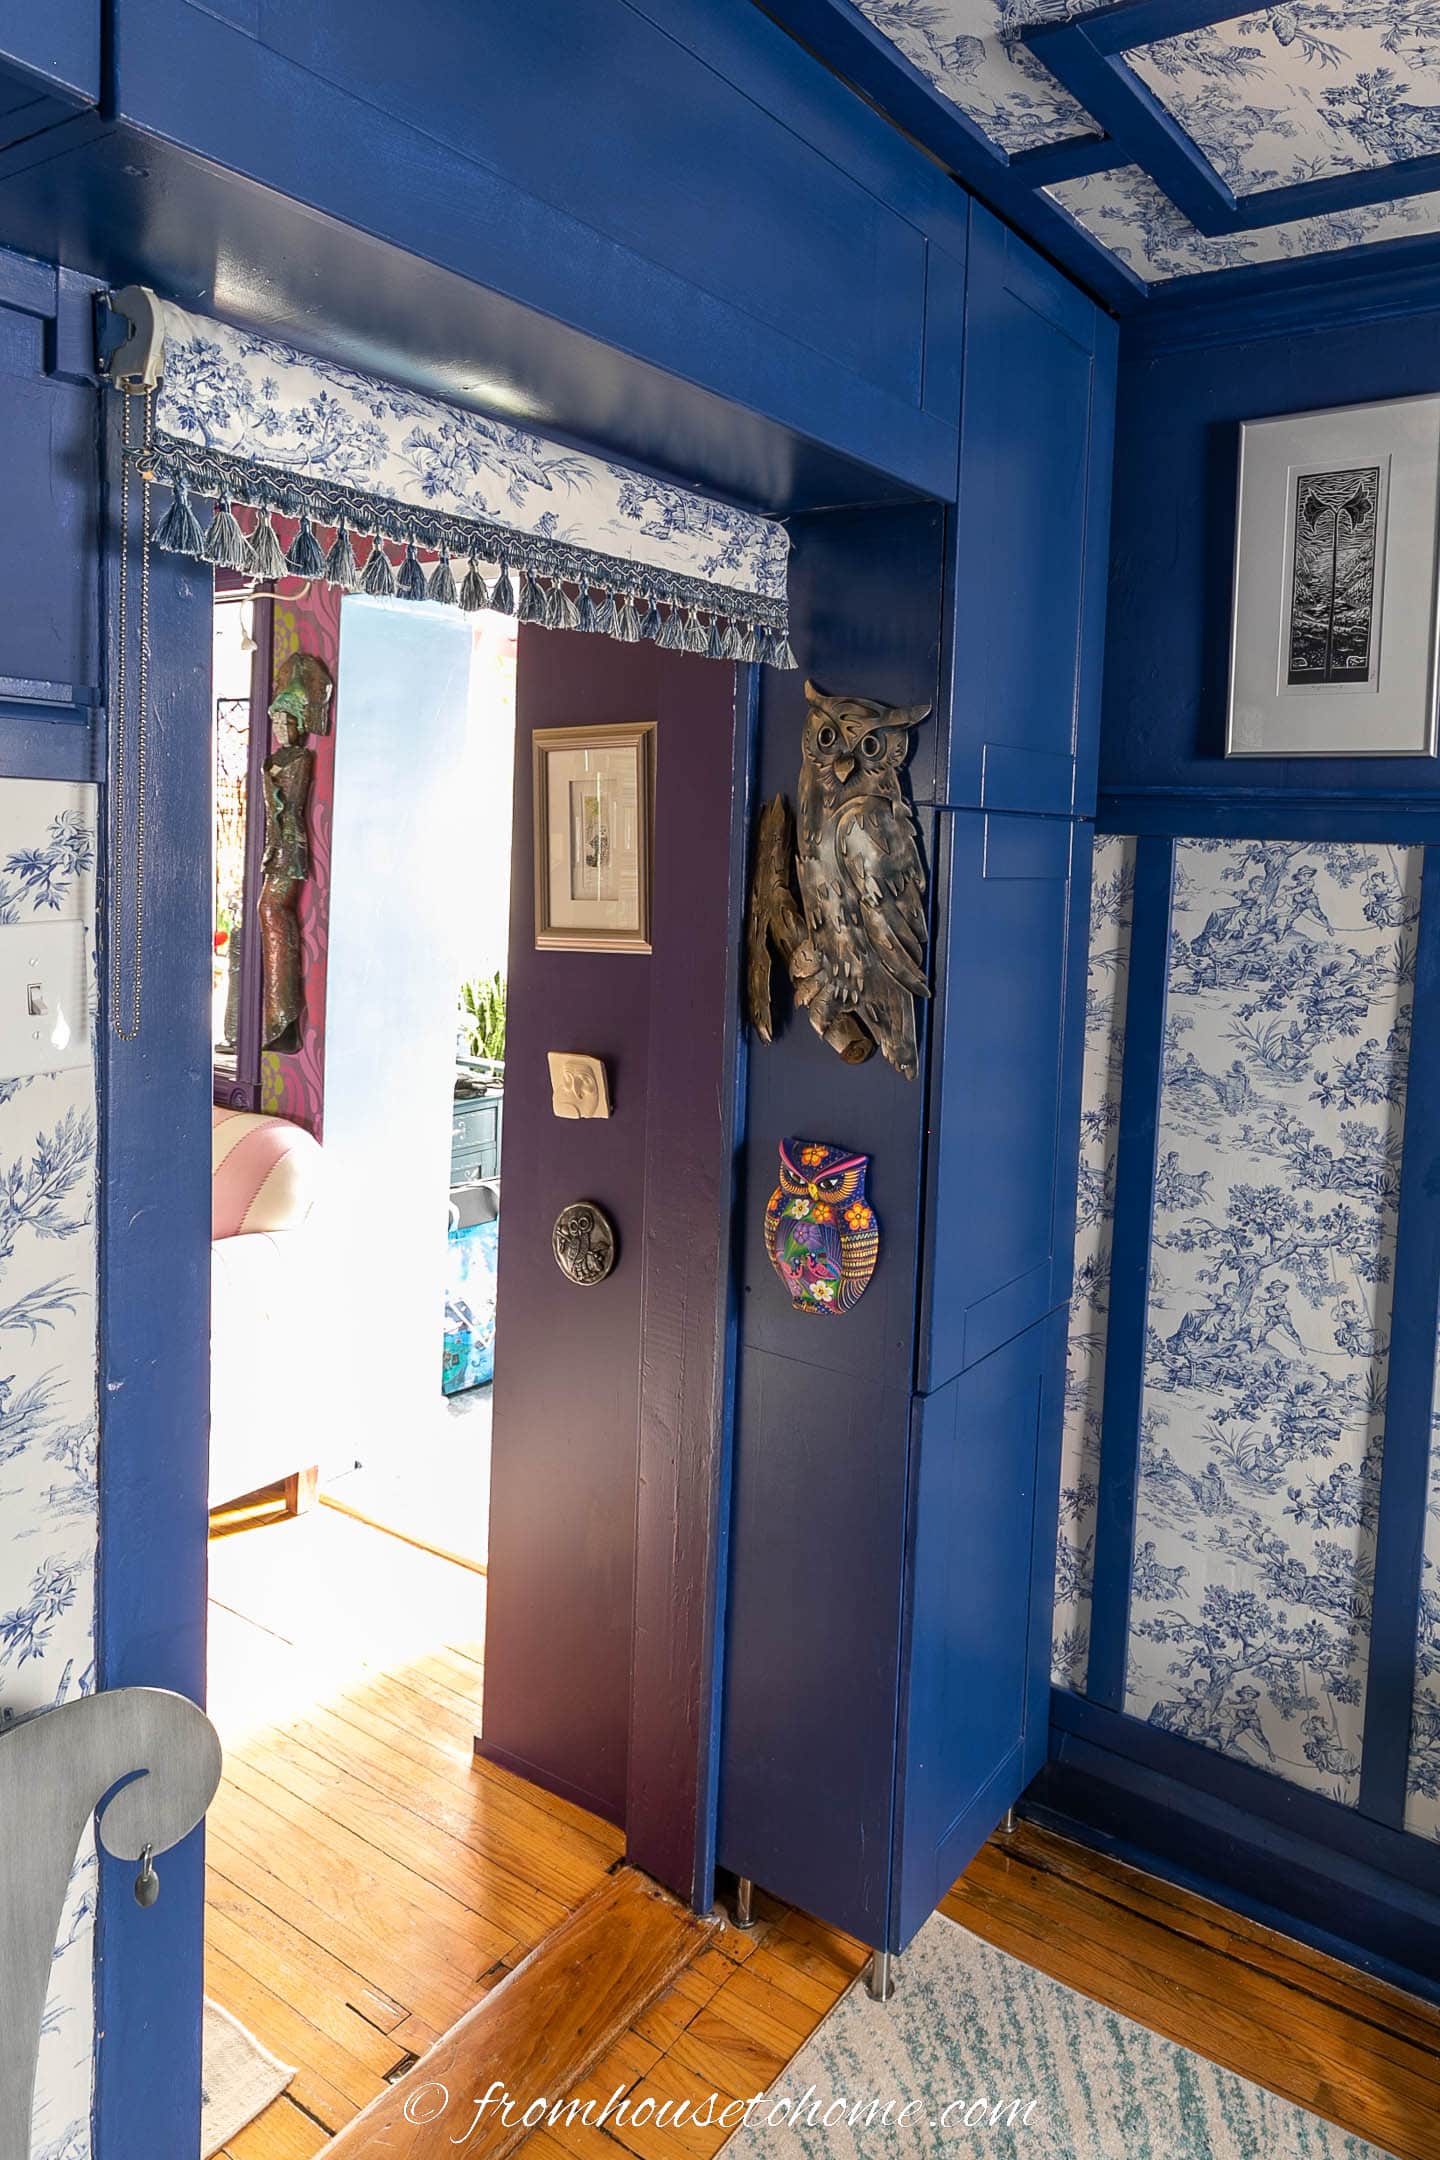
When the shade is rolled all the way up, you barely notice that it’s there.
It fits my small space perfectly.
Frequently asked questions
What’s the difference between a regular wind and reverse wind roller blind?
With a regular wind roller blind, the fabric rolls up behind the roller. So you can see the backside of the fabric wrapped around the roller when the blind is up.
With a reverse wind roller blind, the fabric rolls up over the front of the roller. So it covers the roller and you always see the right side of the fabric.
Because it has a neater appearance, reverse wind roller blinds are the preferred installation method for designers.
The close up photos do not appear to have a zig zag stitch along the length, they appear to have a hem. The article clearly states that it will not roll correctly if hemmed. Did i misunderstand?
Thank you for your time.
Hi Debbie…no, you understand correctly. The close-up photos were from the project where I learned that the hem causes a problem when you roll it 🙂 We used an older version of the roller kit on the blue and white shade and it used to come with a different type of end bracket. I wanted to show one that is similar to what it comes with now so I had to use the pictures from my old project. Sorry for the confusion!
Wonderful precise instructions! Thank you!
Thanks, Nora! I’m glad you found them helpful.