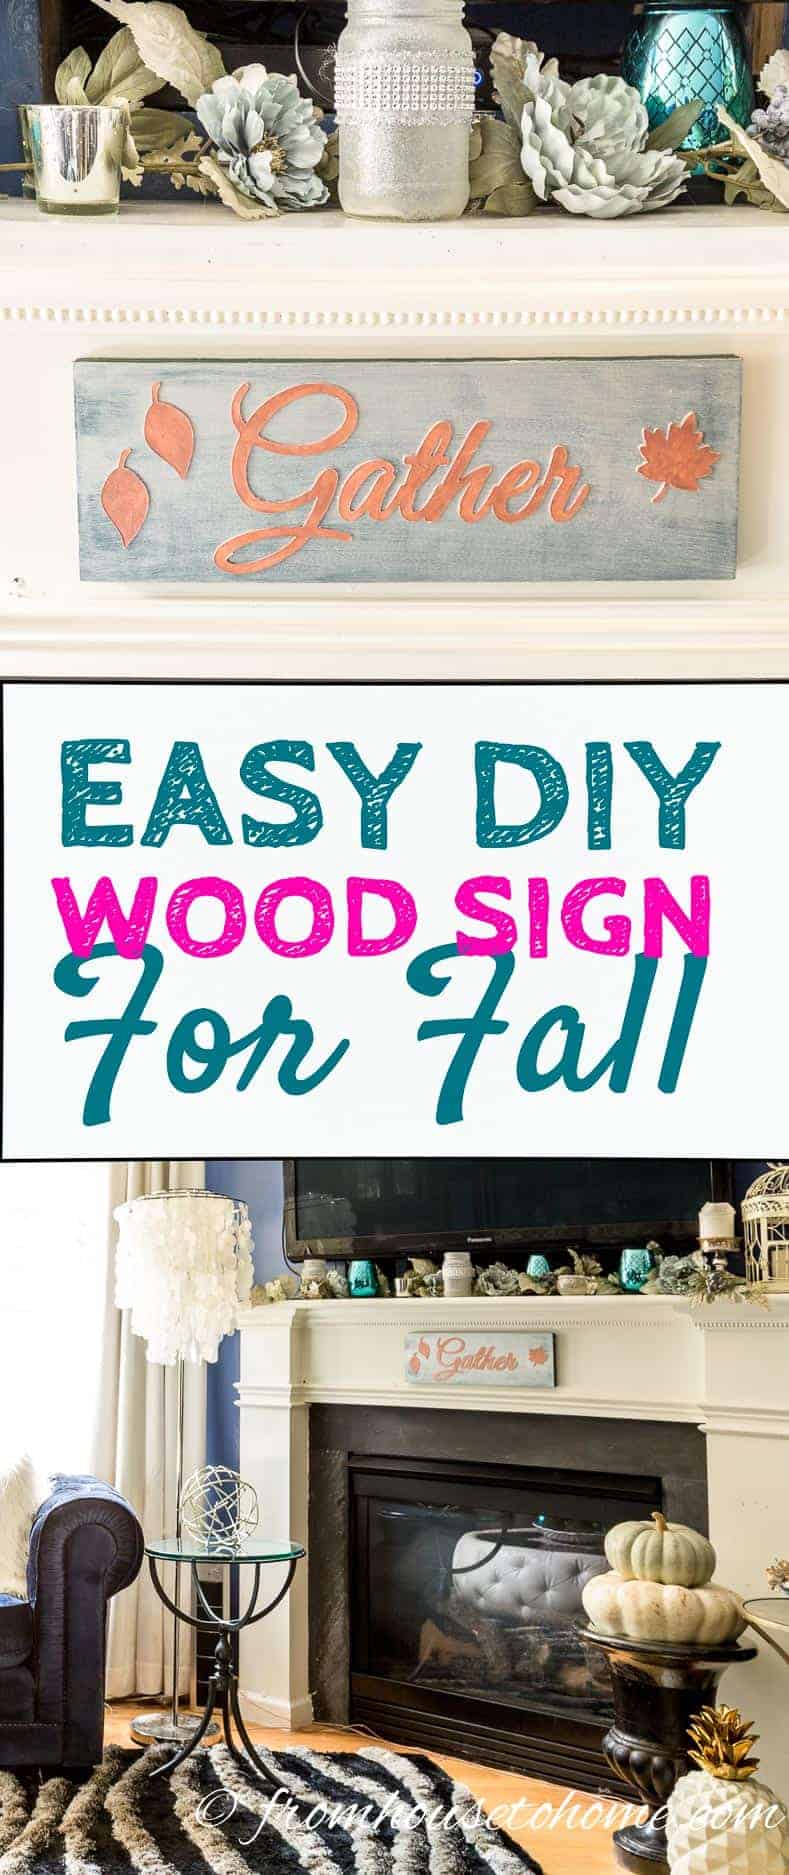
Easy DIY Gather Sign For fall

If you’re looking for some easy and inexpensive fall or Thanksgiving decor, this easy DIY fall gather sign is perfect for hanging on your fireplace mantel or wall.
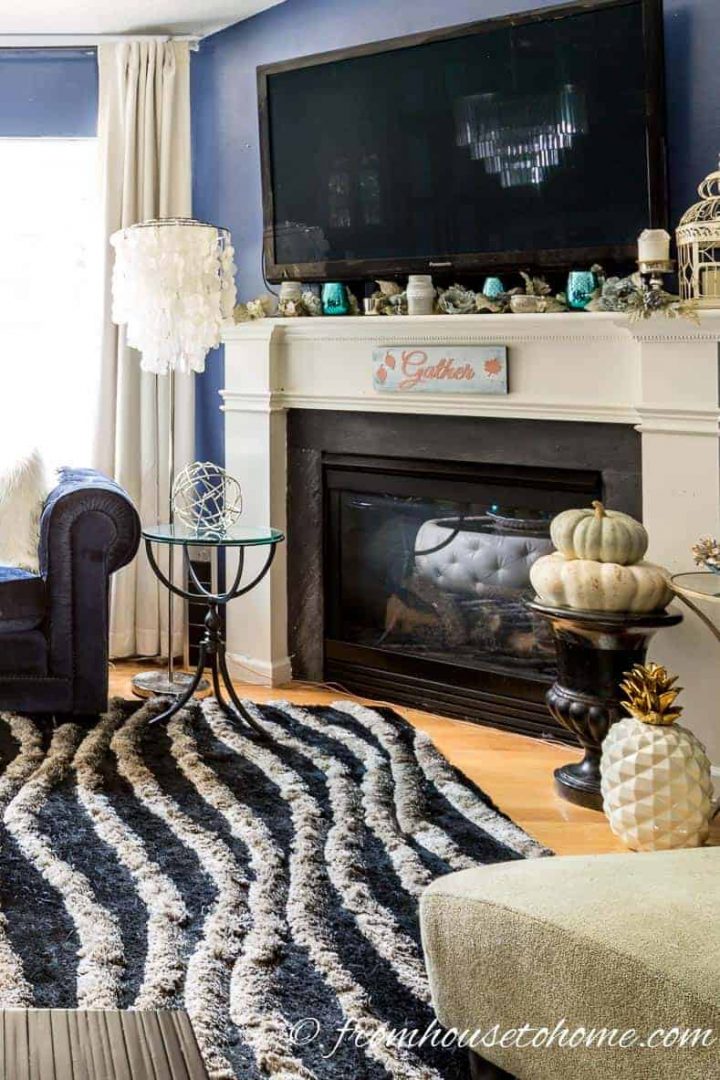
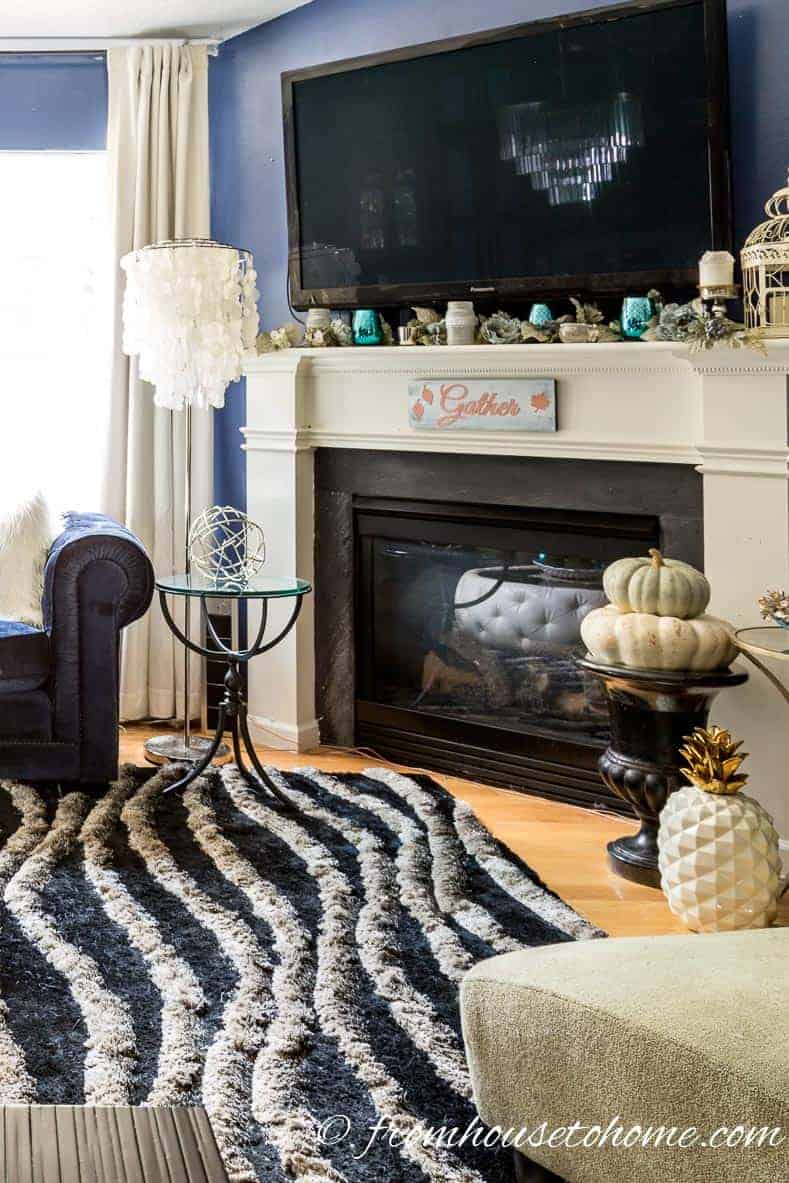
Last week when I was showing off my fall living room decor, I promised that I would do a tutorial on how I made the gather wood sign over the fireplace.
To me the word “Gather” perfectly sums up the way I feel about this time of year.
It’s the perfect time to gather all of your friends and family together, whether it’s for a big celebration or a comfortable dinner at home.
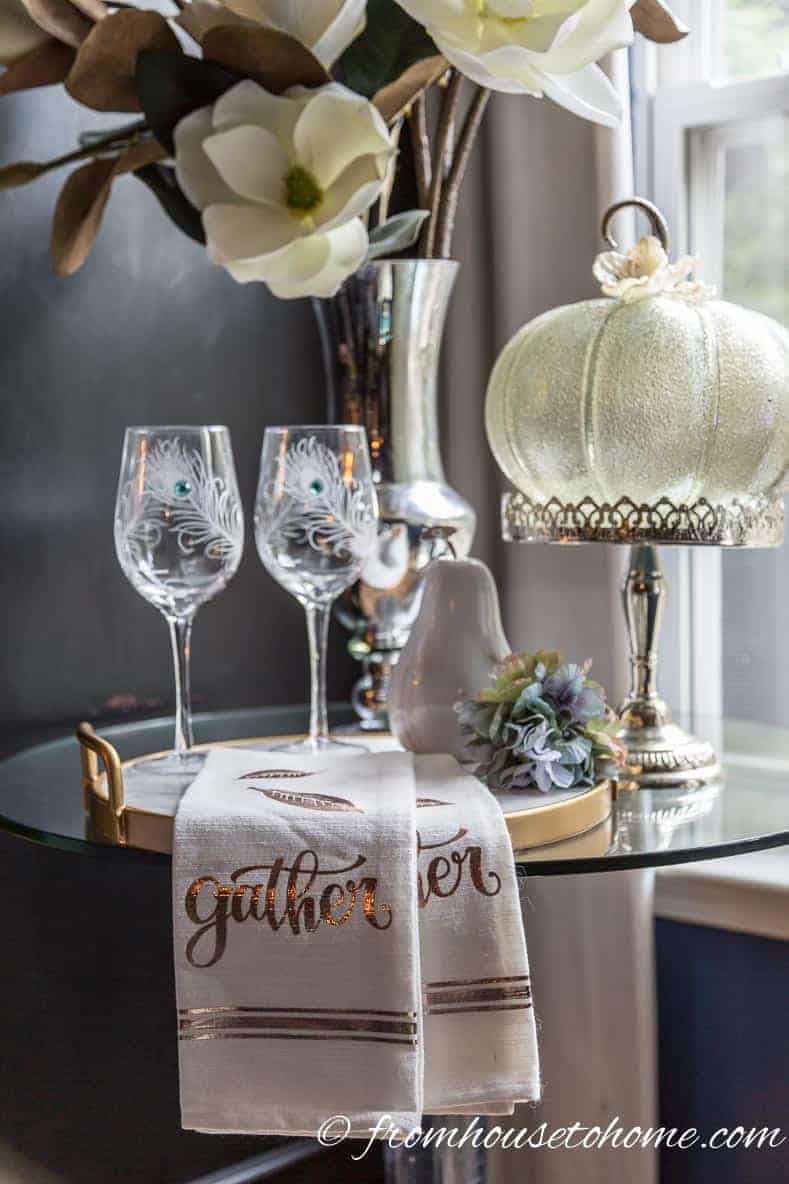
I got the inspiration from these tea towels that I found at Home Goods, which I knew were perfect the minute I saw them. So when my fireplace was looking a little bland, and I couldn’t find anything I liked to put there, I decided to use the same saying to create a DIY fall sign over the fireplace.
Even better? It is actually a really easy project if you have a Cricut* (or other die cutting machine). Of course, if you don’t have a Cricut machine, you can also cut the letters out by hand if you have patience and a steady hand. Read on to find out how.
What You Need

Materials:
– a piece of cabinet grade plywood or piece of wood. Mine was a 5 1/2″ x 17 1/2″ scrap I had lying around, that just happened to be the right size for my space.
– turquoise paint* Since I was using turquoise accents as part of my fall decor, I used turquoise as the base color for my sign. However you can use whatever color goes with your decor.
– matboard. You could also use thin cardboard for this, but I like the look of mat board since the edges cut very smoothly.
– glue stick* or hot glue gun
Tools:
– Cricut Explore* (or other die-cutting machine)
– utility knife (optional)
– ruler (optional)
– small paint brush
– drill with a 1/8″ bit. This doesn’t have to be exact, just big enough for the head of your nails to fit in the hole.
– hammer
– small nails
Step 1. Paint The Wood
Since I was using turquoise accents as part of my fall decor, I used turquoise as the base color for my sign (but you can use whatever color matches your decor).
Note: I didn’t use primer because the plywood I was using was cabinet grade and I’m a lazy painter. If your wood has knots in it, or you just want a smoother finish, you might want to do a coat of primer first.
1. Pour some of the base color paint onto the board.
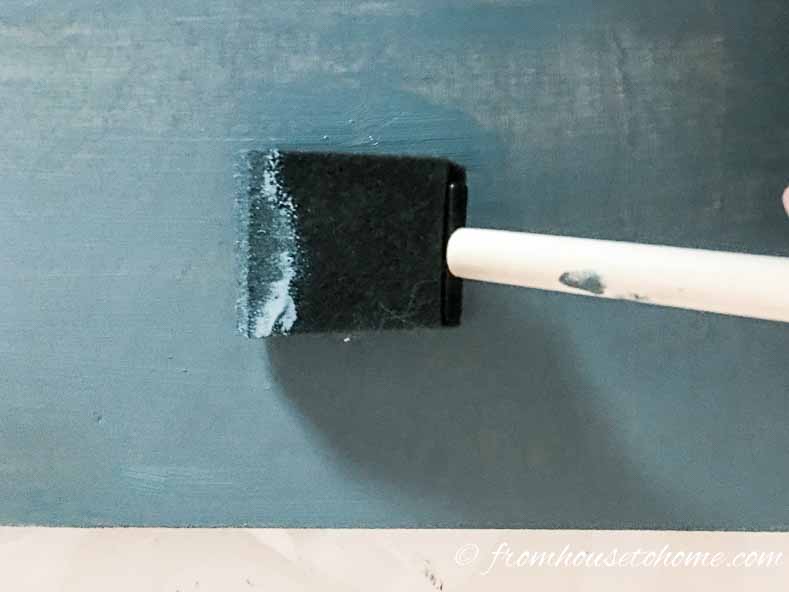
2. Use the foam brush to spread it out evenly over the top of the board and down the sides.
3. Wait for it to dry
4. Then pour some of the white iridescent paint onto the board. You don’t want too much, otherwise it will completely cover the base color.
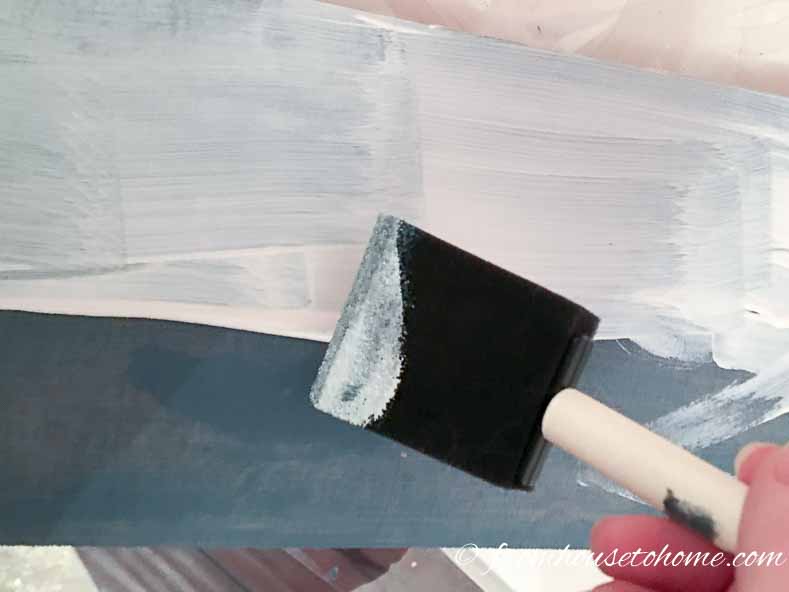
5. Use another foam paint brush to feather the iridescent paint out across the board. OK…if you’re really into re-use, you could wash out the first brush and use it again…that’s too much work for me 🙂
Try to pull the brush all the one from one side of the board to the other to eliminate any brush strokes.
6. Leave it to dry.
Step 2. Cut The Text
Using a Cricut
1. If your matboard is larger than will fit in the machine, use a utility knife and ruler to cut it to size.
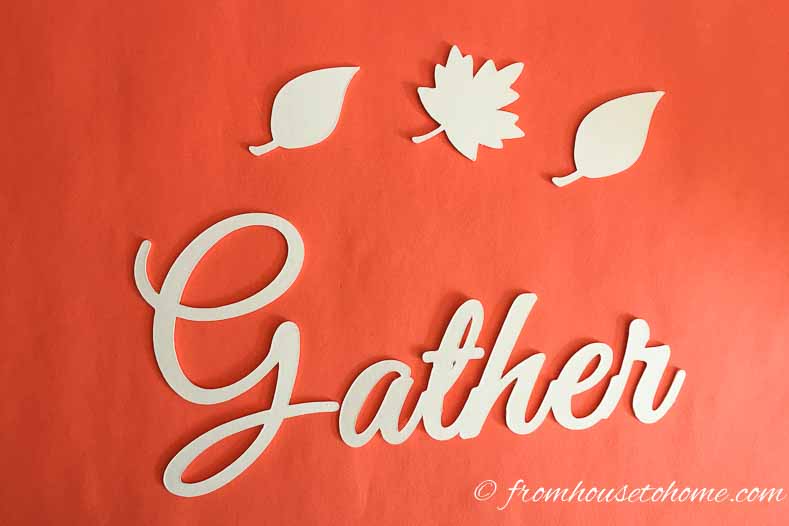
2. Get the Gather image below.
3. Import it into your die cutter’s software.
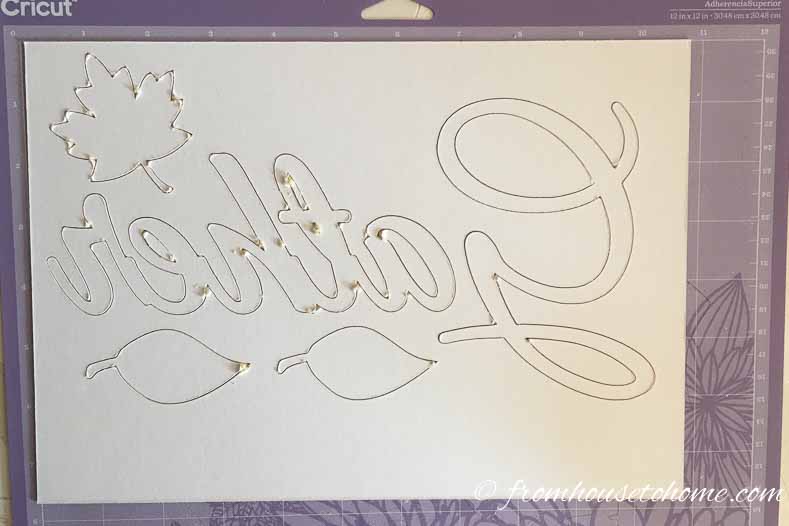
You will also notice that the image is backwards. That’s on purpose, so don’t panic 🙂
As you can see the top part of the matboard tends to get a little chewed up during the cutting process.
Whereas the cuts on the side that is stuck to the mat are much neater, so reversing the text will allow us to flip the cut outs over to the good side.
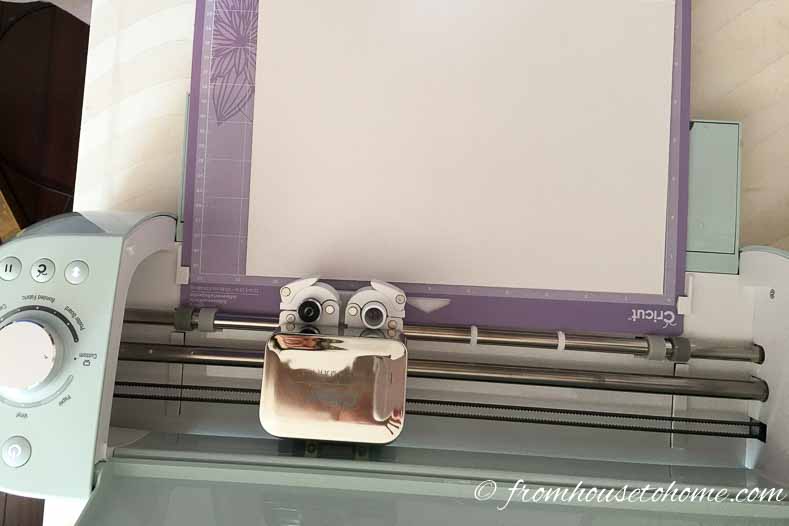
4. Attach the matboard to the strong grip cutting mat* with the right side of the paper down (stuck to the mat).
In case you’re wondering if you really need the strong grip cutting mat, I did try the standard grip mat first. The matboard wouldn’t stay stuck to it…which causes the cuts to be off since you have to make multiple passes to cut through the board. The strong grip mat works much better.
5. Install the deep cut blade* in your machine.
6. Set up the cutting pressure required for matboard for your machine. If you are using a Cricut Explore, you will need to add a custom material with the following settings:
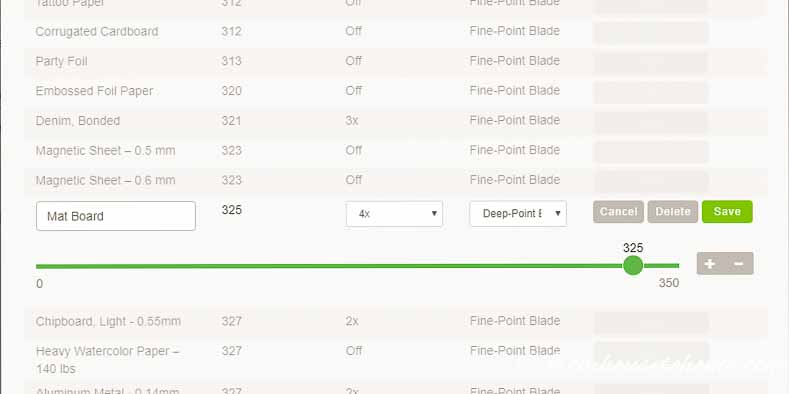
8. Send the image to the machine to be cut.

9. Once it has finished, remove the matboard cut outs from the cutting mat using the craft spatula*. This will make sure that the paper on the front of the board doesn’t rip.
By hand
You can also cut out the shapes by hand.
- Print out the image.
2. Glue it on to a piece of matboard. You’ll want to make sure there is glue under the letters and leaves so that they are stuck to the board. This will be the back of the letters and shapes.
3. Use a sharp utility knife to cut out the letters and shapes. Go slowly so the knife doesn’t slip and accidentally cut into the design. You may also have to go over the cut line a couple of times to get the knife to go all the way through.
4. Remove any of the paper that isn’t completely stuck to the board.
Turn the letters and shapes over and you’re ready to keep going.
Step 3. Paint the cut out shapes
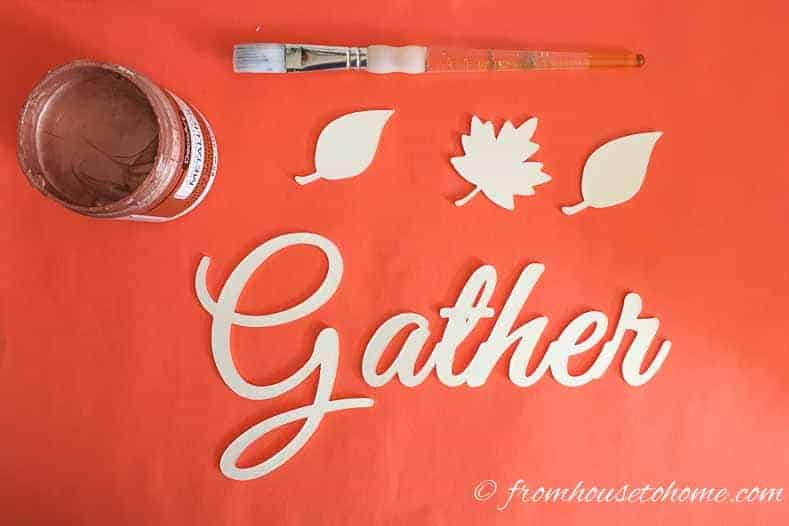
Now that you have your cut text and leaves, use the small paint brush to paint with the rose gold metallic paint.
It took 2 coats to cover the white for me.
Leave it to dry.
Step 4. Glue the shapes on the board
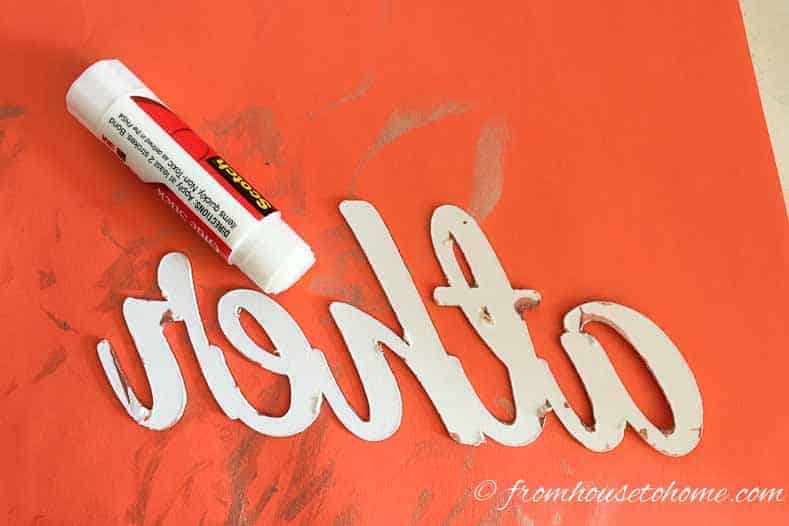
Use a glue stick or hot glue gun to glue the leaves and text in place on the board.
Let it sit for a few minutes to dry.
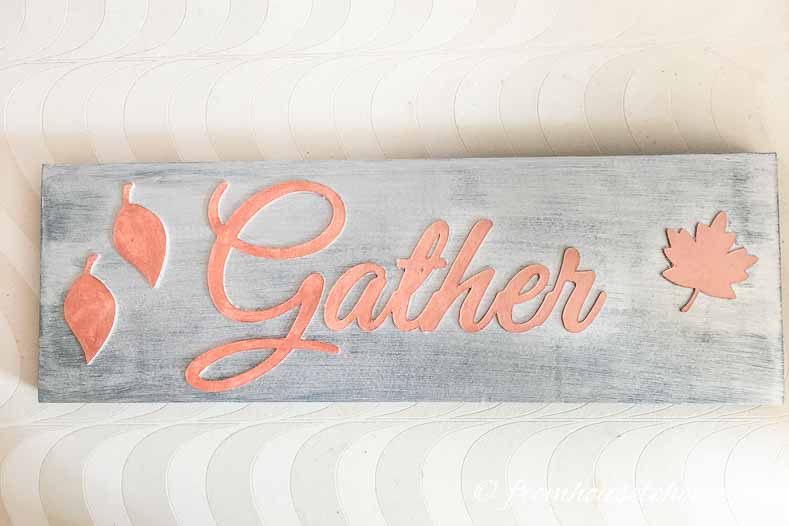
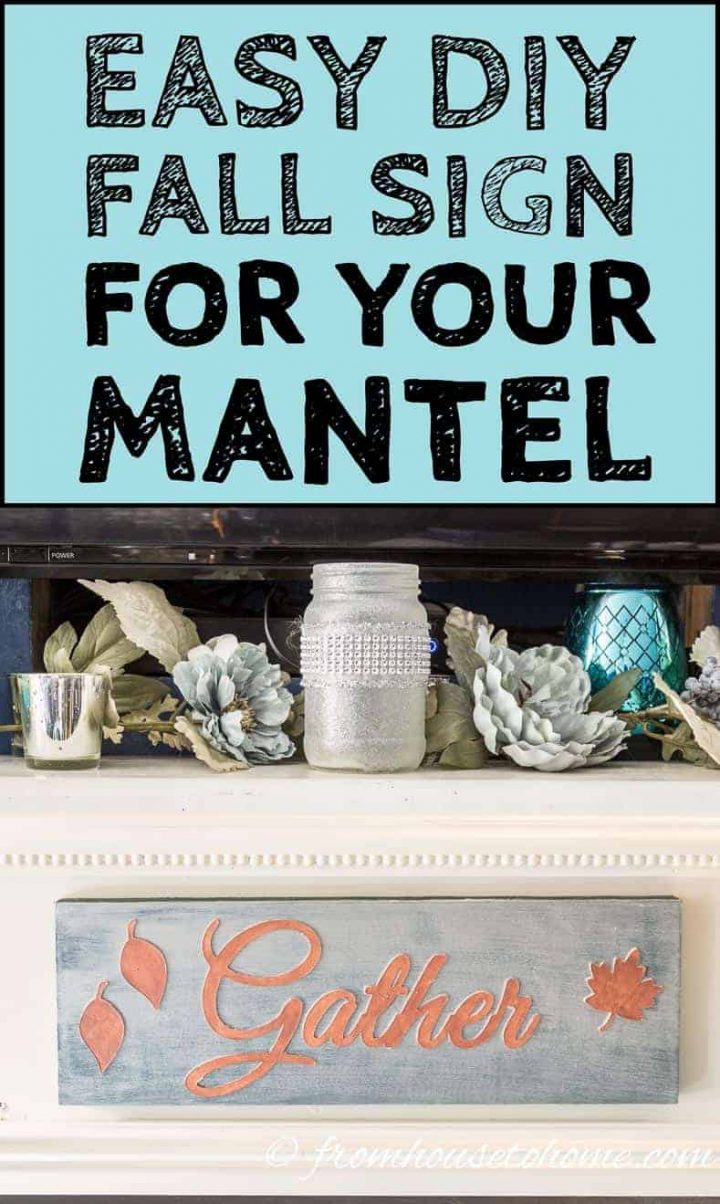
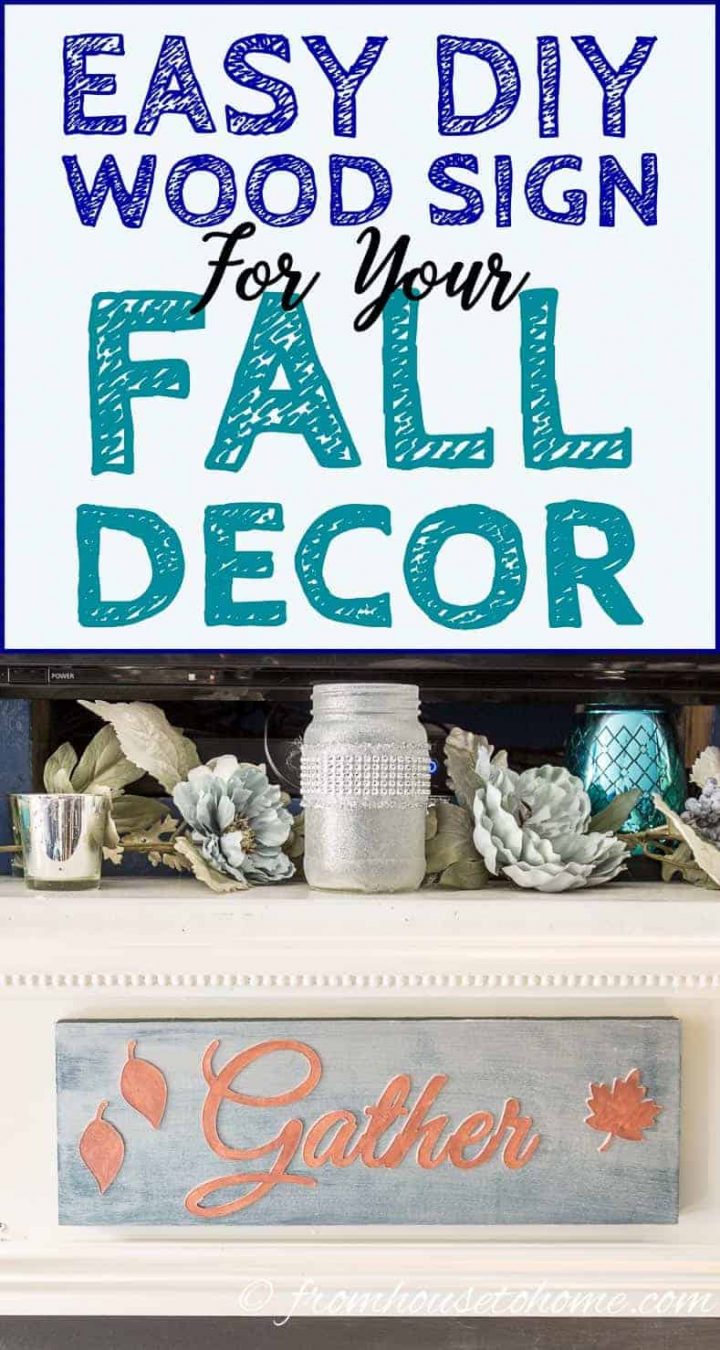
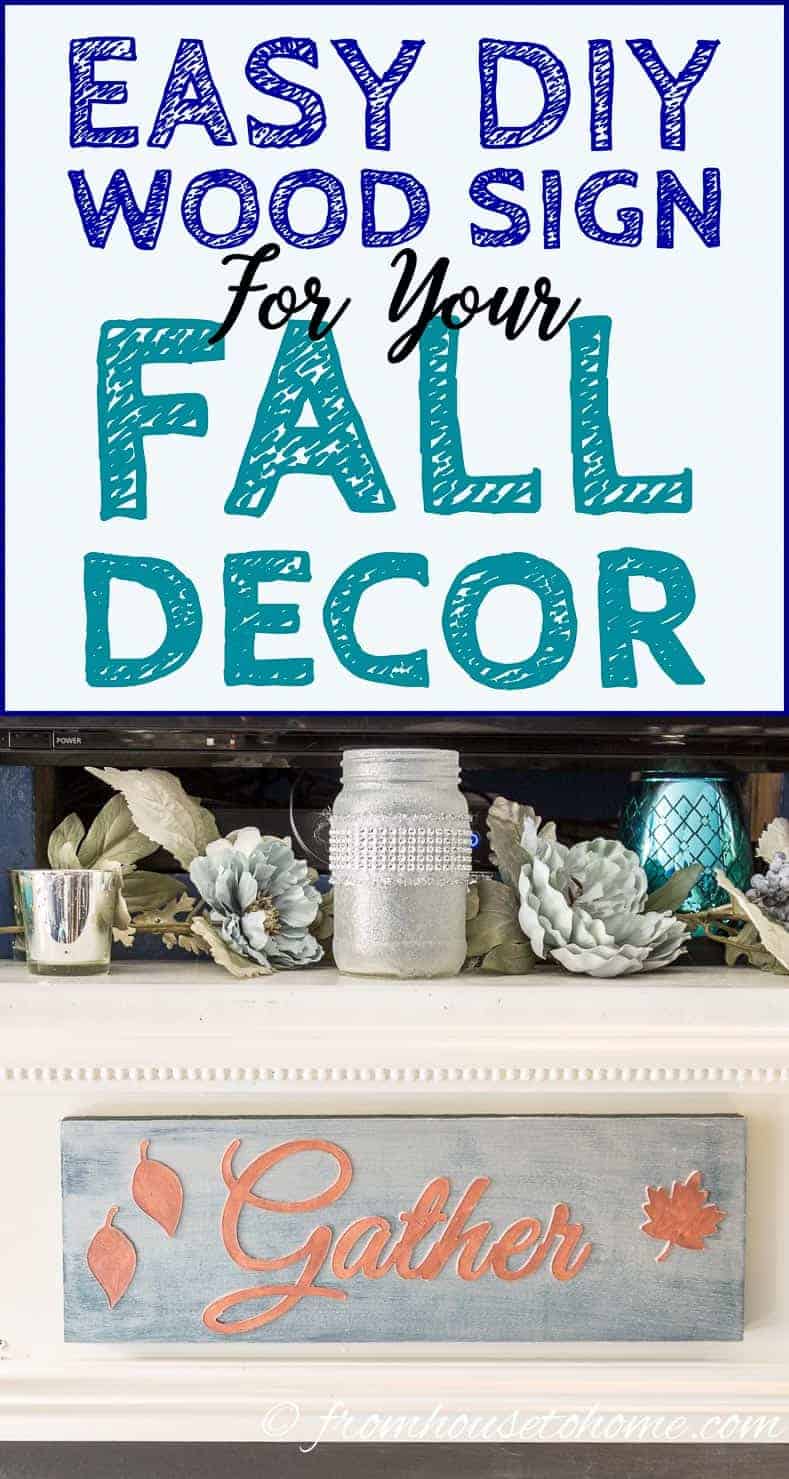
The finished sign should look something like this.
How to hang the sign
Now all we need to do is hang it!
The picture hanger
You could attach a picture hanger to the back.
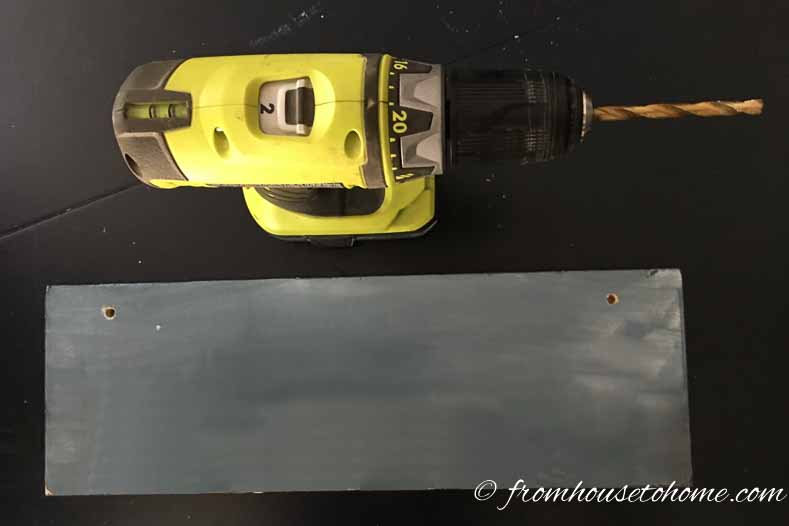
But I was in a hurry and didn’t have any available so I went with a more DIY approach by making a couple of holes on the back of the board.
a. Turn the sign over.
b. Drill two holes close to the top side of the board at both ends. Make sure not to go all the way through the board.
Hang the sign up
The easiest way to get the sign up so that it’s straight is to create a template:
- While the sign is still turned face down, line a piece of paper up along the top edge of the sign
- Use a pencil to mark where the holes are on the piece of paper.
- Hold the paper up on the wall where you want the sign to go and hammer in 2 nails where your pencil marks are.
- Remove the paper and hang up your sign.

I love my sign above my fireplace!
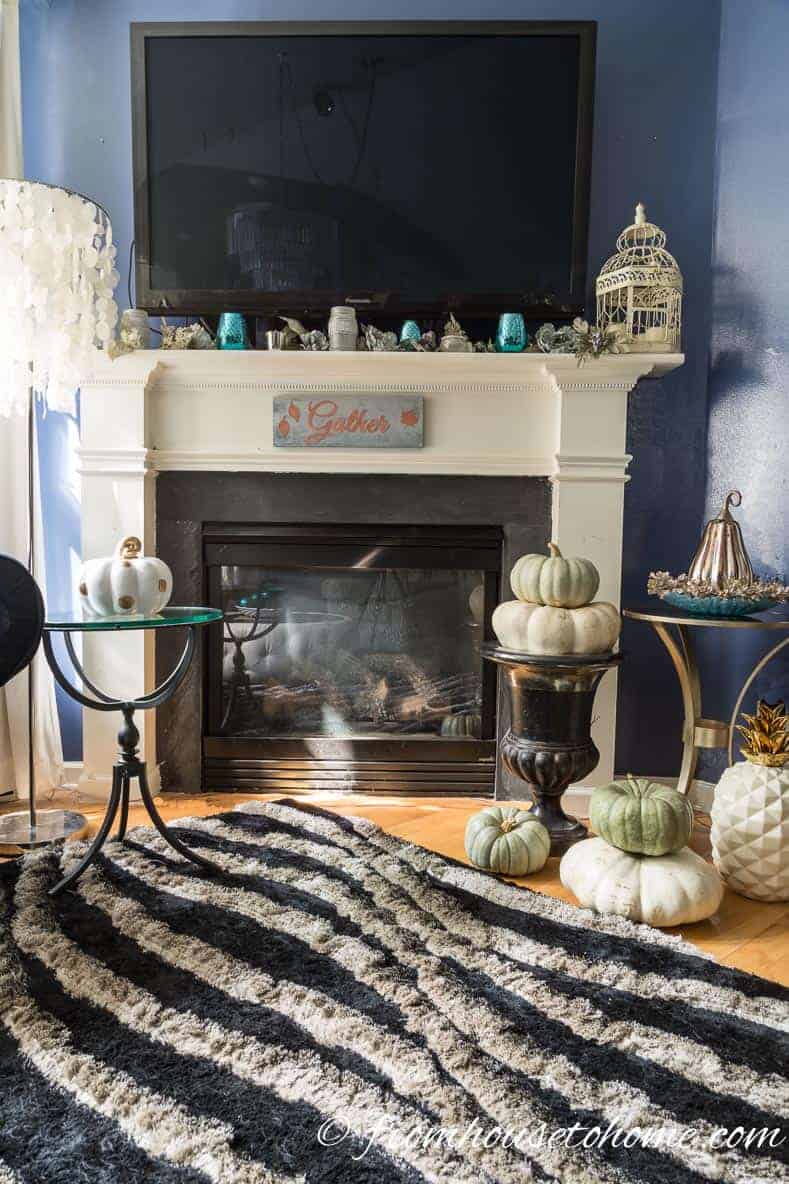
Now I’m reminded of my “gathering” spirit every time I look that way.
Hopefully you have found a good spot for one of your own fall signs!
Other Fall decor ideas you might like
- DIY copper leaf pumpkins
- How to make your home cozy for fall
- Blush pink fall tablescape
- Teal and copper fall living room decor
Have comments or questions on our DIY fall sign? Tell us in the section below.
Pin It So You Don't Forget It!
This post was originally published on September 29, 2017 but was updated with new content on February 12, 2024.