
How To Make A Cheap And Easy Candy Cane Christmas Centerpiece





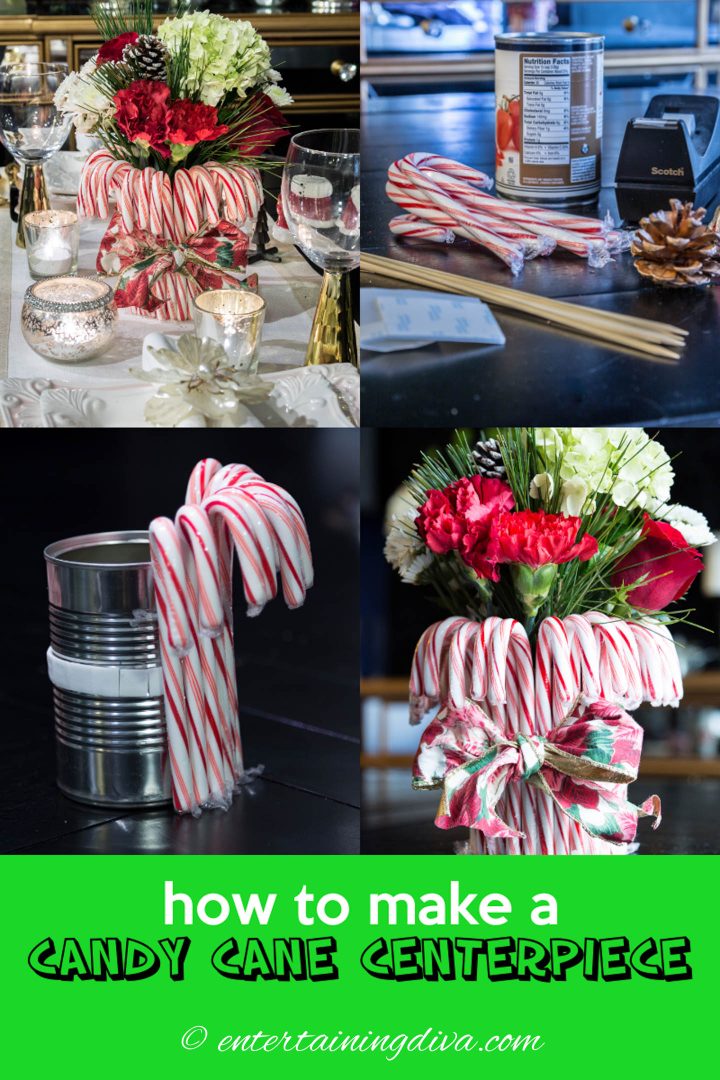
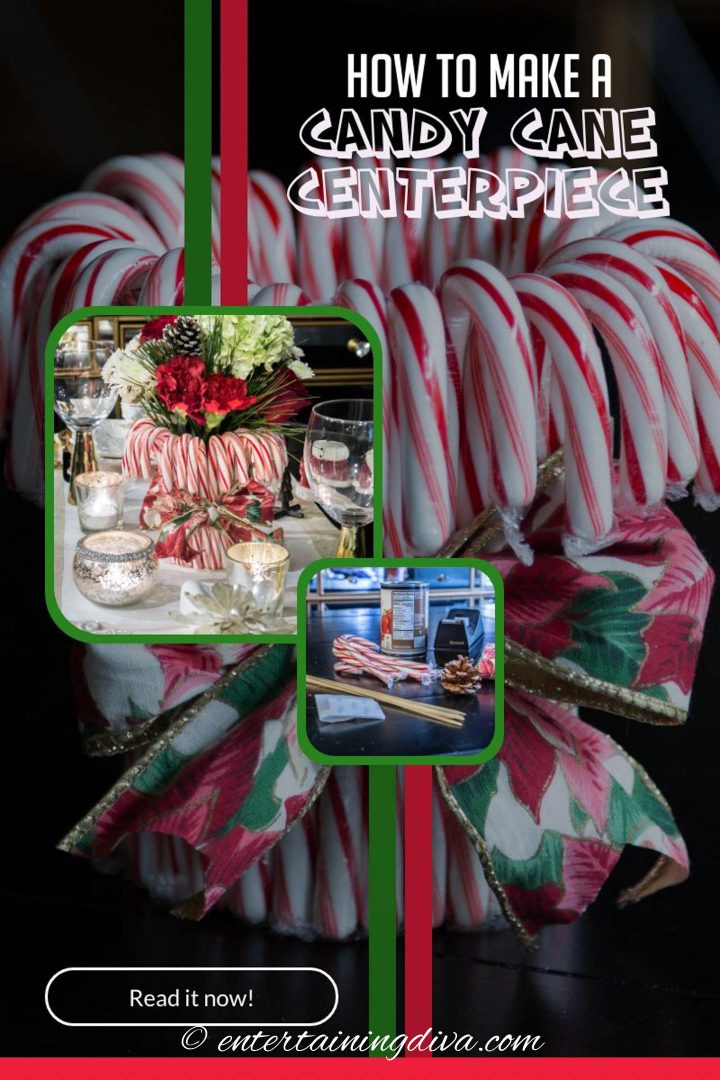



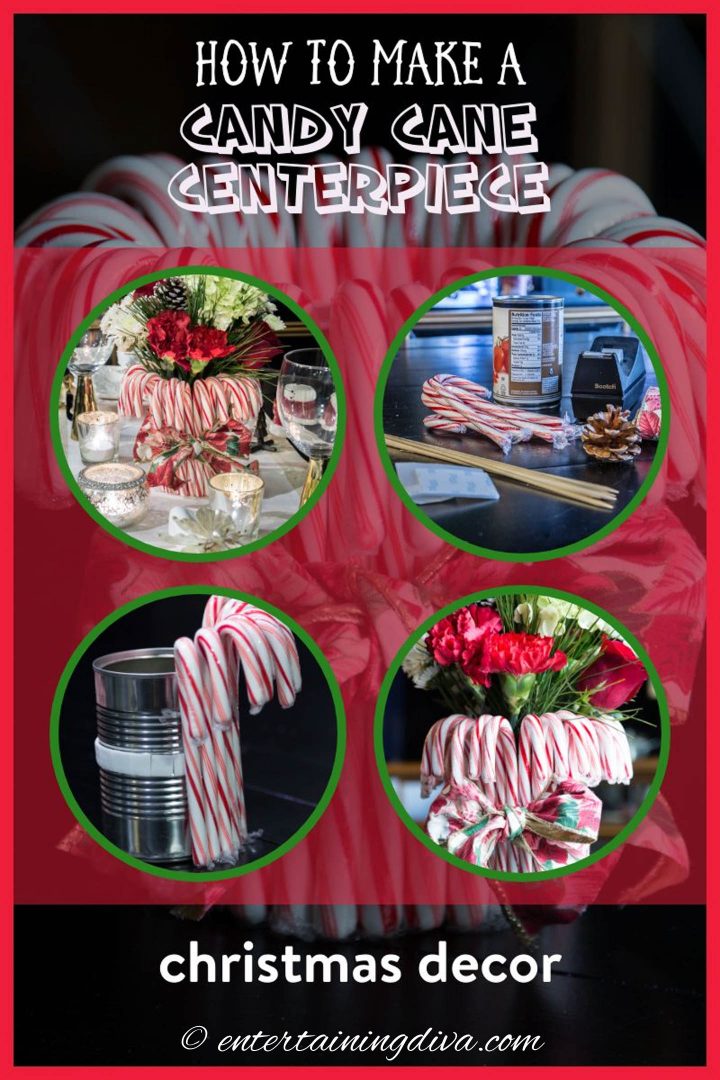



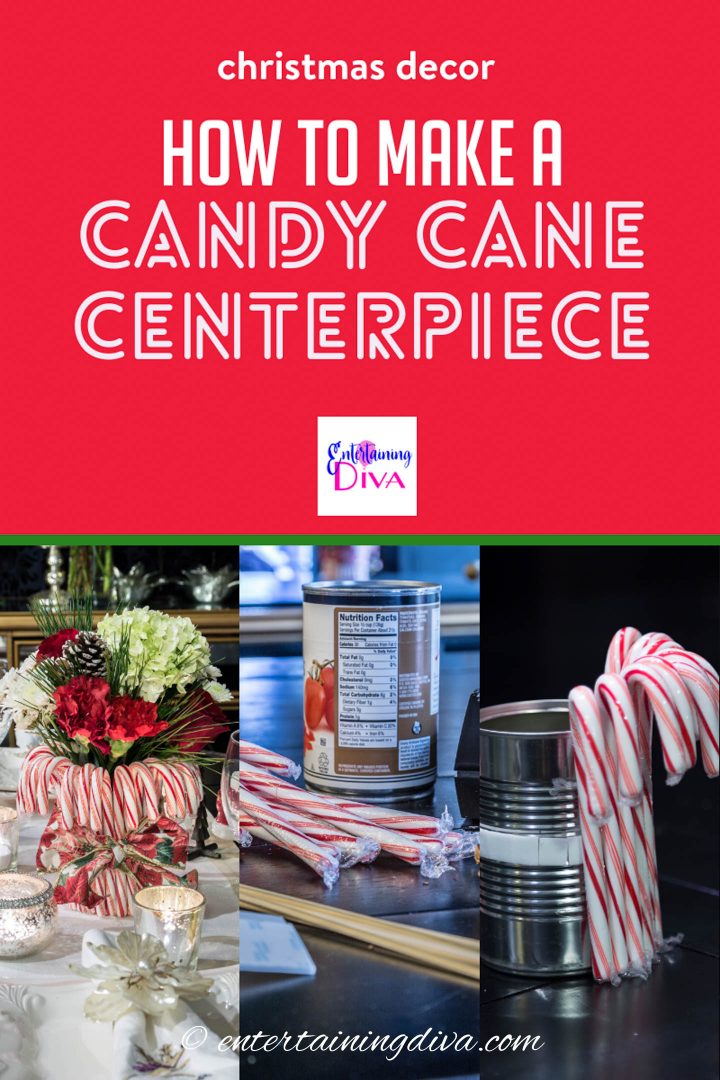


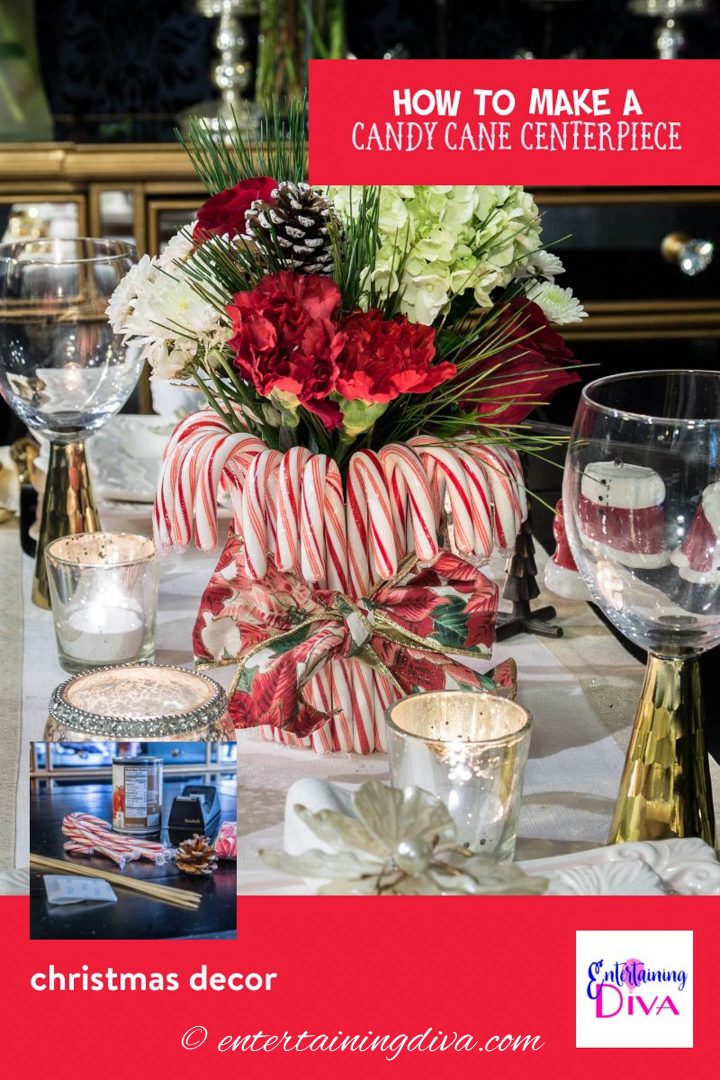

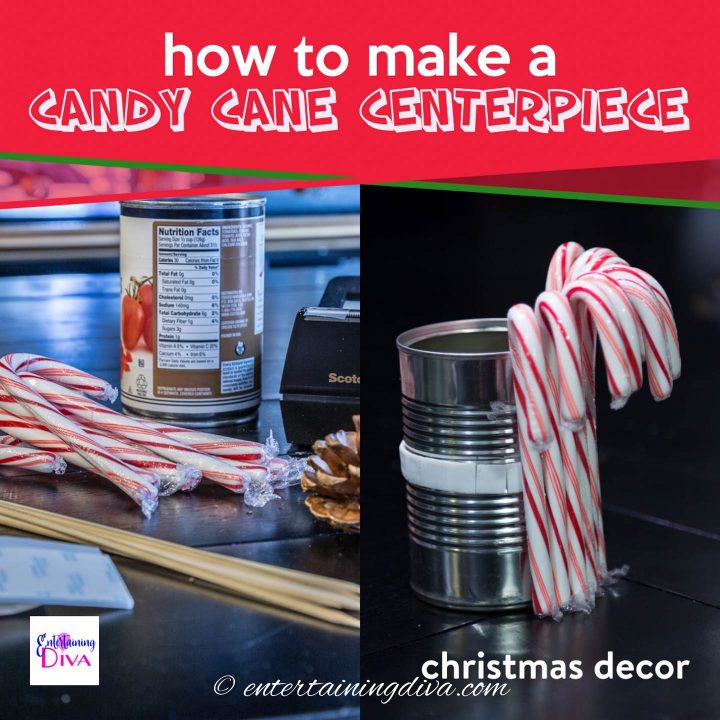




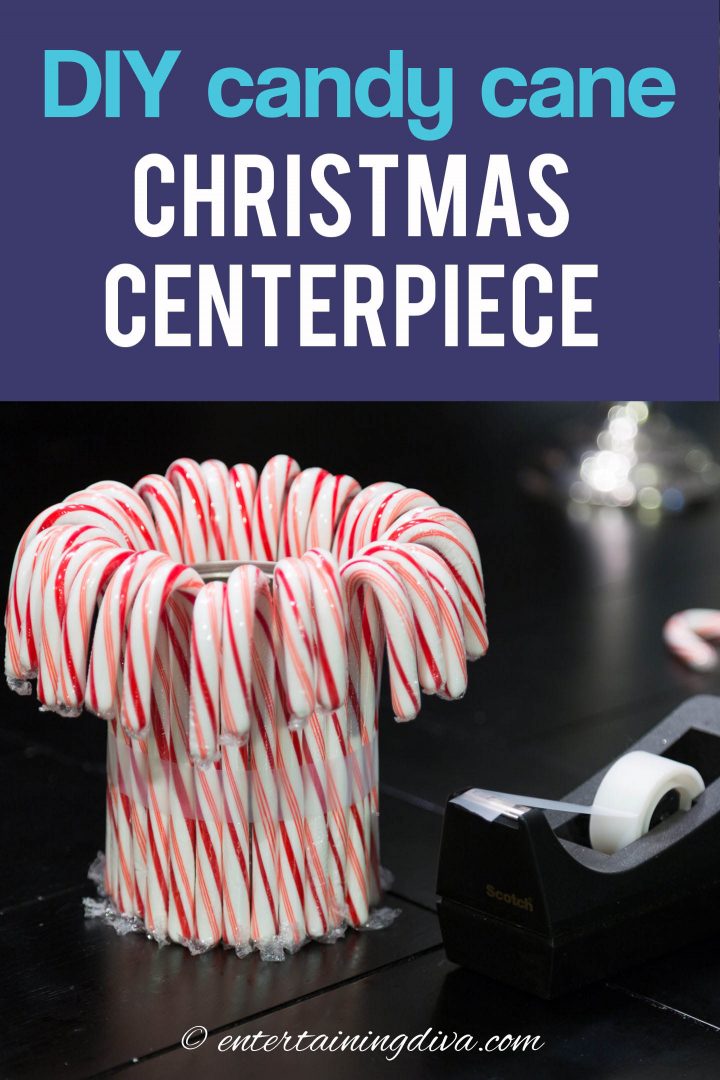
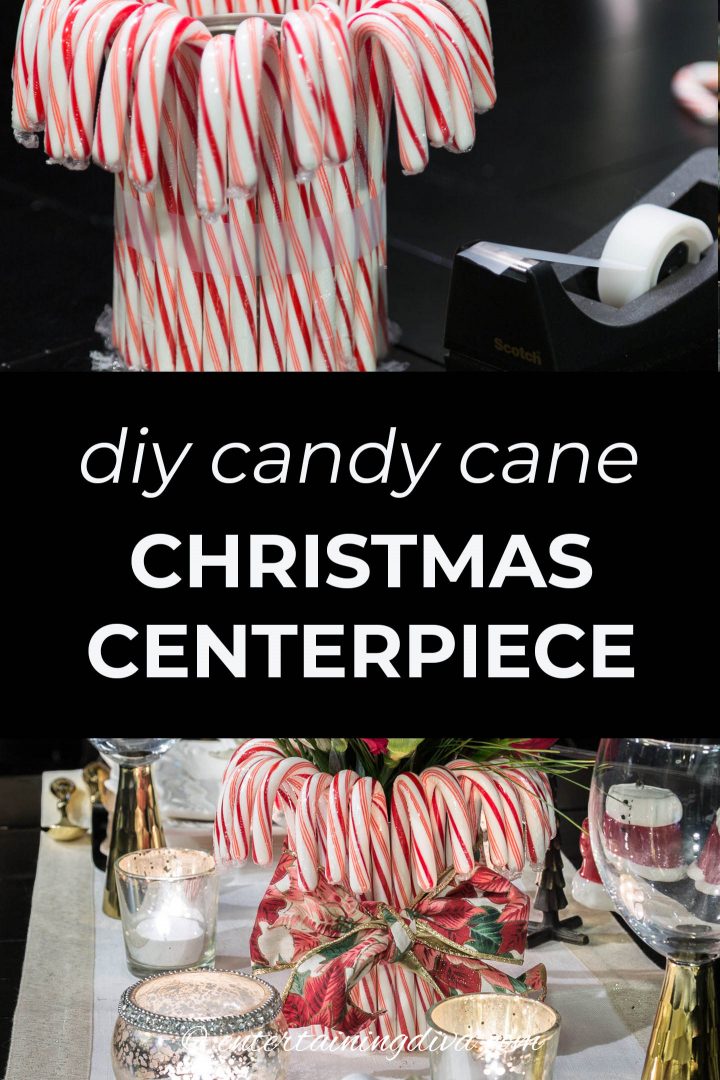

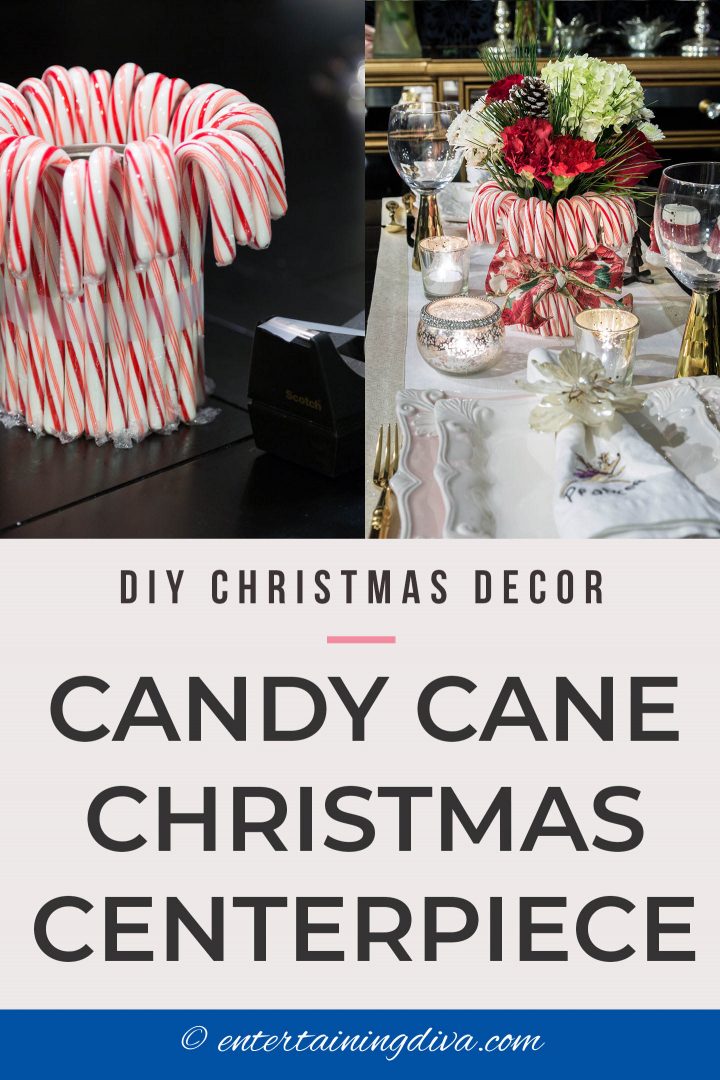

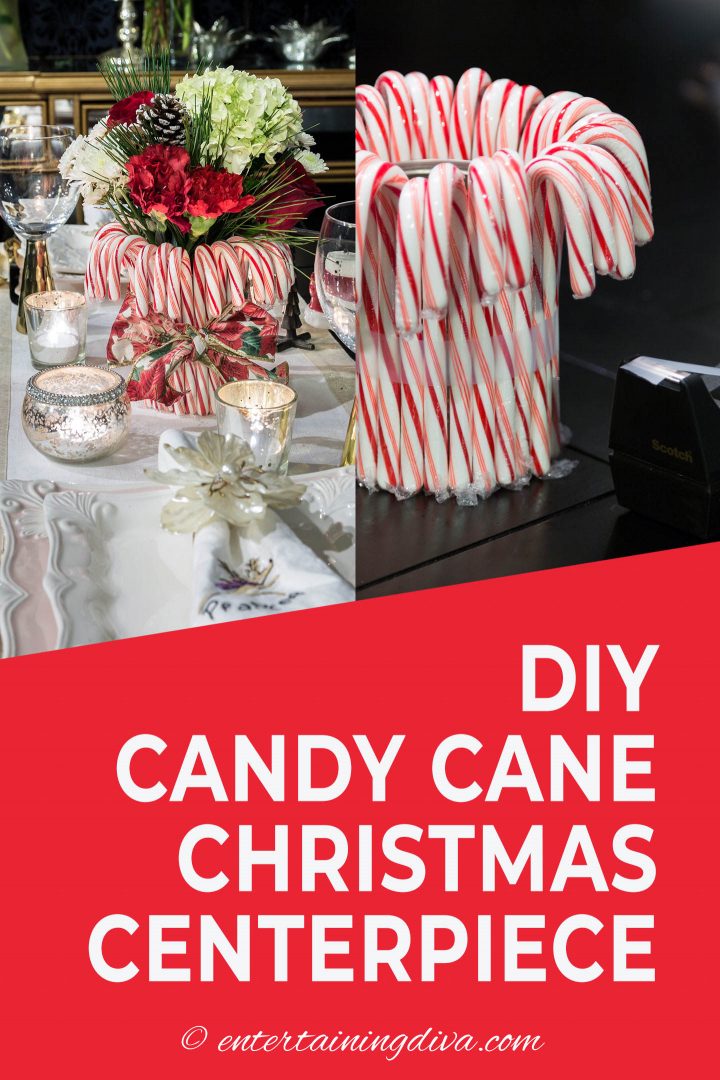
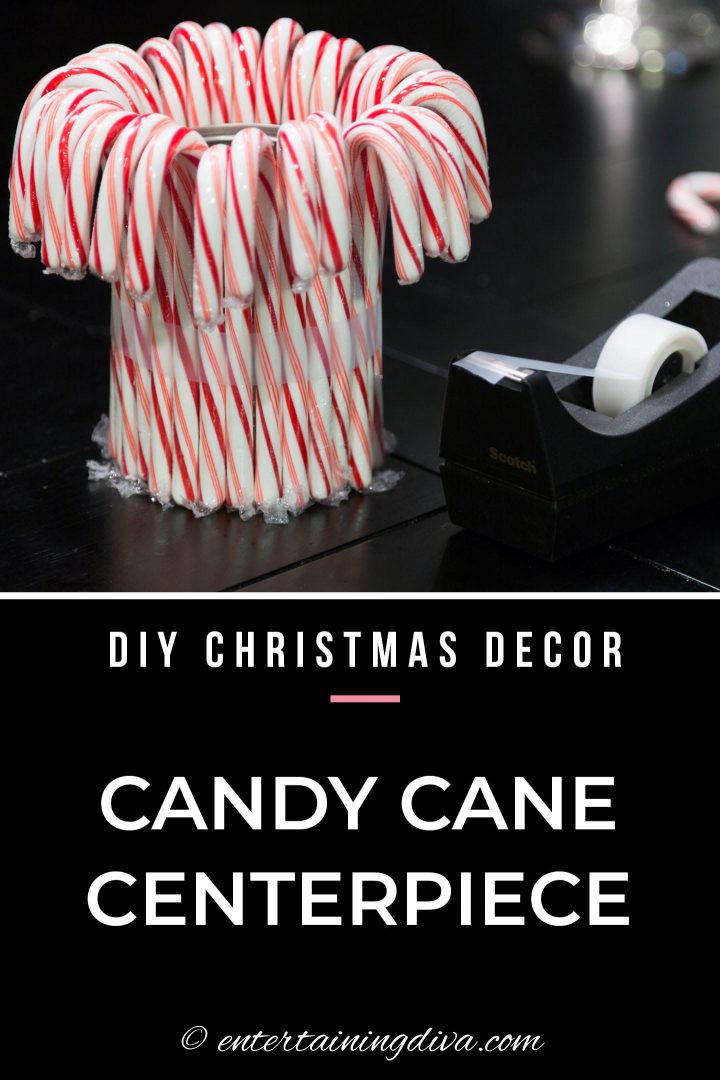

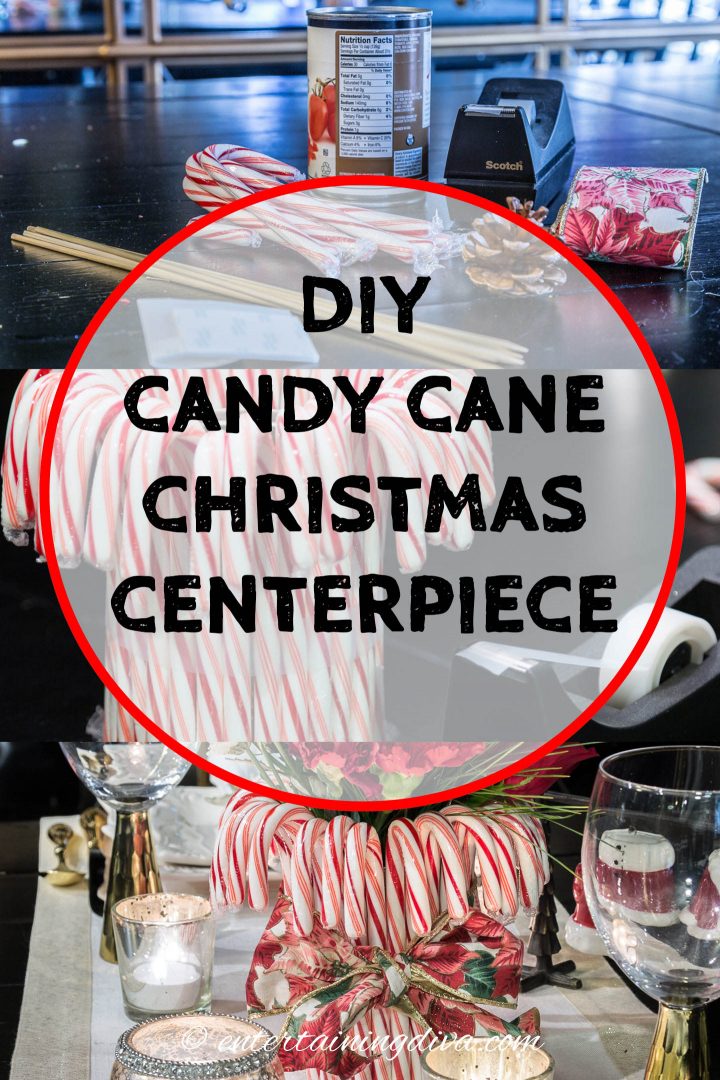


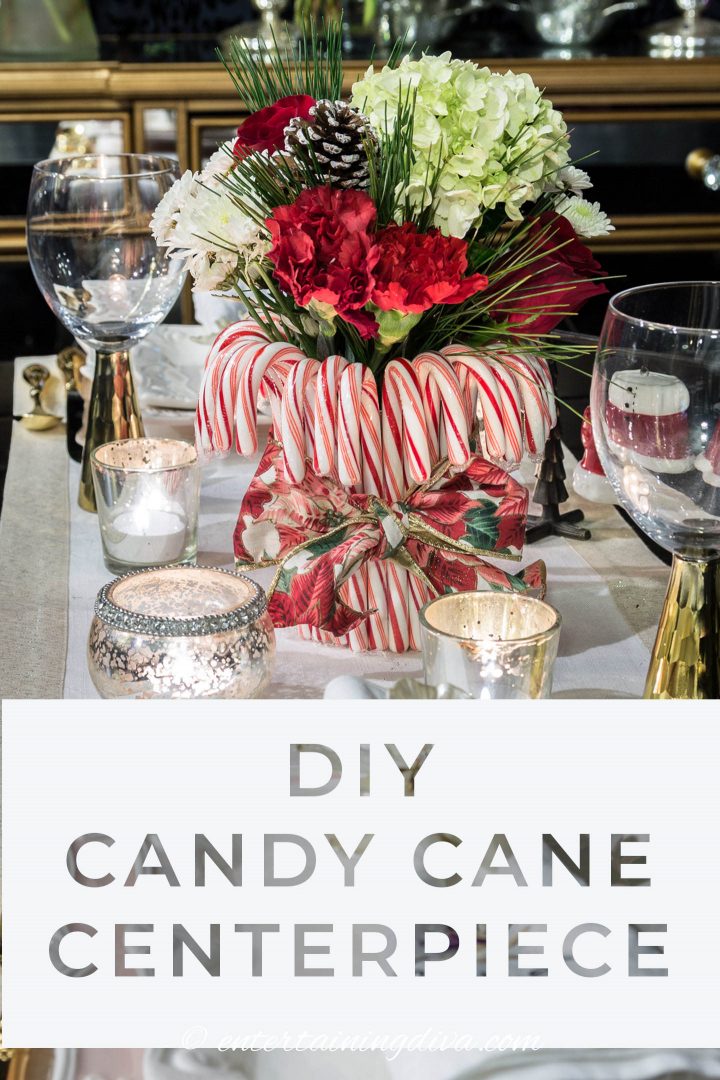
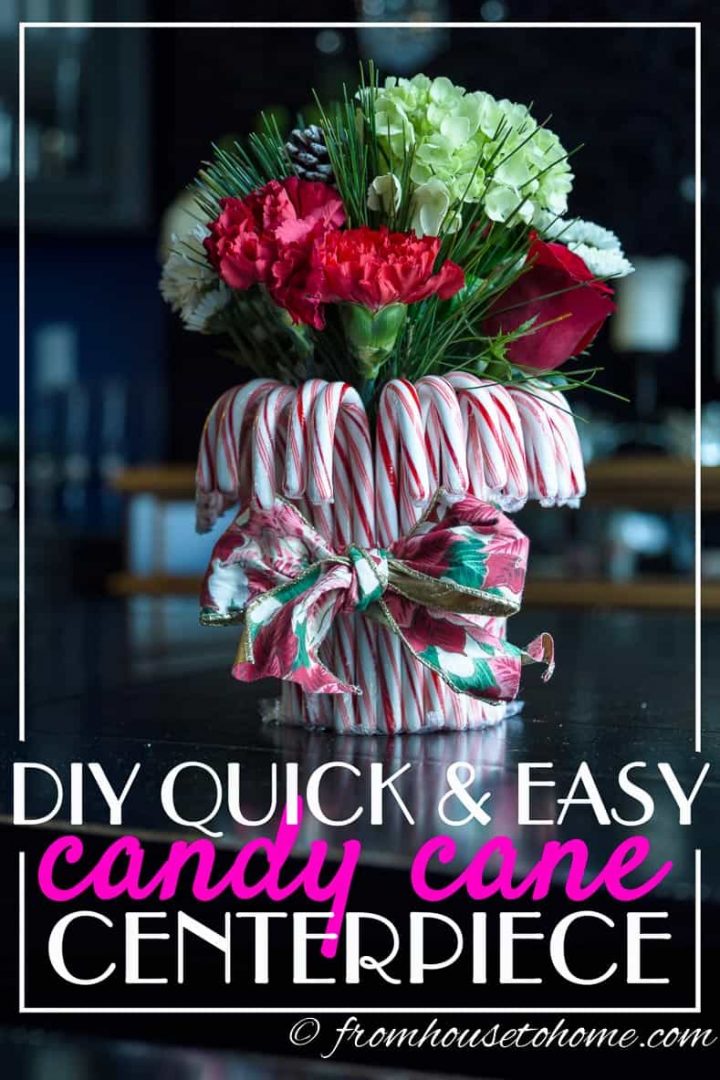
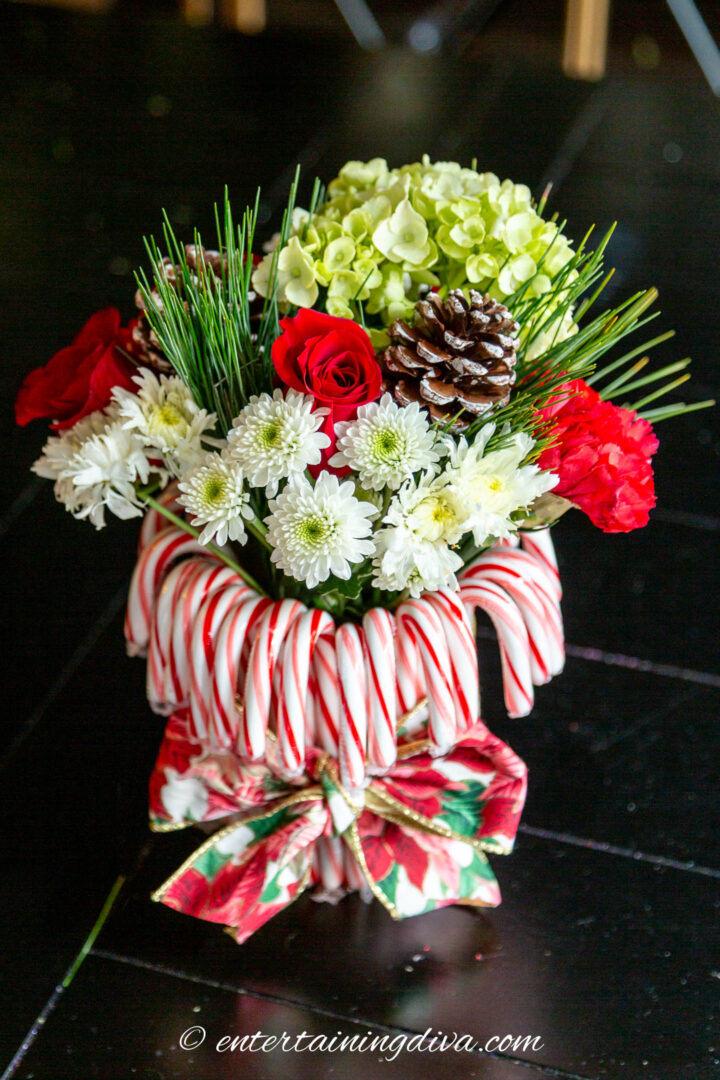
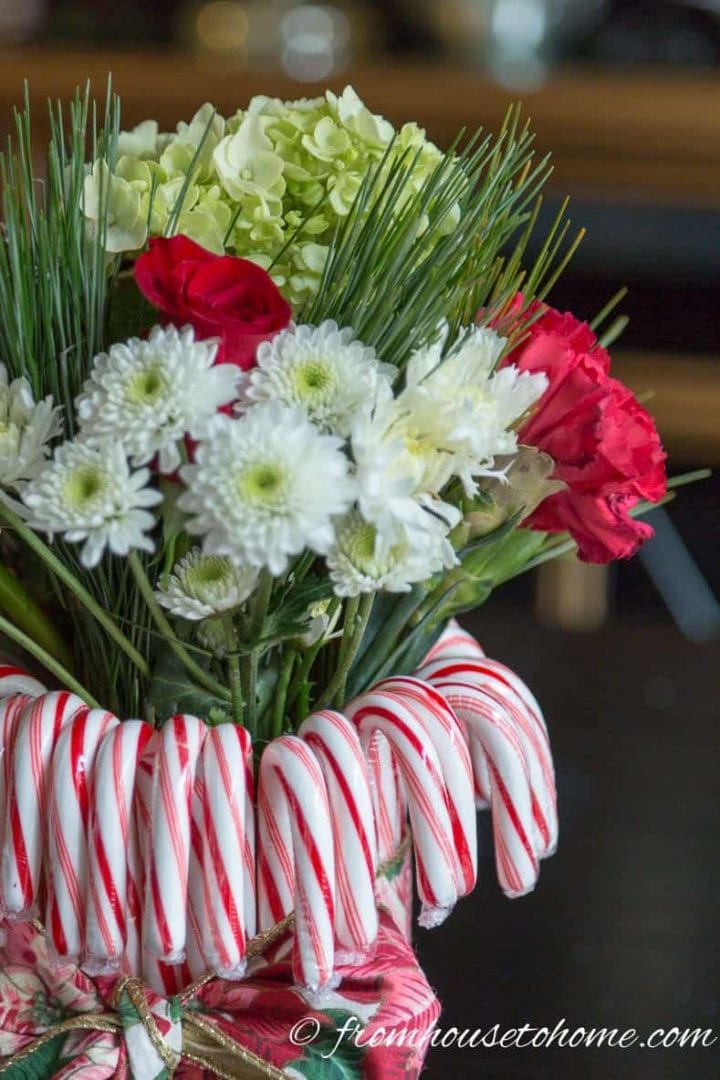
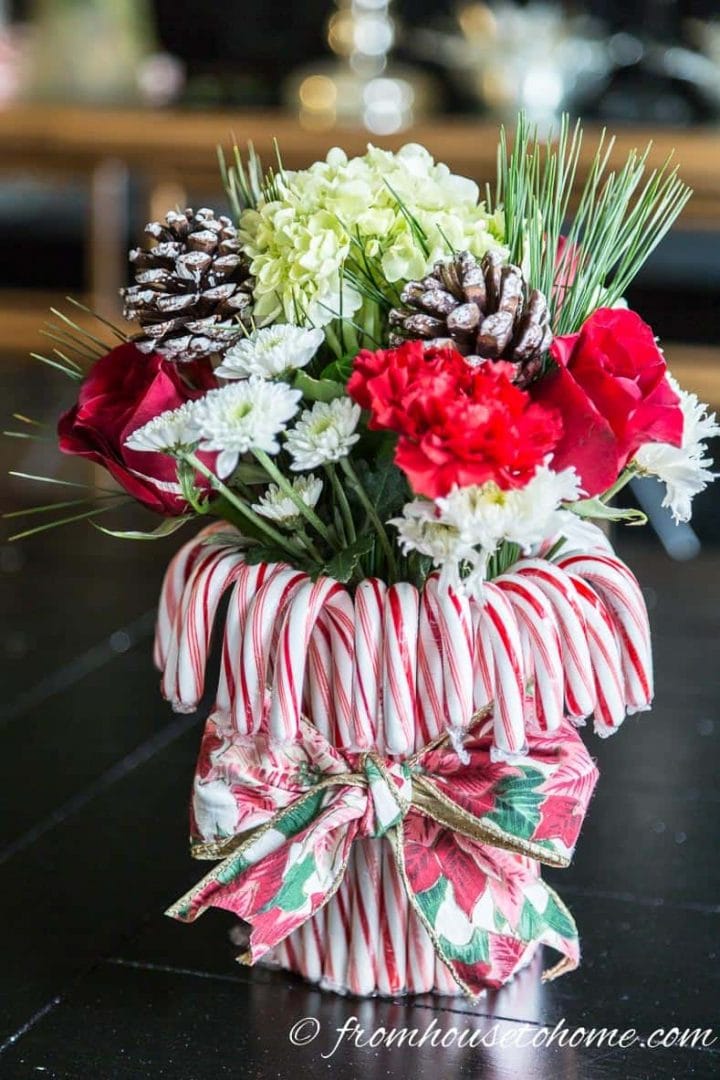
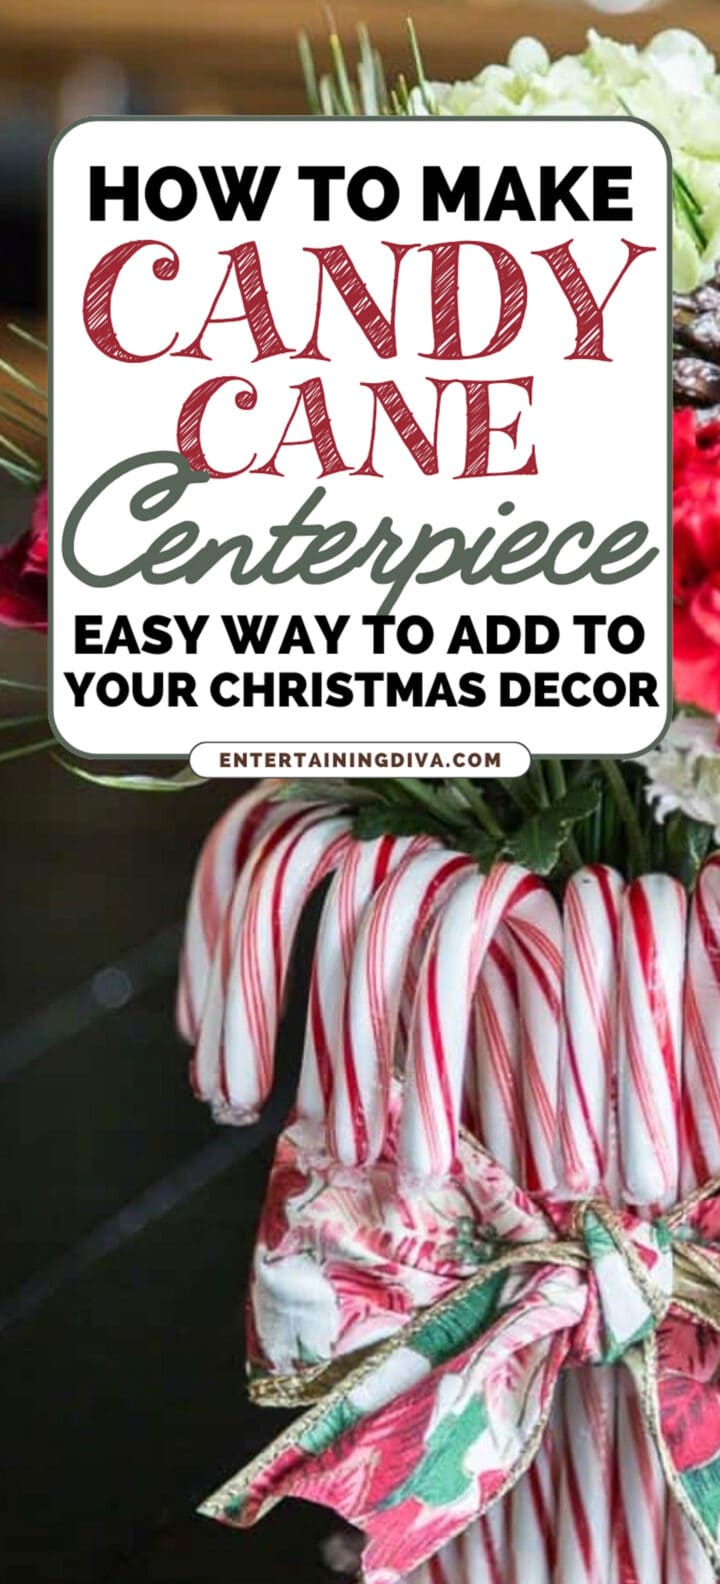
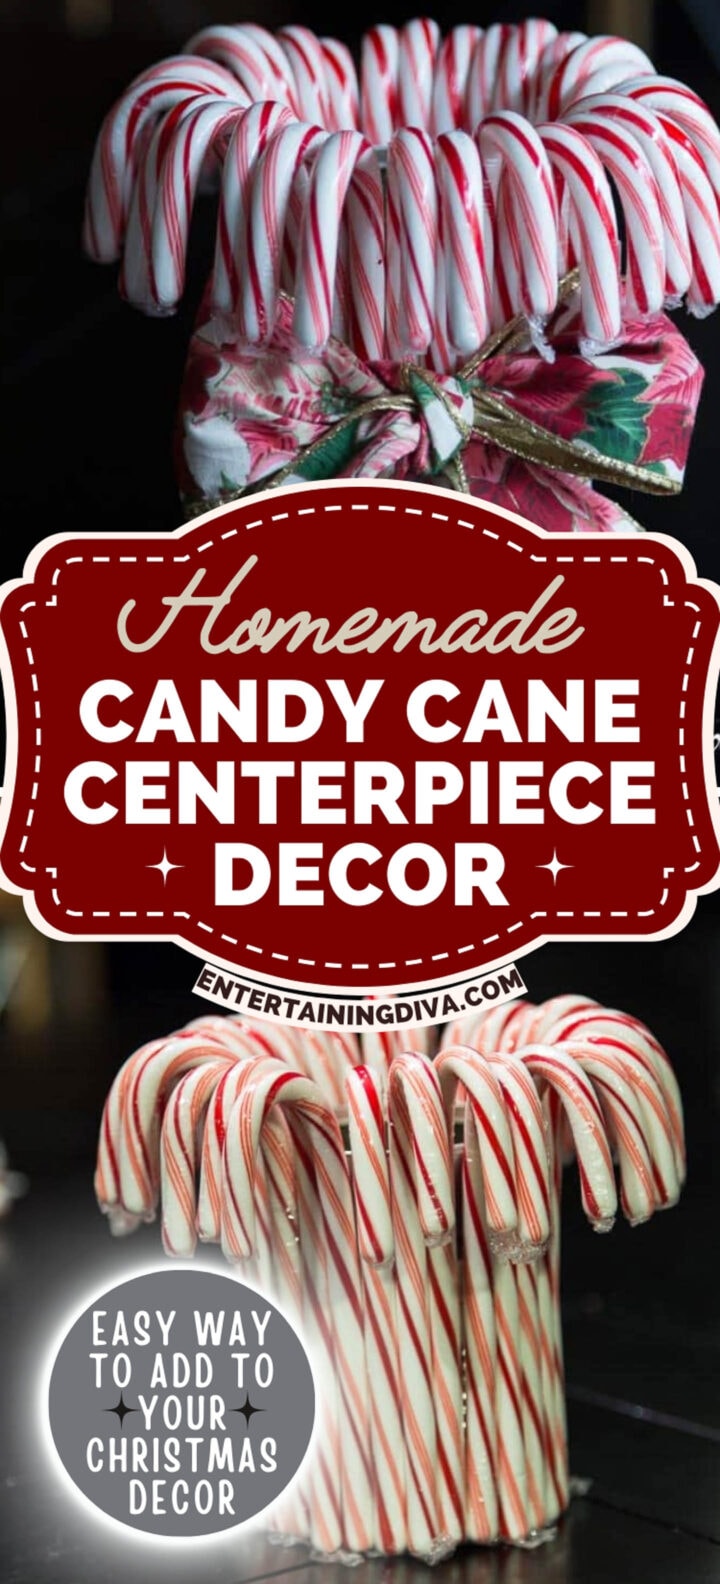
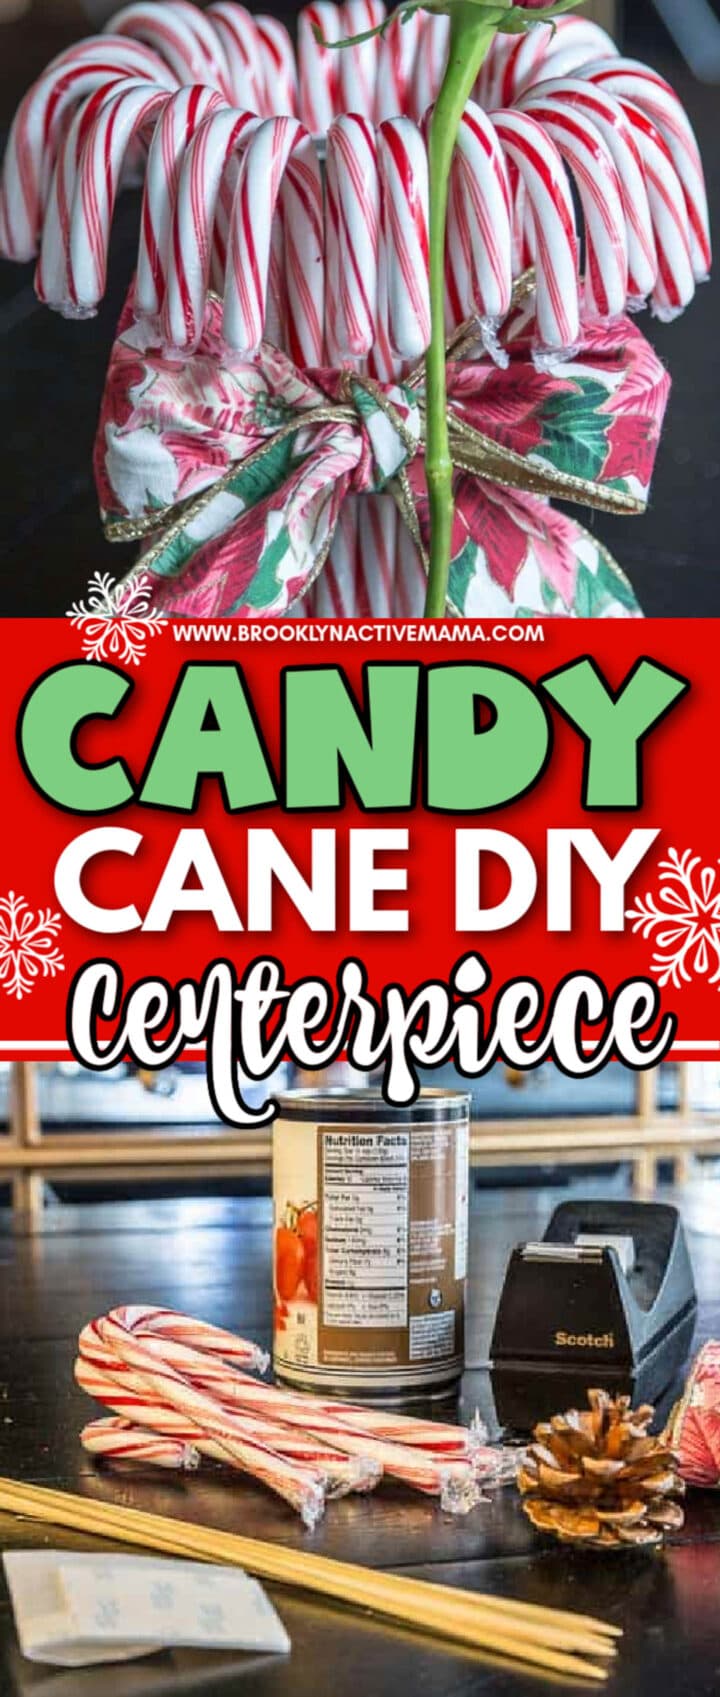



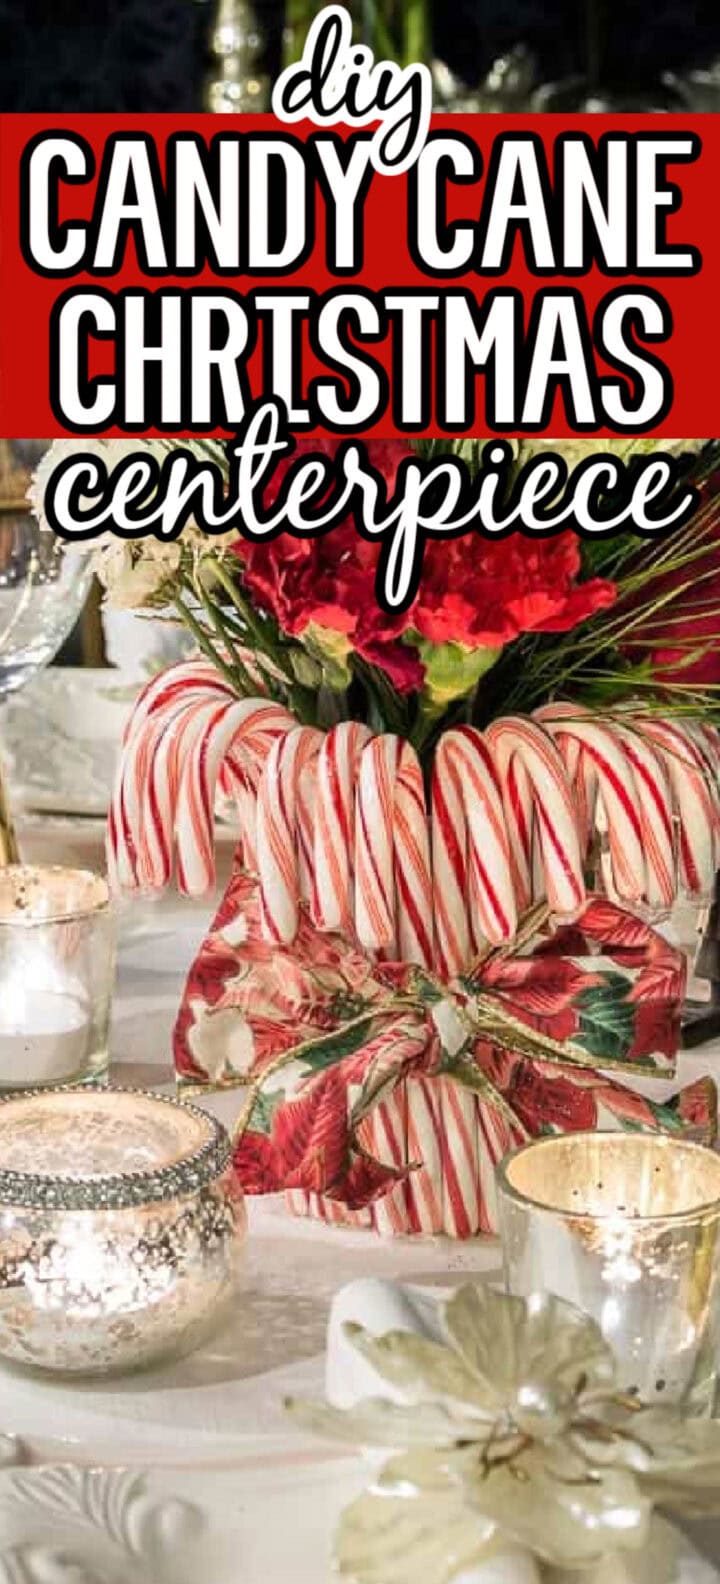

Looking for a quick and easy way to add to your Christmas table decor? This DIY red and white candy cane Christmas centerpiece is a budget-friendly project that works especially well on small tables.
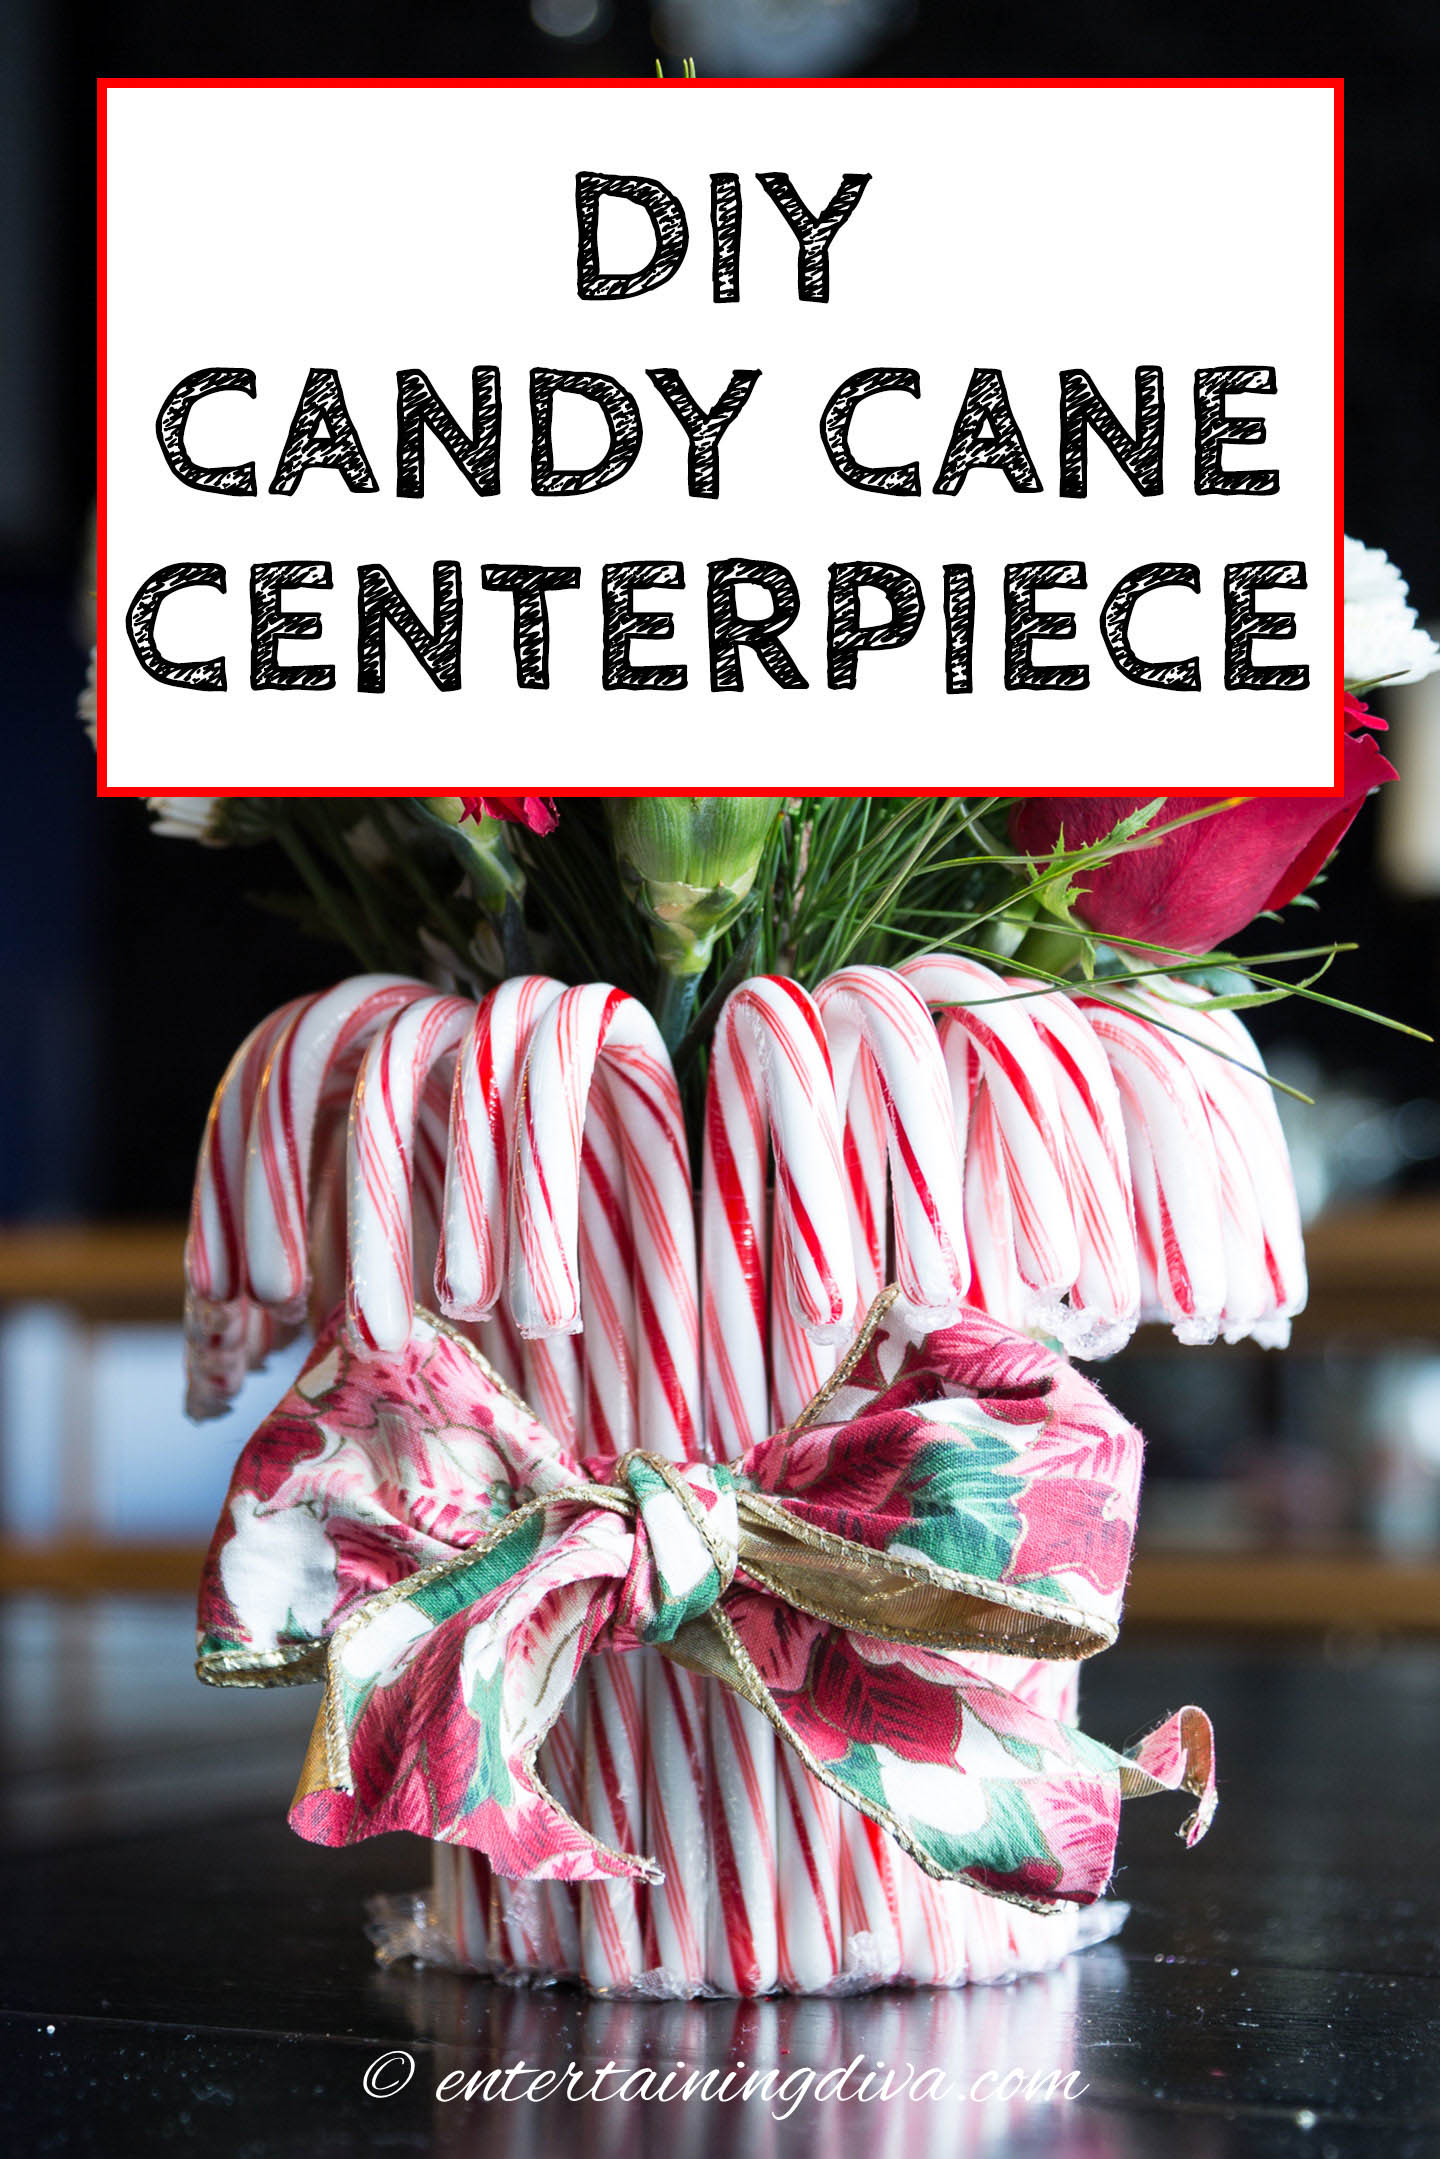
I don’t know about you, but I always seem to be looking for table centerpieces that are easy, inexpensive and small enough that people can see each other across the table.
And my Christmas table this year was no different…
Then I saw this list of Christmas centerpieces on decoholic.com, with one that caught my eye. It’s simple, easy and inexpensive, but still looks elegant and feels “Christmas-y”.
So I set out to figure out how to make something similar. And it turns out to be a really easy, budget-friendly DIY project that only takes a few minutes to put together.
Plus, it’s not too big so it will even fit on a small table. (You might want to make more than one if you’re using them on a long table).
Here is the step-by-step tutorial for making the vase and arranging the flowers for this easy DIY candy cane Christmas centerpiece.
More Christmas centerpieces

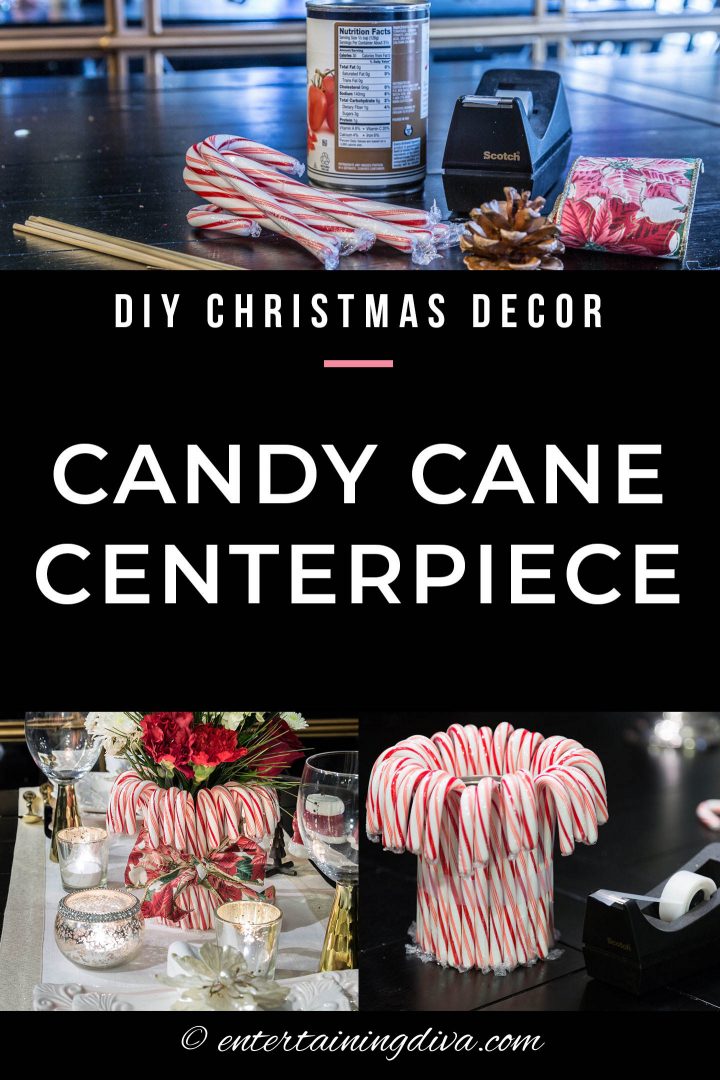
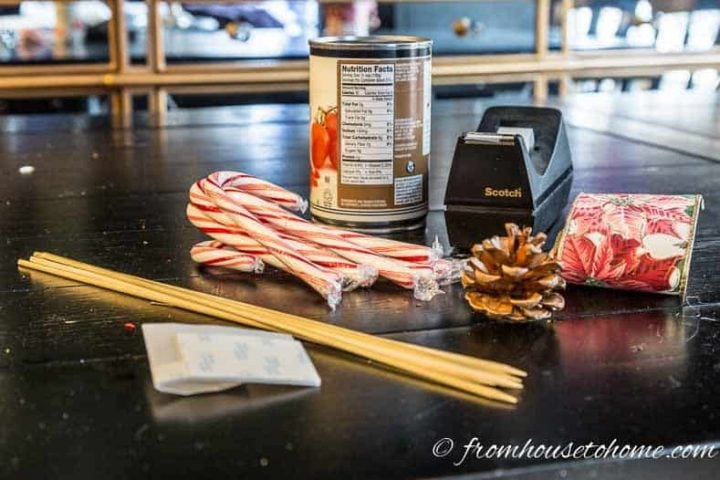
Supplies
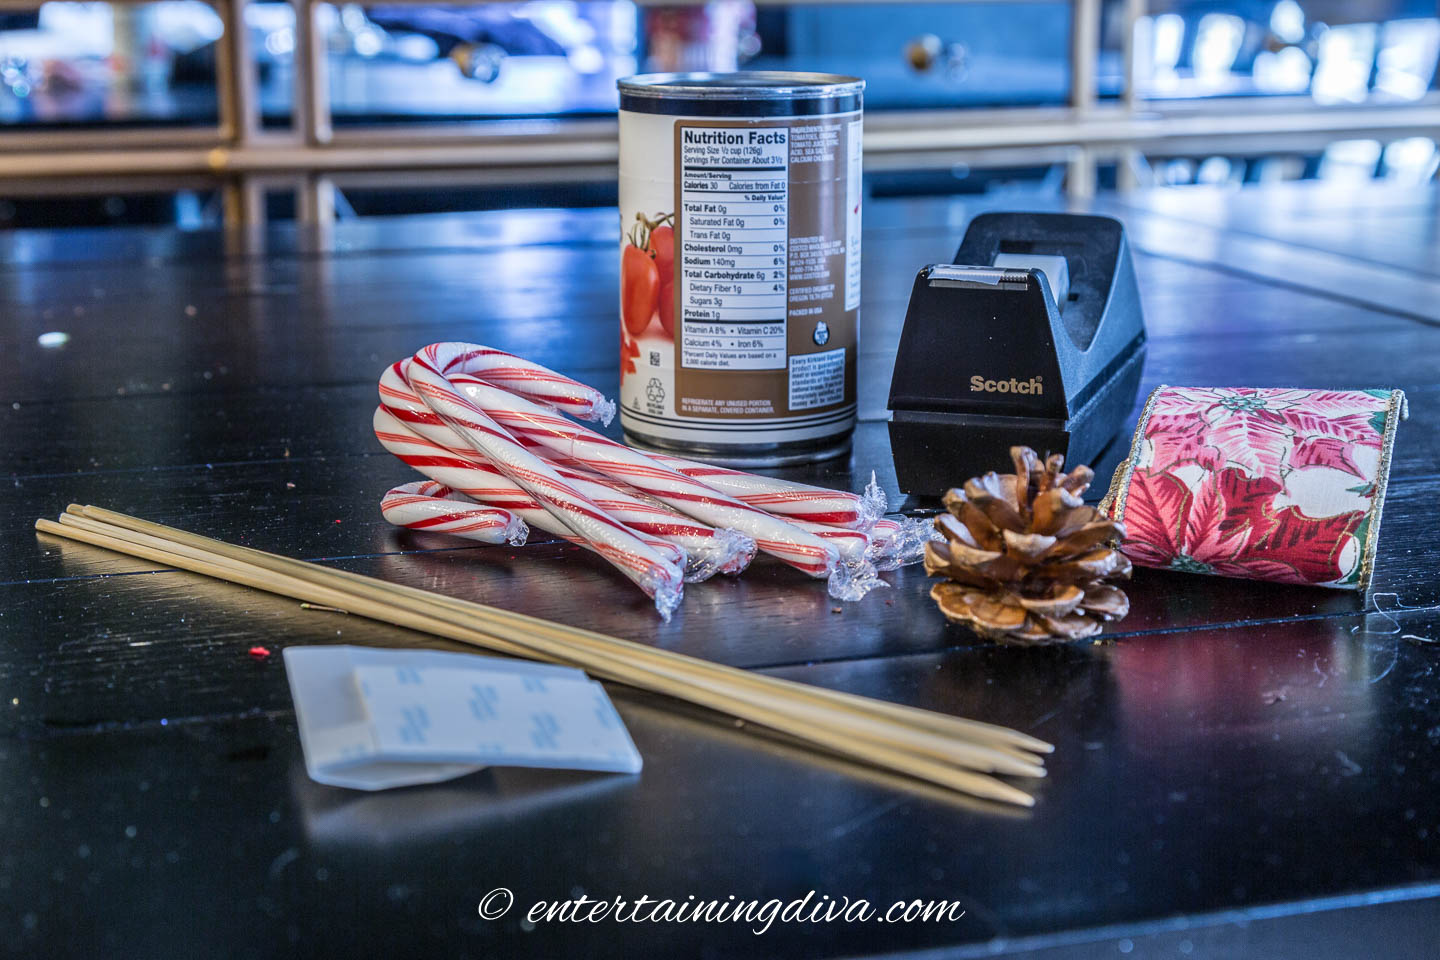
Materials:
- Tin can or mason jar
- Double-sided tape – Make sure to get the thick white type. Double-sided scotch tape won’t work. It doesn’t stick out past the lip of the tin so the candy canes won’t stick to it.
- 30 full size candy canes – this is for a 14-ounce tin can. You may need a few more or less depending on the size of your container.
- Scotch tape
- 2.5-inch wide wired red and white ribbon – The wired ribbon holds the shape of the bow much better than standard ribbon does.
- Velcro dots (optional)
- 3 or 4 pine cones
- 3 or 4 wood skewers – we’ll use these to make picks out of the pine cones. (You could also buy pine cone picks already made.)
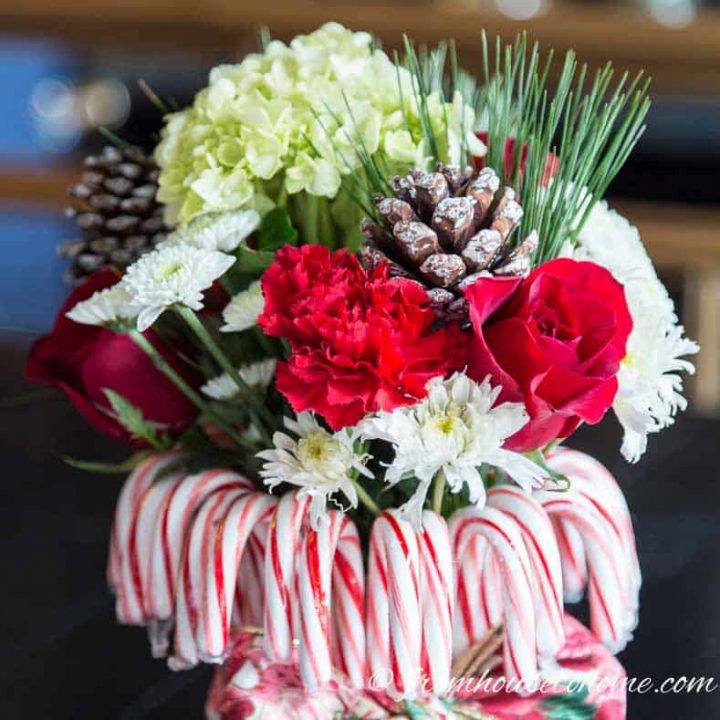
- Red and white flowers. I used a hydrangea, red carnations, white mums, and red roses…basically what came in the bouquet from the grocery store. Of course, you could also do all roses like the original version did.
- Evergreen stems – I used pine stems because I like the shape of the long needles in the arrangement.
Tools:
- cordless drill with a small drill bit (optional) – We’ll use this to make a hole in the pine cone for the skewer. This is optional since you can also just push the skewer in manually.
How to make a budget-friendly DIY candy cane vase
1 | Prepare the tin can or mason jar
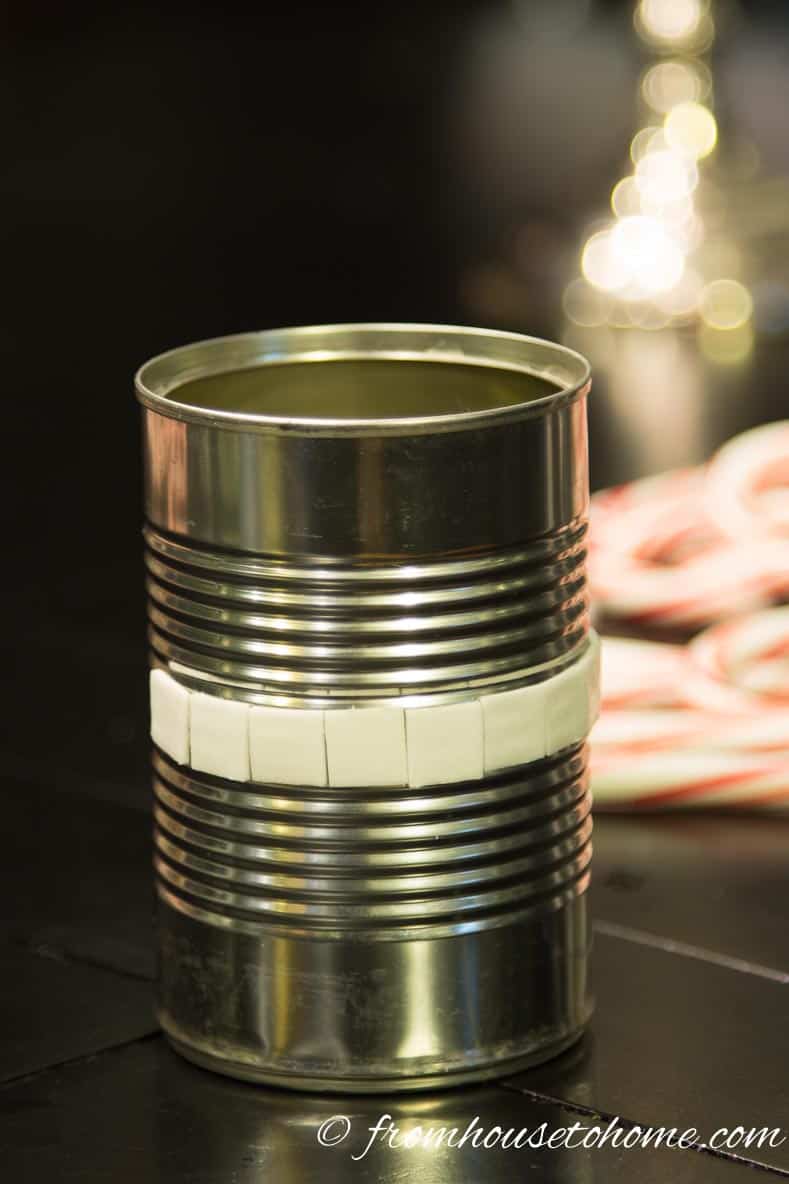
If your can (or mason jar) has a label, remove it and make sure the container is clean.
The easiest way to do this is to soak it in hot water until the label loosens. Then it will usually come off pretty easily.
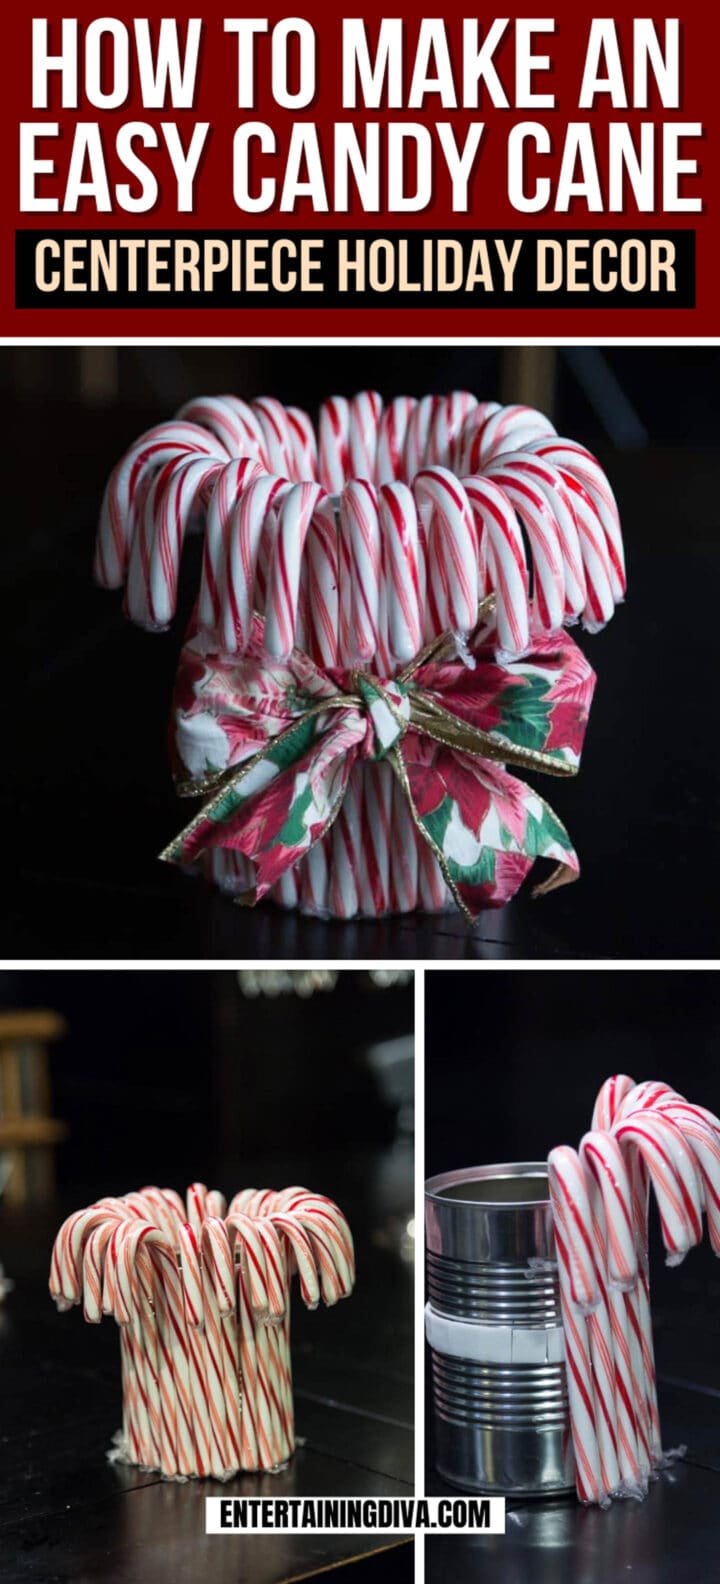
Wind the double-sided tape around the middle of the can or jar.
I had mounting tabs on hand, so that’s what I used. But regular double-sided tape would be a little faster.
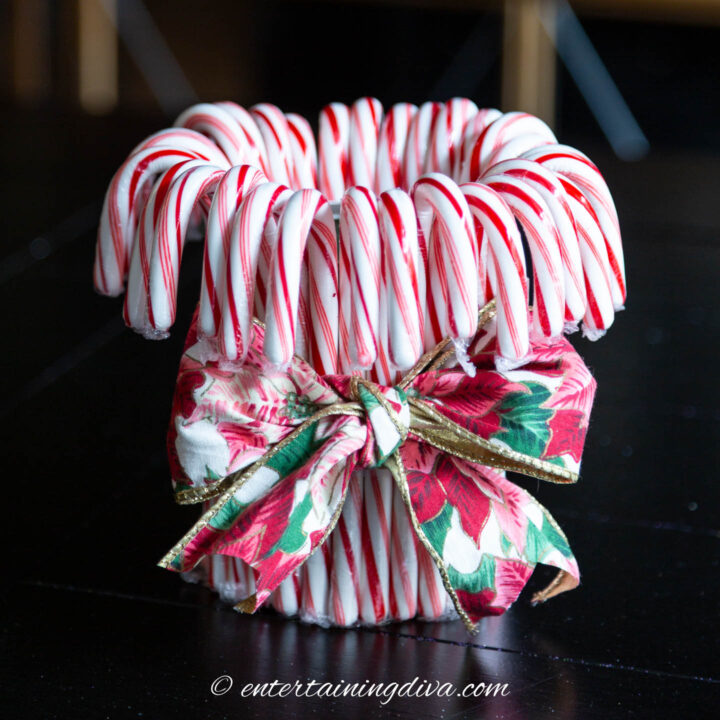
2 | Add the candy canes
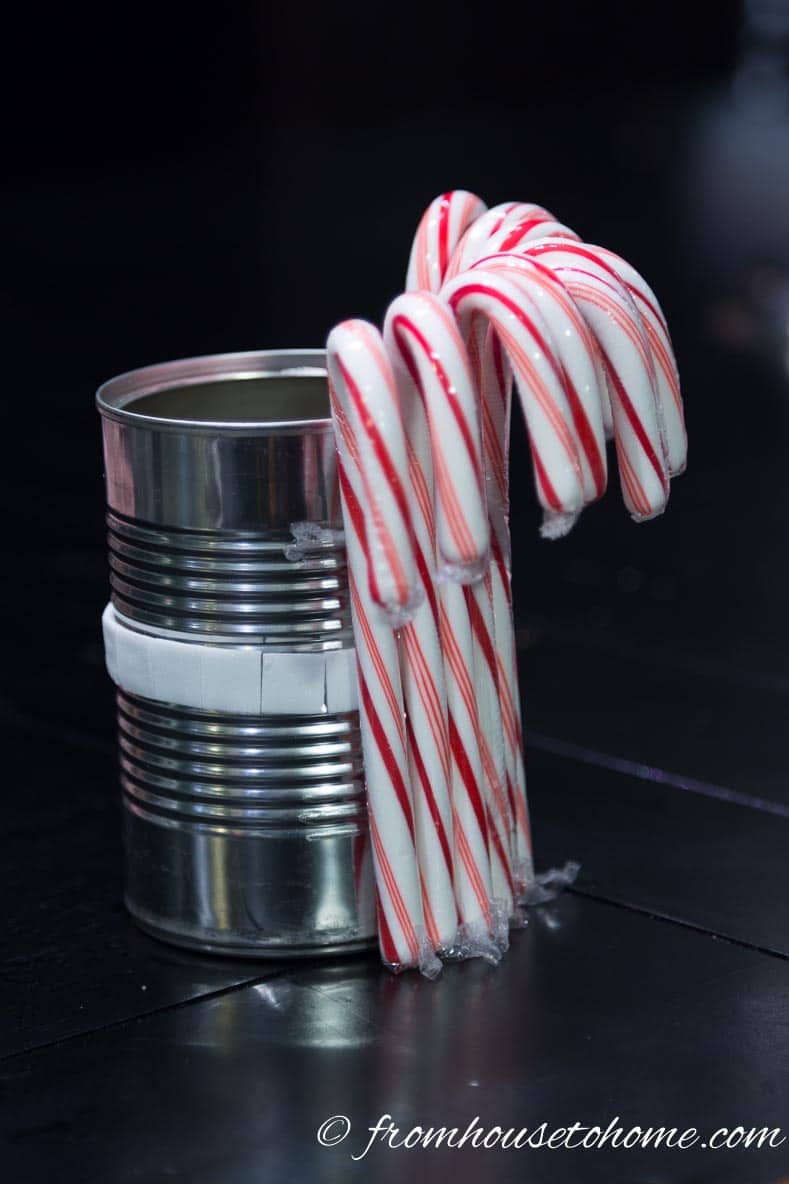
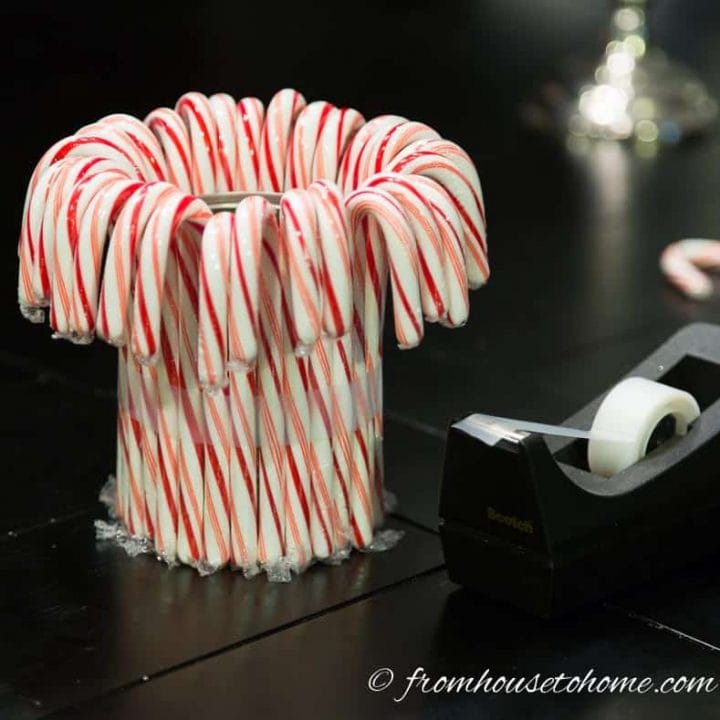
Stick the first candy cane to the double-sided tape, making sure that it is straight.
If this one isn’t straight, none of the rest of them will be either 🙂
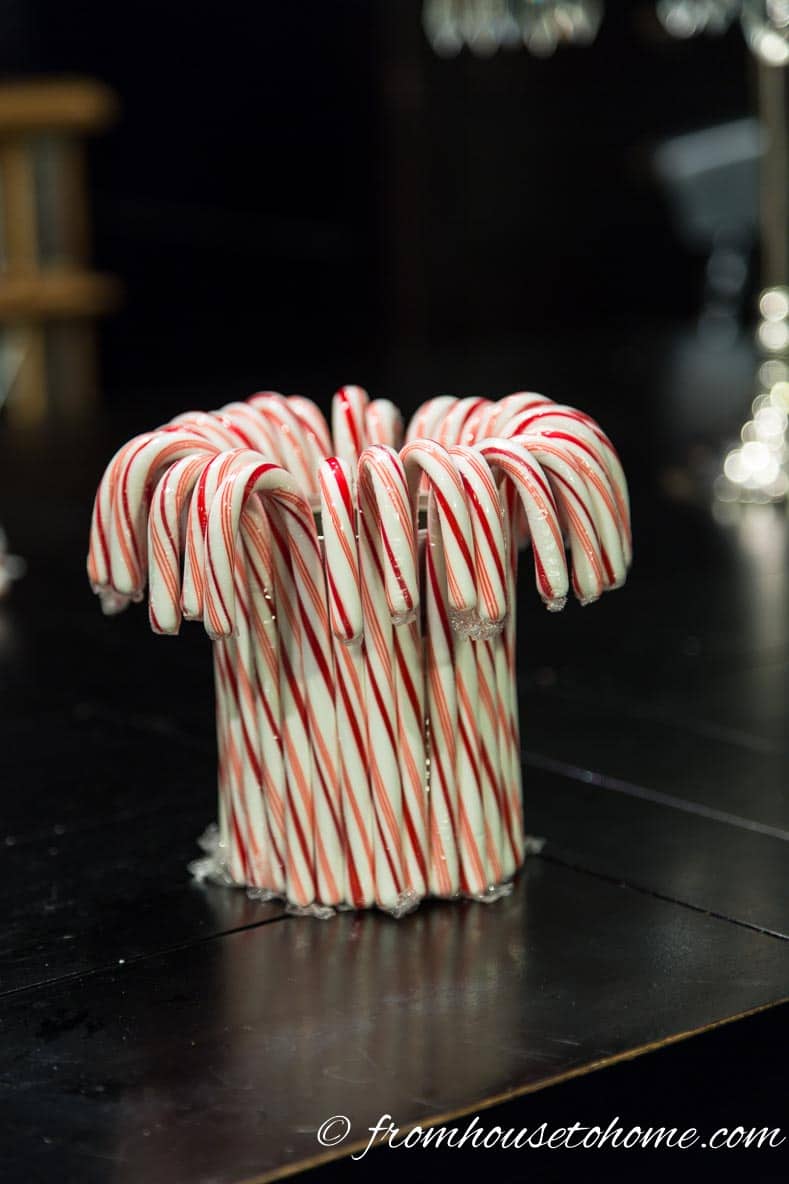
Keep adding candy canes around the can.
They do come off pretty easily so you may need to re-attach some of them as you go. Don’t worry, we will secure them better later on so they will stay stuck when the project is finished.
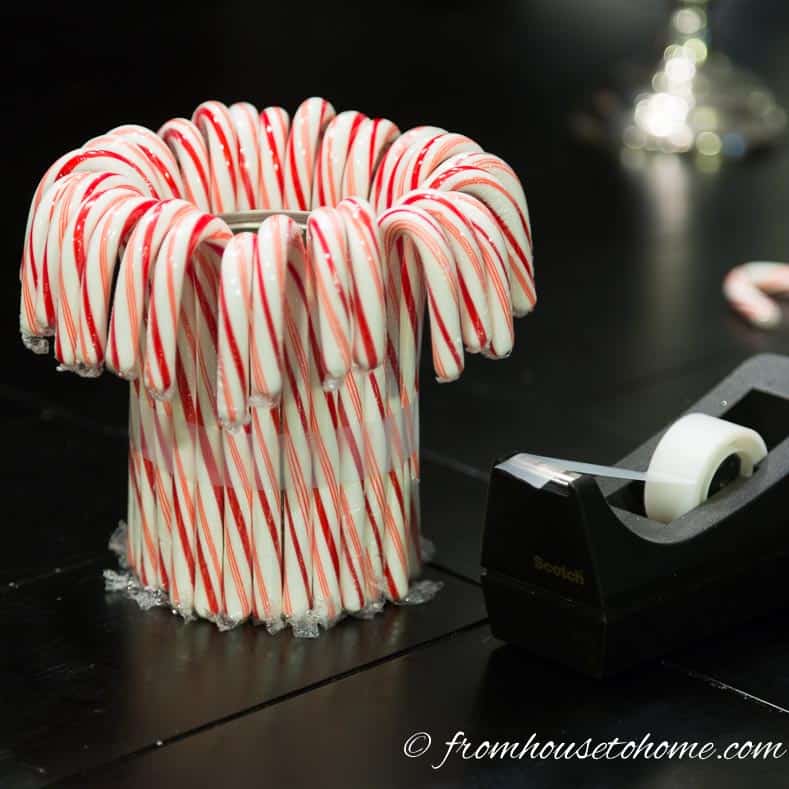
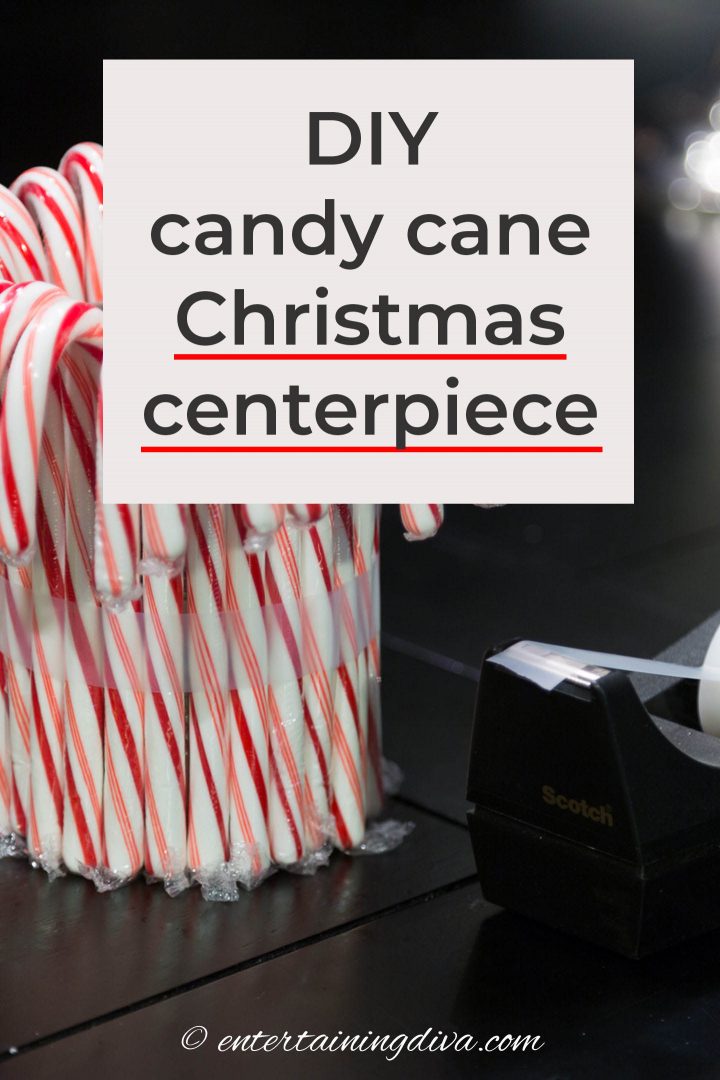
When you are finished, wrap scotch tape around the candy canes to hold them in place.
3 | Tie on the ribbon
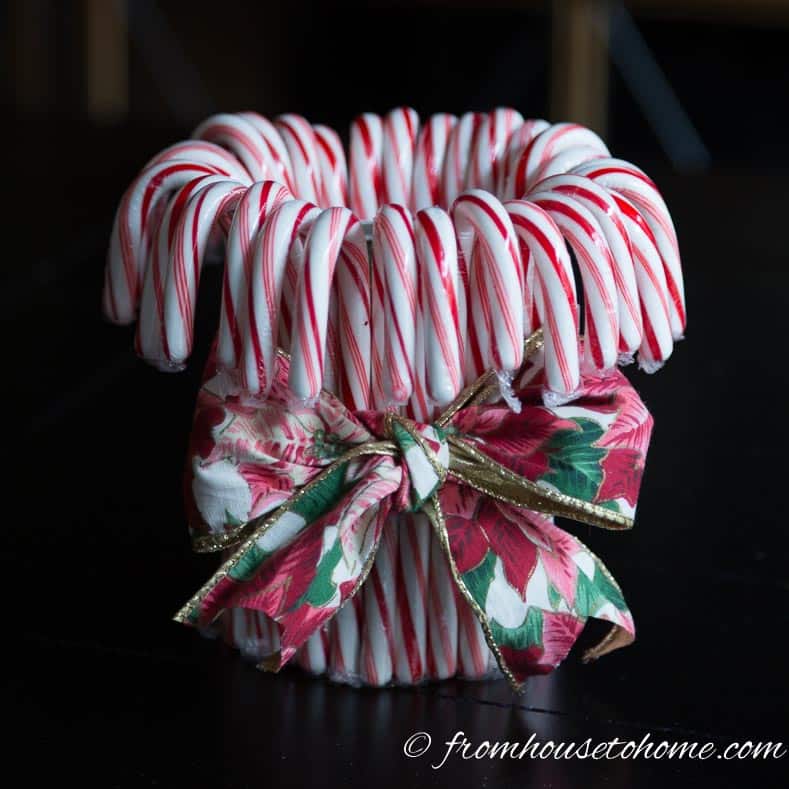
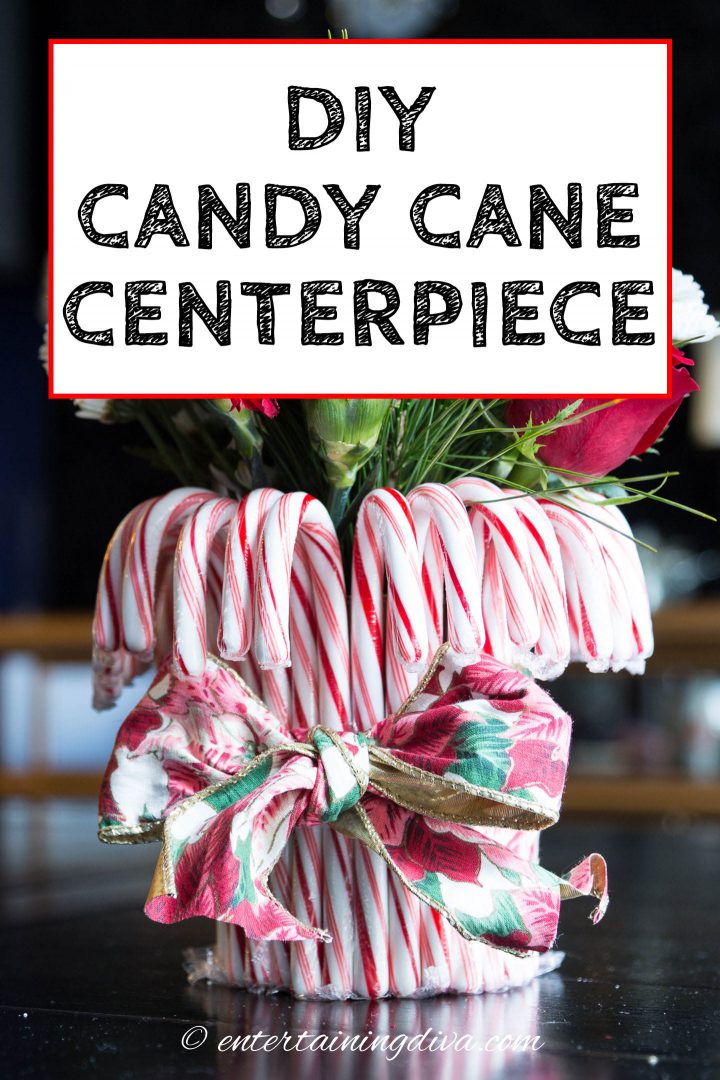
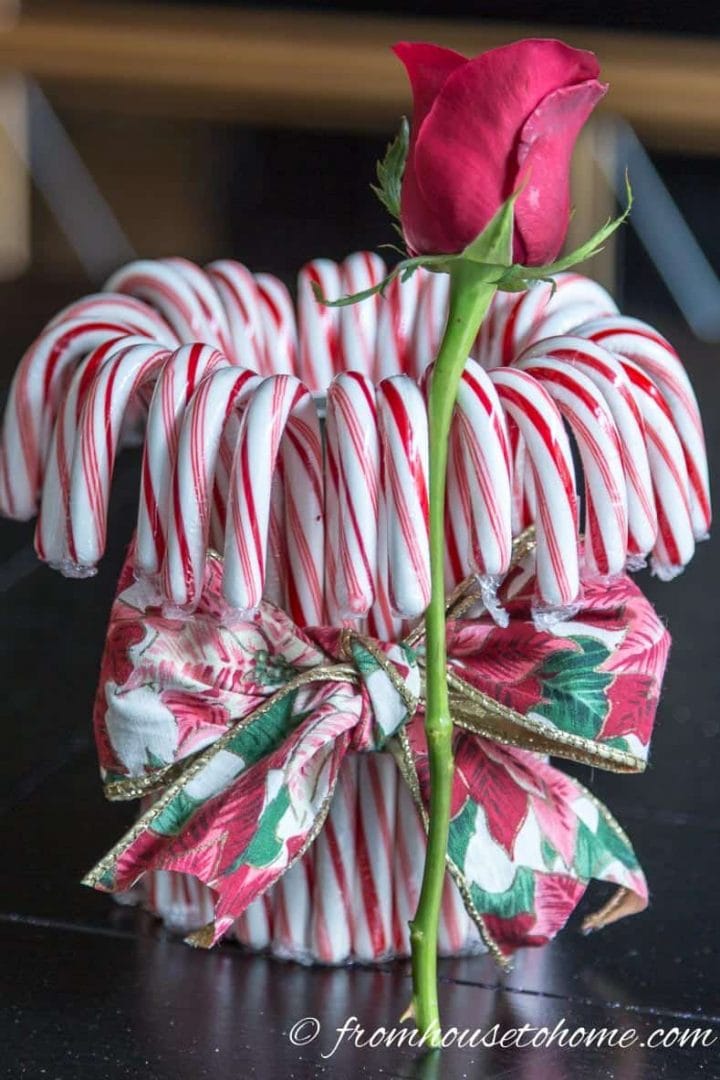
Wrap the ribbon around the outside of the candy canes so that it hides the tape.
Depending on the type of ribbon you are using, you may or may not want to tie a bow.
If you don’t want to do a bow, you can use velcro dots to hold the ends of the ribbon together (like I did when I was wrapping ribbon around these mason jar candle holders).
How to make the red and white Christmas flower arrangement
1 | Make pine cone picks
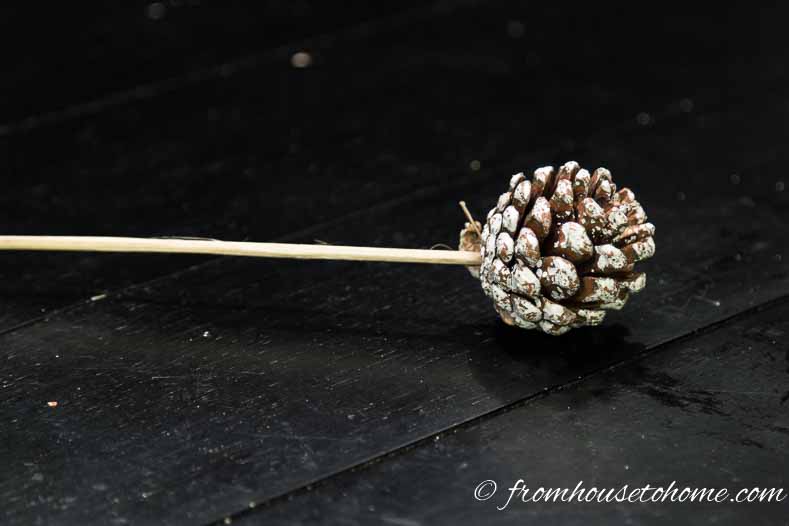
Stick the sharp end of the skewer into the bottom of the pine cone.
You may need to drill a small hole if the skewer isn’t strong enough to stick into the pine cone (especially if you are using artificial ones).
Break the skewer so it is just a little longer than the height of candy cane vase. The pine cone should stick up a few inches above the rim when the stick is in the tin.
2 | Cut the flowers
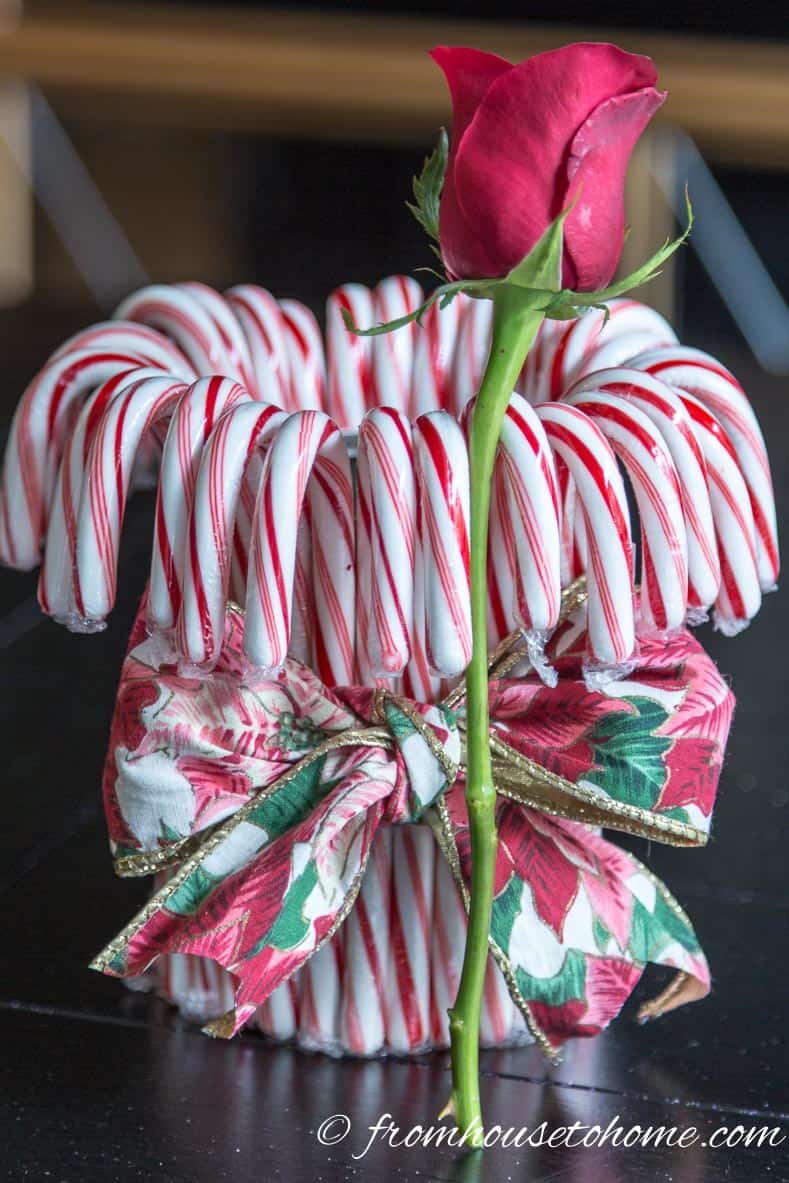
Because the tin can is fairly small, you’ll probably need to cut the stems on your flowers.
You don’t want them to be too tall. Otherwise, they will look out of proportion with our vase and may cause it to tip over easily.
So you’ll want to cut the stems so the flowers are just a few inches taller than the height of the candy canes.
Remove most or all of the leaves from the stem. When you have a small container like this, the leaves tend to get in the way.
3 | Arrange the flowers
Fill the can with water.
Add larger flowers such as Hydrangeas or groups of Mums first.
Then add in the single stems, such as roses.
To make an arrangement that looks full and balanced, taller flowers should go closer to the middle, while shorter ones are around the edges. You may need to shorten the stems of the outside flowers a little to make this happen.
4 | Fill in the gaps with greenery

Cut the evergreen stems so that they are about the same height as the flowers.
Fill in the gaps between the roses with the greens.
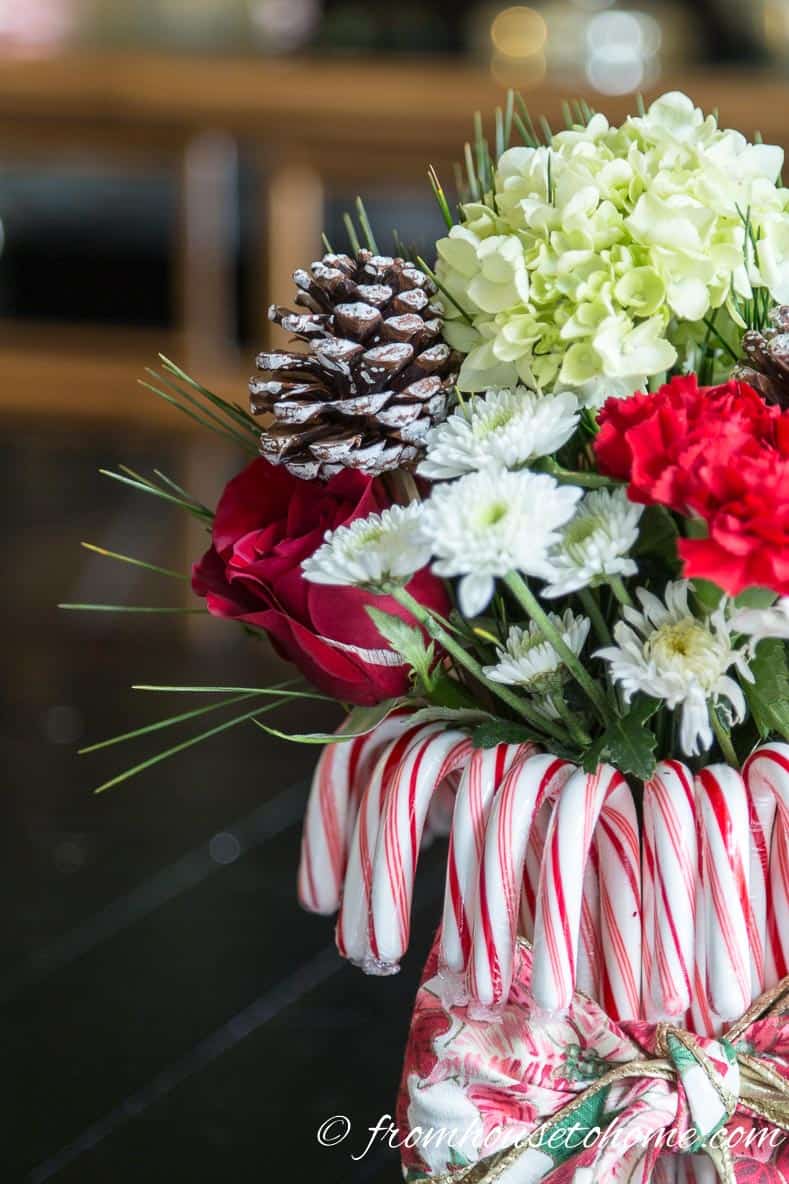
Then add the pine cone picks.
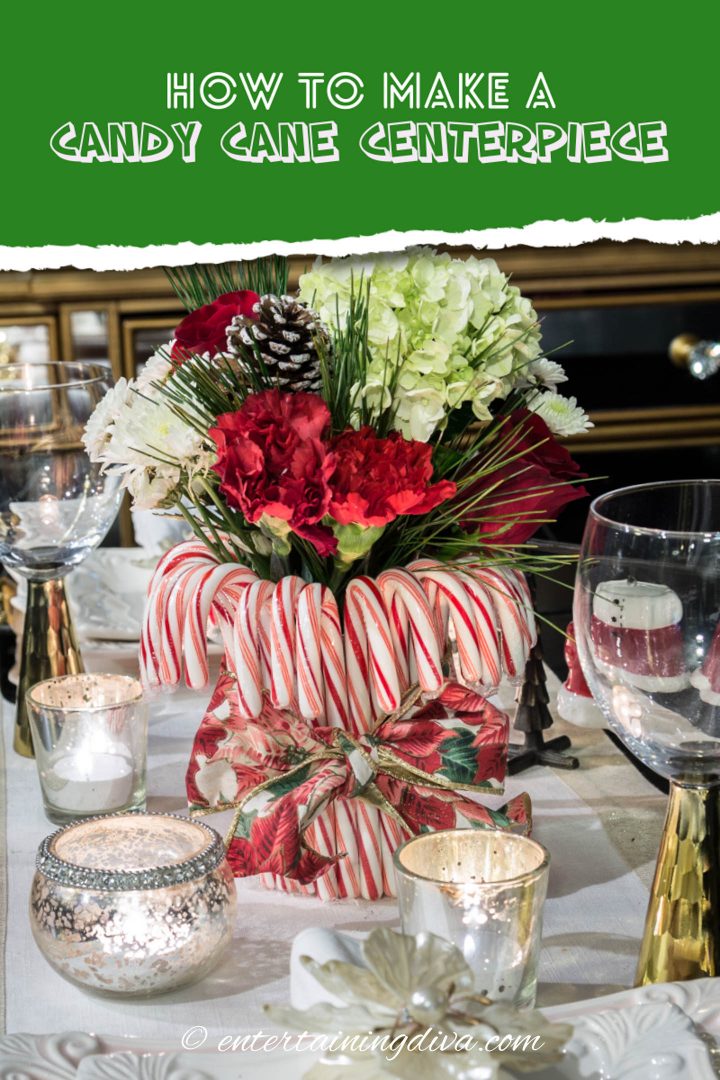
The finished red and white Christmas centerpiece
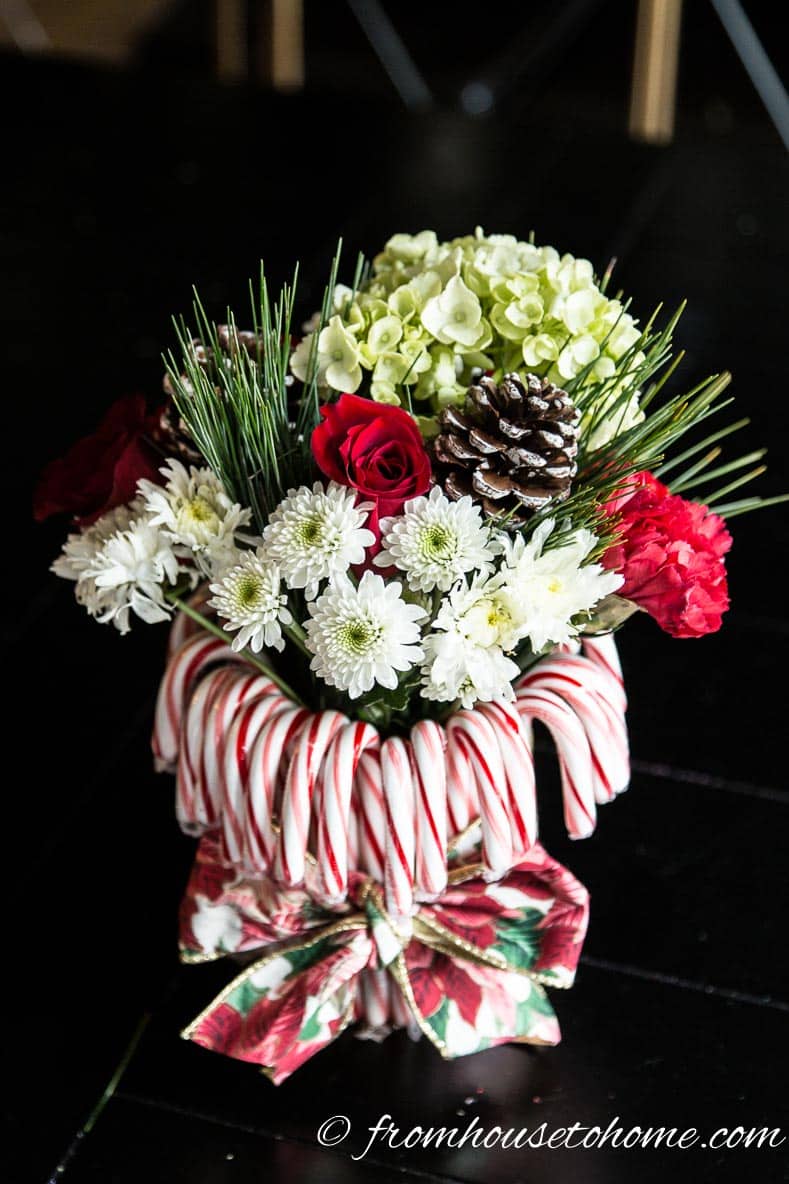
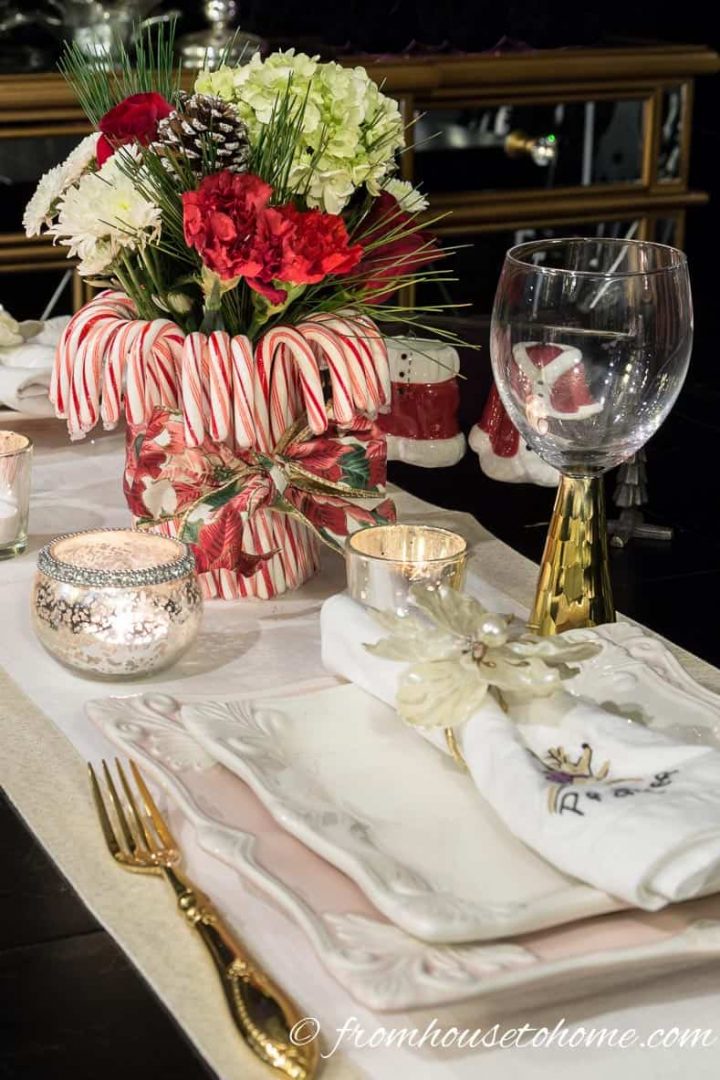
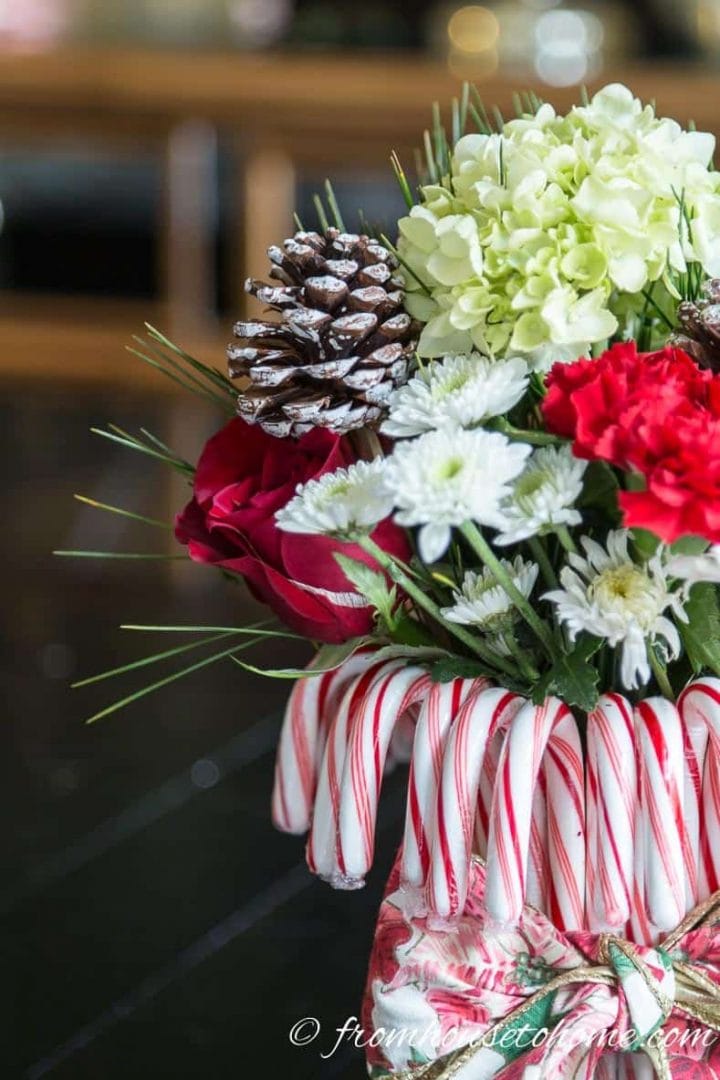
The finished centerpiece is very festive looking and doesn’t take long to make!
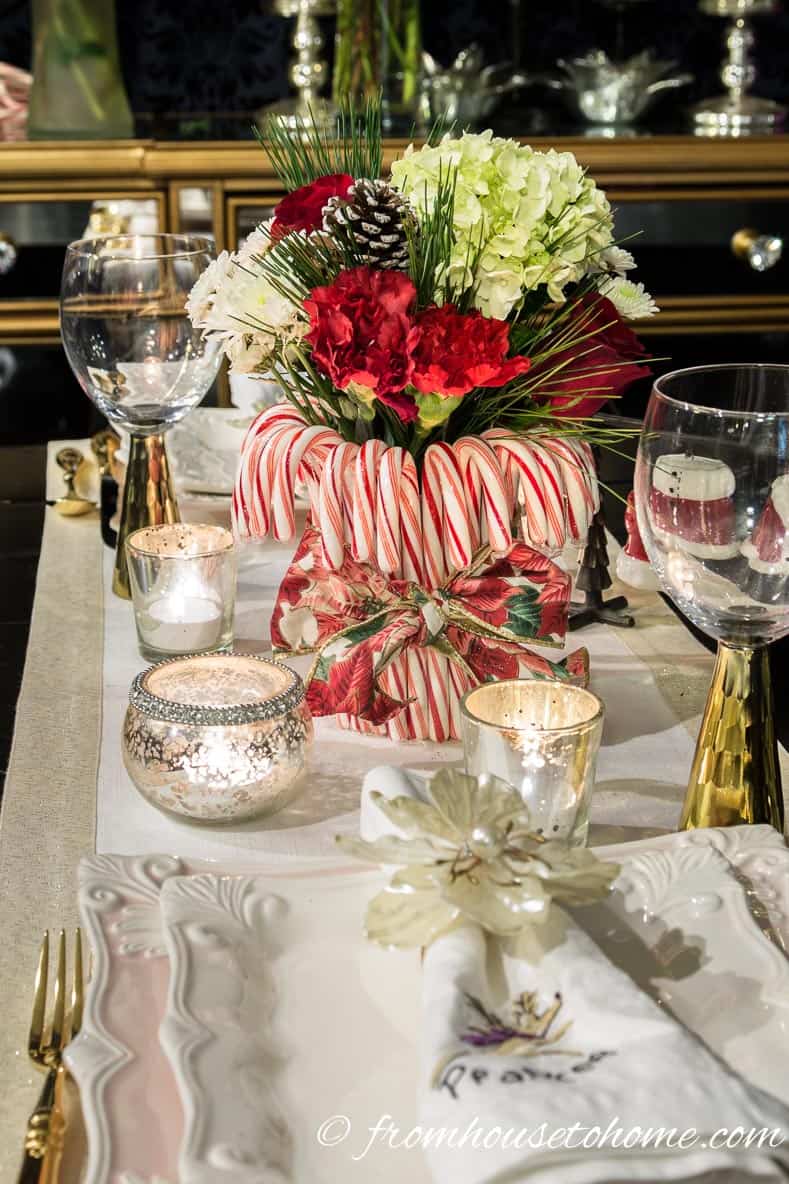
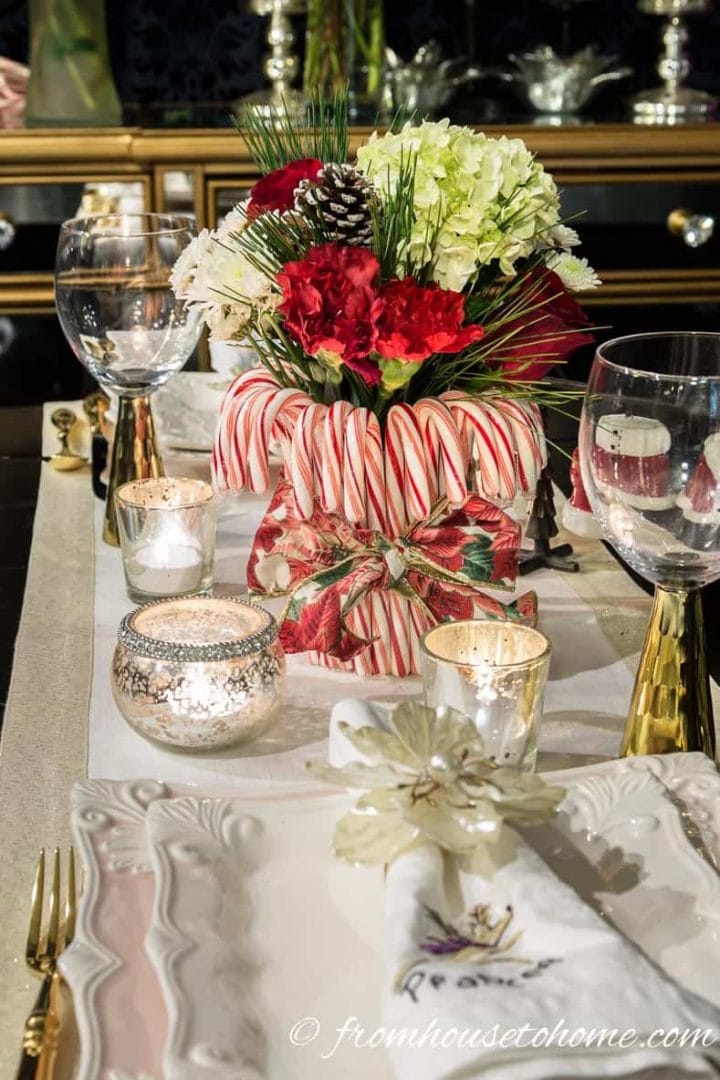
It looks great on my table.
It doesn’t take up too much room so it’s perfect if you have a small table (or just don’t have a lot of space available with all the dinner dishes).
But it still makes a statement.
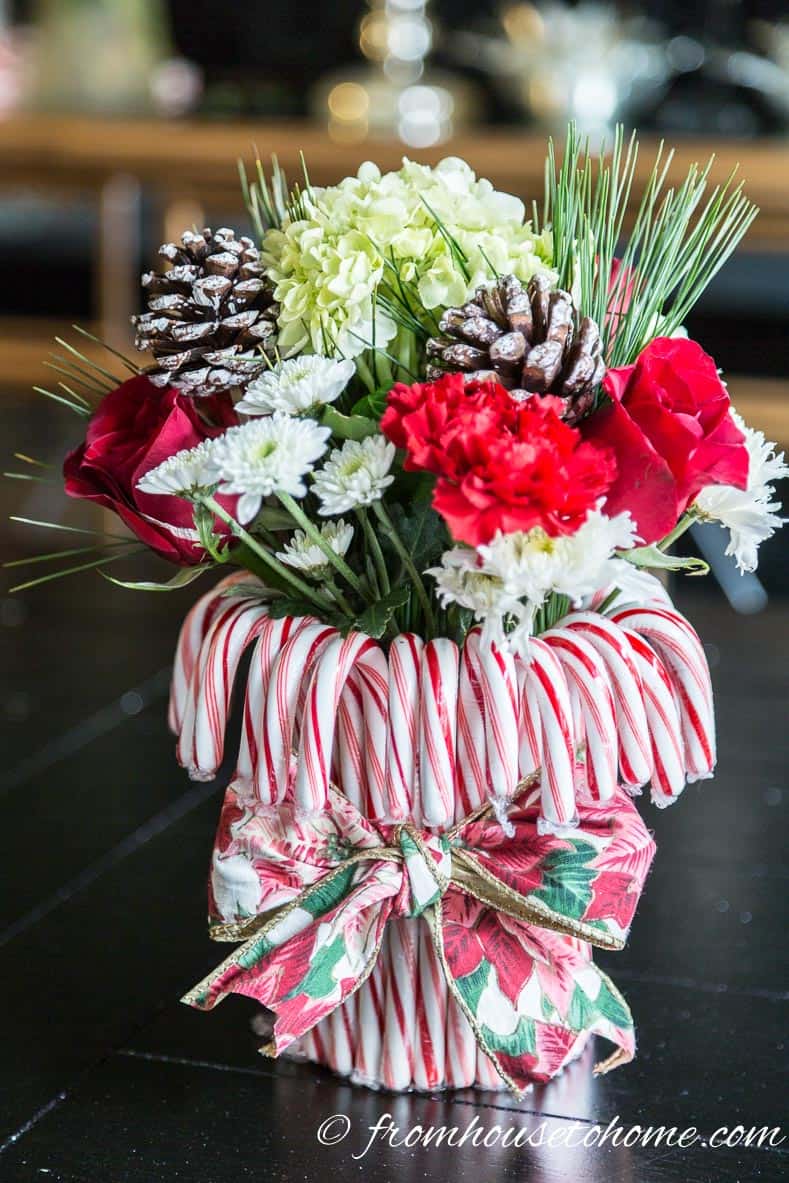
And it would make a really pretty hostess gift, too…
This post was originally published on December 20, 2016 but was updated with new content on June 1, 2021.
I love this yummy looking centerpiece. Happy holidays!
Thanks, Ivory! Hopefully I’ll be able to keep the candy canes from being eaten until after Christmas 🙂
This is adorable and elegant at the same time, Wanda!
Thanks, Cyndi! Now if I can just keep the candy canes from disappearing… 🙂