
How To Divide A Hosta
Learn how to divide a hosta to encourage healthier growth and create new plants for your garden. This step-by-step guide covers the best time to divide, necessary tools, and tips to ensure successful propagation.

Ever noticed your Hostas looking a bit crowded or getting too big for the space they’re in?
It’s probably time to learn how to divide a Hosta.
Dividing Hostas not only helps maintain their health and manage their size but also offers a cost-effective way to propagate new plants.
And fortunately, they are pretty tough. So it’s pretty hard to kill them in the process.
The best time to do this is early spring or early fall, when it’s not too hot and they have optimal conditions to thrive.
Whether you’re looking to rejuvenate your garden, control disease, or simply expand your shade garden, dividing Hostas is a rewarding gardening activity.
Looking for more Hosta ideas? You'll love How To Grow Hostas, The Best Hosta Varieties and What To Plant With Hostas.
Supplies
Materials:
- Compost – We’ll mix this with the soil to add extra nutrients and give the new plants a good start.
- Mulch – Organic mulch like wood chips, shredded bark, or straw gives the best results.
Tools:
- A sharp spade or garden fork
- A trowel, gardening knife or pruning shears (optional) – These can be helpful for cutting through the root ball, especially on smaller plants.
- A watering can or hose
- Wheelbarrow (optional) – A wheelbarrow can be useful for transporting the divided sections to their new locations.
How to divide a Hosta
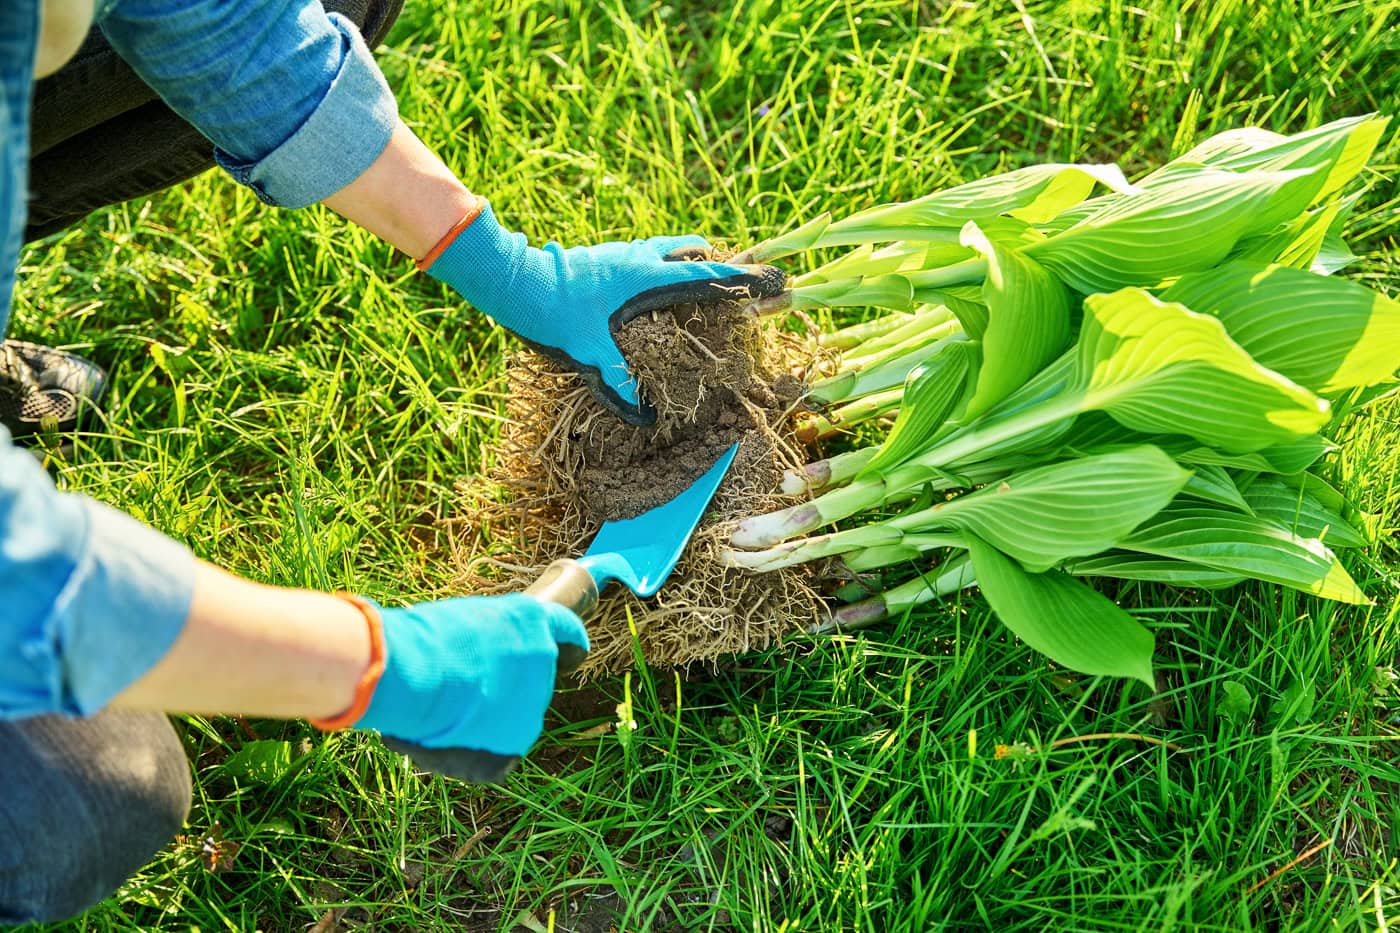
1 | Prepare the Hosta
Start by giving your Hosta a good soak a day or two before you plan to divide it.
This will make digging up the Hosta easier and help reduce stress on the plant.
Make sure the soil is moist but not waterlogged.
2 | Dig new holes
Before digging up the Hosta plant, prepare the new planting holes. This minimizes the time the plant spends out of the ground, reducing shock.
If you plan to replant the original Hosta in its current spot, dig one fewer hole than the total number of divisions you have.
Select a location with partial to full shade and well-draining soil.
And ensure the new site offers enough space for the Hostas to grow and spread.
Dig a hole to a depth of about 12 inches and about twice as wide as you expect your new plants to be.
3 | Dig up the plant
Use a spade or garden fork to dig around the root ball of the hosta.
Begin a few inches away from the base of the plant to avoid harming the roots.
Push the tool into the soil and gently loosen it as you work your way around the plant.
Once the soil is loose, get the spade or fork as far under the plant as you can and carefully lift the Hosta out of the ground.
4 | Divide the Hosta
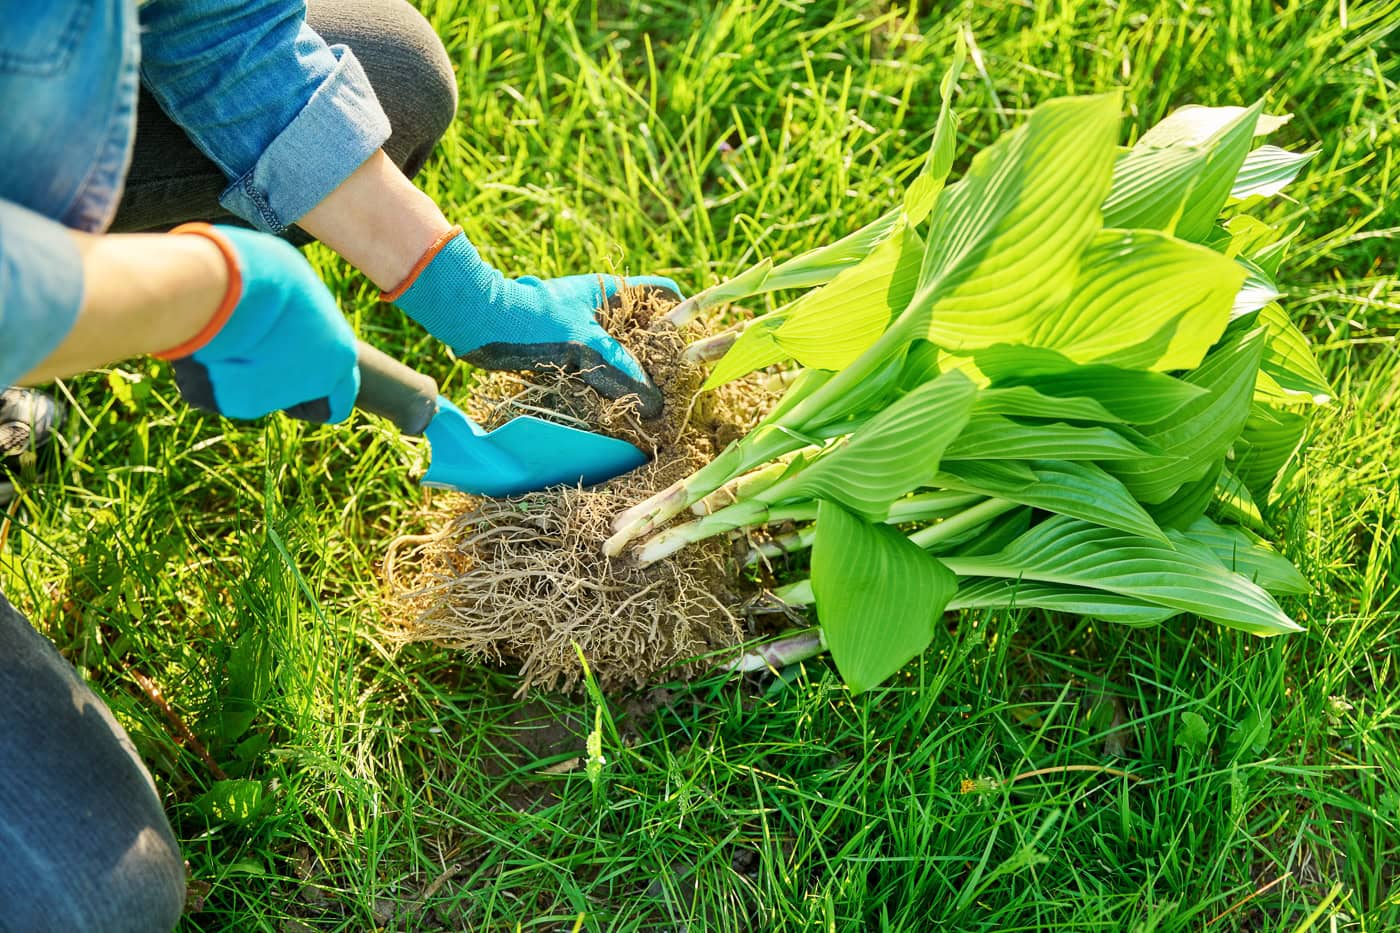
Look for natural divides between the Hosta eyes (where the leaves meet at the base of the plant). These are the ideal places to make your cuts.
Depending on the size of the plant and its root structure, there are a couple of ways you can divide it.
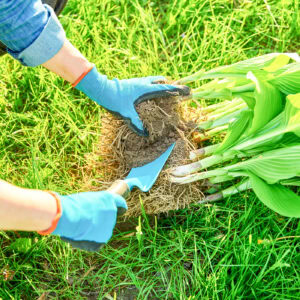
For smaller Hostas, use a trowel, sharp pruning shears or a knife to carefully cut the root ball into sections
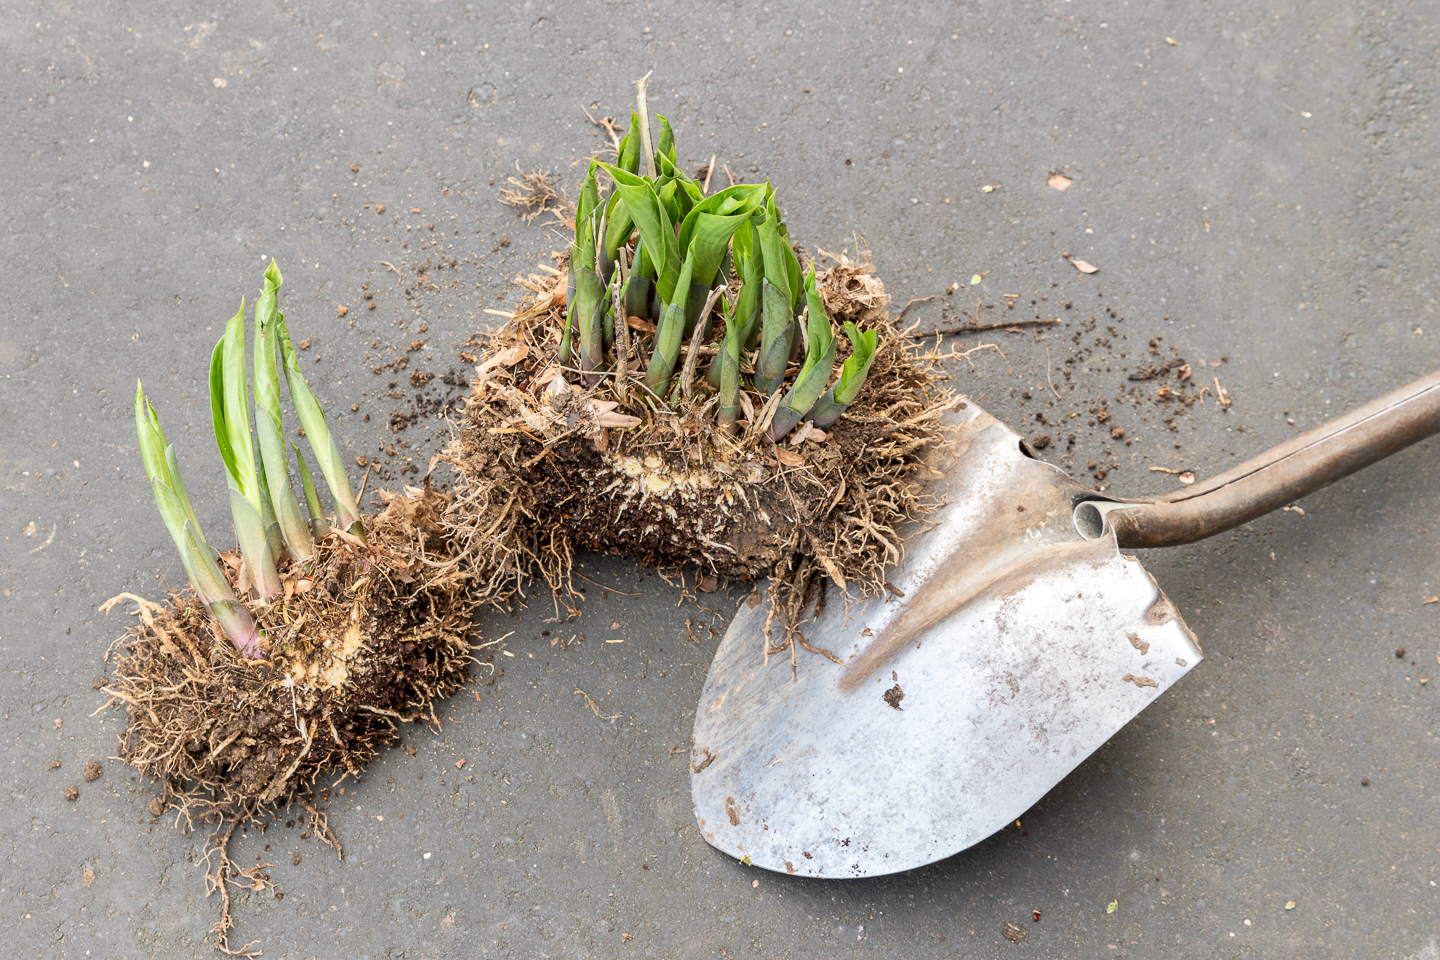
©Jennifer – stock.adobe.com For larger Hostas, use a spade or shovel to cut down through the Hosta and make a clean slice through the root ball.
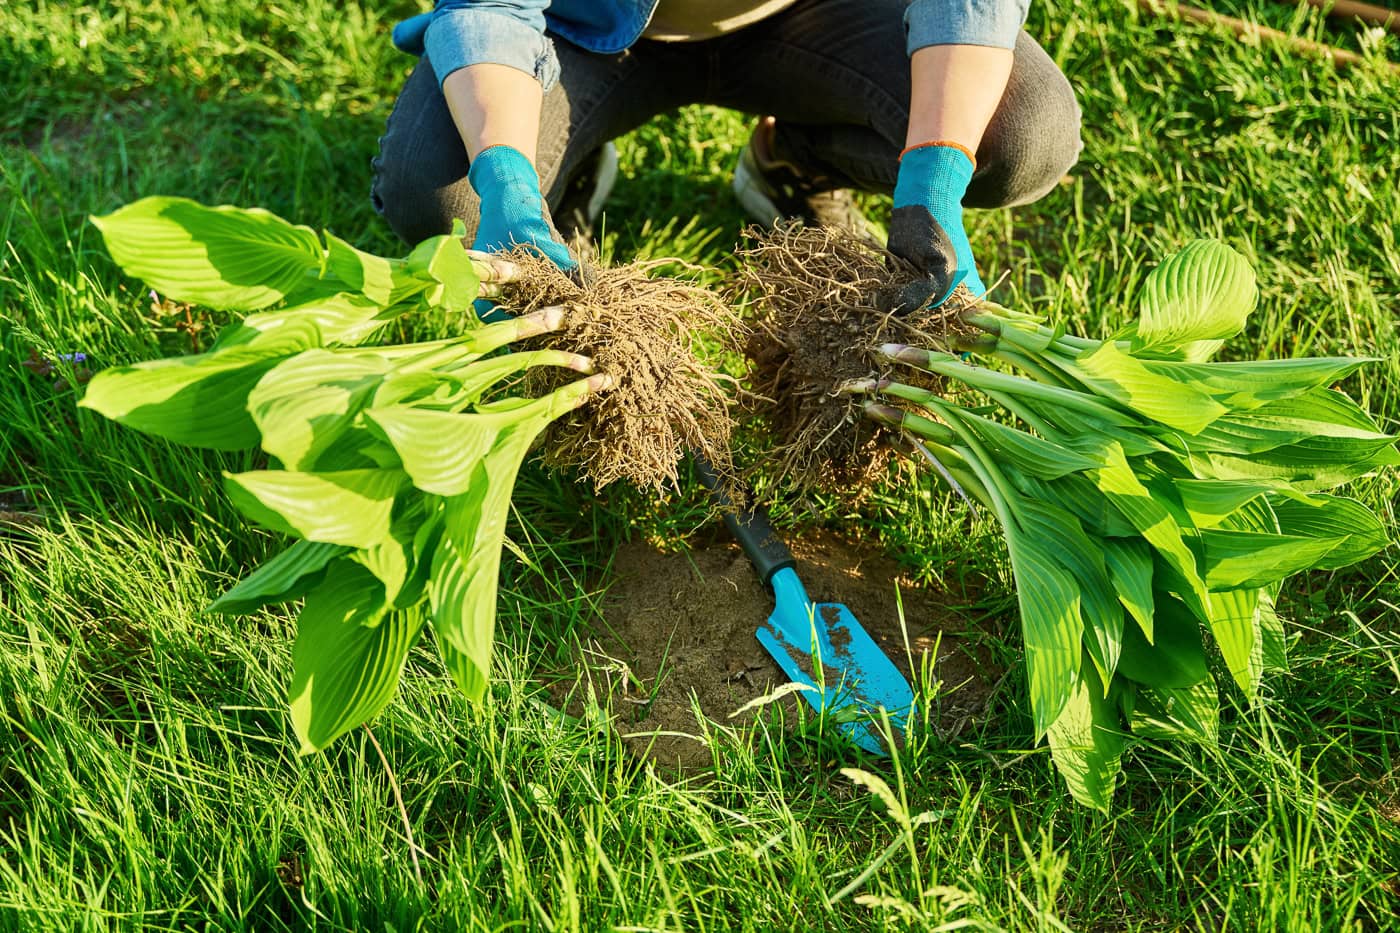
Ensure each divided section has enough roots and foliage to thrive when replanted.
I usually like to keep 3 to 5 eyes together in a clump.
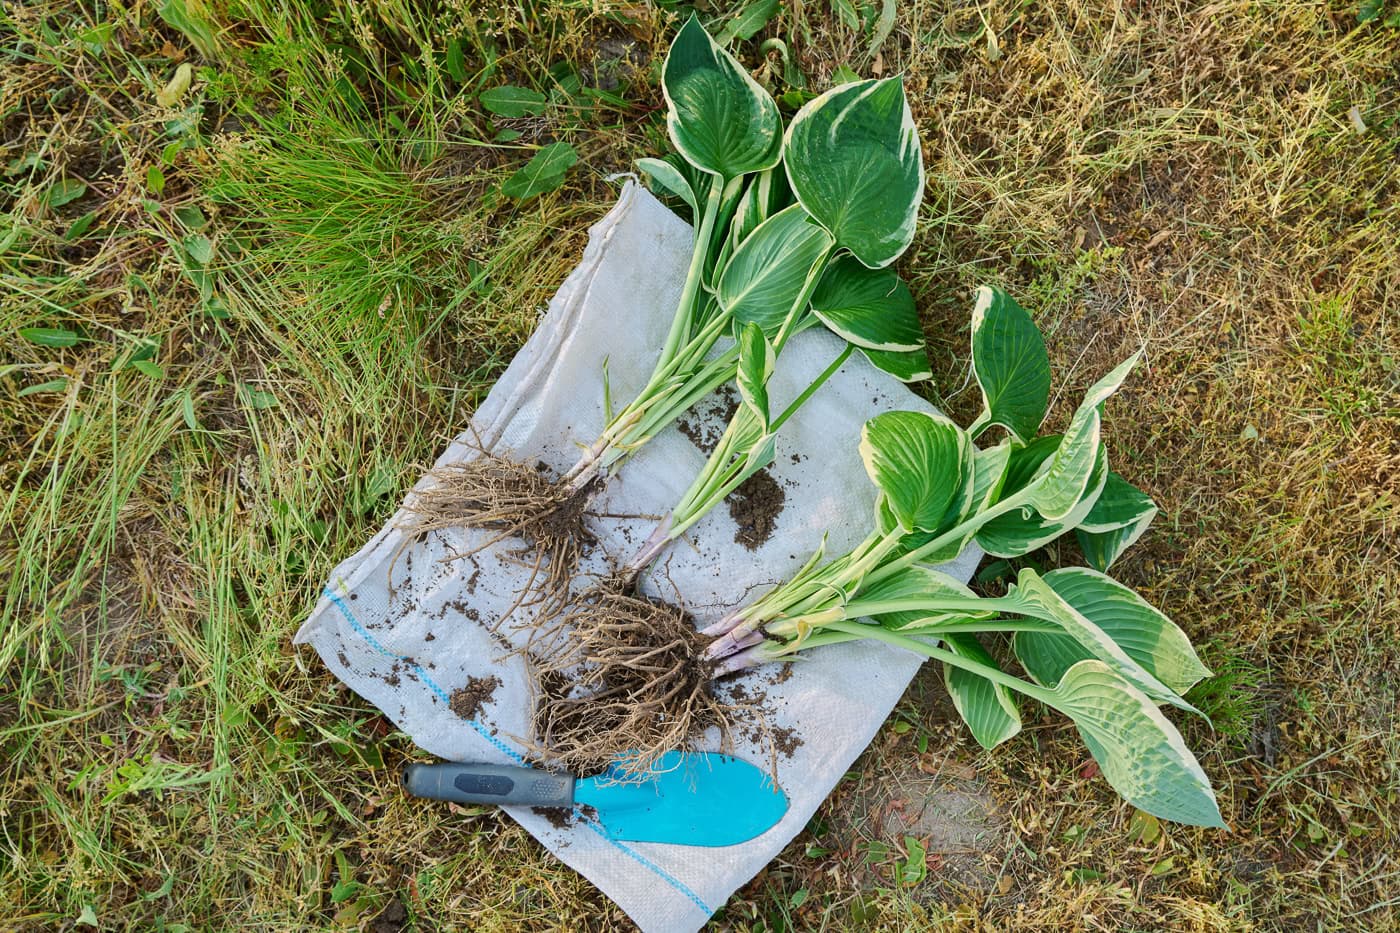
But if you’re trying to get a lot of new Hostas from your old one, you can make the clumps smaller. (Hostas can survive pretty much anything!)
They will just take longer to grow into a decent-sized plant.
5 | Replant the divisions
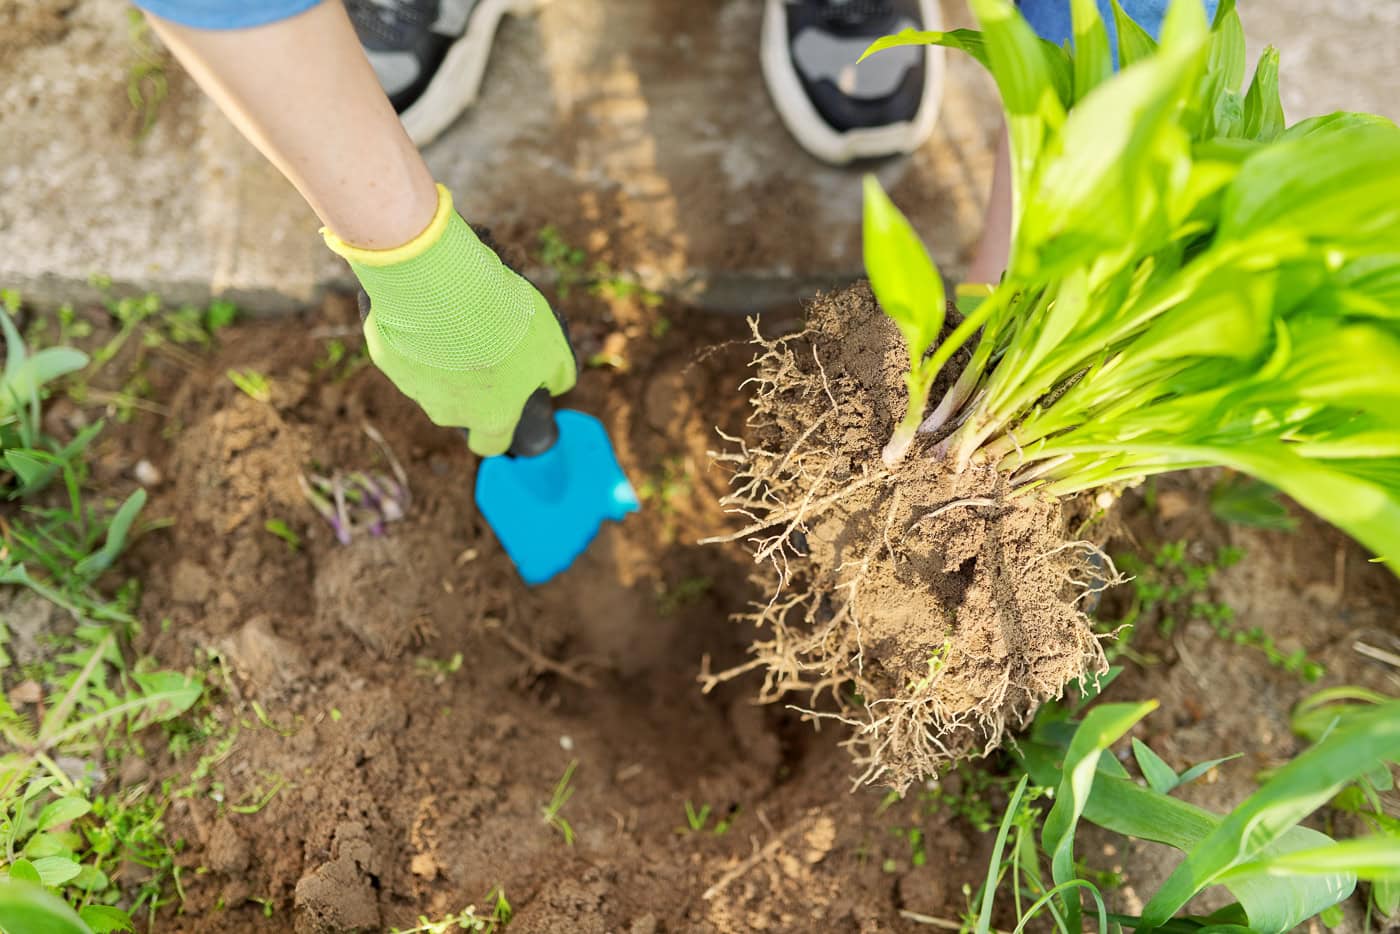
Place the plant division into the hole, positioning the crown (the part where the stems meet the roots) at the same depth it was in its original spot.
Depending on the size of your transplants, you may need to make the hole a little bigger or fill it up with some soil and compost in order to do this.
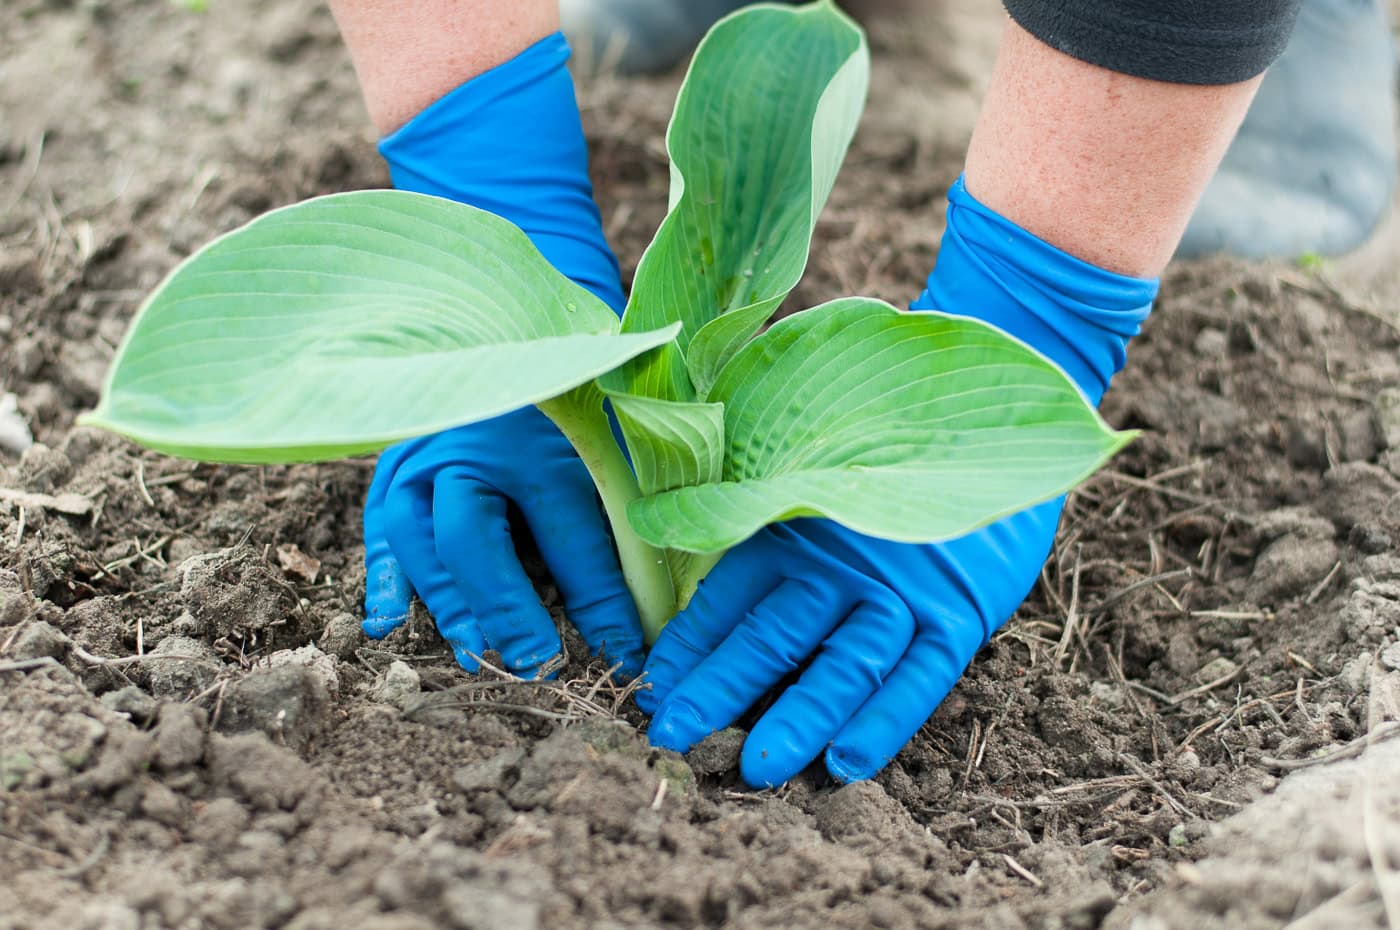
Fill in around the plant with more soil and compost, gently pressing it around the roots to remove any air pockets.
6 | Water thoroughly
After planting the new Hosta divisions, give them a good, thorough watering right away.
This helps the soil settle around the roots and reduces the stress of being moved. Make sure to soak the soil well so that water reaches deep down to the roots.
To keep the new plants healthy, water them regularly. Aim to keep the soil consistently moist but not waterlogged. A good rule of thumb is to water whenever the top inch of soil feels dry to the touch.
Using a soaker hose or a watering can with a gentle shower head can help distribute water evenly without washing away soil.
7 | Add mulch
Spread a layer of mulch around the base of each hosta plant.
This helps to keep the soil moist, stop weeds from growing, and keep the soil temperature steady.
Make sure to leave a 2 to 3 inches of space between the mulch and the plant’s crown (where the stems meet the roots).
This prevents the plant from rotting.

Frequently asked questions
What time of year is best for dividing hostas?
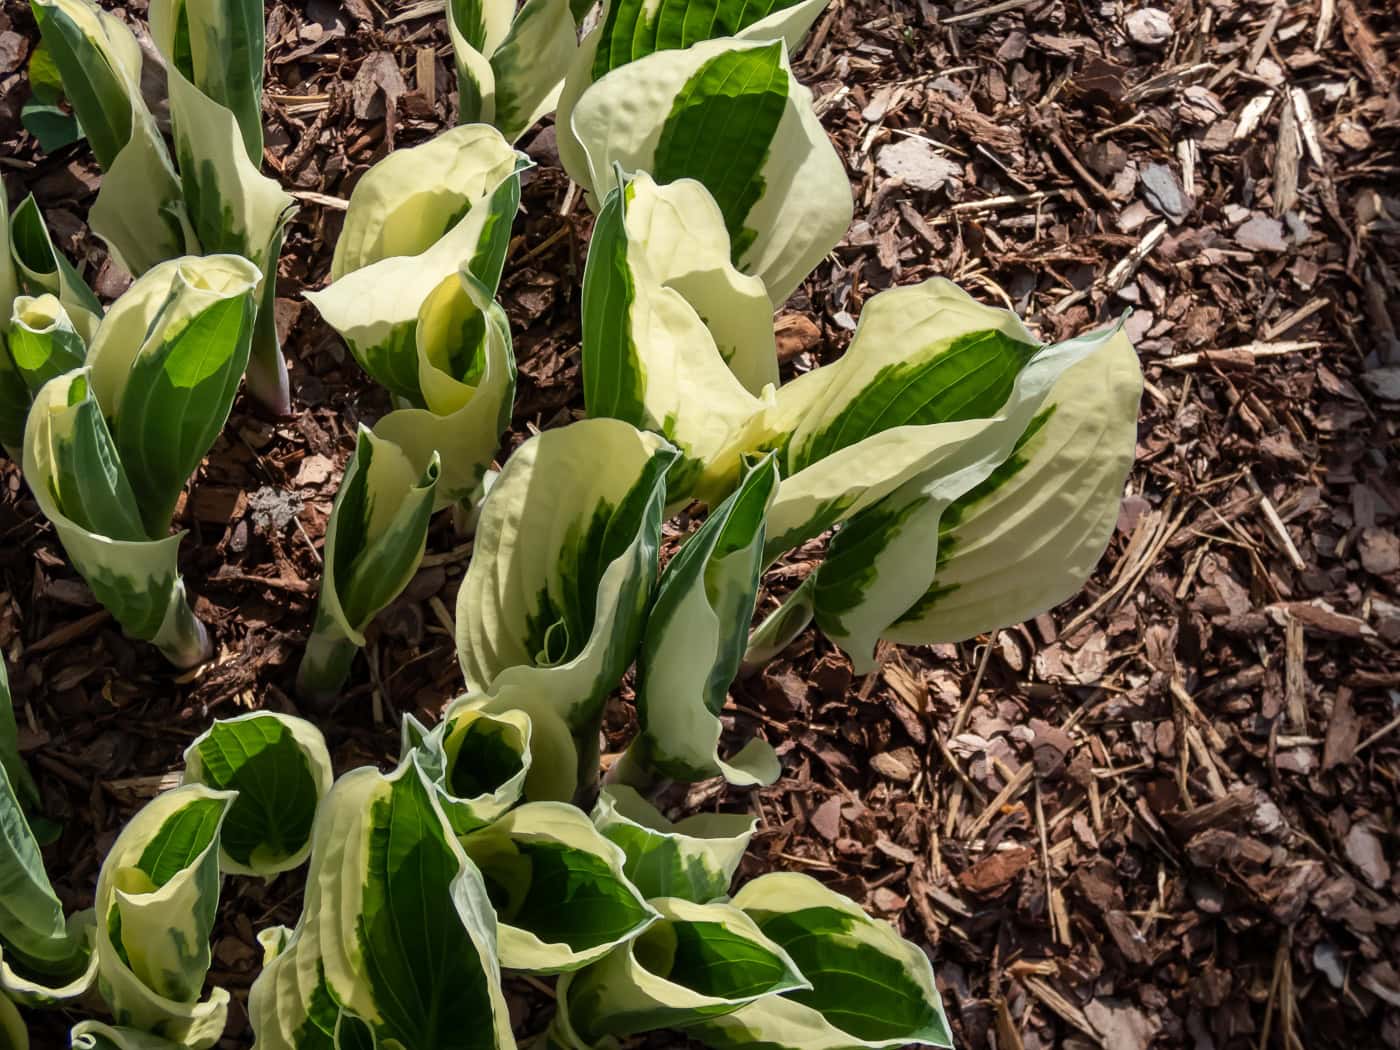
The ideal times for dividing hostas are in the early spring or early fall.
During these periods, the weather is cooler, and the plants are not under the stress of extreme temperatures.
Early spring is beneficial because the new shoots are just emerging, making it easier to see where to divide.
And fall is ideal as the soil is still warm, promoting root growth before winter sets in.
Can I divide hostas during the summer?
Dividing hostas in the summer is not recommended because the plants are in their active growth phase and the hot weather can stress them.
If you must divide them during summer, make sure to do it on a cool, cloudy day and provide plenty of water to help the plants recover.
How do I know when my Hostas need to be divided?
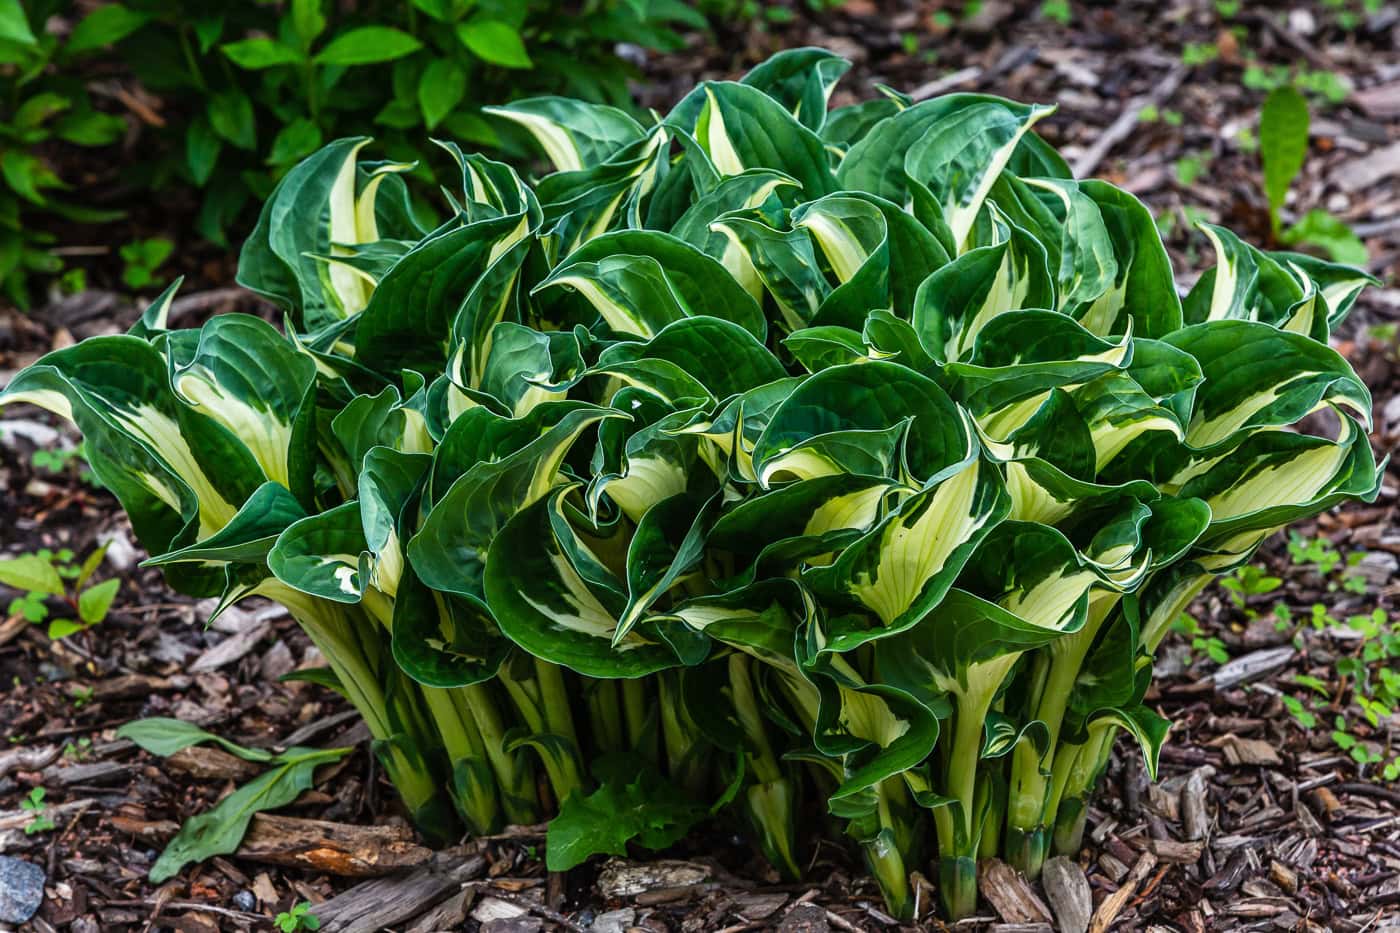
Hostas generally benefit from dividing every 5 to 10 years (but some can go a lot longer than that).
And you can divide them sooner if the plant has grown big enough and you just want more of them.
Here are some specific signs that indicate your plants need dividing:
- Overcrowded Clumps: If the clump of Hostas is becoming too dense and the center of the clump has fewer or smaller leaves.
- Yellowing Leaves: If the leaves of the Hosta are turning yellow more frequently than usual, it may indicate root crowding.
- Outgrowing Space: If the Hosta is spreading beyond its desired area and encroaching on other plants.
What if my hostas don’t seem to be thriving after division?
If your hostas appear to be struggling, make sure they are getting enough water and are not planted too deeply.
Check for signs of pests or diseases and address any issues promptly.
Sometimes, it may take a season for the plants to fully recover and establish themselves in their new location.
How To Divide A Hosta
Print PinEquipment
- A sharp spade or garden fork
- A knife or pruning shears (optional)
- A watering can or hose
- Wheelbarrow (optional)
Ingredients
- Compost
- Mulch
Instructions
- Start by watering the hosta thoroughly a day or two before dividing it.
- Dig the holes for the new Hostas before digging up the existing plant. Dig one fewer hole than the number of divisions if returning the original Hosta to its original spot.
- Carefully dig around the hosta’s root ball with a spade or garden fork, starting a few inches from the base. Gently lift the plant out of the ground.
- Identify natural divides between the Hosta eyes. Use sharp pruning shears, a knife, a spade, or two garden forks to cut or pry the root ball into sections, ensuring each section has a healthy portion of roots.
- Place each division into its new hole, ensuring the crown is at the same level as it was originally. Fill the hole with a mixture of soil and compost, gently firming it around the roots to eliminate air pockets.
- Water the newly planted divisions immediately to settle the soil and reduce transplant shock. Continue to water regularly, keeping the soil consistently moist until the plants are established.
- Apply a layer of mulch around the base of each Hosta. Keep the mulch a few inches away from the plant’s crown.


Have comments or questions about how to divide Hostas? Tell us in the section below.