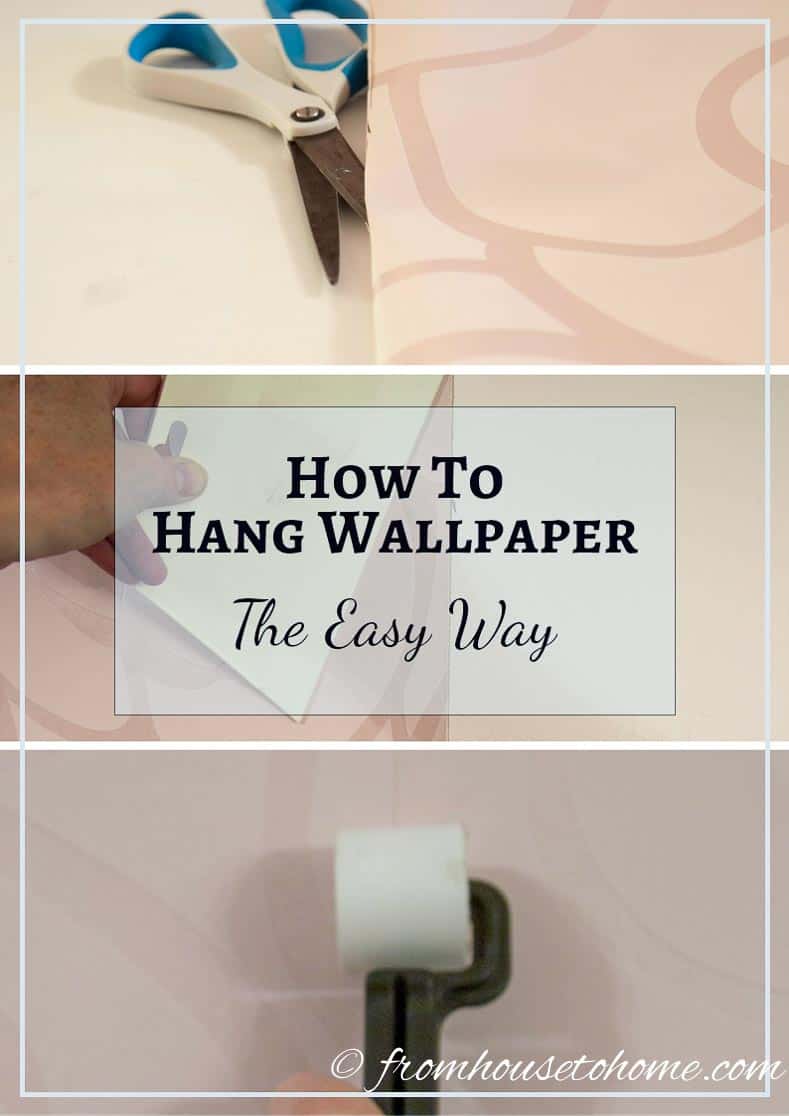
How To Hang Wallpaper The Easy Way
Now that I’m finished being sidetracked by my library mini-makeover, I am back to finishing up the details on the work area in my office.
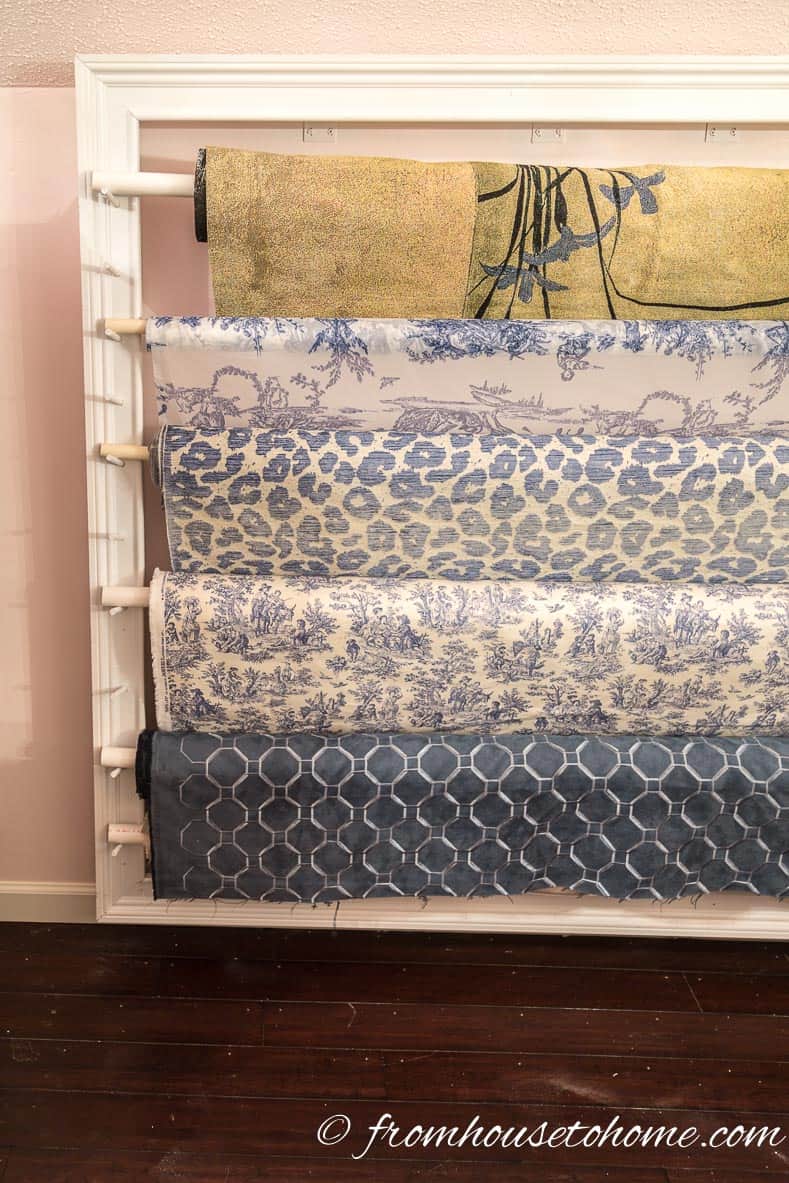
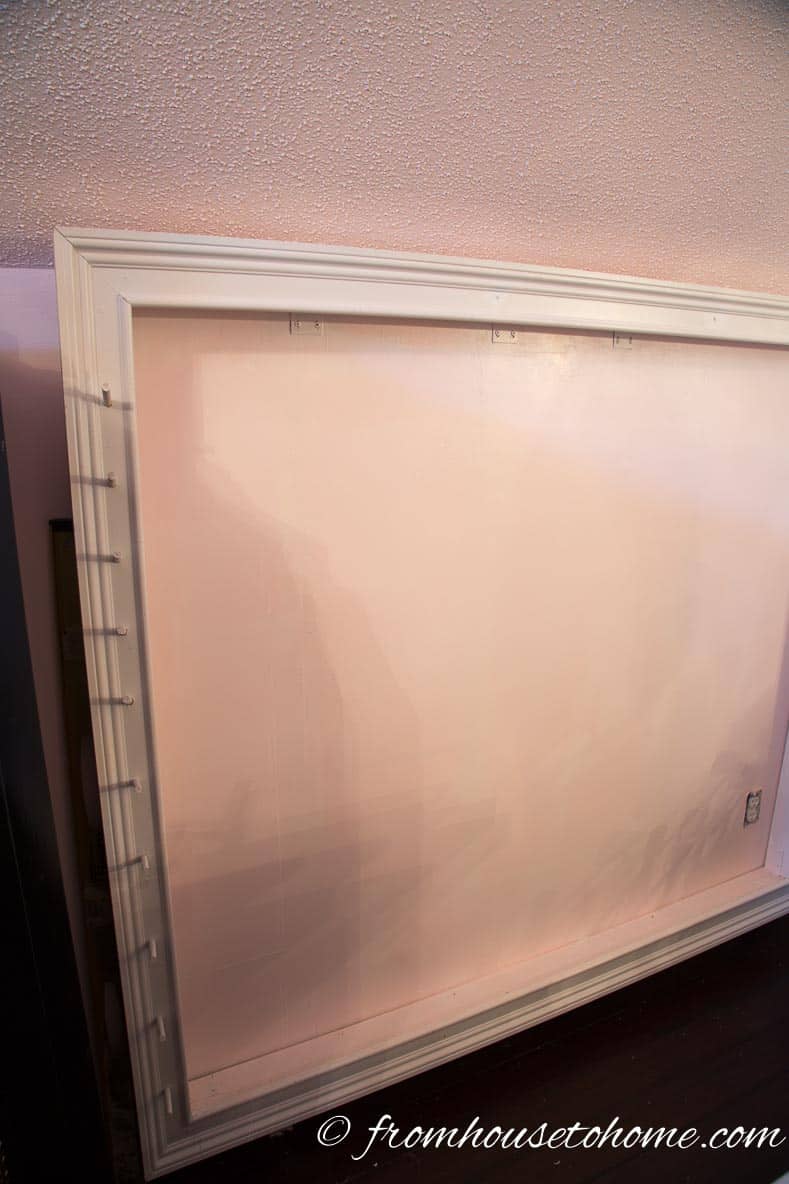
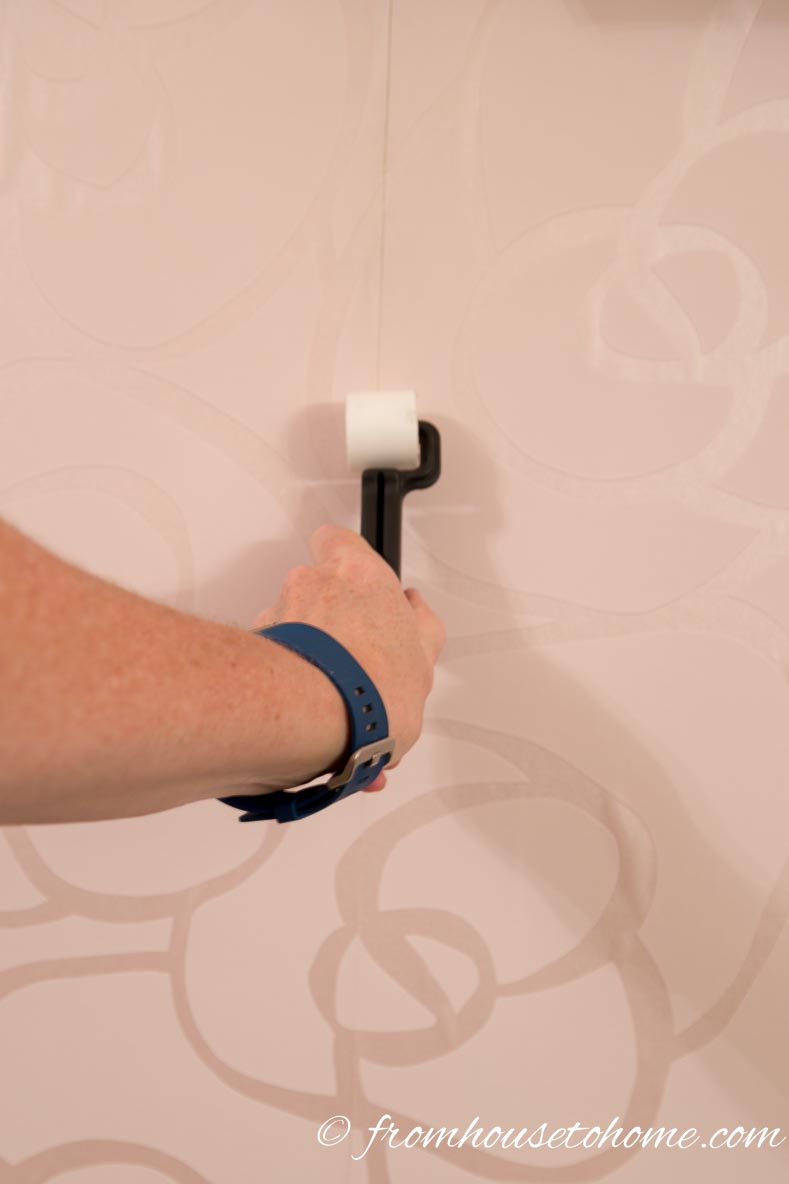
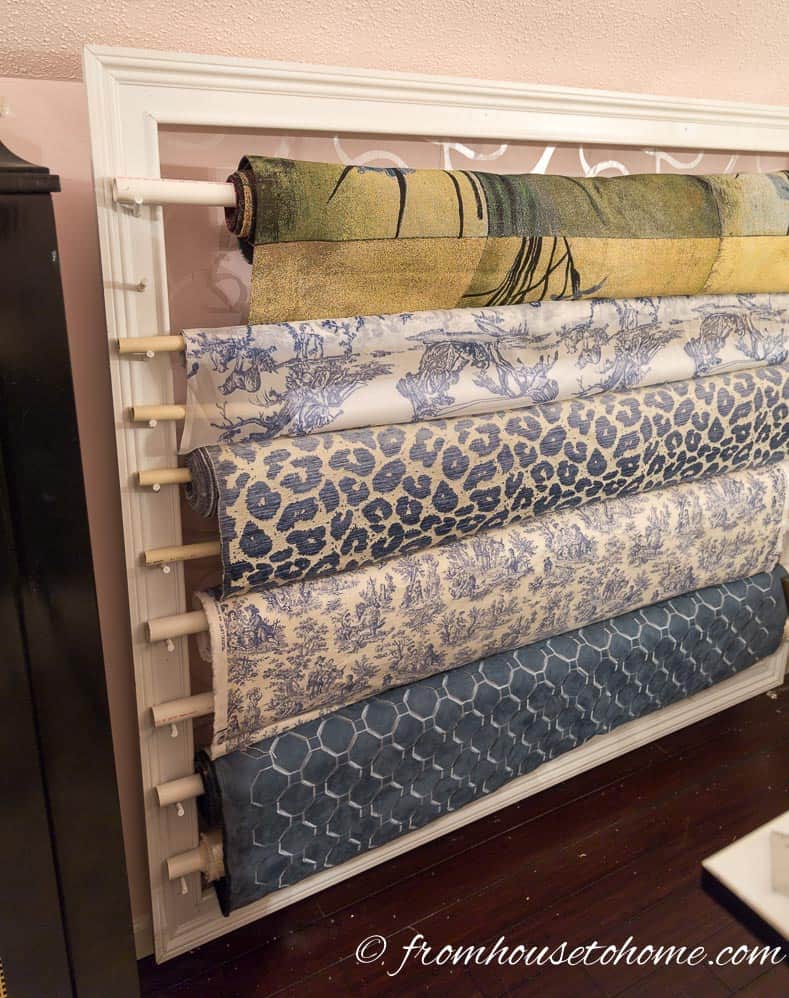
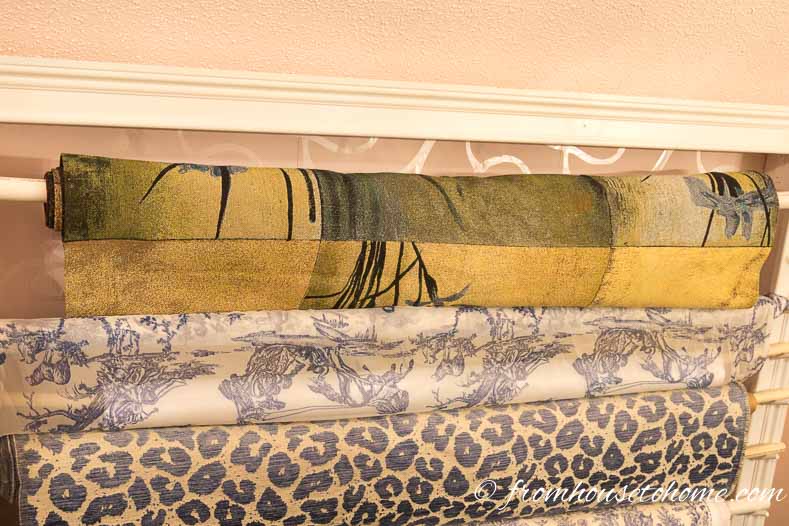
I thought when I put up the fabric roll storage rack originally that I would wallpaper behind it to match the inside of the panel mouldings in the rest of the room.

Then I thought that there wouldn’t be enough of the wall showing to be worth the effort, so I didn’t do it. After I lived with it for a while, I realized that it was bothering me. You could see the wall and the brackets in the space behind the top roll, and it looked unfinished to me.
I know some people may think that it seems like a lot of work for that little bit of space…but since I’m in this room all the time, I notice it and it bothers me every time I look at it.
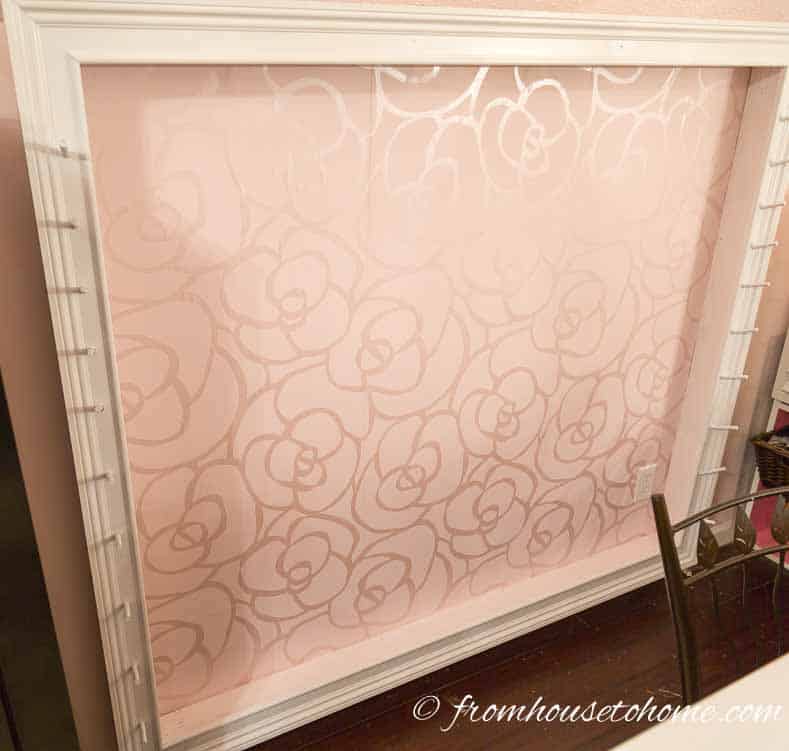
So I went back and wallpapered it. I am so glad I did! And to be honest, it really wasn’t all that time consuming or difficult.
Keep reading to find out how to hang wallpaper the easy way.
The Secret to Easy Installation
This post may contain affiliate links. We make a small commission if you buy the products from these links (at no extra cost to you). As an Amazon Associate, I earn from qualifying purchases. But we only recommend products we would use ourselves. For more information, click here to see our disclosures.
The main secret to installing wallpaper the easy way is to use wallpaper adhesive* on the wall, not the paper.
This eliminates all the mess and hassle of trying to get glue backed wallpaper from the floor to the wall without ripping the paper or getting the glue everywhere.
I use this method regardless of whether the paper is pre-pasted or not.
I have heard that this won’t work for some wallpapers, so you might want to try a piece first before to make sure it sticks. (But I have not found a wallpaper yet that this did not work for).
What You Need
Materials
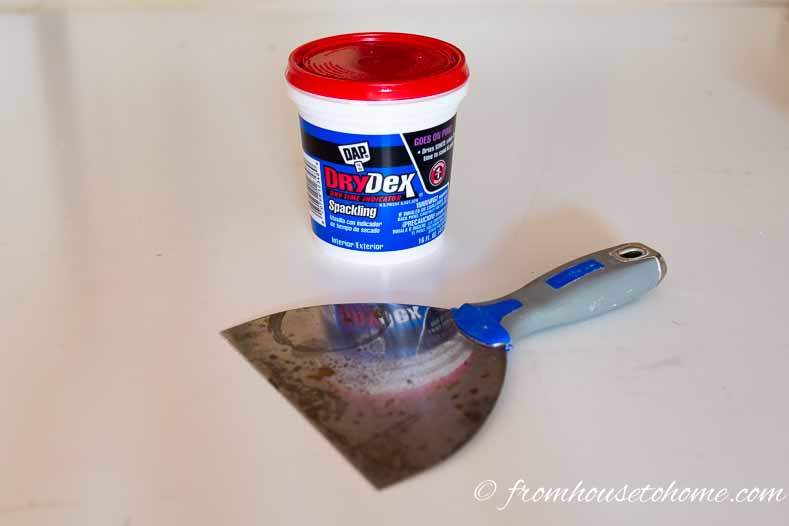
- Spackling
- 120 Grit Sand Paper
- Wallpaper primer* – Ideally you want to have this tinted to match the background color of the wallpaper.
- Wallpaper
- Strippable wallpaper adhesive*
- Utility Knife Blades
Tools
- Putty Knife
- Sanding block*
- Paint Brush, Paint Roller and Tray
- Scissors
- Smoother*
- Sponge
- Utility knife
- Straight edge or ruler
- Seam roller*
Figure Out How Much Wallpaper You Need
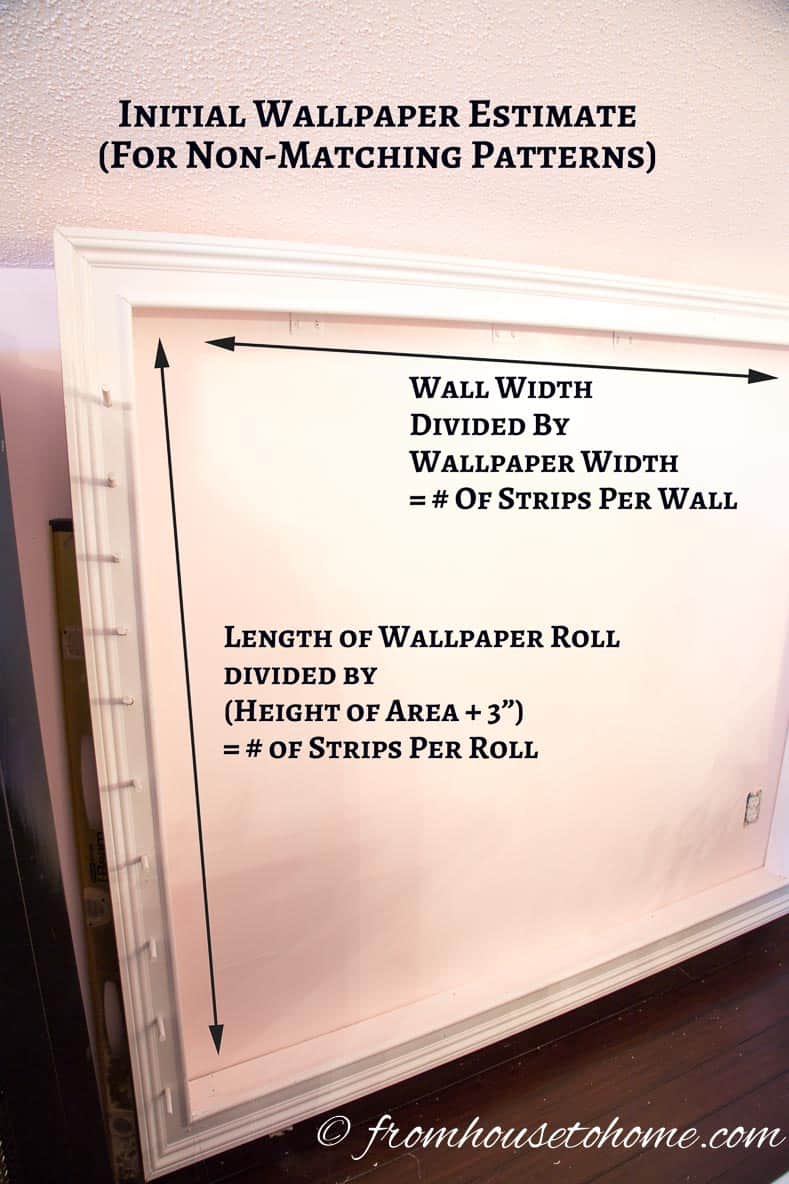
1. First, measure the height and width of the area that you are going to wallpaper.
2. If you are wallpapering more than one wall, add the widths of all of the walls together to come up with a total width.
3. Find out how long and wide the wallpaper roll is that you have chosen. Many are 33 feet (396 inches) long and 21 inches wide.
4. Add 3″ to the height of your wall. Divide the length of the wallpaper by this number. For example, if the height of your area is 8′ (96″), you would divide 396″ by 99″ = 4 strips per roll (assuming no pattern matching).
5. Then find out how many strips you need by dividing the the total width of your room from step 2, by the width of the wallpaper. For example if your total came to 32′ (384″), divide 384″ by 21″ = 18.28. Round up to the next whole number, so this would become 19.
6. Divide the number of strips you need (step 5) by the number of strips per roll (step 4). In this case, 19 divided by 4 = 4.75. Again round up to the next full roll, which would be 5 in our example.
7. If your paper has a large pattern that needs to be matched, add at least one more roll to your order to make up for all of the paper that will be wasted making sure everything matches. It is always better to have too much wallpaper than too little, and most stores will let you take back unopened rolls.
8. Make sure that all of the wallpaper rolls you buy have the same batch number on them. Otherwise, there may be a difference in color that will be noticeable when you put it up.
Prep The Walls
As with any wall surface treatment, the first step to a successful finish is prepping the walls.
These steps will also help to make the wallpaper easier to remove when they time comes to do that.
1. Remove any light switch and electrical outlet covers.
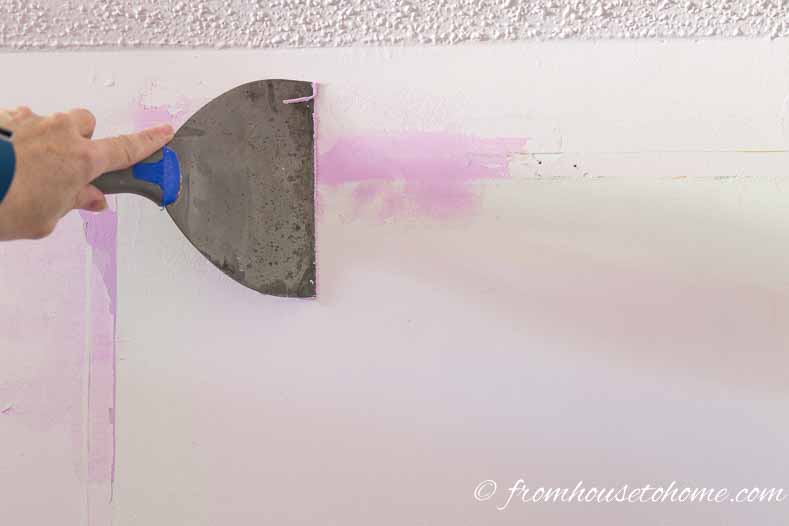
2. Fill any holes with the wall patch.
3. Once it is dry sand off any rough areas.
4. Wash the walls to remove any dust and dirt.
5. (Optional) If your wallpaper is a very different color than the wall, you might want to consider painting the wall to match the background color of your paper. This makes any cracks in the seams much less obvious.
5. Apply the wallpaper primer* the same way you would regular paint primer, by putting it in a paint tray and rolling it on. Use a brush to apply it in the corners. Although it looks like paint, it goes on more like glue, so don’t expect the wall color to be that much different when you are finished.
Cut The Paper To The Correct Length

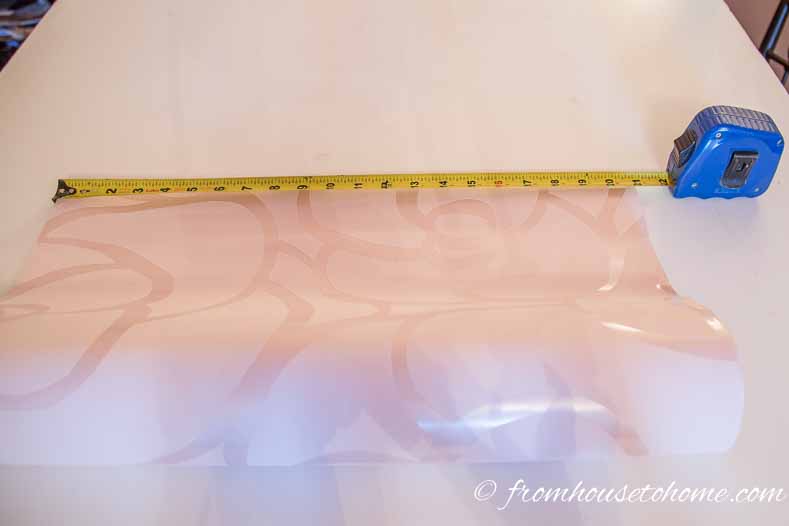
3. Using the measurements you took back at the beginning, cut the first length of paper to be the height of your wall plus about 3″. Hold it up to the wall and make sure it fits.
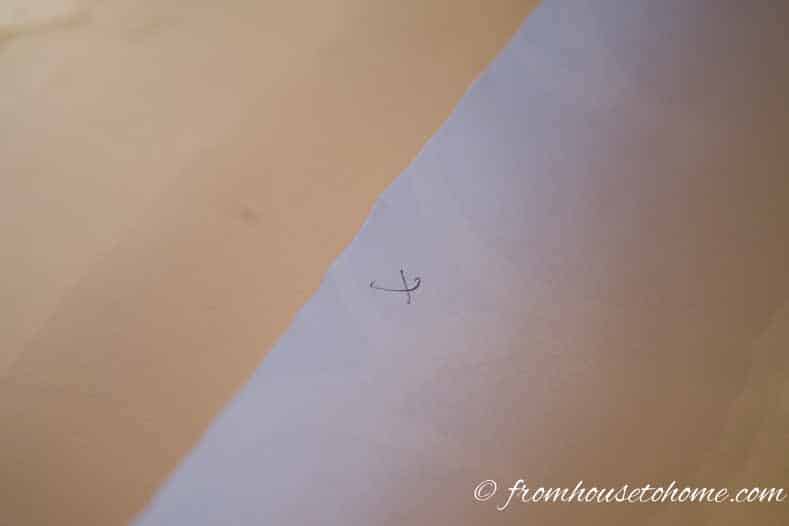
4. Use a pencil to put a little mark on the back at the top of the paper. This will help you remember which way is up. Even paper without a pattern to match can have a difference in the sheen based on the direction it is going, so you want to make sure they are all installed the same way.
4. Once you have one piece cut, you can use it to measure and cut the next pieces. Make sure to line up the pattern so you know that the next piece will start at the same place.
Draw a Straight Line
If you are wallpapering a whole wall (or room), you will want to make sure that the first piece of wallpaper is installed straight up and down. This makes all the rest of the pieces go on so much more smoothly.
1. Measure the width of the wallpaper. In my case, it was 21″.
3. If you are hanging wallpaper across an entire wall or there isn’t a noticeable pattern, measure out the width of the wallpaper minus 1″ (in my case this would be 20″) from a corner. This will make sure that the wallpaper will fit around the corner even if the wall isn’t straight.
4. If the wallpaper is going in a panel like mine and has a noticeable pattern, you might want to center it in the panel. To do this:
a. Figure out if you will need an odd or even number of panels by dividing the width of the wall by the width of the wallpaper. If the wall is 116″ wide and the wallpaper is 21″ wide, divide 116″ by 21″ = 5.5. Round up to get to the number of panels you will need…in this case 6.
b. If you have an even number of panels, your line will be in the middle of the room.
c. If you have an odd number, the middle of the wallpaper will be in the middle of the room…measure half the width of the wallpaper to the left of the center line to get your starting point.
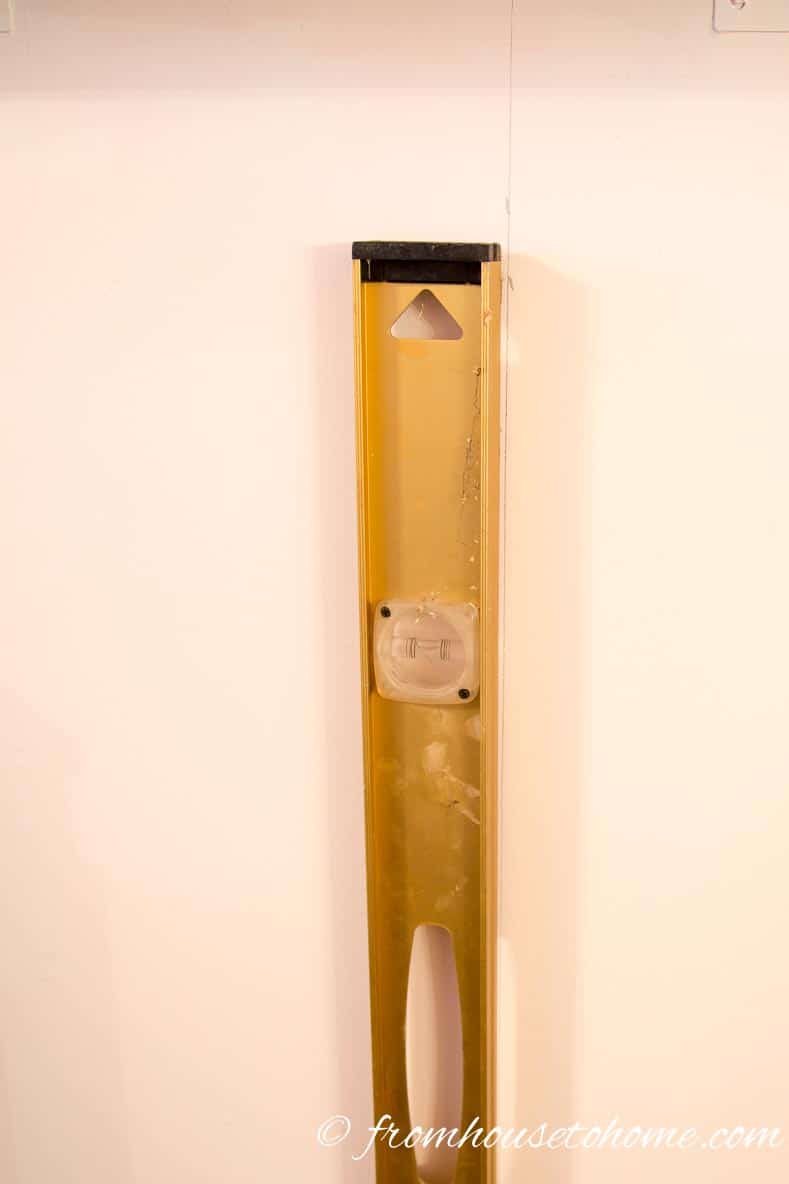
4. Use a level to mark a line on the wall at that spot so that it is perfectly vertical.
5. Continue the line all the way up to the top and all the way down to the bottom.
Hang the First Strip

1. Use a brush or paint roller to apply the wallpaper adhesive to the wall. Be fairly generous with the glue, but don’t put on so much that you can see big globs of it. Also only put on as much as you can cover in about 15 minutes. For me that’s 1 strip of wallpaper.
2. Starting at the top of the wall, line the right side of the wallpaper up to the pencil mark. Then stick it on the wall working down and out from that spot. Try to make sure that it goes on flat without any creases.
3. Use the smoother starting at the center of the wallpaper and pushing out towards the edge of the paper. This will push out any air bubbles or extra glue.
4. Wipe off any excess glue with the sponge.
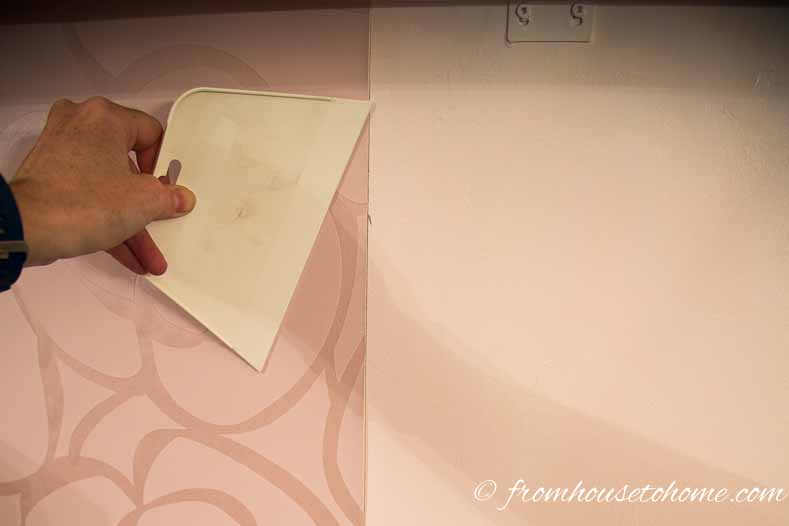
Work Around Electrical Boxes
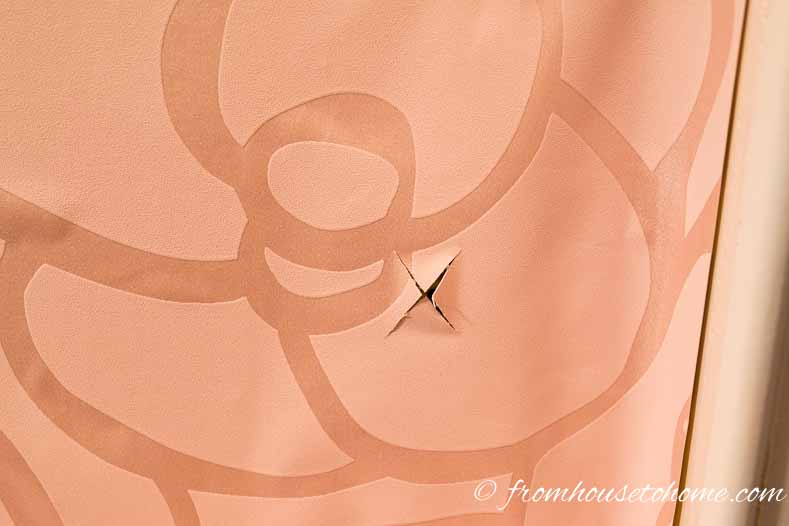
1. If you run into an electrical outlets or switches, use the utility knife to cut a small x to mark their location. Be careful not to cut too deep…you don’t want to hit any electrical wires.
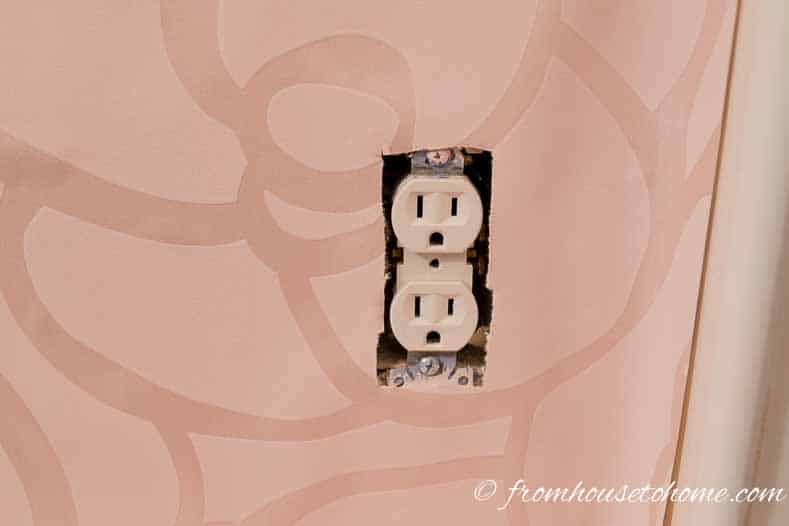
2. Use scissors to cut out around the edges of the box.
Cut Off The Excess Paper
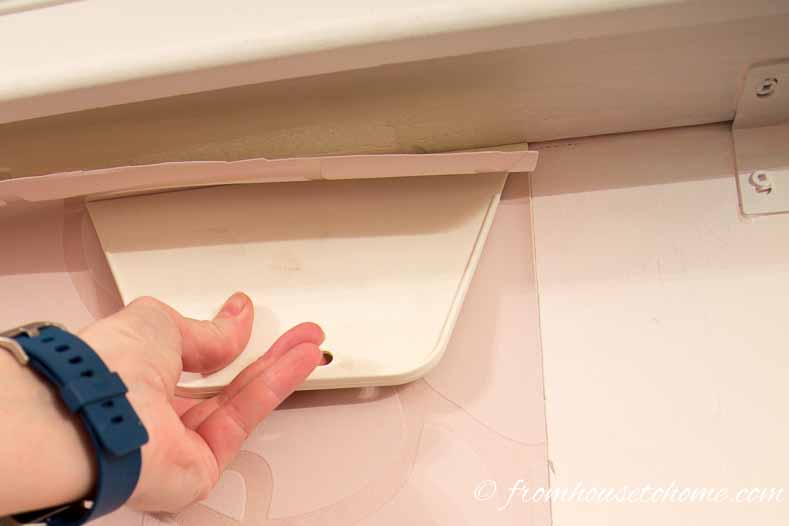
5. Make a crease in the wallpaper at the top and bottom by pushing it into the corner.
6. Cut off any extra paper at the top and bottom of the wall by holding the straight edge where you want to cut and then cutting with a sharp utility knife.
Note: If the paper starts to tear rather than cut cleanly, you probably need a new blade for your utility knife. Wallpaper dulls utility knife blades very quickly so make sure to have lots of extra blades on hand.
7. If the wallpaper is supposed to stop at the corner (ie. you are not wallpapering the whole room), use the utility knife and straight edge to cut off the extra wallpaper at the corner.
If you are wallpapering the whole room, leave that extra bit there…you will wallpaper over it when you get to that wall.
Hang The Rest Of The Wallpaper
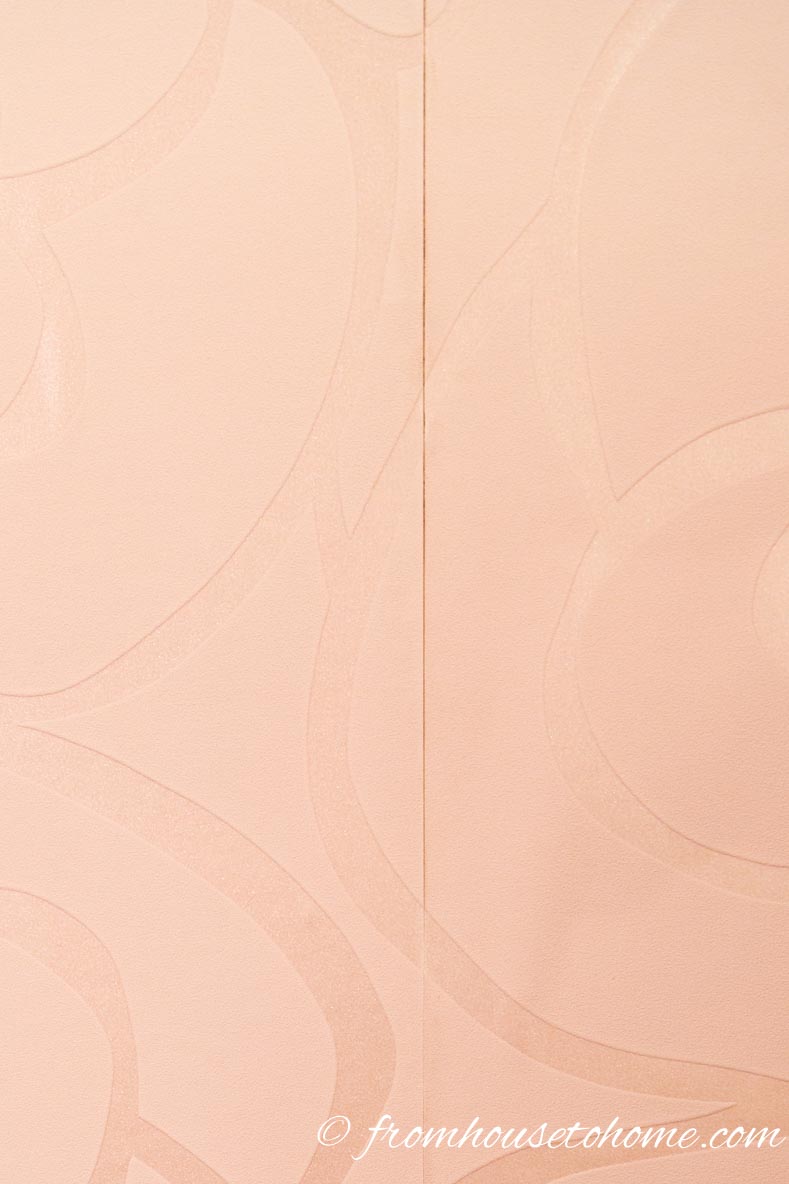
1. Hang the next piece of wallpaper the same way, only match it up against the side of the wallpaper strip you just installed. If there is a pattern, make sure that it is lined up correctly.
2. As you did before, use the smoother to get rid of any bubbles.
3. Once the seams of the 2 pieces of wallpaper are lined up correctly, run a seam roller along them. This will help to make sure the edges stick.
4. Continue applying adhesive and hanging wallpaper by matching the edges until you get to the end of the wall.
5. Cut off any extra wallpaper at the corner.
6. If you are wallpapering the next wall, repeat the entire process starting from Step 3 – drawing a vertical line on the next wall.
Enjoy The Finished Space
My new space almost looks too good to put the fabric back 🙂
I like the whole area much better now…doing the extra work with the wallpaper was worth it for me!
And the wallpaper definitely covers those brackets much better than the paint did!
Hopefully I have inspired you to hang some wallpaper of your own.
Have comments or questions on How To Hang Wallpaper the Easy Way? Tell us in the section below.
This post was originally published on October 24, 2016 but was updated with new content on April 13, 2024.
I want to wallpaper a half bath that is under a staircase. The walls are different heights creating angles and there is a window. How would I measure and cut with these obstacles?
Hi Lisa…In this case, I would use the measurements from the tallest part of each wall to calculate how much wallpaper you’ll need. You may end up with a little more than necessary, but with a small space, it won’t make much difference to the cost. And it’s much better to have a little too much than not enough. Unless the window is very wide, I don’t adjust the measurements for it. (It’s rare that the window lines up exactly with the edge of the wallpaper so you’ll likely have to cut it out from full stripes, which won’t save anything there).
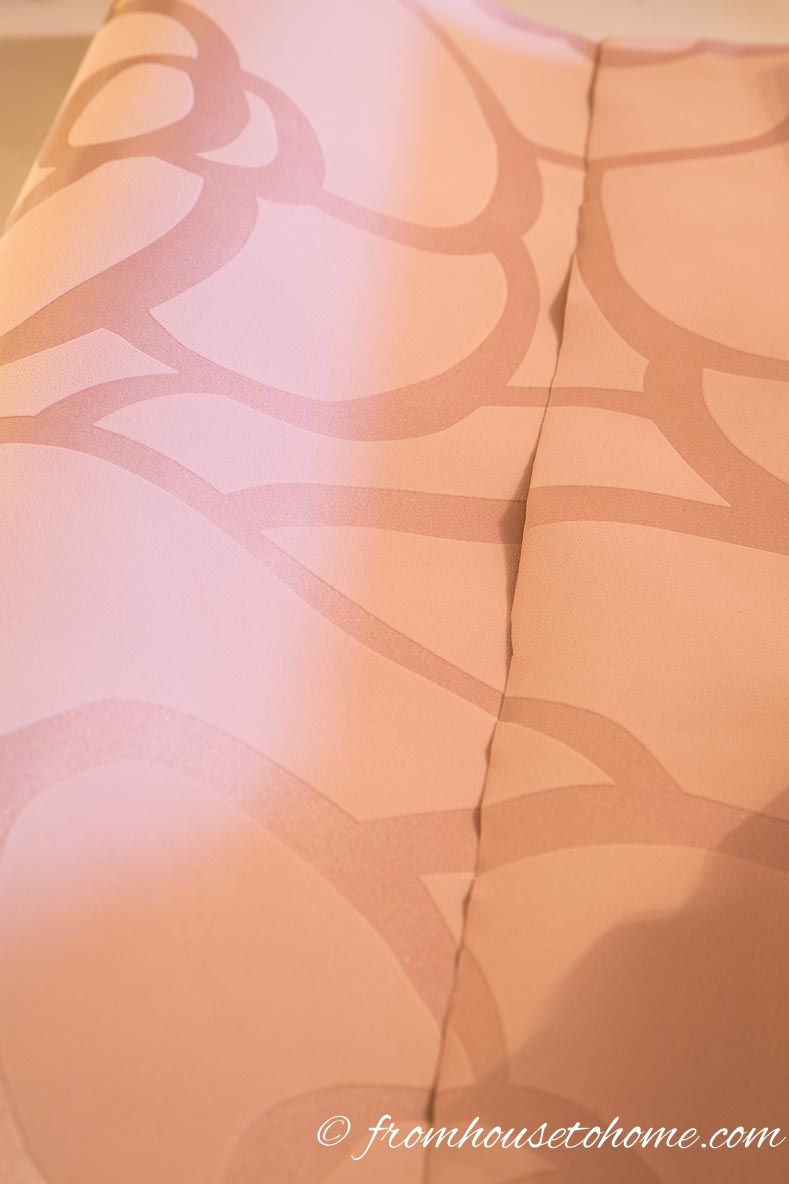
Whenever I butt the pieces of wallpaper together, the next day there is a space between the seams. I’m assuming the papers shrinks when it dries.
Hi Loretta…It can separate a little when it dries. Using the wallpaper roller to go over the seams right after you hang the paper can help with that. If I’m putting up a wallpaper that’s very different from the paint color, I also paint the wall a similar color to the wallpaper background before I start…that way you don’t notice any separations as much. Hope this helps!
Hi Loretta,
I was taught to overlap the panels to account for shrinkage. This requires a bit more paper to ensure you match the pattern.