
How To Install Beadboard On The Ceiling
If you’re looking to add charm and character to your home, this step-by-step guide on how to install beadboard on the ceiling will show you exactly how to get a polished, professional look. Including the essential tool that makes the installation process so much easier.

If you have ever been to Charleston, SC, you have probably seen the charming porches with their beadboard ceilings painted in that soft, dreamy shade of blue.
It’s a classic Southern tradition that not only looks beautiful but is also said to keep bugs away.
I fell in love with the look and when I was designing my front porch makeover, I knew I had to bring some of that same charm to my own house.
So, I decided to take on the project of installing beadboard on my porch ceiling—and I’m so glad I did!
I’ll walk you through exactly how to install beadboard on a ceiling, step by step.
And share the one tool that made the job so much easier. (No more trying to put nails in a big beadboard panel while attempting to hold it up at the same time!)
So whether you’re upgrading a porch or giving an interior ceiling a fresh new look, this beadboard installation tutorial will help you get the job done smoothly and with confidence.
Get a FREE Room Makeover Workbook by signing up for our newsletter
You’ll also get access to our members-only resource library with all of our other printables.
We won’t send you spam. Unsubscribe at any time.
Supplies
Materials
- 48″ x 96″ grooved beadboard panels* – see the measurements section below to determine how many you’ll need.
- 12′ crown molding*
- 2 tubes of caulking
Tools
- caulking gun
- masking tape
- compressor with nailer attachment – You can also use a hammer and finishing nails but the nailer is a lot easier to work with.
- skill saw
- miter saw
- tape measure
- pencil
- 4 task support poles* – these are the secret sauce!
- drill with a large drill big (eg. 3/8″ or larger) and a jig saw – you will only need these if you have to cut out a hole for a light fixture
- ceiling paint – I used Benjamin Moore Caribbean coast eggshell. I find that finishes with a little bit of sheen to them work better on beadboard than flat paint does (even though this is a ceiling).
- paint tray, brush, roller
1 | Prep work
Before you start working on the ceiling, you’ll want to take down any light fixtures. It is much easier to put up beadboard on the ceiling if you don’t have to work around them.
Don’t forget to turn off the power at the electrical panel before you do this.
2 | Calculate the materials
Beadboard measurements
The first step is to measure the length and width of the ceiling. In my case, it is 134″ long and 69″ wide.
If you have one side of your ceiling that is shorter than 8 feet long, I would install the beadboard lengthwise in that direction. That way you won’t have to join the boards in the middle of the ceiling.
In my case, this meant having the grooves of the beadboard going across the width of the room (the 69″ side). This also helps to make the room appear wider.
Then divide the other measurement by 48″ to figure out how many panels you’ll need. In my case, it was 134″ ÷ 48″ = 2.8. Round that number up to the next whole number (so 3 in my case).
If your ceiling is more than 8 feet wide in both directions, you will need to join the beadboard end to end.
It doesn’t usually come with grooves to cover the joins at the ends, so you may need to cover them with molding.
Plan how you want this to look ahead of time so you don’t end up with a weird looking strip on the ceiling.
I would probably center the full pieces on the ceiling so that there is an equal amount of space on either side. That way the moldings will be equally spaced from the walls.
Trim measurements
The molding is used to cover the join between the beadboard panels and the wall.
So you’ll need to find the circumference of your room.
To do this, take the length and width of the room (from your measurements above), add the 2 measurements together and multiply by 2.
In my case, the room is 69″ wide x 134″ long so 69″ + 134″ = 203″ X 2 = 406″.
Divide that by the length of your molding boards in inches and round up to the next whole number to come up with the number of pieces of molding you need.
In my case the moldings were 12 feet long (or 144″). So 406″ / 144″ = 2.8. Rounded up to the next whole number is 3 pieces of molding.
If you have a large ceiling and need to cover the beadboard panel joins with molding, you’ll have to add those measurements to your total as well.
If you don’t want to have joins in the middle of the wall and you can get moldings that are long enough to run from one end of the wall to the other, you might want to calculate the number of pieces that way. So to cover the edges, you would end up with 4 pieces of molding that are long enough to cover the width of your walls.
3 | Measure and mark the boards
Measure the beadboard along the long 8′ edge and mark where it needs to be cut in 2 places – one on either side of the sheet.
Draw a straight line across the width of the board at these dots. (In my case, the line was 69″ from the top of the beadboard.)
If the beadboard sheets don’t fit exactly on your ceiling, you’ll need to cut the last one off to fit the space. (You’ll know this is true if the number of sheets you calculated above had to be rounded up).
I like to wait until I have put all of the full width boards up and then measure the space that is left to determine where it needs to be cut.
4 | Cut the beadboard
Center a strip of masking tape over the pencil line and press firmly onto the beadboard. The masking tape will prevent the saw from chipping the beadboard as it makes the cut. The pencil line will show through the tape.
Adjust the saw blade on the circular saw so that it is set at a shallow depth. This also helps to prevent chipping.
Carefully set the saw at one edge, and cut the board along the pencil line.
Remove the tape.
5 | Put the beadboard up on the ceiling
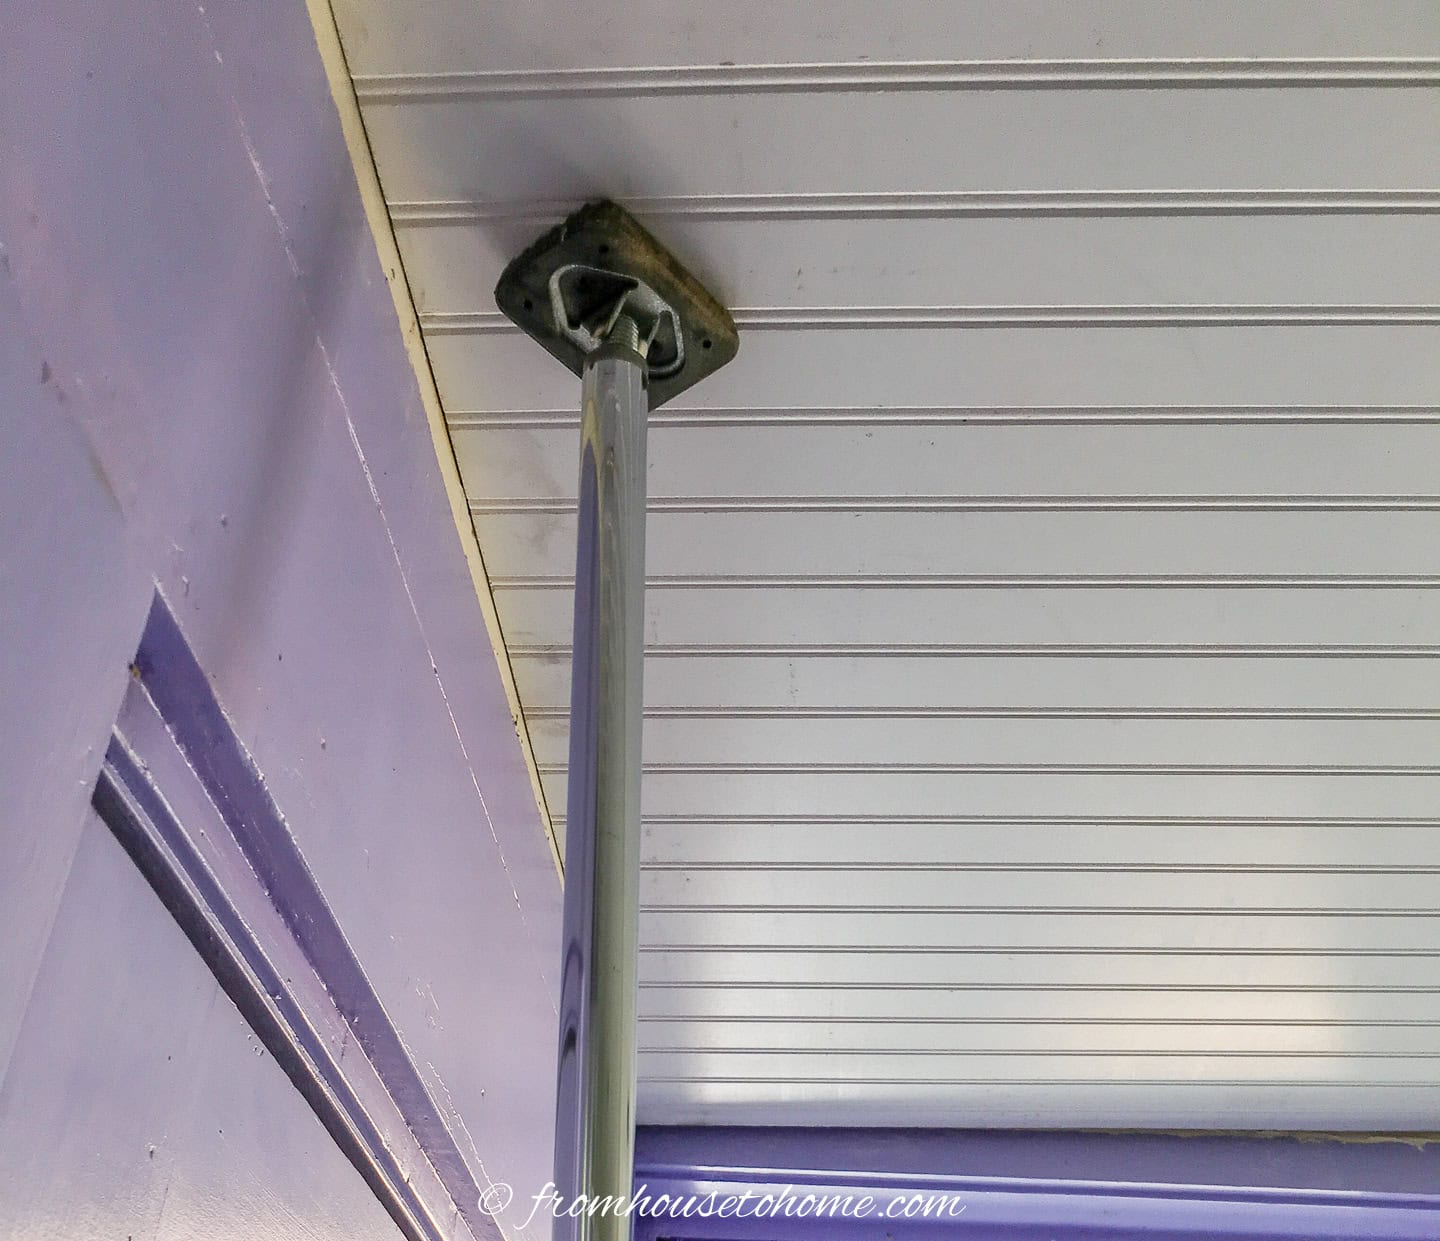
Position the cut piece of beadboard on the ceiling so that it abuts the outer edge of the ceiling and into both corners.
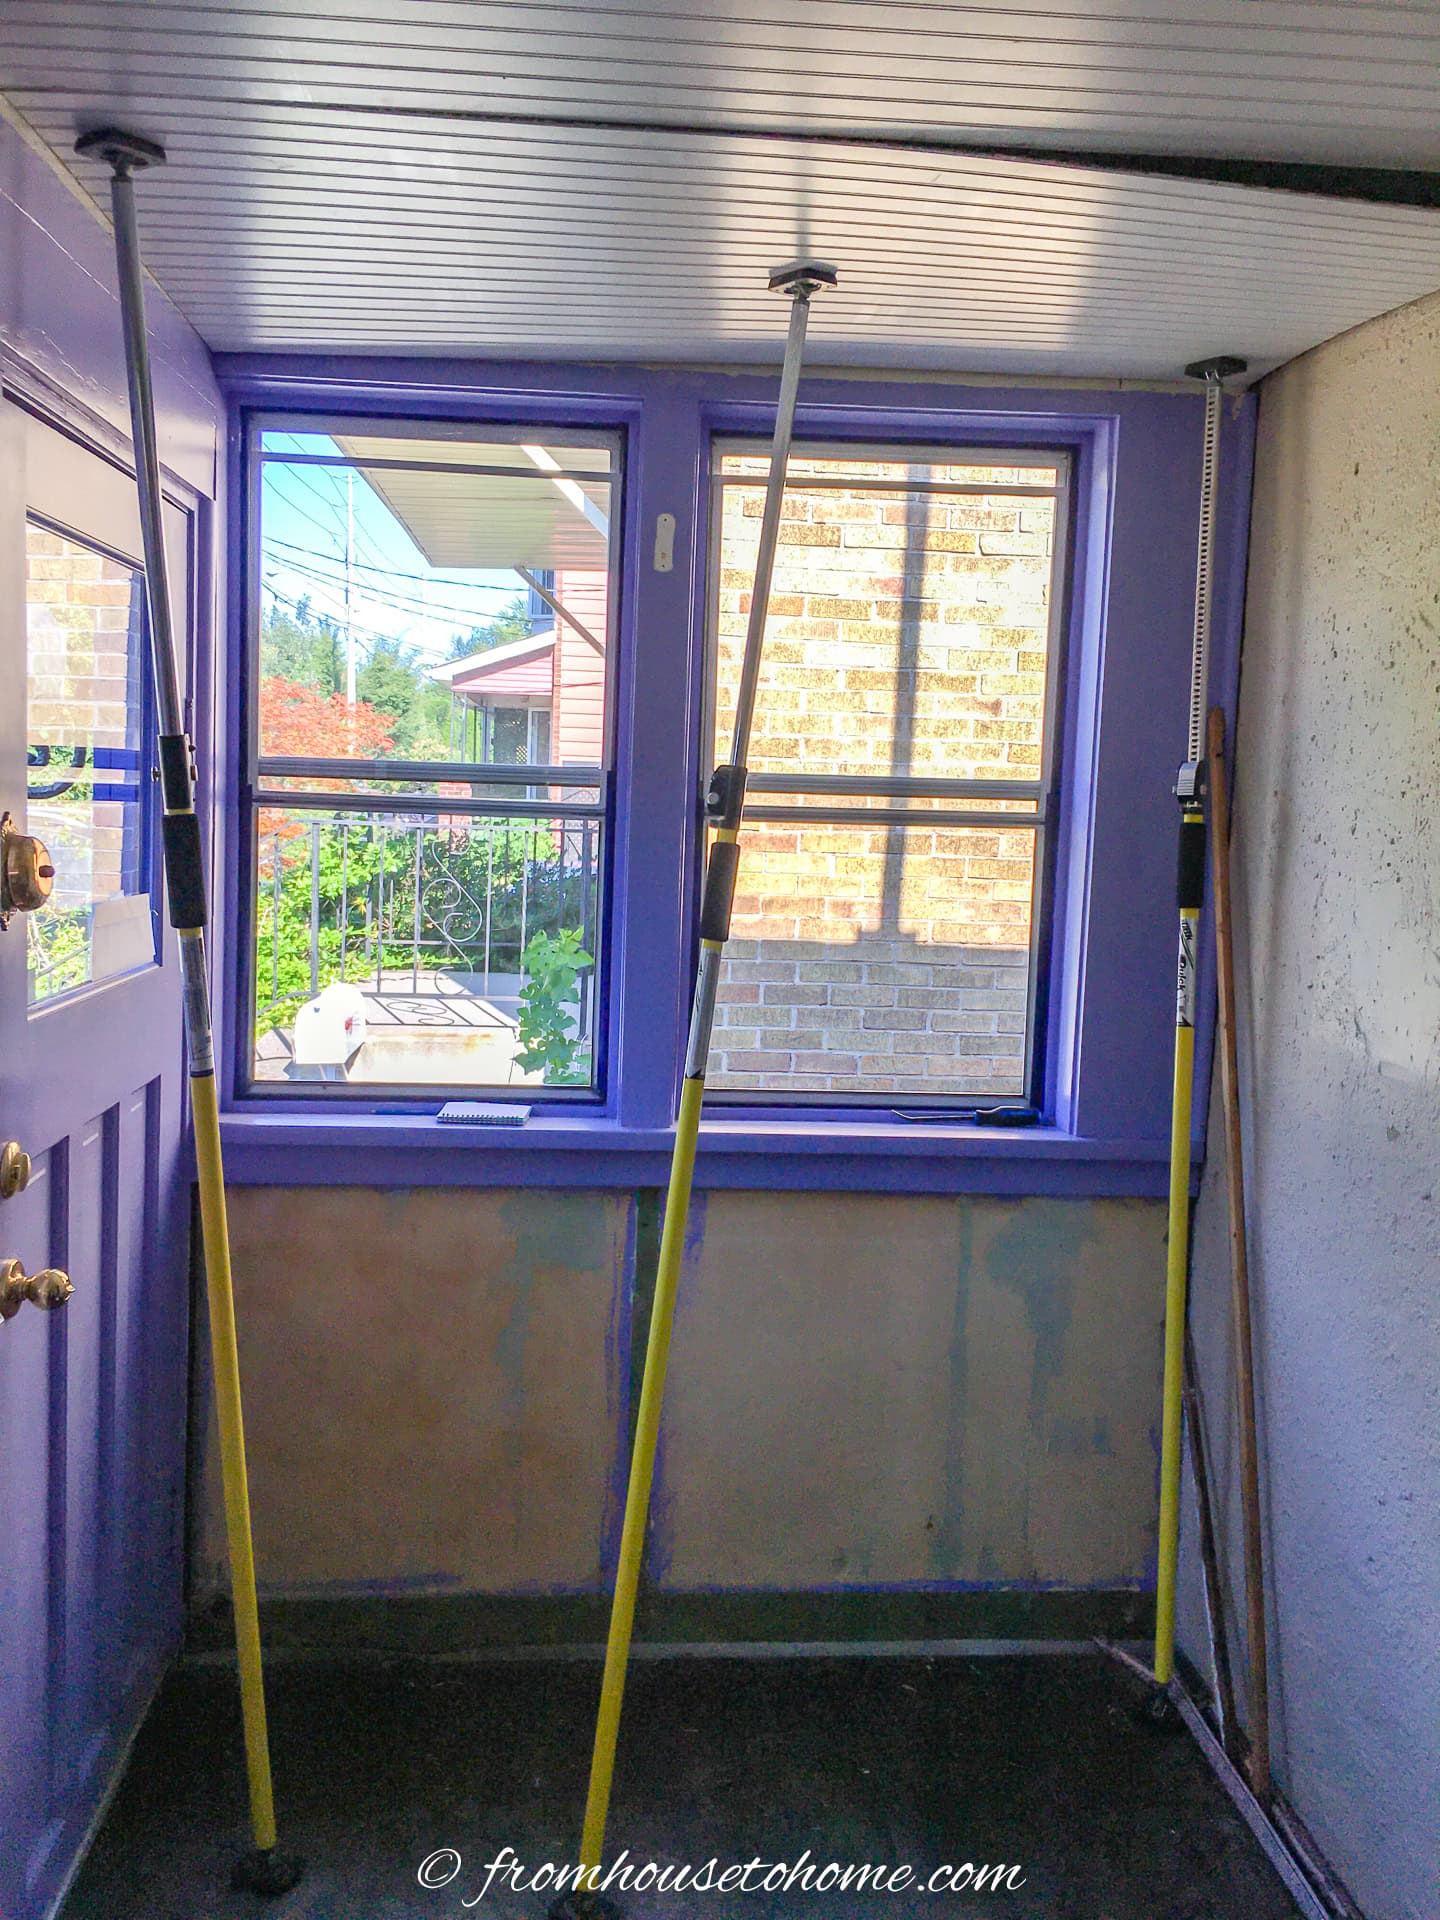
Then place 3 or 4 support poles under the beadboard so that it is held up firmly against the ceiling from the floor.
These things are totally like having another pair of hands.
Once they are in place, the panel will stay up there by itself. Which makes it so much easier to install!
Using the nailer, insert a nail every 10″ or so over the entire surface to attach the beadboard securely to the ceiling.
Repeat the same process for the rest of the ceiling making sure the grooves align on the joining edges of the beadboard and that the pattern is continuous.
If you have a ceiling light fixture you need to install around, put up the beadboard panels as described until you get to the one that needs to have a hole cut in it.
On the ceiling, measure where the middle of the light fixture is from the edge of the beadboard panel, as well as the distance to the wall.
Also measure the width of the ceiling fixture hole in the ceiling.
Use a pencil to draw a circle using those measurements onto the beadboard panel you will be installing in that location.
I like to hold the panel up to the ceiling to make sure I have the measurements in the right place before I start cutting. It’s easy to make a mistake since you’re working with upside down materials.
When you’re sure you have it right, use a large (eg. 3/8″) drill bit to drill a hole at the edge of the circle. Then use a jig saw (or Dremel with a cutting blade) to cut out the circle you drew starting from the hole you just drilled.
Install the panel as usual.
6 | Put up the trim
Putting up trim or crown moldings around the edge of the beadboard hides the join between it and the wall. So it isn’t really a step you can skip.
Use the miter saw to cut the corners of the crown molding, so that they form 90 degree angles. To learn how to cut the corners, we watched the following video:
Work around the room one board at time, pushing it flush with wall and ceiling at both edges of the crown.
Nail the bottom of the crown every 10″ or so as described in the video above.
Again, this is much easier to do if you have 2 people.
If you need to make any joins for crown molding that isn’t long enough to cover the entire wall, you’ll need to cut the ends at 45 degrees so they overlap. Watch the following video for more information:
Or if you are very meticulous and want an invisible join, I suggest you learn how from this video:
8 | Paint
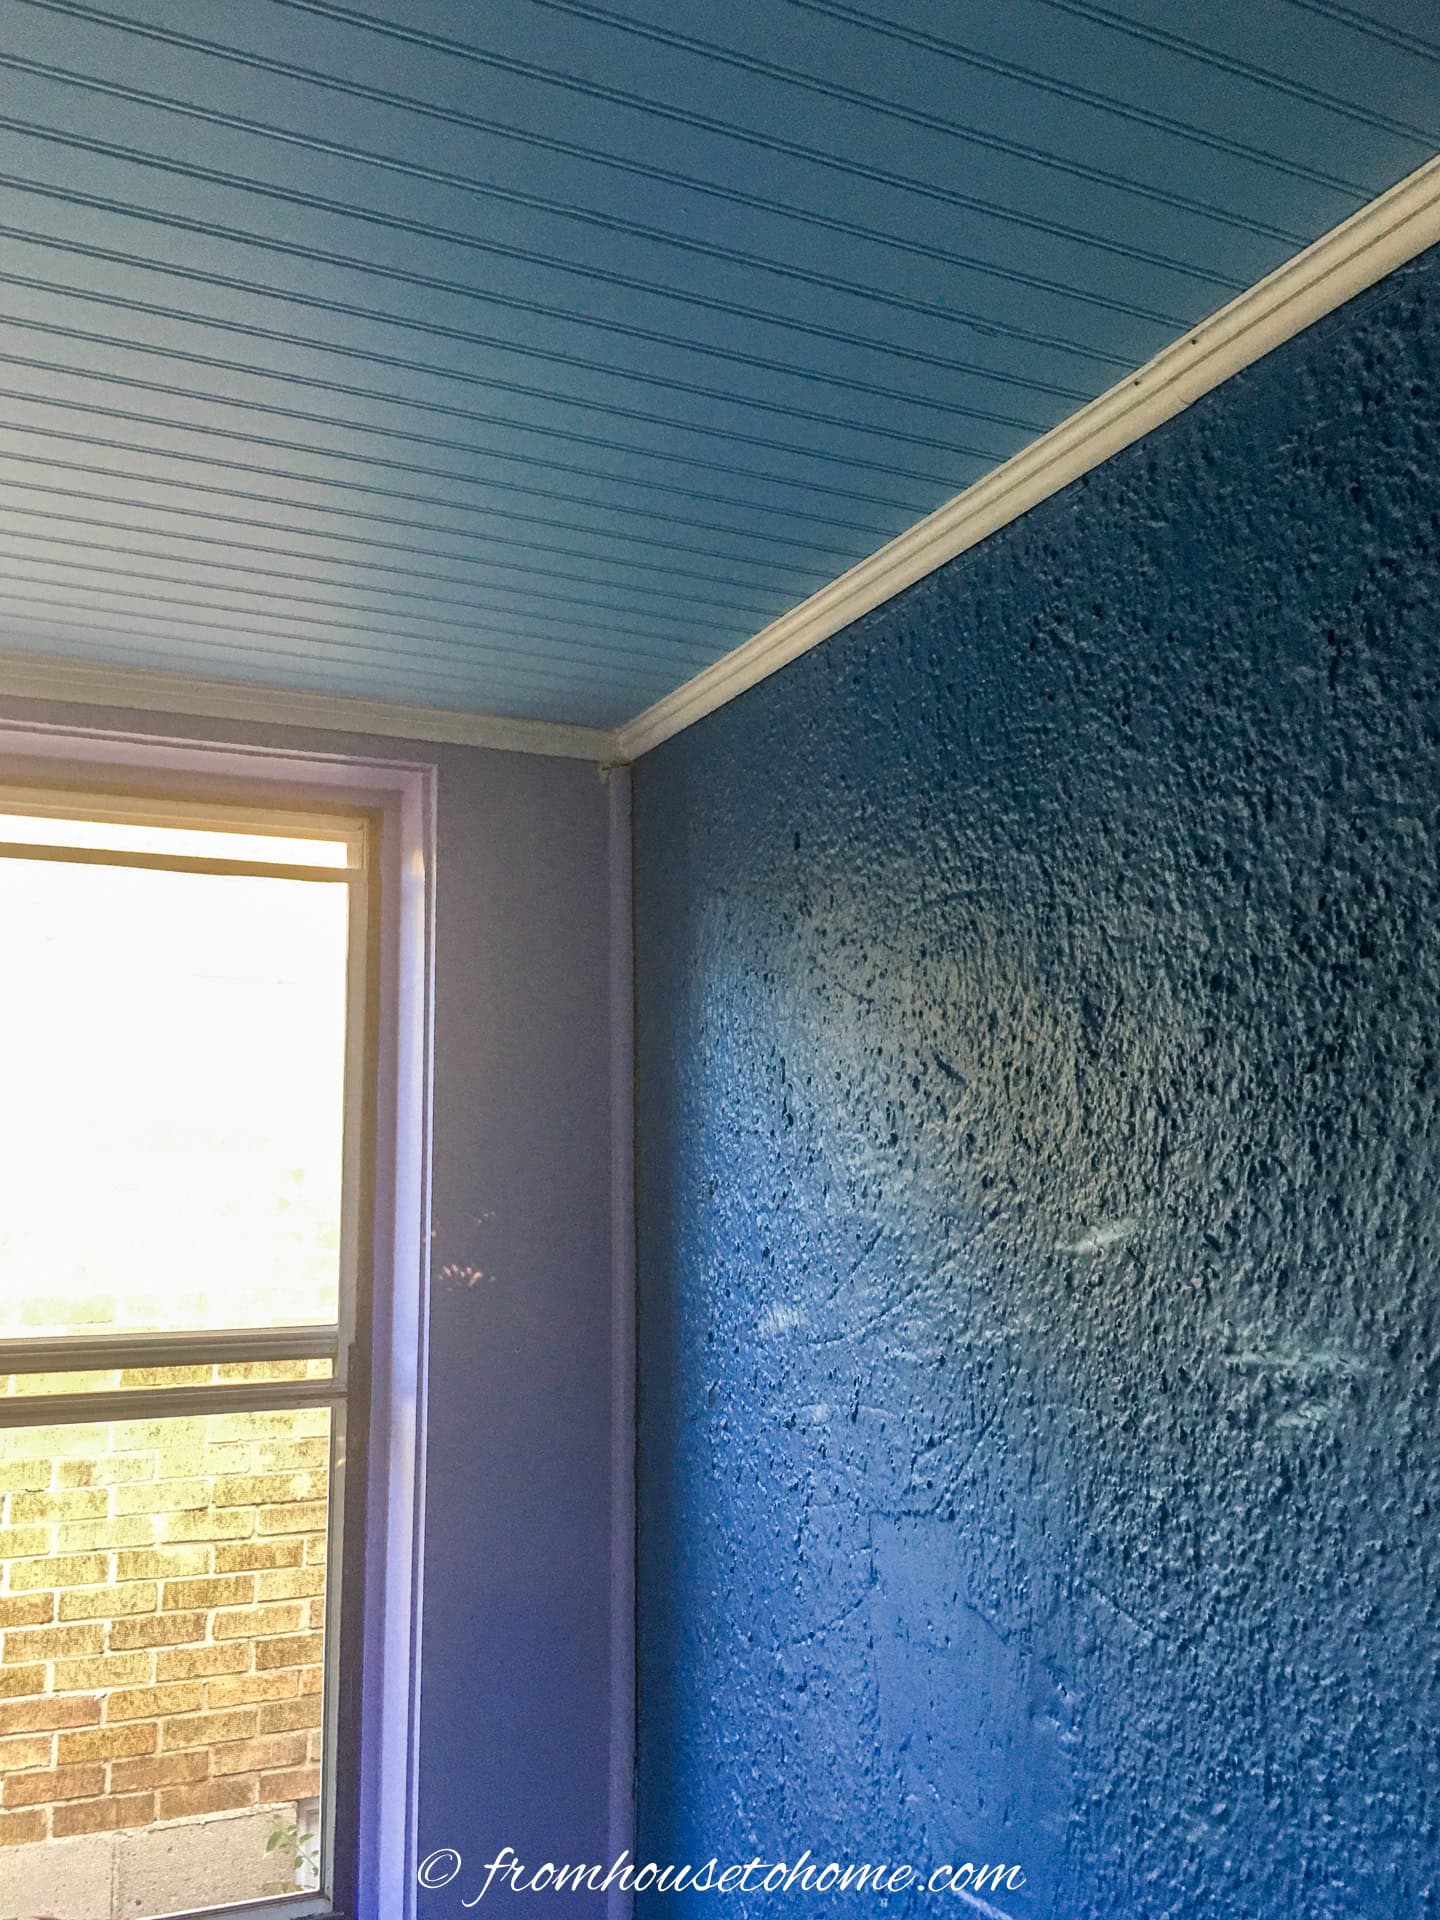
Squeeze caulking into any joins, corners and gaps along the edges.
Wipe the excess off with a dampened finger.
Paint the ceiling and trim after the caulking is dry.
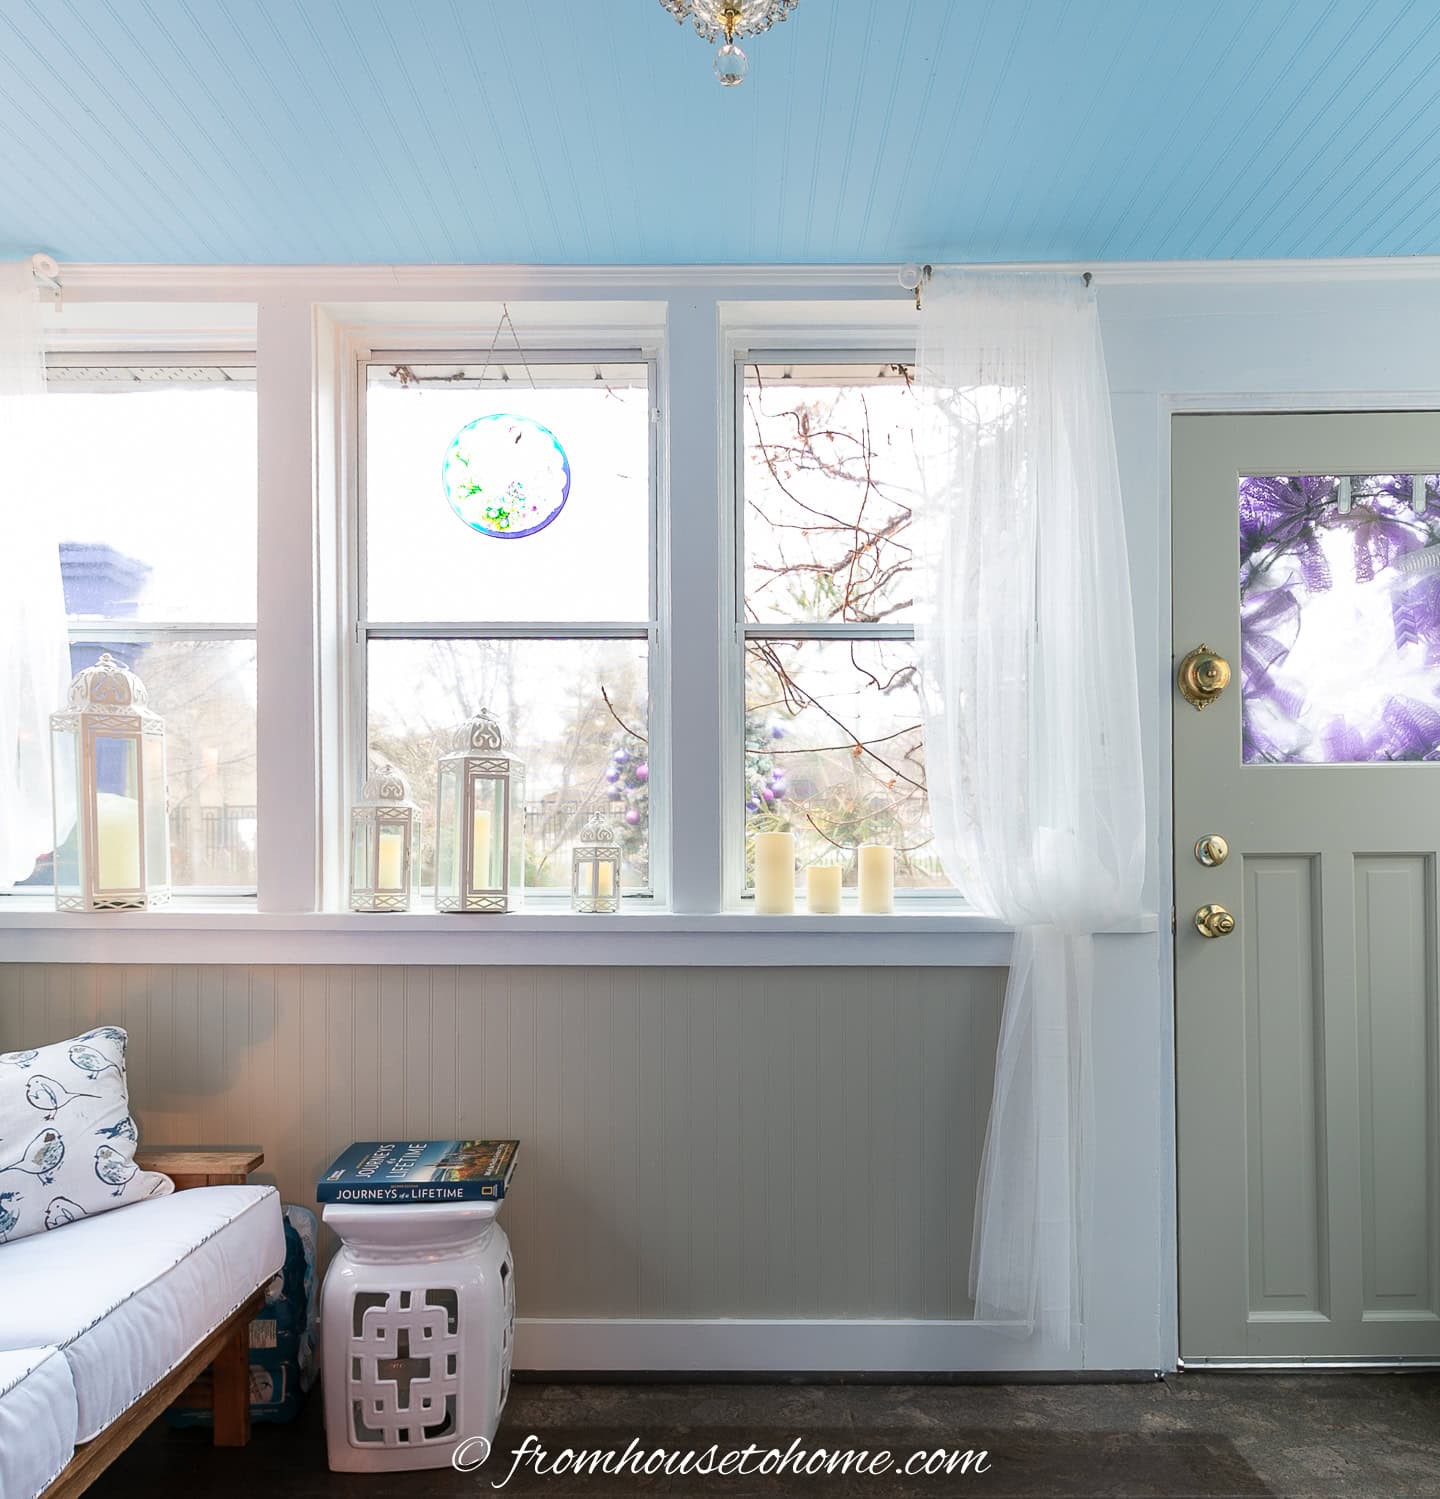
I used 2 coats of Benjamin Moore’s Caribbean Coast in an eggshell finish.
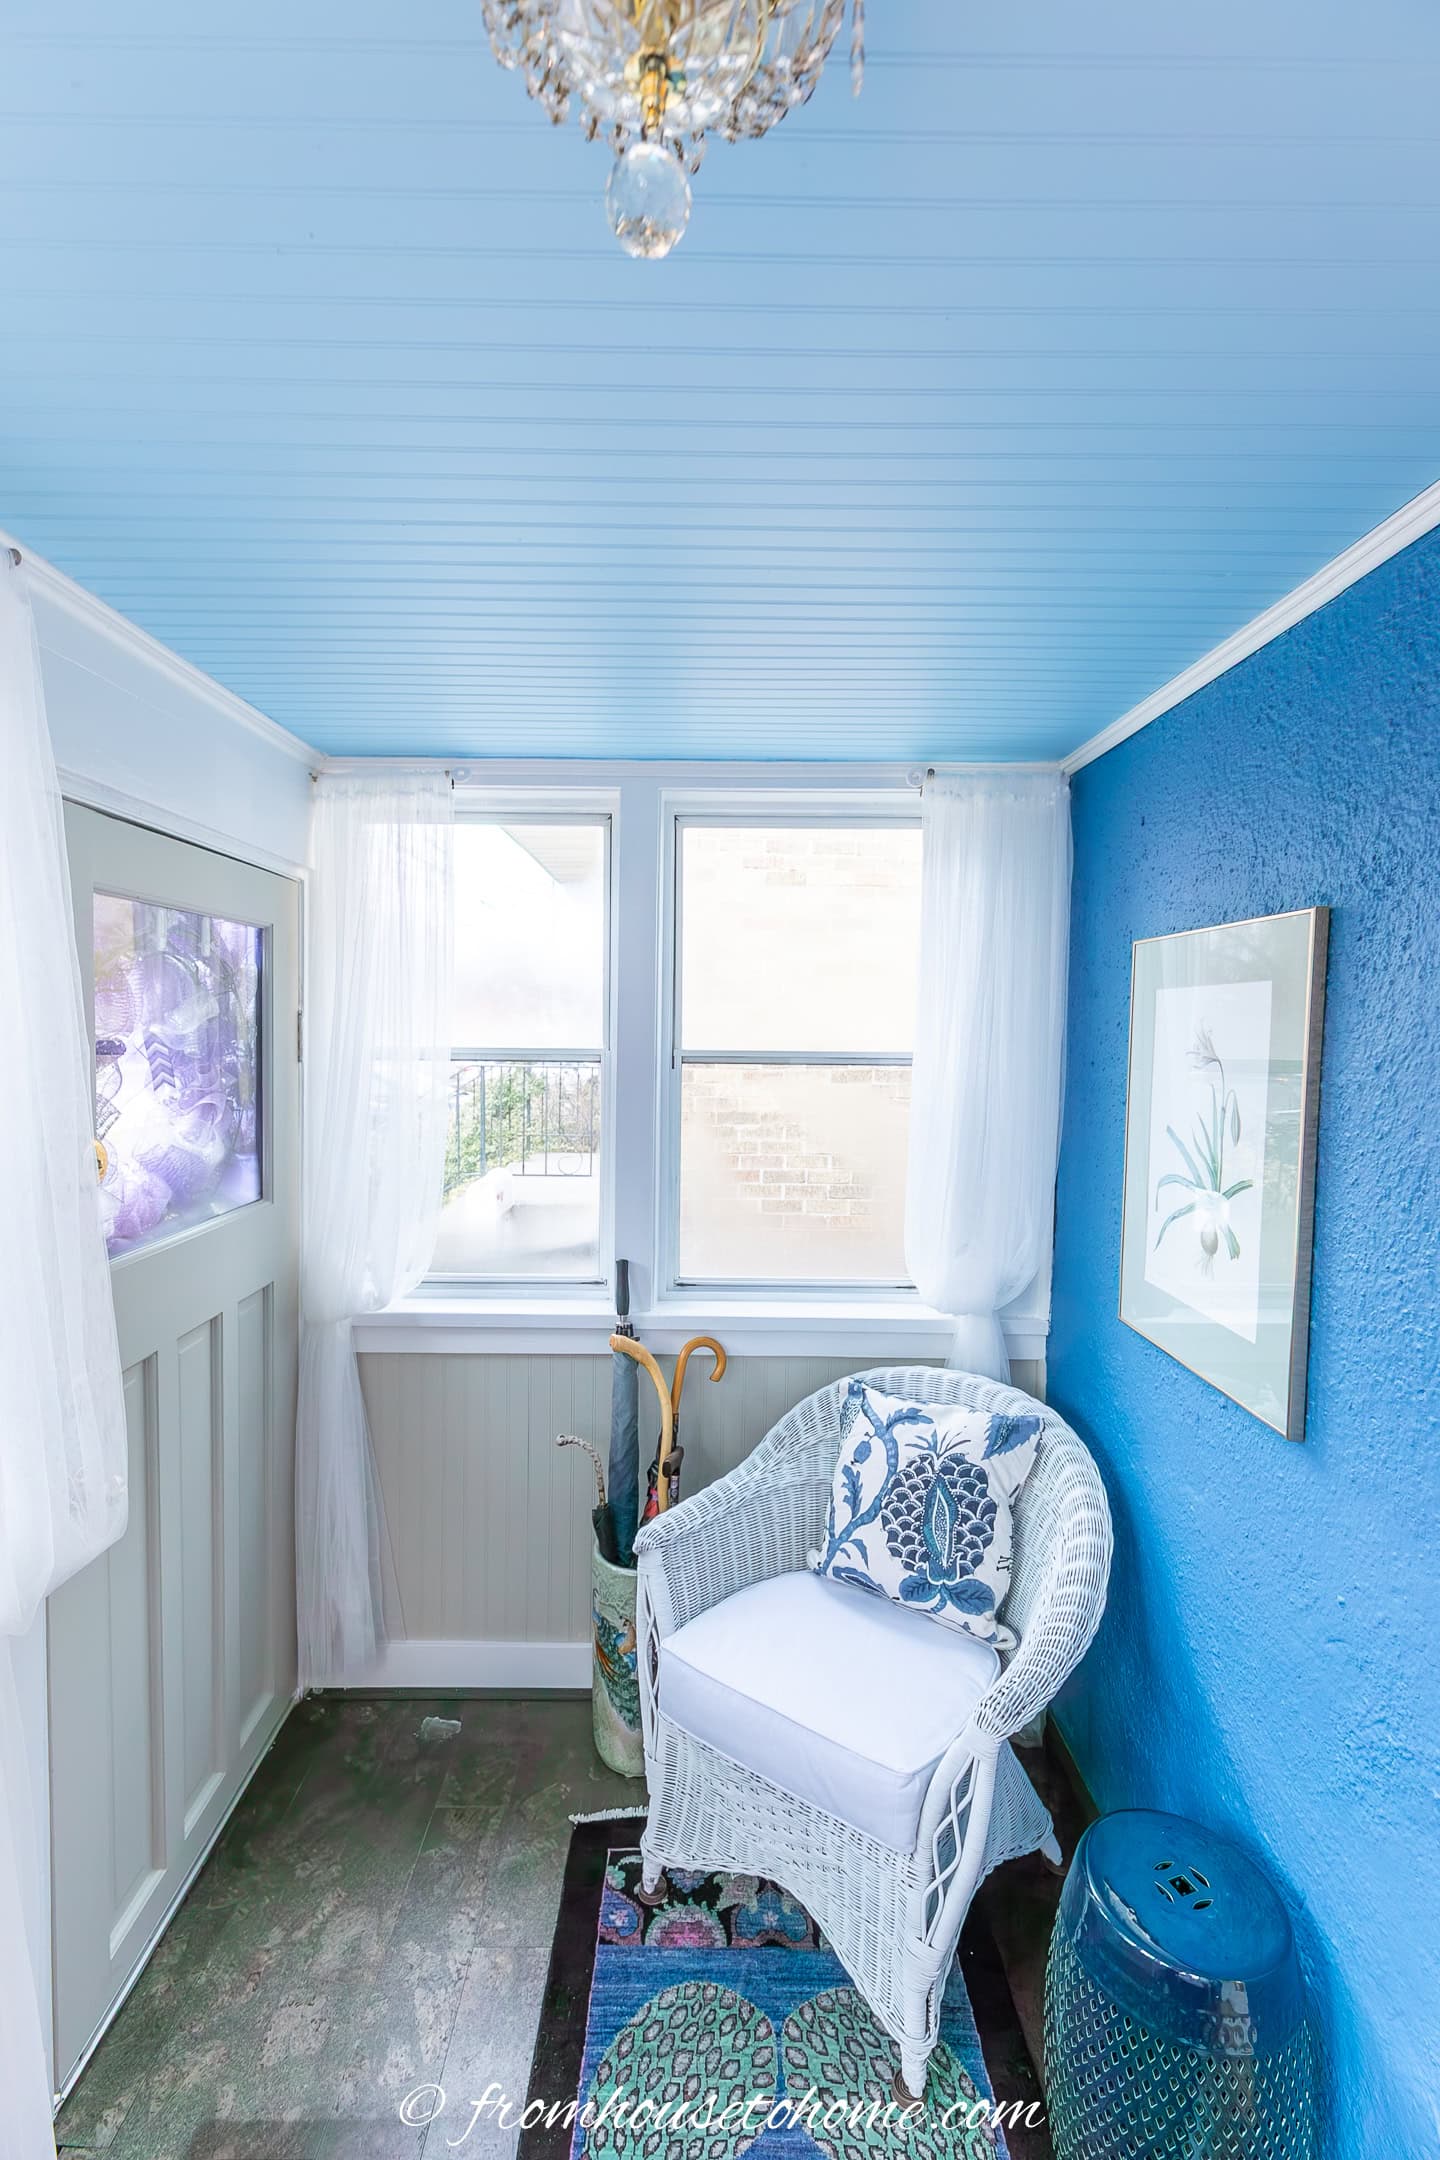
And I love the fresh, summery vibe it adds to the porch.


Have comments or questions about how to install beadboard on the ceiling? Tell us in the section below.