Multi-Colored Stripes: How To Paint Vertical Stripes On A Wall
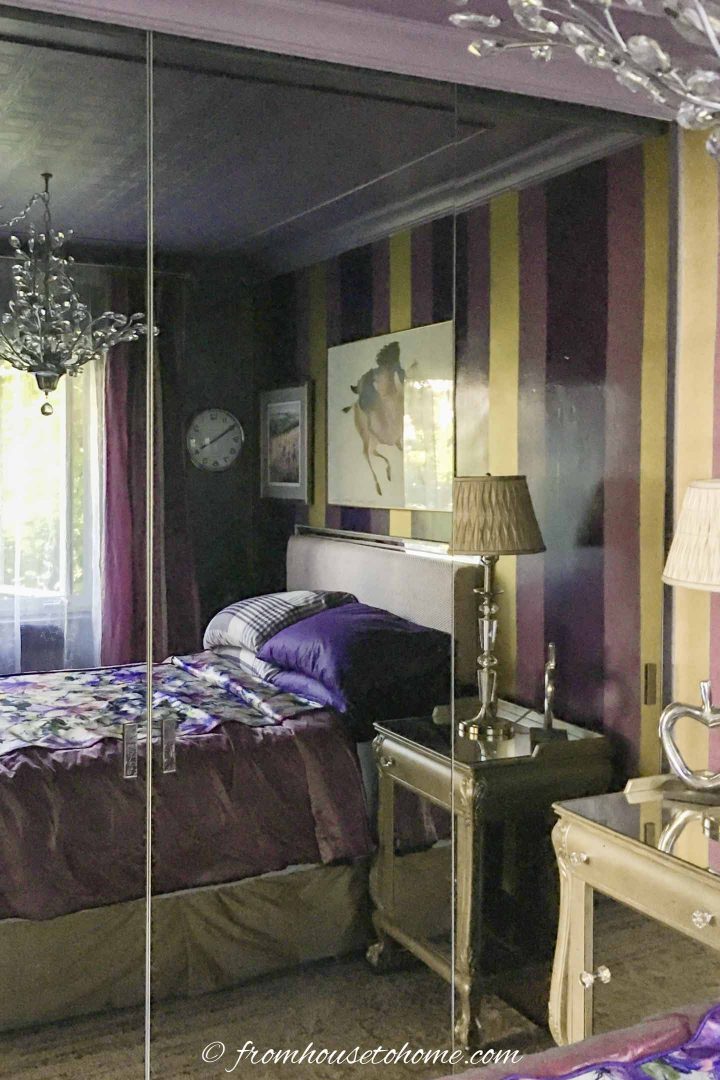
To add a dramatic accent wall that helps to make the ceiling look higher, learn how to paint vertical stripes. Combining bold colors with a metallic makes sure the wall is the focal point of your room.

Vertical stripes are a great way to add drama to a room.
So when I wanted to add a little more pizzazz to my bedroom they seemed like the obvious choice to create an accent wall behind the bed.
1 | Get Some Color Inspiration
Since I wasn’t sure what colors I wanted to use, I decided to find some fabric that I could use as inspiration. (And make into new curtains).
Off I went to the fabric district.
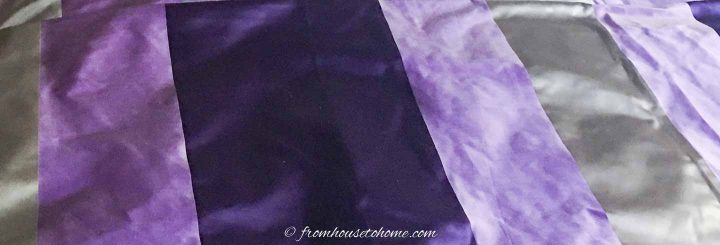
Where I fell in love with an Italian silk stripe that threatened to change my whole outlook.
The stripes of the fabric are bold, shiny, stunning. And coordinated perfectly with the existing wall and trim colors in my room (Sherwin Williams “Mythical” and “Dewberry”).
However, my original goal was to find a patterned fabric that wasn’t stripes.
I was really looking forward to having a striped feature wall, but had not planned to have striped drapes too.
In the end, I decided to duplicate the fabric pattern on the wall.
2 | Create Your Stripe Pattern

So I used the same stripe colors and widths as are in the fabric to create my stripe pattern.
However, if your color inspiration doesn’t have stripes, you will have to create your own pattern.
You can use the same one as my striped fabric (with colors that match your decor).
Or create your own.
If you do this, it will be easier to tape and paint if you have one color that is repeated every other stripe.
Then alternate your other colors in between.
2 | Choose The Paint Colors

I went to both Sherwin Williams and Benjamin Moore paint stores with my fabric in hand.
There I learned that it is impossible for them to custom color match from a fabric sample, due to the undertones in the fabric weave.
Therefore, I had to choose the closest colors from their paint chip samples.
It’s a good idea to try some small sample paints first before making your final selection. (I was impatient and skipped this step so I ended up with a whole gallon of violet that was not quite the right tone.)
At this point, you’ll need to decide which color is your background color.
It’s the one that you will paint the whole wall in. So you’ll need more of it.
The easiest way to choose the background is to pick the stripe that is repeated most often.
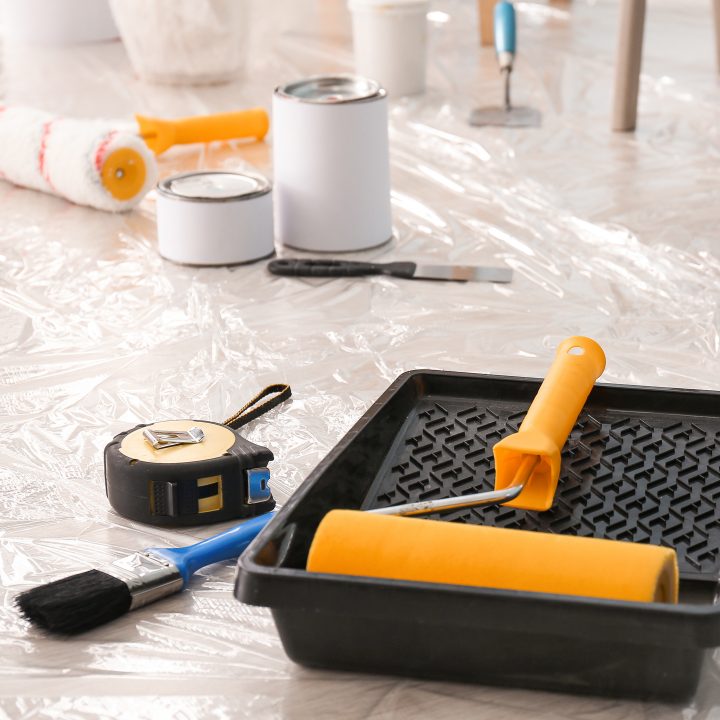
3 | Get The Supplies
- TSP*
- bucket of warm water
- wash cloth
- delicate surface painter’s tape* – this has a special paint block technology that keeps the paint from bleeding under the tape
- spackling compound*
- putty knife
- drop cloth
- 3 colors of paint – I bought 1 gallon of Benjamin Moore “Ultra Violet” for the background color, 1 quart of Sherwin Williams “Concord Grape” and 1 quart of Sargent Liquid Metal “Antique Gold”
- 10″ paint tray
- 9″ paint roller
- pencil
- ruler
- chalk line*
- 5″ paint tray
- 2 1/2″ paint brush
- 4″ paint rollers – get 2 of them if you don’t want to wash them out between colors
4 | Prepare The Wall For Painting
1. Remove pictures, nails, wallpaper and any electrical covers.
2. Wash the walls with a TSP and water solution. If you have to remove wallpaper, be sure to get all of the residual glue off.
3. Rinse the wall with clear water. Let dry.
4. Tape around the edges of the wall with painter’s tape, i.e. along the ceiling or crown molding, the baseboard trim, and the two adjacent walls.
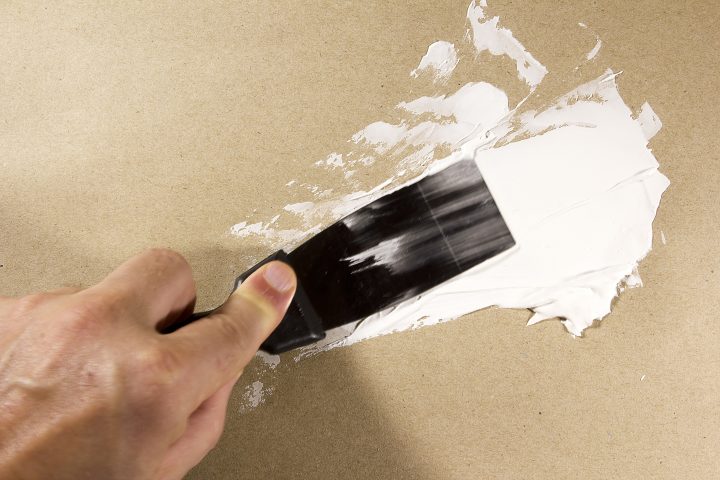
5. Use a putty knife to fill any cracks and holes with spackling compound. (I used a compound that dried quickly and did not need priming.)
6. Protect the floors by putting down a drop sheet.
5 | Paint The Background Color
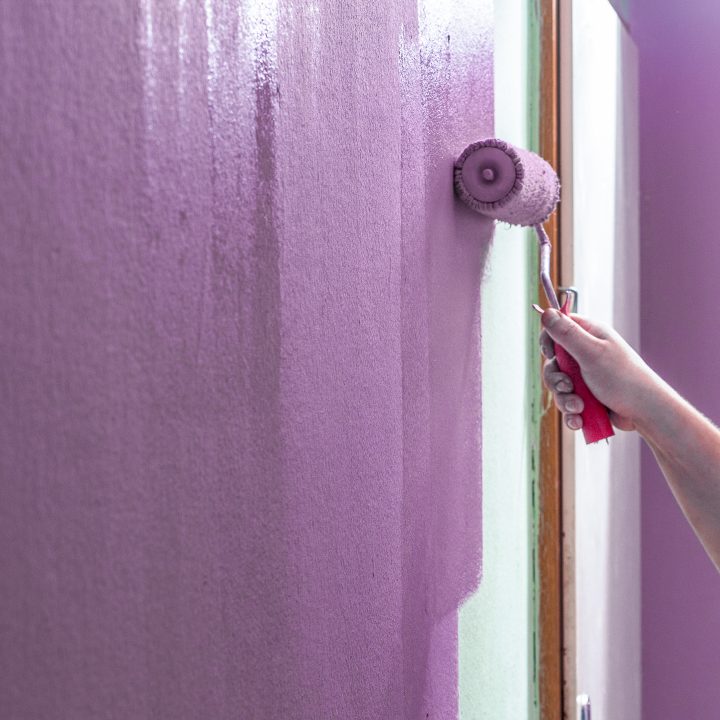
Using the background color that you chose above, paint the entire wall using the 9″ roller and 10″ tray.
Because I used a dark color, I gave the wall three coats of paint, allowing it to dry as prescribed by the manufacturer between each coat.
In my case, this was 2 hours, so it only took one day to complete this phase.
Note: Allow the background paint to cure by leaving it to dry thoroughly for a week before starting to measure and paint the stripes. Otherwise, the paint may come off the wall when you take the tape off.
6 | Measure The Stripe Pattern On The Wall
1. Using the pattern you created above, measure the wall and determine how the stripes will fit so that they end up with the same color on both ends.
For example, I had three stripes of different widths:
- a gold stripe (Sargent Liquid Metal “Antique Gold”) that is 5 3/4″ wide
- a light purple stripe (Benjamin Moore “Ultra Violet”) that is 5 1/4″ wide
- a dark purple stripe (Sherwin Williams “Concord Grape”) that is 10″ wide
The sequence worked so that there was a gold stripe at each wall edge, if I made those end stripes 1″ narrower.
2. Mark the wall at the ceiling with the width of each stripe using a ruler and a pencil. (I have crown moldings so I put the mark on the masking tape at the edge of the molding).
3. With a thumb tack, pin the end of the chalk line to the first marked dot.
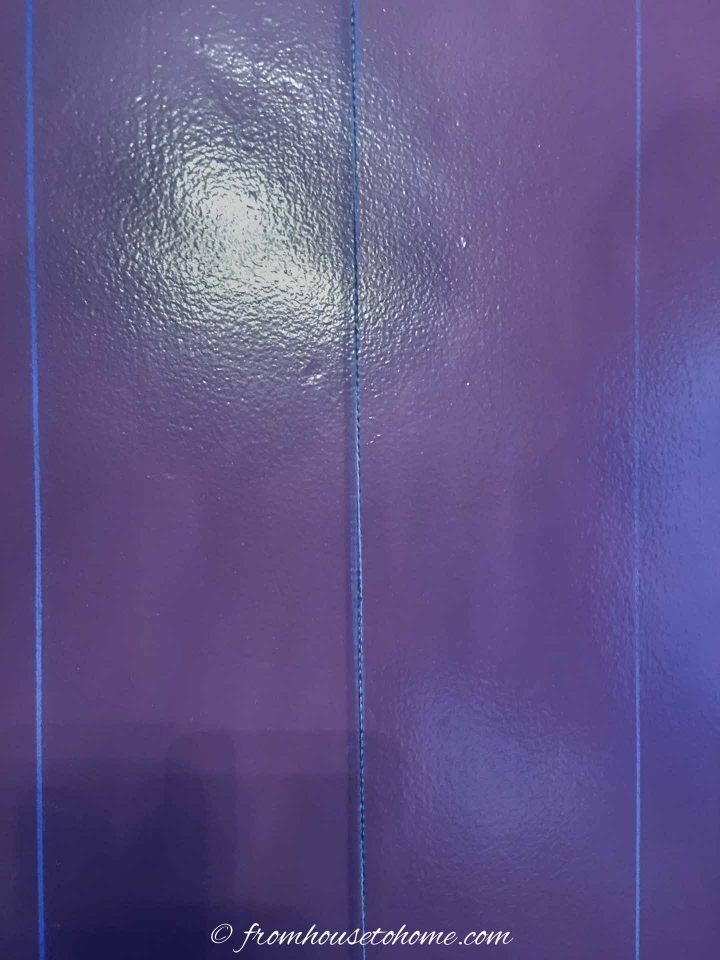
4. Allow the line to dangle down the wall.
5. Then, hold the line at the bottom and snap it so that a straight blue chalk line marks the wall.
6. Repeat steps 3 to 5 for each remaining mark at the ceiling.
7. Figure out which stripes are going to remain the background color. Put a small chalk mark in the center of them to help you remember which ones they are.
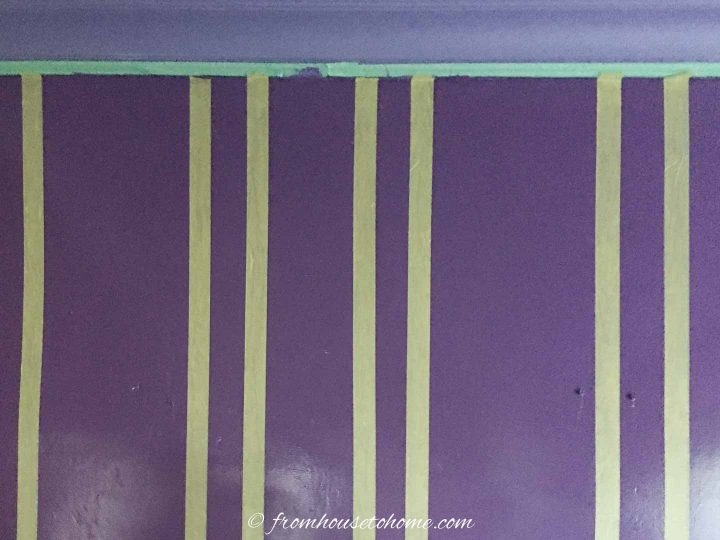
8. Apply delicate surface masking tape along each of the chalk lines making sure it is on the background-colored stripe side of the line.
9. Press down on the edges of the tape to make sure they are sealed. This helps to prevent the paint from bleeding under the tape.
7 | Paint The Vertical Stripes
1. Use the 4″ roller to paint all of the stripes in the first color of paint.
2. Then repeat for all of the stripes in the second color of paint.
This is where using one color on every other stripe makes the project a lot easier.
Because the background color separated the other two stripe colors, I did not have to wait until the first stripe was dry before painting the next color.
If your stripe pattern does not have the background color alternating between the other stripe colors, you would have to wait a week for one color to dry before applying a new row of tape. Then paint the next color.
I gave the stripes two more coats (allowing for the recommended drying time).
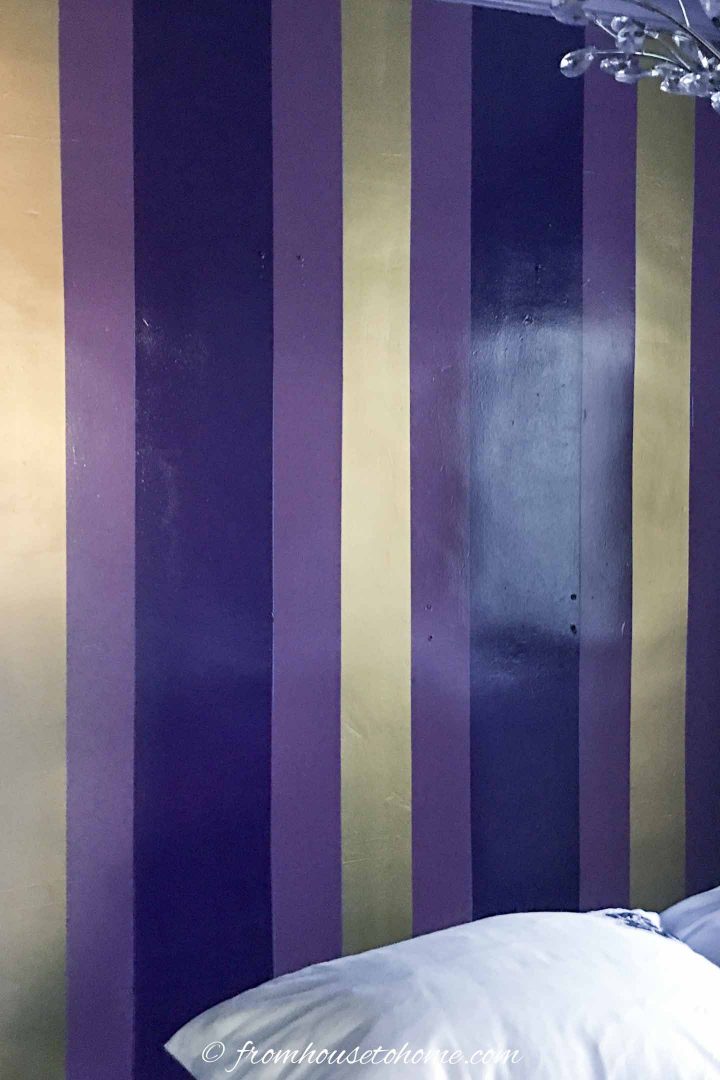
3. Gently peel off all of the painter’s tape. Doing this while the paint is still wet helps the tape to come off cleanly.
4. When all the stripes are completely dry, remove any blue chalk lines by dusting the wall with a dry cloth.
I love the finished wall!
Other Painting Ideas You Might Like
- 10 Ways To Paint Walls Using Tape
- 25 Creative Ways To Paint Your Walls
- How To Pick Paint Colors For Your Room
Next trick: the background does even not need to be perfectly plastered: just apply a very thin layer of acrylkit on the edges of the tape, works great!
Thank you Frans for the good tip.
Absolutely stunning. My husbands favorite color is purple. Not mine. But – I am learning to tolerate it. You did an amazing job.
Thank you Jody for your kind comments.