How To Remove Mouldings So You Can Reuse Them

If you have been following along with my craft room updates, you know that I removed some wallpaper (click here to find out how) and took down some mouldings to put up my fabric roll storage rack.
I had a few questions about how I removed the mouldings without damaging the wall. And I always try to save them for another project…so I thought I would share my process in case anyone else wants to know.
Keep reading to find out how to remove mouldings so you can reuse them.
But First…An Installation Tip
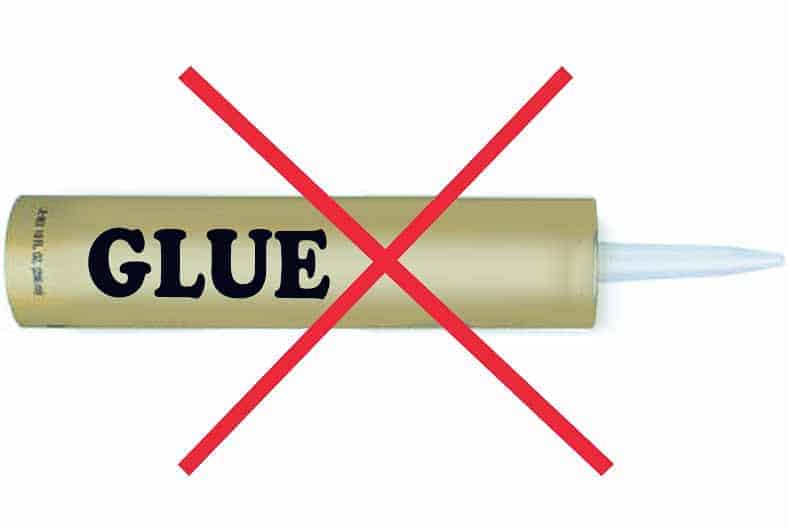
The first part of the moulding removal process is actually an installation tip: Don’t use glue to attach the mouldings to the wall.
I know professional installers will disagree with me on this point. The glue does do a better job of securing the moulding to the wall…but it will make removing them later so much more difficult. And it will be almost impossible not to damage both the moulding and the wall in the process.
So if you’re like me, and will probably want to change things around in the future, skip the glue…use nails to attach the moulding to the wall, and caulk around the edges to fill any gaps.
What You Need
Materials
- Spackling
Tools
- Utility Knife
- Molding Bar*
- Hammer
- Needle Nose Pliers
- Putty Knife
Step 1: Split The Joint Caulking
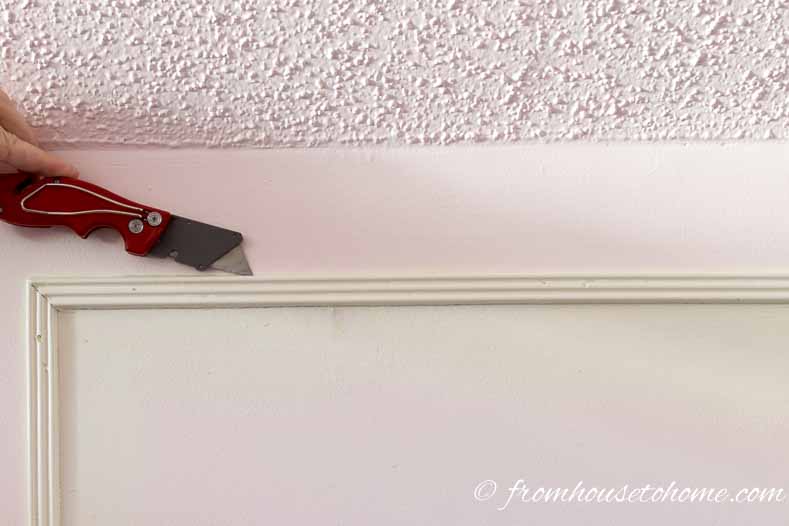
A lot of moulding installations will have caulking at the joints that was used to hide any gaps. Use the utility knife to cut through this caulking so that the moulding is separated from other moulding pieces and the wall.
Make sure you cut all the way down the length of the moulding anywhere that it meets the wall.
This step is very important to prevent the wall from being damaged when you remove the moulding. Cut slowly trying not to gouge the wall or the moulding in the process.
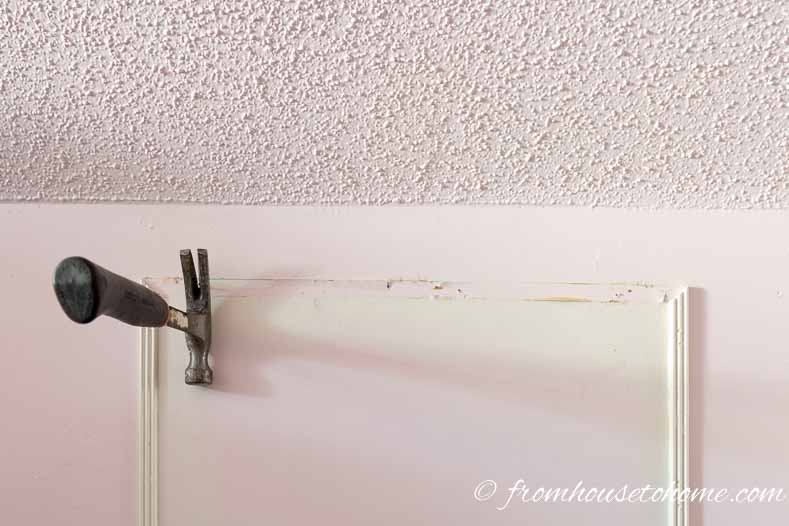
Step 2: Pry Up The Moulding With a Moulding Bar

1. Starting at one end, slip the flat end of the moulding bar in behind the moulding. Make sure not to gouge the wall.
2. Push the end out to separate the moulding from the wall.
3. Move the moulding bar across the moulding a few inches and repeat the process.
If you are having trouble getting it to go in, tap the end lightly with a hammer. Be careful not to hit too hard or you will cause some damage.
If you see pieces of drywall coming off with the moulding, that usually means the caulking has not been cut all the way through (or the moulding was glued on). Use the utility knife to cut the caulking some more to minimize the damage (or you can be impatient like I was and end up with extra drywall patching).
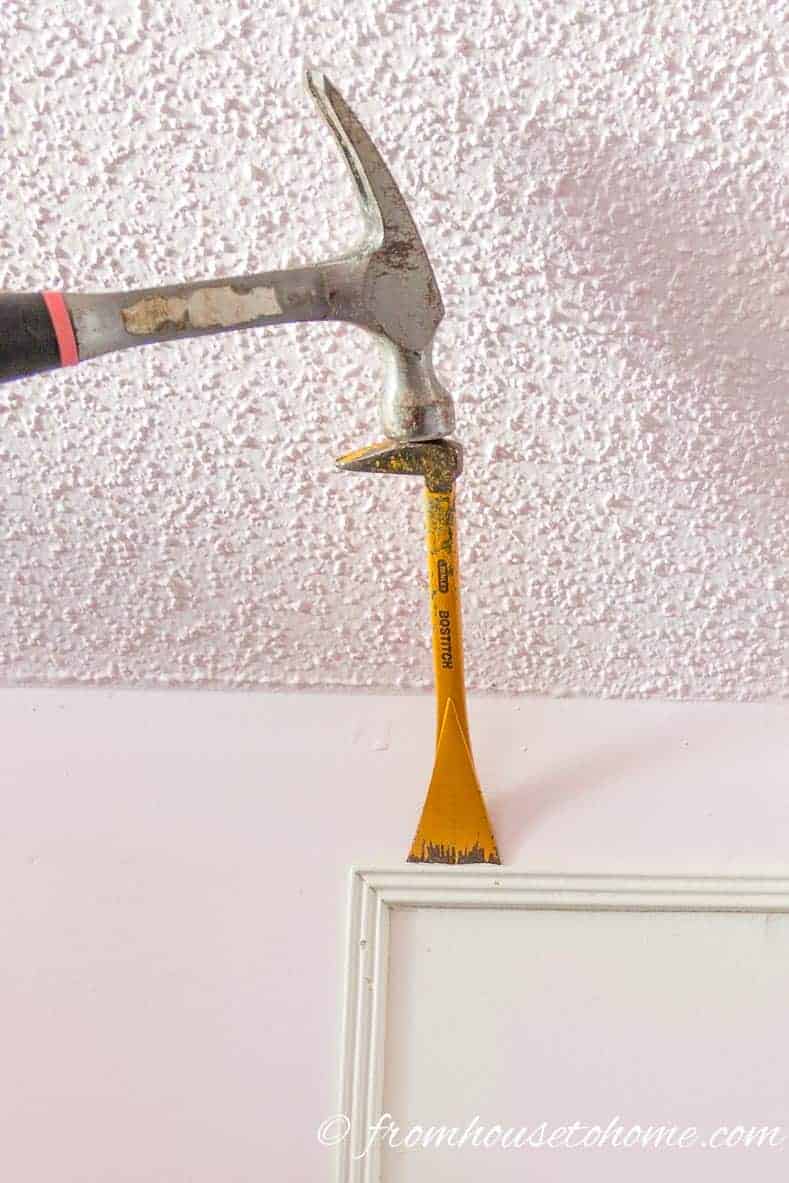
Step 3: Remove Nails
1. If there are any nails left in the wall (this may happen if they were nailed into wood), use a hammer or the moulding bar to pull them out.
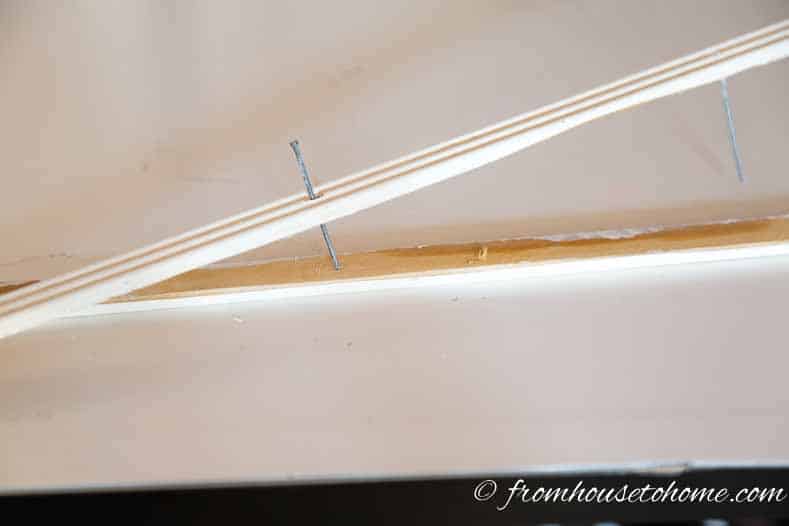
2. For the nails that are still attached to the moulding, pushing them back through the original hole will cause the least amount of damage. You can do this by pushing them down onto a hard surface (pick one that you don’t mind getting scratched). You could also use the hammer.
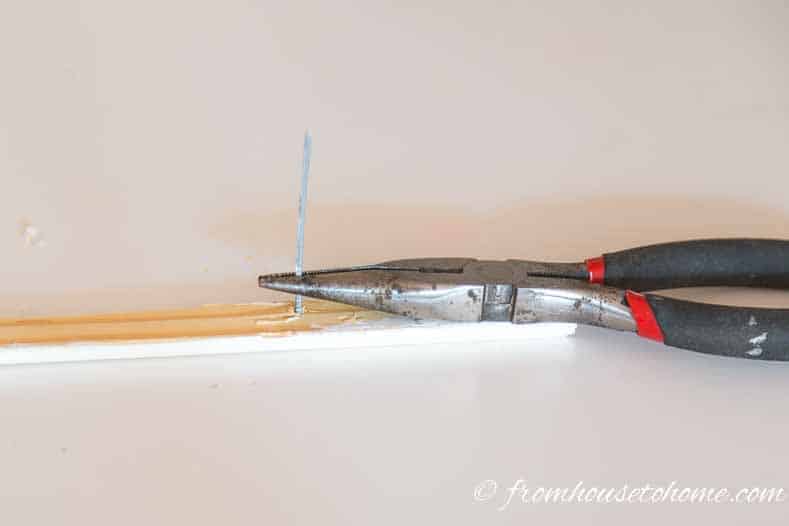
3. Sometimes they won’t go back through the original hole (it could be filled with caulk). In this case, use needle nose pliers to pull them through the back of the wood works pretty well. Rotating the pliers as you pull will make them come out easier. This process will only work if the mouldings were installed with finish nails (where the nail head isn’t very big).
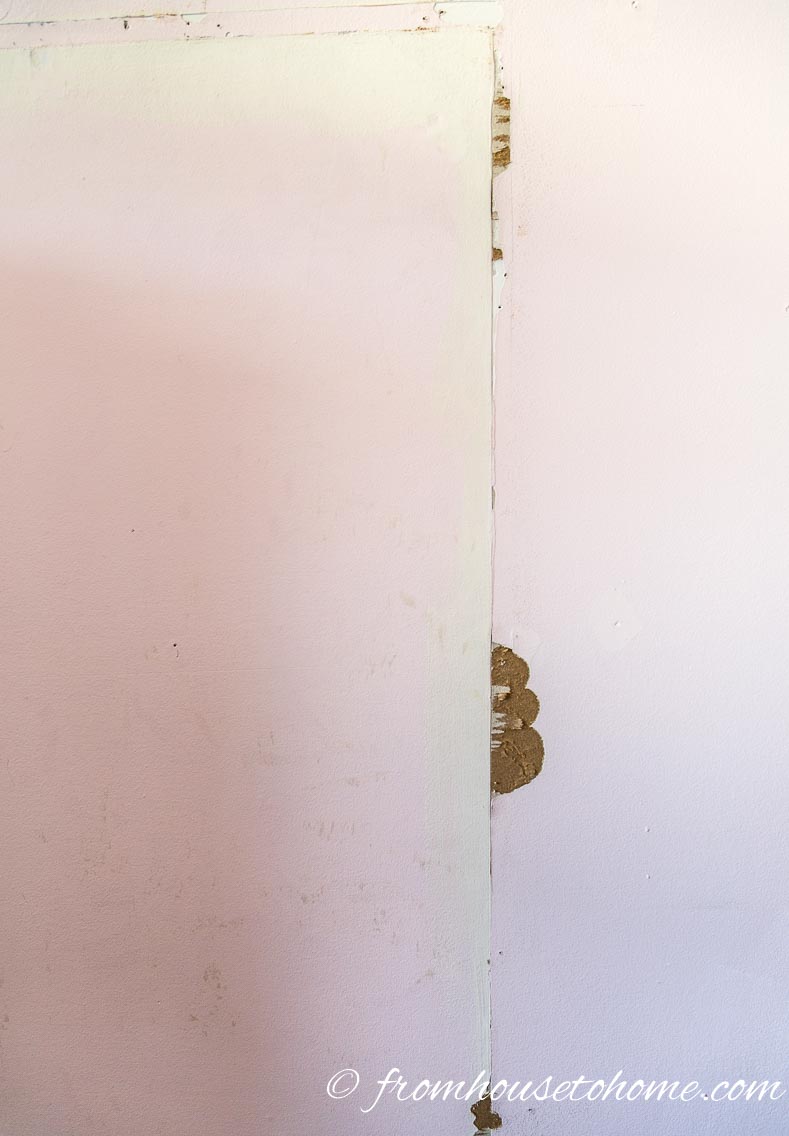
Step 4: Scrape Off Excess Caulk
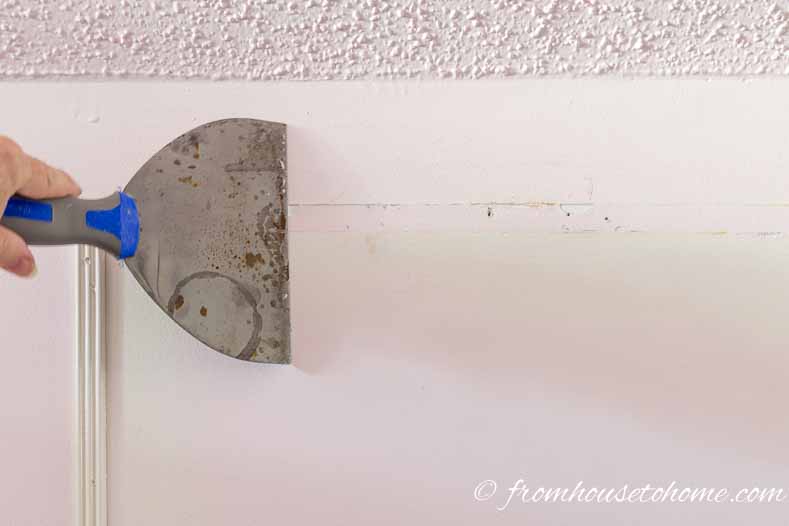
1. Remove any remaining caulk from the wall by using a flexible putty knife. I like to use a pretty wide one (3″ or wider) for this. They cover a larger area and are less likely to gouge the wall.
2. If necessary, use a sanding block to remove any little bits.
3. Use the putty knife to scrape any excess caulk off the mouldings as well. They should now be ready to reuse.
Step 5: Patch The Wall
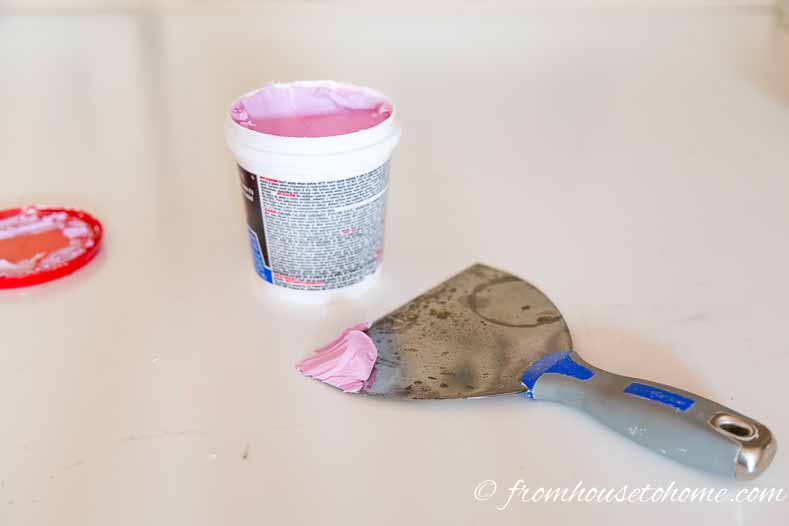
1. Scoop up some spackling with the putty knife. Again I like to use a wide putty knife for this. Ideally it should be wider than the biggest hole you are trying to patch. That makes it easy to get a smooth, flat finish.

2. Spread the spackling across the holes with the putty knife. Scrape off as much of the excess spackling as you can.
3. Wait for the spackling to dry. I like to use the type that changes color when it is dry so I can tell when to go on to the next step.
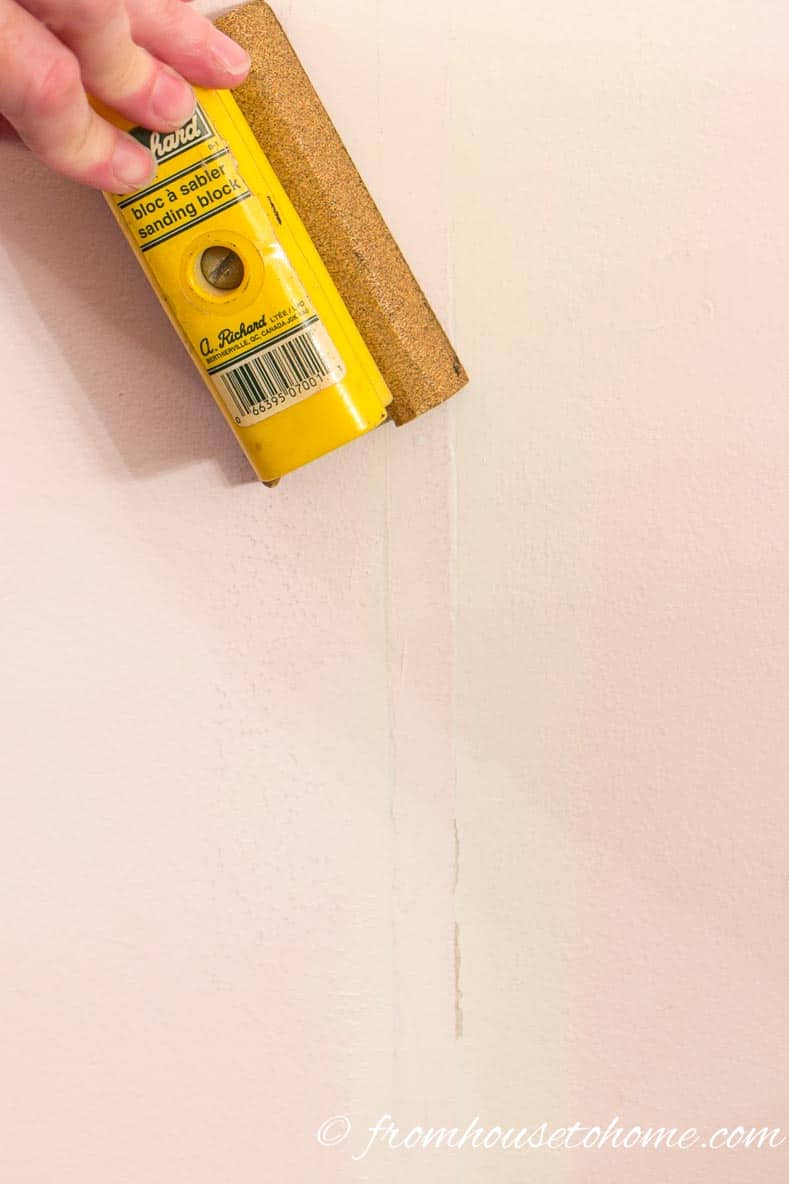
4. Sand off any extra spackling with the block sander.
5. If your holes were big, you may need to repeat the spackling process again until you have built up enough layers to fill them completely.
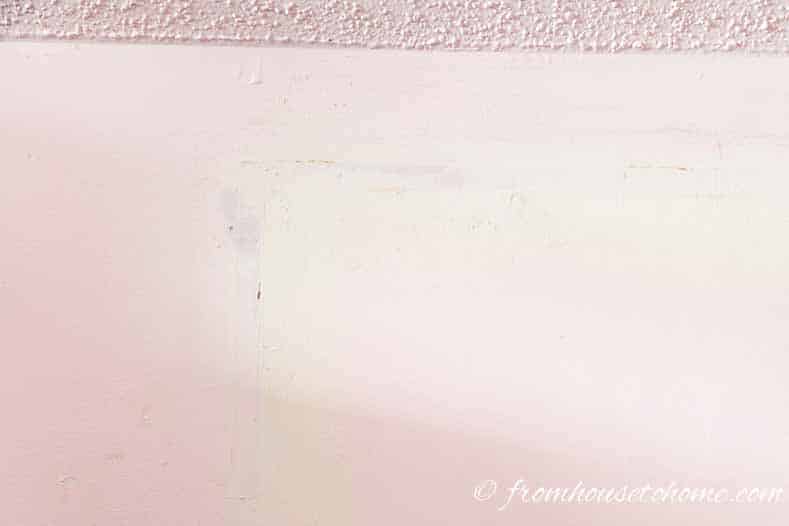
You should end up with a smooth wall that is ready for your next project.
Have comments or questions on how to remove mouldings so you can reuse them? Tell us in the section below.
This post was originally published on October 31, 2016 but was updated with new content on July 7, 2023.