
DIY Copper Pumpkins: An Elegant Pumpkin Craft For Fall
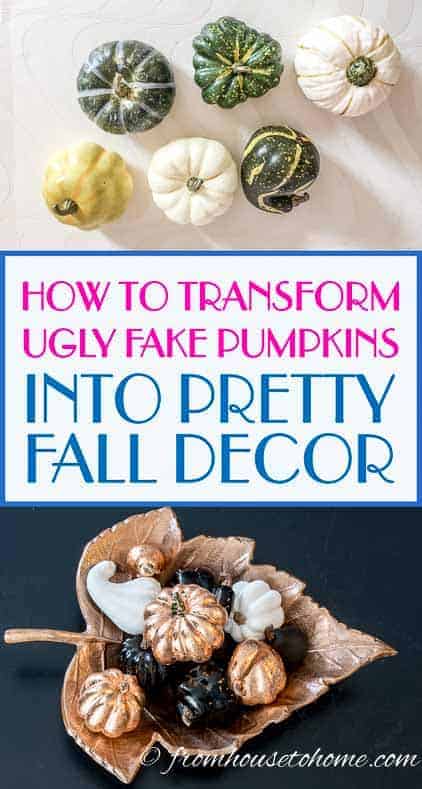
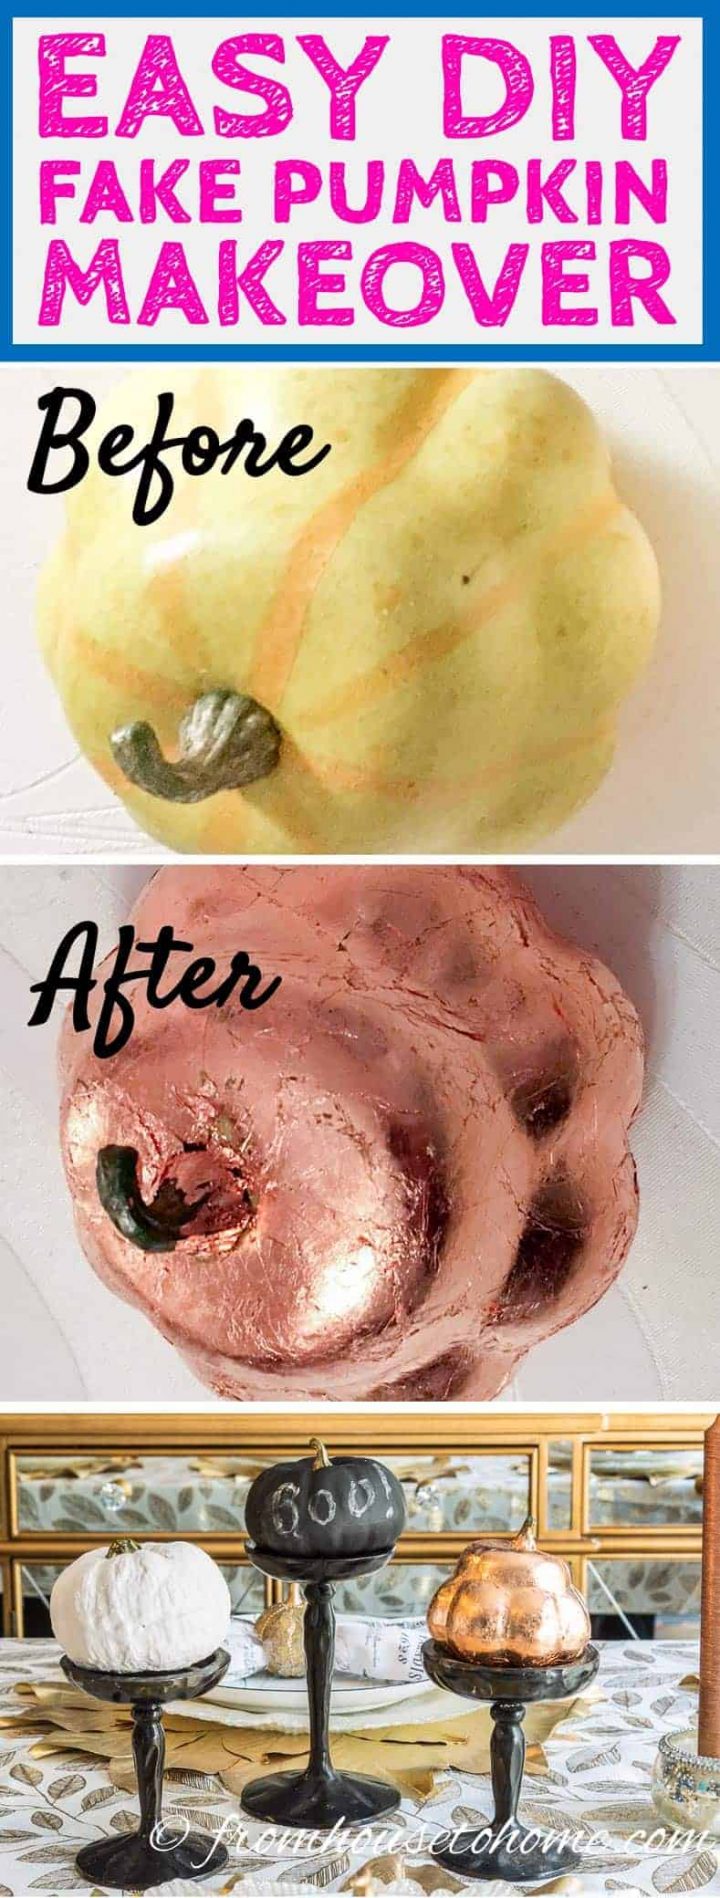
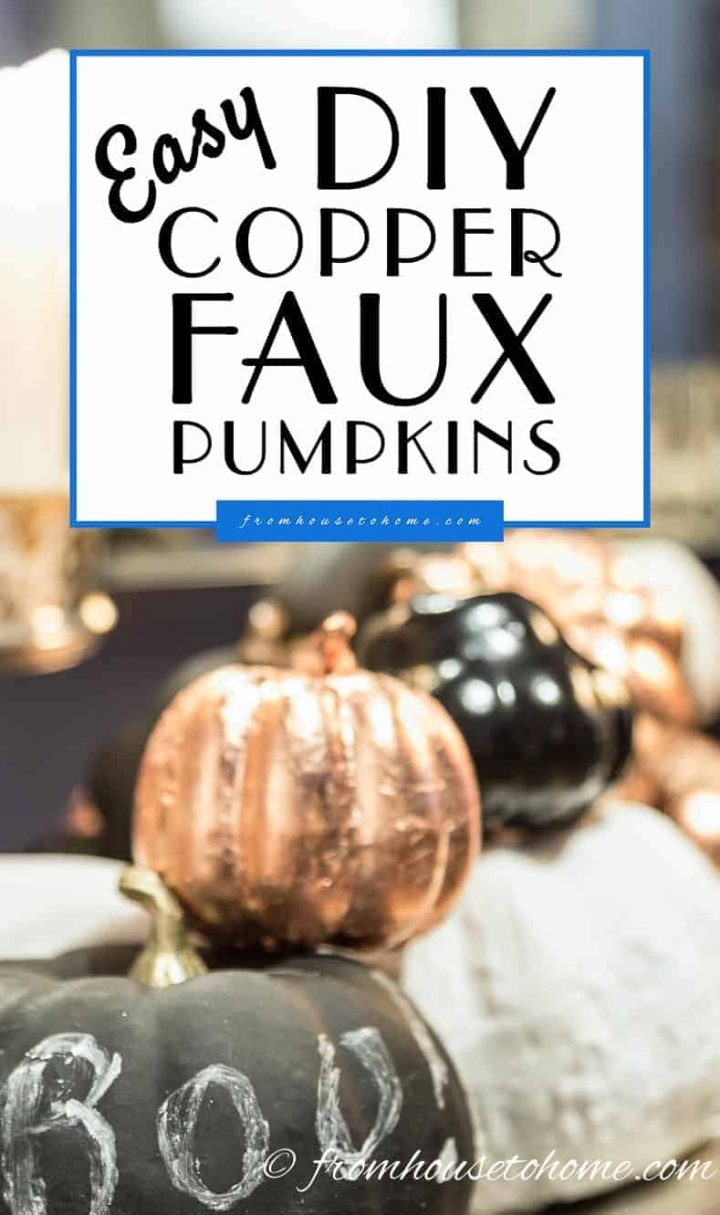
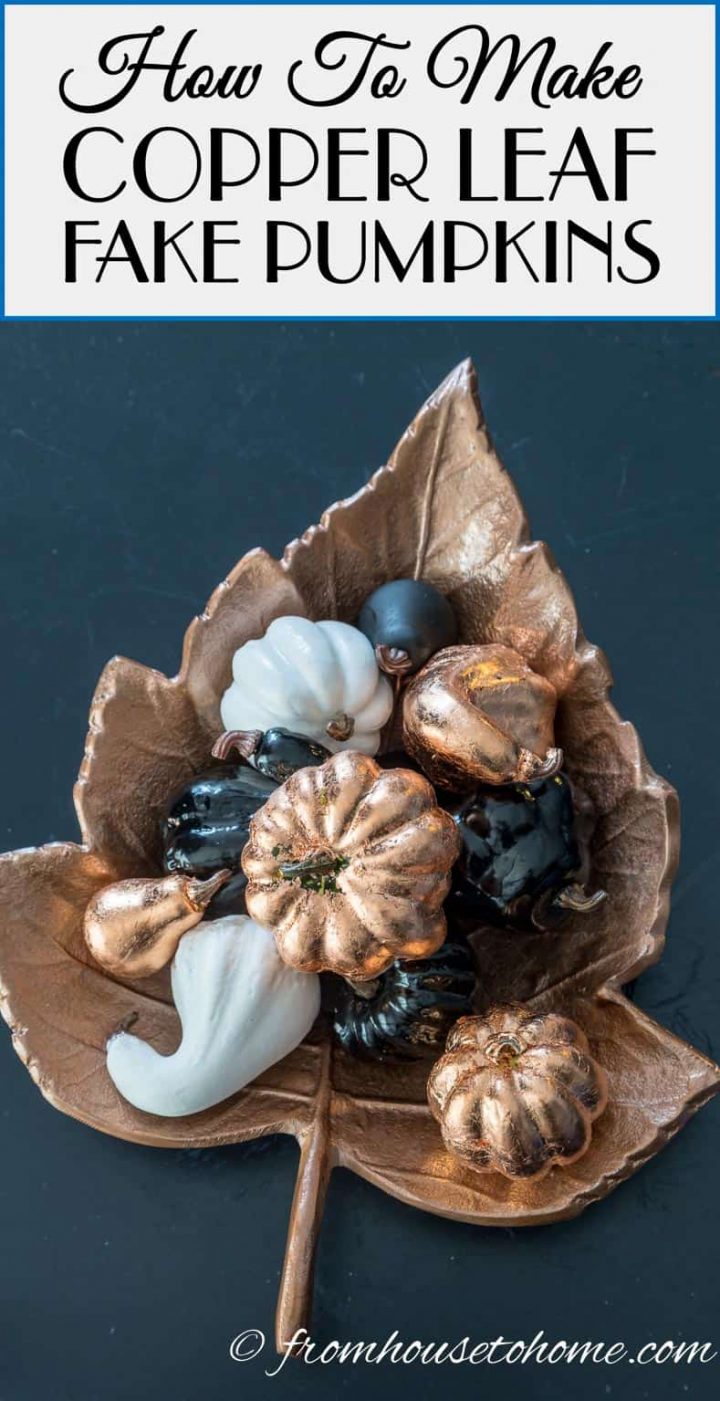
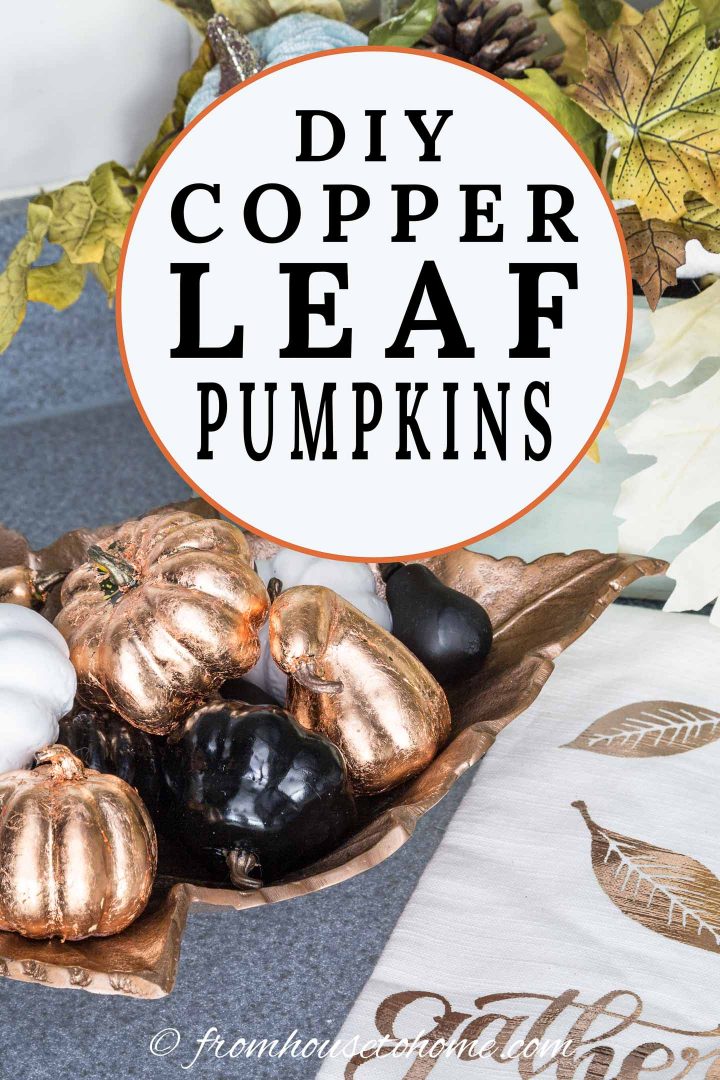
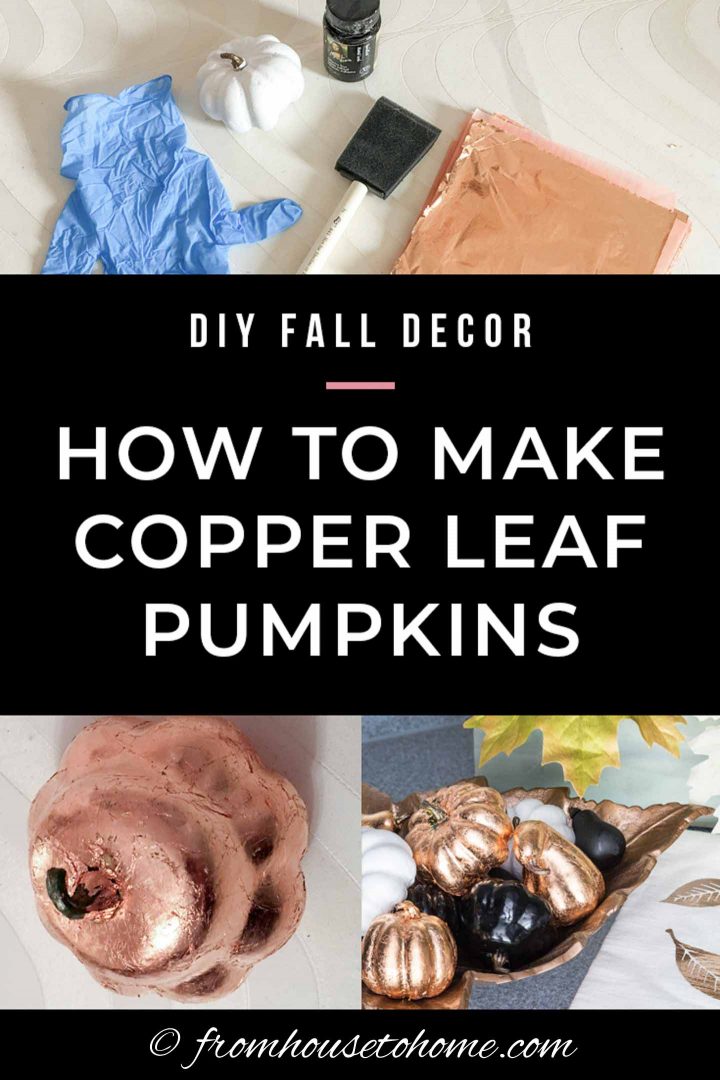
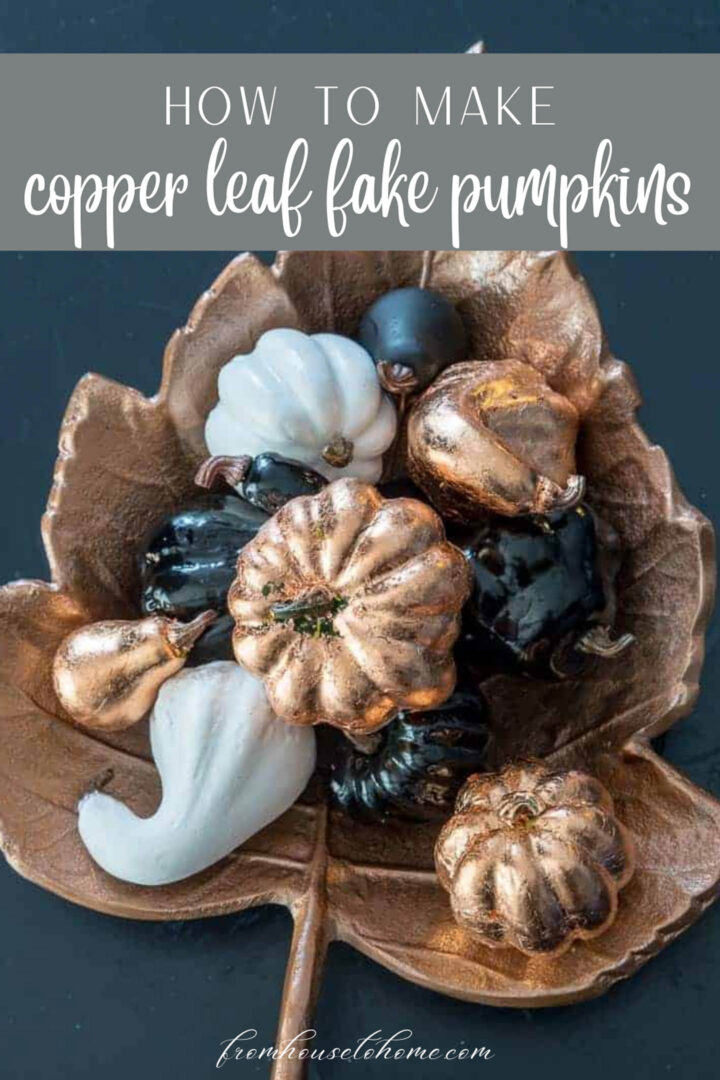
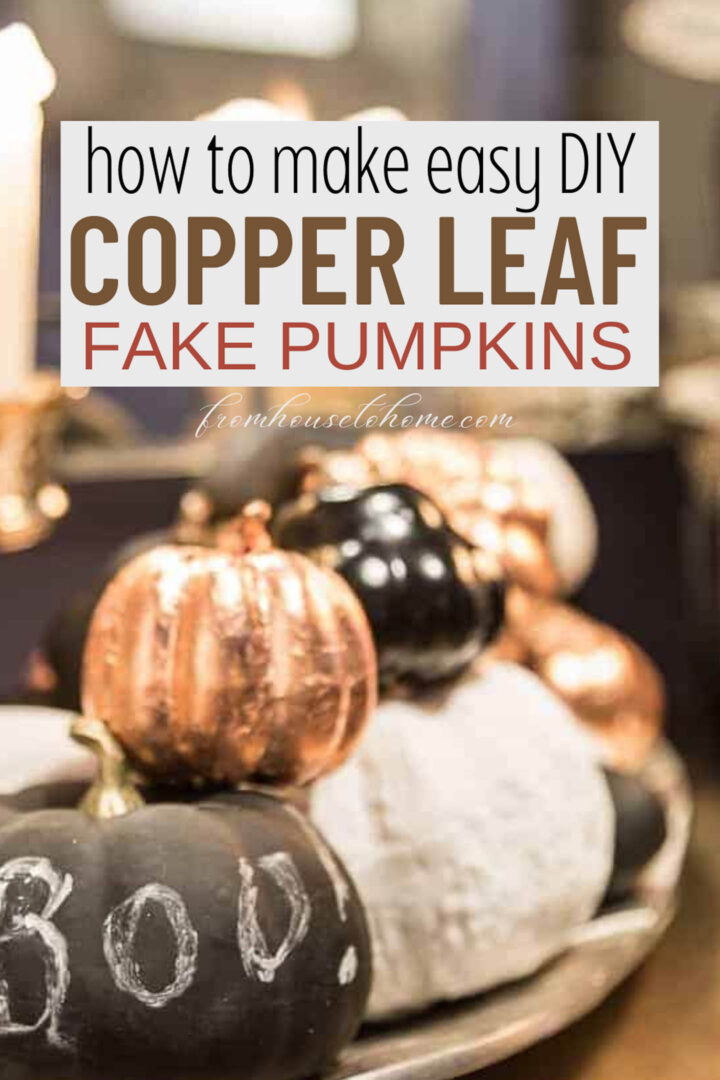
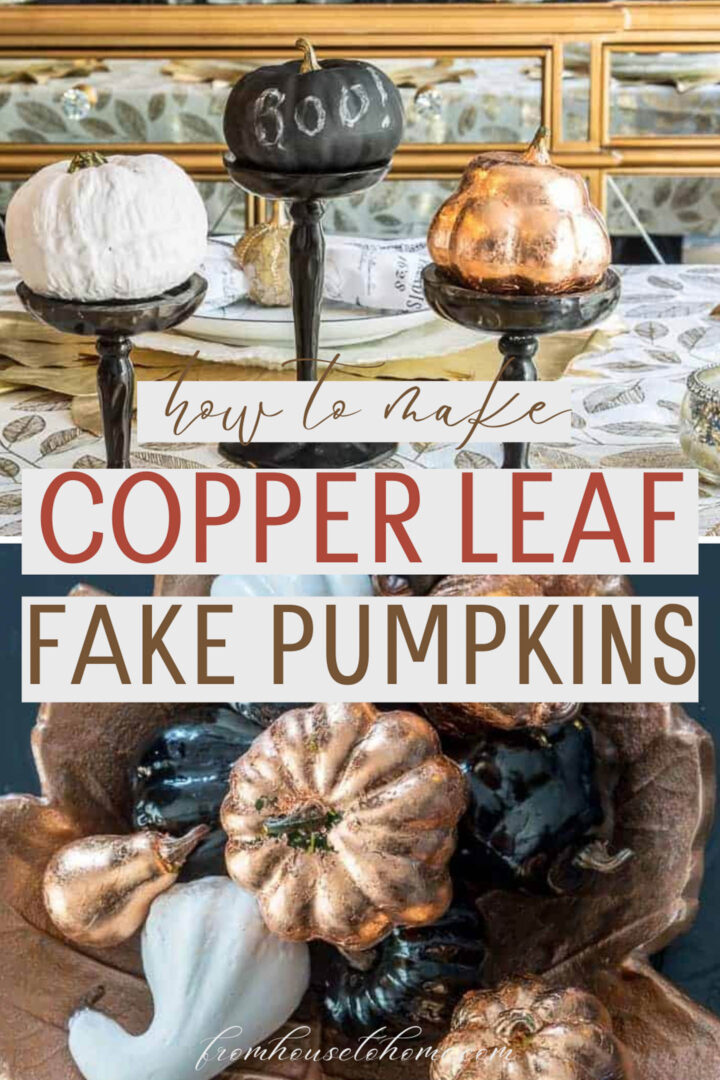
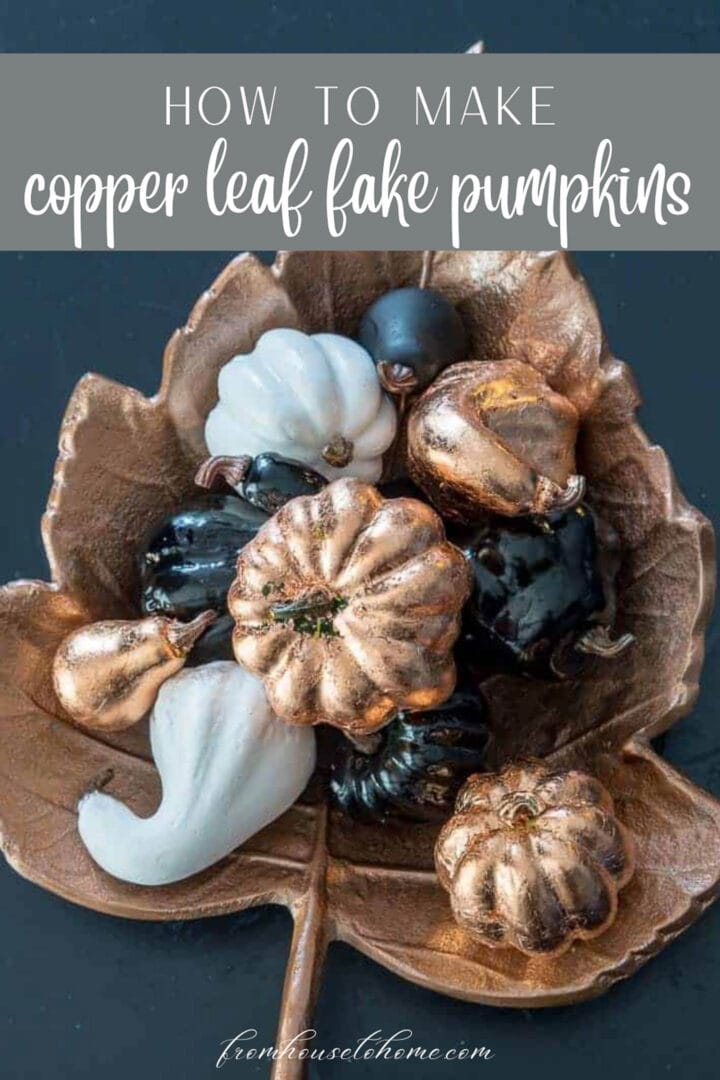
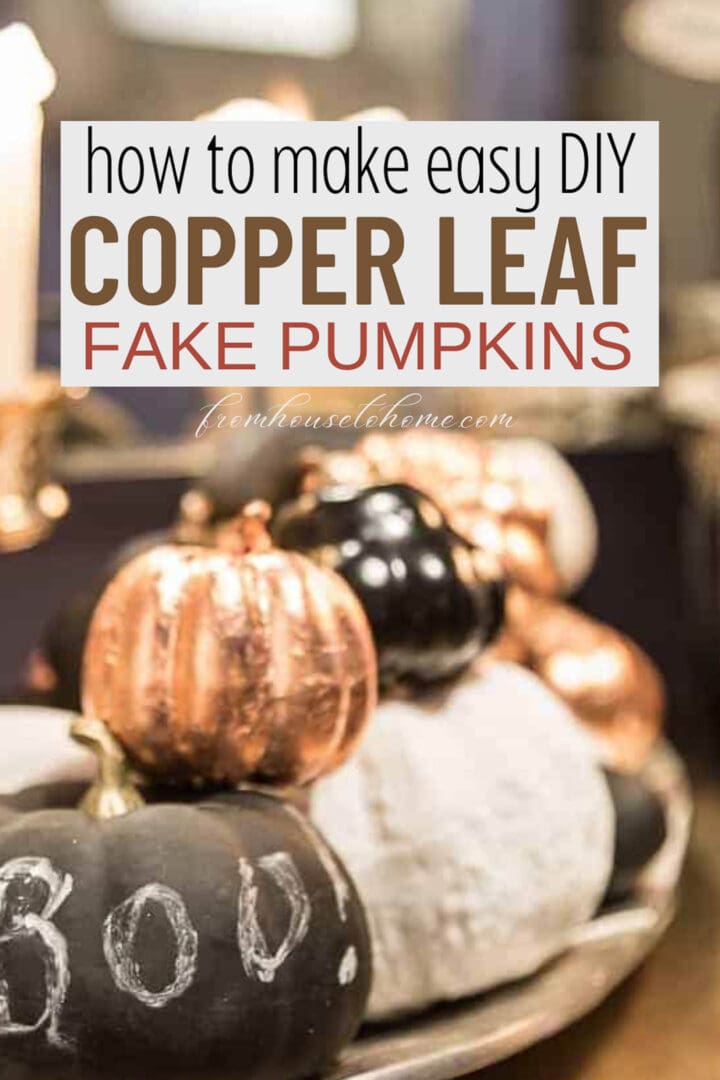
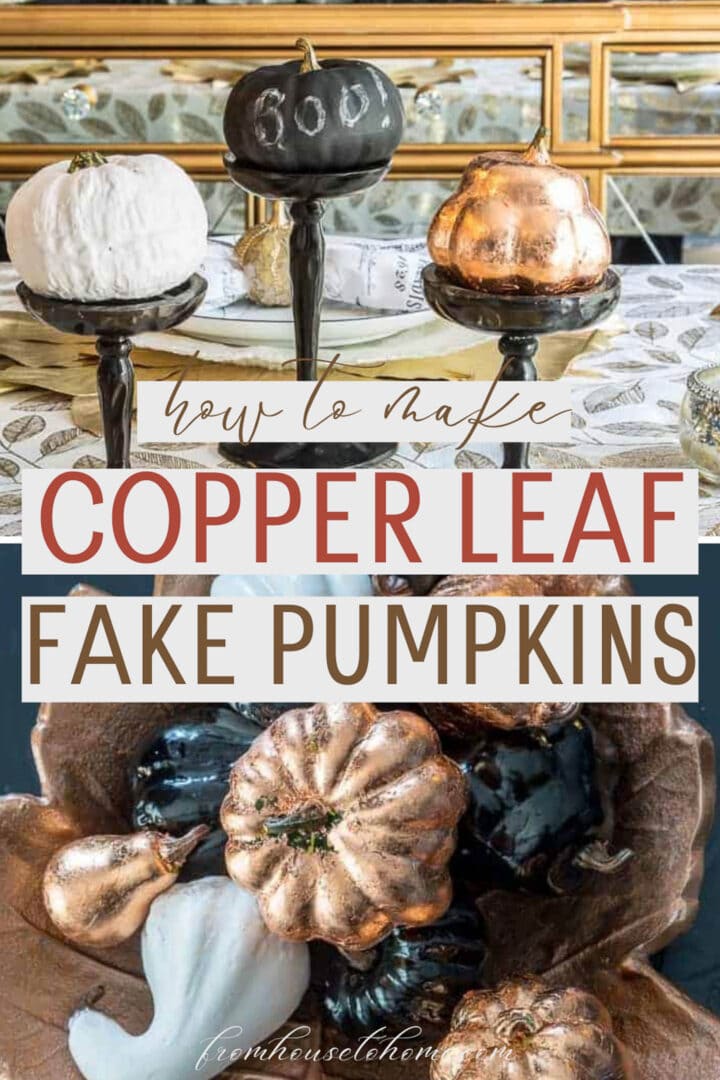
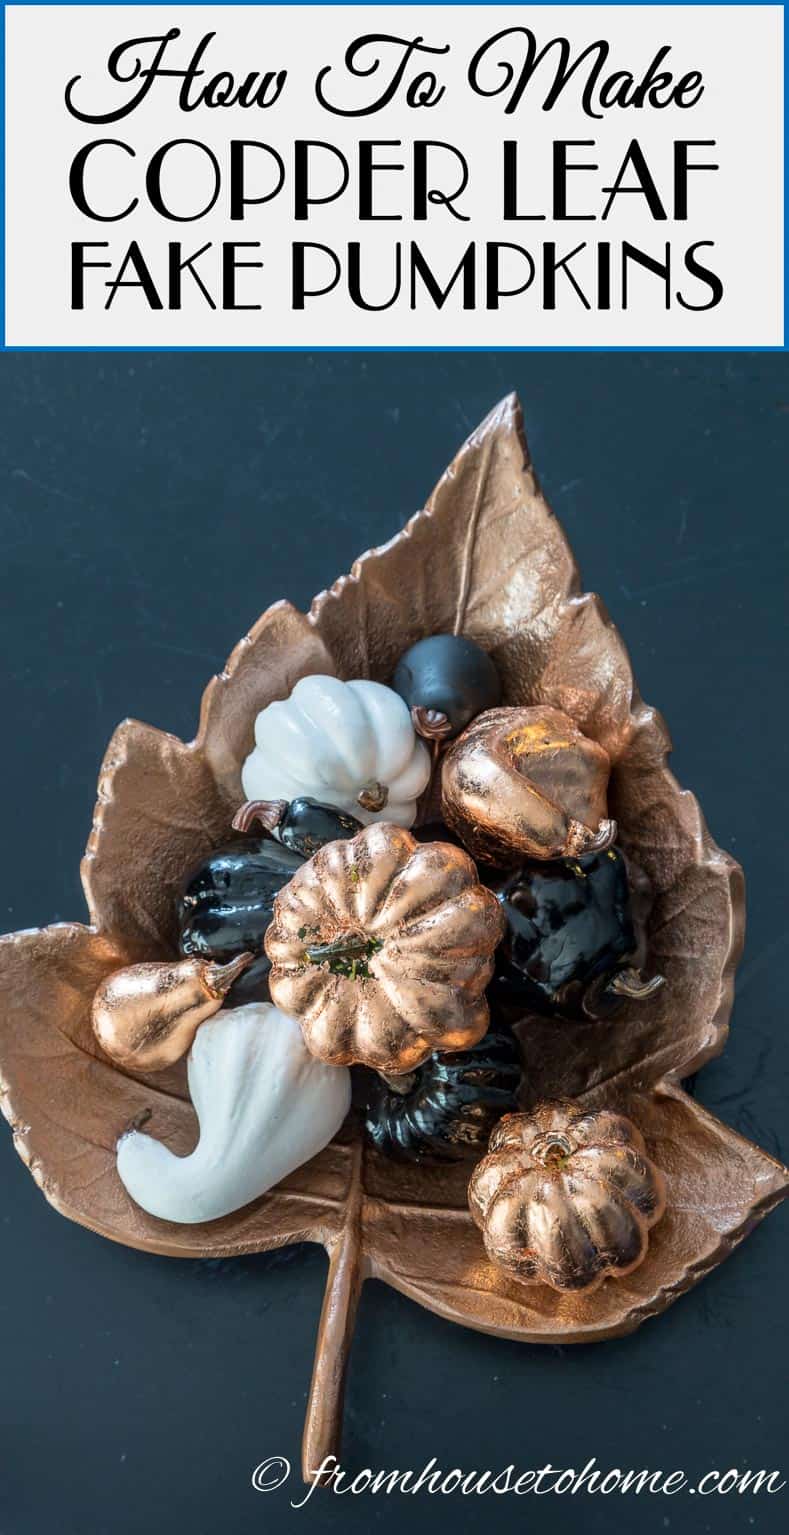
Copper is a beautiful way to add warmth to your fall decor without relying on the traditional orange color palette. That’s why these DIY copper pumpkins are one of my favorite pumpkin crafts. A little copper leaf transforms inexpensive faux pumpkins into eye-catching decorations with a rich metallic finish.
For years, I skipped right over fall decorating.
Growing up in Canada, fall always meant summer was over and cold weather was on the way, so it was never my favorite season.
Add in the fact that I’ve never been a fan of orange, and my decorating usually went straight from summer to Halloween and Christmas.
But a few years ago, I decided it was time to give fall decorating a chance.
And pumpkin crafts seemed like the obvious place to start.
The only problem? Most pumpkins are orange.
Instead, I wanted something that still had all the warmth of fall without the traditional colors.
Copper leaf turned out to be the perfect solution.
It gives inexpensive faux pumpkins a rich, warm finish that’s elegant enough to work with any fall decor.
Read on to learn how to make copper leaf pumpkins.
More DIY pumpkin crafts

Get a FREE Room Makeover Workbook by signing up for our newsletter
You’ll also get access to our members-only resource library with all of our other printables.
We won’t send you spam. Unsubscribe at any time.
Supplies
Materials
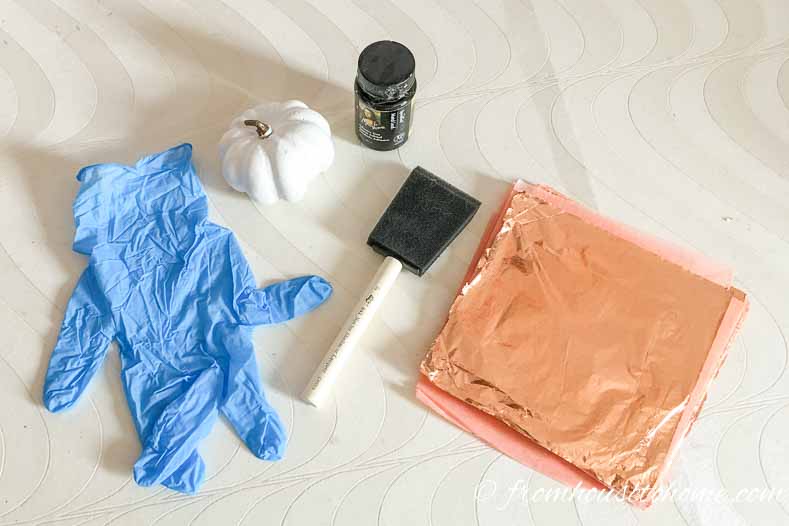
- Small craft pumpkins* – I like to use ones of various sizes because it is easier to make them look interesting in a display. Also, I would use orange ones if you can find them. That way if you get any spots where the copper rubs off, it won’t be as noticeable.
- Leaf adhesive*
- Scrap piece of cardboard or heavy paper – This is to put the pumpkins down on after you have applied the glue. Thin paper (like newspaper) doesn’t work because it will stick the adhesive and you won’t be able to get it off.
- Copper leaf* – I used real copper leaf for my pumpkins, but if you want to save a few dollars, you can go with the imitation copper leaf* instead.
- (Optional) Sealer*
Tools
- Foam brush*
- Small disposable container
- Disposable gloves
How To Make DIY Copper Pumpkins
1 | Apply the adhesive
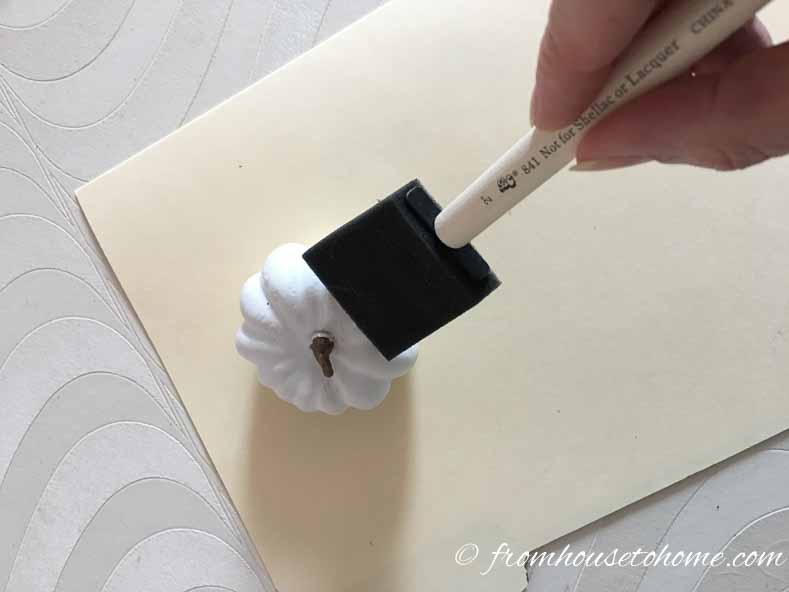
First pour a little of the adhesive into a small container.
Use the foam brush to apply the adhesive* to the pumpkins in a thin layer. I didn’t put any on the stem since I wanted to leave it brown. And it also makes a great handle to hold up the pumpkin while you are working with it.
Put the pumpkin down on a scrap piece of cardboard.
Wait about 10 minutes for the adhesive to become sticky.
2 | Stick on the first sheet of copper leaf
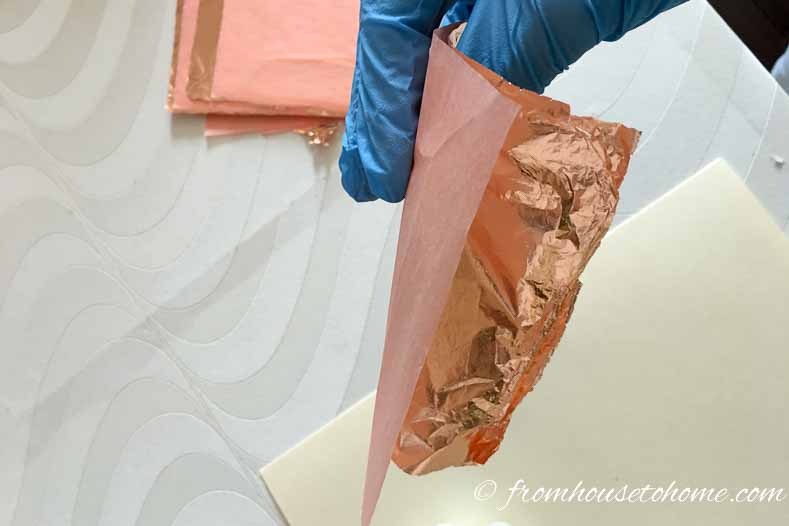
Take one of the copper leaf sheets* from the stack using the tissue paper to hold it.
I like to wear gloves for this so that I don’t get finger prints on the foil.
And it keeps the adhesive and copper leaf from sticking to my fingers.
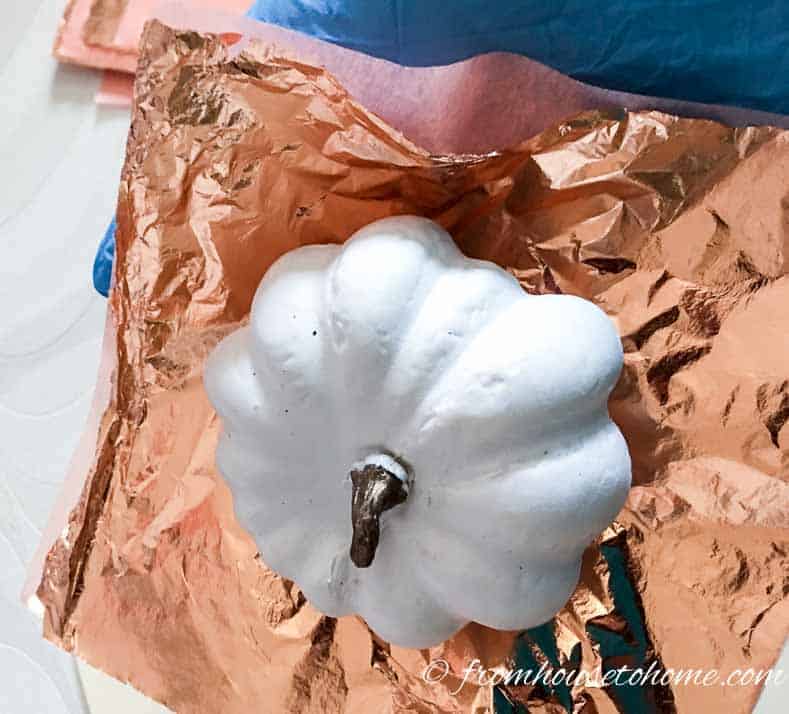
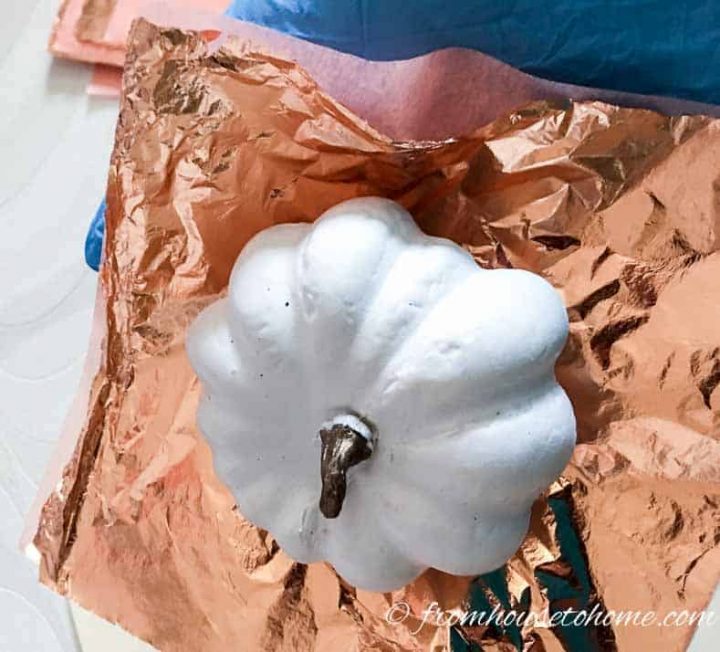
Hold the tissue paper and copper leaf flat in your hand (copper leaf on top).
Then place the pumpkin onto the copper leaf.
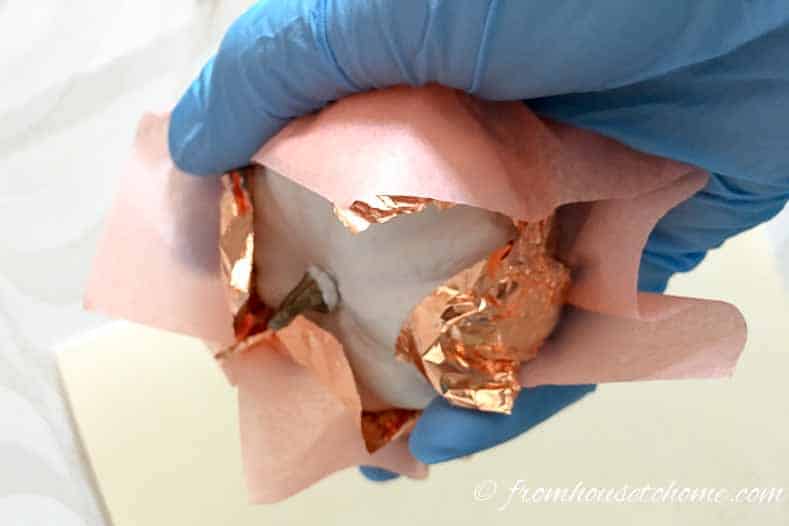
Close your hand around the pumpkin so that the copper leaf sticks to it.
Try not to have your fingers touch the pumpkin directly. Otherwise you will get glue on the gloves and the leaf will start sticking to you!
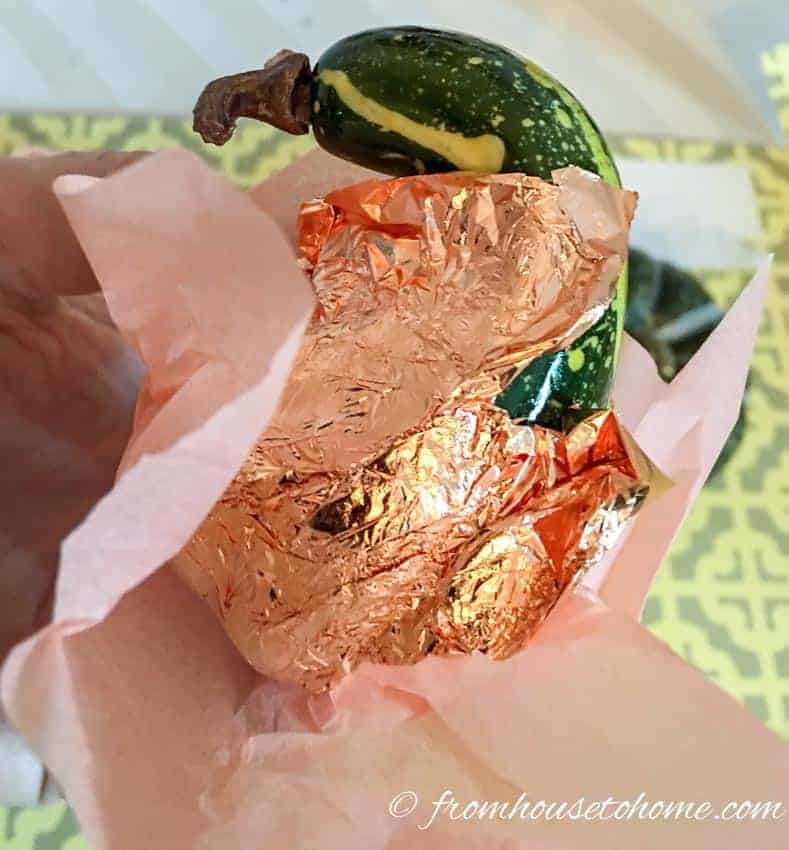
Use the tissue paper to pat the leaf onto the pumpkin.
3 | Cover any bare spots
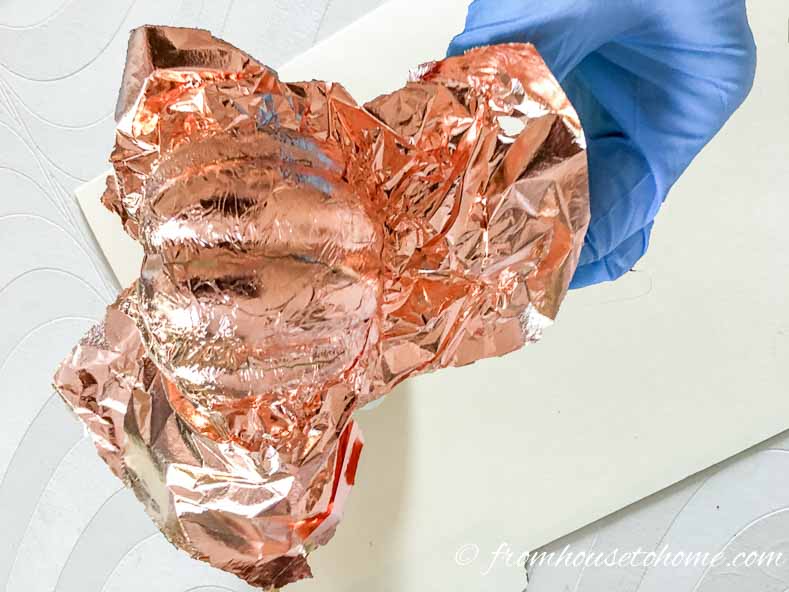
Cover any remaining bare spots by pressing another copper leaf sheet onto the glue. (You do not need to add more adhesive).
My pumpkins were small so 2 sheets generally covered them.
But if yours are bigger you keep adding more sheets until you have covered the whole thing.
4 | Remove the excess copper leaf
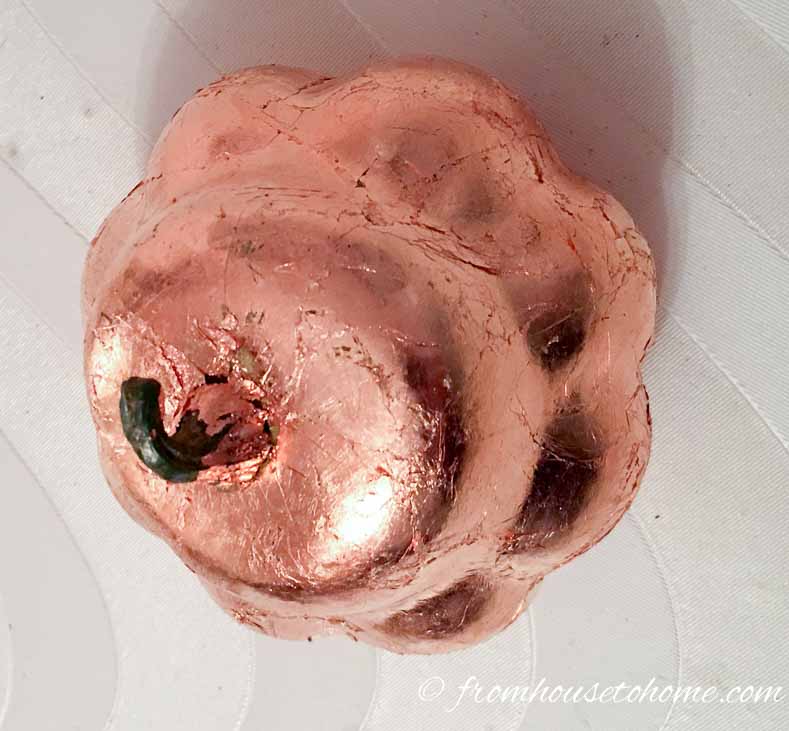
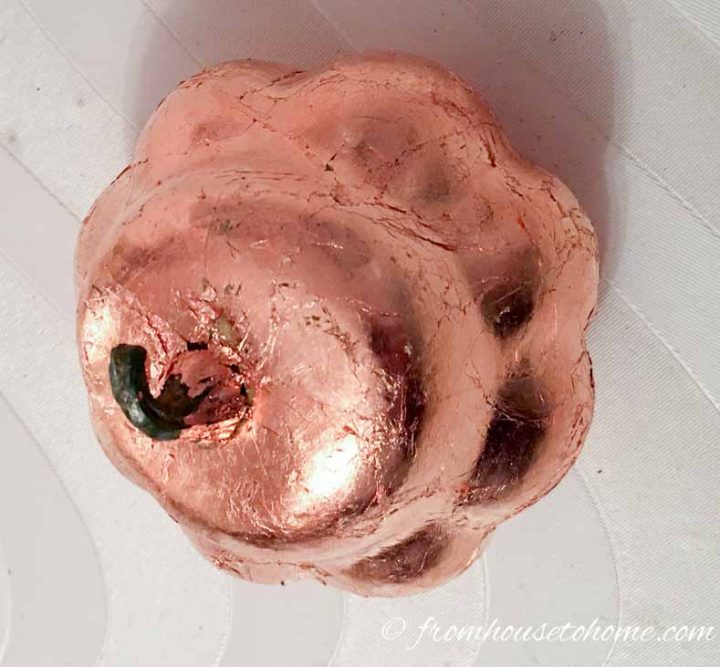
Now rub the pumpkin gently with a Kleenex or tissue paper to smooth out any of copper leaf loose edges.
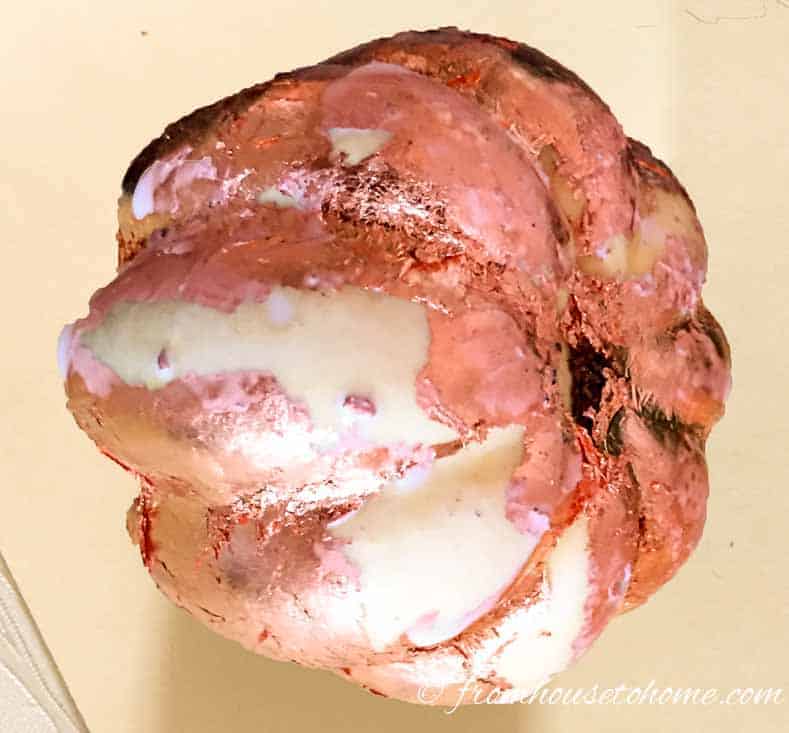
Don’t worry if some of the leaf comes off in the process.
It’s easy to fix by applying another thin layer of adhesive, waiting 10 minutes and then repeating the leafing process for those areas.
If you want to make sure the leaf does not get rubbed off later, apply a thin coat of sealer* and let it dry. (Although being totally transparent, I didn’t do this and they have lasted for years without it).
The finished copper pumpkins
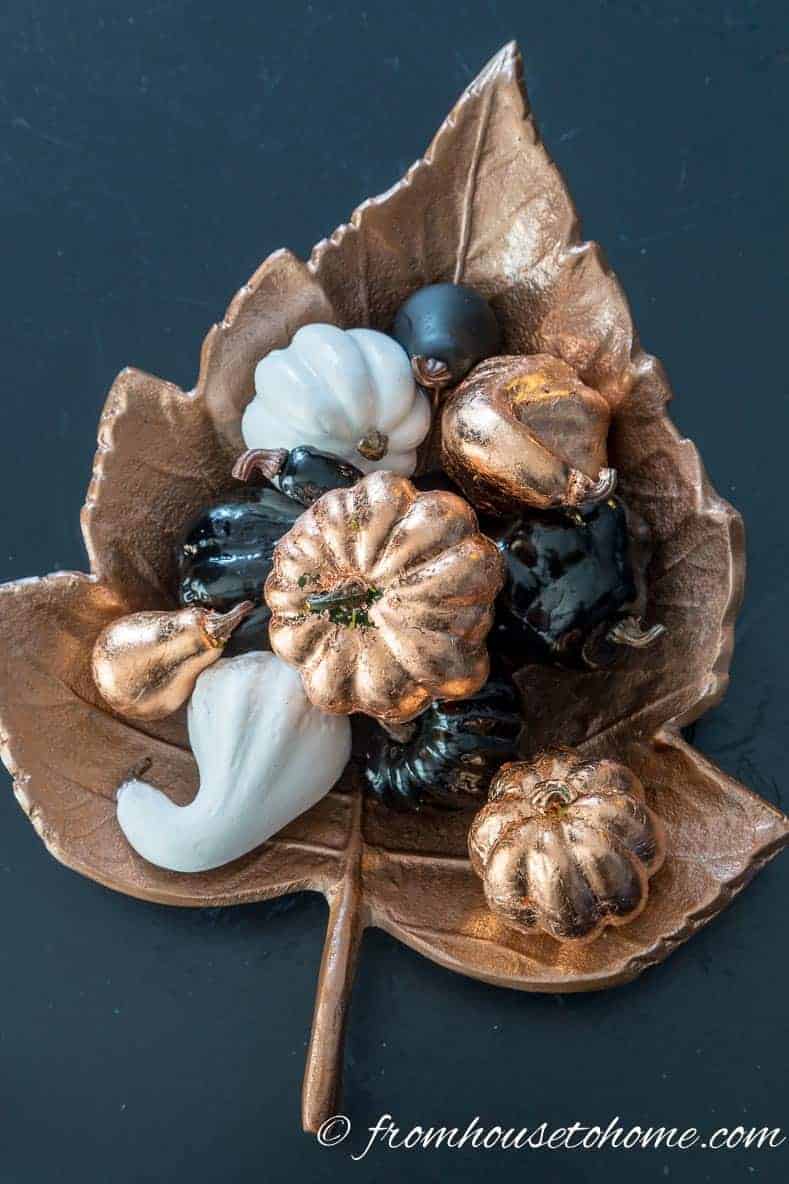
Then you are ready to use your copper leaf faux pumpkins in your fall decor.
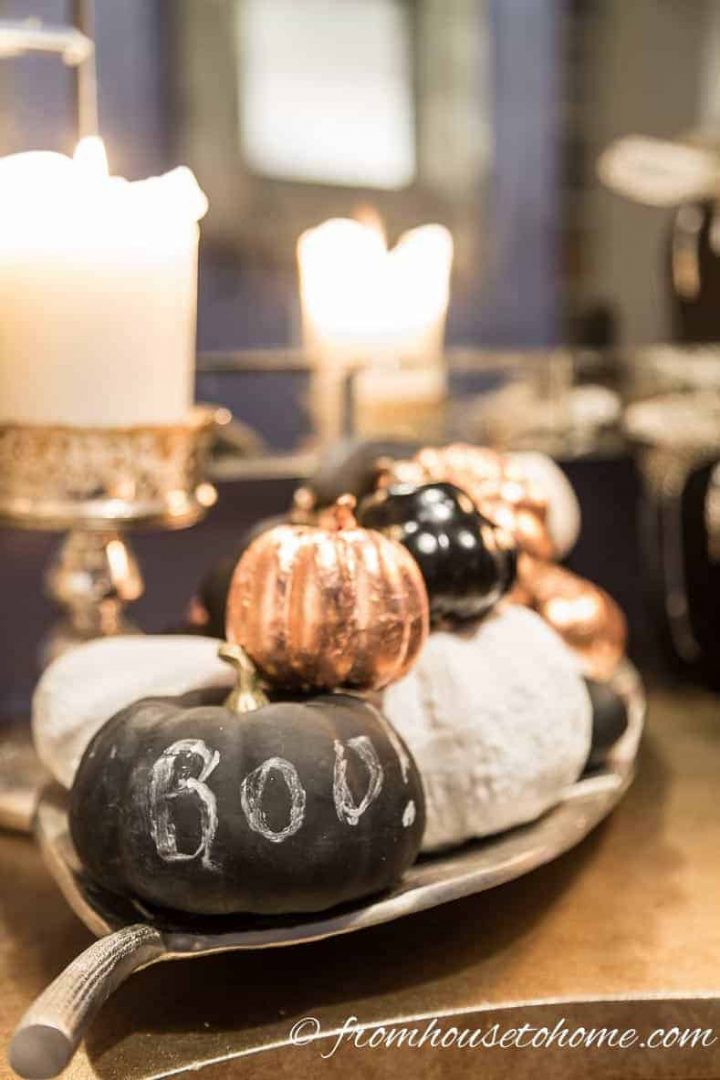
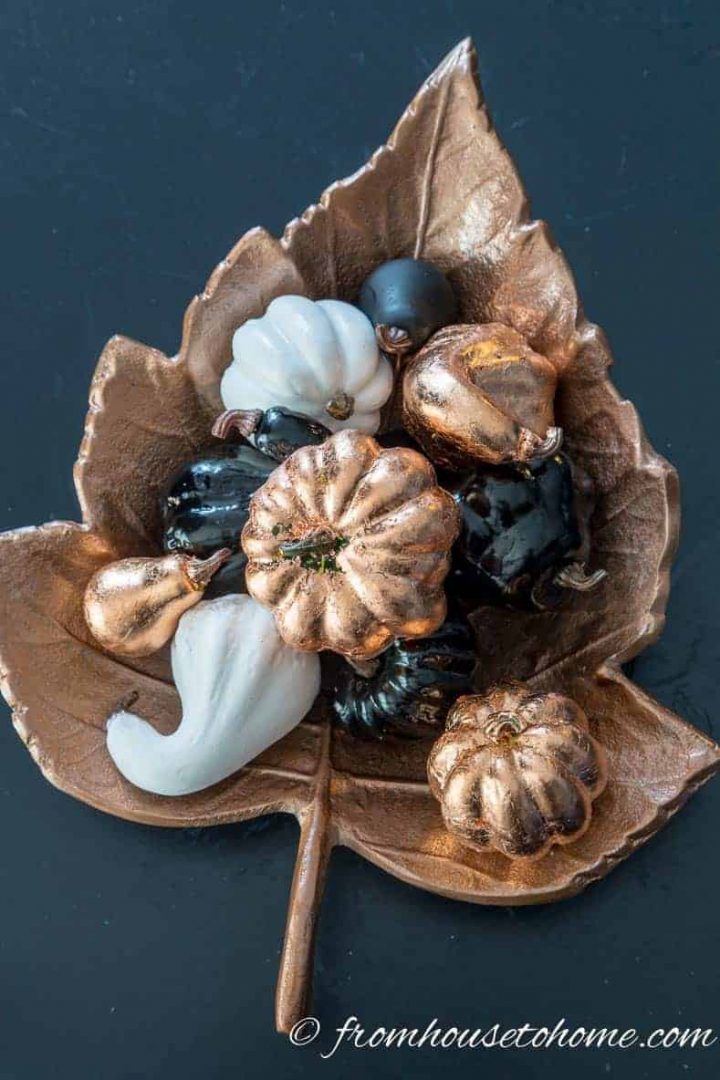
I combined them with some black and white spray-painted pumpkins so they would stand out more a copper tray.

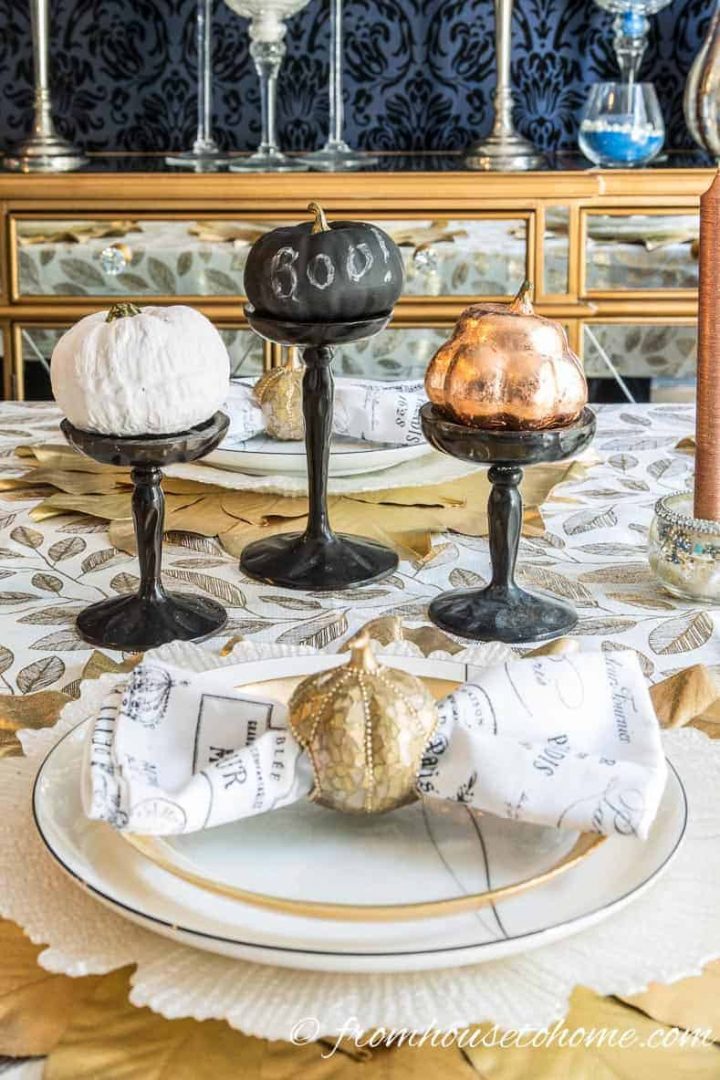
And used them as part of the fall table centerpiece in my copper and gold fall tablescape.
Hopefully, you have a spot for some copper leaf faux pumpkins also!

DIY Copper Pumpkins
Print PinMaterials
- 1 package small craft pumpkins
- 1 small bottle gold leaf adhesive
- 1 package copper leaf sheets
- 1 bottle gold leaf sealer (optional)
Tools
- Small disposable container
- Disposable gloves
- Small foam brush
- Piece of cardboard or thick paper To put the pumpkins on after you have applied the adhesive.
Instructions
- Pour a little adhesive into a small container.
- Use a small foam brush to apply a very thin layer over the entire pumpkin.
- Sit the pumpkin on the cardboard to rest for 10 minutes.
- Use the tissue paper that comes with the copper leaf sheets to lift one sheet off the pile and stick it to the pumpkin.
- Stick on additional copper leaf sheets until the entire pumpkin is covered
- Use a Kleenex or soft cloth to gently rub off any excess copper leaf and smooth out any bumps.
- Seal with the sealer if desired.

Have comments or questions about our DIY copper pumpkins? Tell us in the section below.
This post was originally published on August 29, 2017 but was updated with new content on July 31, 2026.