
How To Make a DIY Dry Erase Calendar (That Will Match Your Decor)
Learn how to make a custom DIY dry erase calendar to match your room decor with this step-by-step tutorial. It looks prettier and works better than a traditional white board!

For quite a while now, I have been looking for a dry erase calendar to put in my office.
Even though I have all kinds of digital calendars and reminders, I miss having a physical calendar hanging on the wall.
The problem is that I haven’t been able to find what I want: A dry erase calendar that is big enough to see from a distance and goes with the decor in my home office.
And of course, I didn’t want to spend a lot of money on it either.
Then I saw this paint chip calendar on Pinterest and knew I had found the answer…a DIY project!
Although I think the paint chip idea is really cool, I decided not to go with that exact solution for my office.
I don’t own that many paint chips in the right color, and I didn’t think my local paint store would be happy with me cleaning out all of theirs.
Instead I decided to go with a wallpaper solution. It goes with my office decor and uses up some extra wallpaper I had lying around. Keep reading to get all the details.
What You Need
- A picture frame with a glass front – I used a 16″ x 20″ frame that I already owned. It’s big enough to be seen but still fits in my office. Of course, you can use whatever size frame you want, as long as your background paper will fit.
- A small piece of wallpaper or wrapping paper that is big enough to fit inside your frame. Lighter colored wallpapers work best since because it’s easier to see what you’re writing on them.
- A black sharpie pen and a ruler to draw the lines. I considered all kinds of options for creating the squares – cutting squares out of fabric and gluing them on, using my Cricut machine to cut adhesive vinyl to size, using washi tape to create grid lines on the paper. But in the end I went for the easiest solution…a black Sharpie pen and a ruler.
- A dry erase marker
Step 1 | Cut the background paper to size
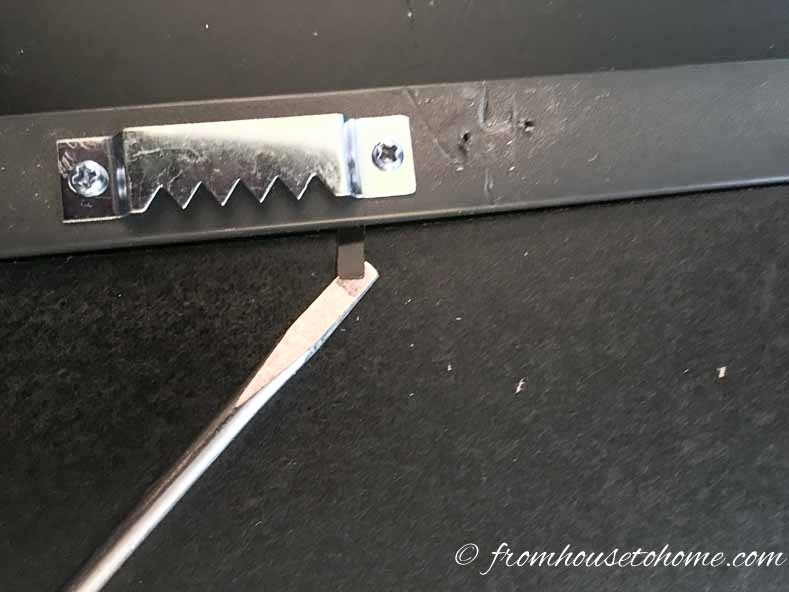
To start, remove the back of the frame.
Usually there are little tabs around the edges that you either bend up or swivel out of the way to release the back.
I like to use the end of a flat-head screwdriver to do this since the tabs can be a little sharp.
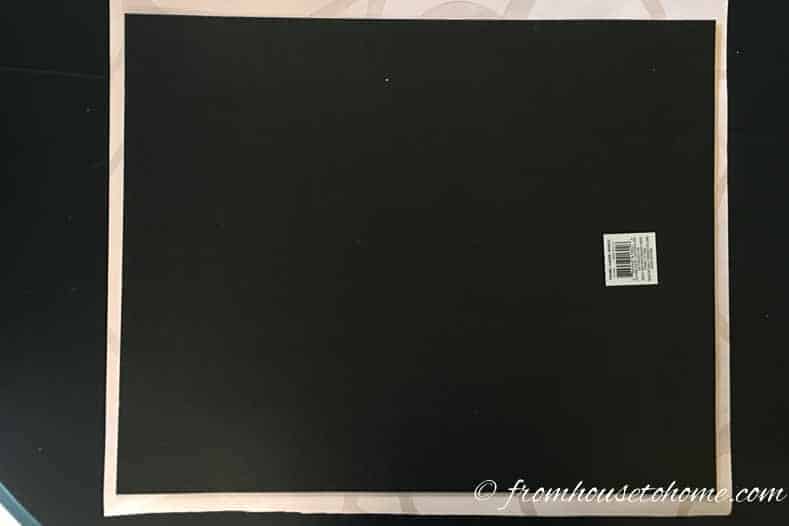
Place it over your piece of wallpaper.
If your paper has an obvious pattern, make sure the part you want as your background is centered under the back.
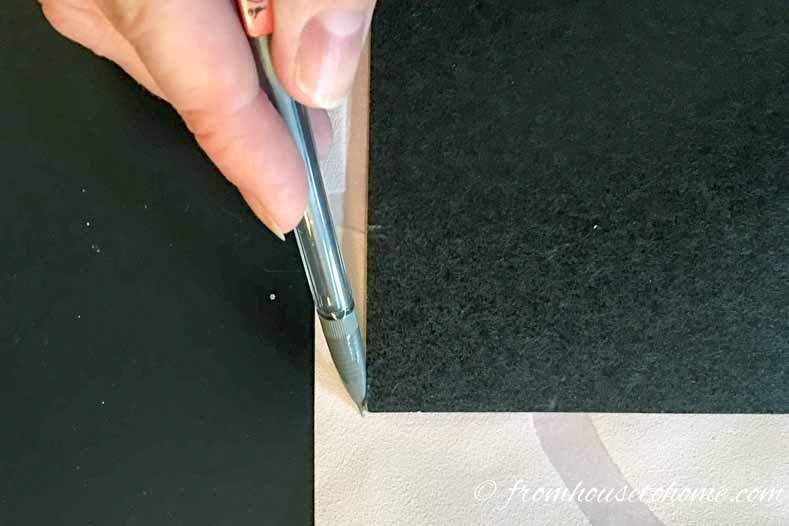
Trace around the edges with a pencil.
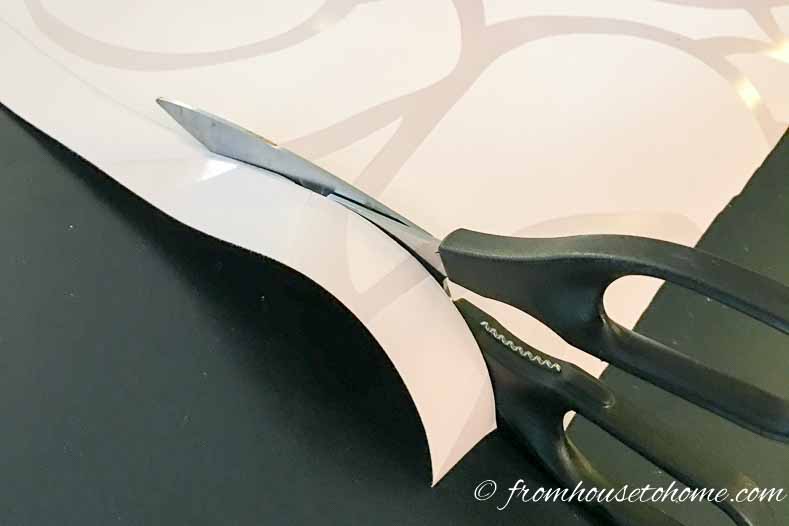
Cut the paper along the line you just drew, trying to keep it as straight as possible.
If the edges aren’t straight, it will be much harder to create straight lines for your calendar.
Step 2 | Calculate the line spacing for the days of the week
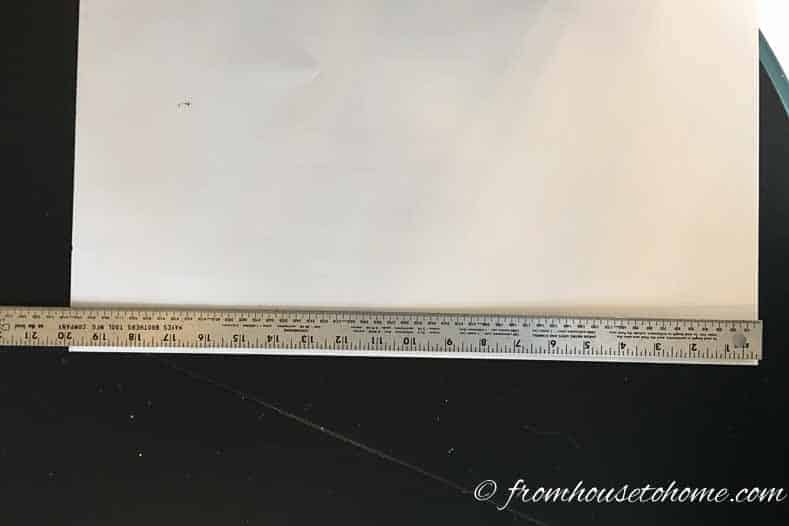
If you are also using a 20″ frame, you can use the same measurements I did and skip down to the next step.
Starting Point: 3/8″
Distance Between Lines: 2 3/4″
If you are using a different size frame, follow these steps to figure out the line spacing:
- Measure the long side of the paper you just cut. In my case, it was 20″ wide.
- The days of the week will be going across this side so divide this number by 7. For me that was 20″ divided by 7, which equals 2.86.
- Round it down to the next quarter inch. For me that was 2.75 or 2 3/4″. This will be your Distance Between Lines.
Next we’ll need to figure out where to start drawing the lines so that the calendar is centered:
- Multiply your rounded number by 7. For me that was 2.75 x 7 = 19.25.
- Subtract this number from the original length of the paper. For me, that was 20″ – 19.25″ = 0.75″ or 3/4″.
- Divide this number in half, and that will tell you how far in to start from the edge. In my case this was 3/4″ divided by 2 which is 3/8″. This will be your Starting Point Number.
Step 3 | Mark the lines for the days of the week
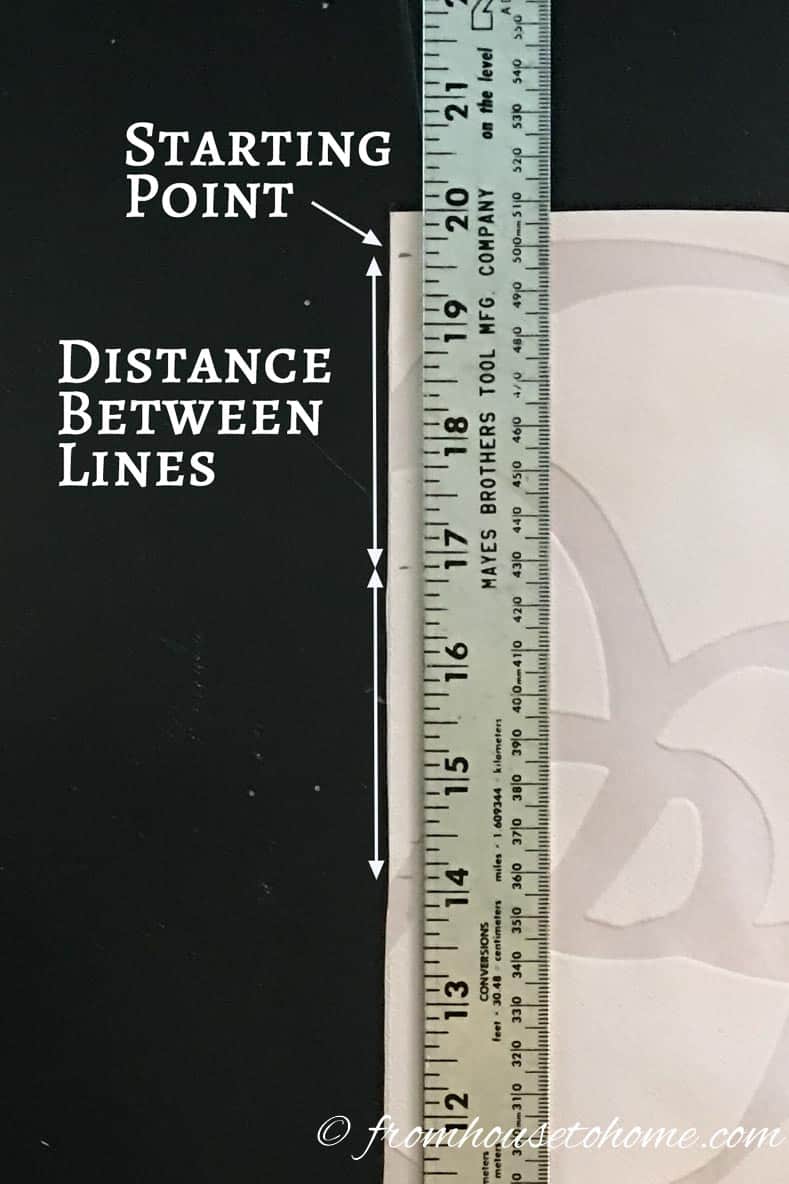
Mark the ends of the lines on both sides of the paper using the following steps. Don’t draw the lines yet…we’ll do that in a later step.
- Lay your ruler down along the top side of the paper, making sure you are measuring the long edge.
- Measure to the Starting Point Number from above and mark it with a pencil.
- Then starting from that point, measure out the Distance Between Lines and mark it.
- Keep measuring and marking the distance between lines until you get to the other side of the paper.
You should end up with 7 equally sized sections that are centered on the page. If you don’t, something is wrong with either your calculations or your measurements.
Repeat the same steps on the bottom side of the paper. Your marks on the top and bottom edges should look like they line up.
Step 4 | Figure out the line spacing for the weeks
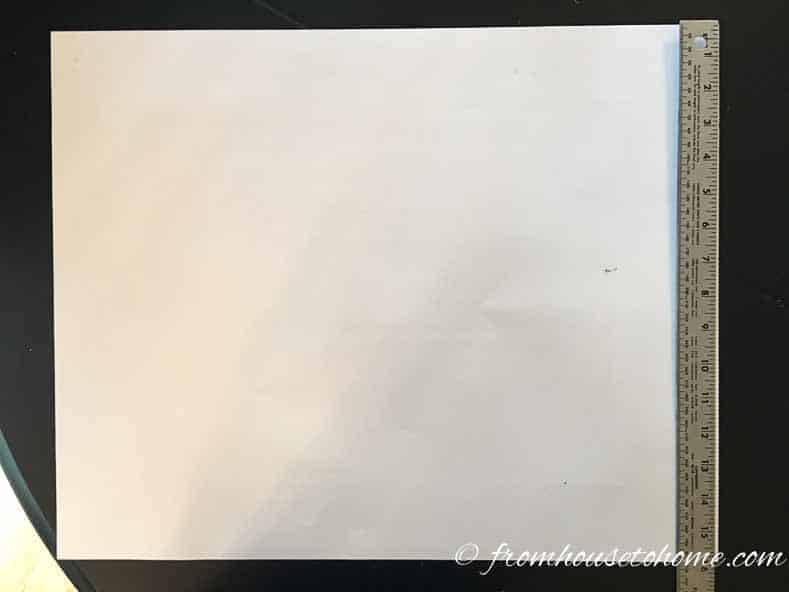
If you are also using a 16″ frame you can use the same measurements I did and skip down to the next step:
Starting Point Number: 3/8″
Width of Top Line: 5/8″
Distance Between Lines: 2 1/8″
If you are using a different size frame, following these steps to figure out the line spacing.
First you’ll need to make some decisions on how much space you need to leave around the calendar:
- Determine how much space you want to leave at the bottom of the calendar. I recommend going with the same starting point number as above since that will create even spacing around the calendar. In my case, this was 3/8″. This is your Starting Point Number.
- Next decide how much space you want to leave for writing the days of the week at the top of the calendar. I went with 5/8″, but you can choose a different value if you prefer. Month name at the top of the calendar). This will be the Width of Top Line.
- Then decide how much space you want for writing the Month name above the calendar. I chose 2¼”, but again you can pick whatever value you like.
Now we can figure out the row spacing:
- First measure the short side of your wallpaper. In my case, it was 16″ wide.
- Then add up all of the numbers you just decided on. In my case, this was 3/8″ + 5/8″ + 2 1/4″ = 3 1/4″.
- Subtract this total from your measurement above. In my case, 16″ – 3 1/4″ = 12 3/4″.
- The weeks of the month will be going down this side and you’ll need 6 of them., so divide the number from (d) by 6. For me that was 12 3/4″ divided by 6, which equals 2 1/8″. This is the Distance Between Lines.
Step 5 | Mark The Lines For The Days Of The Week
Mark the ends of the lines on both sides of the paper using the following steps. Don’t draw the lines yet…we’ll do that in a later step.
- Lay your ruler down along the shorter edge of the paper.
- Starting from the bottom of the paper, measure to the Starting Point Number you chose and mark it.
- Then from that point, measure up the Distance Between Lines and mark it.
- Keep measuring and marking the Distance Between Lines until you have 6 rows marked.
- From the last mark, measure up the Width of Top Line and mark it.
Repeat these steps on the opposite side of the page.
Step 6 | Draw the calendar
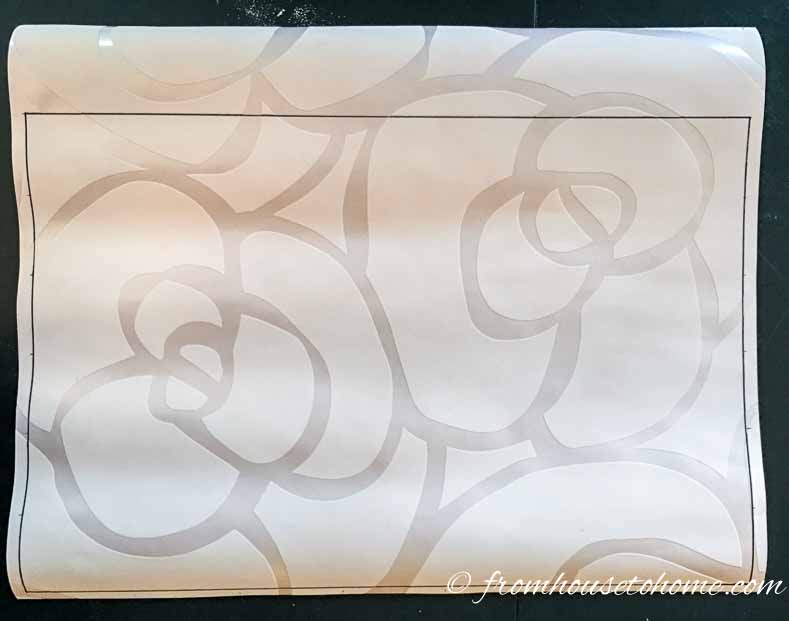
Start by drawing the outside edges of the calendar:
- First draw the bottom edge of the calendar by lining up your ruler with the two lowest marks and using the Sharpie to draw a straight line between the two.
- Then draw the top edge of the calendar by lining up your ruler with the two highest marks and using the Sharpie to draw a straight line between them.
- Finally, use the ruler to draw a straight line on both sides to create the a rectangle shape.
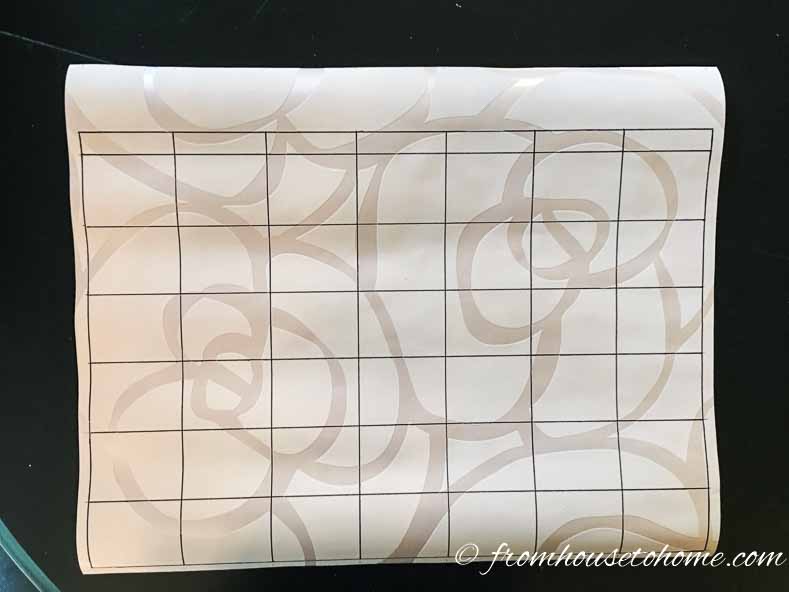
Then fill in the middle lines and the days of the week:
- First draw the horizontal lines by lining your ruler up with the marks that are directly across from each other and using your Sharpie to draw a straight line between them. Don’t forget there will be one section at the top that is smaller than the others (the line where you will write the days of the week).
- Then repeat the process with the vertical lines, by matching up the marks at the top and bottom of the calendar with your ruler. Then drawing a straight line between them with your Sharpie.
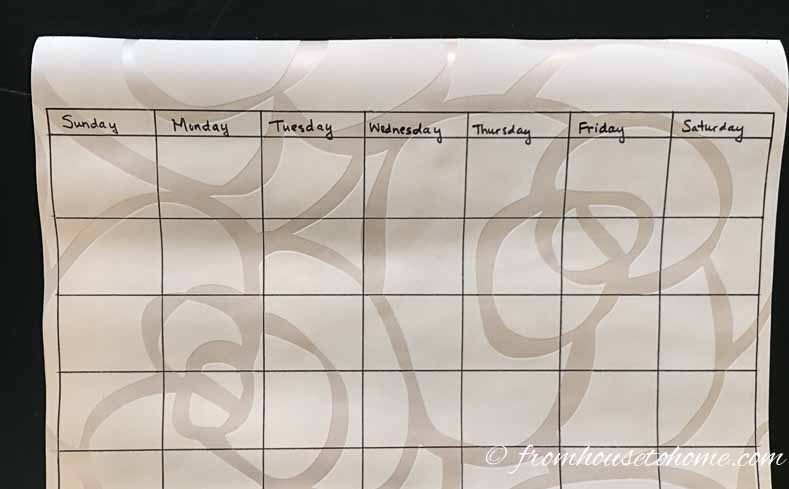
Finally, write the days of the week in the top row.
Step 7 | Finish the calendar
Now we’re ready to put the frame back together.
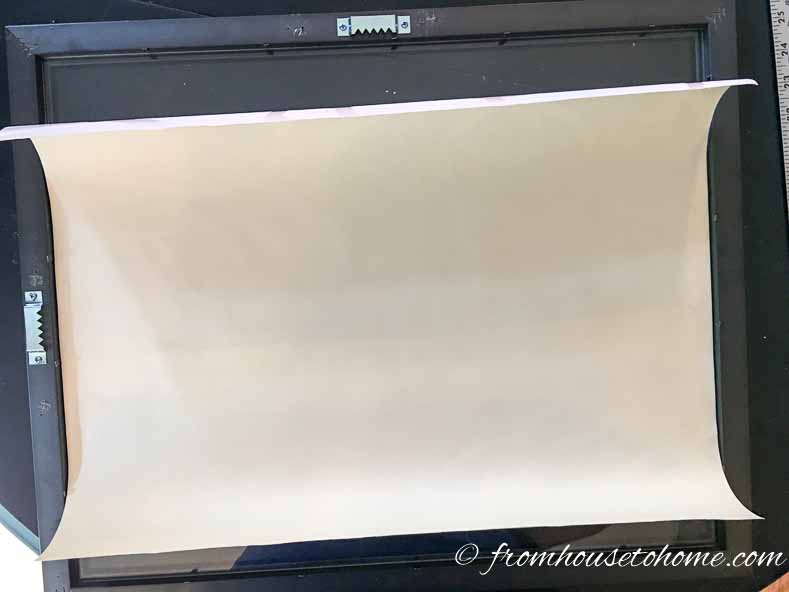
First, lay your paper in the frame with the calendar facing towards the glass.
Make sure that the Days of the Week side is at the top.
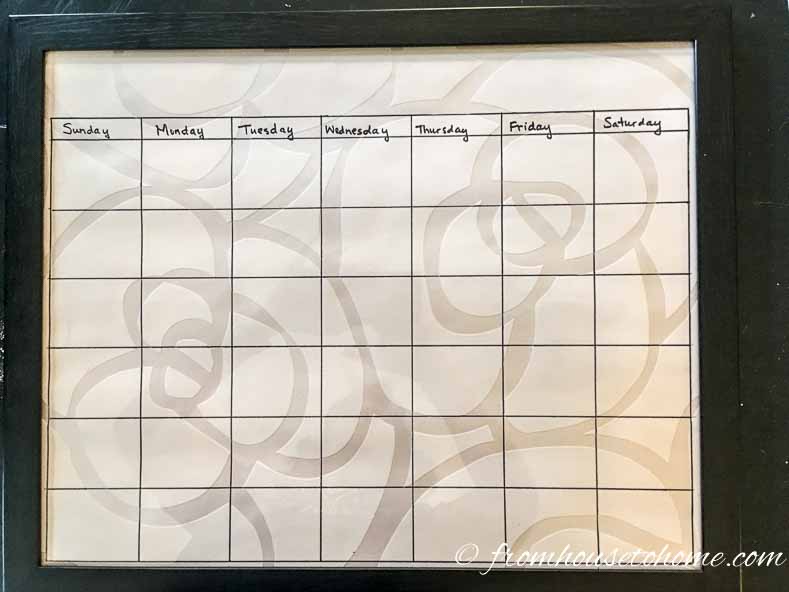
Put the back on the frame. Then bend down or rotate the clips to secure it in place.
And your calendar is done.
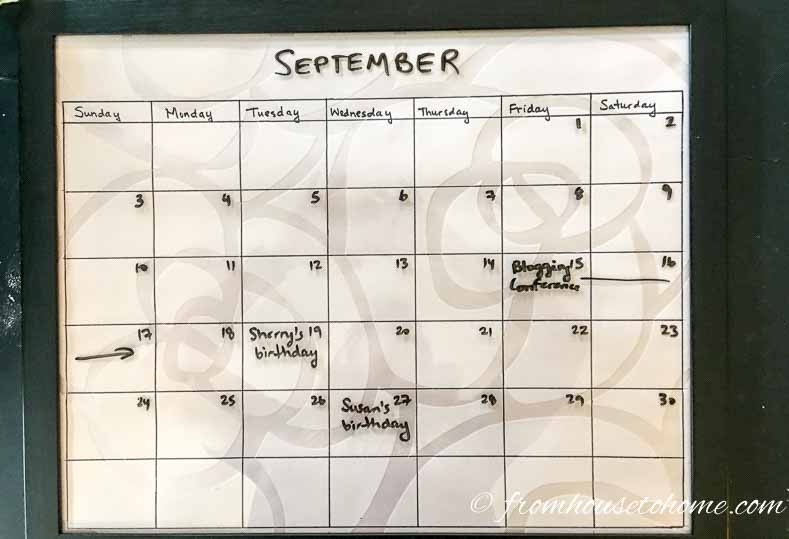
All you have to do now is use the dry erase marker to write the the month at the top and the dates.
Don’t forget to switch to the dry erase marker for this step!
If you do happen to write on the glass with the Sharpie, it will come off with Goof Off* (I learned this one by experience!!)
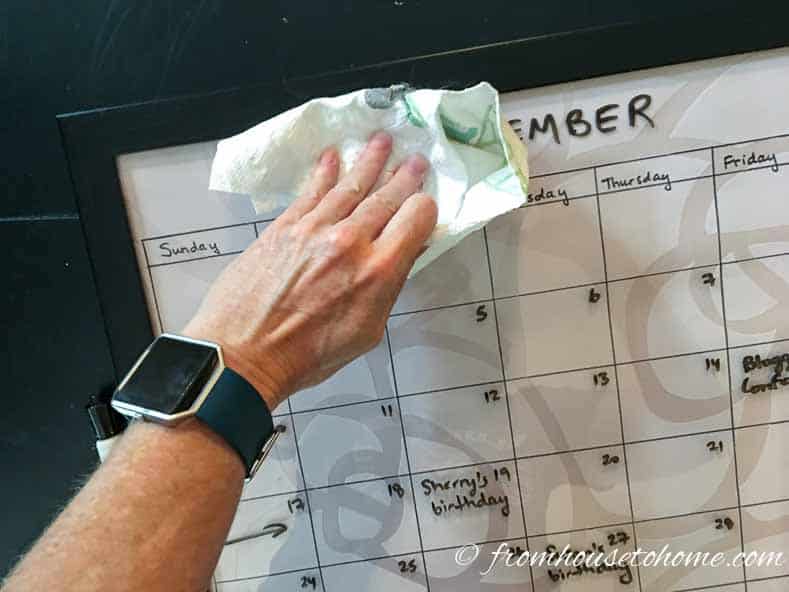
One of my favorite parts of this project, is how easily the dry erase marker wipes off.
Just grab a Kleenex or paper towel, and it comes right off.
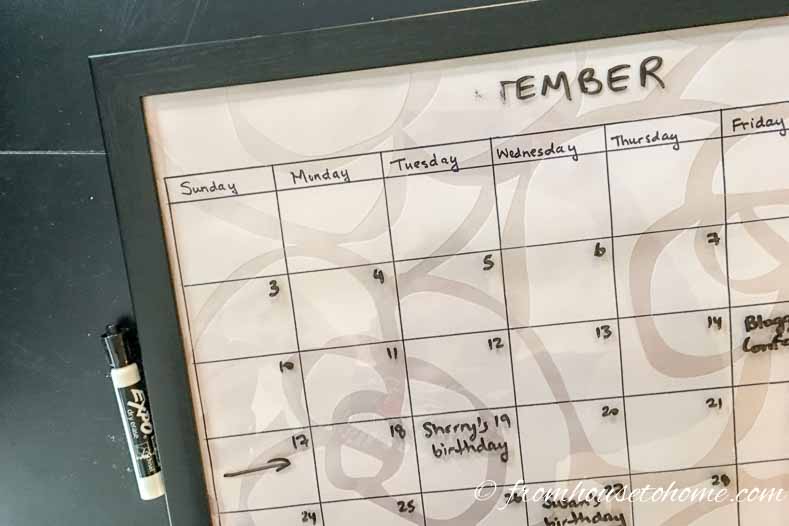
I actually think this part works better than real white boards. They never get this clean this easily.
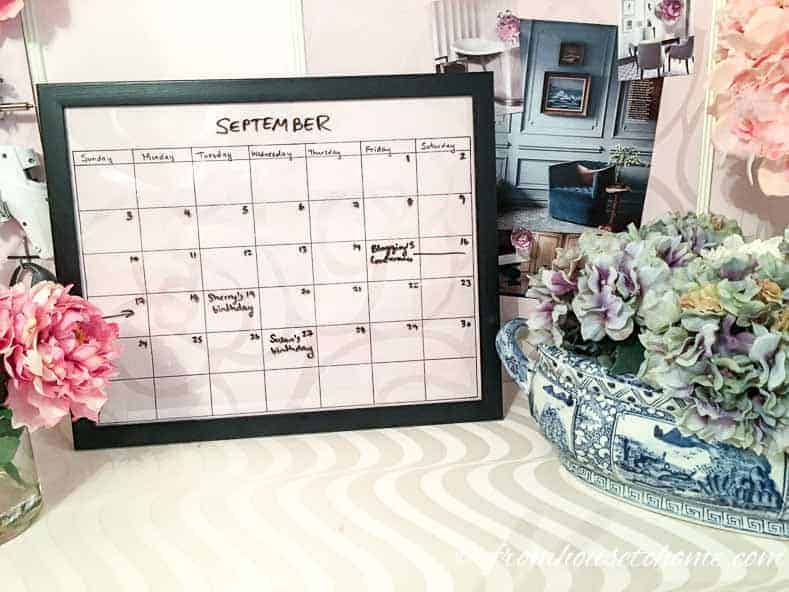
My new calendar fits right in with my office decor.
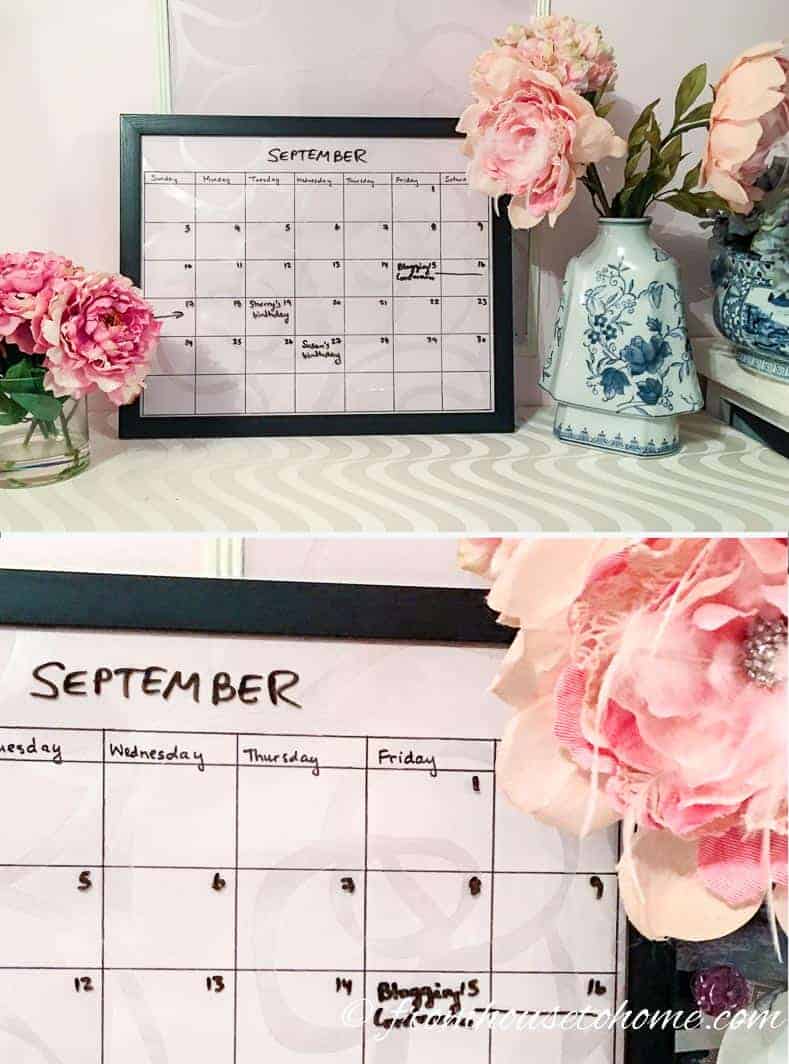
I like it so much, I think I’m going to make another one so I can plan two months in advance 🙂
Other home office ideas
Or browse all of our home office ideas.
Have comments or questions on how to make a DIY dry erase calendar? Tell us in the section below.
This post was originally published on September 1, 2017 but was updated with new content on June 24, 2025.
Another easy way to get sharpie off glass or whiteboard is rubbing alcohol, works a charm every time! So much so that any glass surface in my home is fair game for jotting down things if I don’t have pen and paper nearby!
Good to know! Thanks for the tip, Valerie!
If you write on it with a sharpie just take the dry erase marker and scribble over it (the sharpie) and then wipe off. It will lift the sharpie right off. Save yourself the oil residue from the goo gone.
Thanks for the tip, Deb! I’ll have to try that 🙂
Just a thought–if the sharpie writes on glass, why not put all the lines on the back side of the picture glass with a sharpie? then you could change the background if you wanted to? The writing would be an issue, but you could just write in the days along with the numbers and the month. Just seems like it might work!
Thanks for the suggestion, Denna. That’s a great idea!
Thanks for the tutorial. You mentioned having a frame, but did not say you had the glass. If we need to purchase the glass, can you suggest where or what kinds? Would plastic work?
Hi Danie…I just used the glass that came with the frame I had. I think any type of thin glass would work. You can buy a sheet at Home Depot. They should be able to cut it to size.
I’m not sure if plastic would work as well…I have a feeling that it wouldn’t wipe off as cleanly as the glass does, but I haven’t tried it so it’s possible that it would be fine, too.