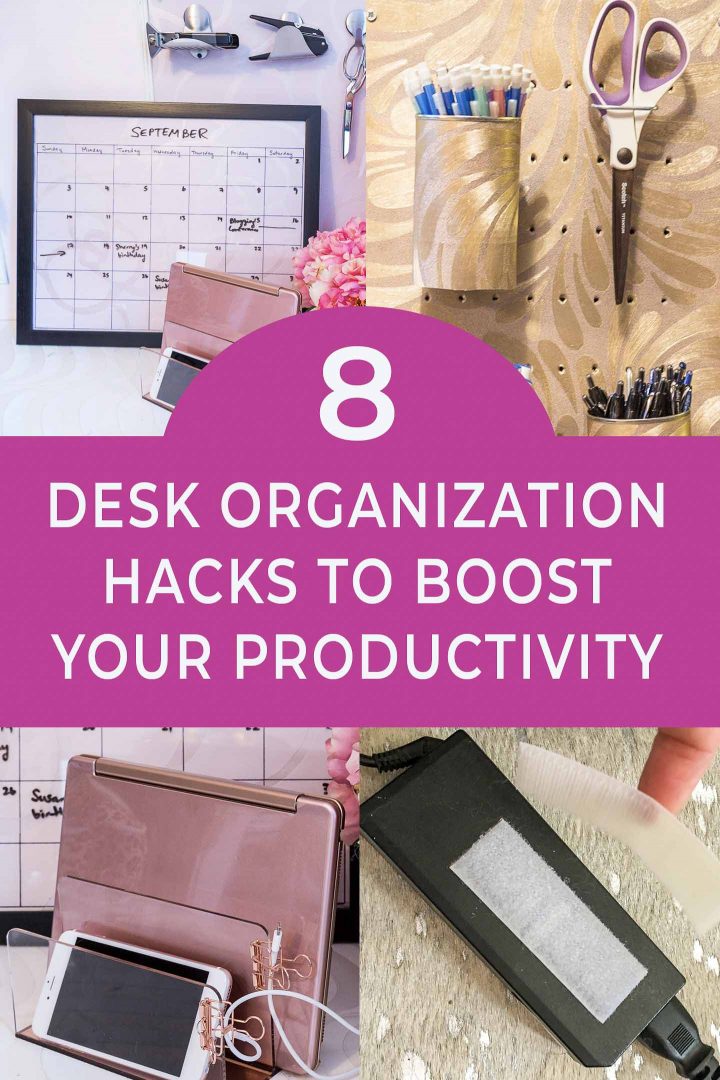
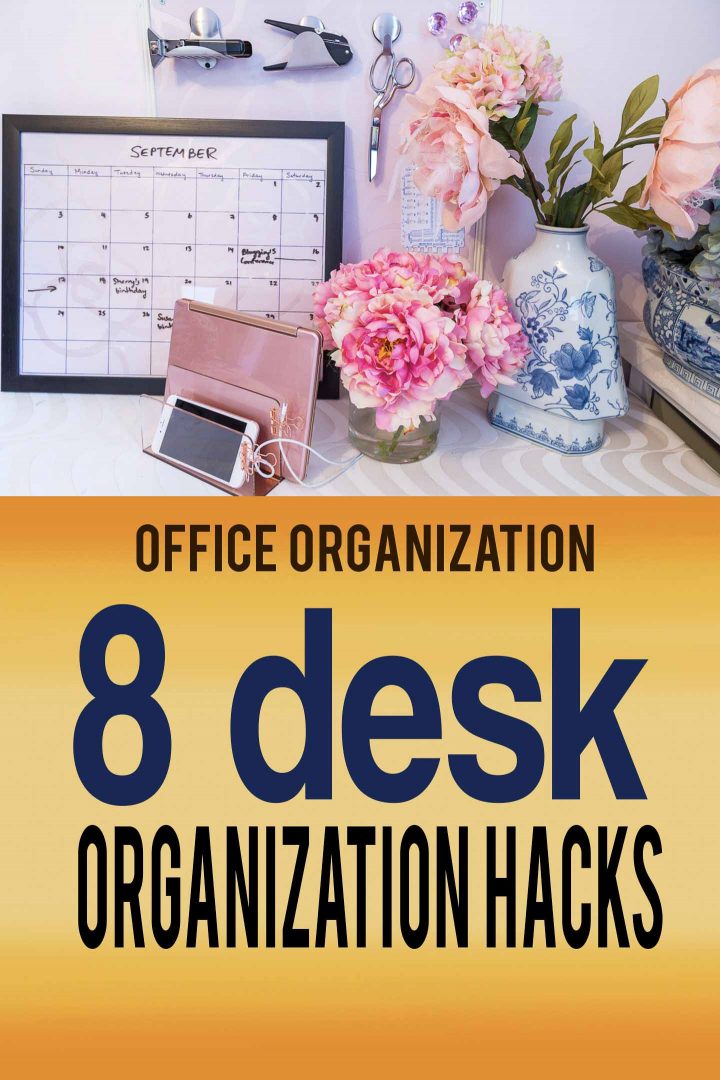
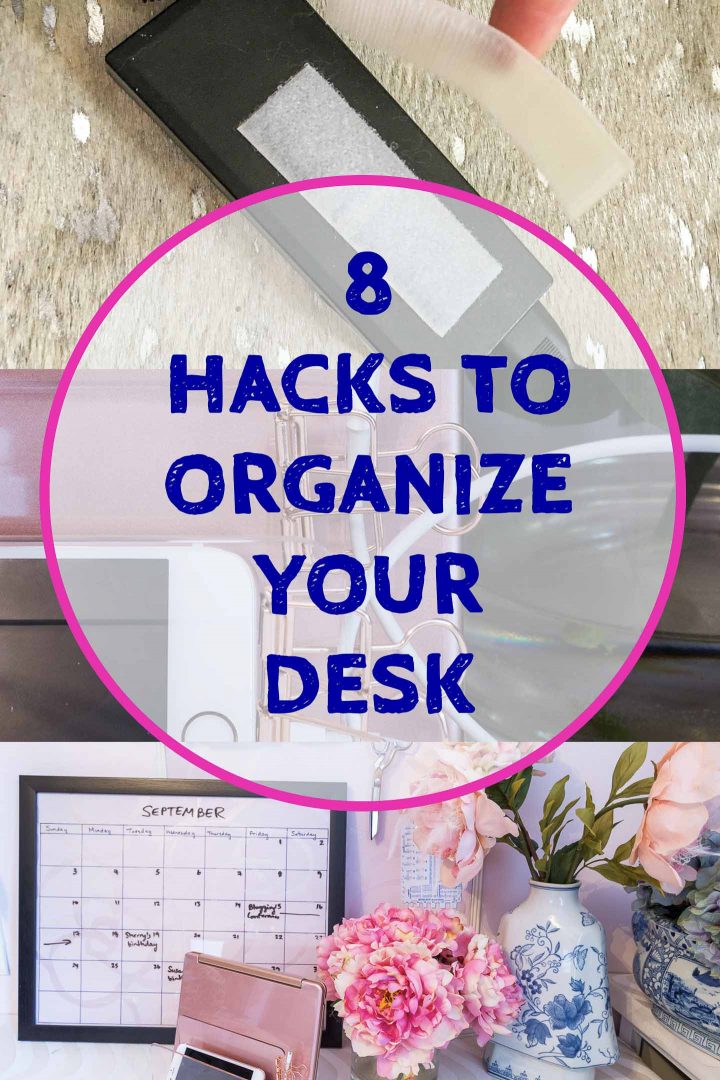
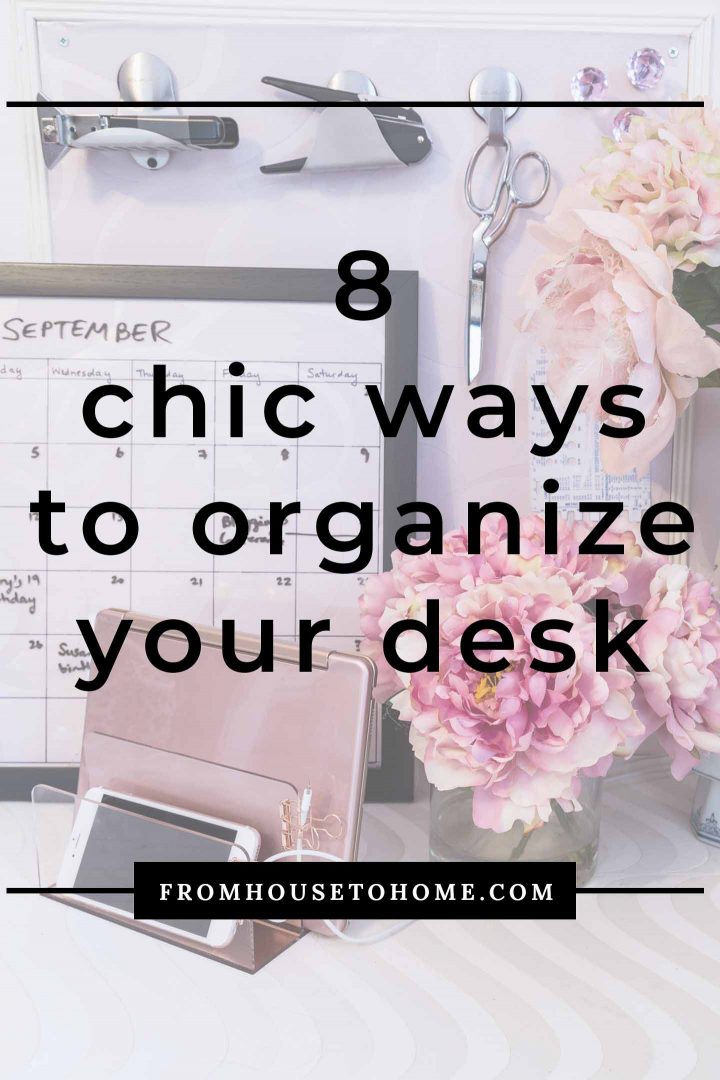
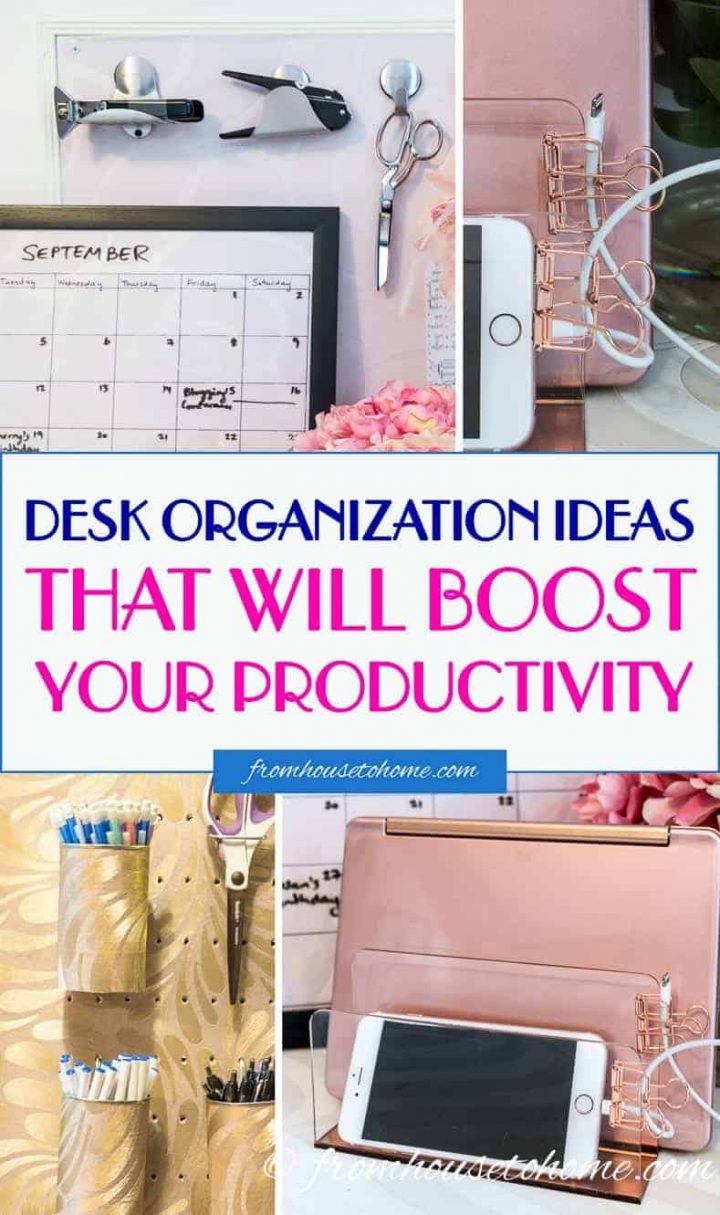
Desk Organization Ideas (For The Most Organized Desk Ever)

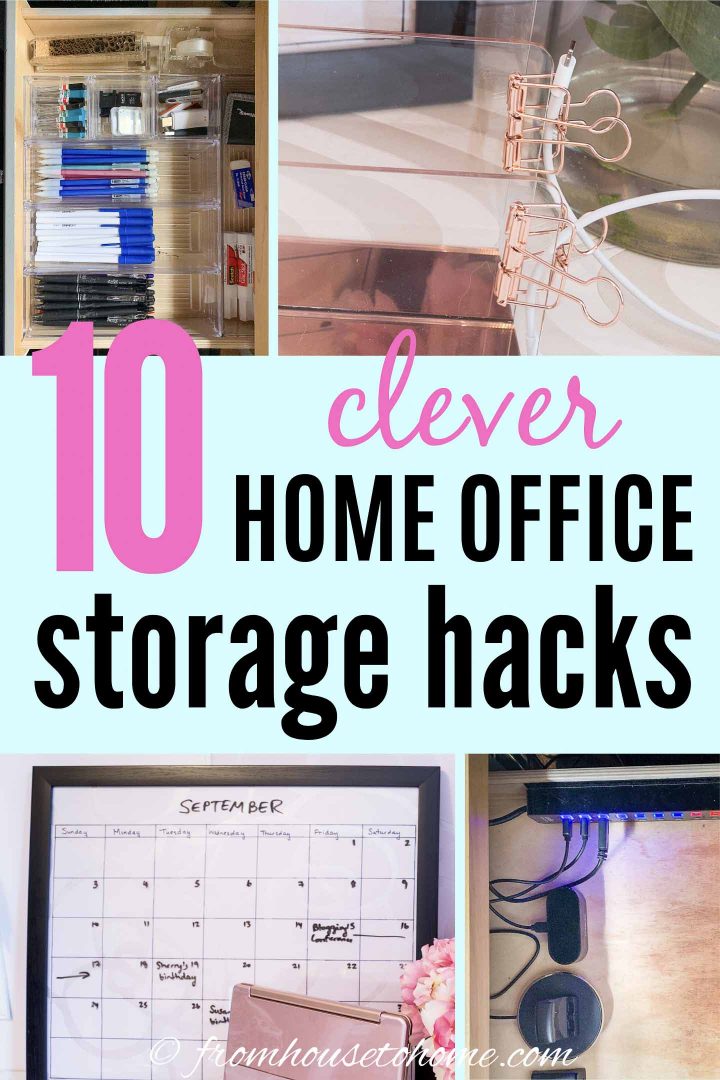
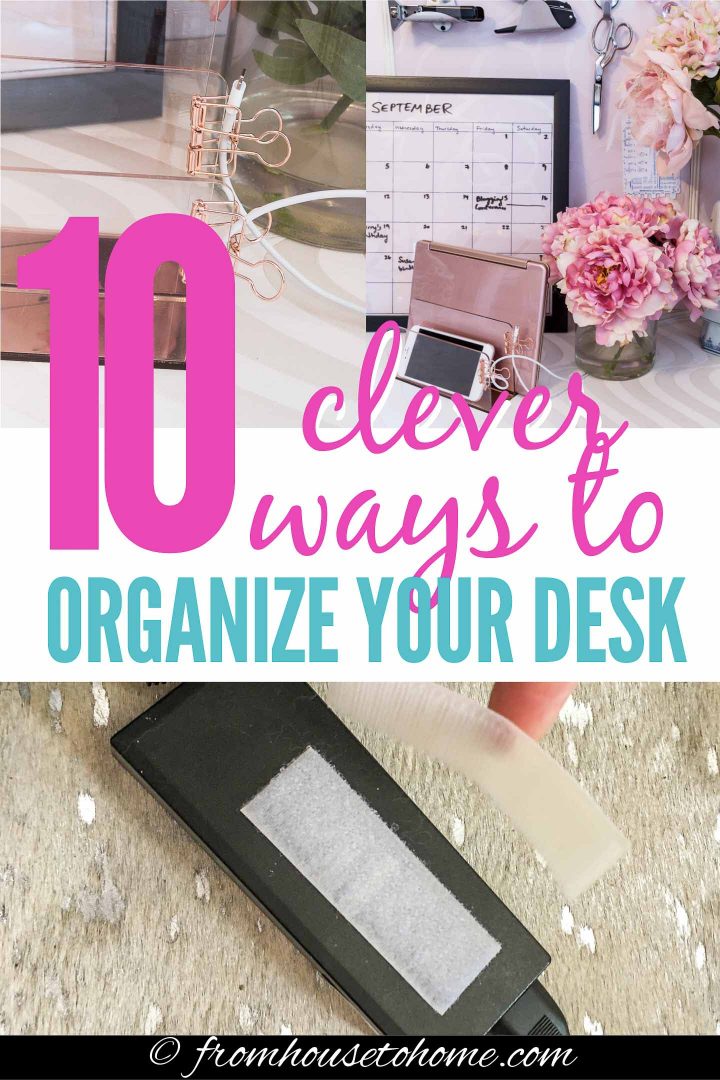
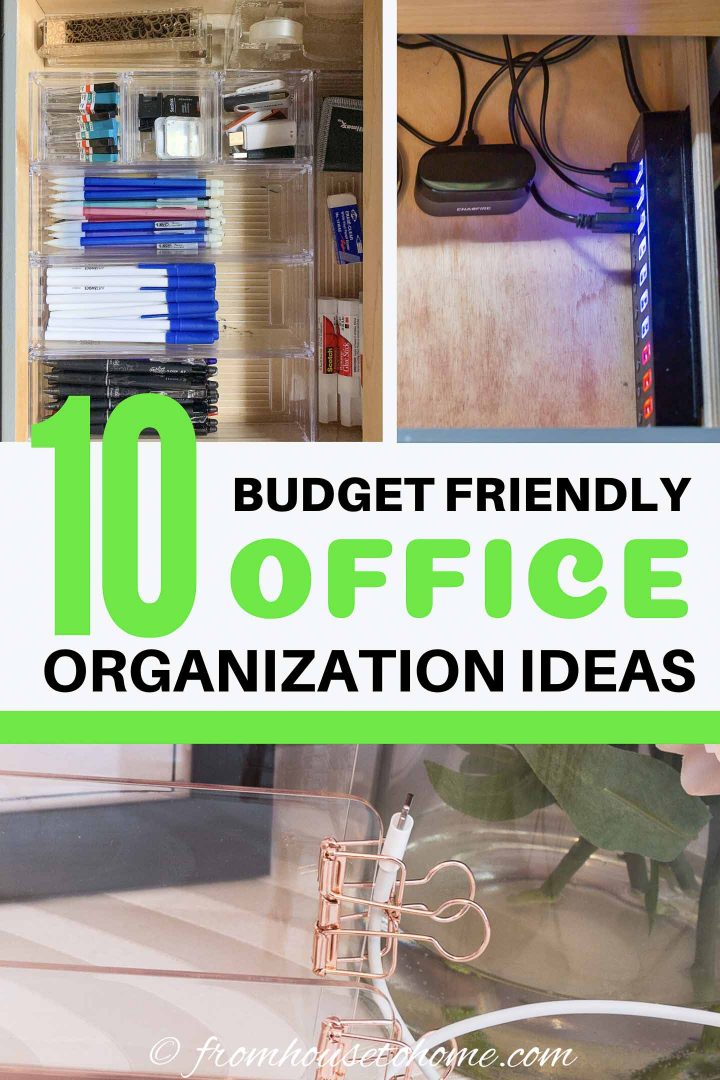
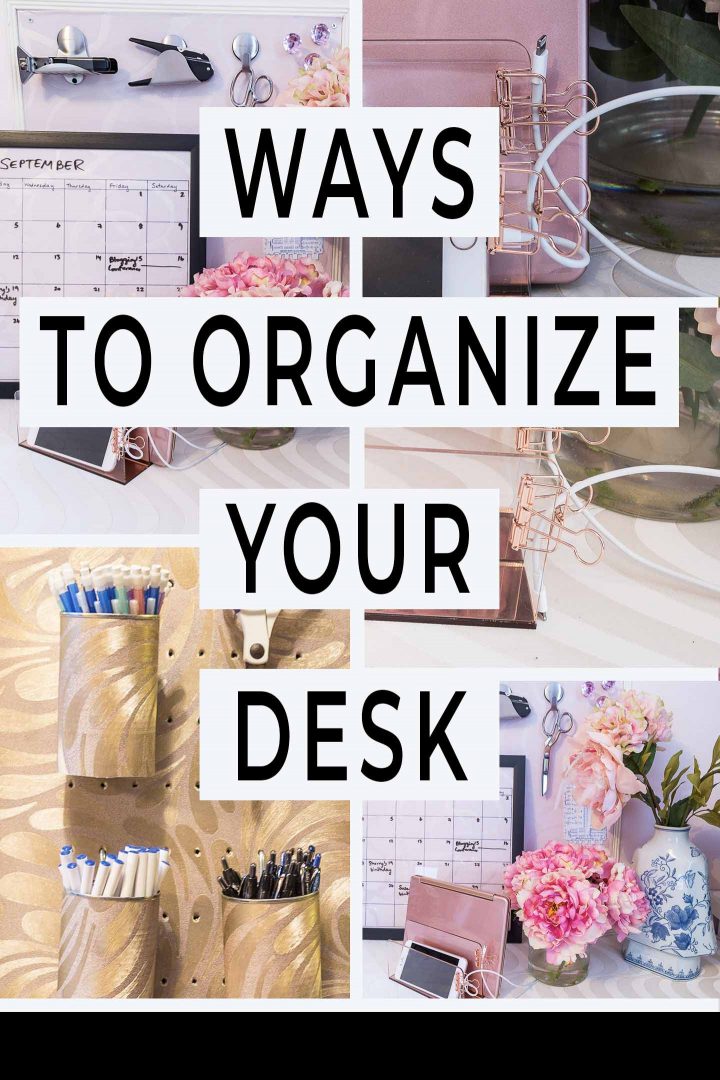


Whether you are looking for desk drawer organization tips, want to learn how to organize a desk without drawers or would like some DIY desk organizing hacks to try, you’re sure to find something in this list of desk organization ideas that will help to clear the clutter in your office.
Okay, I admit it. My desk is always messy.
It’s the one place in the house that always seems to be cluttered.
If your desk is in a room that’s out of view from the main living area of your home (like mine), I think it’s even worse.
You have no incentive to tidy it up when people are coming over.
And when you’re in a hurry cleaning up other rooms in the house, extra stuff gets dumped there (after all, it’s a flat surface that no-one can see…)
But having a messy desk really does affect your productivity.
Plus, who wants to work in the middle of all that clutter? Going to work is hard enough without having to deal with all of that.
So what’s the solution? Get ORGANIZED!
When you don’t have cords spilling everywhere and everything has a place, it is soooo much easier to keep your desk tidy, clean and organized…and looking beautiful.
Which is where these desk organization ideas will come in handy.
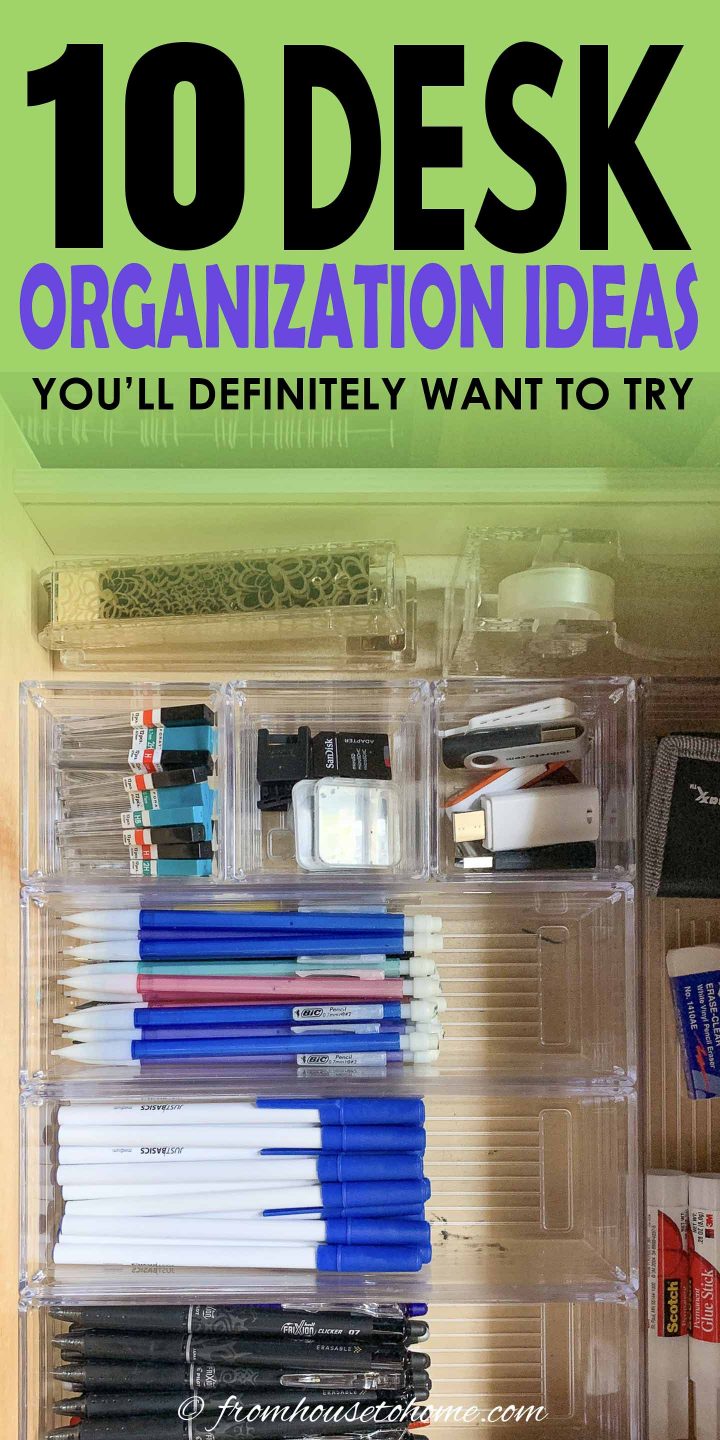
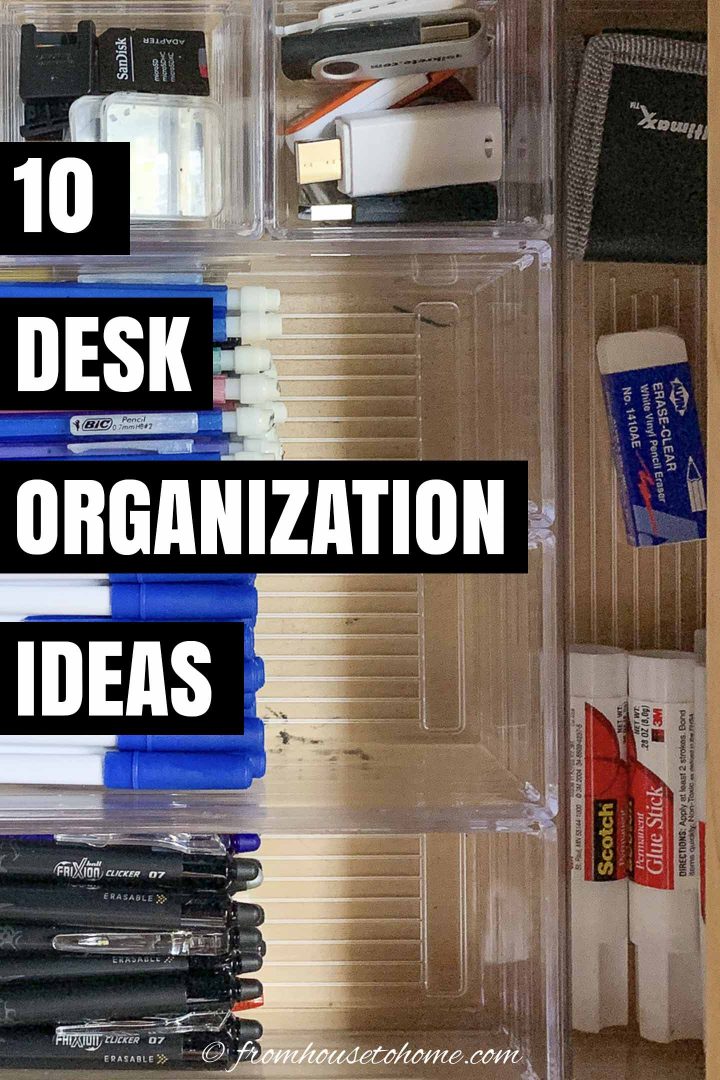
1 | Organize Your Desk Drawers
If you have drawers in your desk, getting them organized is an important step to getting your desk as a whole organized.
Decide what to put where
When deciding what goes where in your desk drawers, the rule of thumb is: Make it easiest to get at the things that you use the most.
In other words, put your most-used office supplies in the top drawers.
And save the lower drawers for things that you don’t need as often.
Do this even in the top drawers. Put the items you need to grab daily closest to where you sit for easy access.
Keep like things together
One of the benefits of getting your desk organized is supposed to be a gain in productivity.
But if you have it organized in a way that you can’t remember where you put stuff (and have to open every drawer to find it), you’ll lose that benefit.
To help with this, try to keep like things together.
For example, put all your pens and pencils in one place, and store your erasers close to the pencils. Then put your post-it notes and writing pads in the drawer immediately below.
That way your brain only has one location to remember for the entire group of supplies (eg. all writing-related supplies are in the top right desk drawers). Which makes it much more likely to stick in your memory.
If you really want to make sure things go back in the right spot (especially if you share your desk with someone else), use a label maker* to put labels of where things go in drawers and on shelves
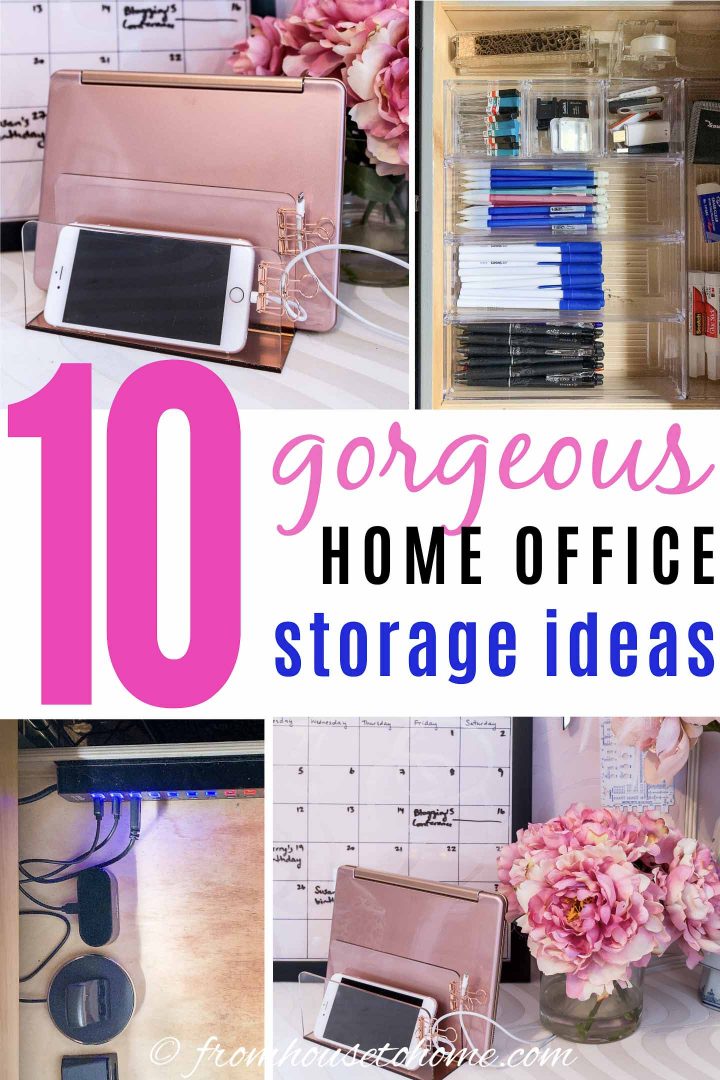
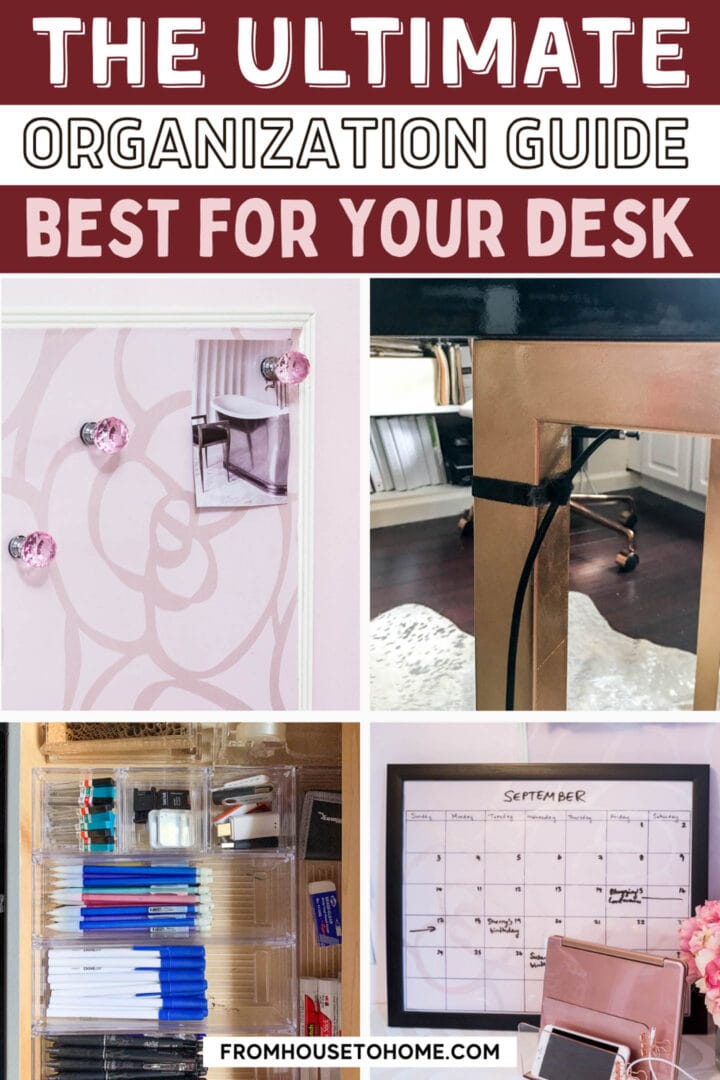
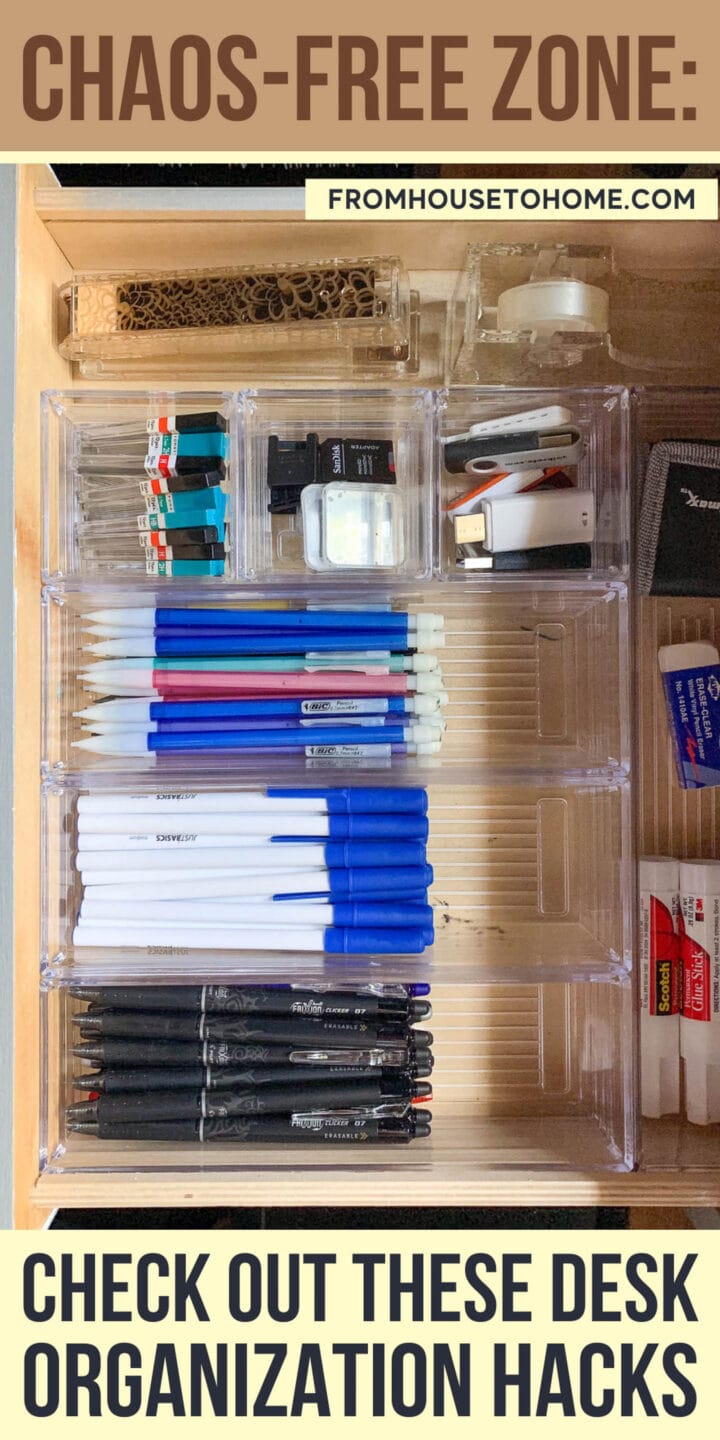
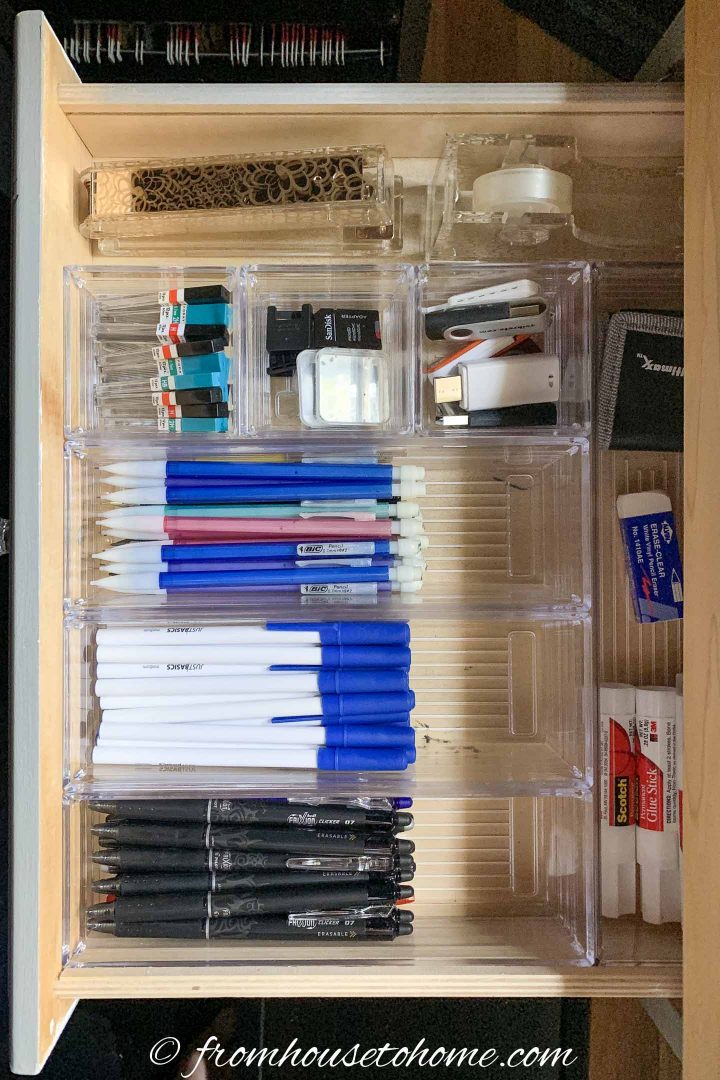
Use drawer organizers
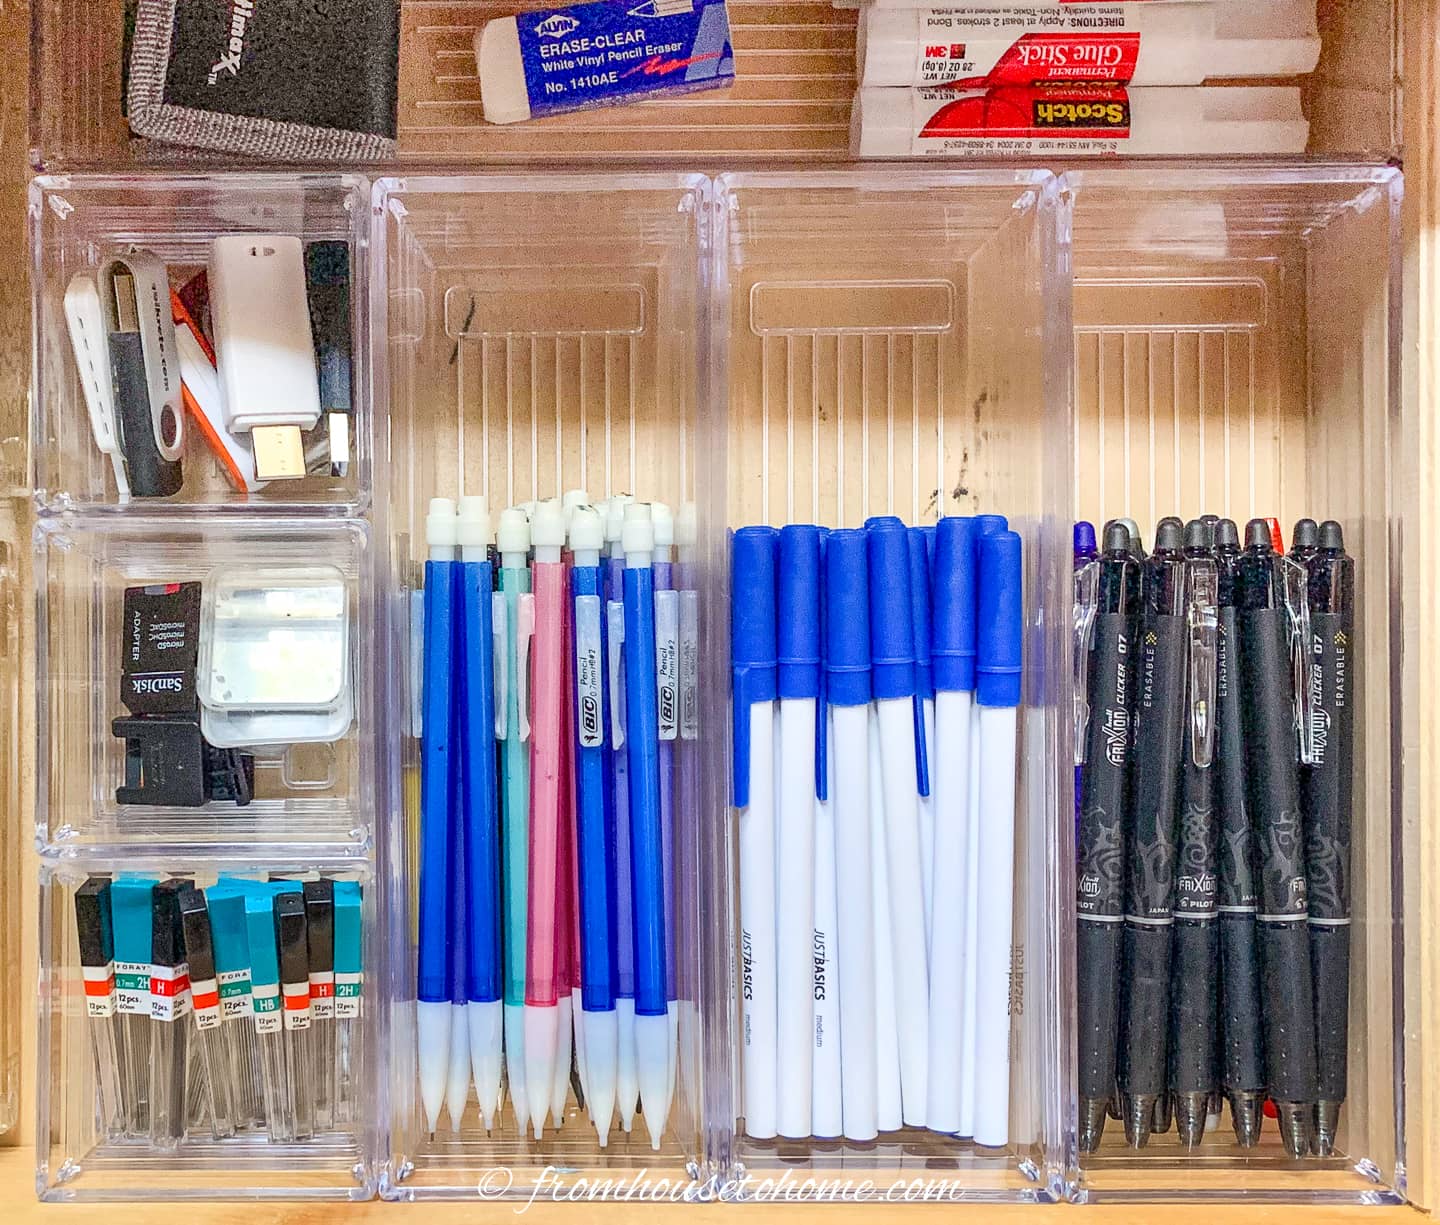
Just like in your kitchen, adding dividers to your drawers make things much easier to find.
I like these drawer organizers* that are made up of multiple individual units in different sizes because you can configure them to fit your drawer space.
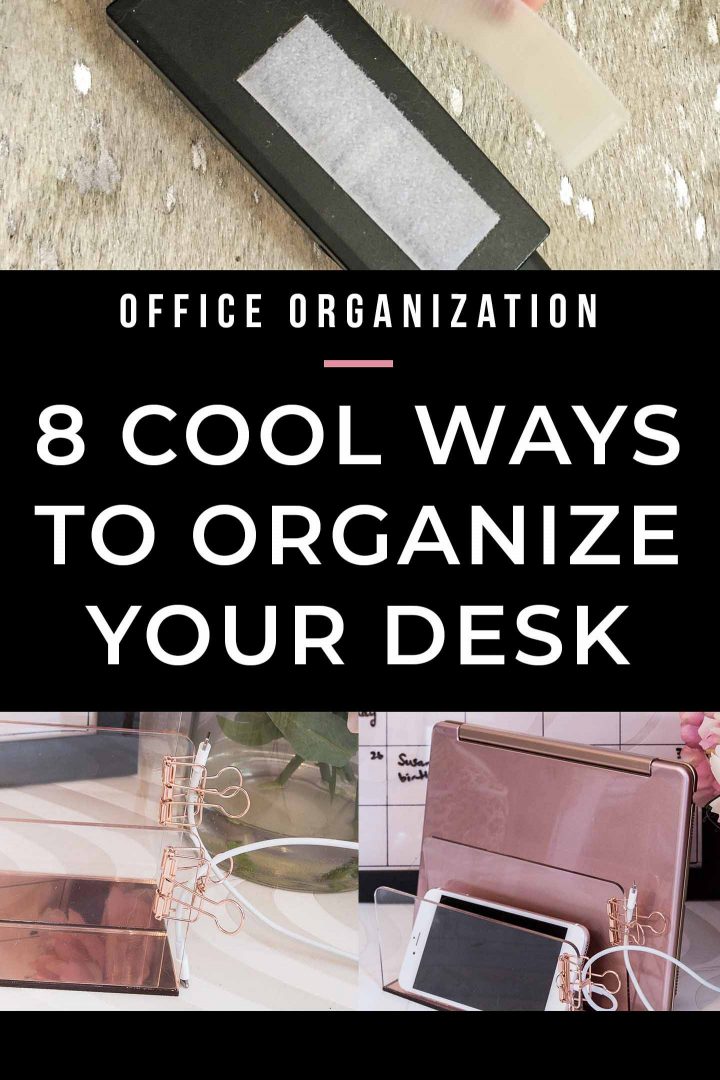
To make sure they stay in place, sticking them down with adhesive velcro* is a good idea. I like to use velcro rather than glue dots or another more permanent solution because it allows you to reconfigure your drawer storage at a later date if your needs change.
Or, if you don’t want to buy drawer organizers, you can make your own using our DIY drawer organizer instructions.
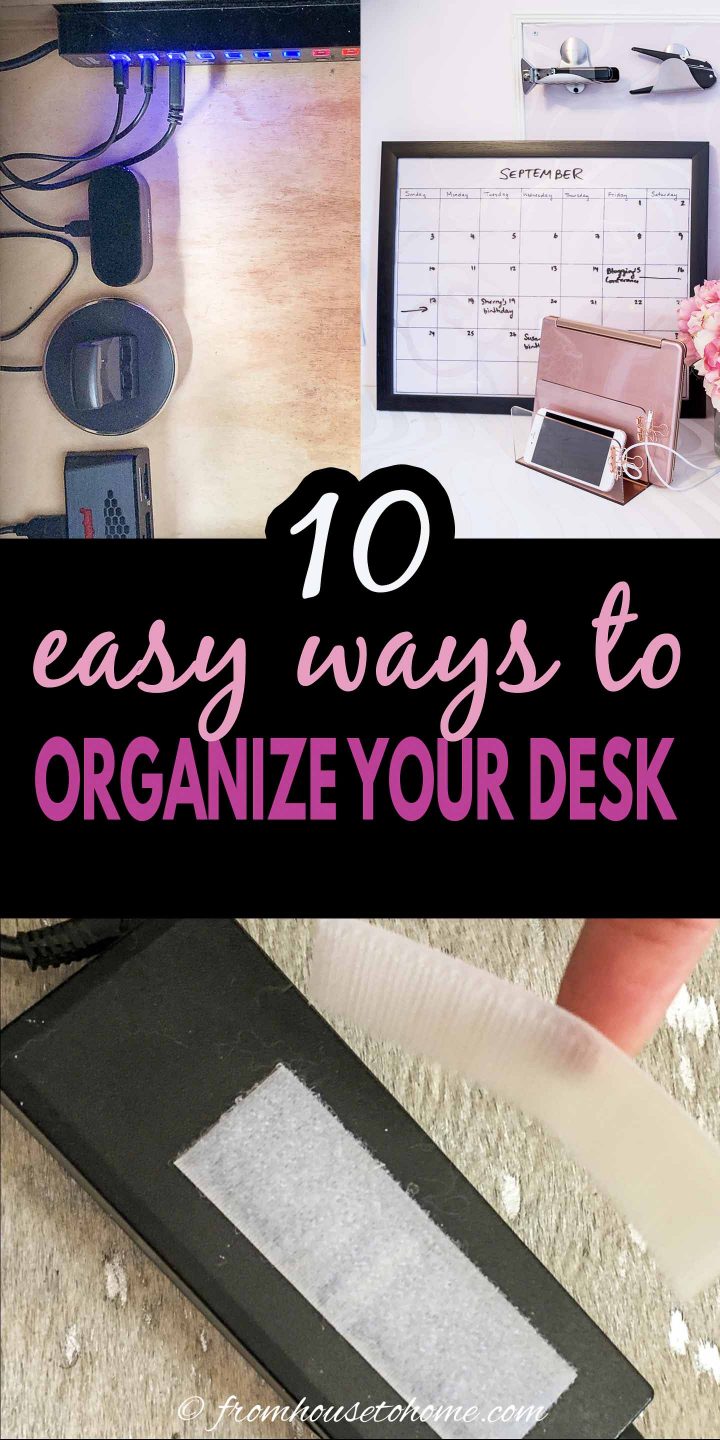
2 | Hide The Cords and Cables
Next you’ll want to control all the cords and cables that come with having a computer on your desk.
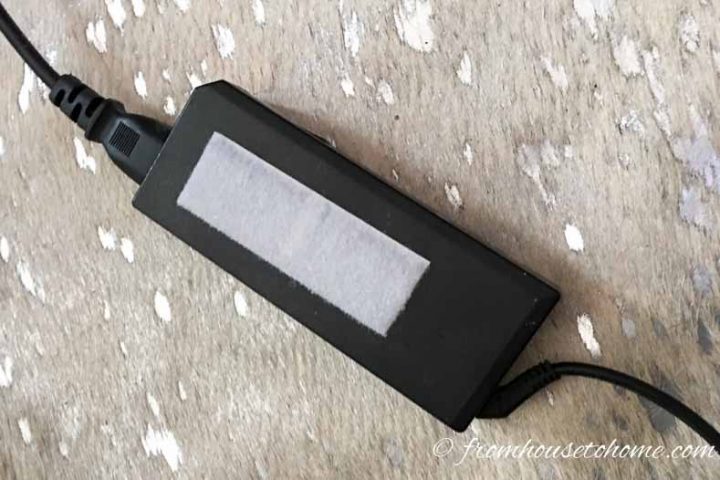
Stick Up Power Packs
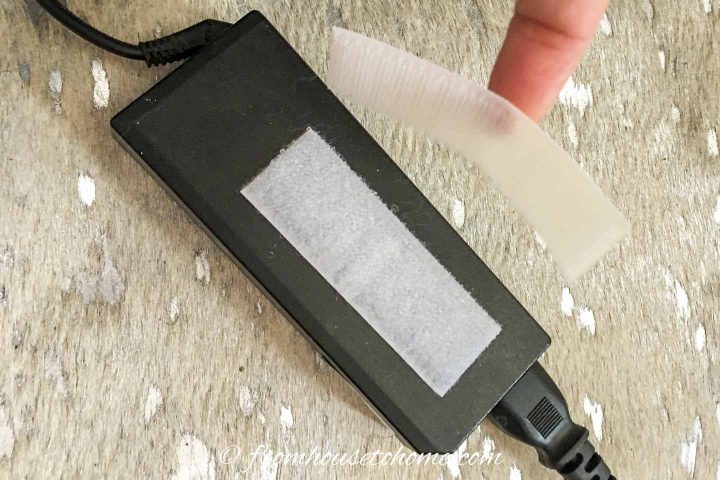
Adhesive velcro strips* can be used to hold the power adapters in a hidden location under your desk, which gets them off the floor, and keeps them out of the way.
To do this, attach one side of the velcro on the power pack.

And the other side underneath your desk.
Then just stick the power pack up there.
You can use this trick for cables and power bars, too…pretty much anything that you need close to your desk but don’t really want to see.
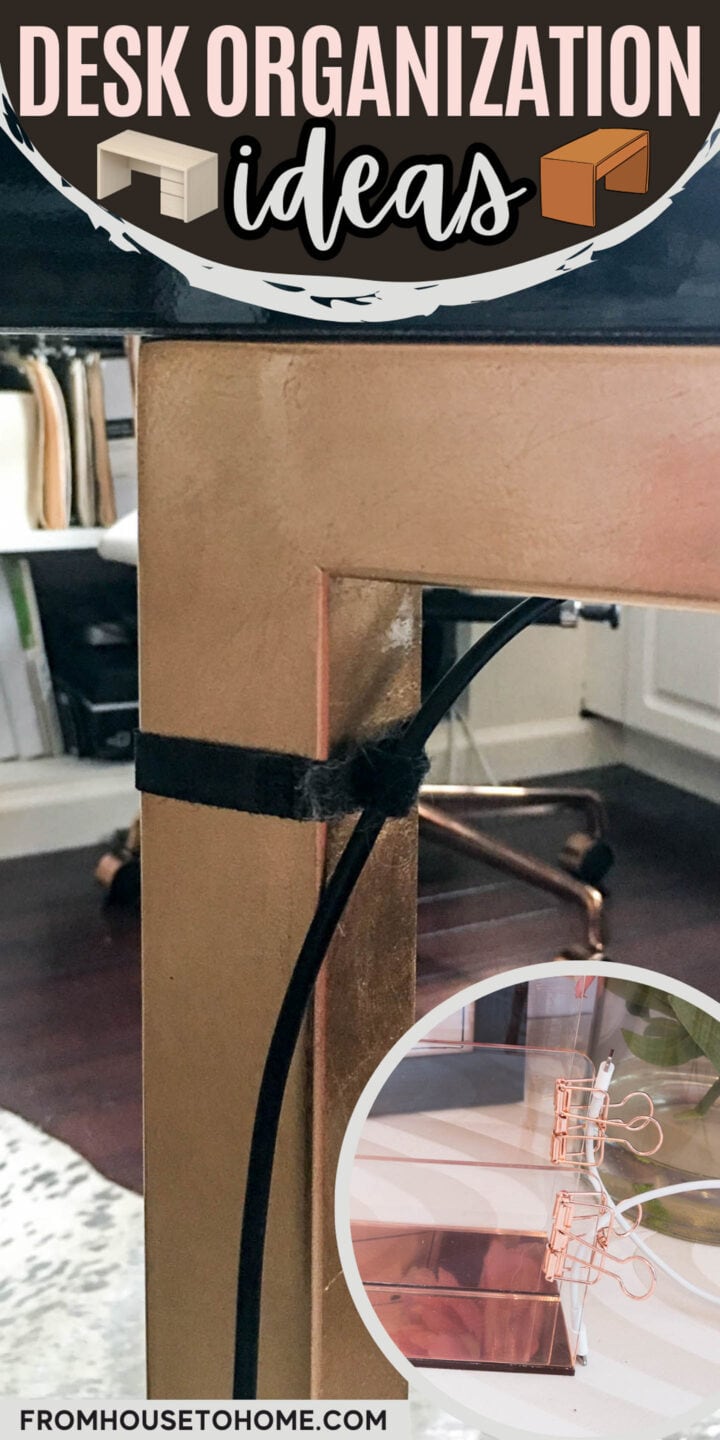
Tie Down The Cords
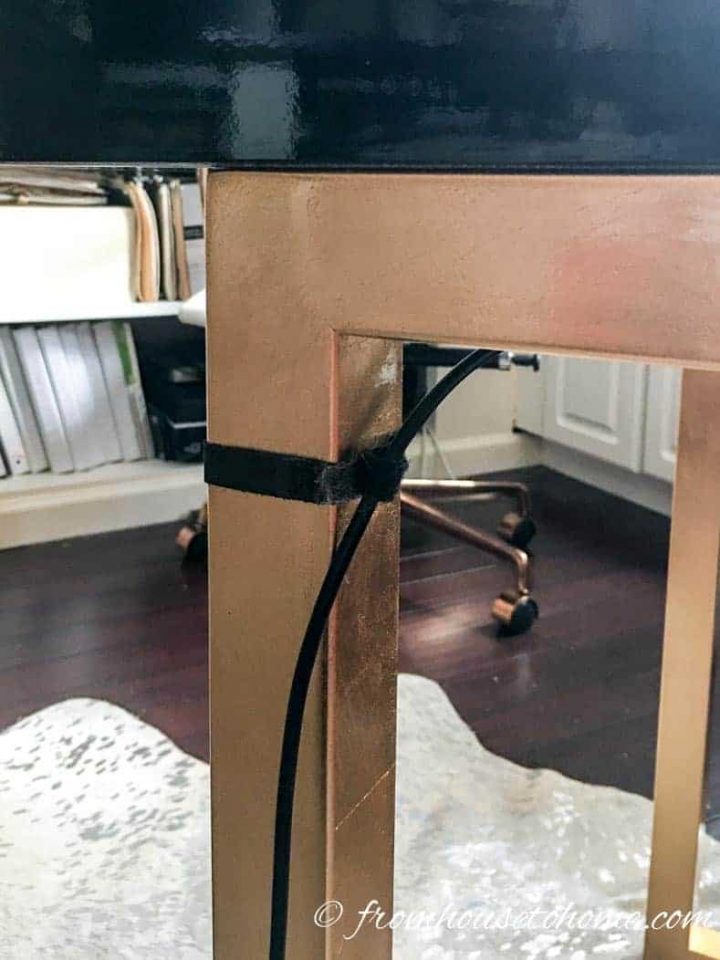
Thinner strips wrapped around the desk legs keep the cable that needs to go to the floor from hanging out all over the place.
For this, I wrapped computer ties* (which have velcro on the ends) around the legs of my desk.
And because it’s velcro, you can also detach them easily if you ever need to use the cord somewhere else (like I do when I’m travelling with my laptop).
Find even more ideas for keeping cords in check.
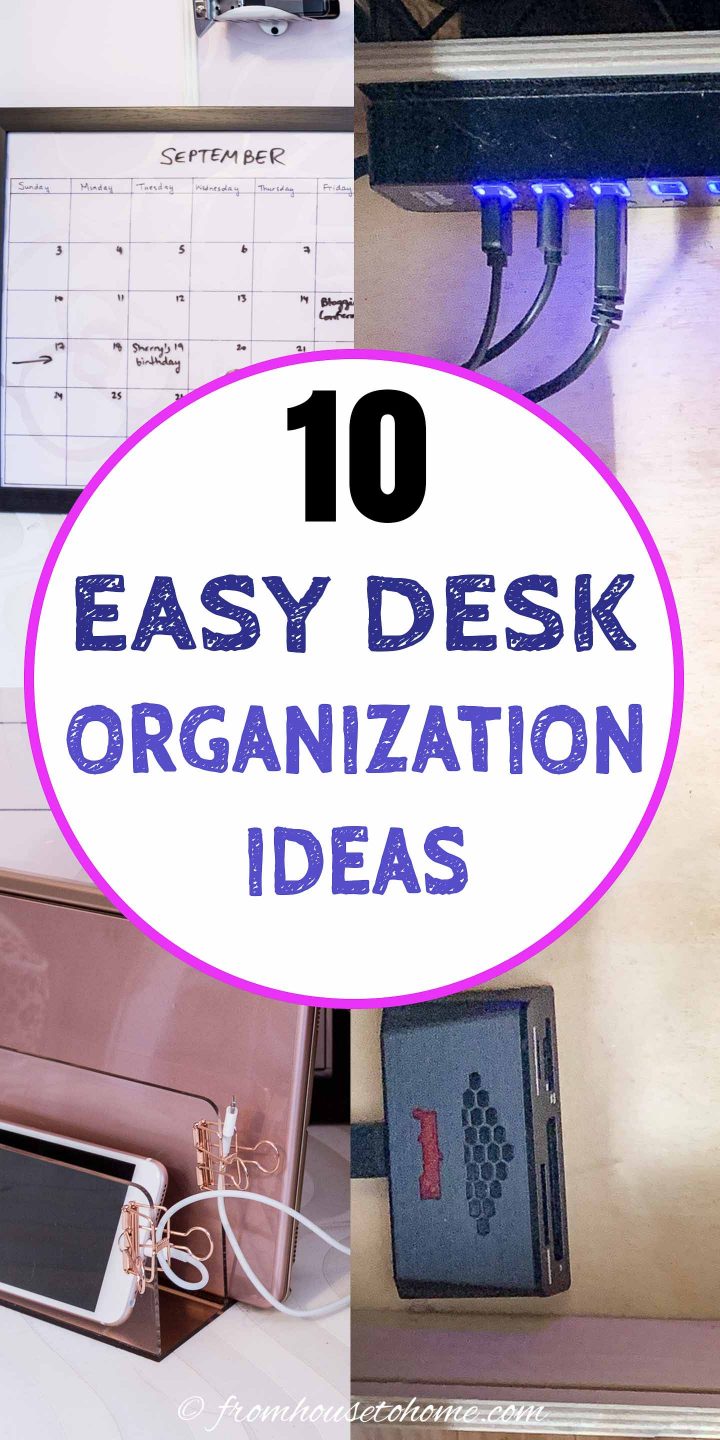
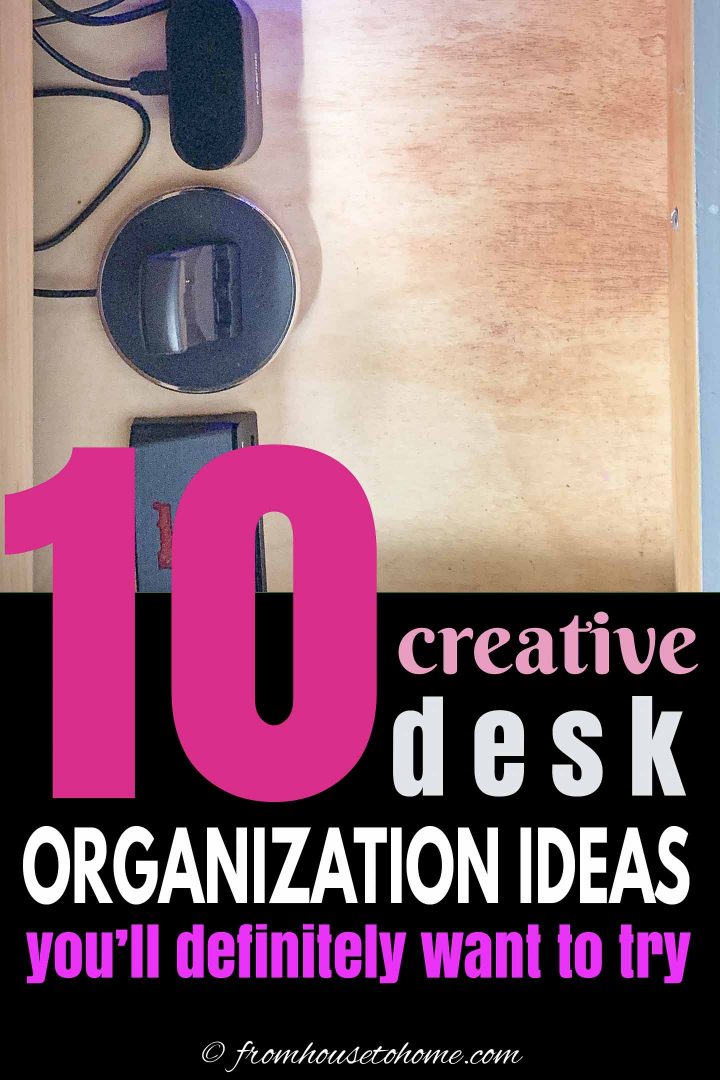
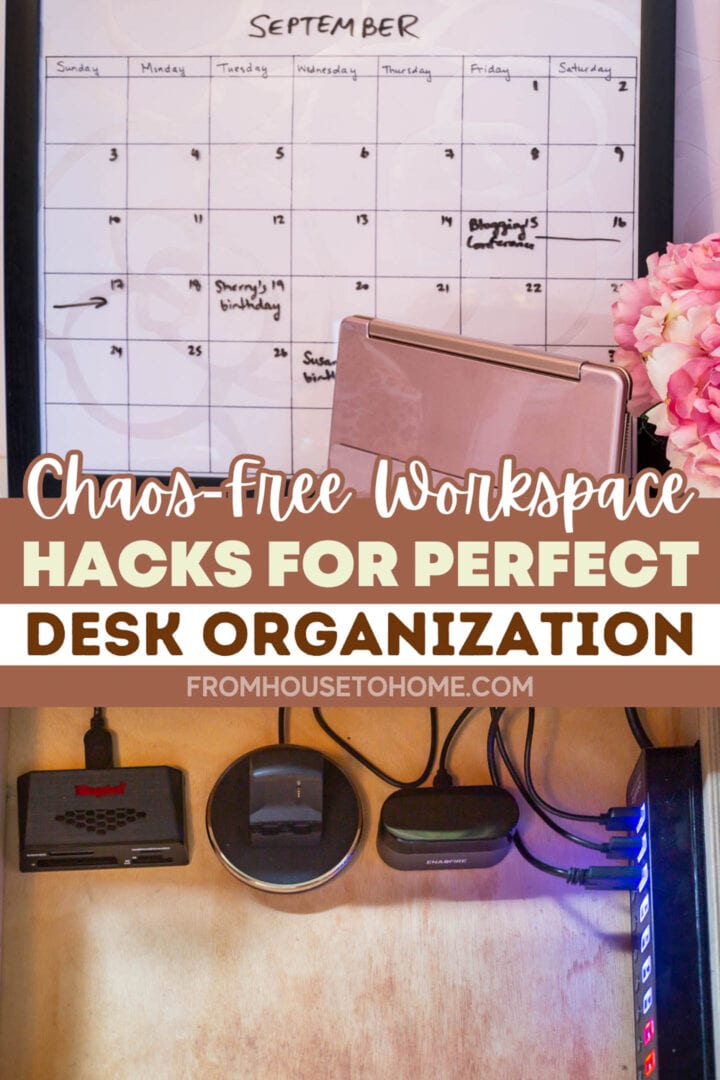
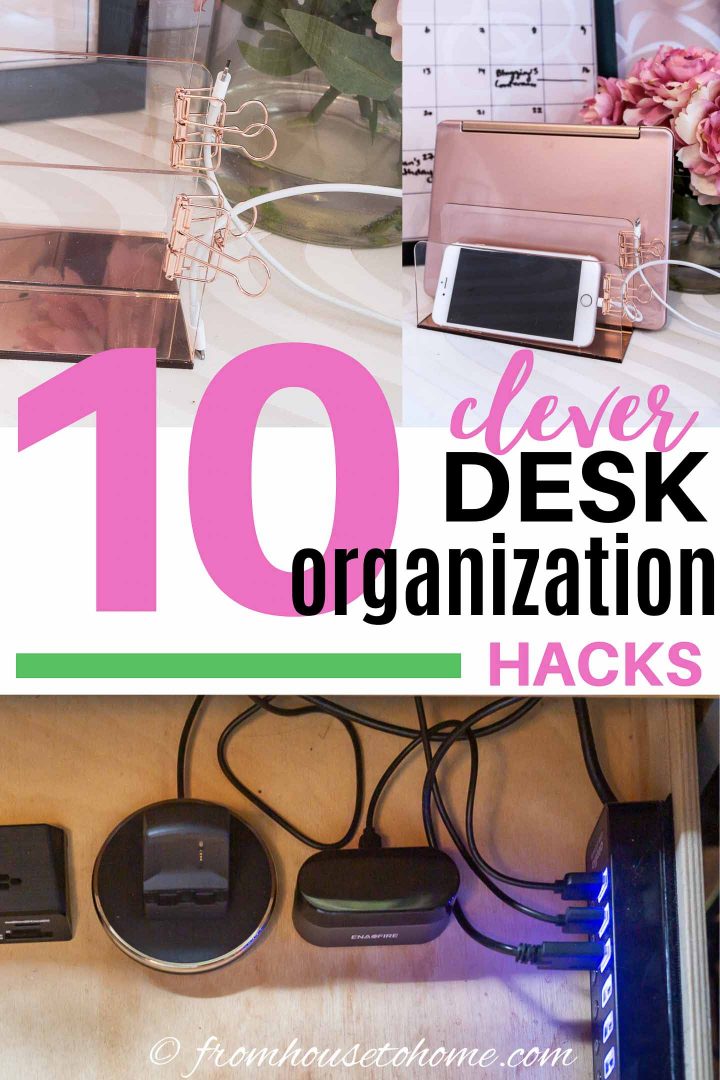
Create A Hidden Charging Station
If you have drawers in your desk, consider converting one of them into a charging station that will get a whole bunch of extra wires off the top of your desk.
You can provide a place for charging and connecting USB devices to your computer by installing a USB hub (like this one*) inside a desk drawer.
If you are planning to use it for charging wireless headphones or your phone, make sure you get a powered USB hub.
The hub has buttons for each individual USB connection, so you can save on electricity for the ports you aren’t using.
How To Make A Drawer Charging Station
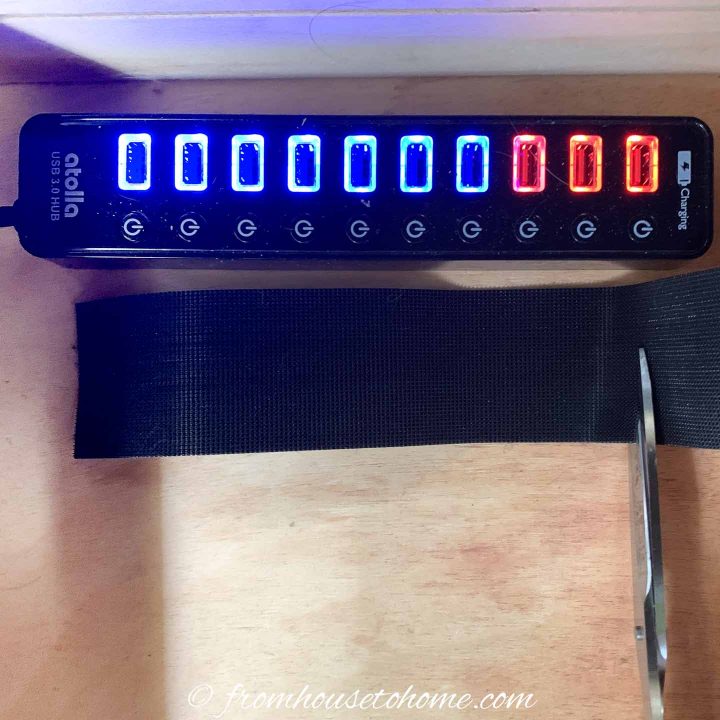
To start, cut a piece of adhesive velcro* that’s about as long as the USB hub.
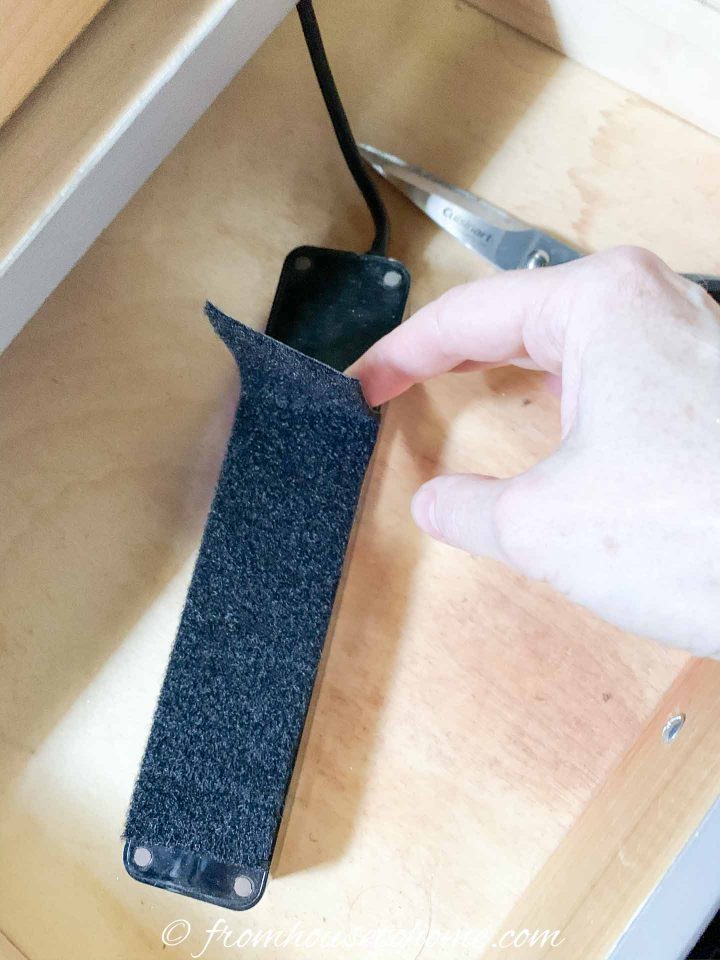
Stick one half of the velcro to the back of the hub.
You may need to trim it a little depending on how wide your velcro is.
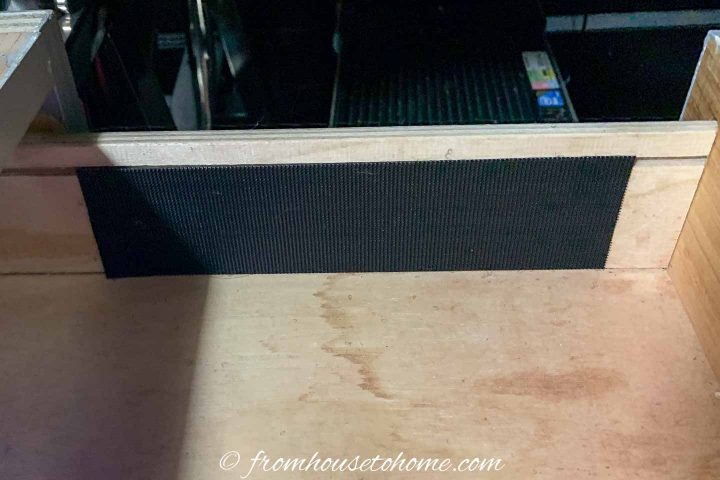
Stick the other half to the side of your desk drawer.
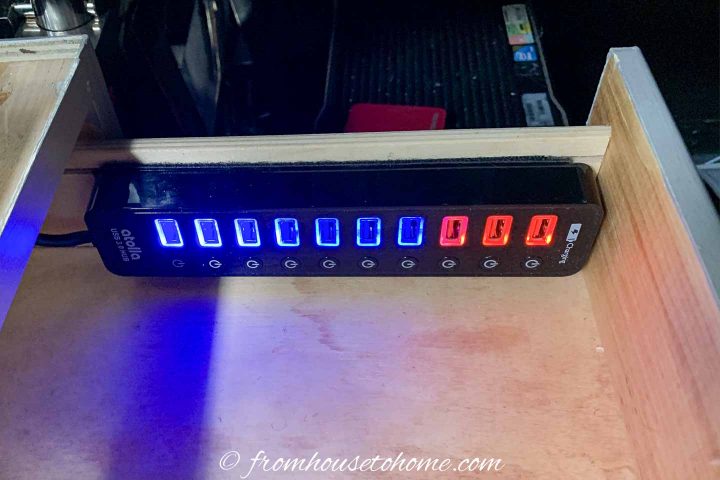
Then stick the hub onto the side of the drawer.
Run the cables down behind the drawer and out the bottom of the cabinet. (If the cabinet isn’t open at the bottom, you’ll need to drill a hole that’s large enough for the end of the cord to fit through.)
Then you can plug the power into the wall and the USB cable into the computer.
If the USB cable isn’t long enough, you can add an extender (like these ones*).
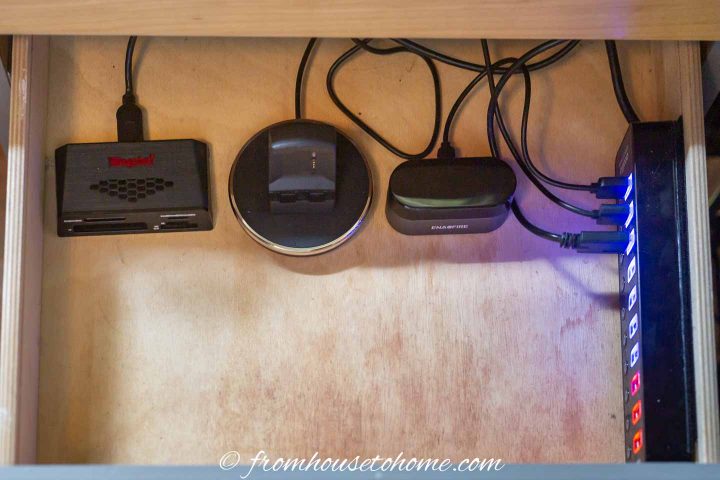
Now you’re ready to add your devices.
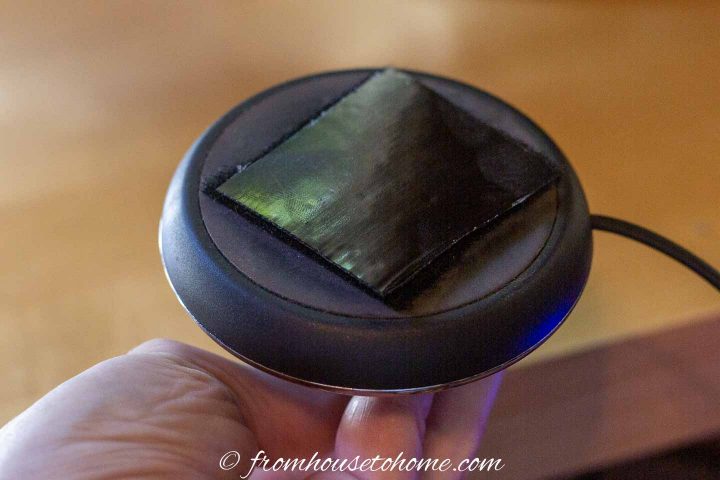
For things that you don’t need to remove too often (like chargers and card readers), you can prevent them from moving around by adding more velcro to the bottom of them and sticking them down inside the drawer.
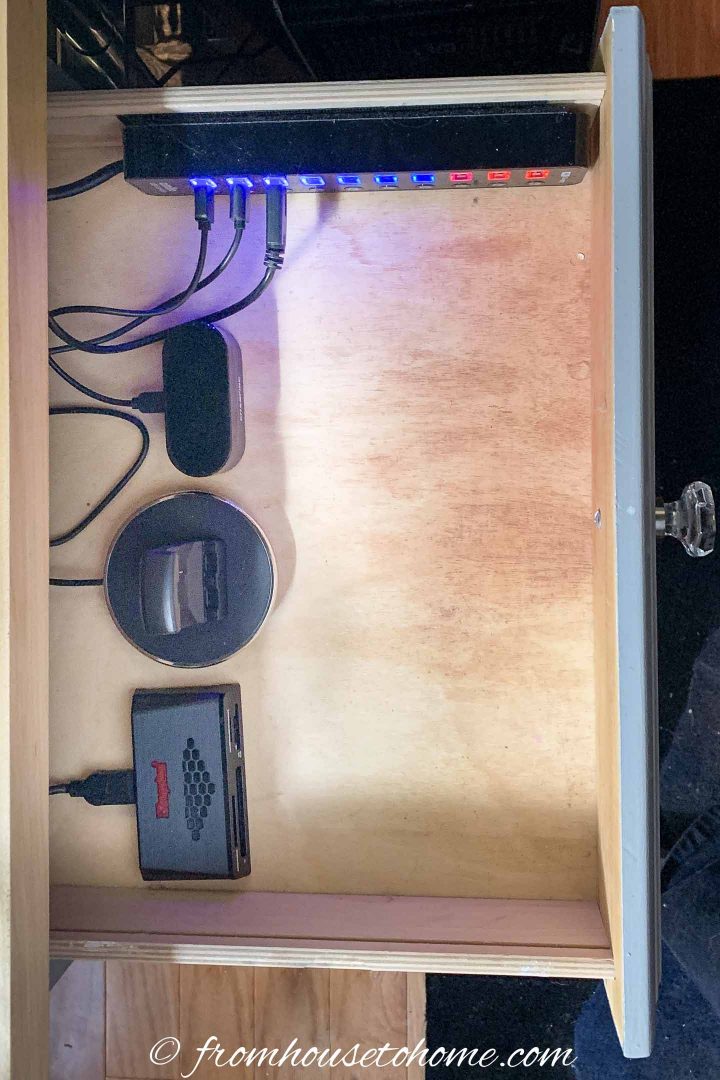
Then you can close the drawer to hide all of that clutter.
3 | Make Use Of Wall Space
With all of these desk drawer storage ideas, you may be wondering how to organize a desk without drawers.
The answer? Make use of empty wall space. (Of course, this really applies for anyone who needs more home office storage).
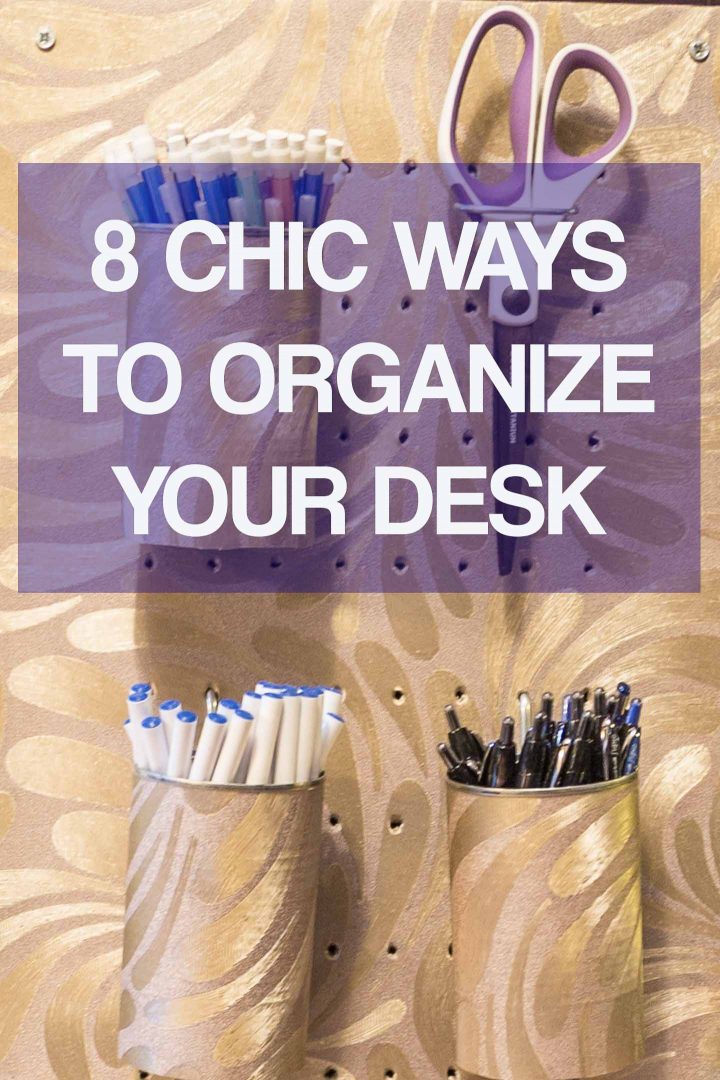
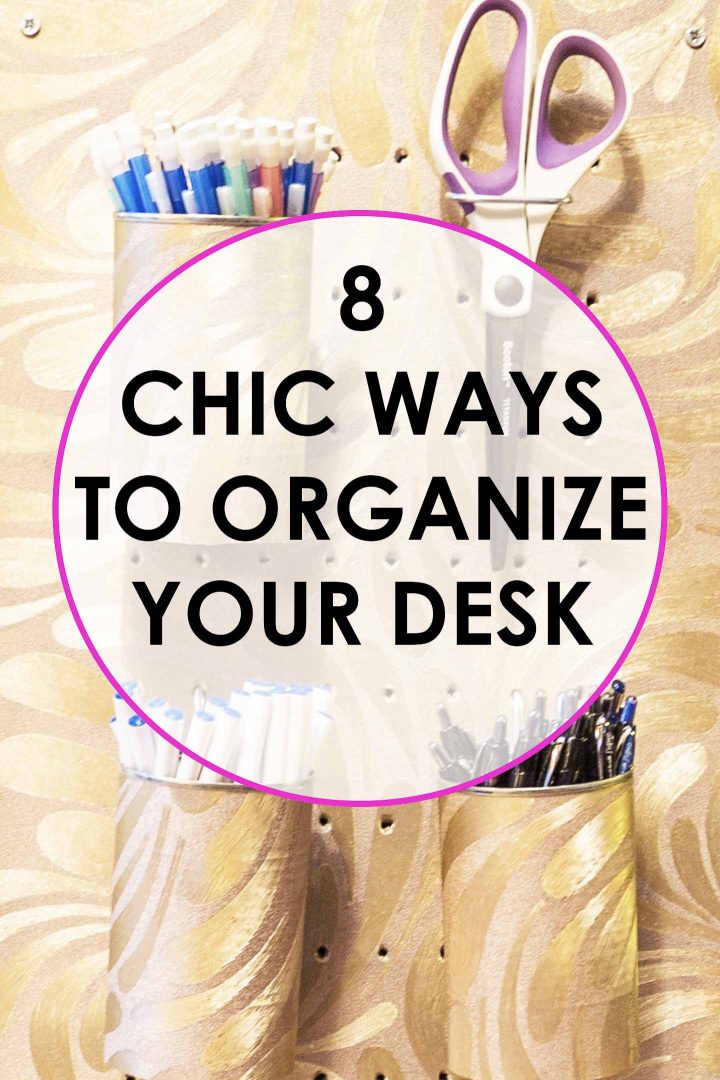
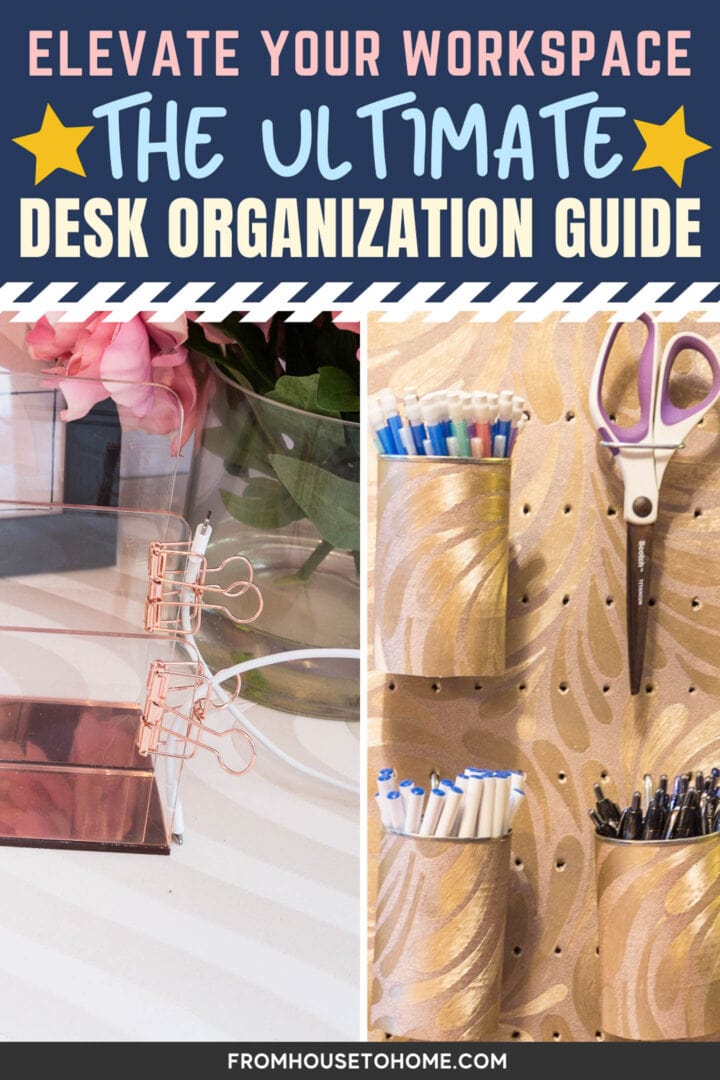
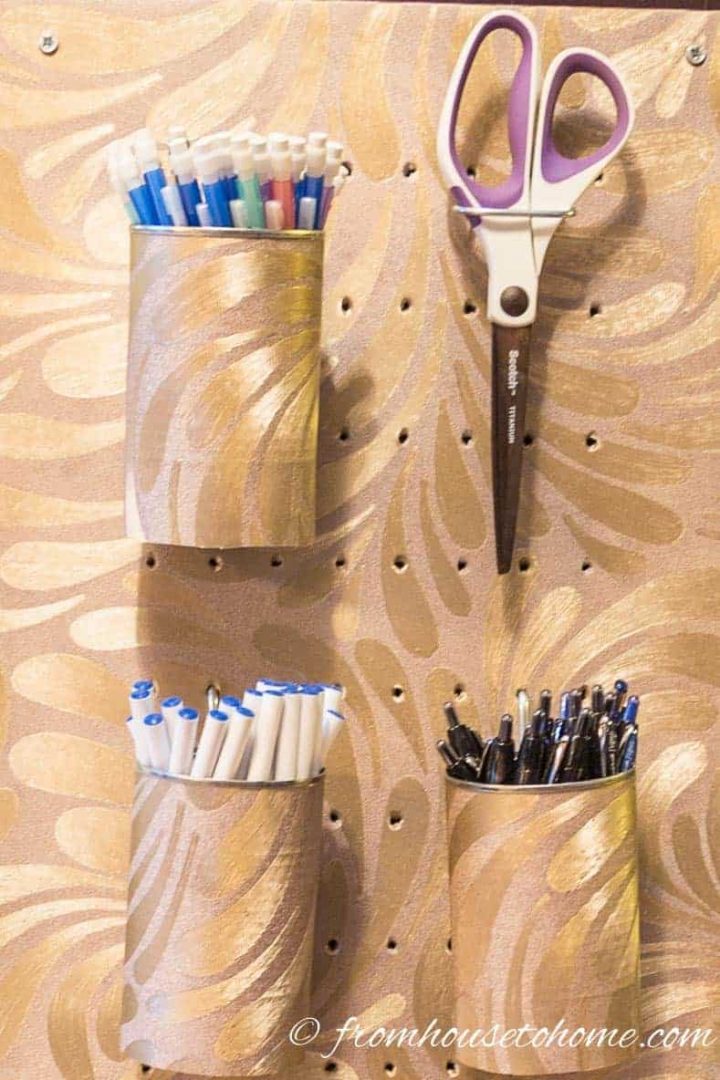
Make Pegboard Look Pretty
When someone says “wall” and “organizing” in the same sentence, my mind immediately goes to pegboard.
Because I think it is hands down the best way to create a lot of organized storage space in a small area.
To get away from the ugly, plain brown pegboard, you can buy it in white (found HERE*).
But I prefer to decorate it with wallpaper, wrapping paper or fabric so that it matches my decor (and just looks nicer).
Find out how to decorate pegboard and see my favorite pegboard accessories for storing office supplies (like the tin cans turned pen holders above).
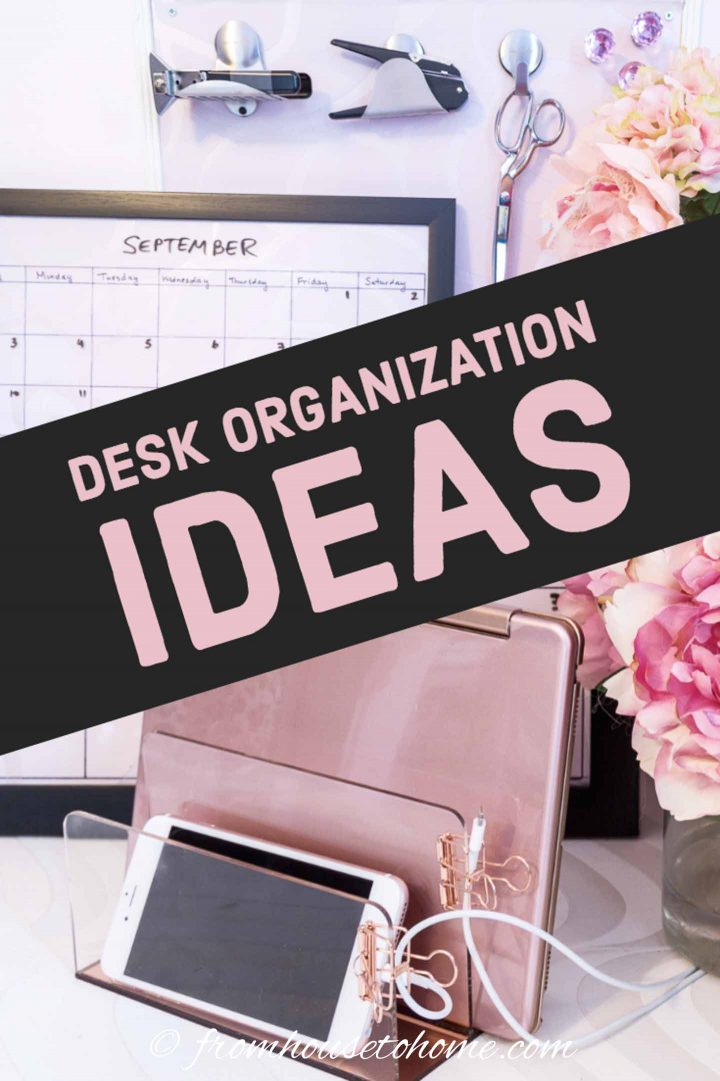
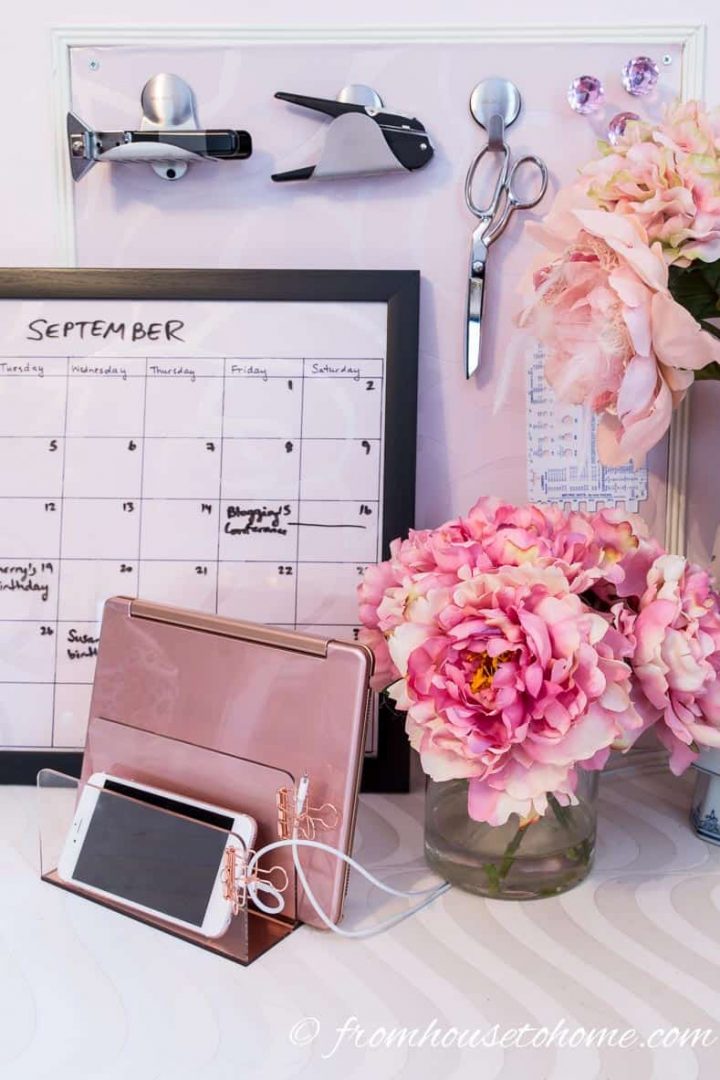
Hang A Magnetic Bulletin Board

For this DIY desk organization project, I created a magnetic bulletin board from a sheet of inexpensive galvanized steel*.
I wallpapered it the same way that I did the pegboard above.
Then hung up some picture moldings that created a big enough frame to fit my magnetic bulletin board. (Find out how to hang panel moldings HERE).
And finally installed the wallpapered sheet metal inside the moldings with screws.
So it looks like it’s part of the decor.
But it’s really a very useful magnetic bulletin board!
Magnetic spice tins* are the perfect size for storing small office supplies like paper clips and flash drives.
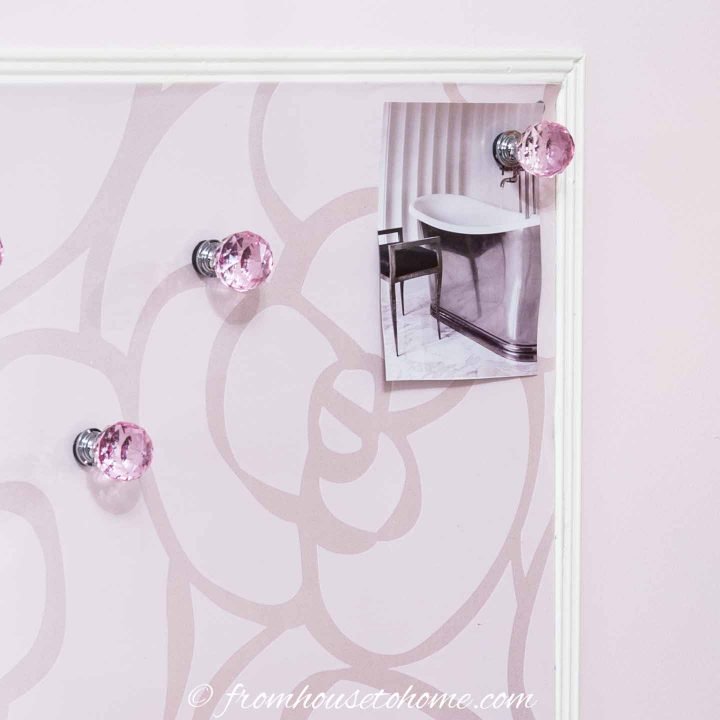
Of course, like any bulletin board, you can hang notes from it.
Only this uses magnetic “pins”. I made these pink ones by gluing magnets to the bottom of these cabinet knobs*.
So no need to make holes in anything for this to work, which is great if you like to hang photos.
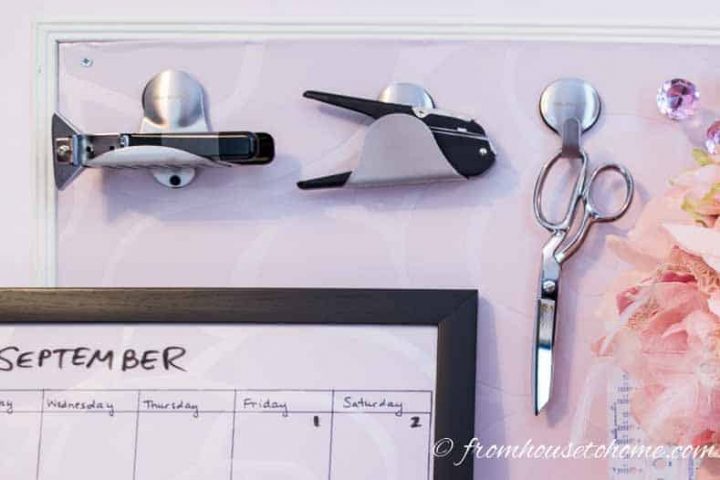
If you’re really short on desk space, you can even use it for hanging small office tools like staplers using these magnetic hooks*.
They are meant to be used for holding cleaning supplies (like sponges) to the side of a sink.
But they have really powerful magnets so they work REALLY well for making sure heavier office supplies stay on the wall.
Make a Clipboard Command Center
Another great way to use wall space for organizing your office is this DIY clipboard command center by Hawthorne and Main (via Tater Tots and Jello) that I found on Pinterest.
Hanging clipboards is an easy and inexpensive project for getting organized. And the way she has them decorated looks pretty too!
4 | Get A Desk Side Cart
If you don’t have any drawers in your desk (or you just need more storage), a desk side cart (like this one*) may be just what you need.
It comes with a pegboard on one side as well as some pegboard baskets to hold things like pens and staplers. And you could make some more with our DIY pegboard basket ideas (found HERE) if you want to.
This cart is also metal. So not only is it sturdy, but you can stick on some magnetic spice tins* for extra storage of small office supplies.
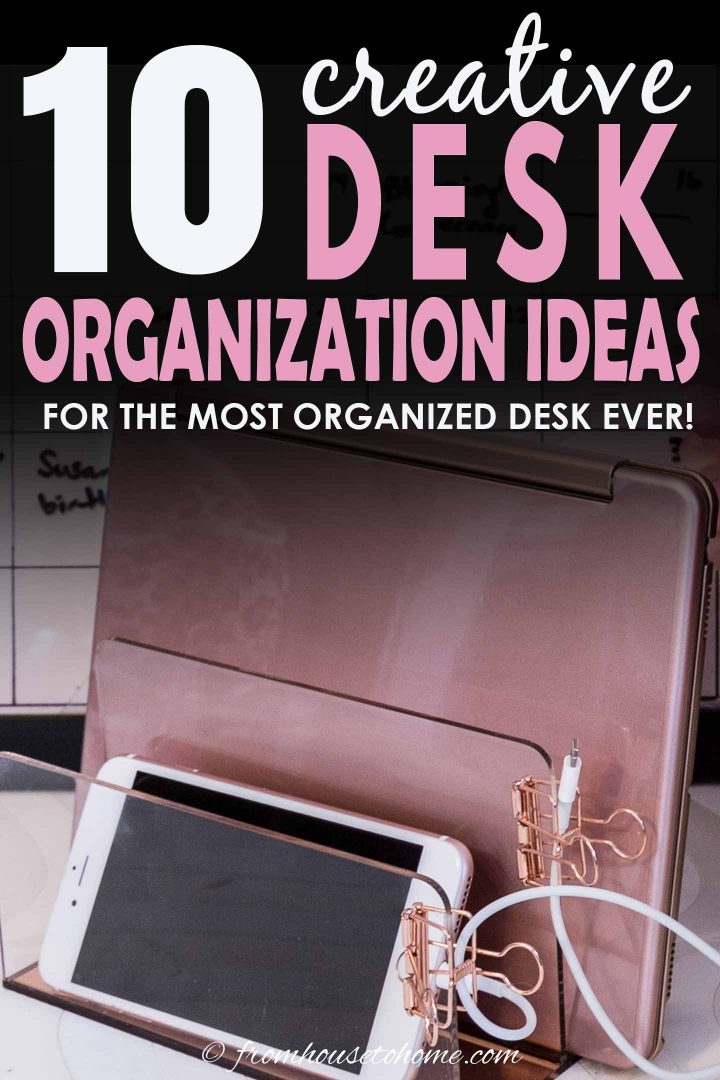
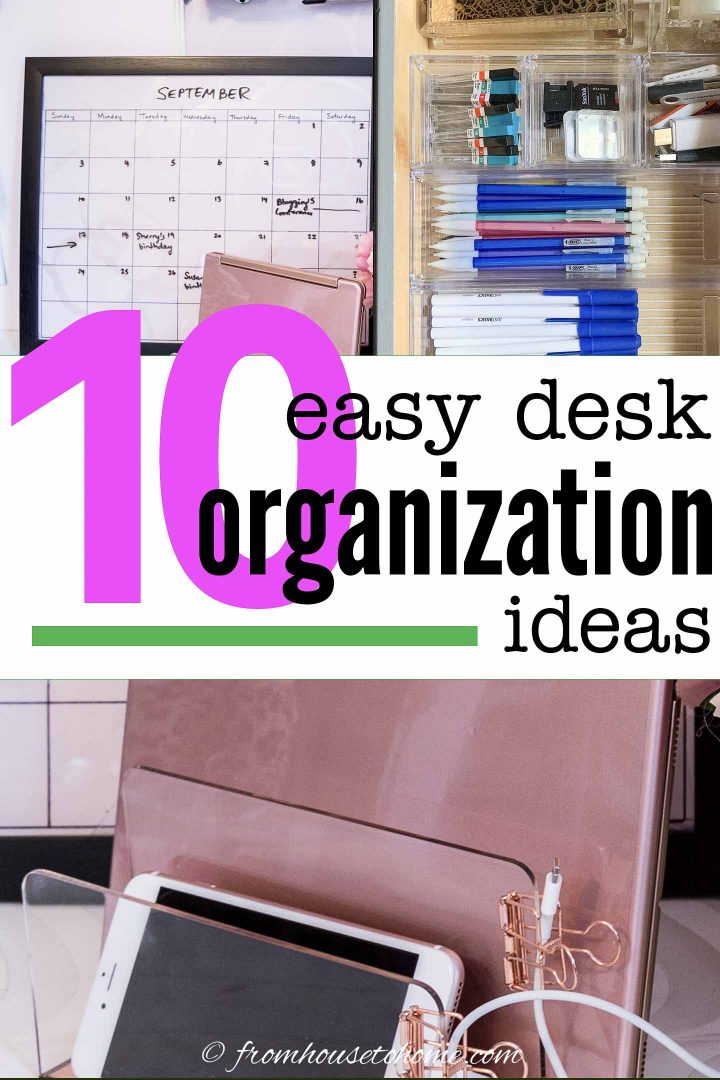
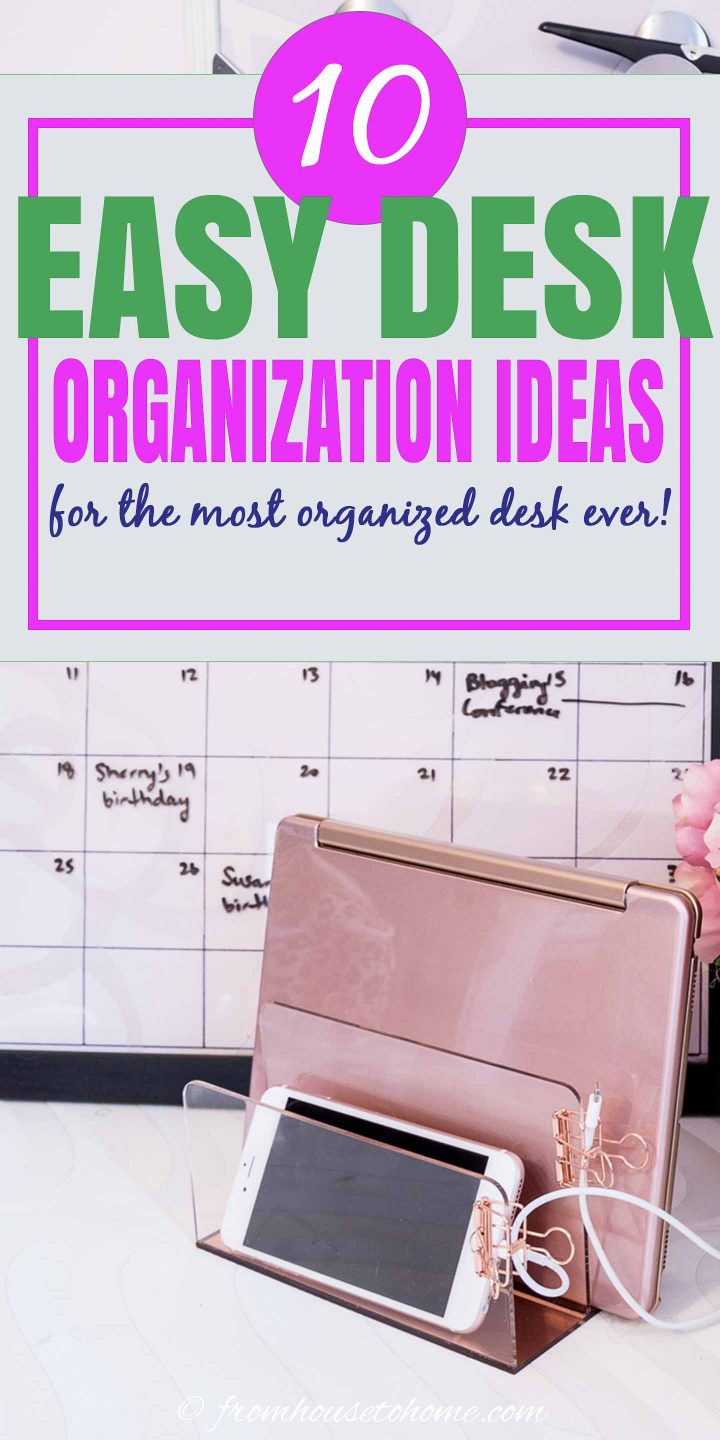
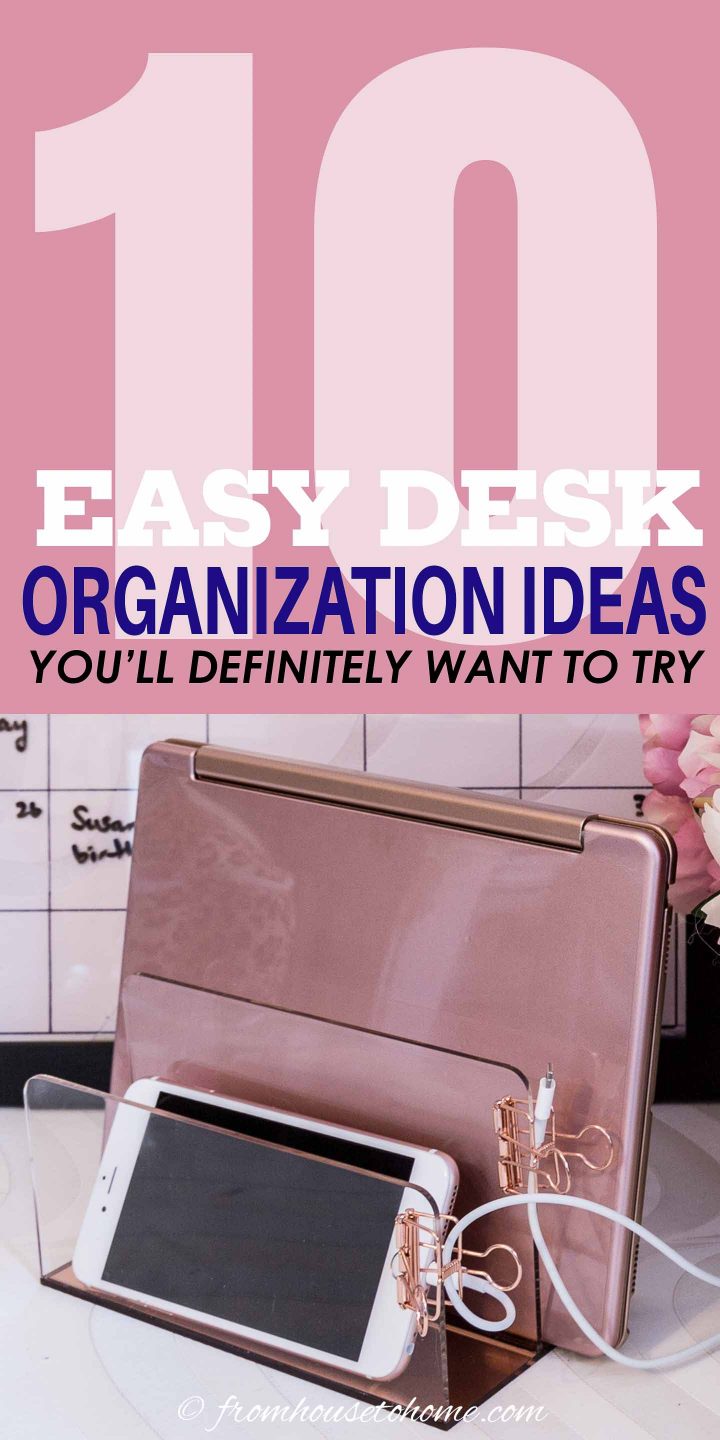
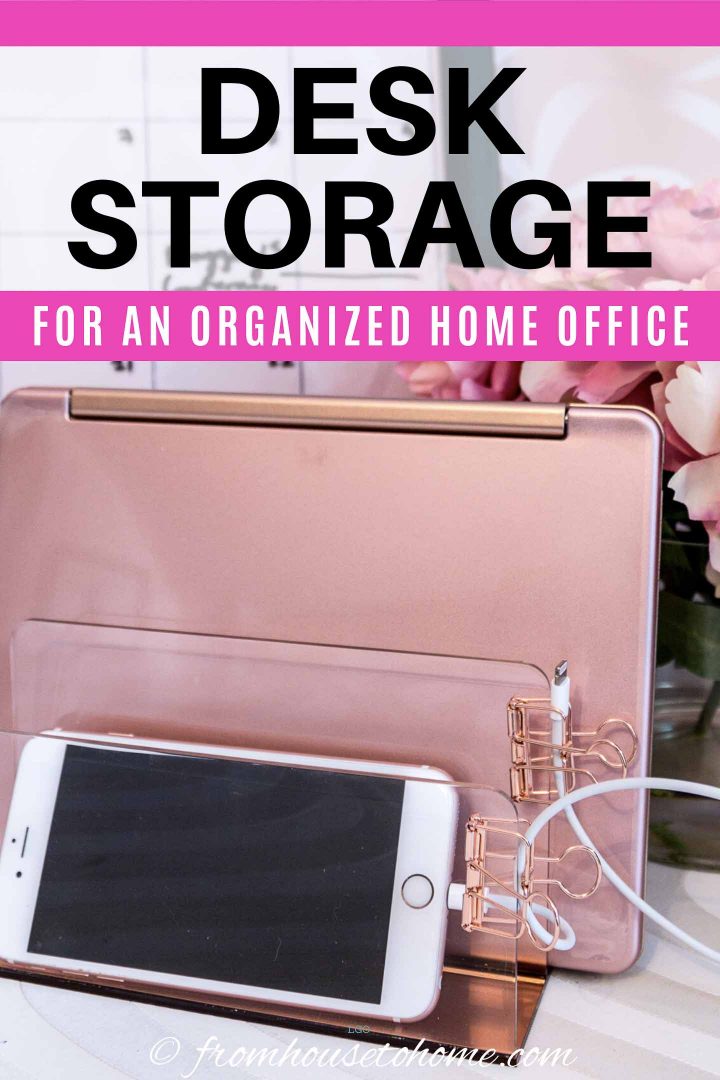
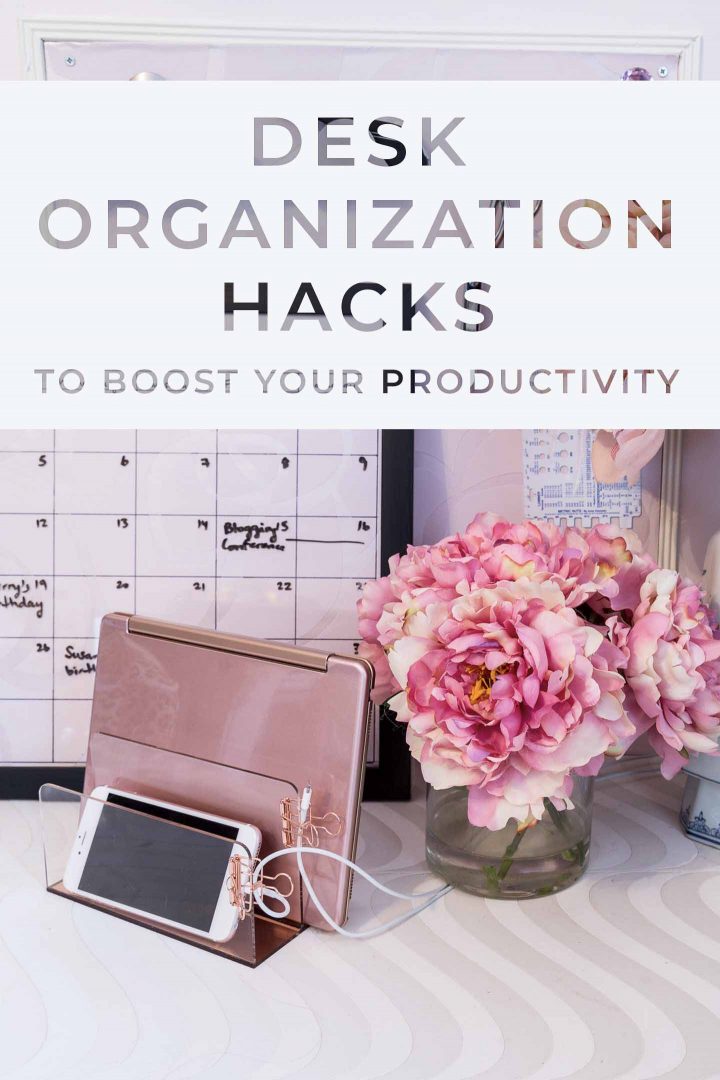
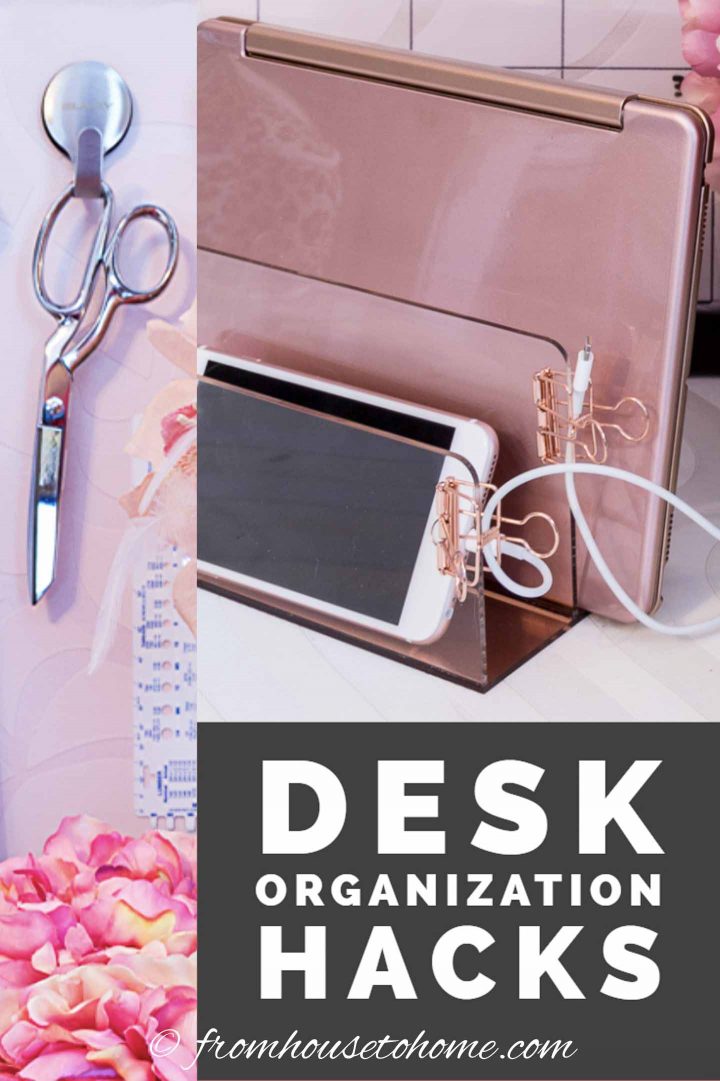
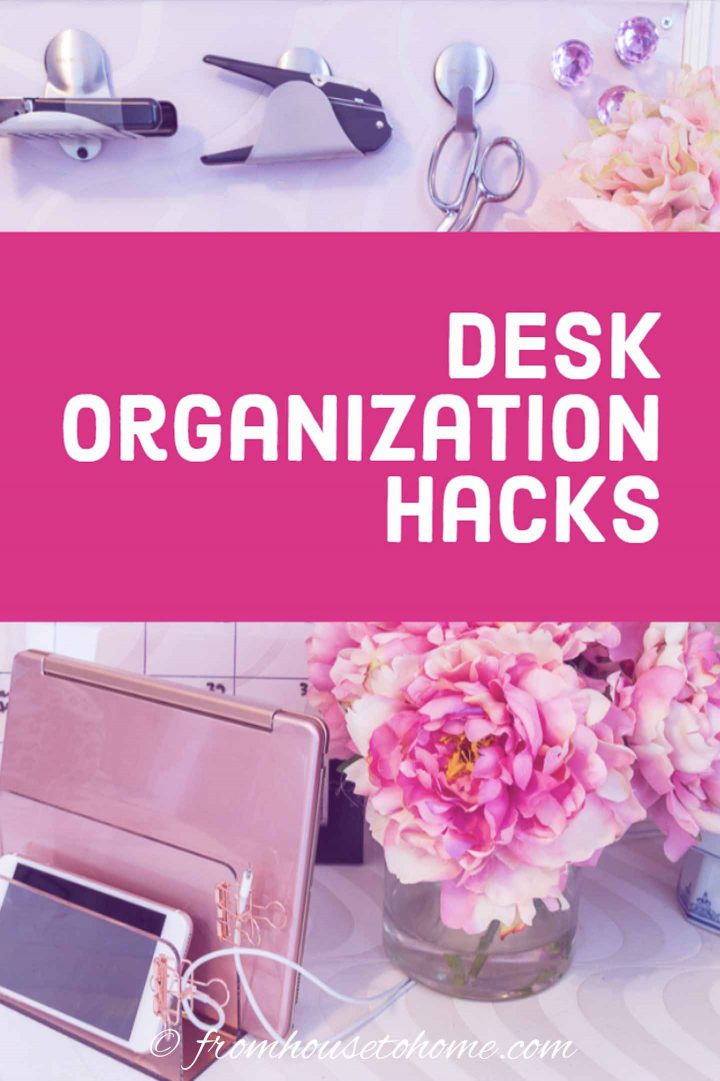
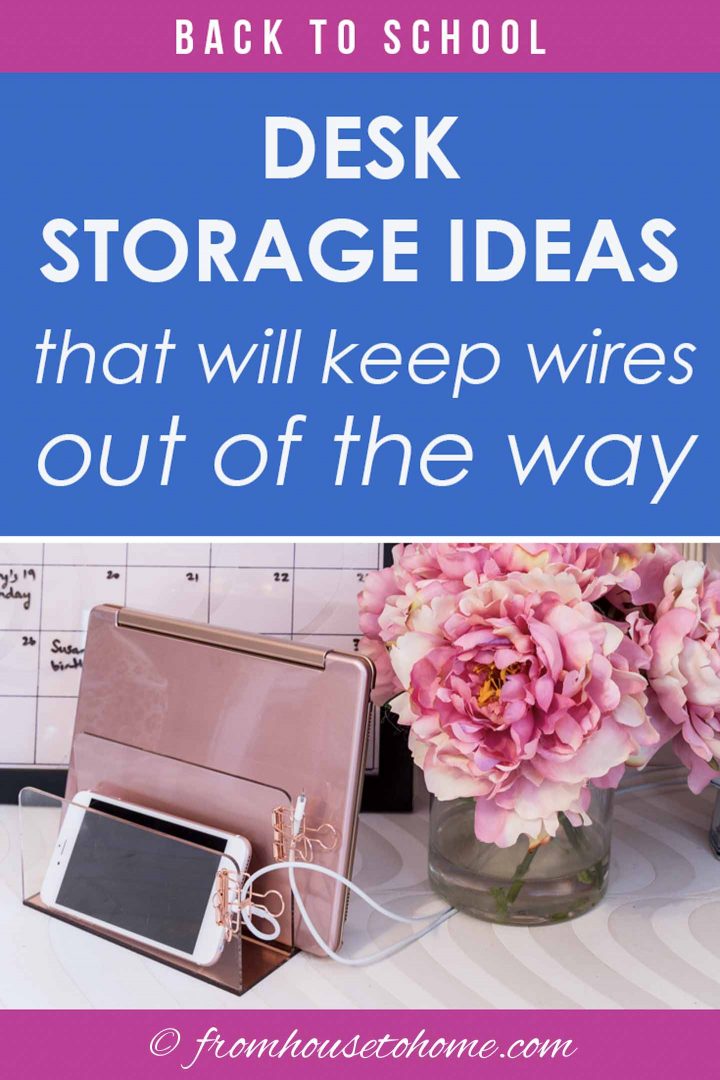
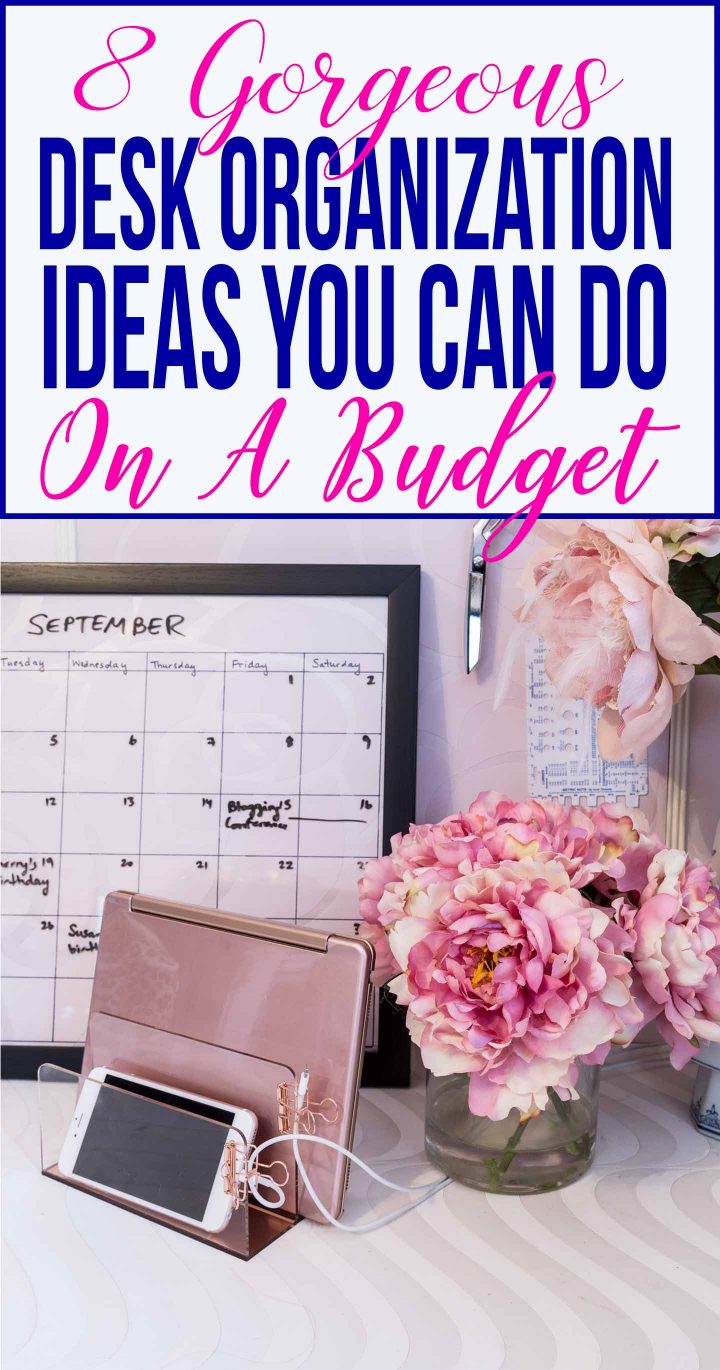
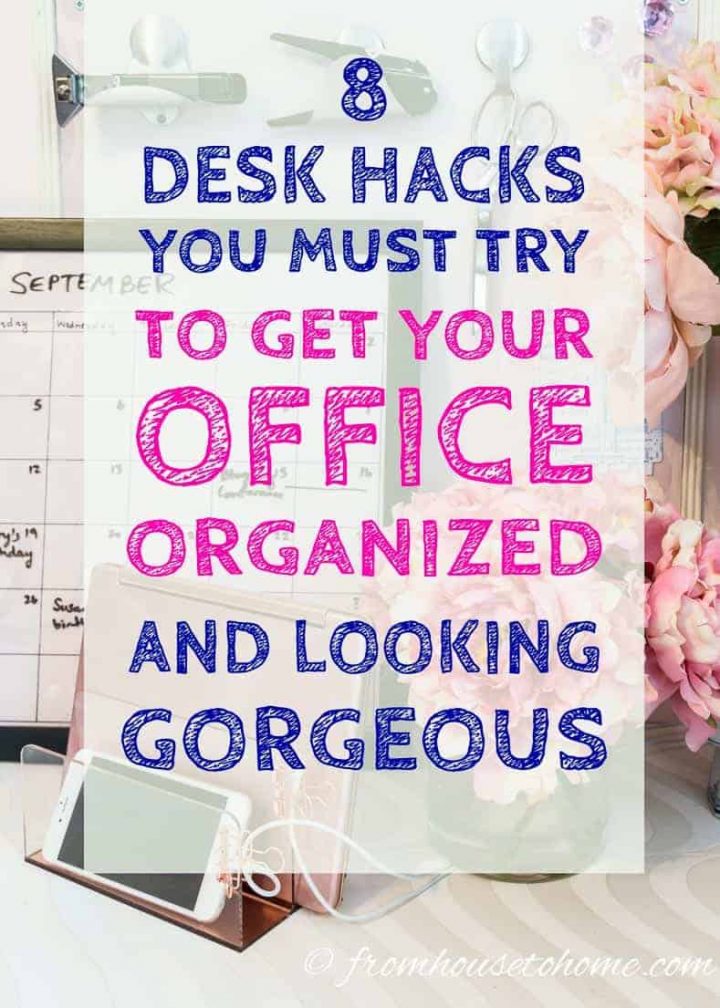
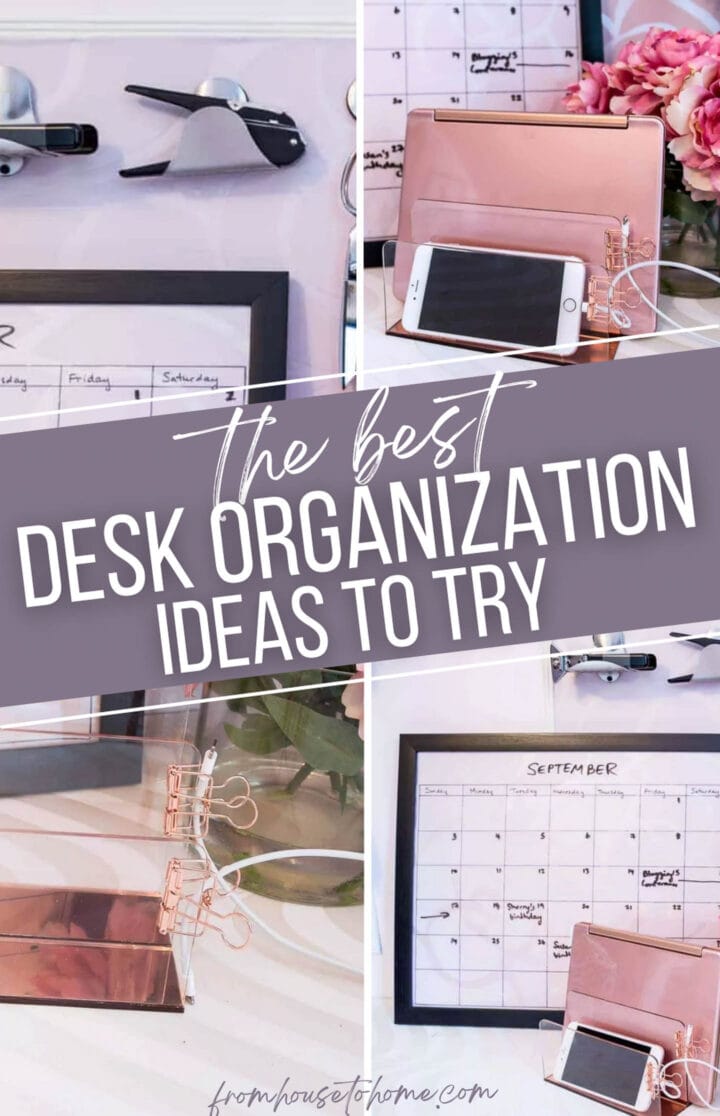
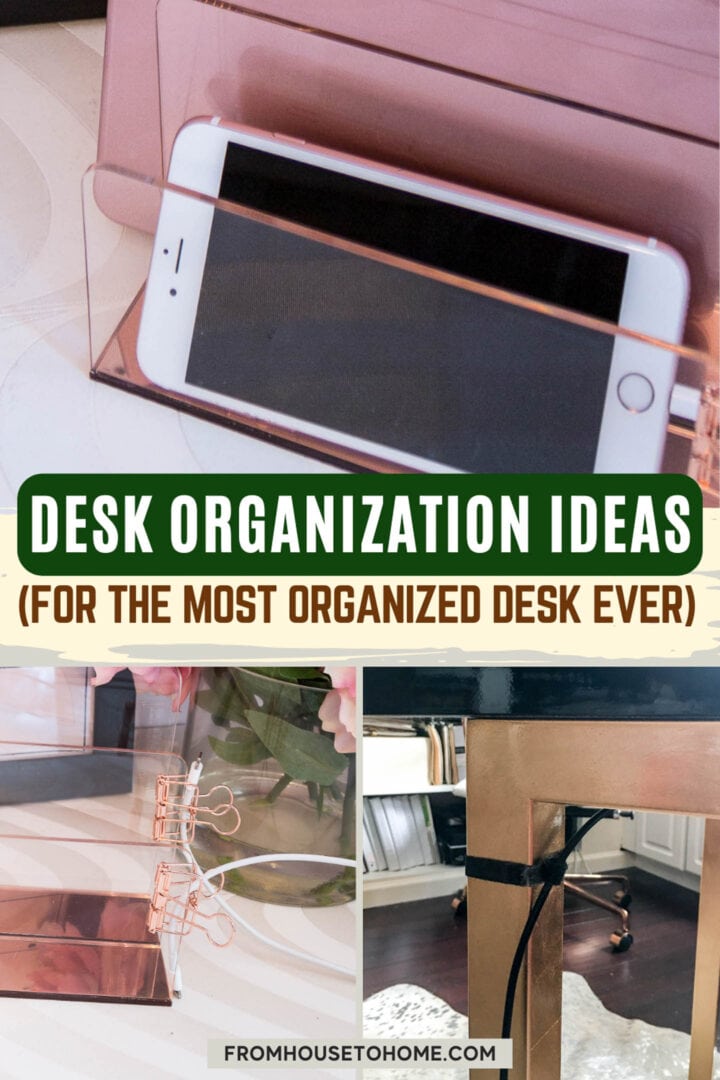
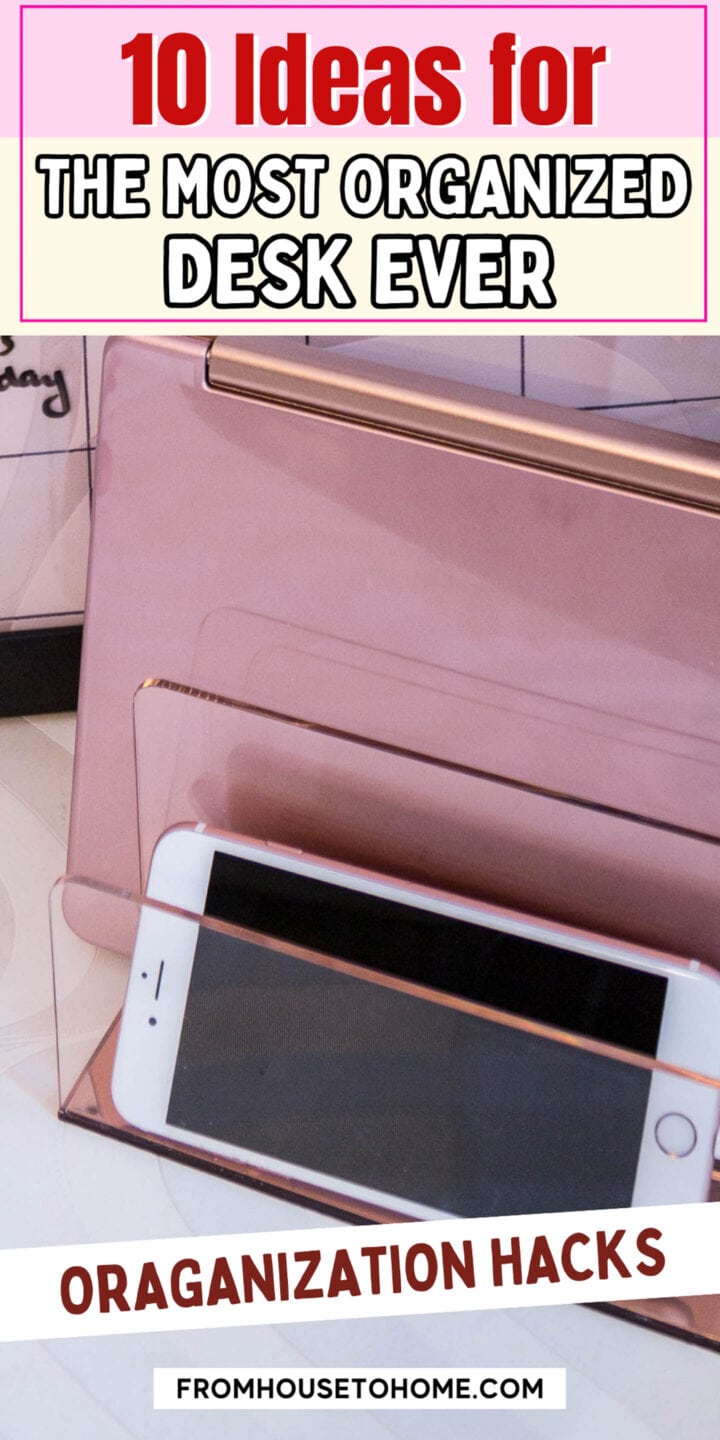
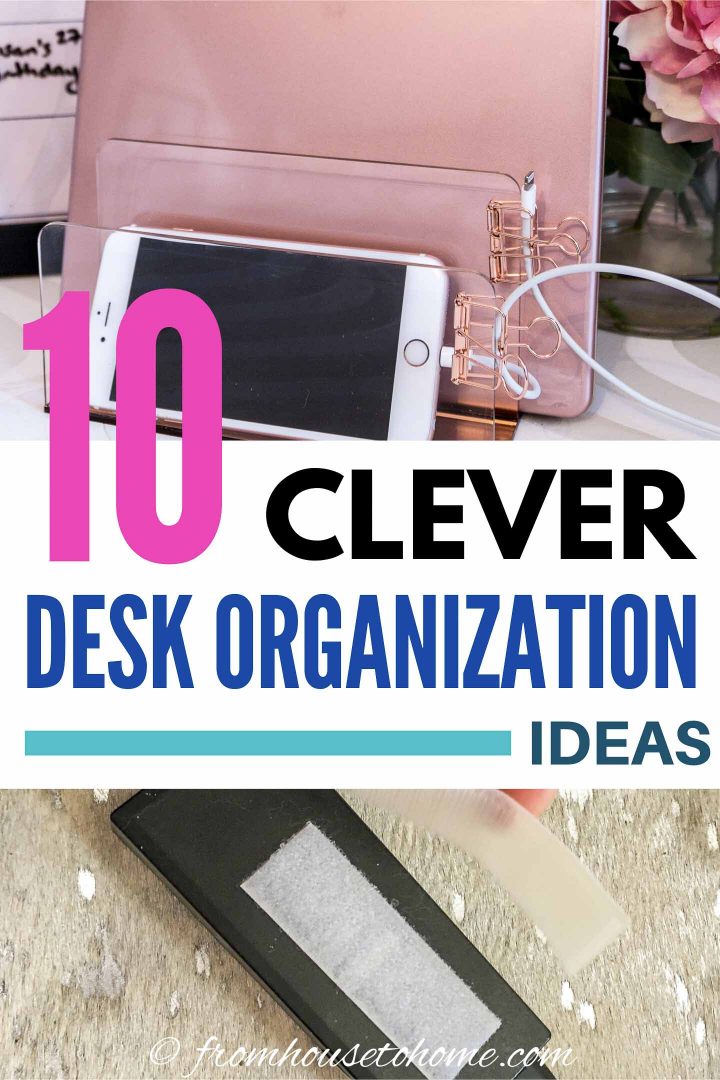
5 | Create A Pretty Phone Charging Station
If you’re like me, you spend a lot of time looking for your phone.
And when you find it hidden under a pile of papers, the battery is almost dead.
So then you spend even more time searching for the charging cable for your phone.
Which is where this desk organization hack comes in handy. (If I still worked in an office, I would have one of these in my cubicle, too!)
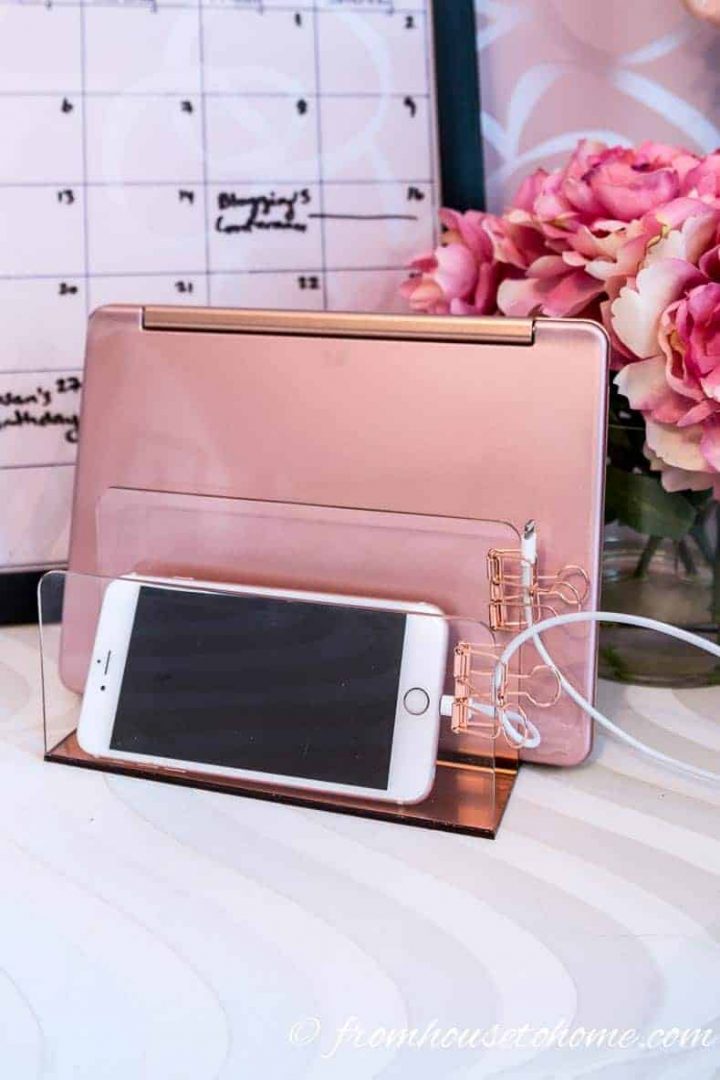
Making your phone charging station is super easy…no DIY skills required…
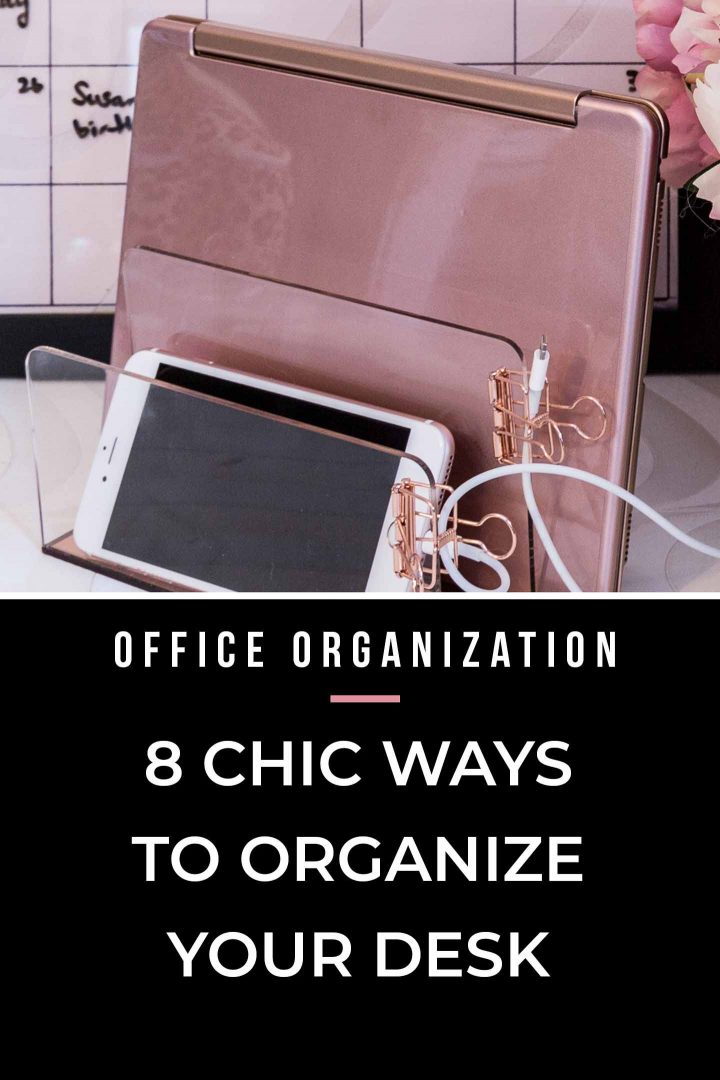
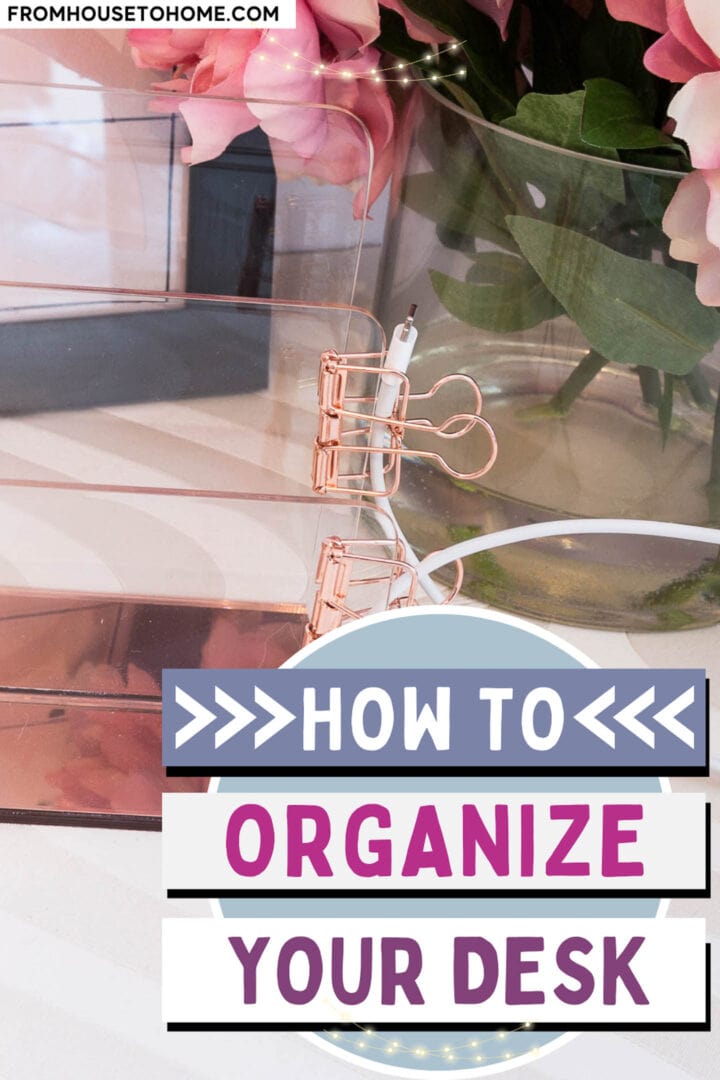
First you need a letter file. This is what will hold your electronics in place.
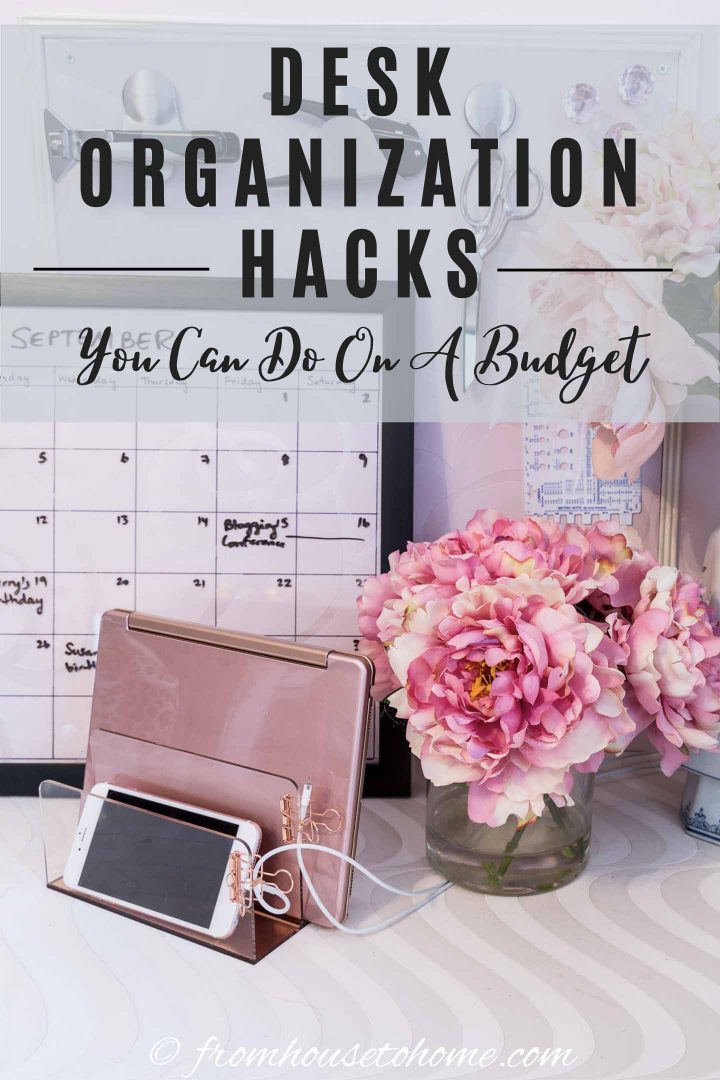
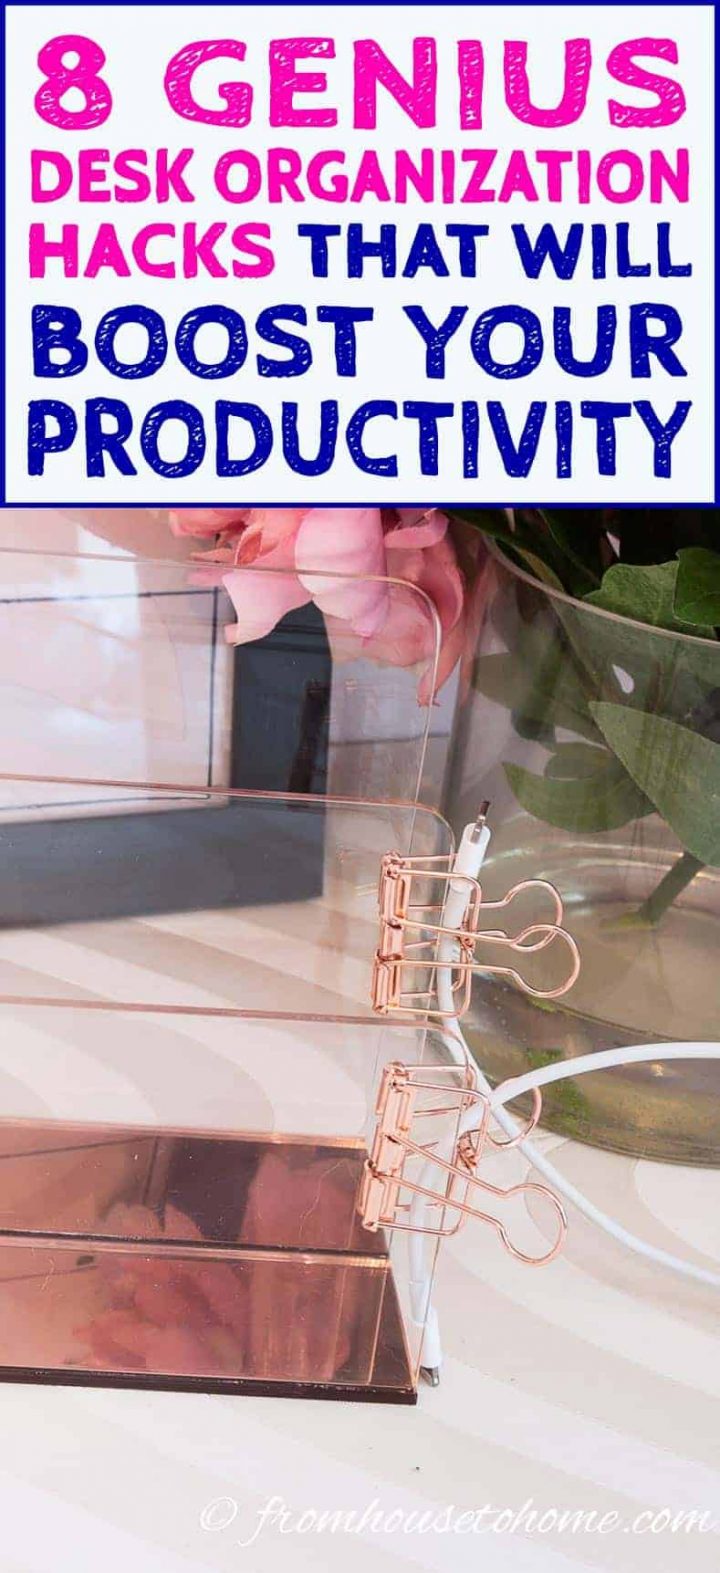
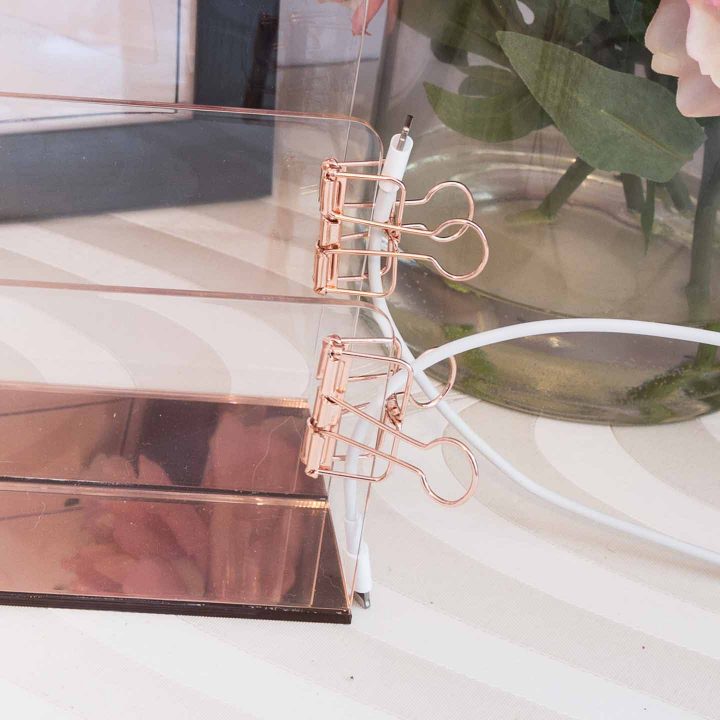
I used this acrylic and rose gold letter holder*. Not only does it go with my office colors, but I like the fact that the clear acrylic sides make it take up less visual space on my desk.
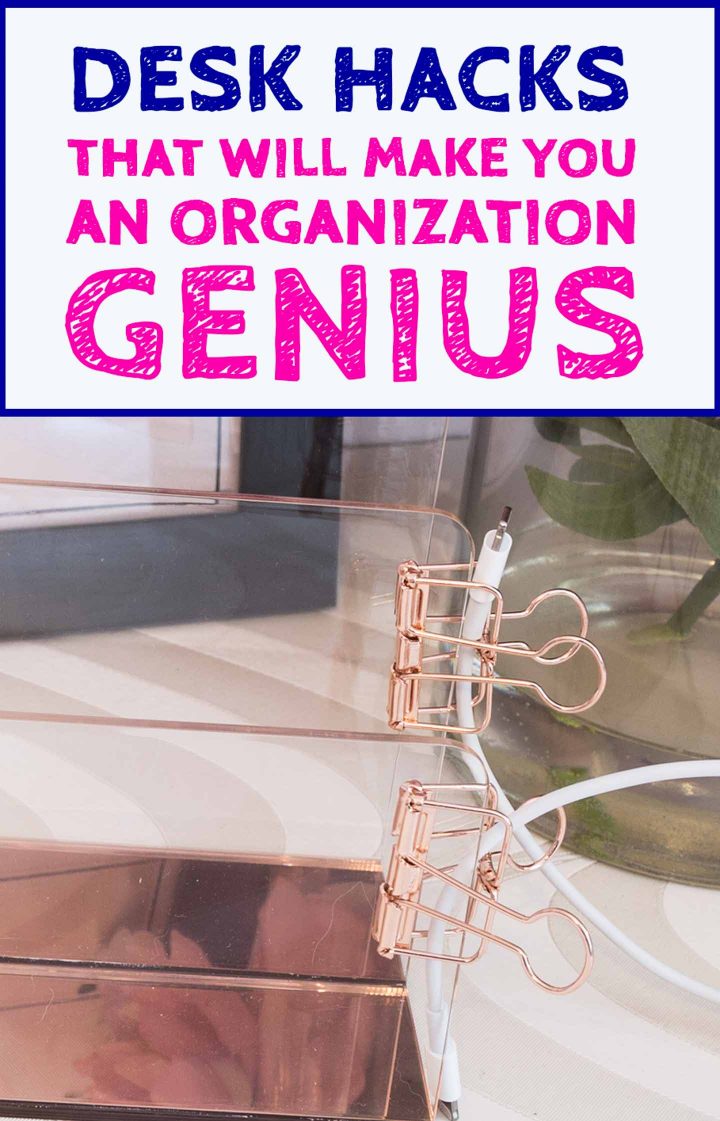
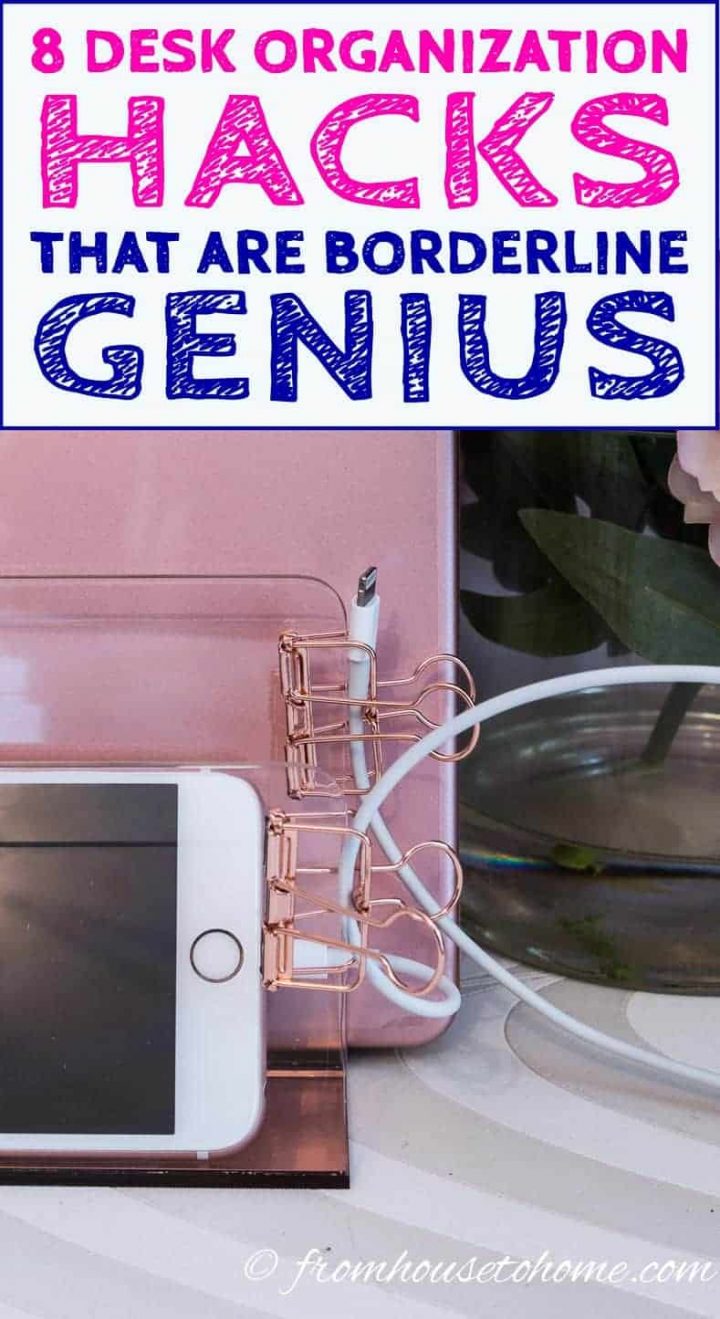
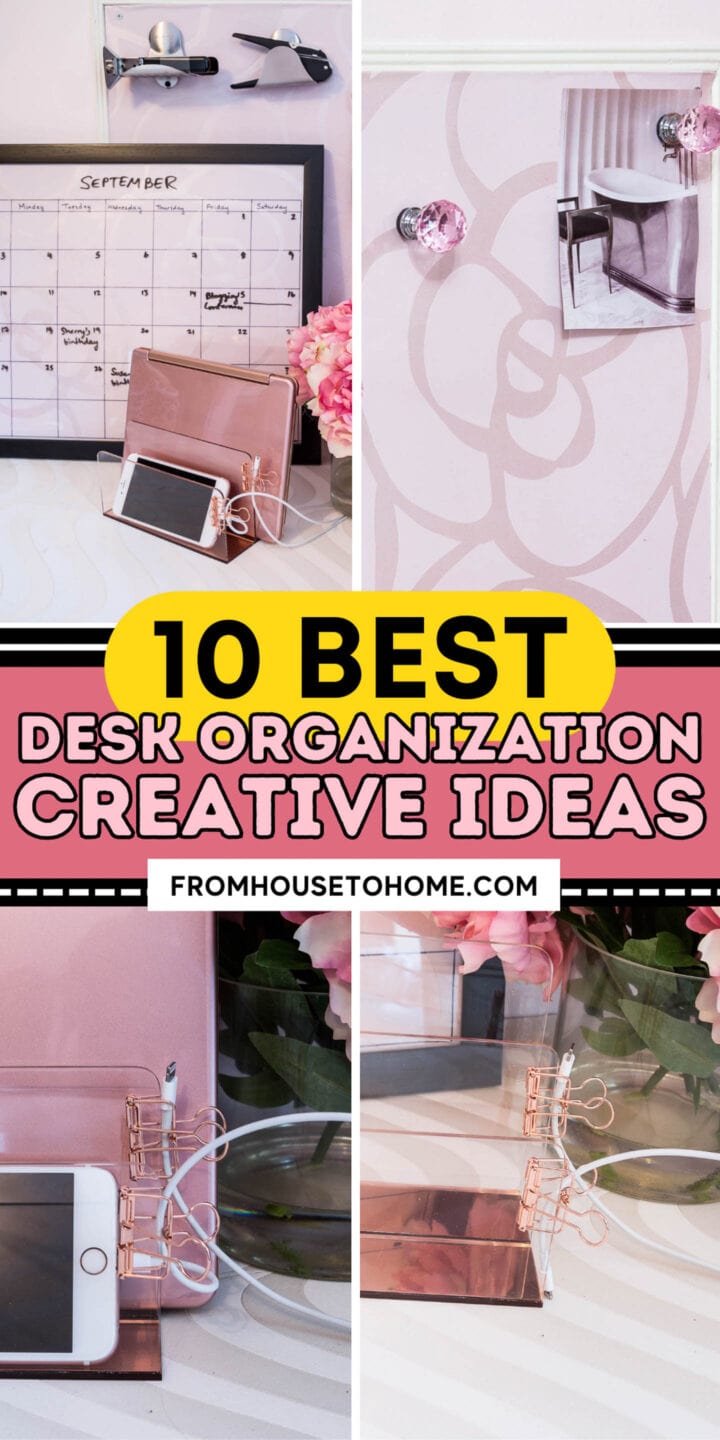
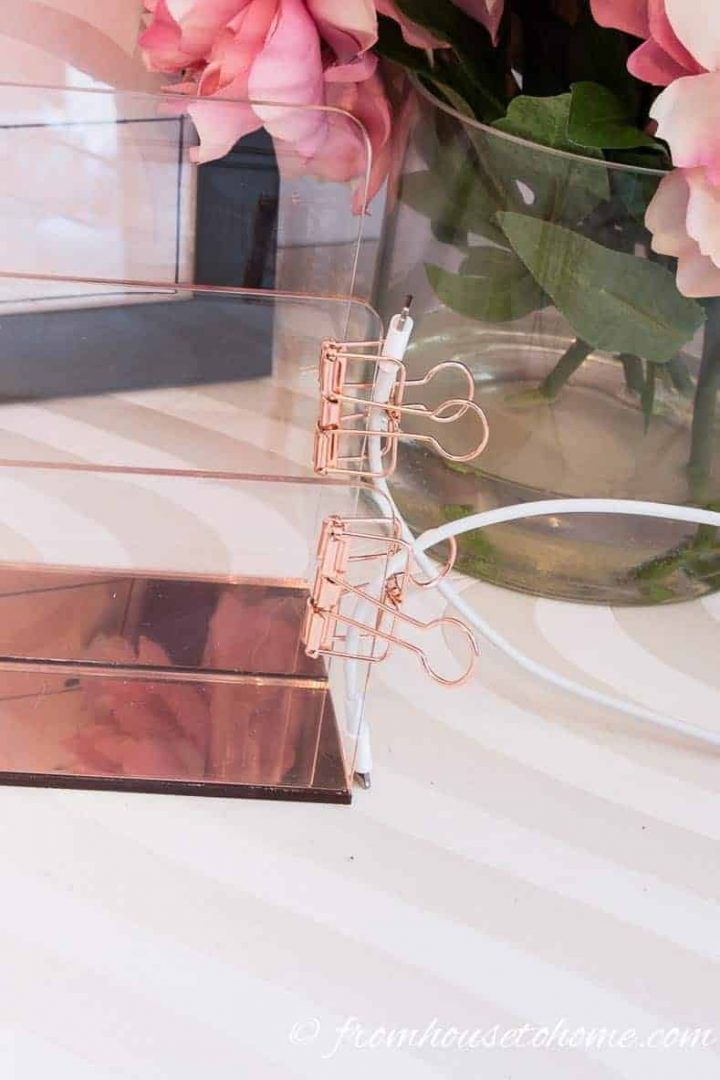
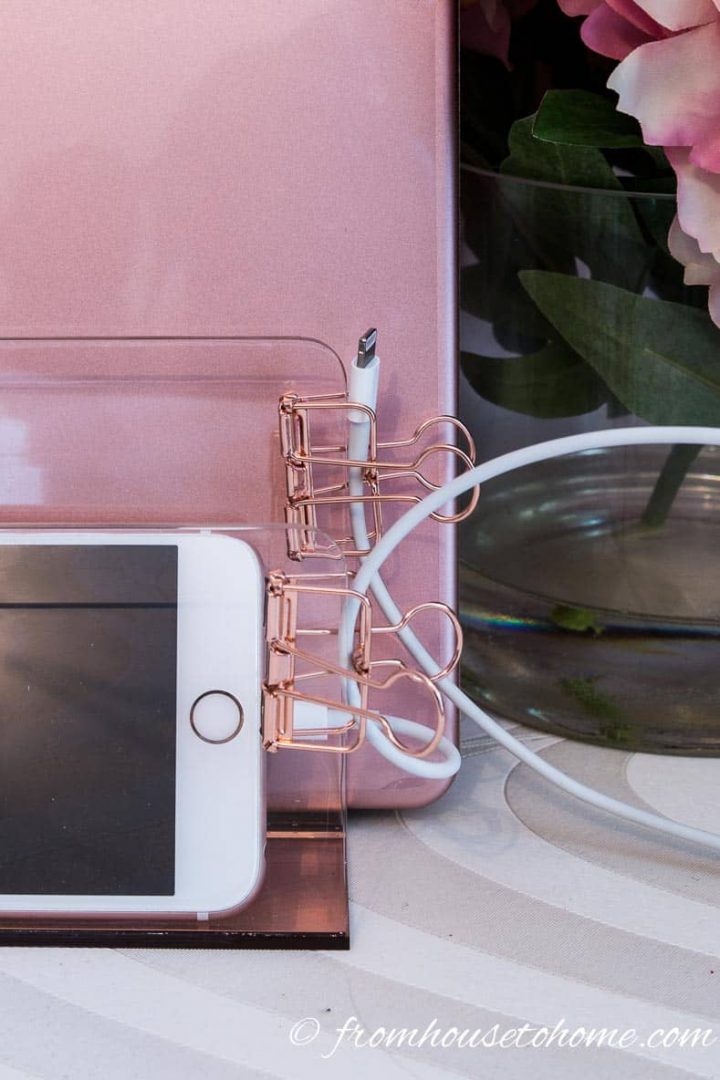
Then use a binder clip to hold the charging cables in place. This prevents them from flopping all over your desk and makes sure the end is right next to where you plug in your phone.
This is really easy. Open the binder clip. Put the free end of the charging cable through it. Then attach the binder clip to the side of the letter file tight enough that the charging cable can’t slip through.
You can get binder clips in colors other than standard black (like these rose gold ones*) if you want to keep your office looking pretty.
Plug the other end of the charging cable into a small charging station* and you’re done.
Then all you have to do is remember to put your phone in the letter holder “mail” slot.
Make this easy on yourself by putting the charging station in an easy to see and access location.
6 | Make A DIY Dry Erase Calendar
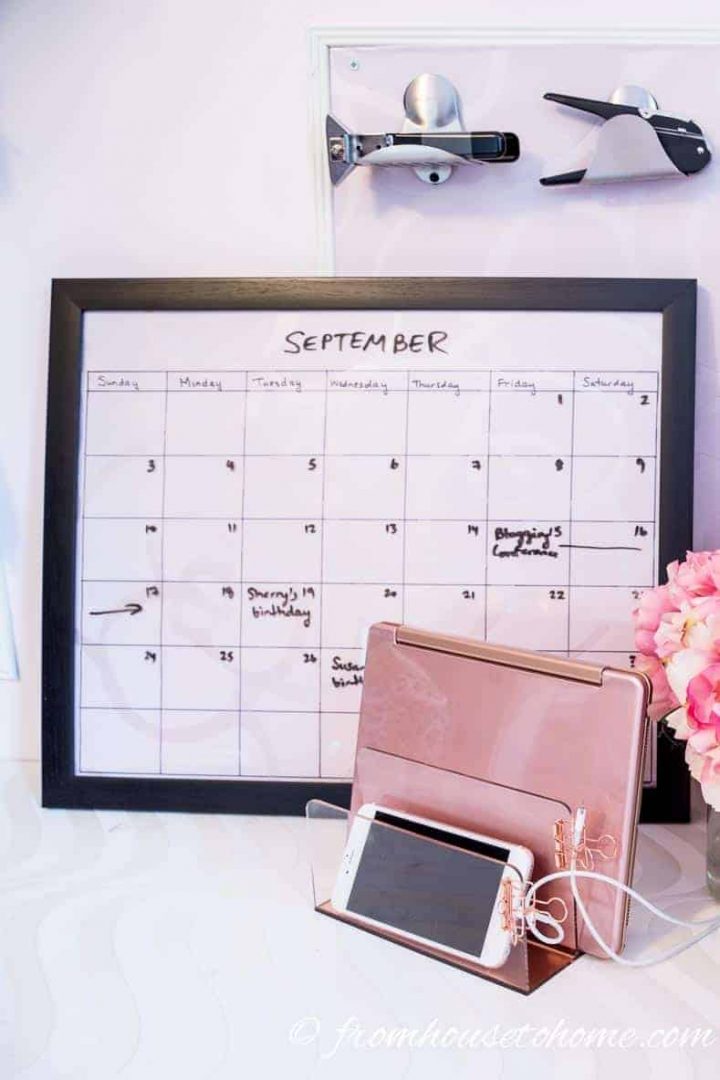
This next idea helps to keep me from writing lots of little notes with deadlines on them…that I usually find after the deadline.
It’s a DIY dry erase desk calendar that actually works way better than the standard whiteboards you buy.
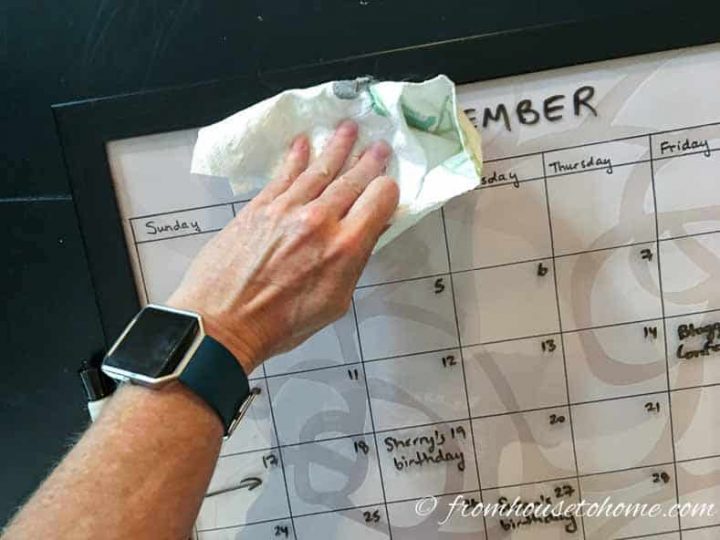
The writing wipes off with no residue!
And, if you wanted to use if as just a dry erase board (with no calendar), it would be perfect for that, too.
Read the DIY dry erase calendar tutorial for all the details.
7 | Build A DIY Desktop Organizer
This tiered lazy susan storage idea from Raising Up Rubies is one more great way to organize your desk supplies. I haven’t done it yet, but it is definitely on my to do list.
It gives you a ton of space for organizing your supplies without taking up a lot of room. And everything is easy to access just by turning it around.
Or you could make a desktop organizer, like this desktop storage center by View from the Fridge (site no longer available) I found on Pinterest.
It’s a great way to use up some extra cans. With a layer of spray paint, it looks a lot more expensive than it is.
8 | Add An Under Desk Keyboard Drawer
One way to clear your desktop is to add a pull-out keyboard tray (if your desk doesn’t already have one).
In many cases, this also allows the keyboard to be positioned at a better height for typing.
To make sure that you get a keyboard tray that fits, you’ll need to take a couple measurements:
- the width of the space under your desk – so you’ll know how wide of a keyboard tray you can get
- the clearance between the underneath side of the desktop and your knees when you’re sitting. This is so you know how far the keyboard tray can come down and still be usable. Ideally you want at least a couple of inches between your legs and the bottom of the tray.
Screw-On Keyboard Drawer
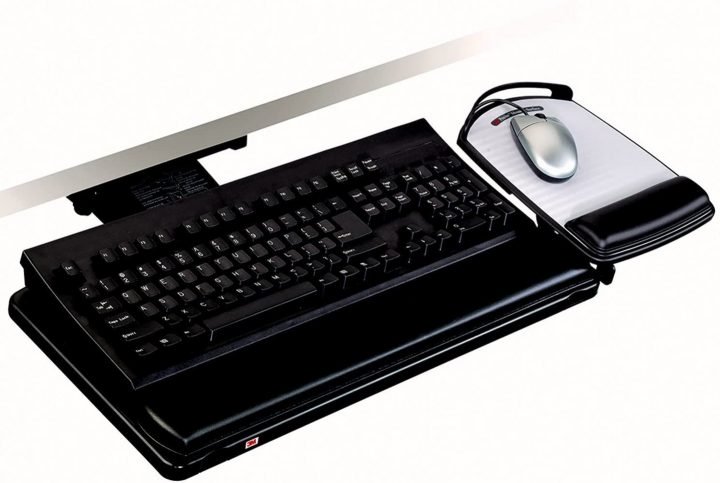
If you have a wood desk and you don’t mind putting a couple of screws in it, then the best option for installing a pull-out keyboard tray is the kind that attaches underneath the desktop (like this one*).
Make sure that it is adjustable to the height and angle that you want.
And if you want to use a mouse on the tray, it should have a lip on the bottom and cable guides to prevent the mouse from falling off.
Clip-On Keyboard Drawer
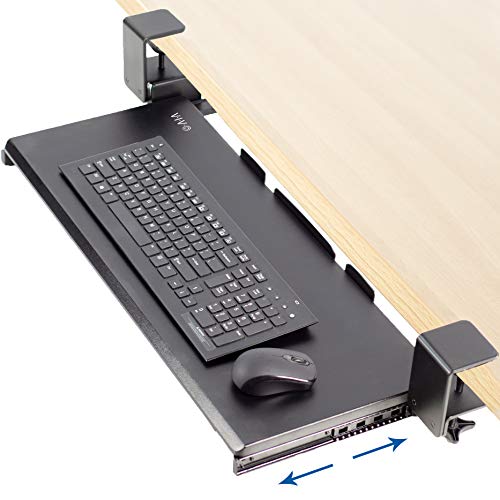
If you don’t want to drill holes in your desk and you have a desktop that is thin enough for clamps (usually 1½ inches or 2 inches thick maximum depending on the model), then a clip on keyboard tray (like this one)* could work for you.
This version has C-clamps that help to keep the tray stable, and it comes in 2 widths and 2 colors (black and white).
I used this for my DIY sit/stand desk and it works very well.
The Under Desk Keyboard Storage Hack
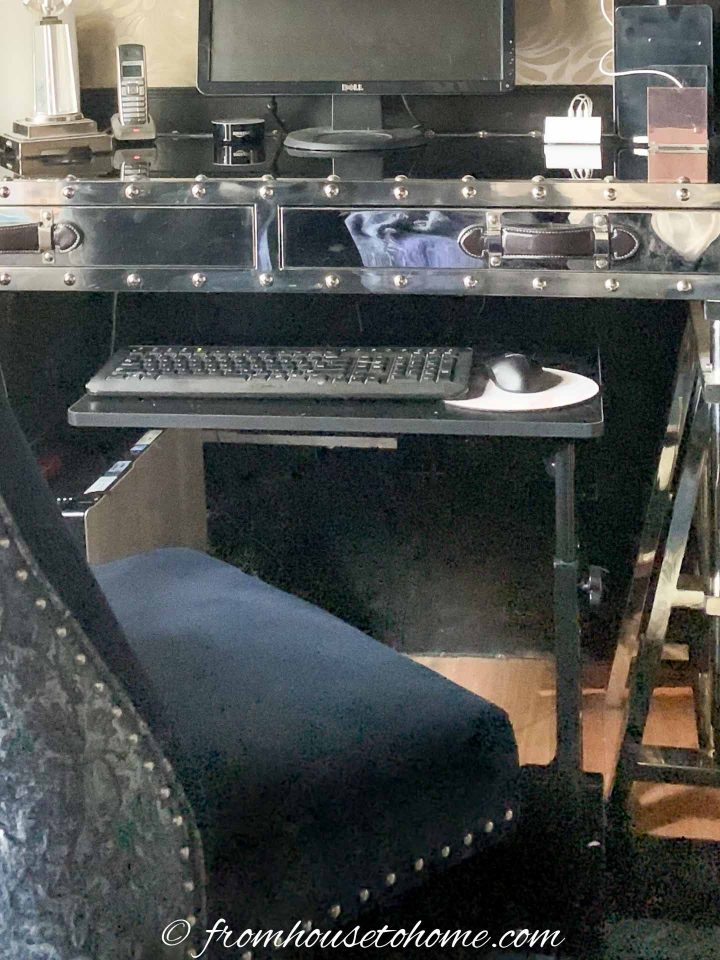
If you have a desk with drawers across the top of it (like my metal office desk), it’s likely that neither of these options will work.
Which is why I came up with this keyboard tray hack.
Buy a small height-adjustable laptop cart with wheels*, and roll it under my desktop to be used as a keyboard tray.
It actually works quite well.
9 | Install A Clip On Desk Organizer
If you have a desk that is thin enough to allow clamps, you can get all kinds of clip on desk organizers that work similarly to the keyboard above.
With no tools required and no damage to the desk, these are all super easy to install.
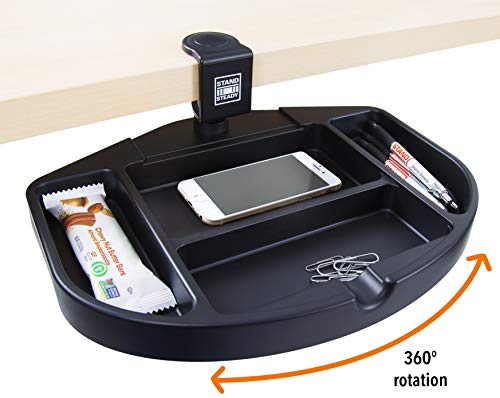
This one* is great for storing pens and other small office supplies.
And it swivels so you can push it back under the desk when you’re not using it.
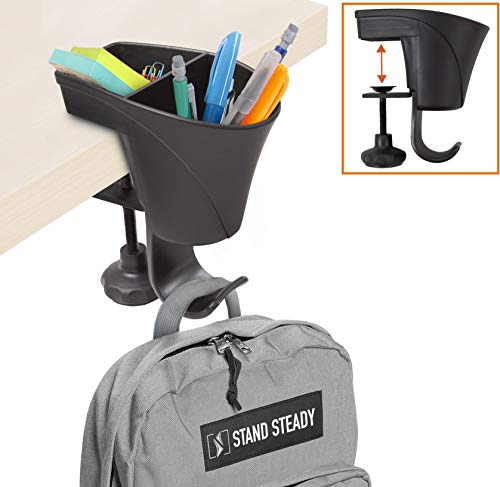
If you want something smaller that will keep your pens and pencils in easy reach, then this clip on pen holder* will do the job.

For extra storage of papers, writing pads or small books, try out this under desk paper sorter*.
Or if you just want easy access to a plug and some extra plus and charging ports, this clamp on power strip* is a great idea.
And it would work well with the letter holder and binder clip charging station from above.
10 | Get Rid Of Paper Clutter
The last one of my desk organization ideas is to cut down on the amount of paper you have.
Since paper is one of the big producers of clutter in most home offices, you’re going to have an easier job keeping your desk tidy if you have less of it.
Buy Reusable Notebooks

My favorite way to use less paper is to buy reusable notebooks.*
If you haven’t used one, you use an erasable pen to write in it.
If you want to save your ideas, use the app that comes with the notebook to take a picture of the page and send it to your favorite document storage place (I use an app called Evernote for this).
Then erase the pages with the included cloth and you’re ready to start all over again.
Not only does it save your office from getting cluttered, but you can search on what you have written (so it’s easier to find your notes), and it’s saving on paper going into the garbage (or recycling).
Use Your Scanner
The other thing I do to eliminate paper in my office is to scan documents (using this wireless scanner* – no extra cords!) and store the electronic copies in Evernote.
Evernote is an app which makes the documents easy to categorize, search and find.
And it’s available in both desktop and mobile versions so your information is always with you when you need it.
Then I dispose of the paper copies by shredding them.
And spread the shredded paper around my plants to act as a weed barrier under the mulch in my garden.
Since I no longer have all that paper floating around, it has drastically reduced how quickly my desk gets covered with paper as well as the amount of paper storage space I need.
Well that’s it for my desk organization ideas. Hopefully, you’ve found a few that will help you get the clutter on your desk under control.
Other Home Office Ideas You Might Like
Have comments or questions on our desk organization ideas? Tell us in the section below.
Pin It So You Don't Forget It!
This post was originally published on March 27, 2020 but was updated with new content on April 6, 2024.
Great ideas. But there was an annoying ad that kept popping up and I couldn’t read it and I couldn’t make it go away so I kept having to restart the article.
I’m so sorry for that bad ad experience, Sharon. It’s not what I want on my site, so thank you for letting me know. I have reported it to the company that runs my ads. If you happen to see it again, could you email me a screenshot of it ([email protected]) so I can forward that on to them as well?
This is a great list! Very thorough with excellent ideas.
Thank You!
Thanks, Charlene! I’m happy you found it helpful 🙂
Loved the idea of using lazy Susan to organize stationary and other supplies.
Hi Wanda, good ideas. I’ve been looking at my desk/sewing corner for a long time wondering how to organize using the walls to a better advantage while still fitting in with the decor of the room. Thanks for the inspiration. I’ll send the results.
Thanks, Aunt Elaine! I’m looking forward to seeing your pictures 🙂