DIY Electric Sit Stand Desk (With A Custom Desktop)

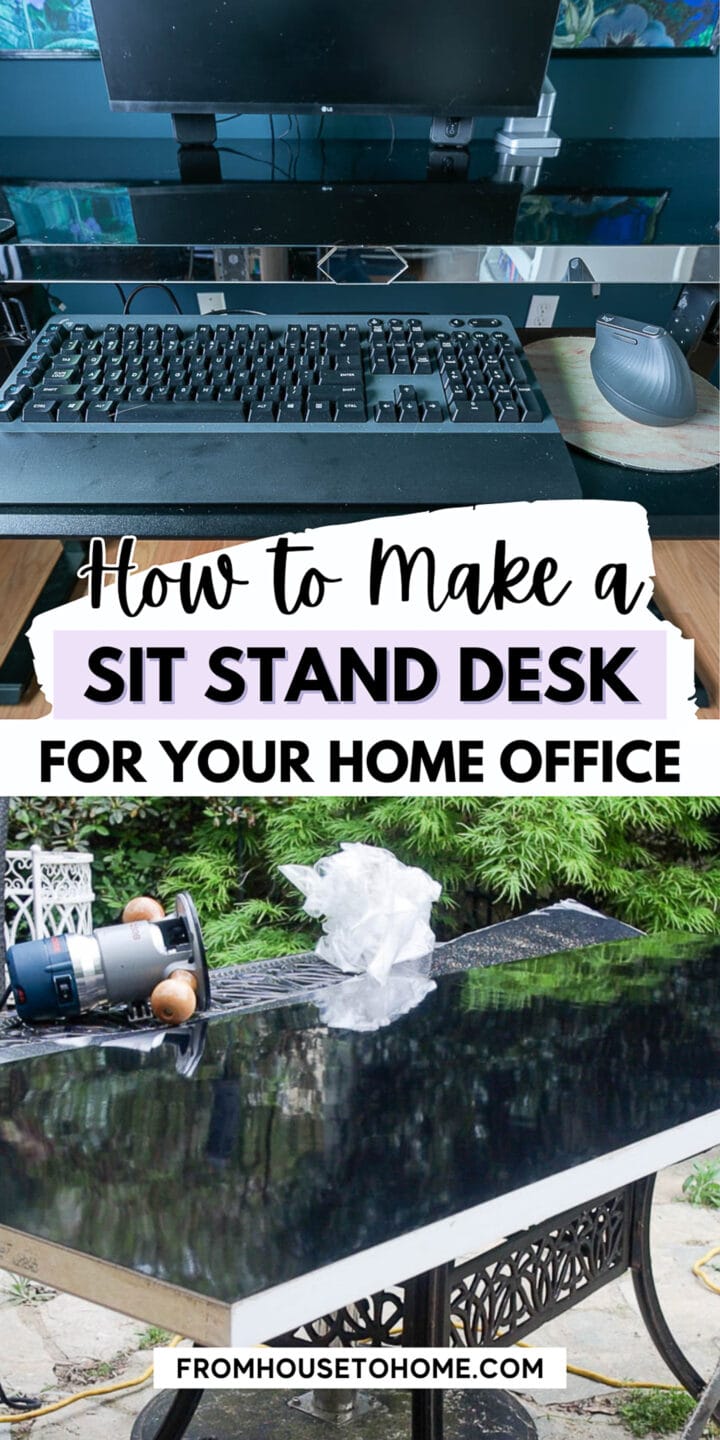
If you’re like me, you spend a lot of time hunched over a computer at your desk. Which isn’t great for your back or your health. And that’s why I decided to make my work area more ergonomic by building a DIY electric sit stand desk with a custom finish to match my glam home office decor.
One of the things I have wanted in my office for a long time is a sit stand desk.
Since I spend a lot of time at my computer, I like the idea of being able to raise and lower my desktop so I’m not sitting for long periods of time.
But all of the sit stand desks I’ve seen are pretty ugly.
And I really wanted something that would go with my current black and silver industrial-looking desk. (I love the look of it and it’s great for writing. But not so great for computer work.)
So I decided to make my own homemade sit-stand desk by buying an electric standing desk frame and adding my own desktop (made from a door).
Which not only allowed me to customize the look, but also reduced the cost. A win-win in my books!
Supplies
This post may contain affiliate links. We make a small commission if you buy the products from these links (at no extra cost to you). As an Amazon Associate, I earn from qualifying purchases. But we only recommend products we would use ourselves. For more information, click here to see our disclosures.
Here’s everything you’ll need to make the desk exactly the same way I did.
Materials
- 24″ door with no panels* – Make sure to get one that’s flat (with no panels) since this is going to be the work surface for your desk. You can get one that’s 30″ wide if you want a really large work area.
- 2-inch thick painters tape – You’ll only need this if you are cutting the door. It will prevent the edges from splintering.
- 4′ x 8′ laminate sheet* – I used this gloss black laminate*. But you can literally get it any color or pattern you want. They do also come in smaller sizes if your desk surface isn’t as big as mine.
- contact cement* – for attaching the laminate
- mirror edging* and trim pieces* – to glam up the edge of the desk
- construction adhesive*
- electric sit stand desk mechanism* – After doing a lot of research on these, I went with this one* and I love it. You can save 3 preset heights that it will go to automatically with the press of a button. Or you can use the up and down arrows to lift and lower it manually. And it is quite stable even at the top height.
Substitutions
- You can make the desk with a plain door, piece of countertop or other type of wood slab for the top. In that case, the only other material you’ll need is the sit stand desk mechanism.
Tools
- circular saw
- pencil
- measuring tape
- long metal ruler or straight edge
- cordless tin snips* – for cutting the laminate. You could also use manual tin snips or even heavy-duty scissors
- foam paint roller
- 3′ long dowels – These are to keep the laminate and door separated so the contact cement doesn’t stick too early. I used these 1/2-inch thick ones*. You’ll need ones that are at least 1′ longer than the width of your desk. And I wouldn’t go any thinner than 1/2-inch (thicker than that is fine).
- J-roller* – to make sure the laminate has stuck properly.
- router – to trim the laminate to the correct desktop size.
- laminate trim bit* – this special router bit is the trick to easily getting the laminate trimmed to exactly the right size.
- utility knife – to cut the mirror edging.
- screwdriver
Accessories
These aren’t really part of building the desk itself, but they do add to the functionality of it:
- desk mount keyboard tray* – so the keyboard is off the desktop and your hands are in the right place
- small desk mount drawer* – to keep pens, scissors and other small work-related items close by.
- monitor desk mount stand* – to keep the monitors at the right height and off the desktop.
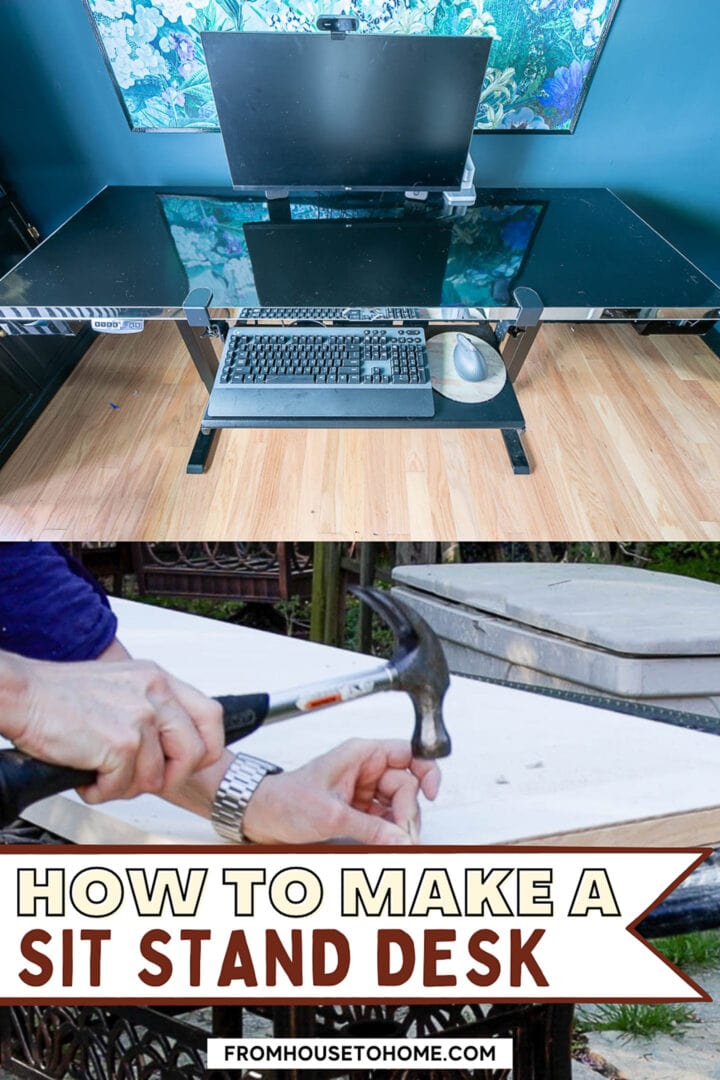
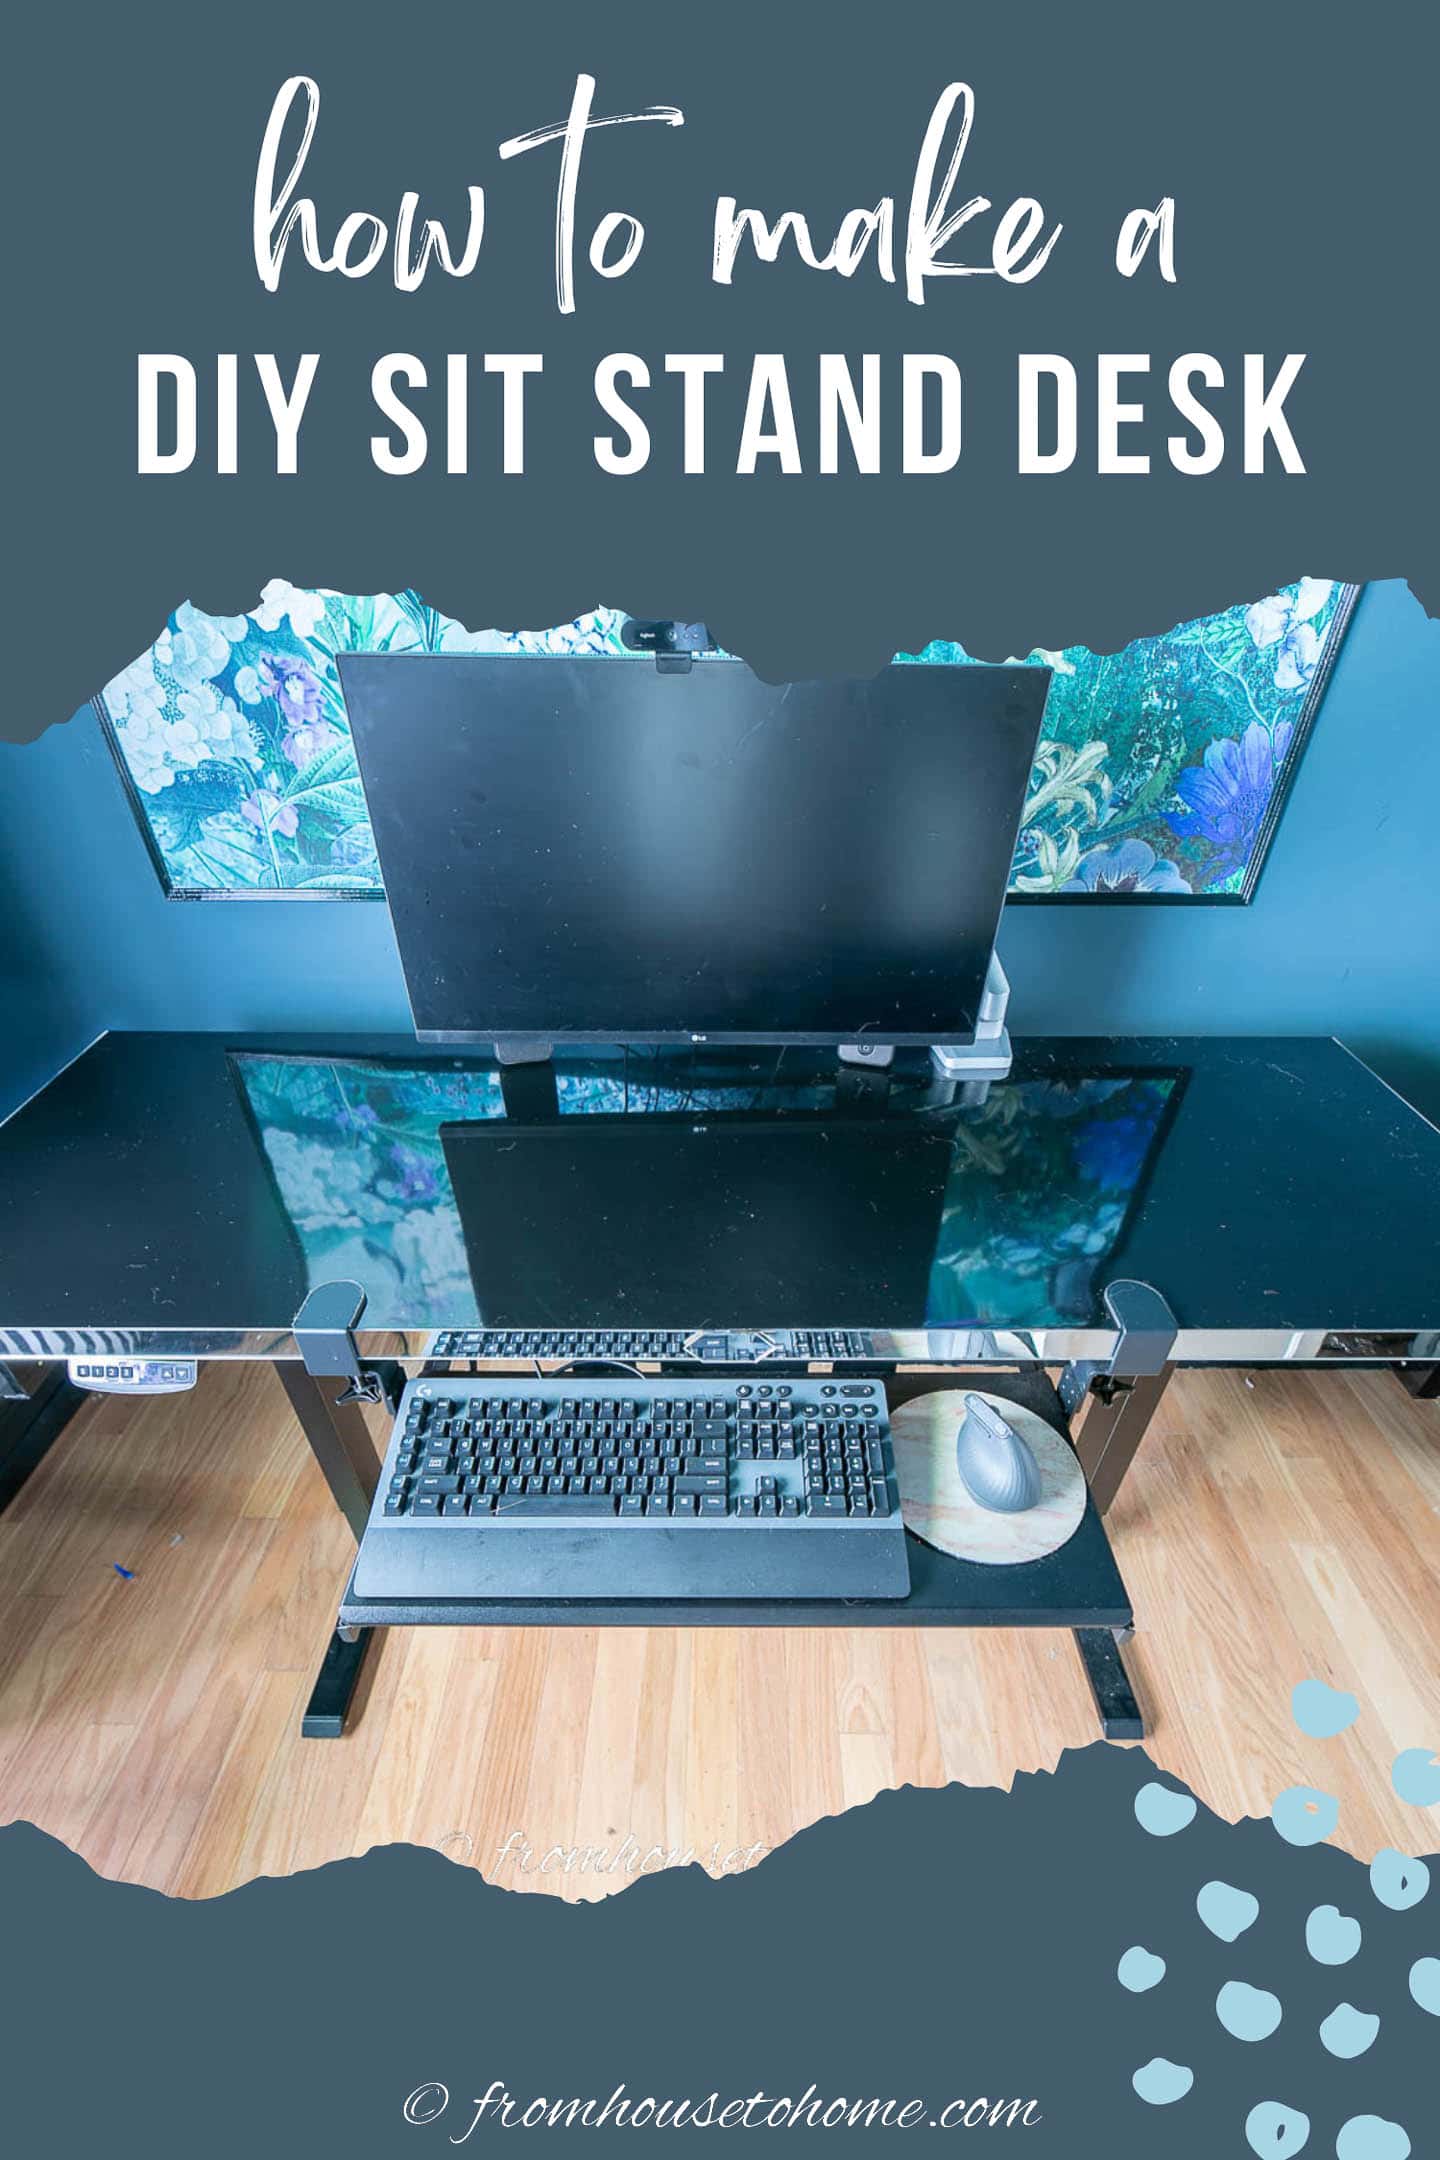
How to make a homemade sit stand desk
Step 1 | Shorten the door
The first step was to make the door a little shorter.
The space where I’m going to put my desk is only 72″ long, so I needed my desk to be shorter than that.
However if you have a longer wall, and are planning to use the full door length as your work surface, you can skip this step.
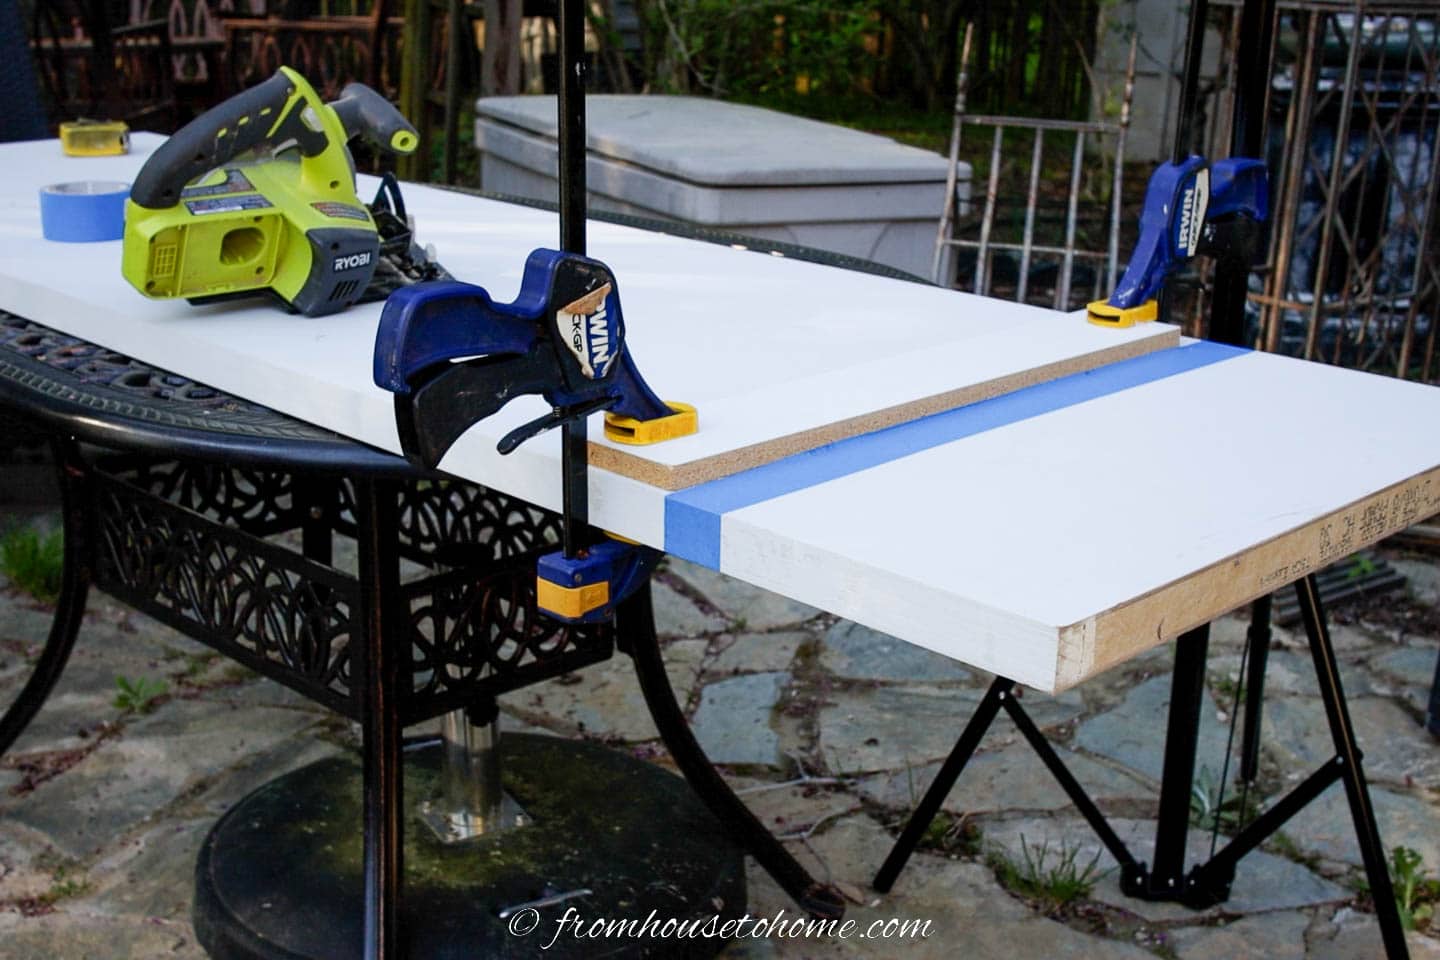
To start, draw a straight line across the door where you want to cut it.
I like to use a piece of board that is clamped on both ends to make sure the cut is straight. If you’re doing this, you’ll need to know how far the blade on your circular saw is from the edge so you can put the board in the right place.
Cover the line with blue painters tape. This keeps the edge from splintering.
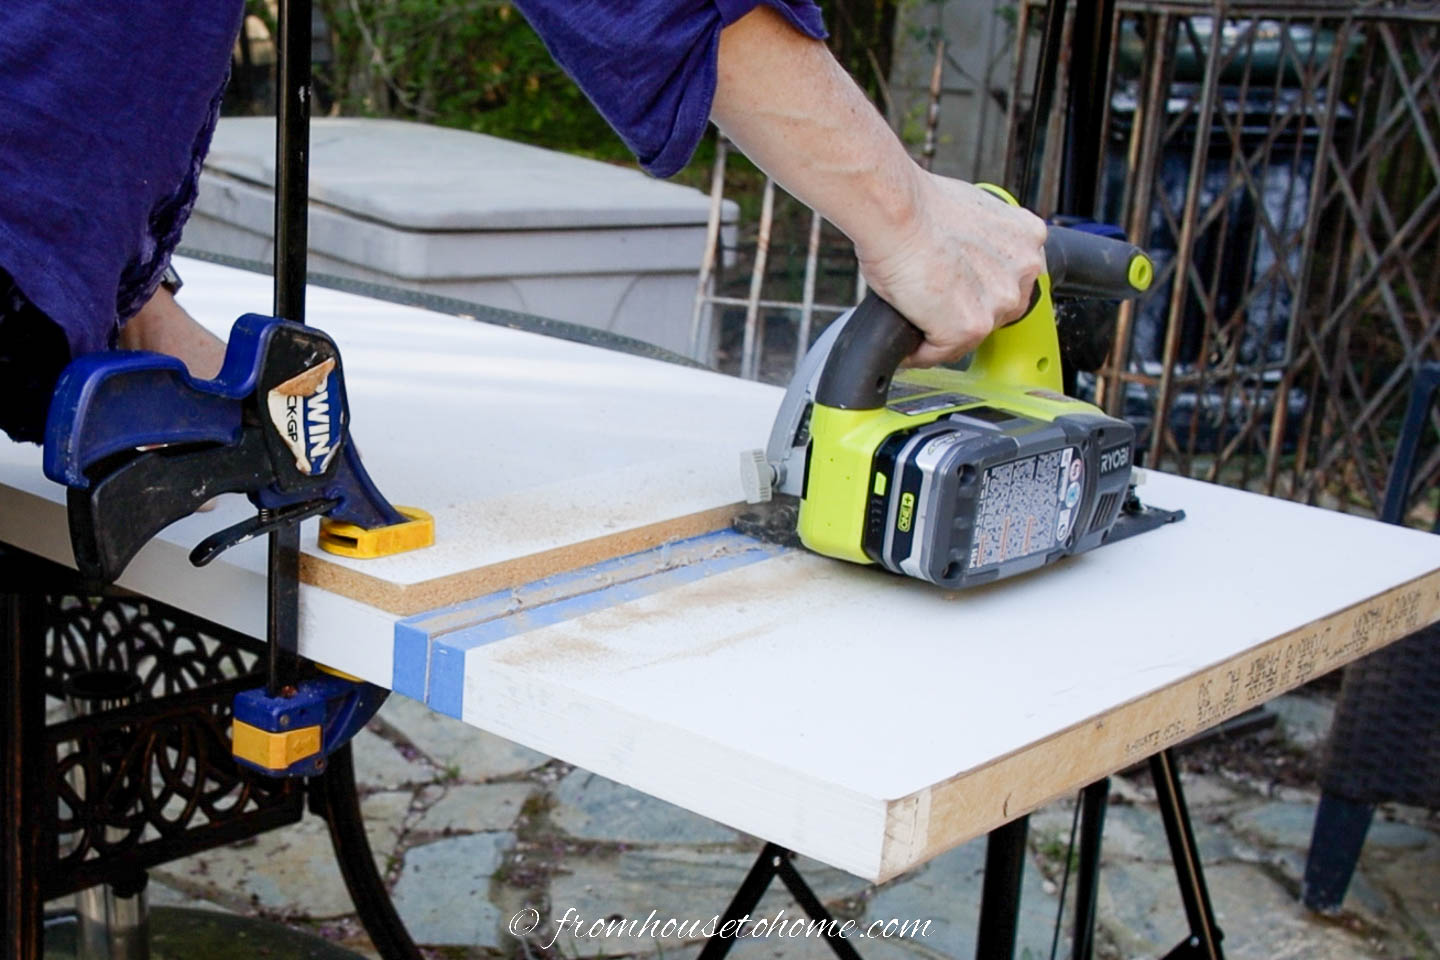
Use a circular saw to cut off the end of the door.
Since I used an inexpensive hollow core door, the end was not solid after I cut it.
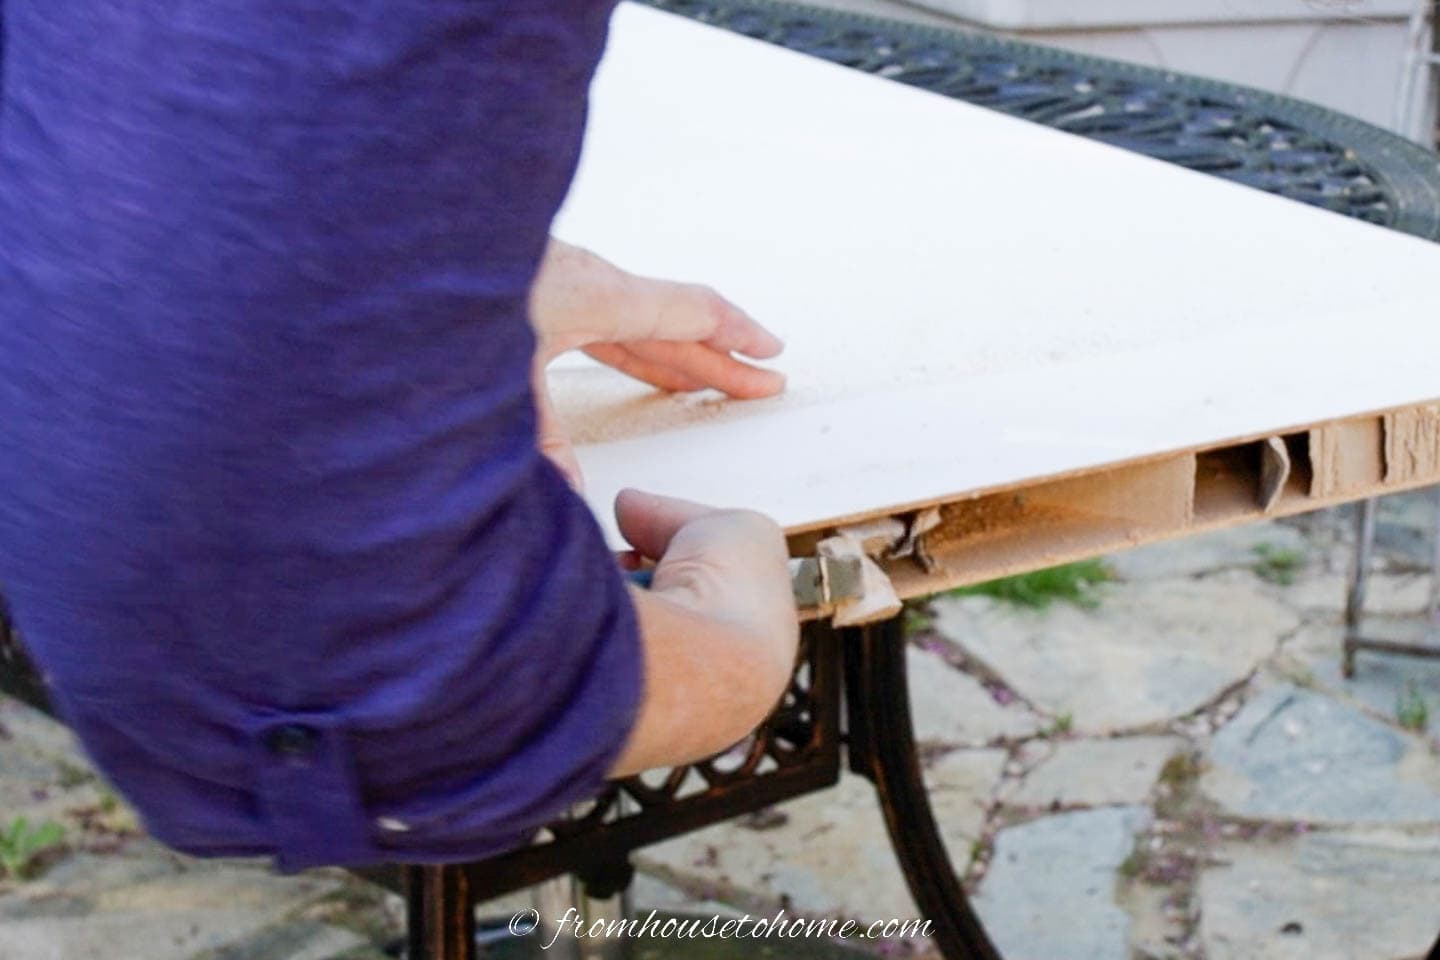
So I removed the pieces of cardboard that were inside the door.
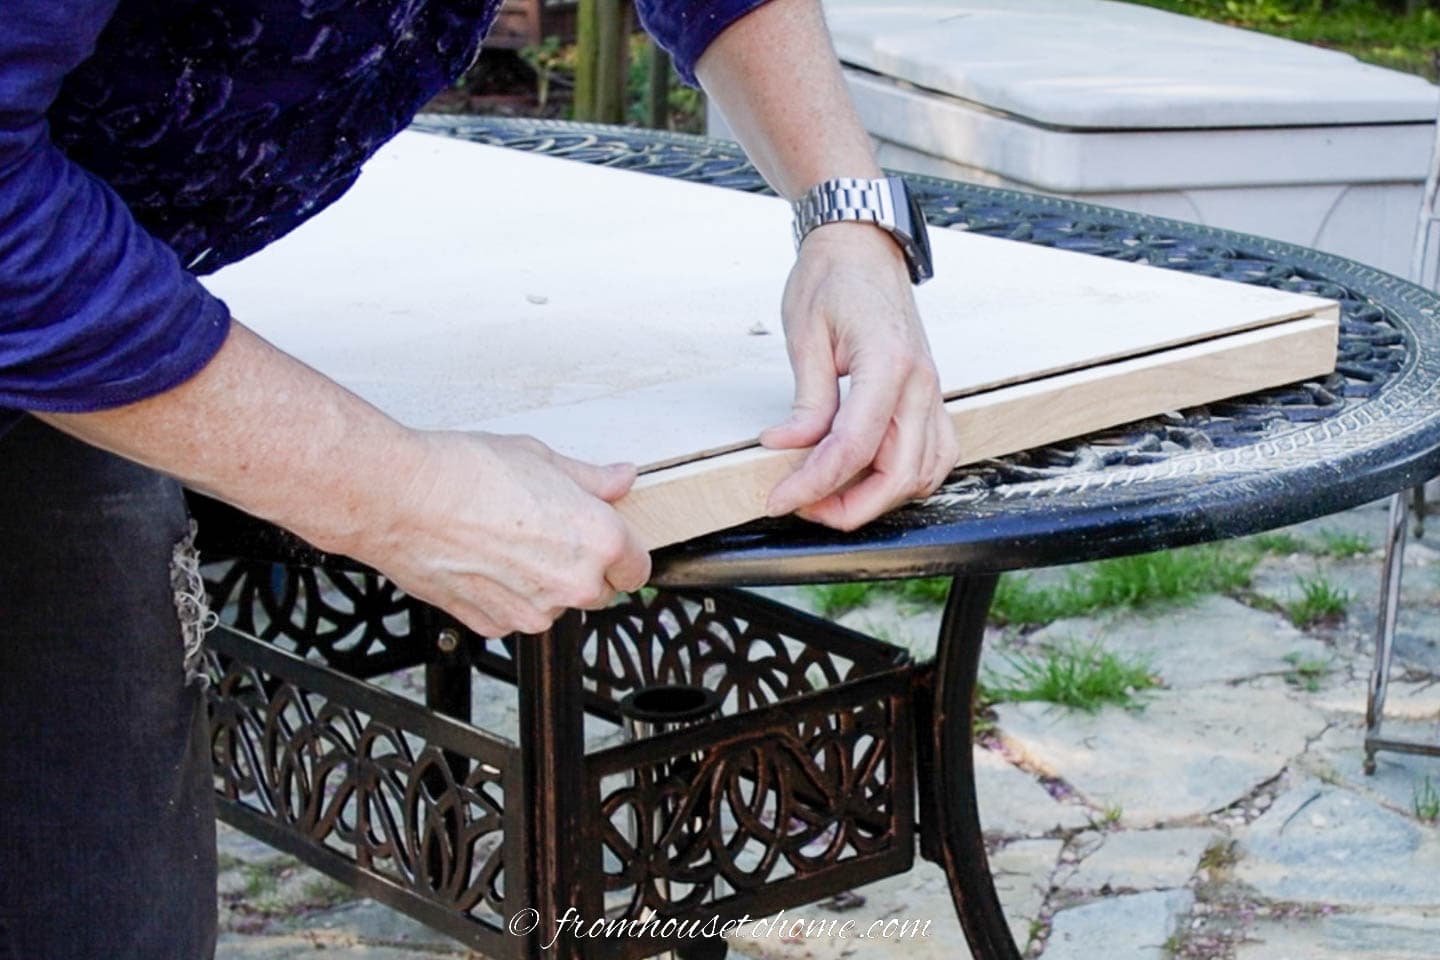
Then filled the end with a piece of wood cut to the right size.
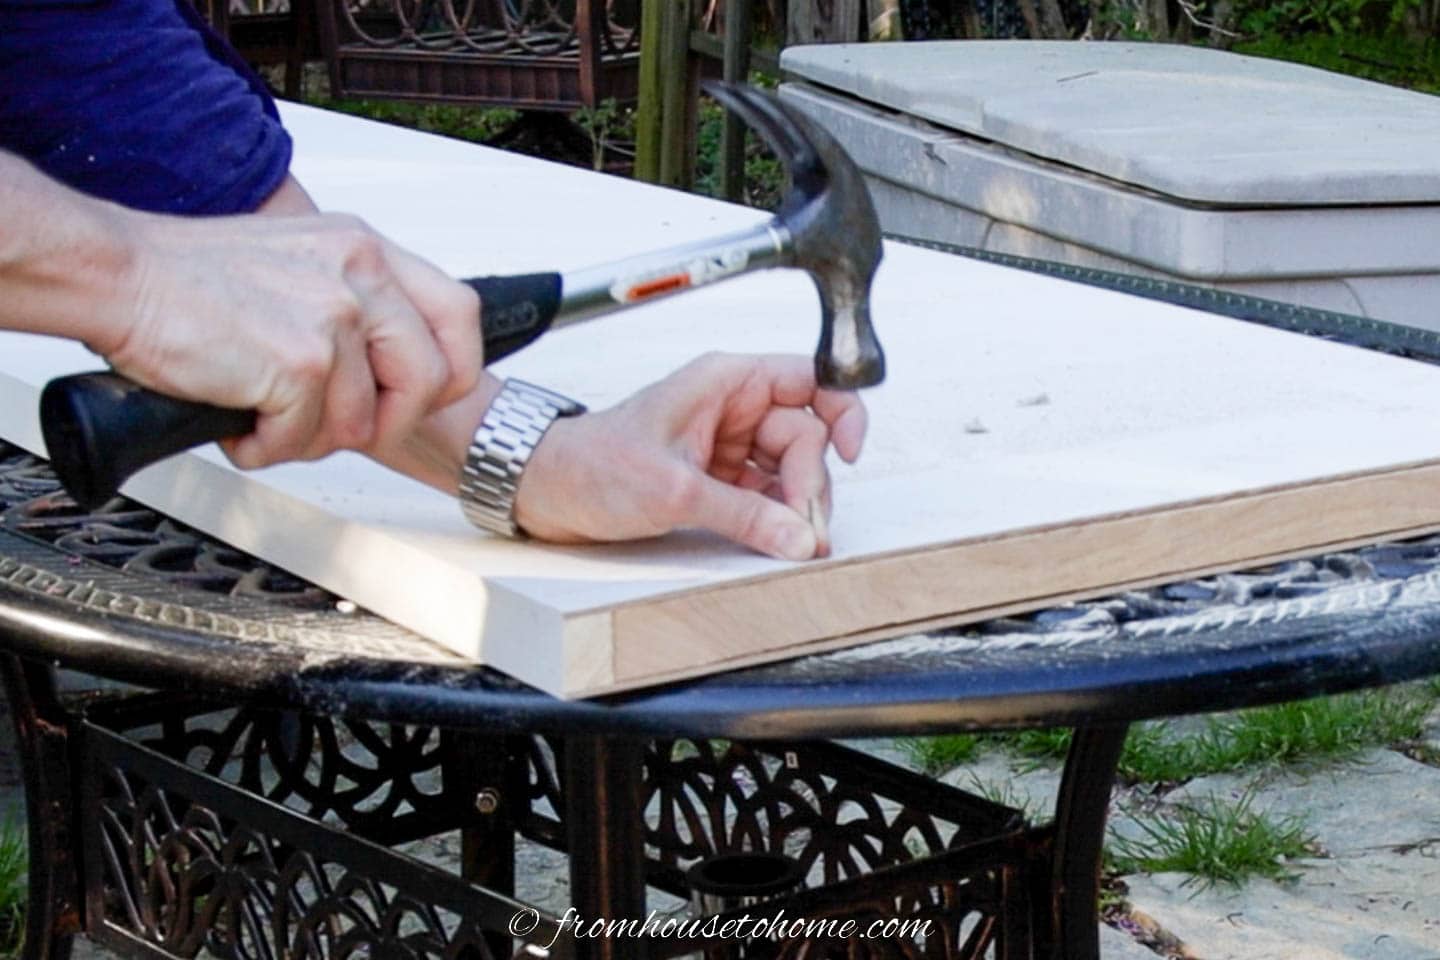
And used finishing nails to hold it in place.
Step 2 | Laminate the Door
This next couple of steps are all about making the door look not so much like a door.
Since I was trying to mimic the look of my original desk, I decided to cover the door with some shiny black laminate*.
It’s actually markerboard so I could even write on it if I wanted to.
I have never installed laminate before so I was a little nervous about how hard it was going to be.
But it’s actually a really easy project to do. Especially on a simple rectangular surface like a door.
The basic steps to apply laminate are as follows:
1 | Cut a piece of laminate that is a little bigger than the area you are trying to cover.
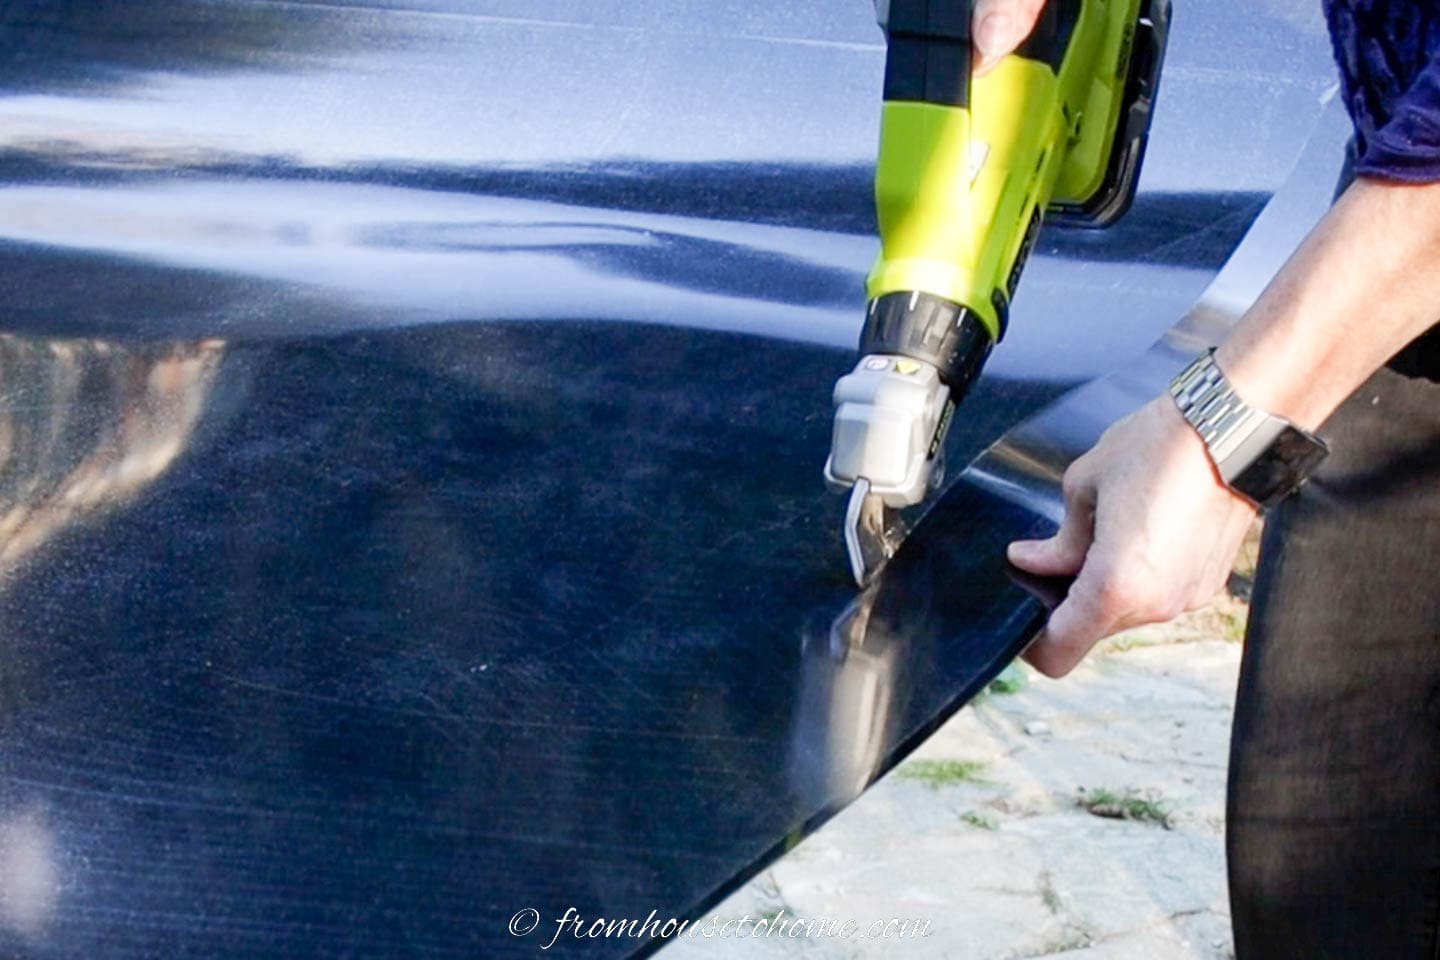
To cut the laminate, I bought a pair of battery-operated scissors* that are meant for cutting things like thin sheets of metal.
They cut through the laminate like butter and were much easier to use with the thin, floppy material than a jig saw or circular would have been.
2 | Glue the laminate in place with contact adhesive.
To glue the laminate onto the top of the door, I used contact cement*.
In case you haven’t used it before (this was my first time), it works just like it says. It sticks when it comes in contact with another surface that also has contact cement on it.
So, here’s what you need to do.
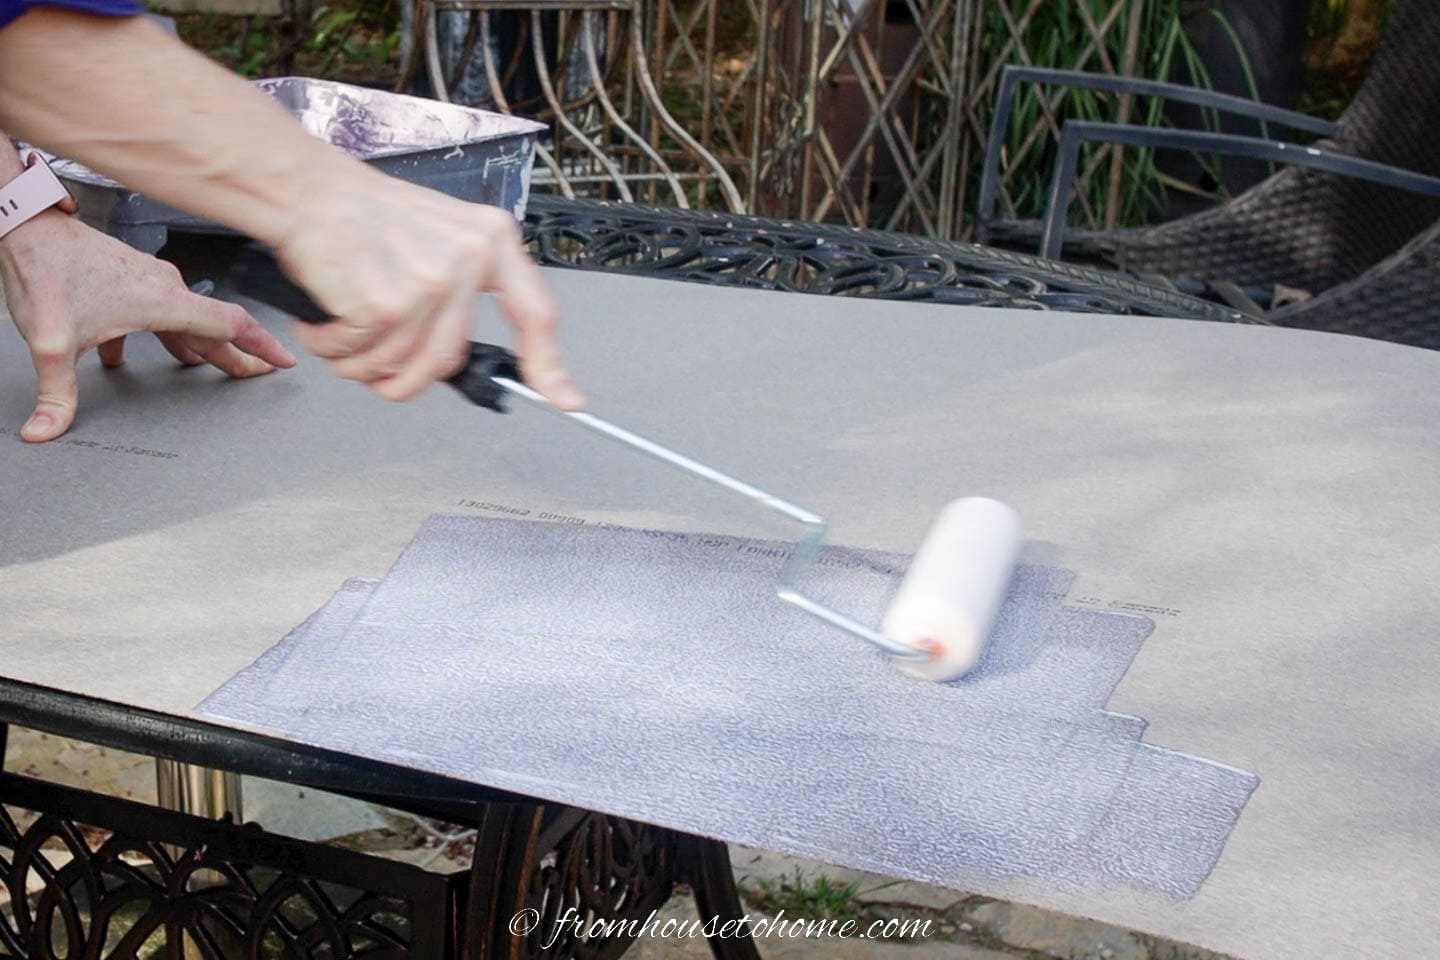
Use a roller to apply the glue to the back side of the laminate.
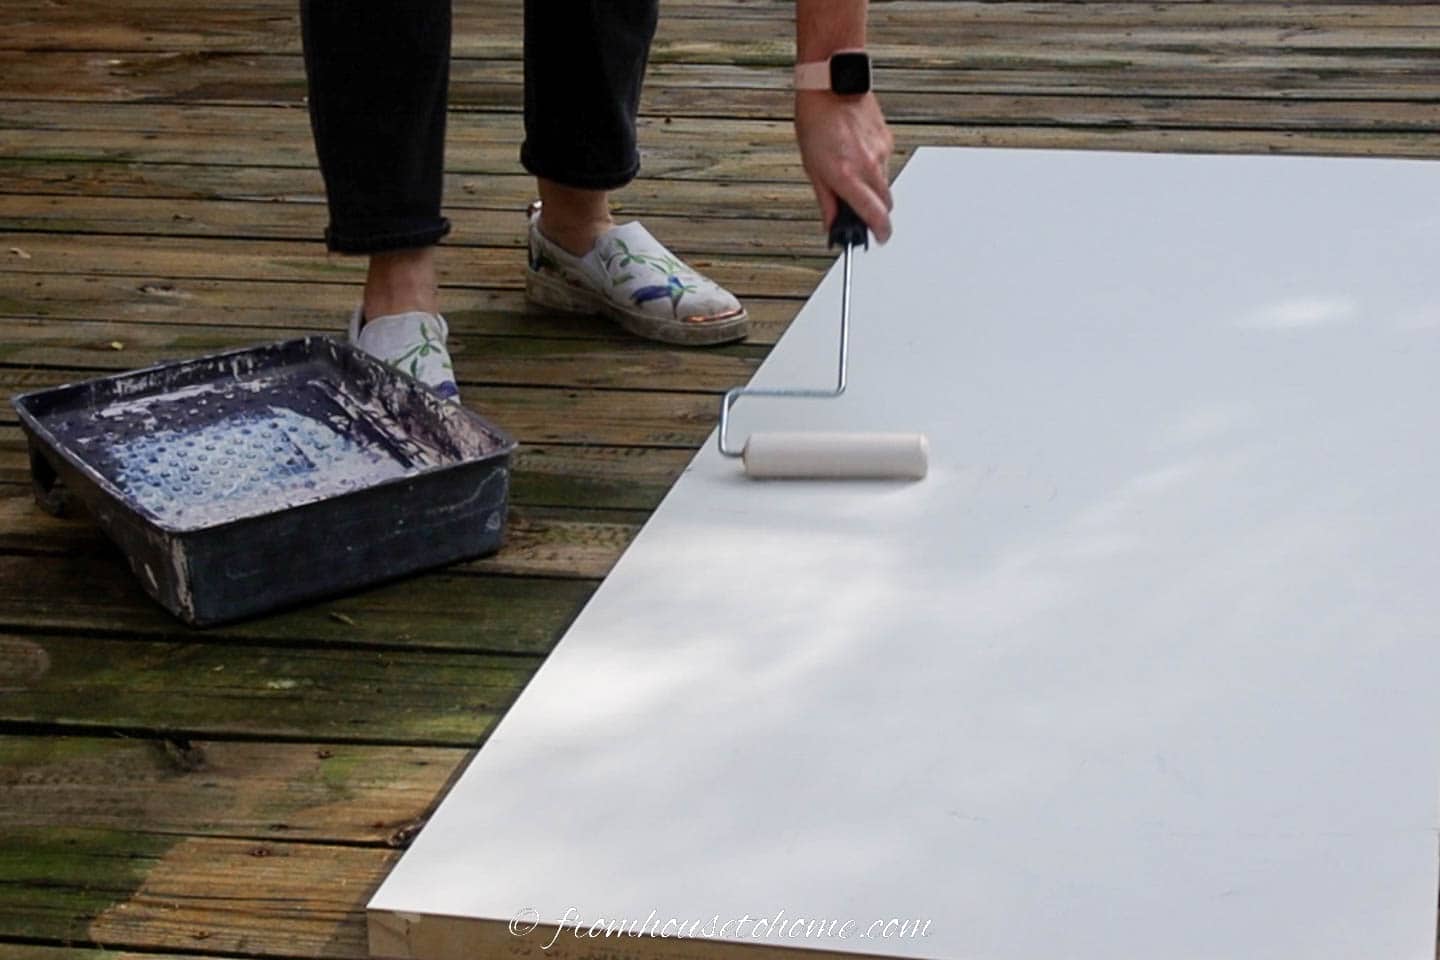
And the top side of the door.
Let it dry for a few minutes (until it doesn’t feel sticky).

Put 3′ long dowels down the length of the door. These will keep the laminate from touching the door until it is in the right position. Because once contact adhesive sticks, there is no getting it apart again.
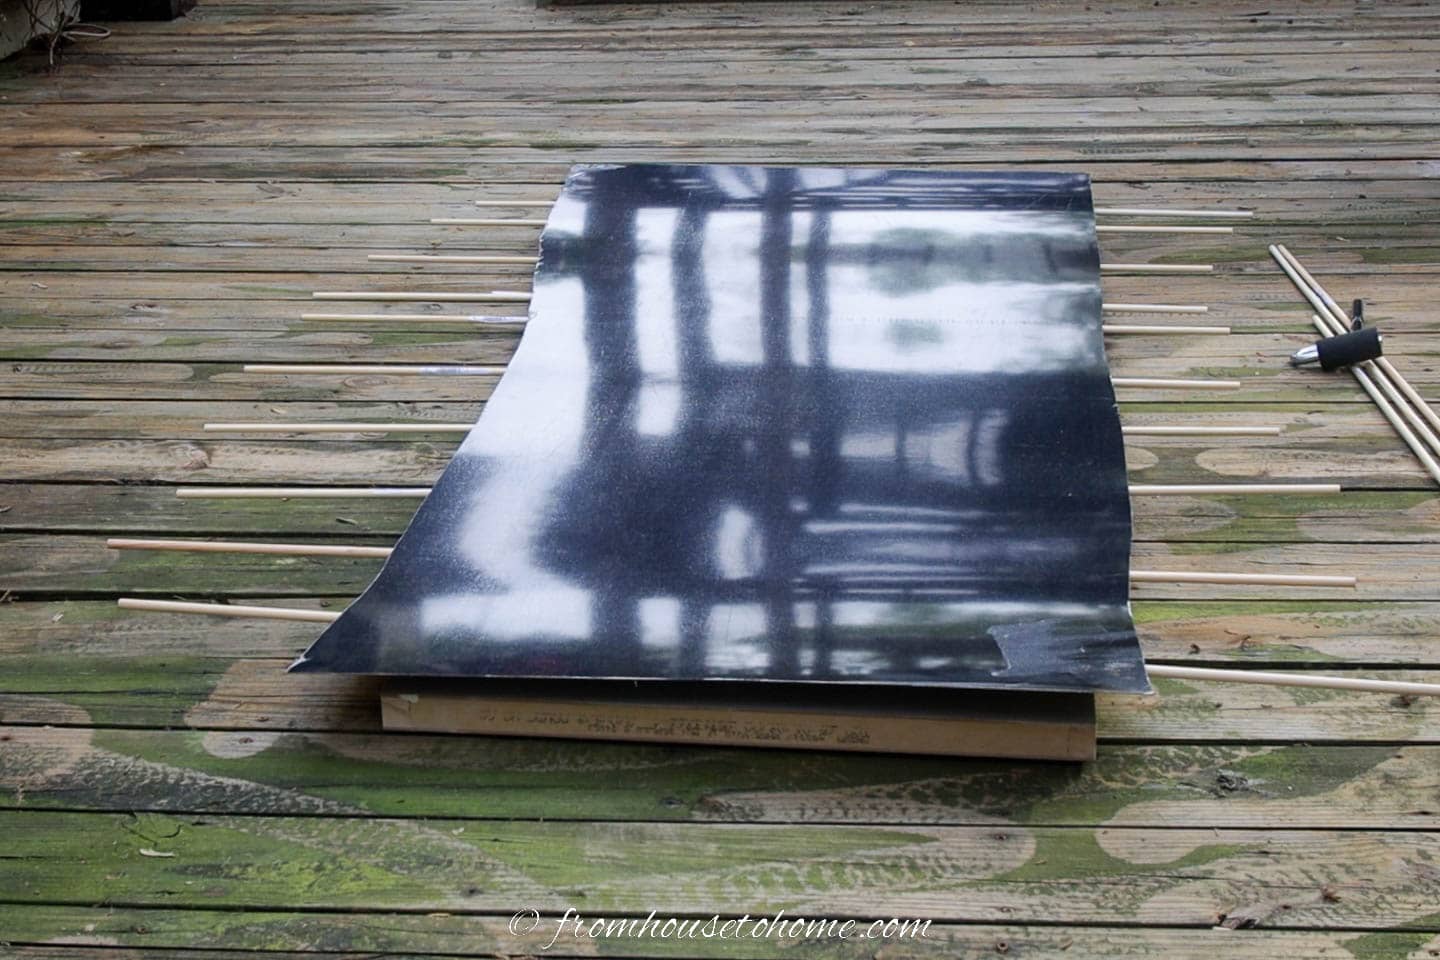
Position the laminate over the dowels so that it is covering the door surface completely.
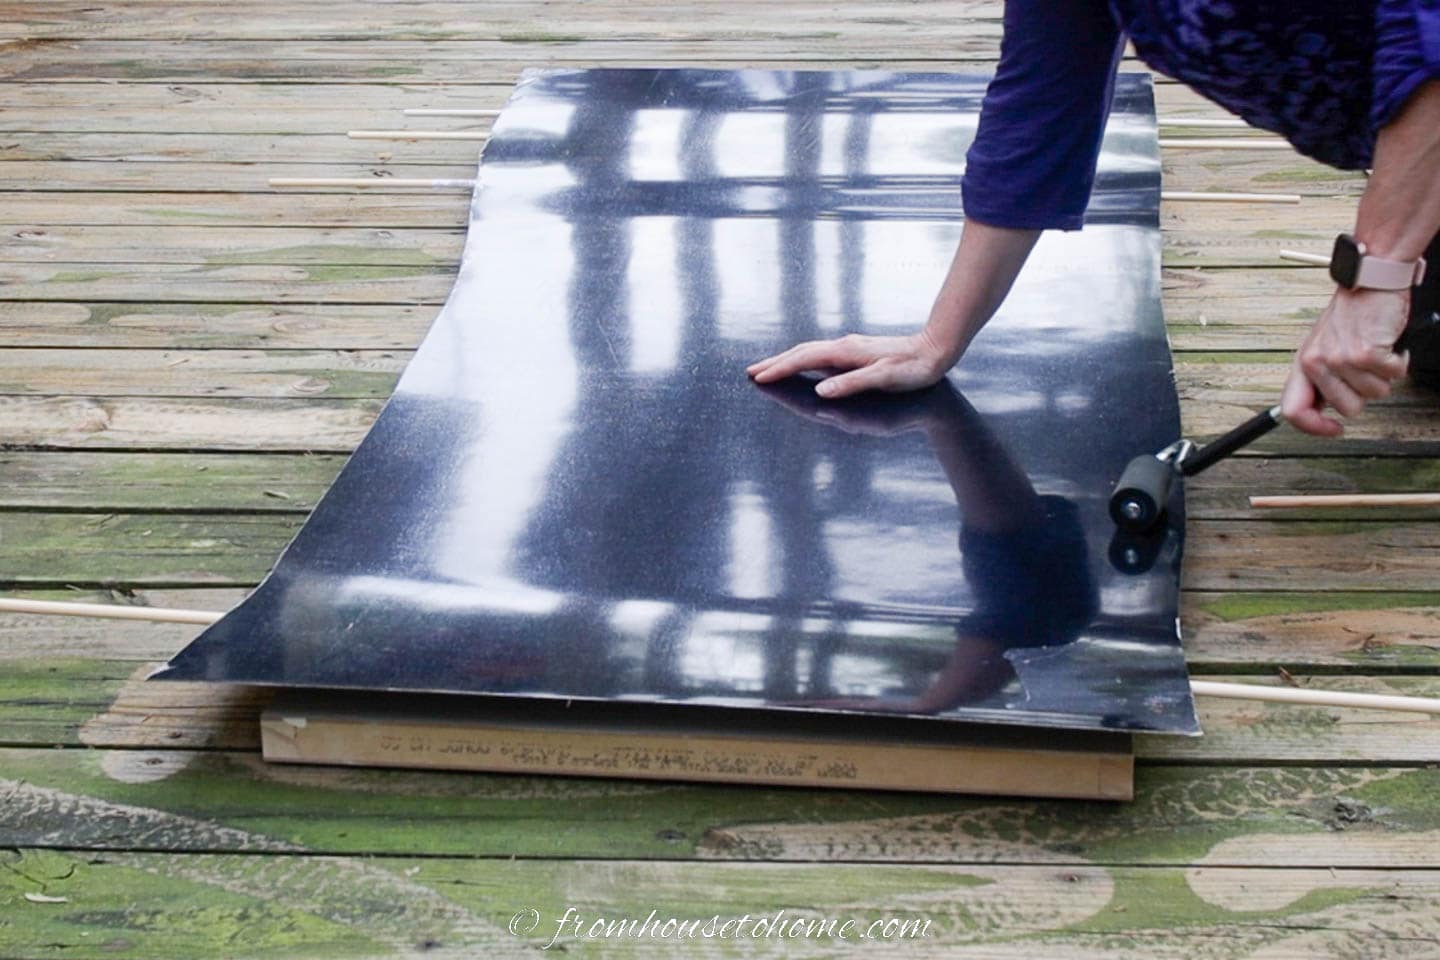
Then remove each of the dowels so the two surfaces stick together, starting from the middle and working your way to the end.
As you remove each dowel, use a J-roller to press the two sides together and remove any air bubbles that might have formed.
While it doesn’t stick to anything else, as soon as two surfaces coated with contact adhesive touch each other, they’re stuck!
So you need to make sure you get it on right the first time.
3 | Trim the laminate to fit.
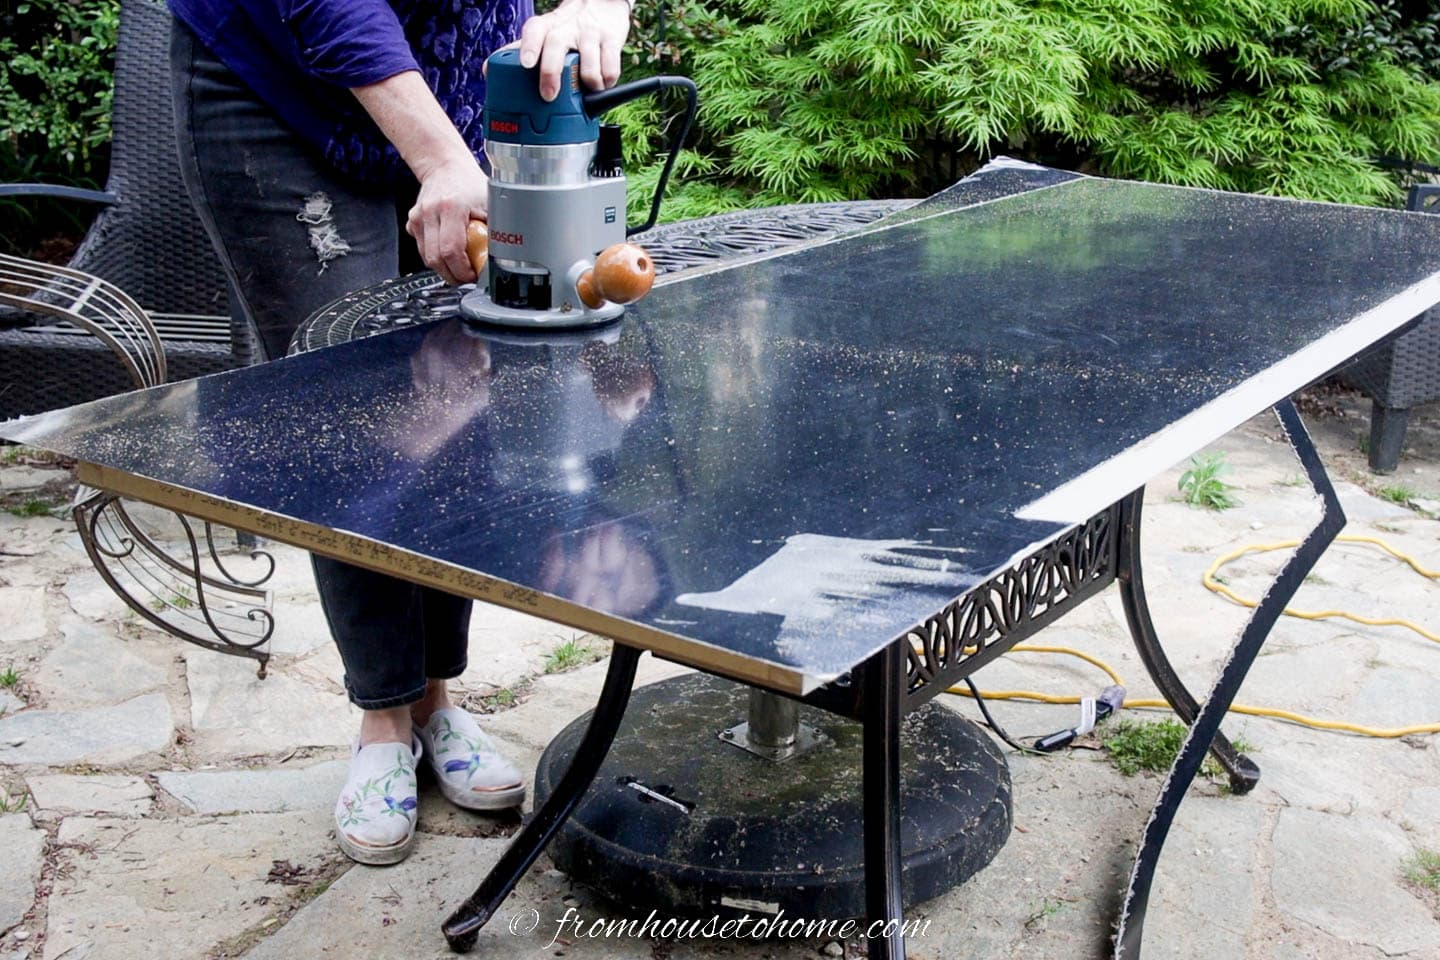
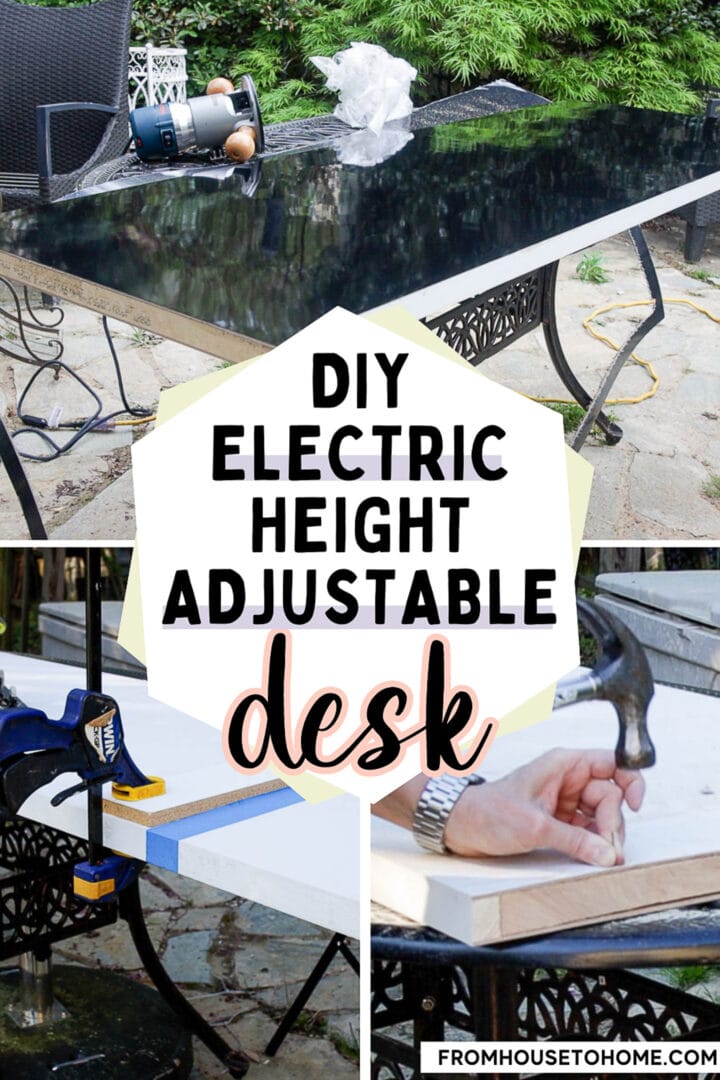
The last step is to use a router with a trim bit to trace around the door and cut the laminate to the right size.
This is the part that I thought was going to be hard, and it wasn’t at all!
It’s all in having the right tool for the job…and this router trim bit* made it so easy.
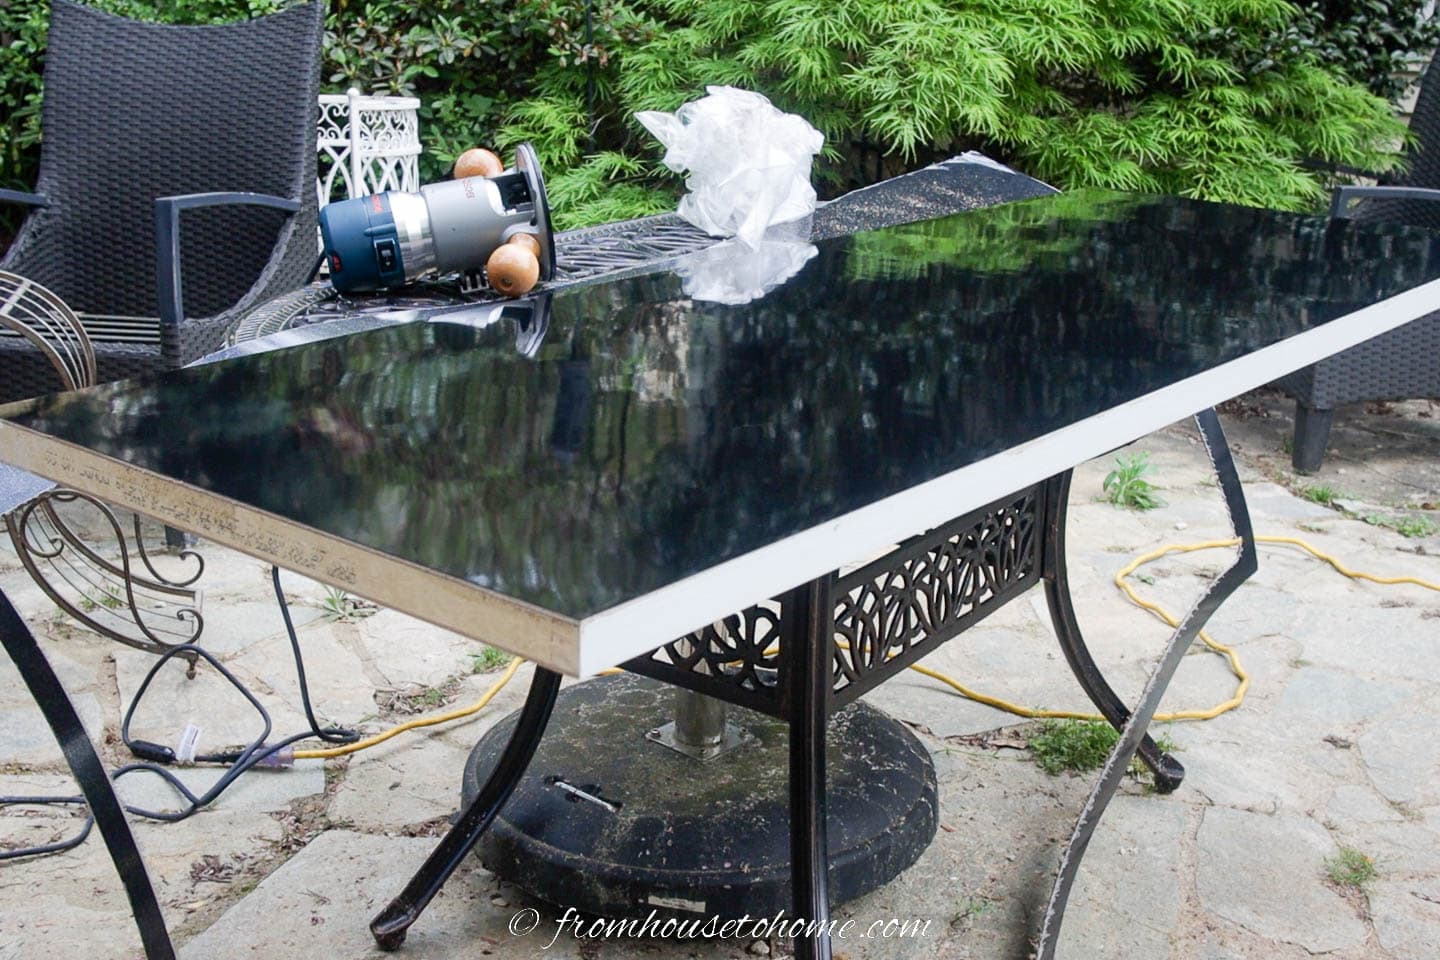
I only put the laminate on one side of the door, since the sides will be covered with mirror and the bottom won’t be visible.
But you could also use it to cover the sides if you want the look of a solid slab.
Step 3 | Add The Decorative Details
The original desk I am using as inspiration has a silver metal frame with grommets on it, which gives it an industrial look.
So I wanted to do something to my new desktop that would have a similar vibe.
And decided to glue mirror strips down the sides and ends of the door. (But chose not to add grommets, because they sometimes get in the way).
I wasn’t exactly sure how I was going to get such long, thin pieces of mirror to stick without breaking them.
And then I found these mirror edging strips* that are meant to frame bathroom mirrors.
They are made of acrylic. So they are light weight and don’t break. But look exactly like a mirror and can be glued on with construction adhesive.
And they just happen to be the exact same height as the thickness of my door.
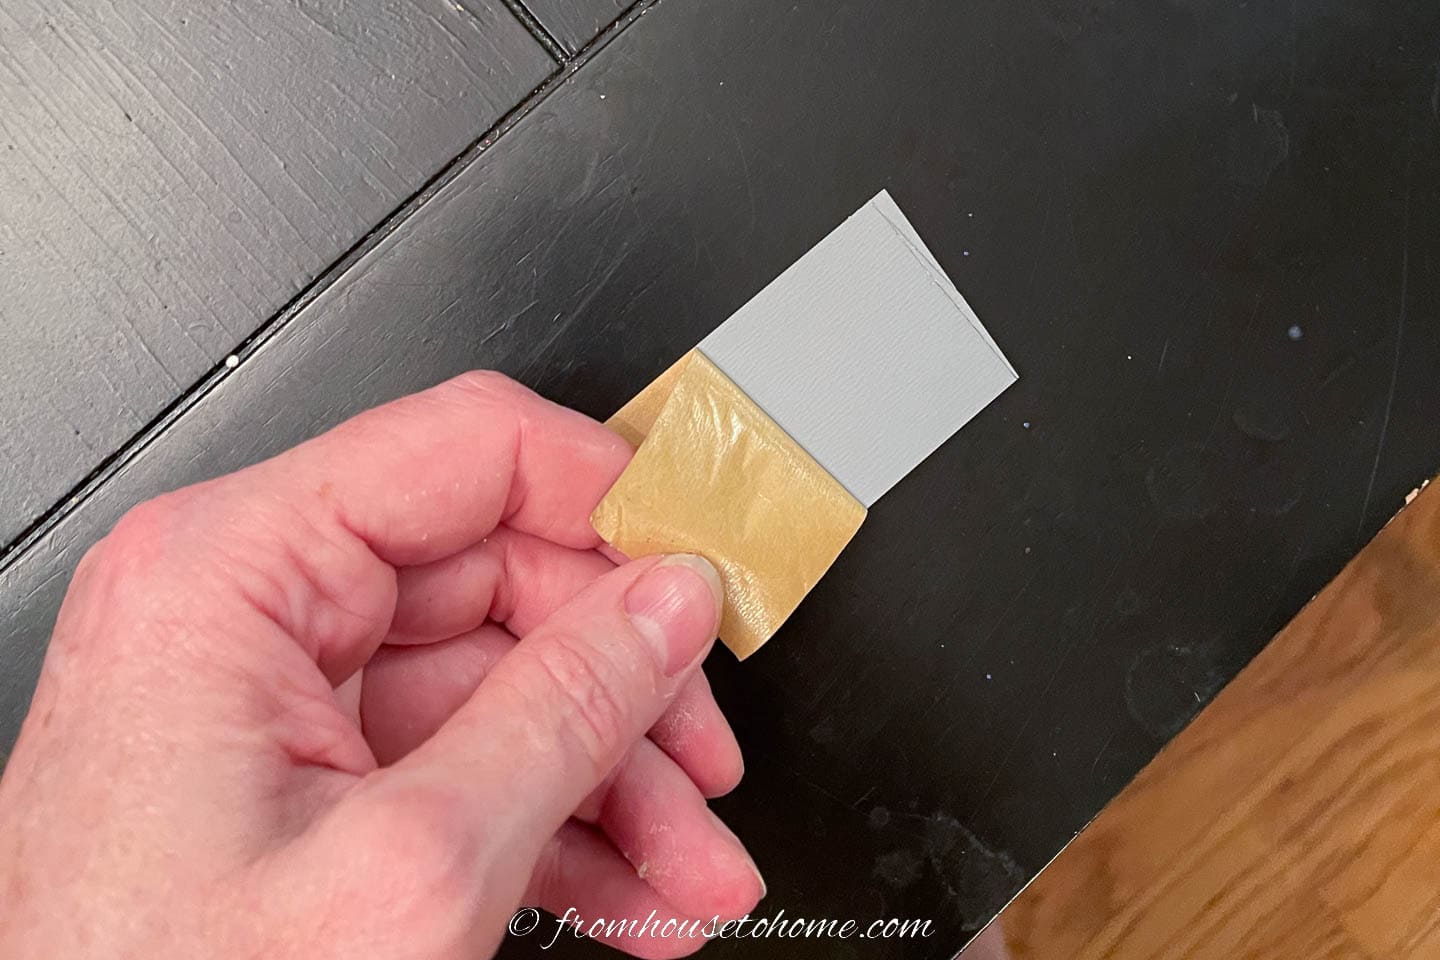
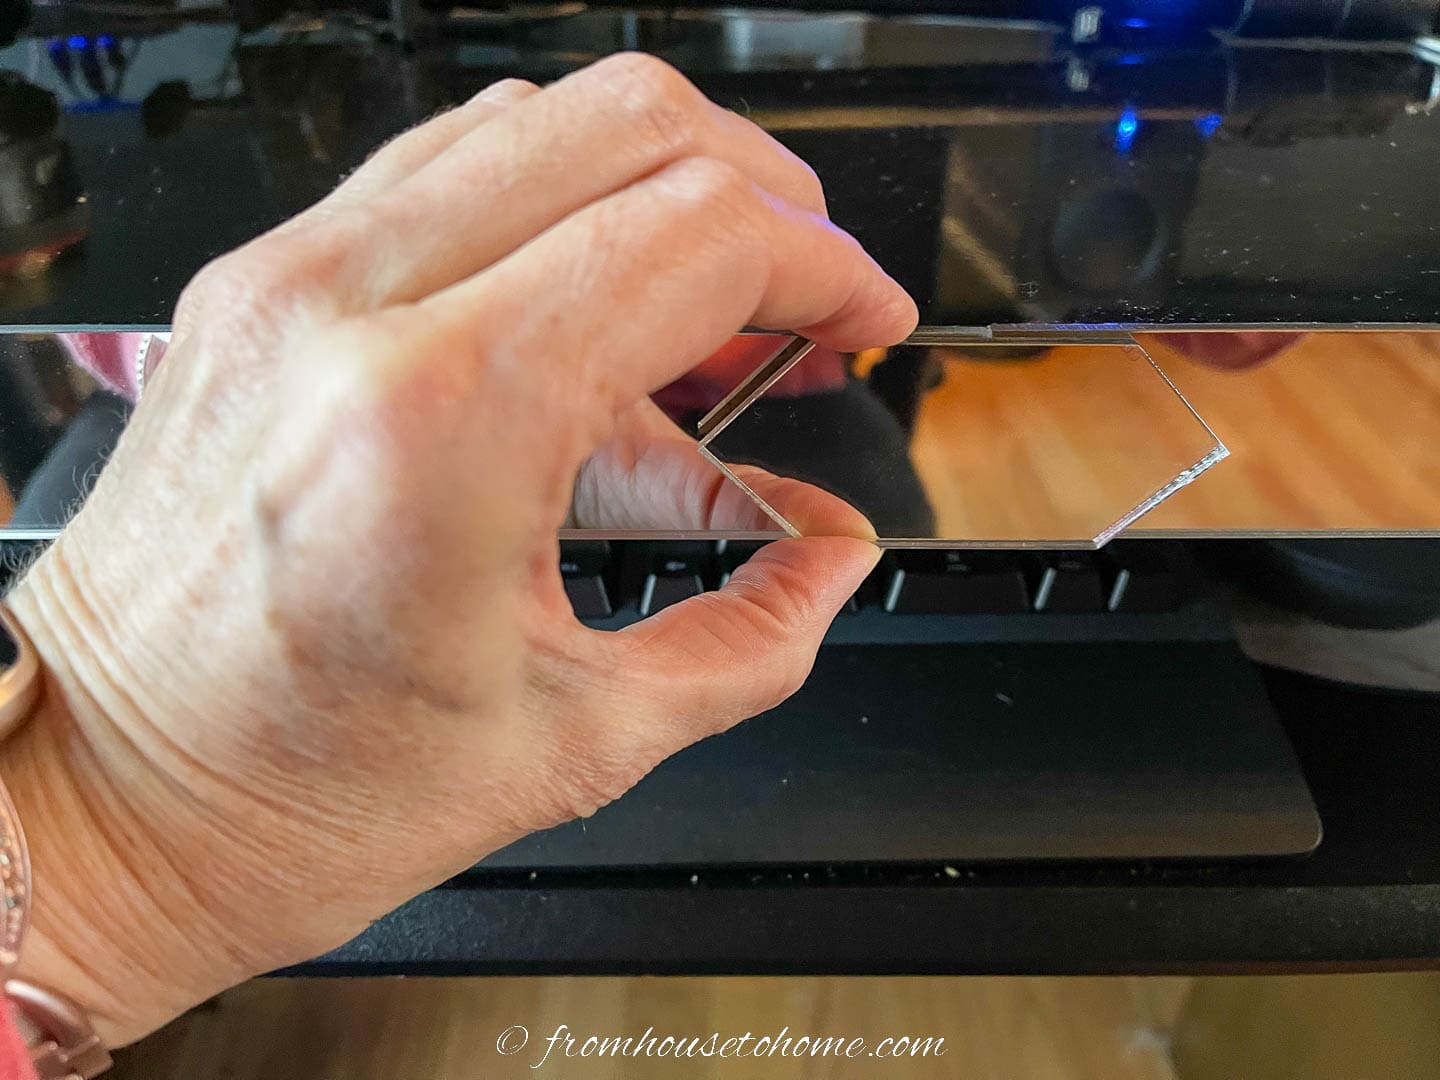
Before you start cutting and gluing, remove the protective paper on the back side of the acrylic mirror (not the mirror side).
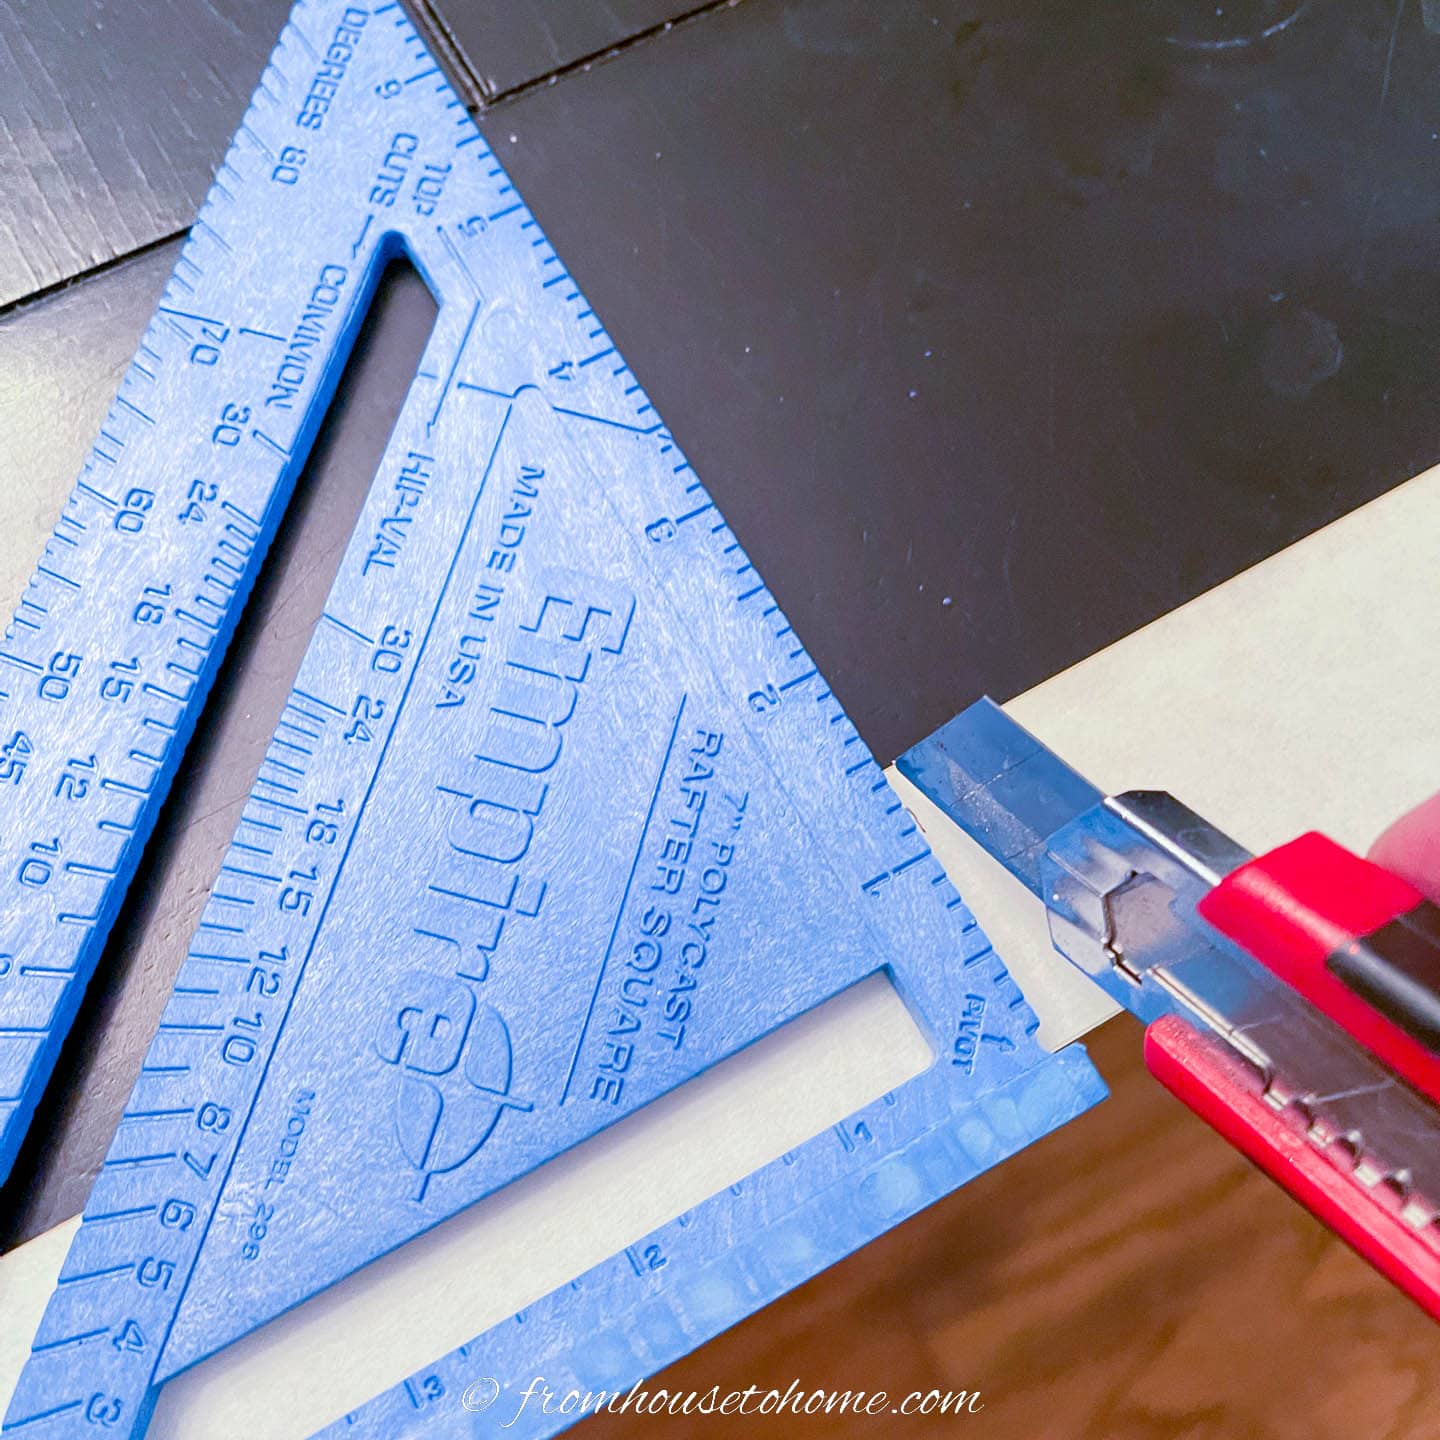
To cut them (to fit the ends of the door), you just make a score line with a utility knife and then snap the mirror strip off at the line.
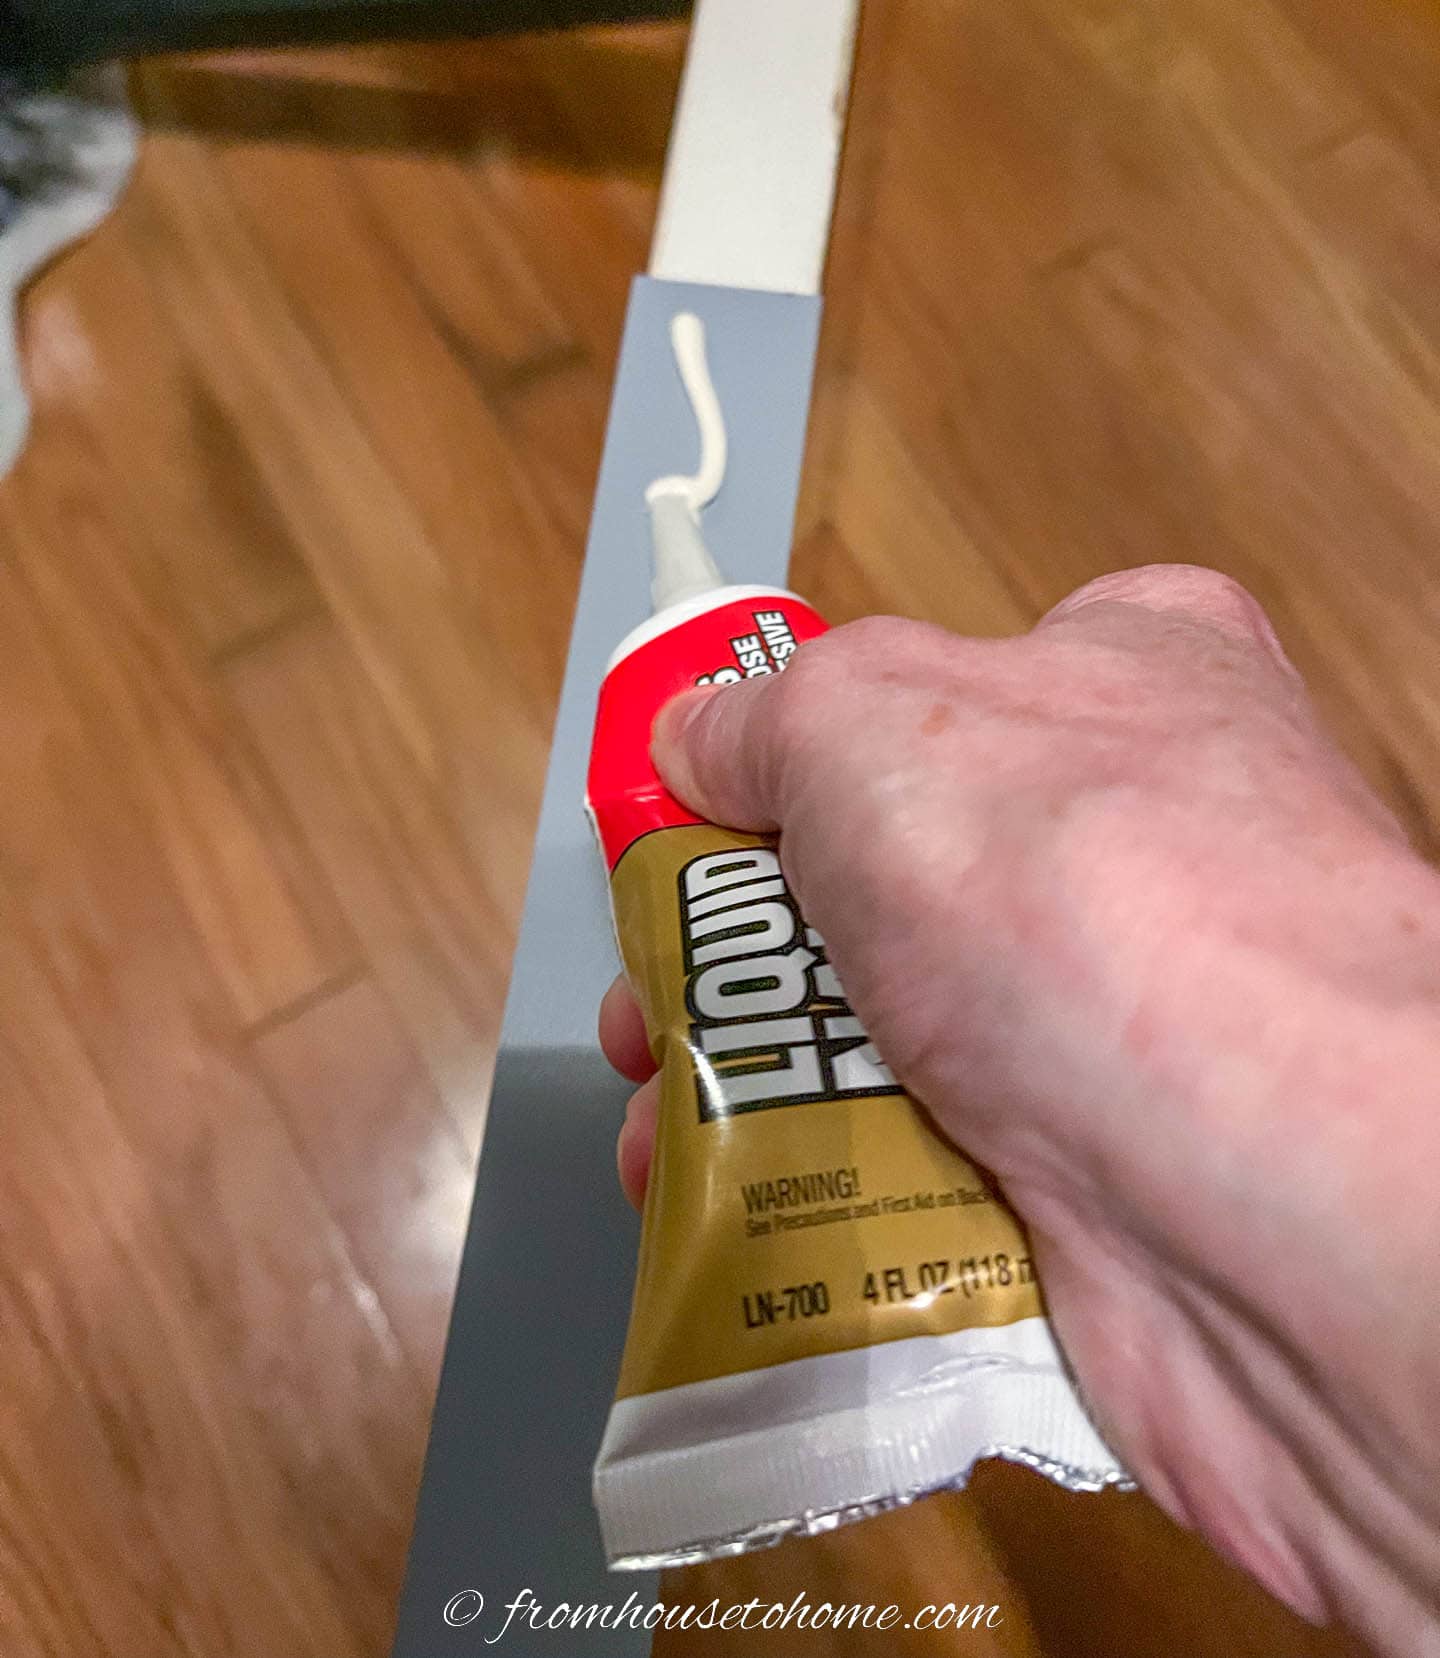
Glue them onto the sides of the door using construction adhesive.
Wipe off any excess glue that squeezes out onto the desktop.
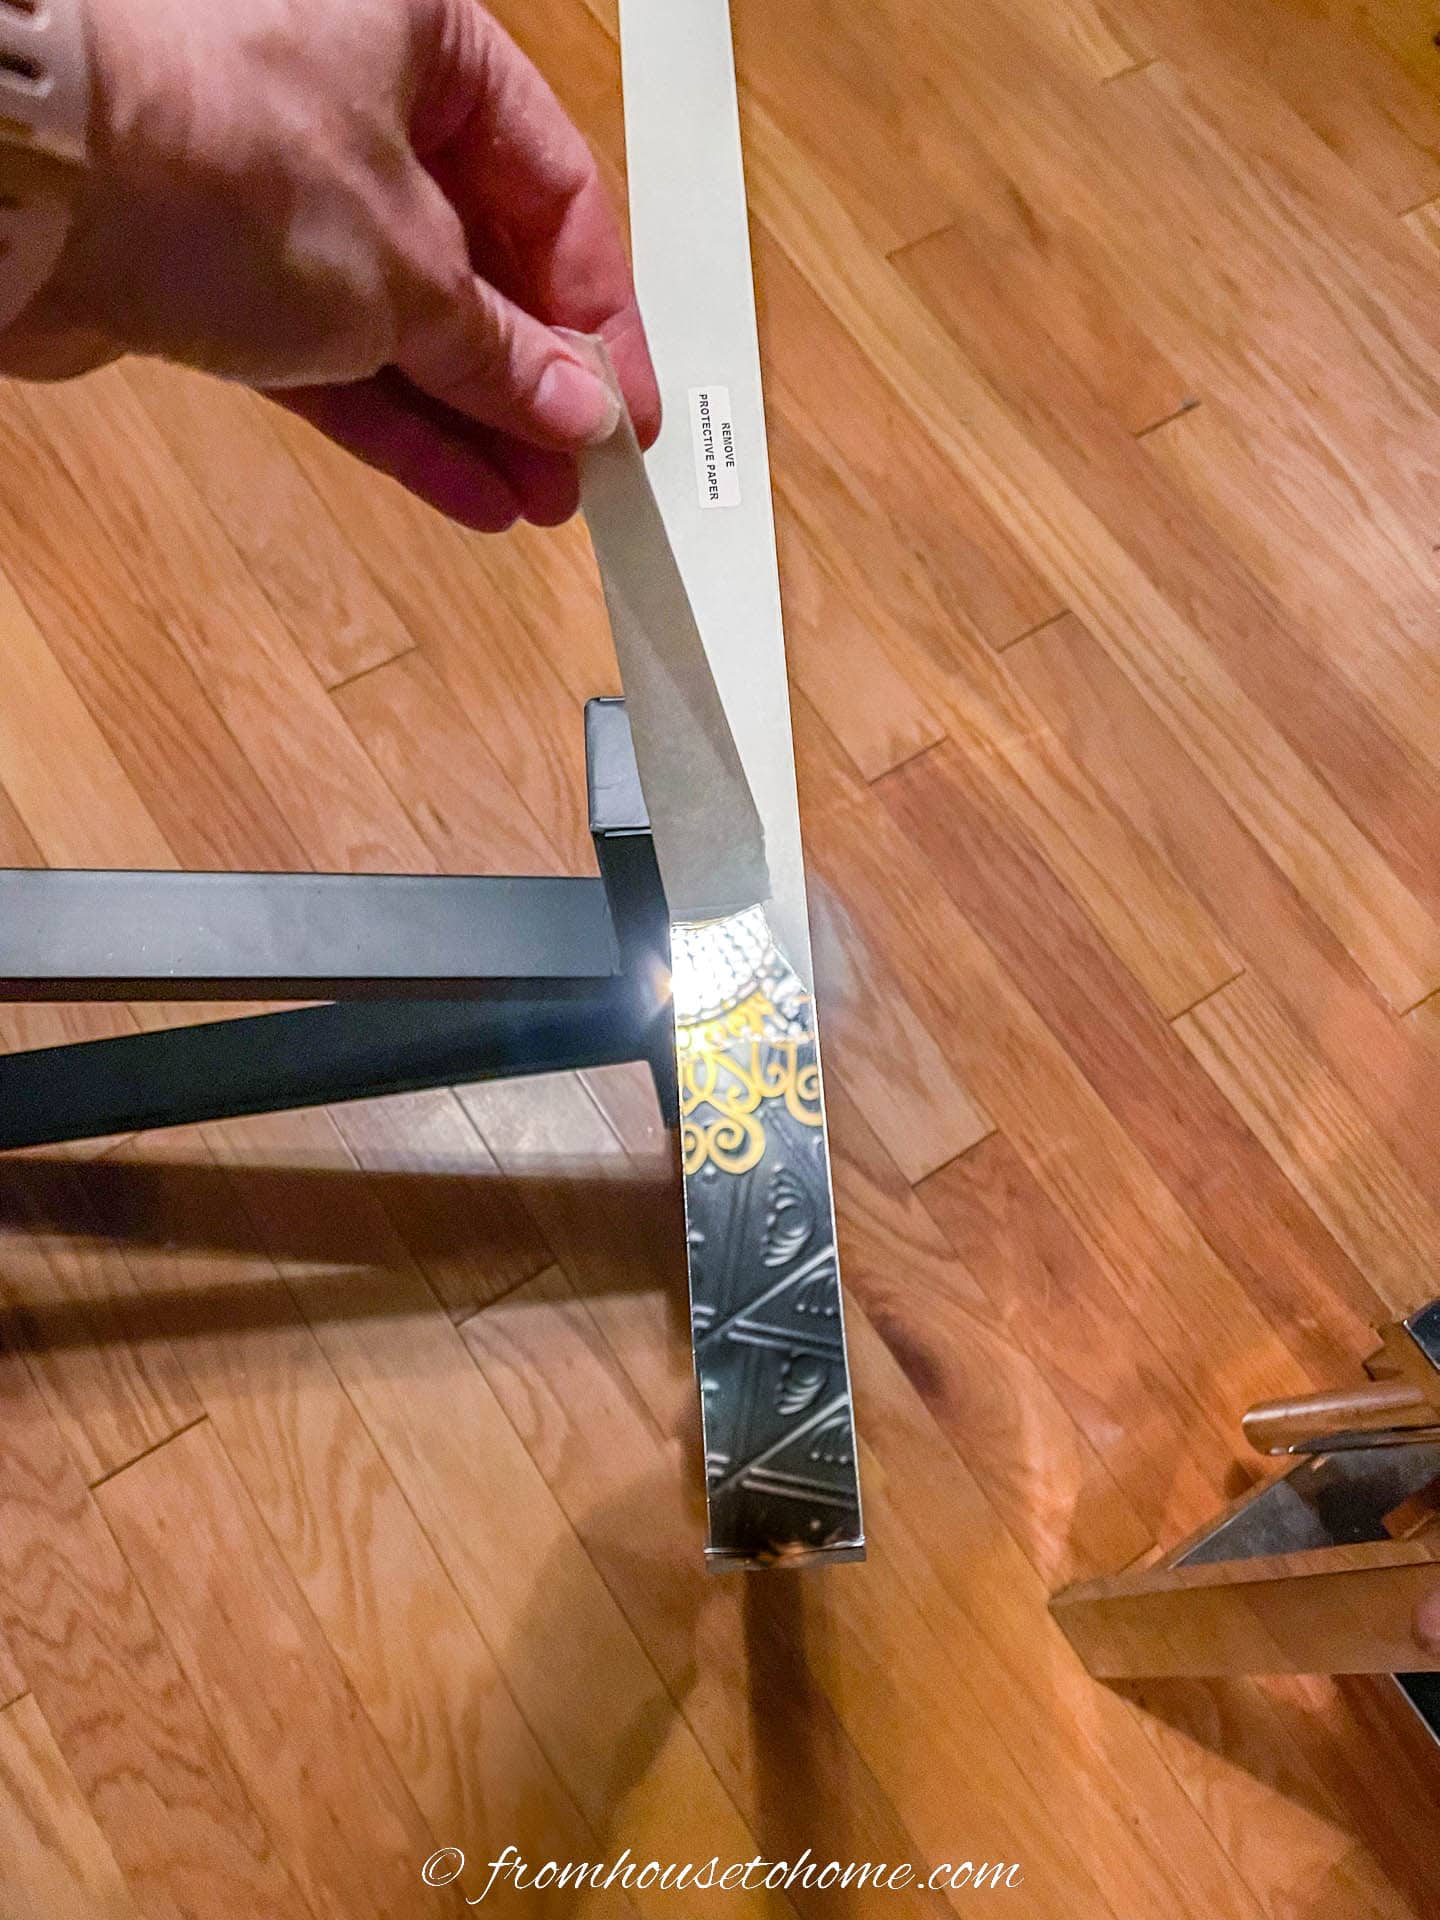
Then remove the protective covering on the front of the edging strip. And you’ll see it looks exactly like a mirror.
Since these strips were 60 inches long, one strip didn’t cover the full length of the door.
So I cut two strips that were 35 inches long each and glued them on to join in the middle of my desk. (The left over pieces were long enough to cover the ends of the door).
Then used these mirror edge details* to cover the join.
And cut them in half to add some interest to the corners.
Step 4 | Install the sit stand desk mechanism
The last step for making the desk is to install the electric sit stand desk mechanism*.
After doing a lot of research, I finally found this one* that has dual motors (to make sure the desktop raises evenly on both sides), is stable even at higher heights and isn’t exorbitantly expensive.

It also comes with 3 memorized height settings that you can set. That way, you can figure out the perfect sit and stand height for you, and set the buttons to those heights. Then you just have to press the buttons to go from one to the other.
To put the frame together, just follow the instructions that come with it. For the one I used, this meant screwing the legs together, attaching them to the frame and then connecting the wires to the control panel.
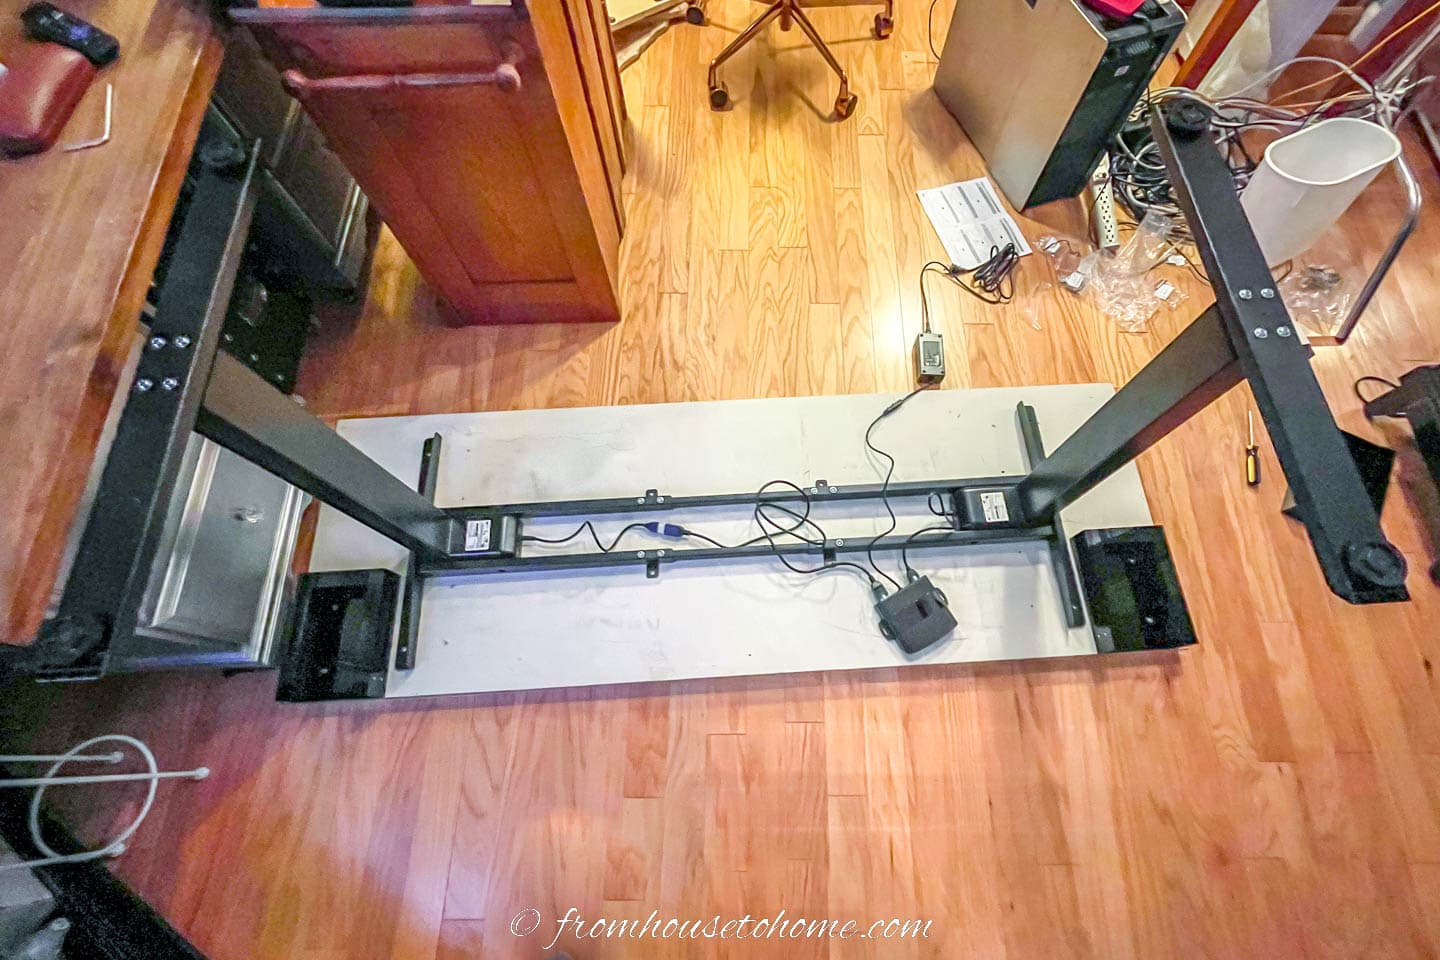
When that is done, turn the door/desktop upside down on the floor. You might want to put it on a rug or blanket to make sure it doesn’t get scratched.
Then position the sit-stand desk frame where you want it.
Make sure that it is centered both ways (lengthwise and widthwise).
I used a ruler to measure the space on both ends to make sure it was the same. Then did the same on the sides.
Finally, screw the sit-stand desk frame and control panel to the bottom of the door.
If your door is very thin pressboard which doesn’t hold screws very well, you may want to glue a 1/8″ piece of plywood to the bottom of it before installing the desk frame. This will make the connection between the frame and the top more secure.
Carefully turn your desk over (it helps to have a second person) and your desk is ready to go.
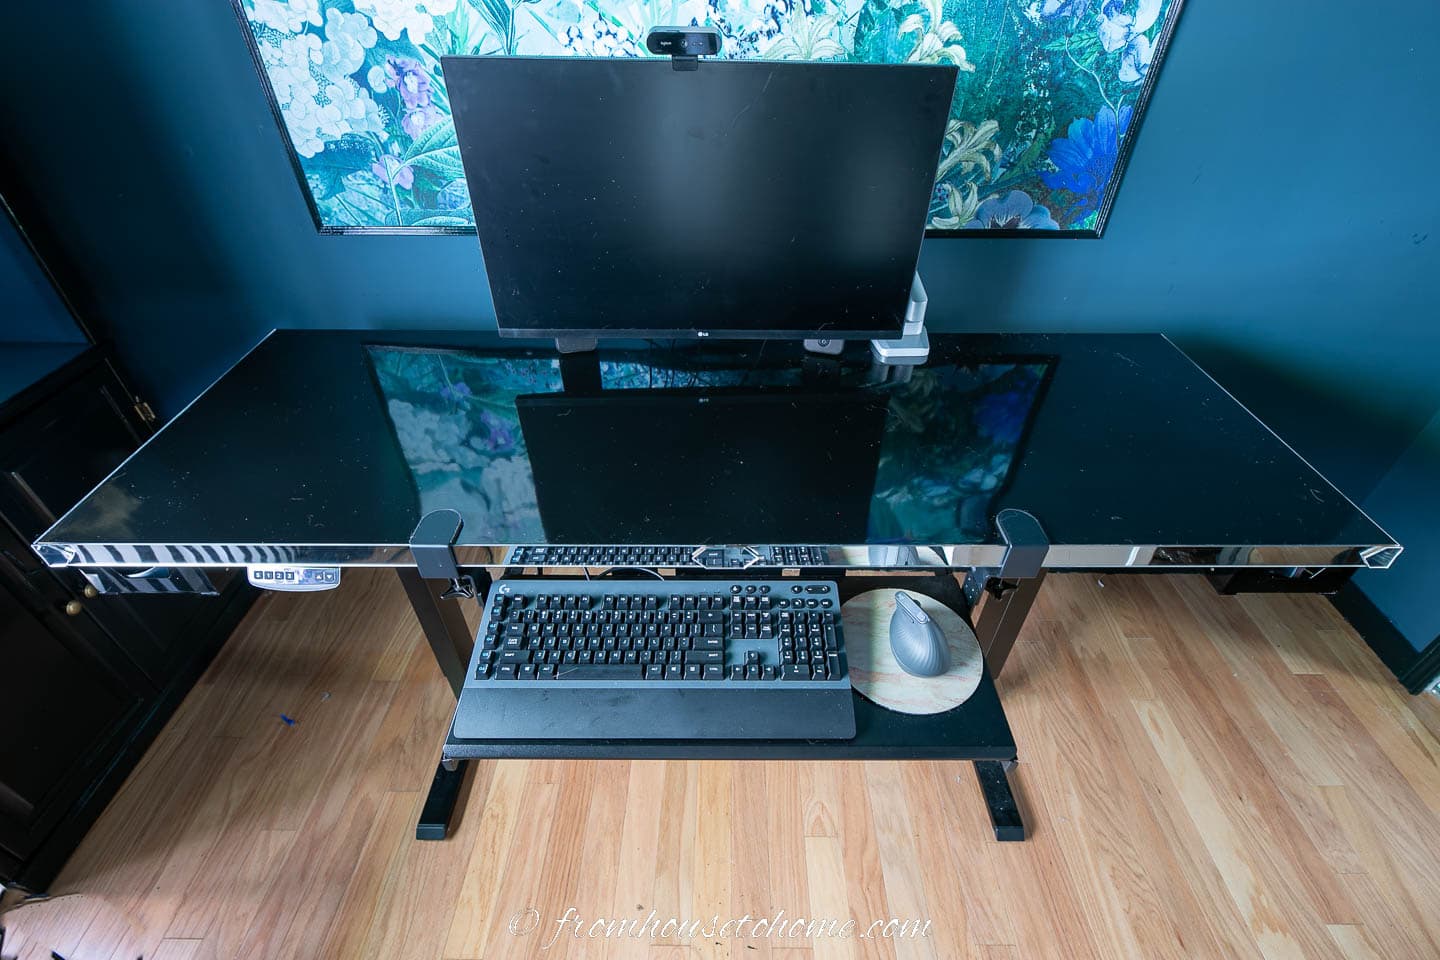
Accessories to make your desk more functional
To make the desk a little more functional, I highly recommend adding these accessories:
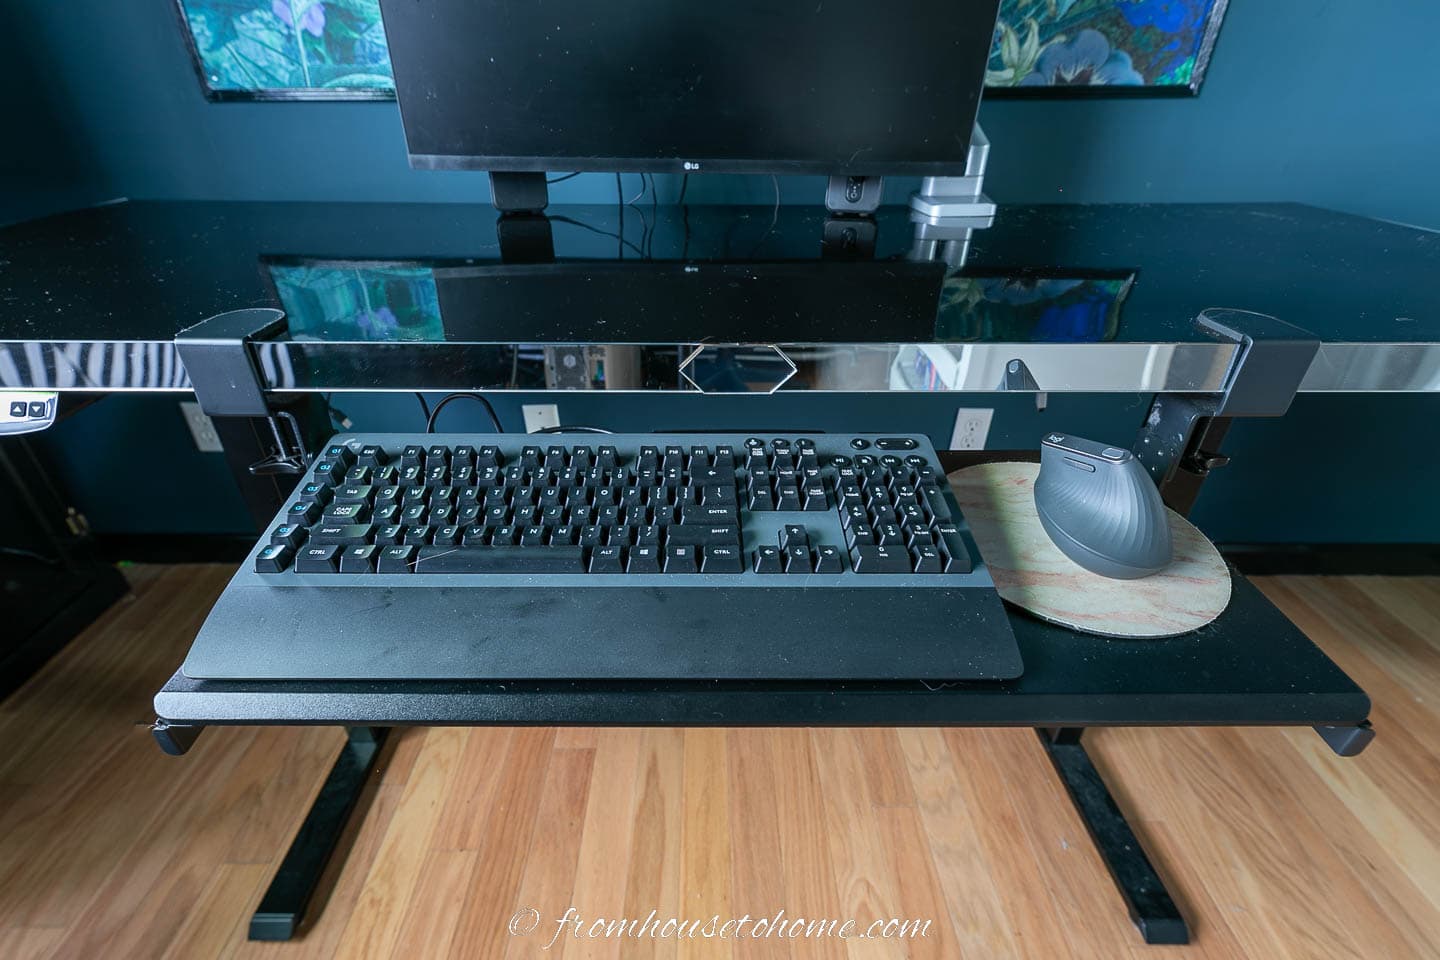
- A keyboard tray* – this keeps the keyboard off the desktop so you have more surface to work on. And allows you to set the keyboard height at a more comfortable level for working.
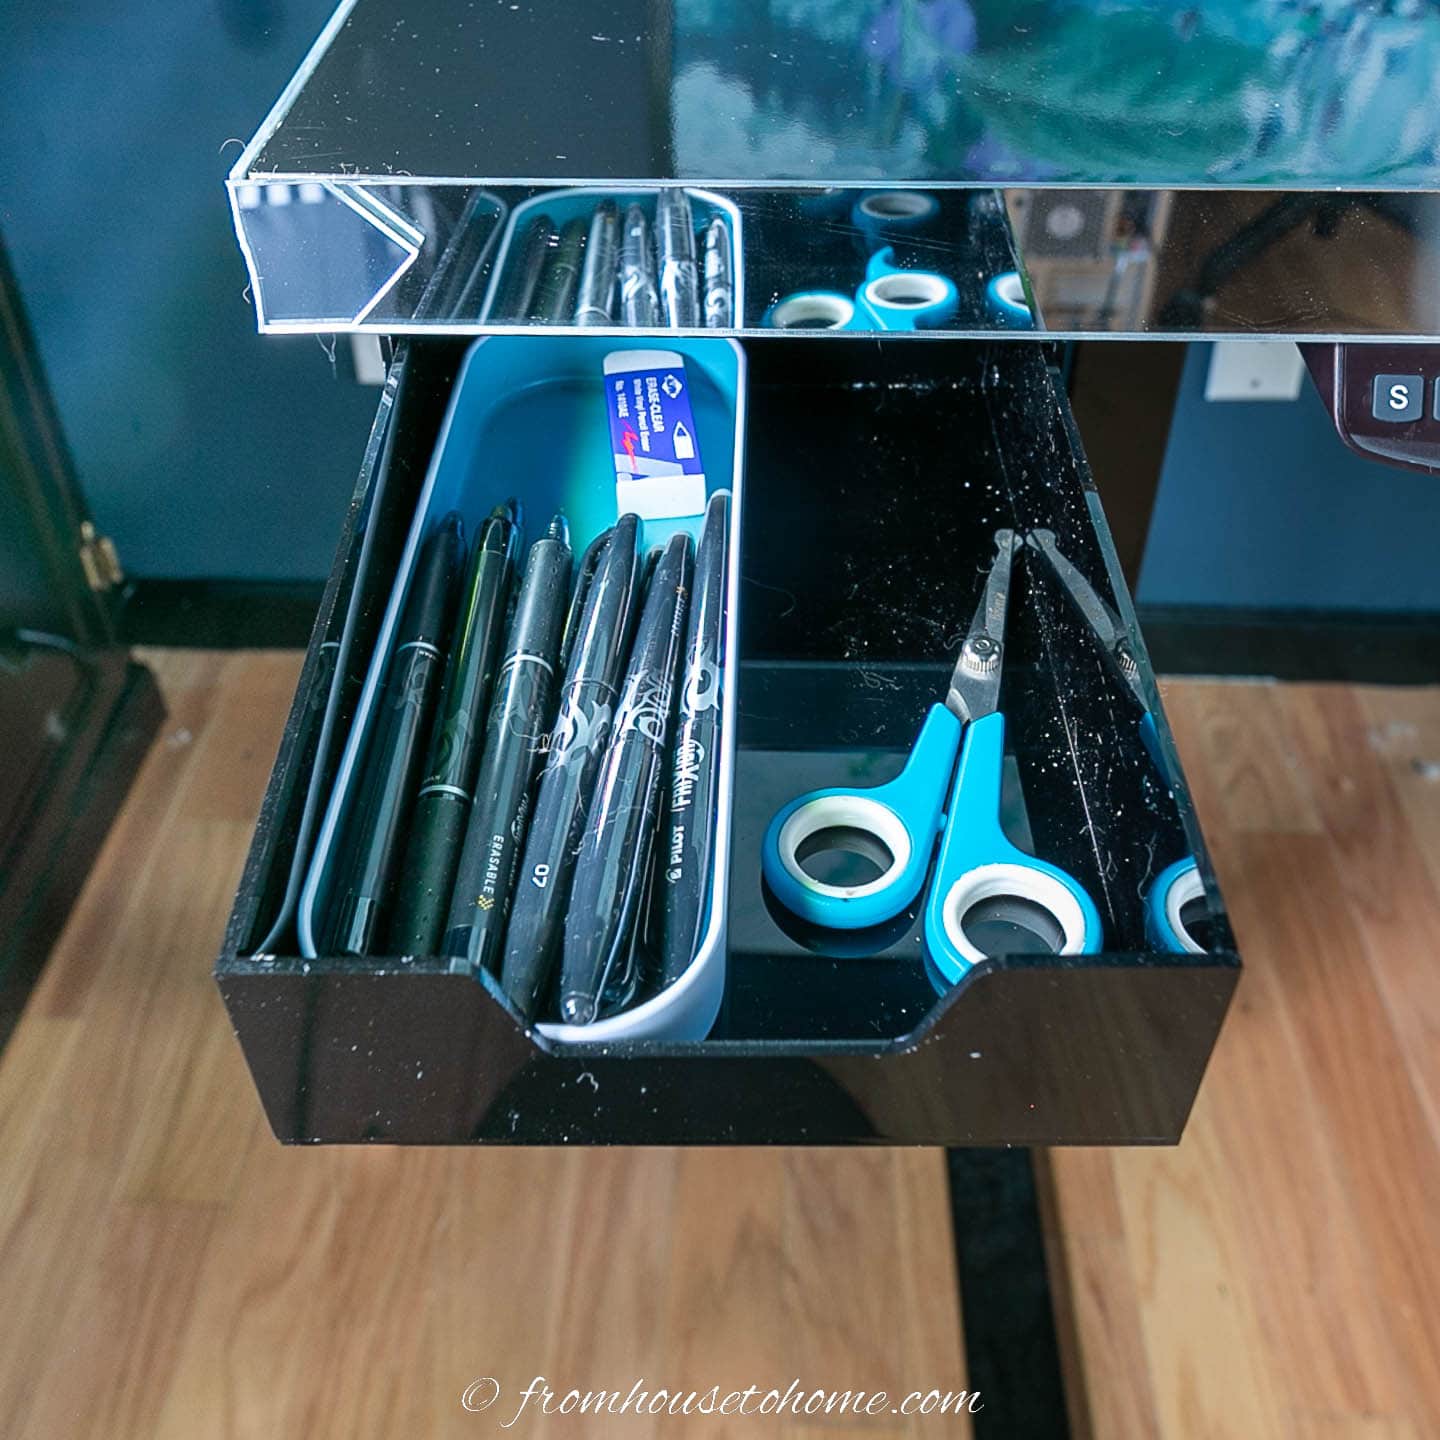
- Small desk drawers* – I think every desk needs a space to store pens, scissors and other small accessories. So I attached these small desk drawers to the bottom of the desktop on either side of the keyboard tray. And they’re black so they blend right in with the desktop.
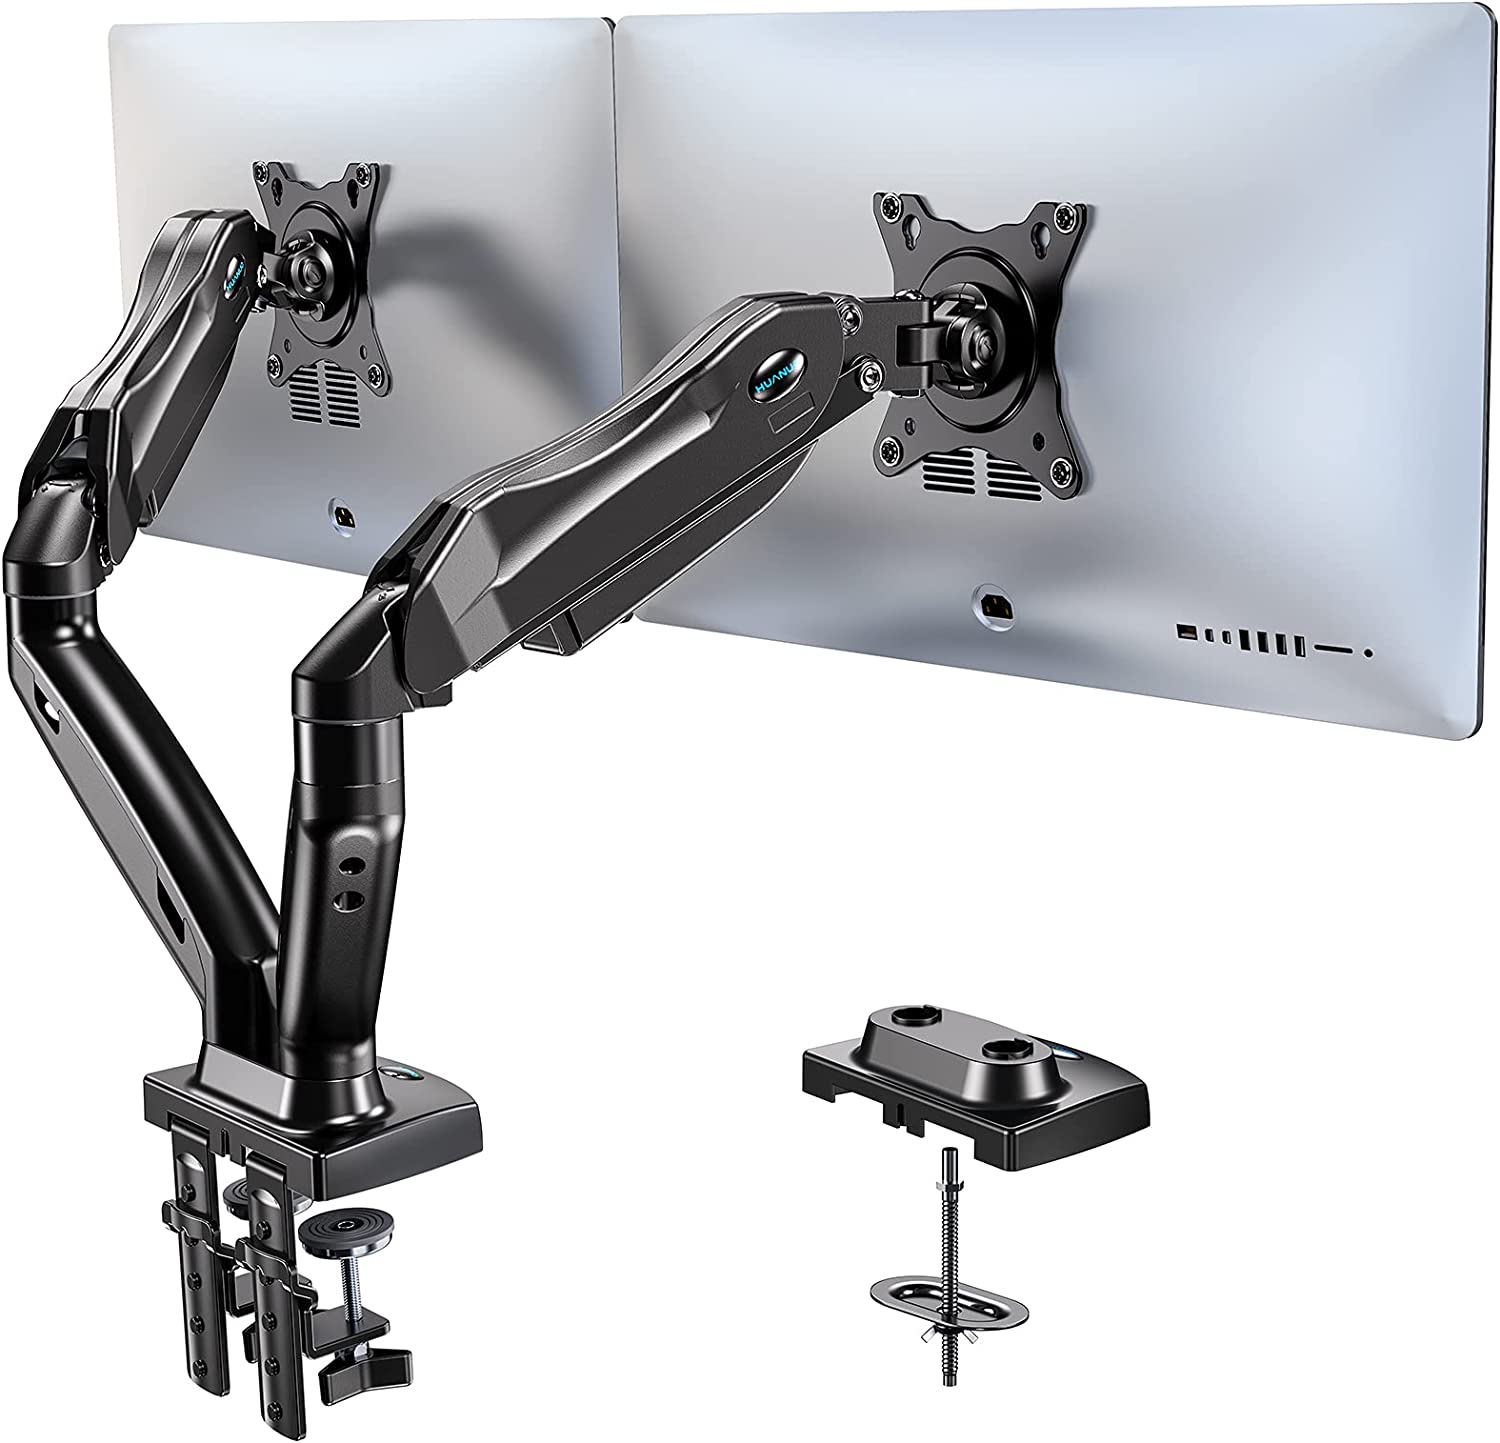
- A desk mount monitor stand – This allows you to adjust the position of your monitor(s) so they are at the right viewing height, keeps them off the desktop and attaches them securely to the desktop so they won’t fall off when you raise and lower the desk. Since I have two monitors, I got one that will hold both of them.
That’s it for my DIY sit stand desk project.
Now the only thing left is to hide all of the computer cords. And that will be next week’s project.
Read the rest of our blue home office makeover posts:
- Week 1: Blue home office ideas
- Week 2a: Blue home office mood board
- Week 2b: Home office layouts
- Week 3: Blue home office paint colors
- Week 4: DIY large wall art
- Week 5: Glam black and blue bookshelf makeover
- Week 6: DIY electric sit stand desk
- Week 7: How to hide wires on a desk
- Week 8: Hague blue and white home office makeover

Don’t forget to checkout this week’s makeovers from all the other guest participants on oneroomchallenge.com.
Have comments or questions about our DIY sit stand desk? Tell us in the section below.
This post was originally published on November 3, 2022 but was updated with new content on April 2, 2024.