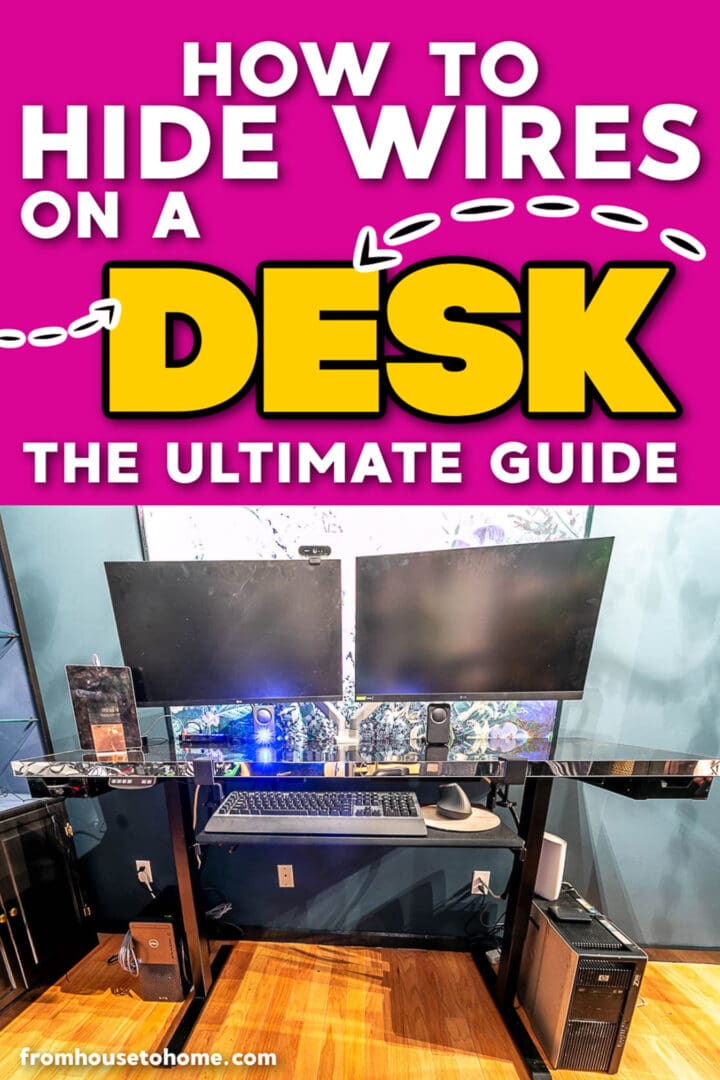
How To Hide Wires On A Desk
If you’re like most people, you probably have a lot of cables and cords running all over your desk. It can be really frustrating trying to find a place to plug everything in, and even more frustrating when they’re always getting in the way. Well, don’t worry, because I’m going to show you some computer cable management solutions to hide all those wires on your desk in no time!
It’s week 7 of my One Room Challenge home office makeover (only 1 week to go!) and this week was all about the finishing details.
One of those details was cleaning up my desk area.
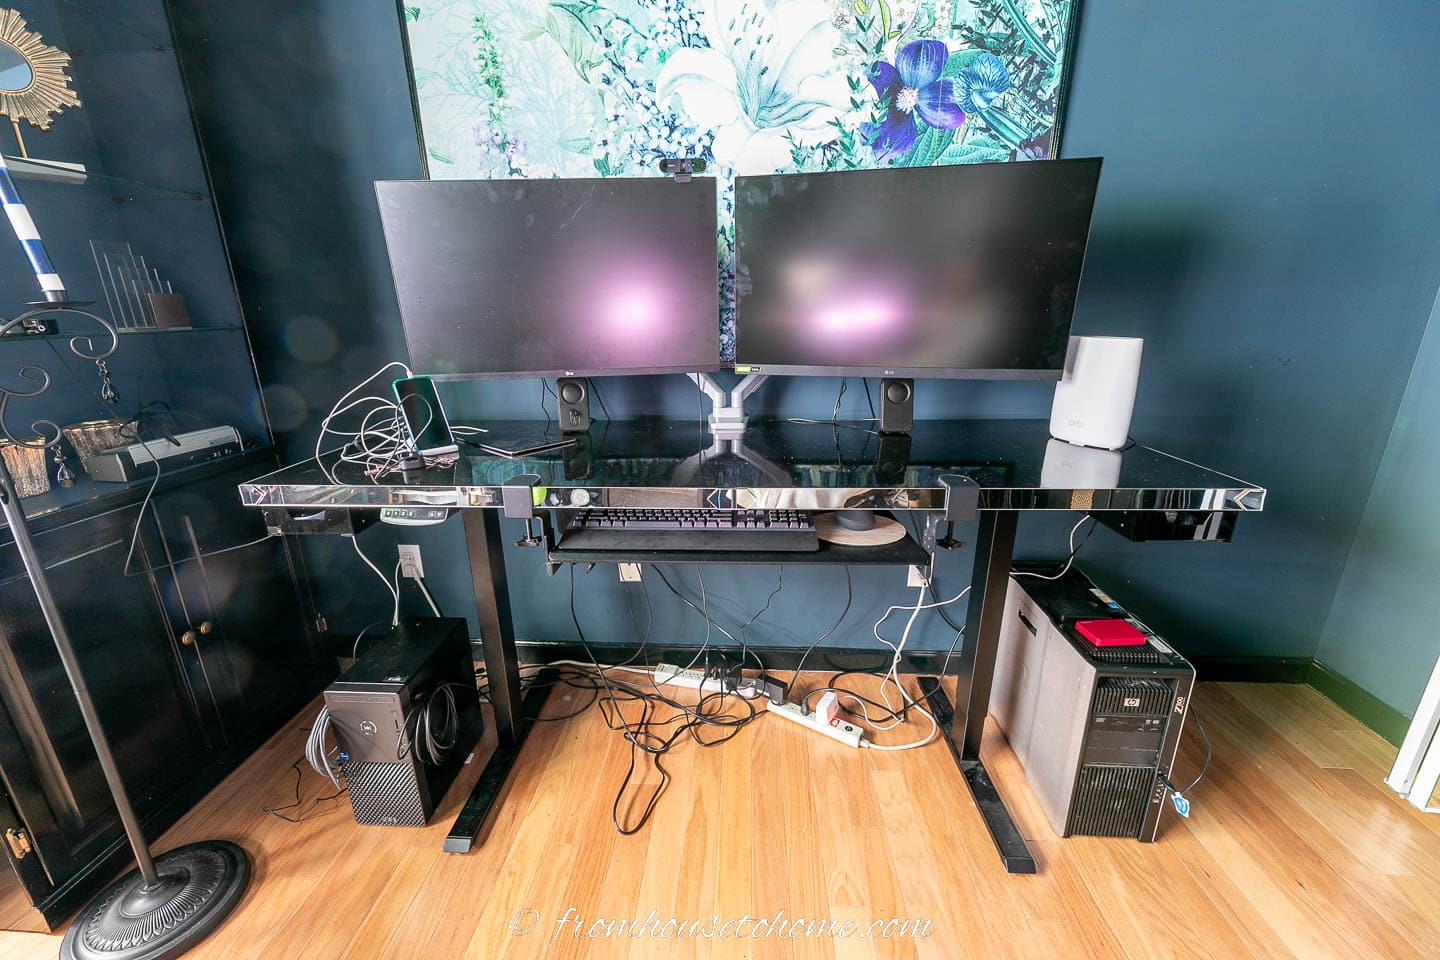
After I finished my DIY sit stand desk, I started putting back all of my computer supplies and quickly realized something had to be done with all those cables!
So I set out to find the best ways to hide PC wires.
And came up with some computer desk cable management solutions that are easy to do, inexpensive and work quite well.
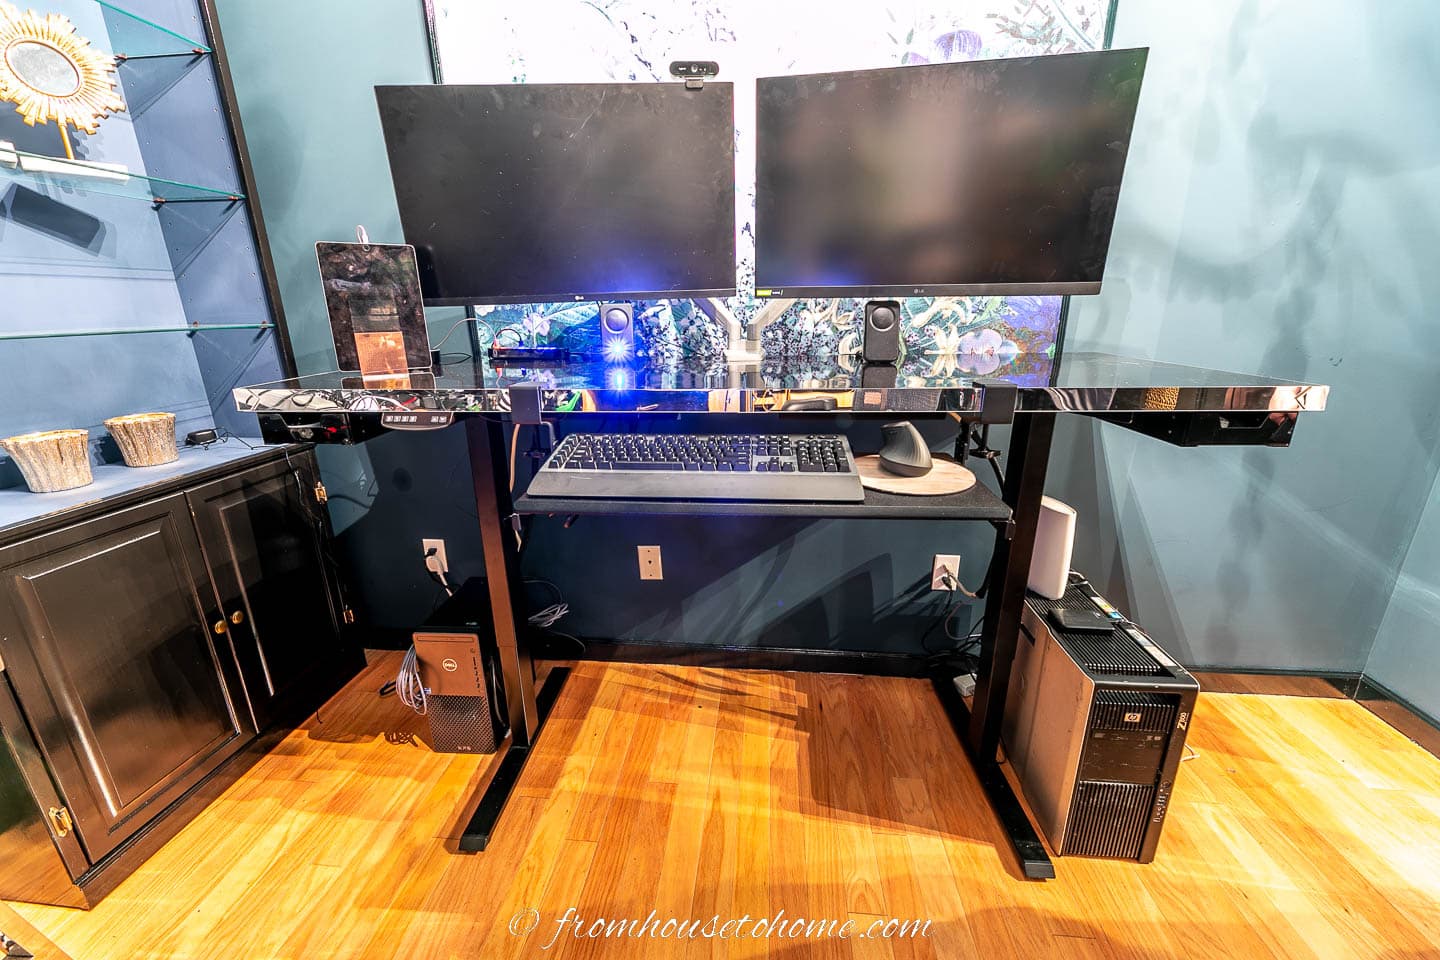
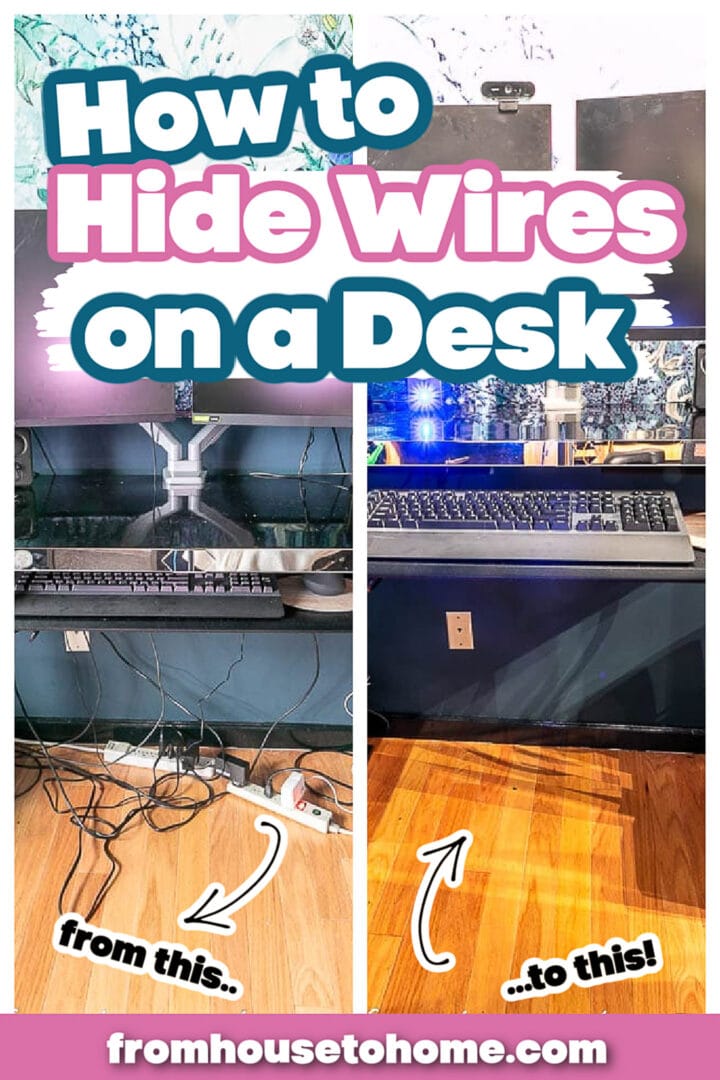
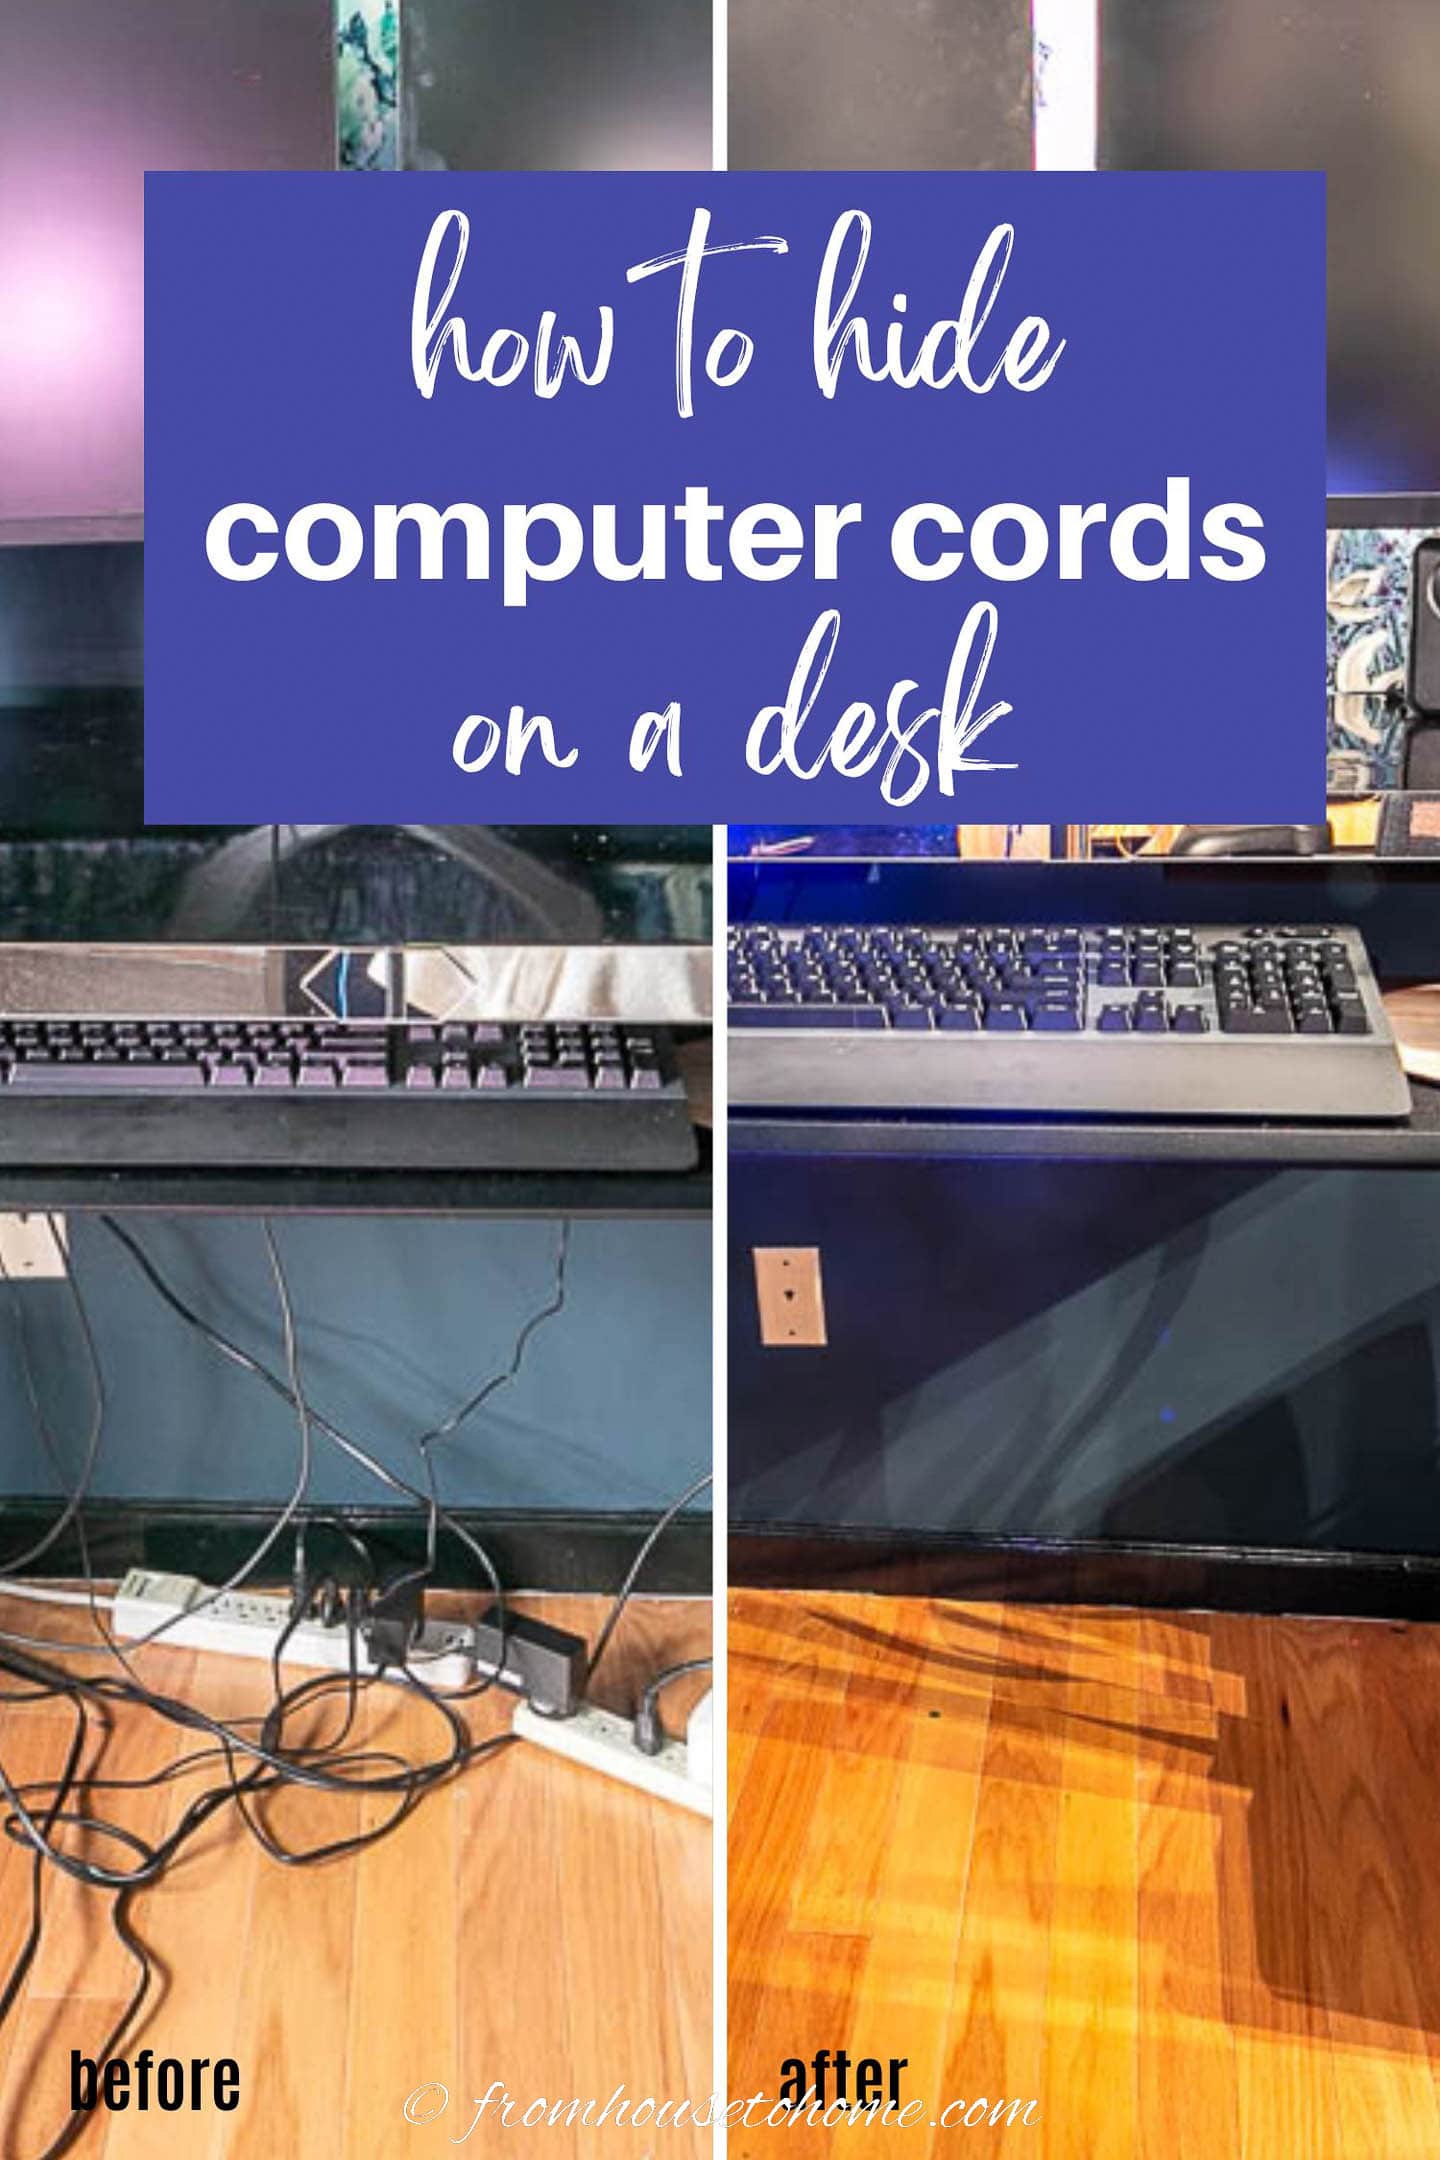
Look at how neat and tidy my desk looks now!
But before I start, here are some tips on how to organize the cables to make hiding them easier:
- Plug everything in as close to where it is located as possible. Power strips are your friend.
- Minimize the number of cables that need to go from the desktop to the floor.
- Use the under side of the desk to route cables.
- Pick a centralized location (eg. one of the desk legs) where all cables that need to go from the desktop to the floor will meet so they can be managed together.
- If you have a sit stand desk that changes position, put it in the highest position before starting to organize the cables. Not only does this give you easier access to the under desk area, but it will make sure that you leave enough cable length so that nothing gets pulled out when the desk goes up.
Okay, let’s get on with how to hide wires on a desk.
1 | Get cords that are the right length
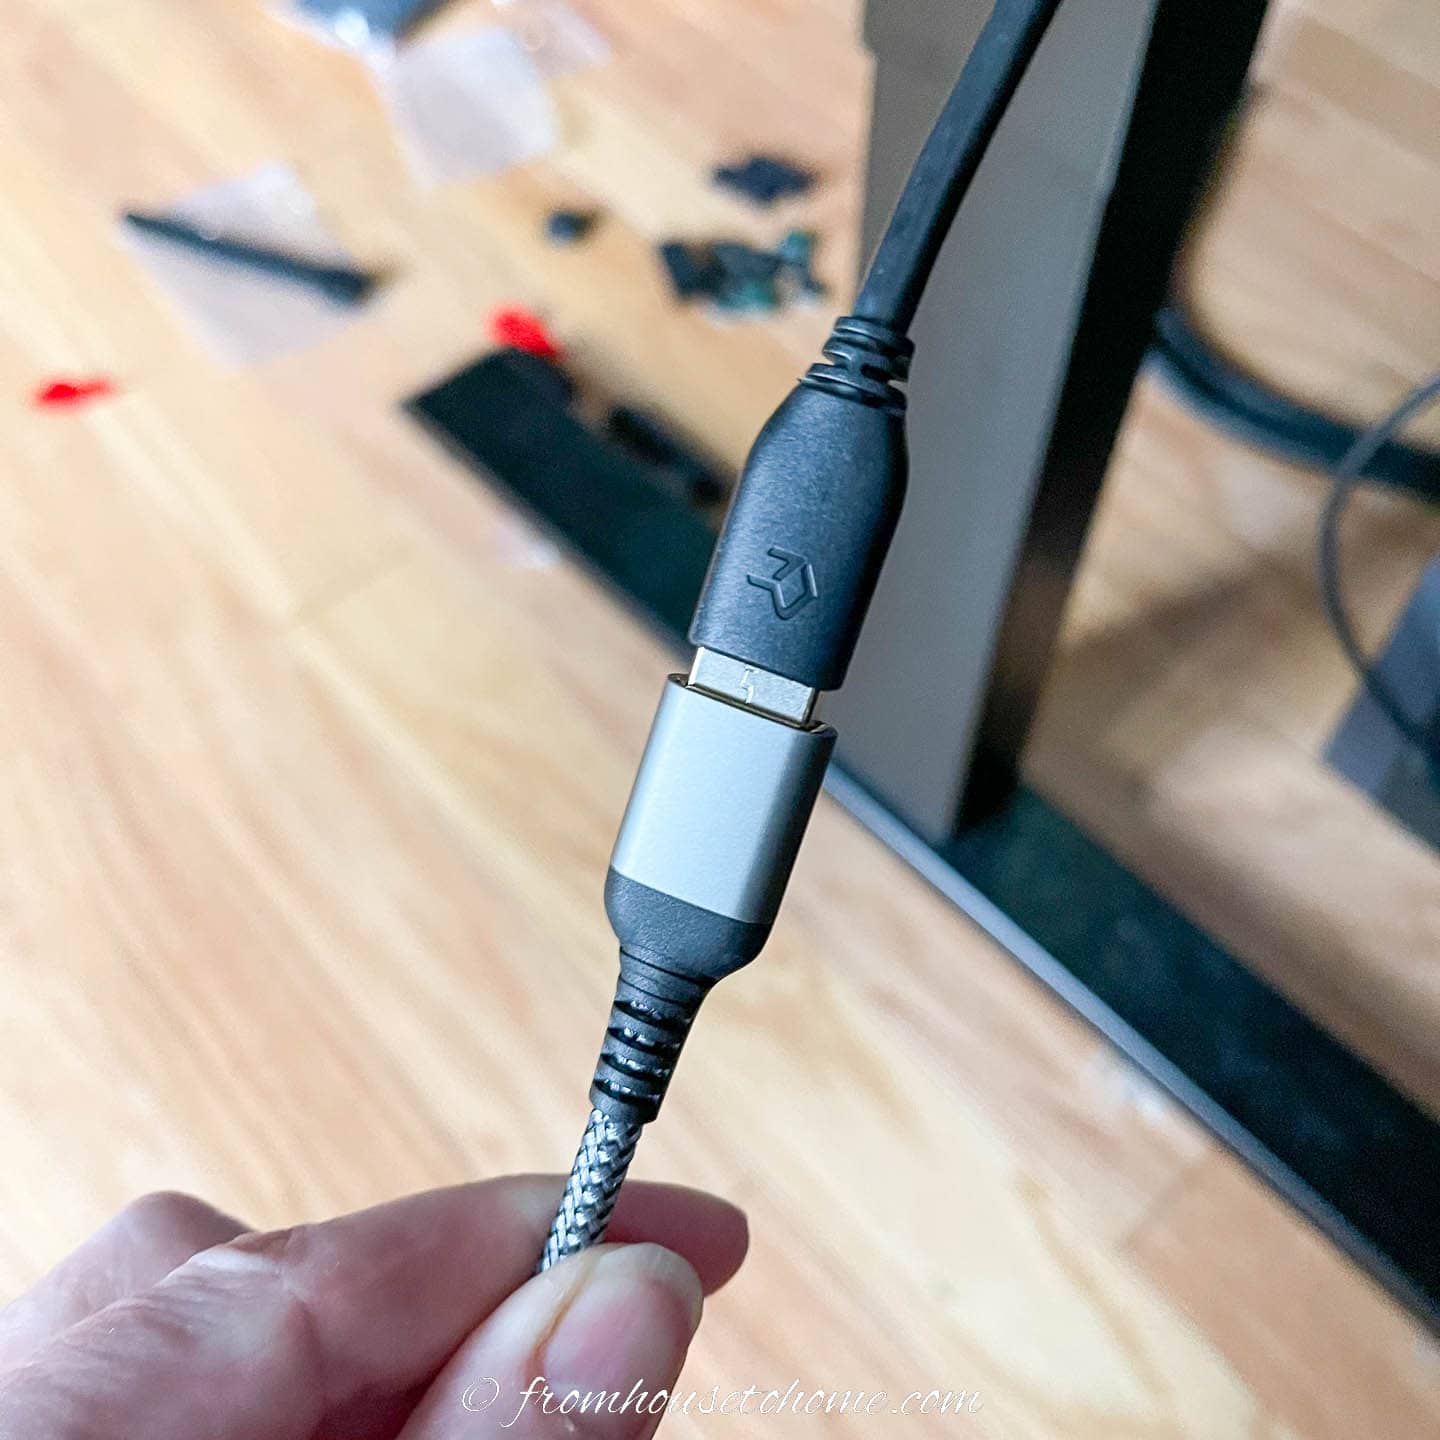
One of the easiest ways to manage cable clutter is to get cords that are the right length whenever possible.
Shorter cords that don’t have to be rolled up are easier to hide than longer ones.
And you may have to get some extension cords or buy longer USB cords in order to run everything neatly under your desk.
You can find USB extension cords HERE.*
2 | Match your decor
Another general tip is to try to get cords that match your decor.
If your room and desk are a dark color, get black cords.
If your room is light colored, get white cords.
As you’ll see below, my white power strips really stand out against the black desk and dark blue paint. I’ll be changing them out for black ones shortly!
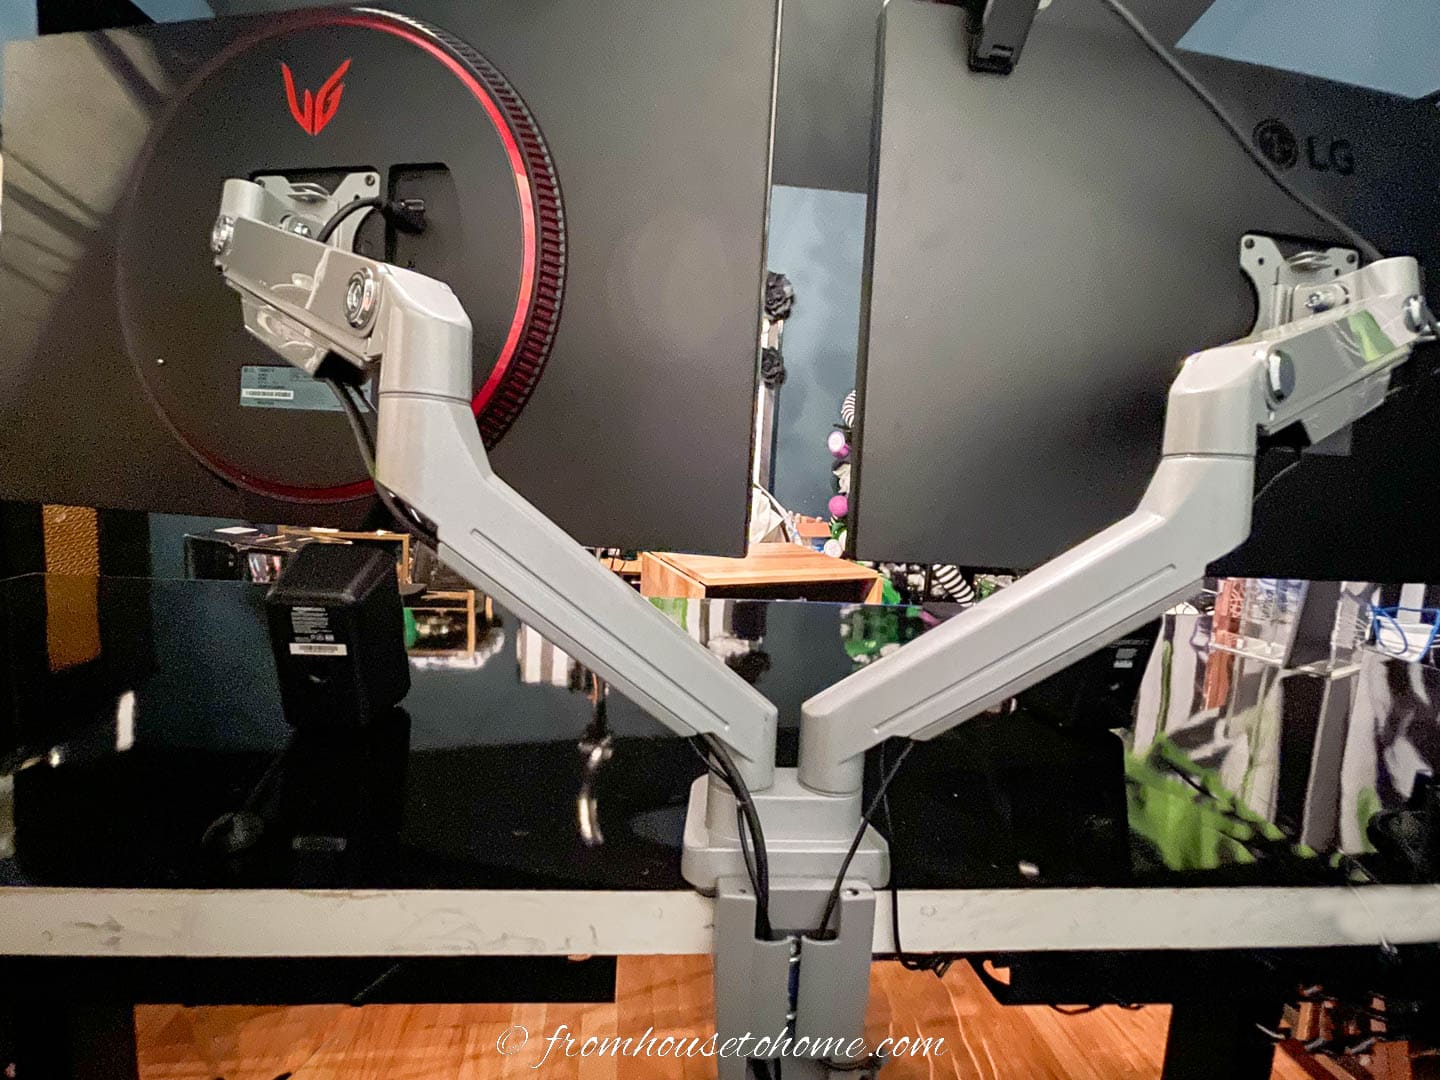
3 | Get a monitor Stand With Cable Management
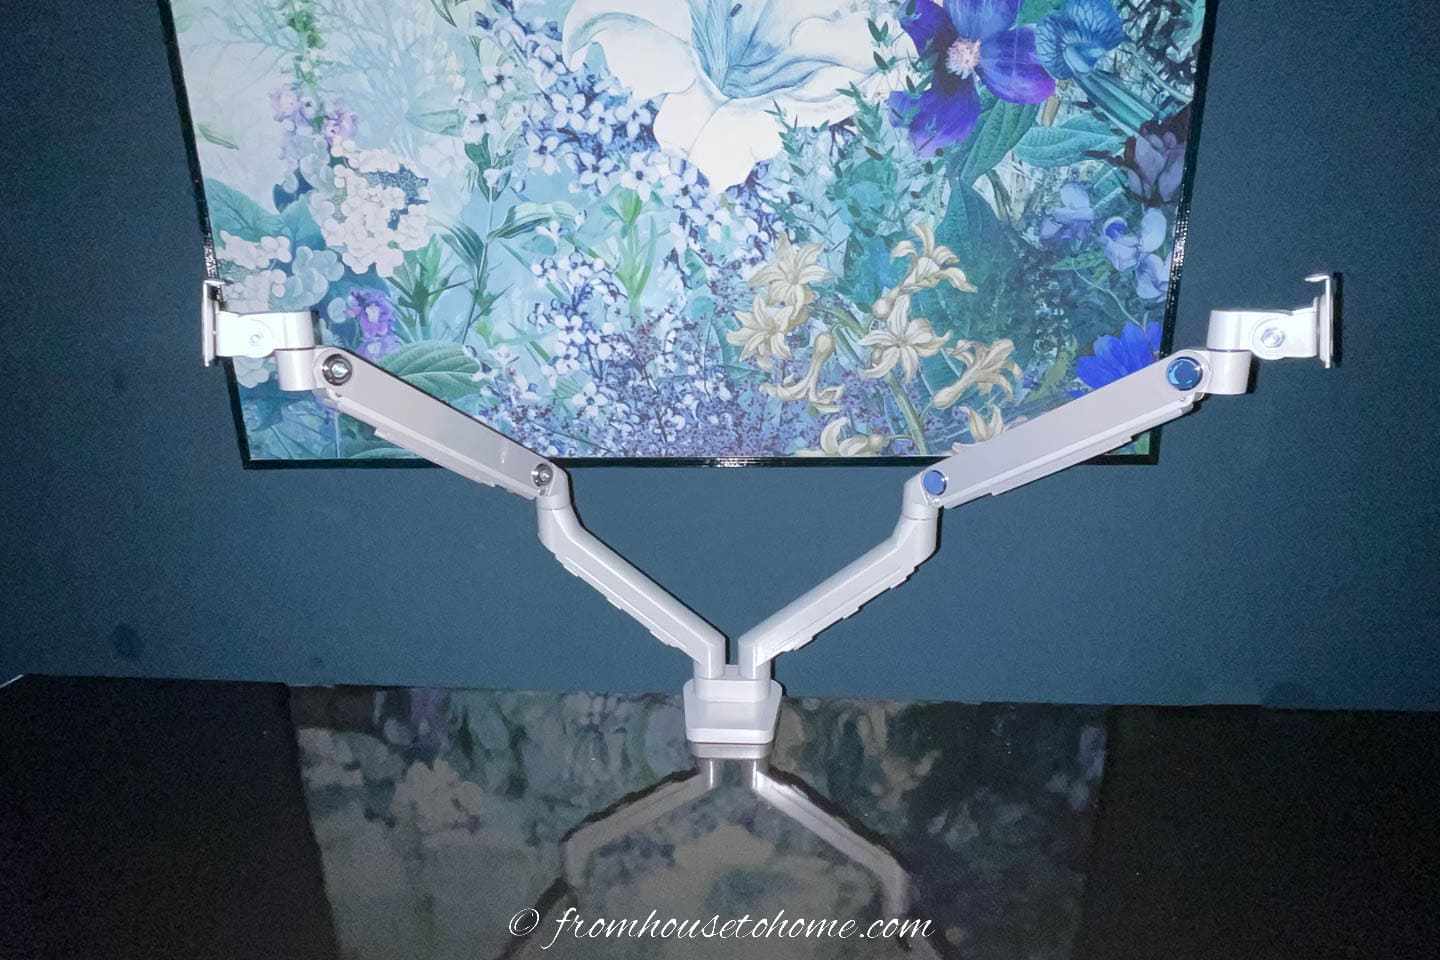
If you have a monitor on your desk, than getting a monitor stand with cable management is the first step to clearing your desktop. (I have two monitors so my stand has two arms, but you can get them with only one).
First, it gets the monitor off your workspace, so it doesn’t get in the way.
Second it allows you to move the monitor to the position and height that is most comfortable for you.
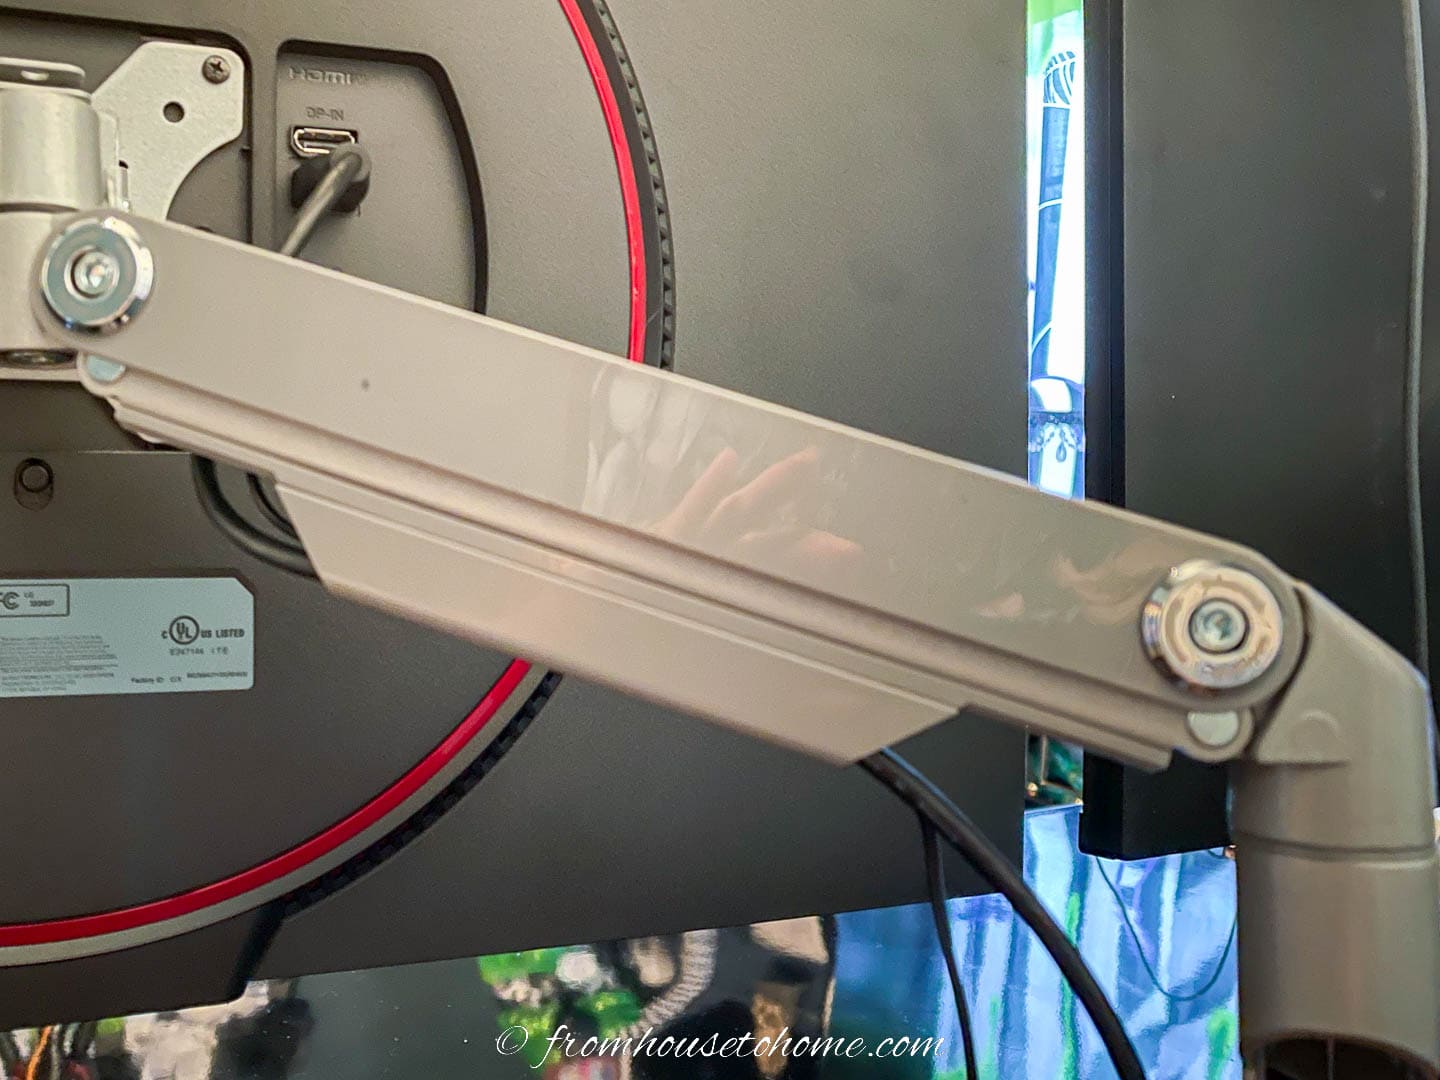
And third it has a channel at the back of the stand (usually along the arms) that hides any cords coming down from your monitor.
Which means you can’t see them at all from the front.
And they look tidy, even if you can see them from the back.
You can find a single monitor stand with cable management HERE.*
4 | Install a cable channel
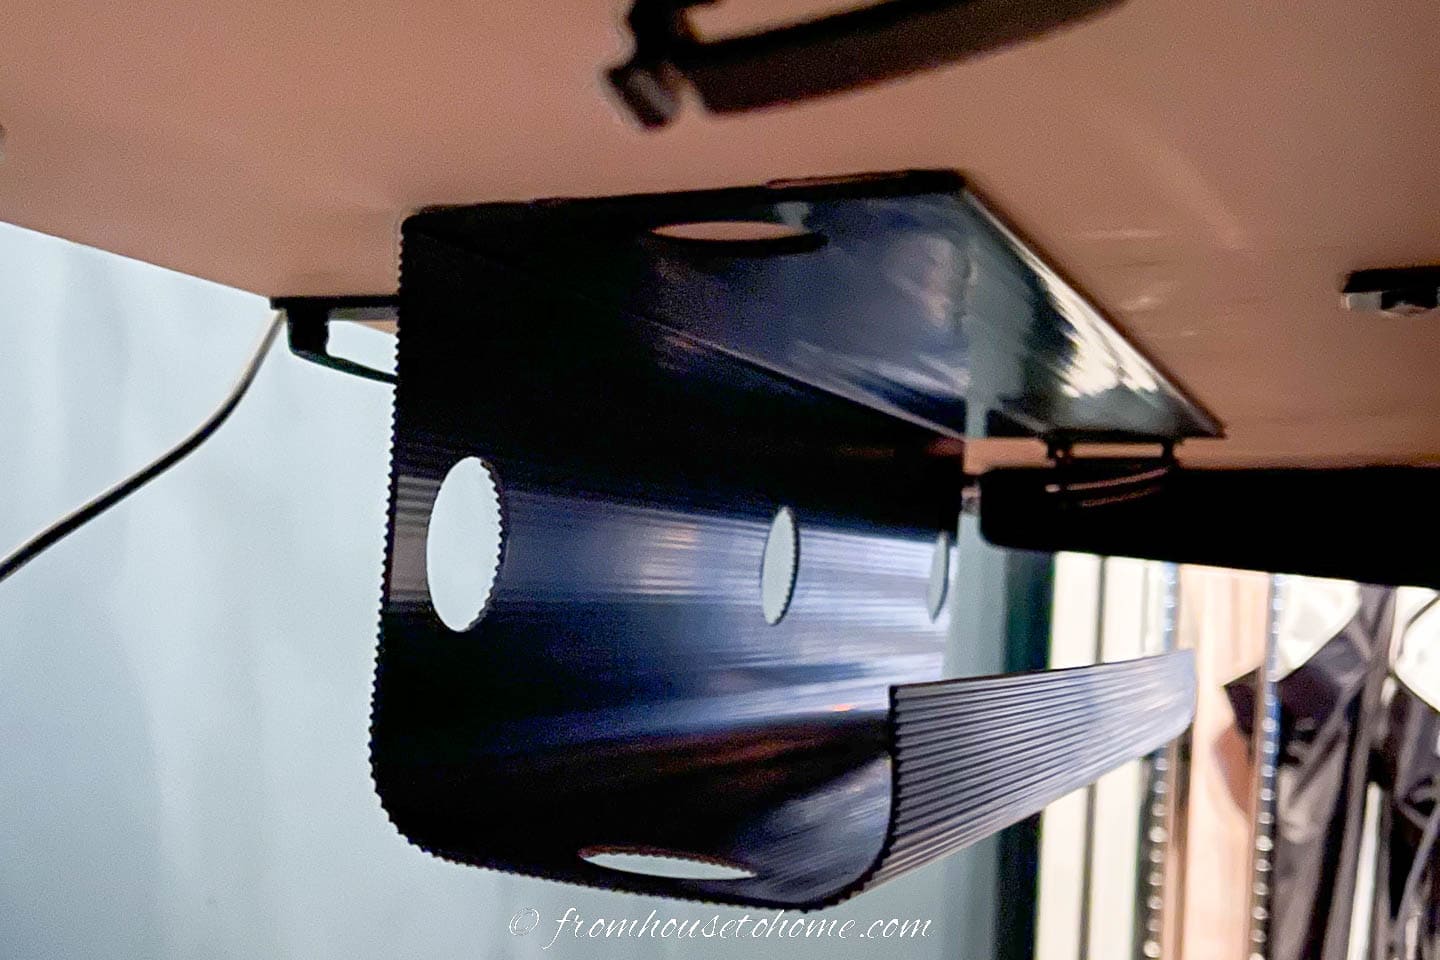
The next must-have computer cord organizer is a cable channel (or J channel as they are sometimes called).
These get installed under your desk (either with screws or double-sided tape) and hold a power strip.
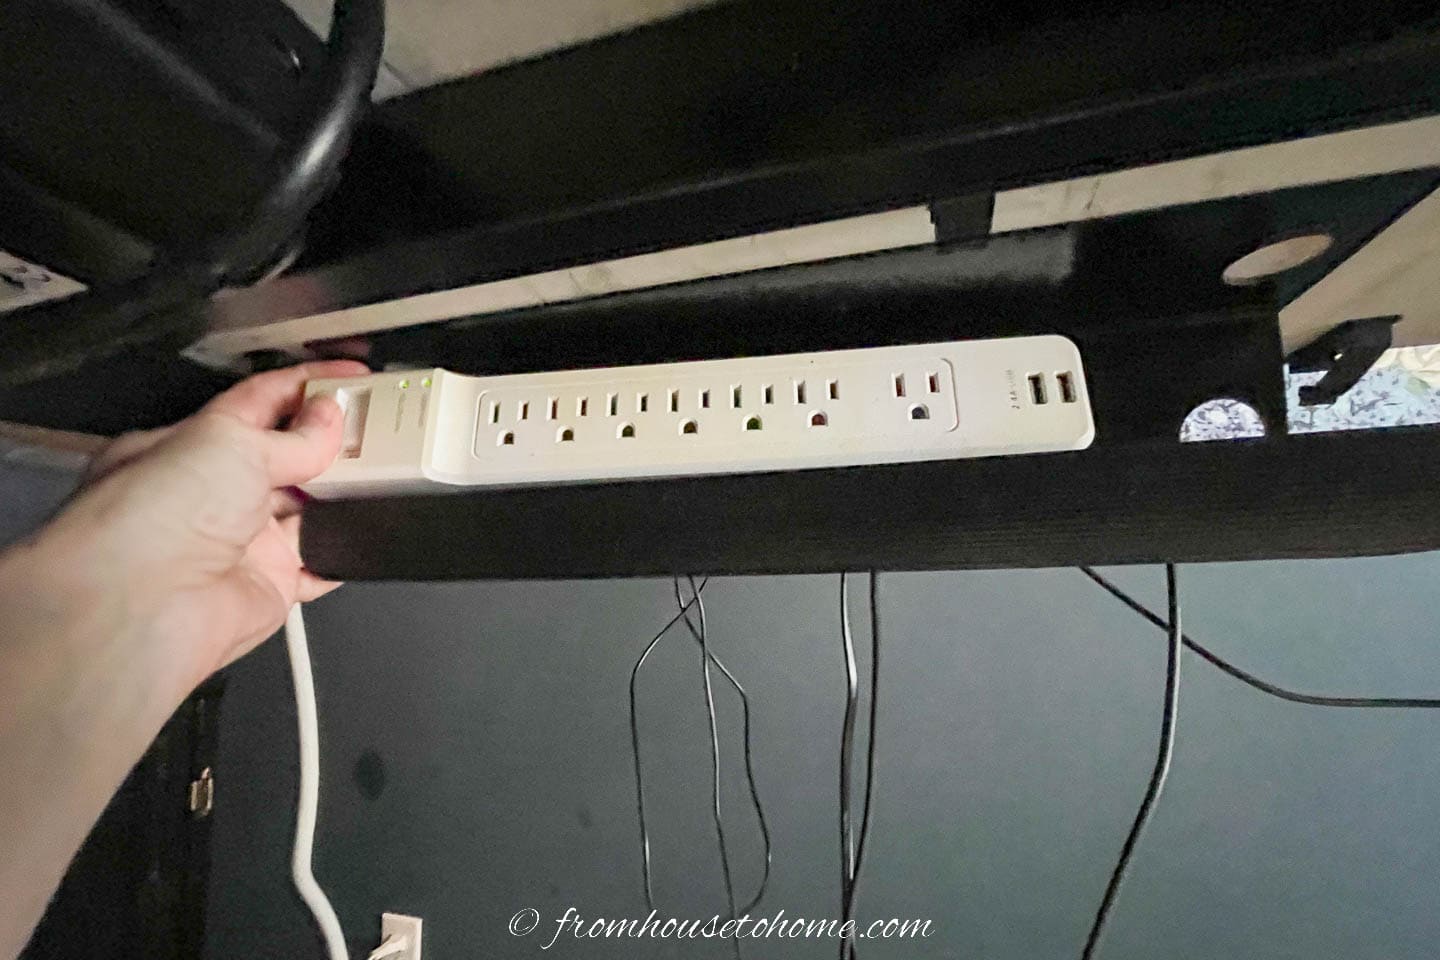
Which allows everything on your desk to be plugged in without having to leave your desktop.
This is a game-changer for for getting rid of all those cables under the desk.
And if you have a sit-stand desk like I do, it’s really a necessity. Otherwise, there is always something on your desk that gets pulled off when you raise it because its power cord is too short.
When installing the cable channel, try to have one end close to one of your desk legs. That way you can run the power cord from the power strip down it to make it less obvious.
You can find the cable raceway that I used HERE.*
5 | Use adhesive clips

Adhesive clips (like these*) are one of my absolute favorite under desk cord organizers because they are so versatile.
You can use them to keep cables neatly tucked under your desk, so you don’t see them hanging down.
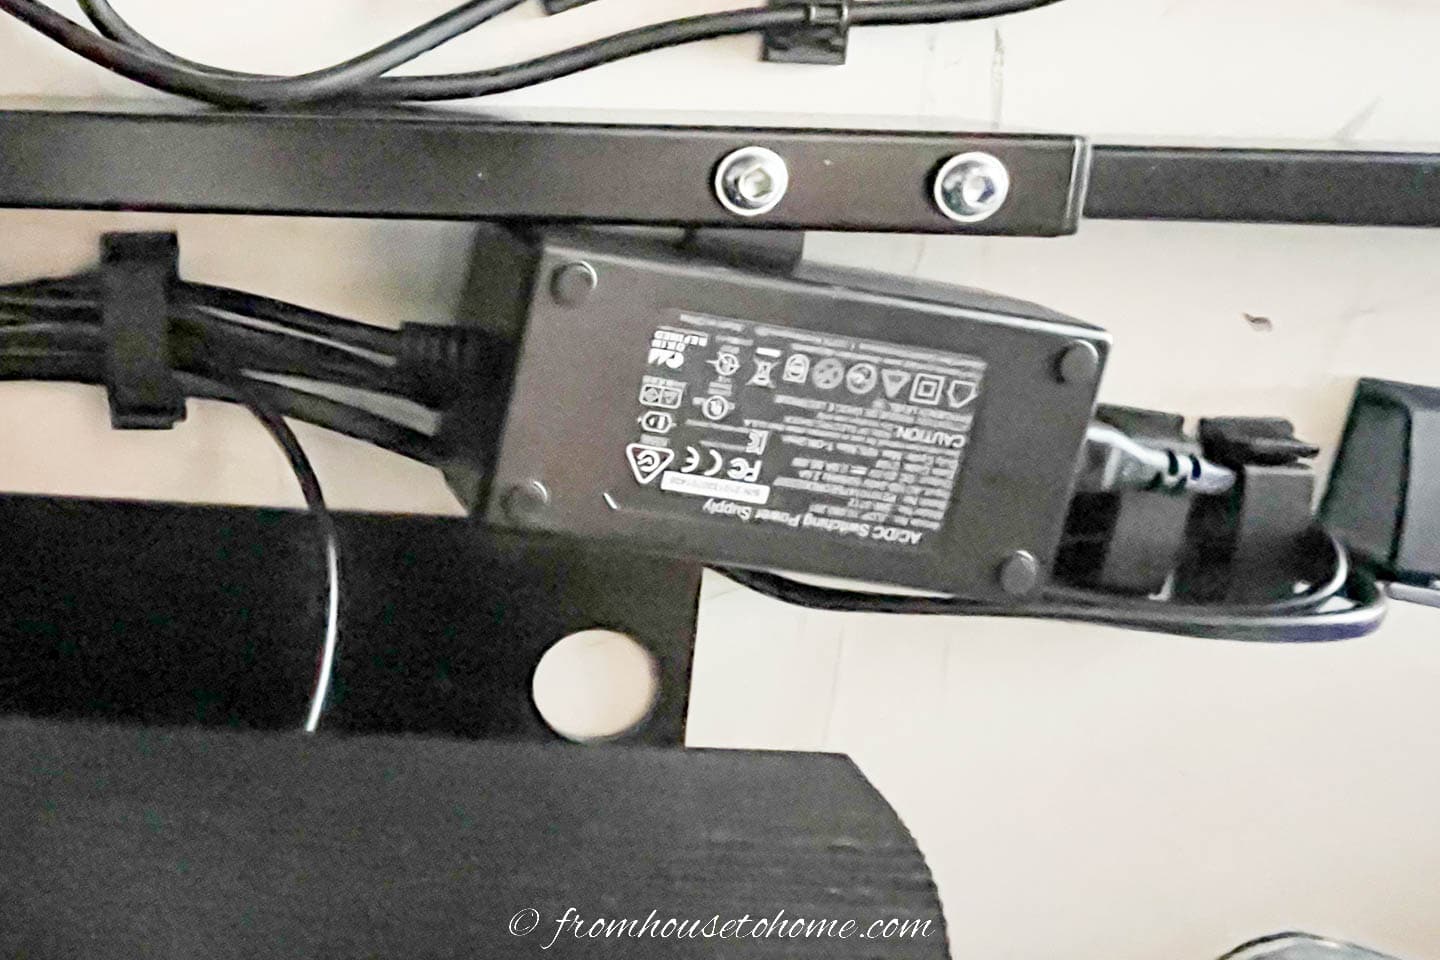
They’ll hold up power boxes if you put one on each end of the box (so the cord can run through them).
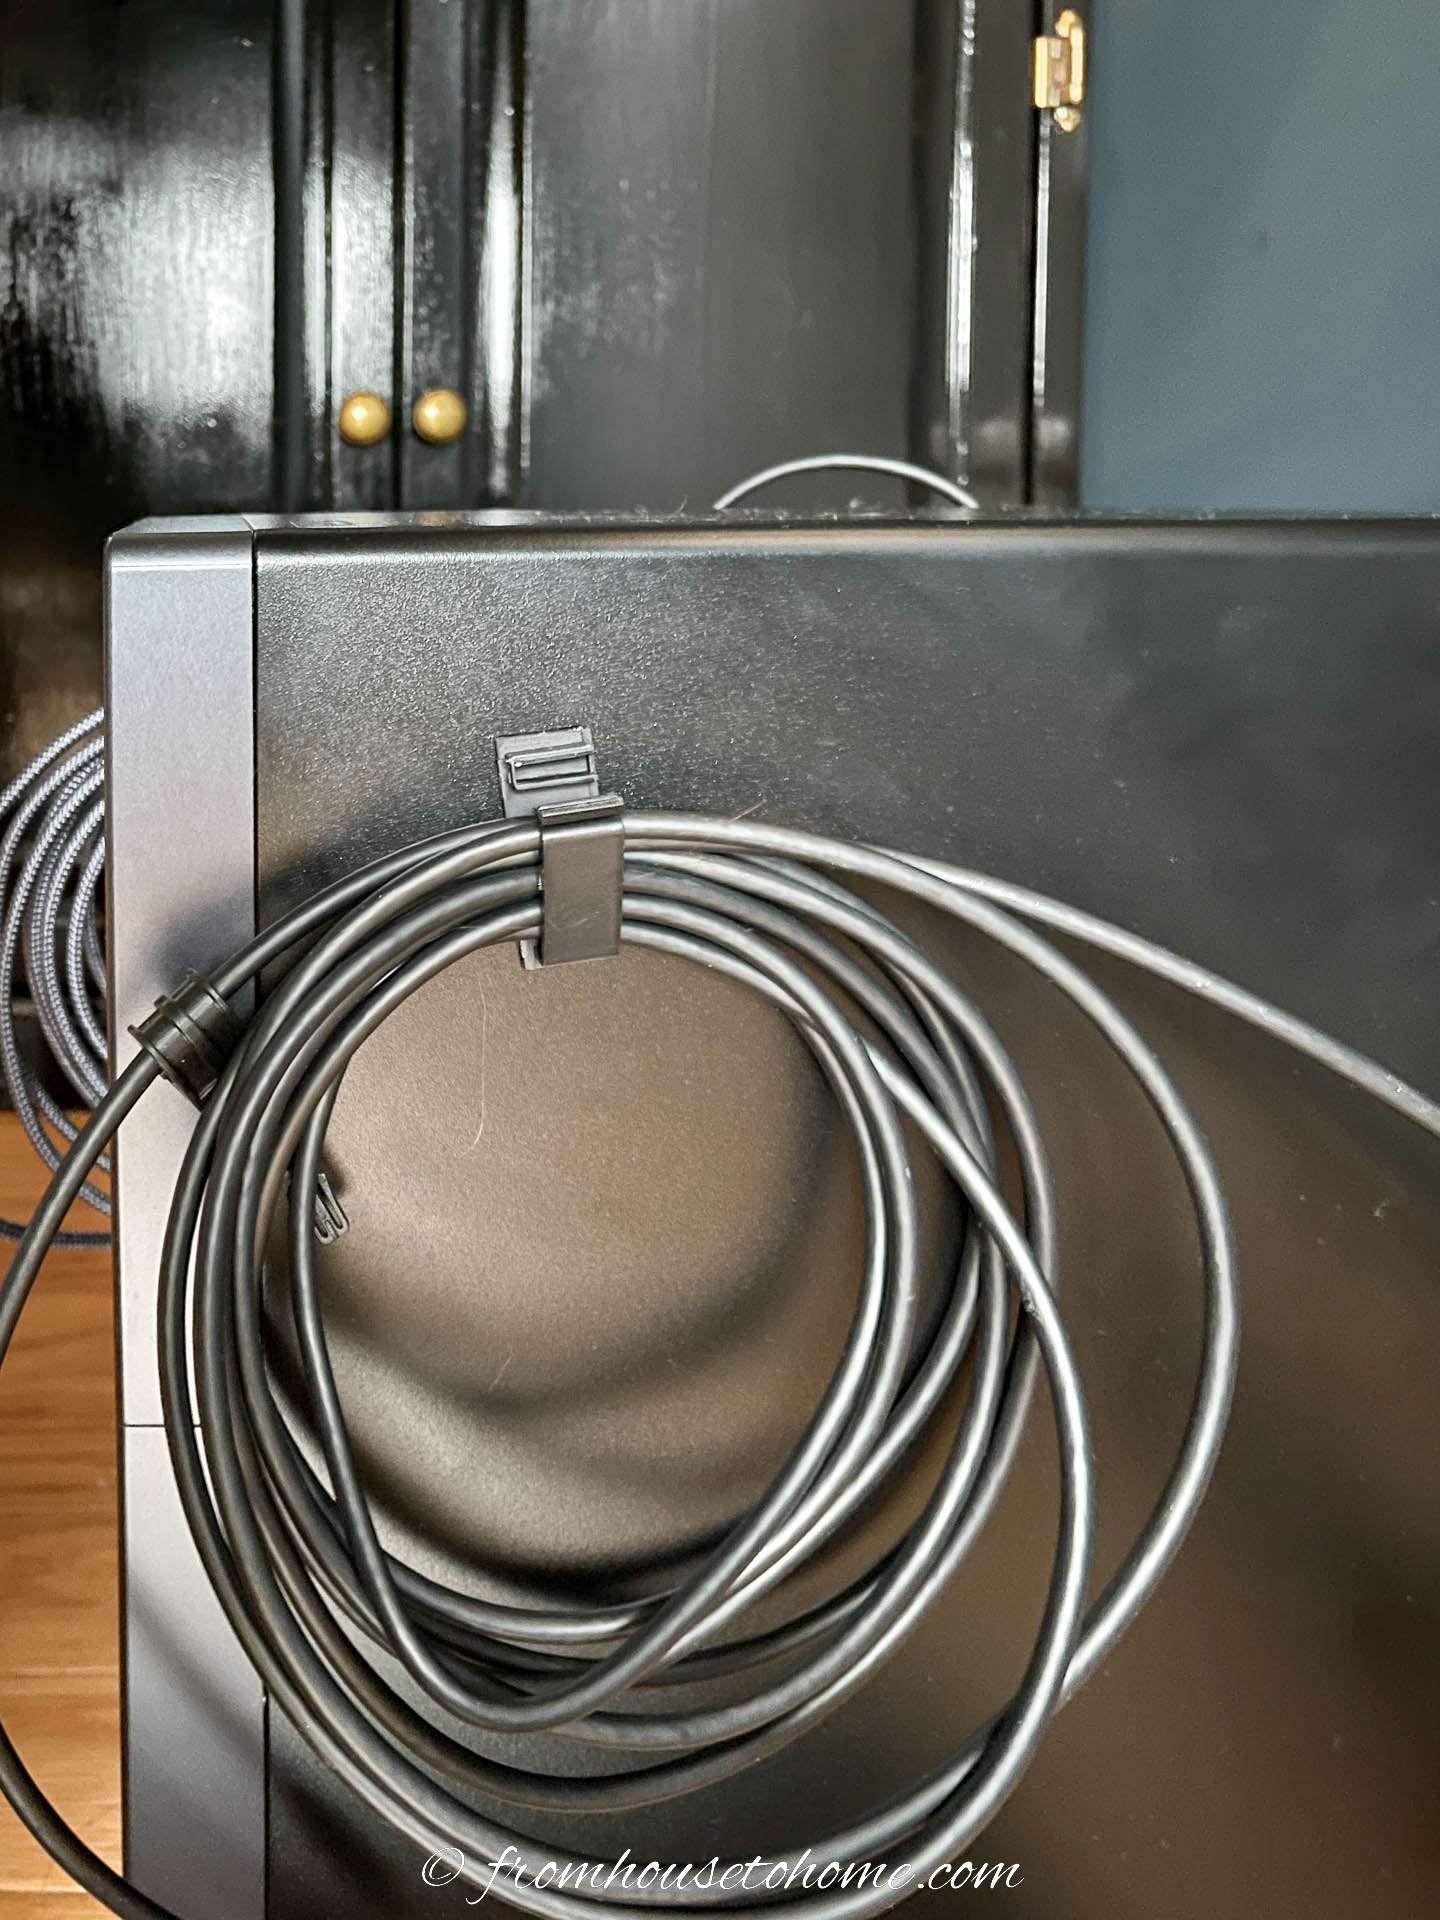
You can even use them as hook for long cables that you need to be able to unravel easily (like I do for my photography tethering cables).
I attached this one on the side of my PC, but you could use them on walls, the legs of your desk or shelves, depending on what works best in your situation.
And each clip can hold 4 or 5 wires (depending on their size) so you can run a bunch of cables through the same ones.
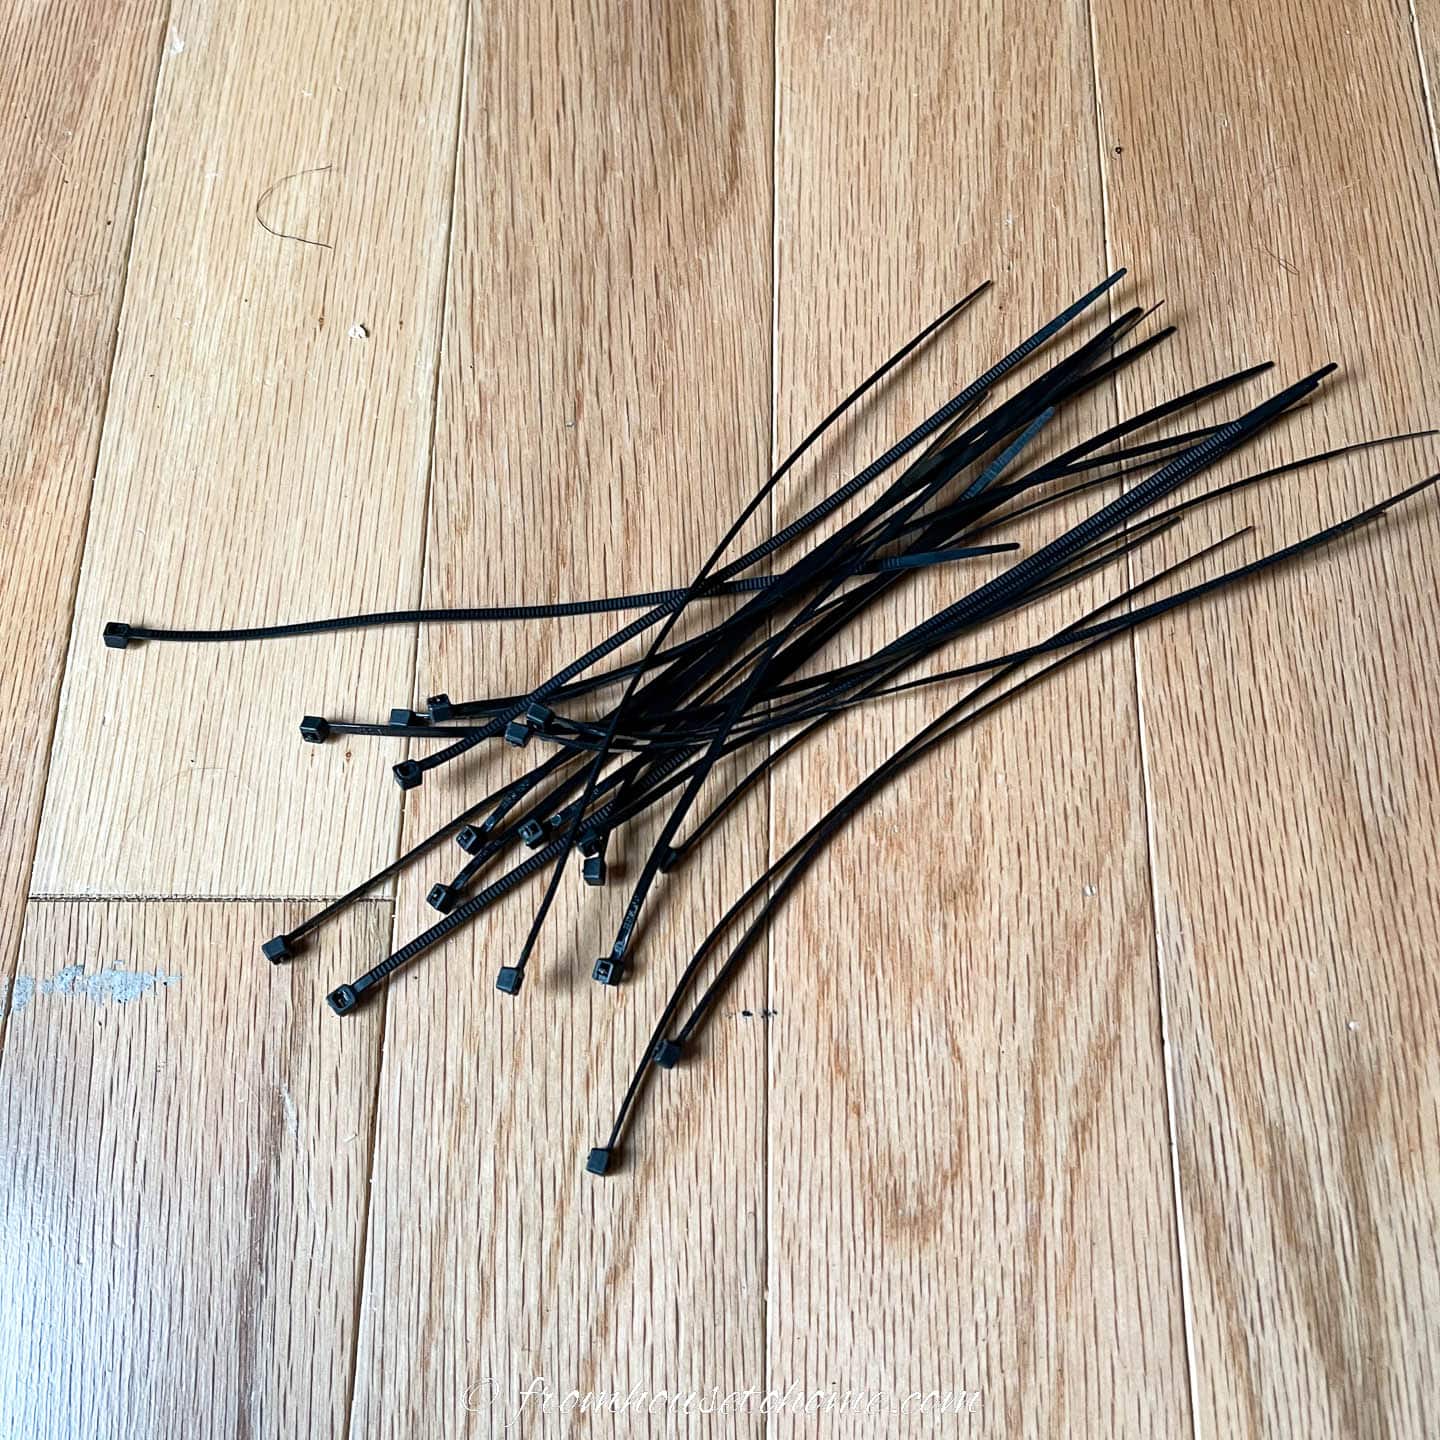
6 | Get individual cable ties
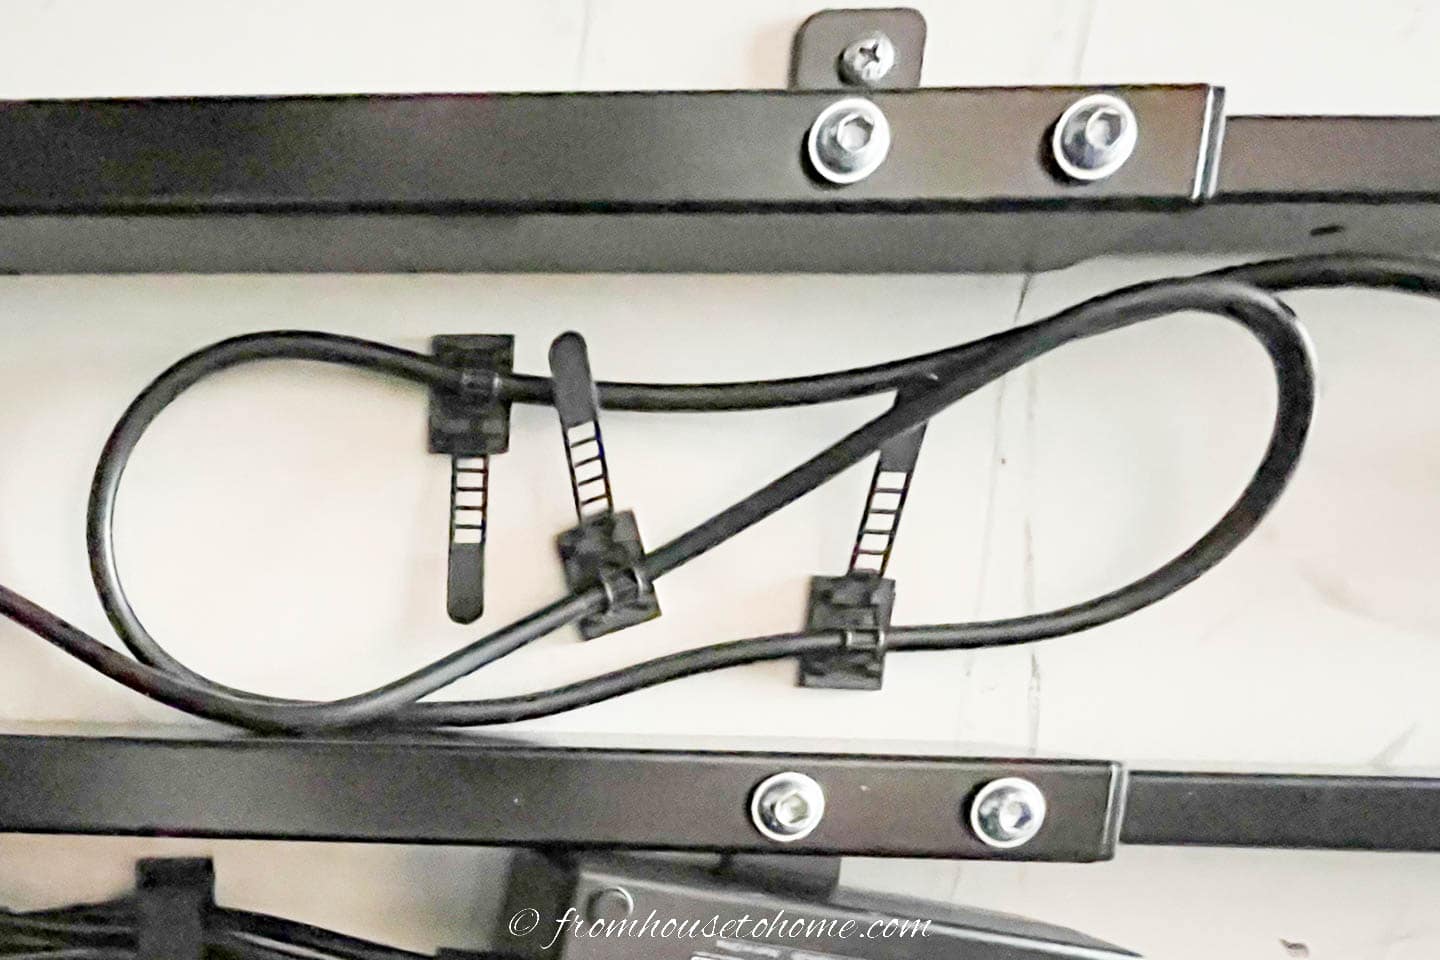
Individual cable ties are great for running one cable from one location to another.
They can also be used to tie up extra slack in the cable so it doesn’t hang down.
These come in many different forms. There’s the self-adhesive pull down straps like I used for the cable above under my desk.
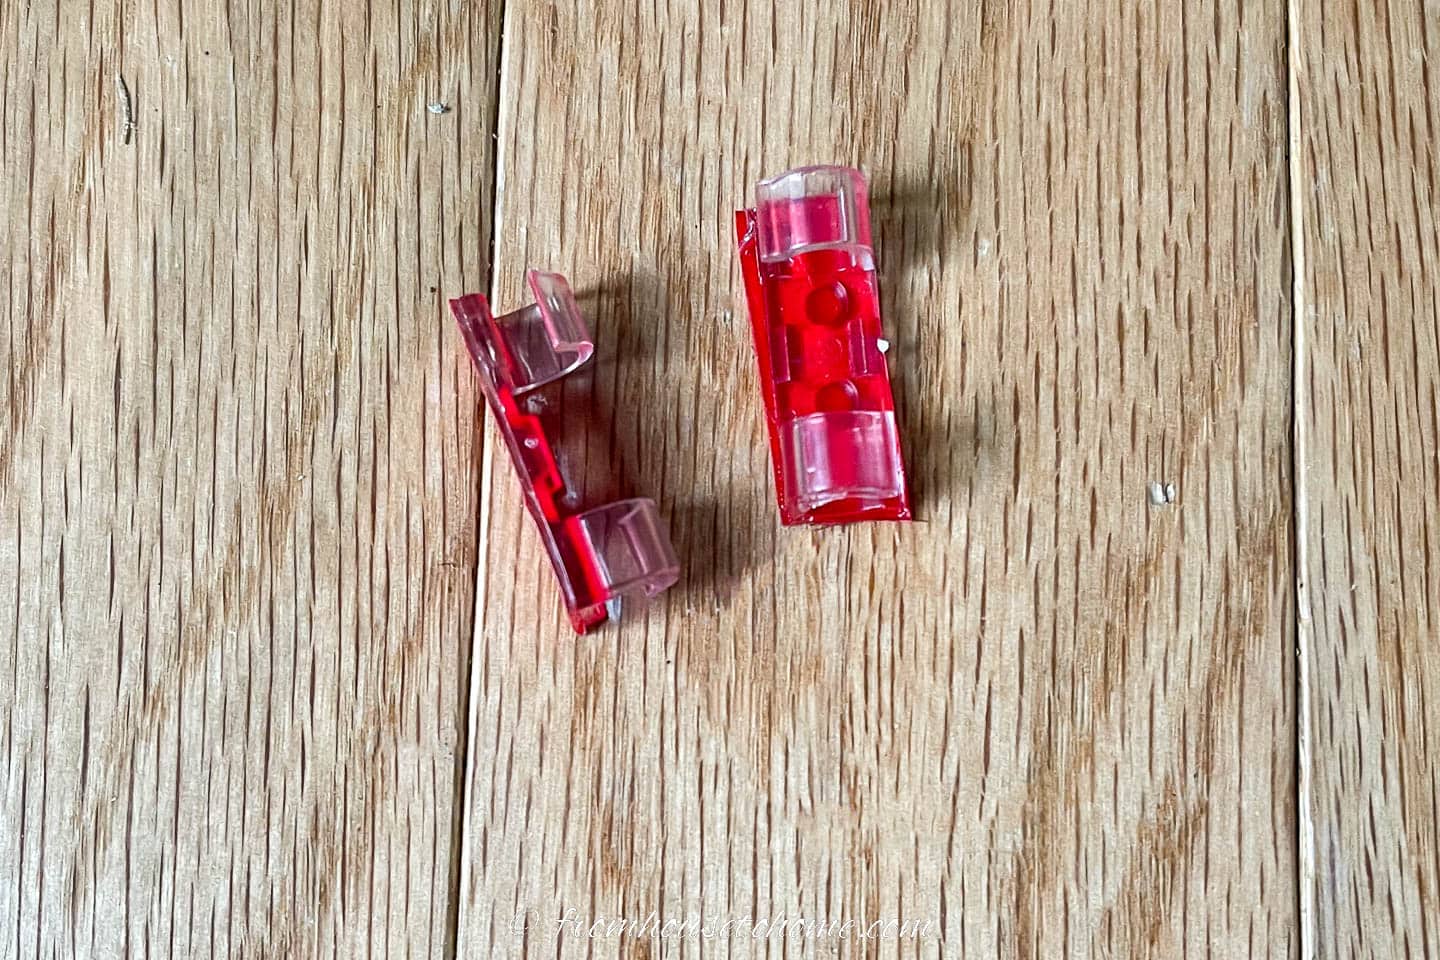
These clear ones are great if you need to run cables in a more visible location, like down the legs of your desk, or even across the top of baseboards. (The red is just the color of the tape).
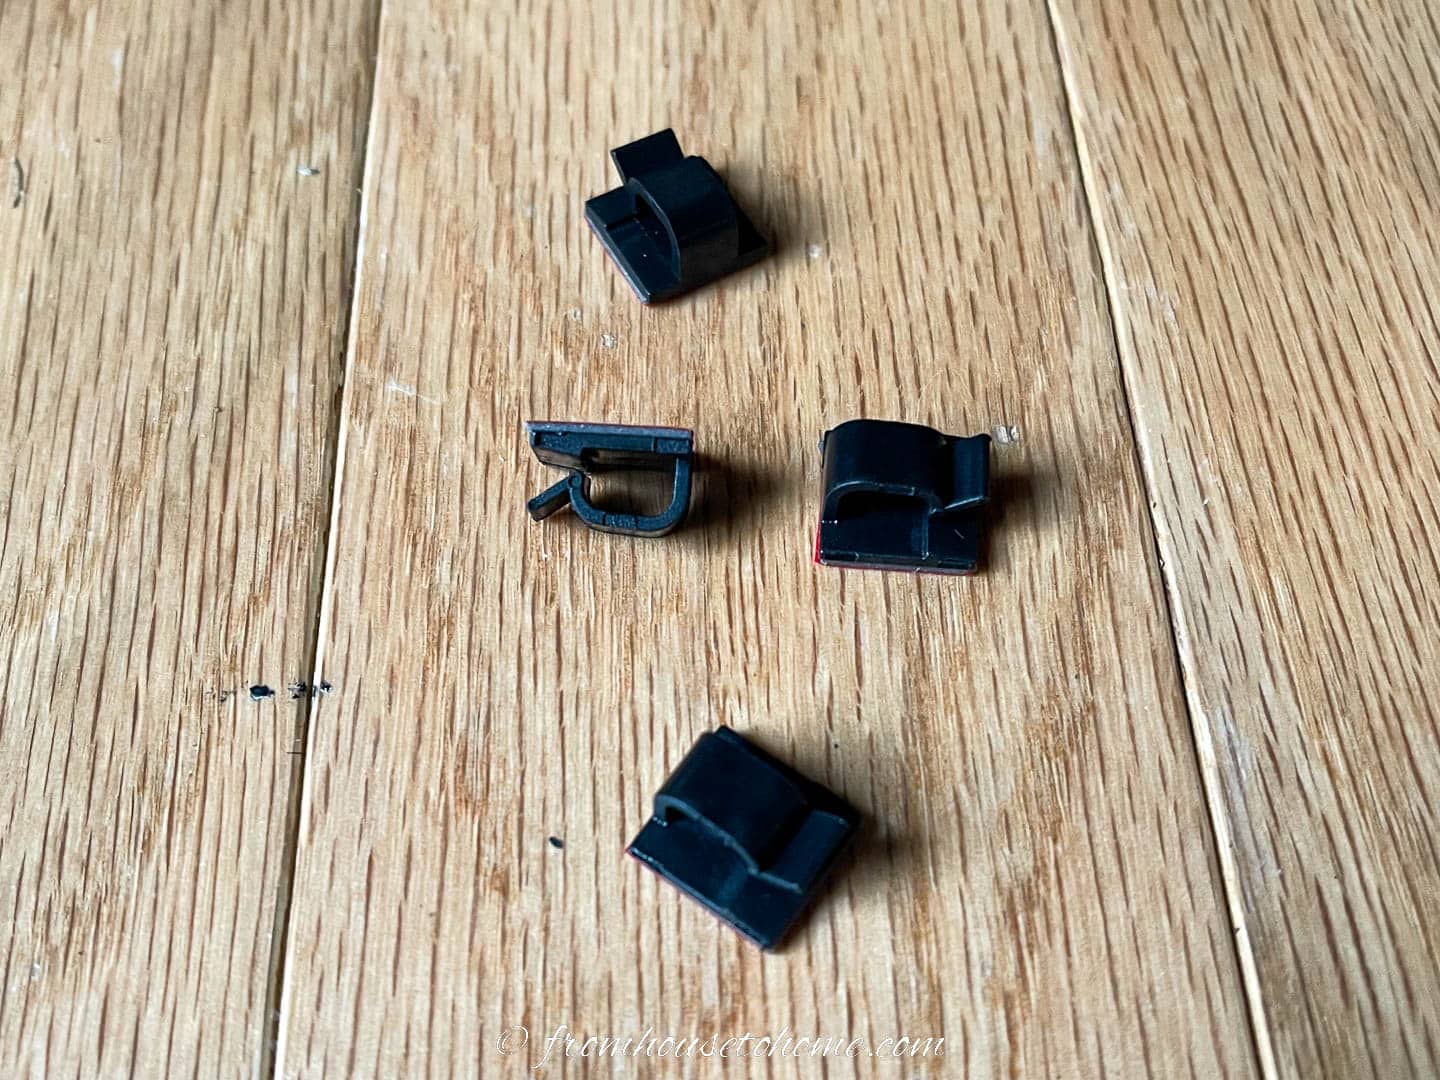
These mini clips are good when you don’t have a lot of space for a larger adhesive clip.
I got all of these clips (as well as most of the other products listed) in this very inexpensive cord organizer kit* from Amazon.
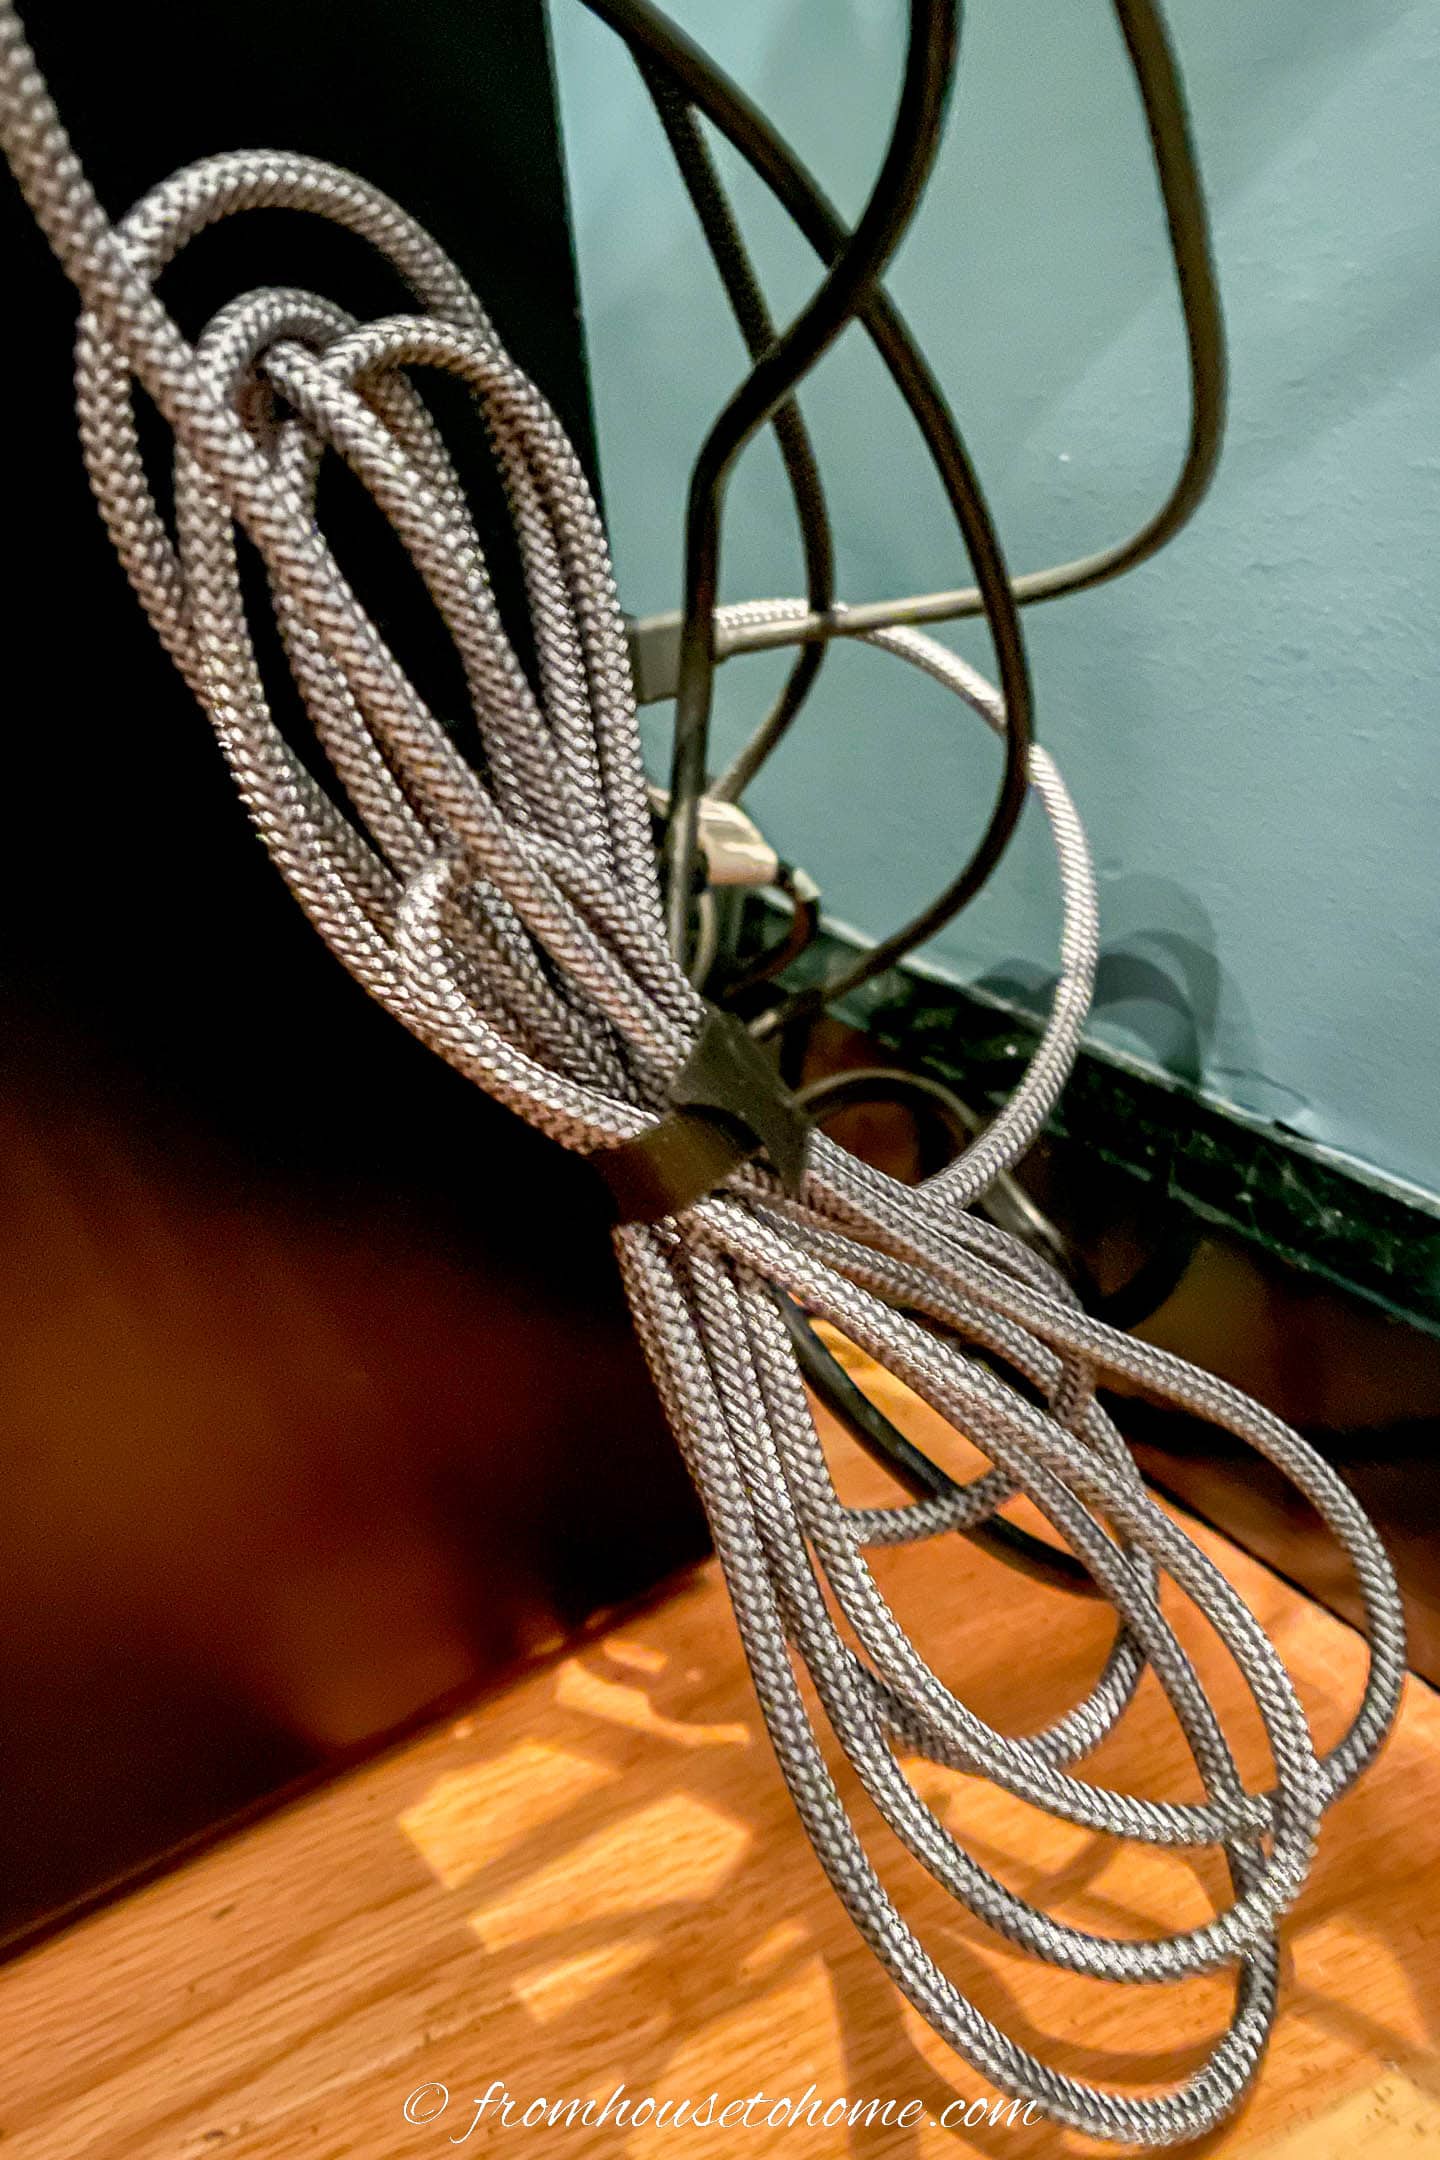
7 | Combine cords in a cable sleeve
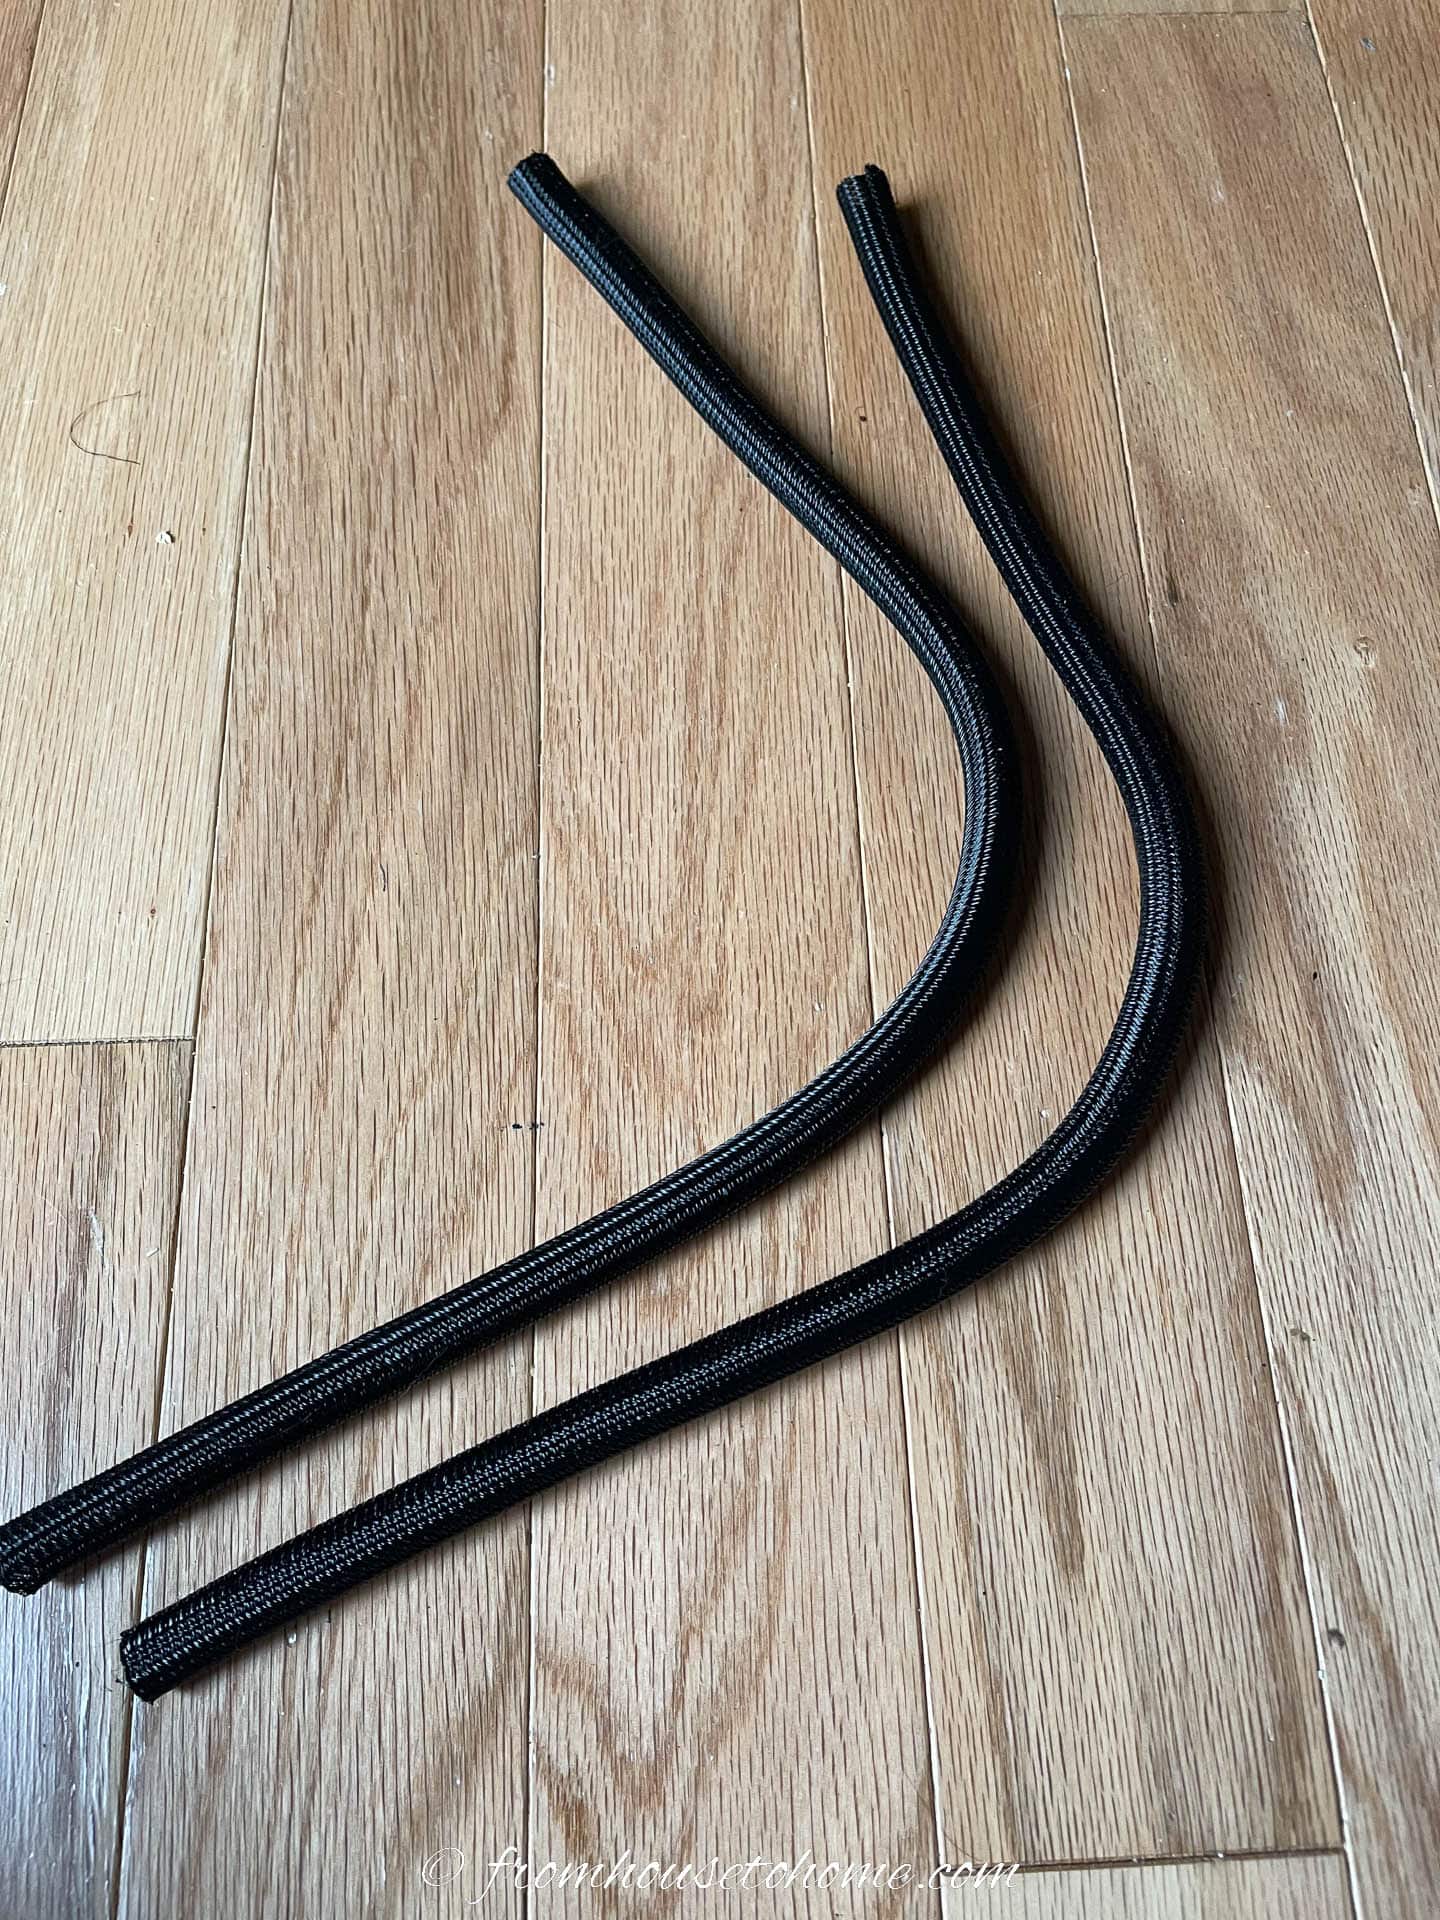
A cable sleeve is what I use for all of the cables that need to come down from the desktop to the floor.
After routing all of the cables to one location (usually behind one of the desk legs) using the clips above, I put them all into one of these cable sleeves.
Which keeps them all together and makes them much more manageable.
Plus it only looks like one cable instead of a whole bunch.
These came in the same cord organizer kit* that I mentioned above.
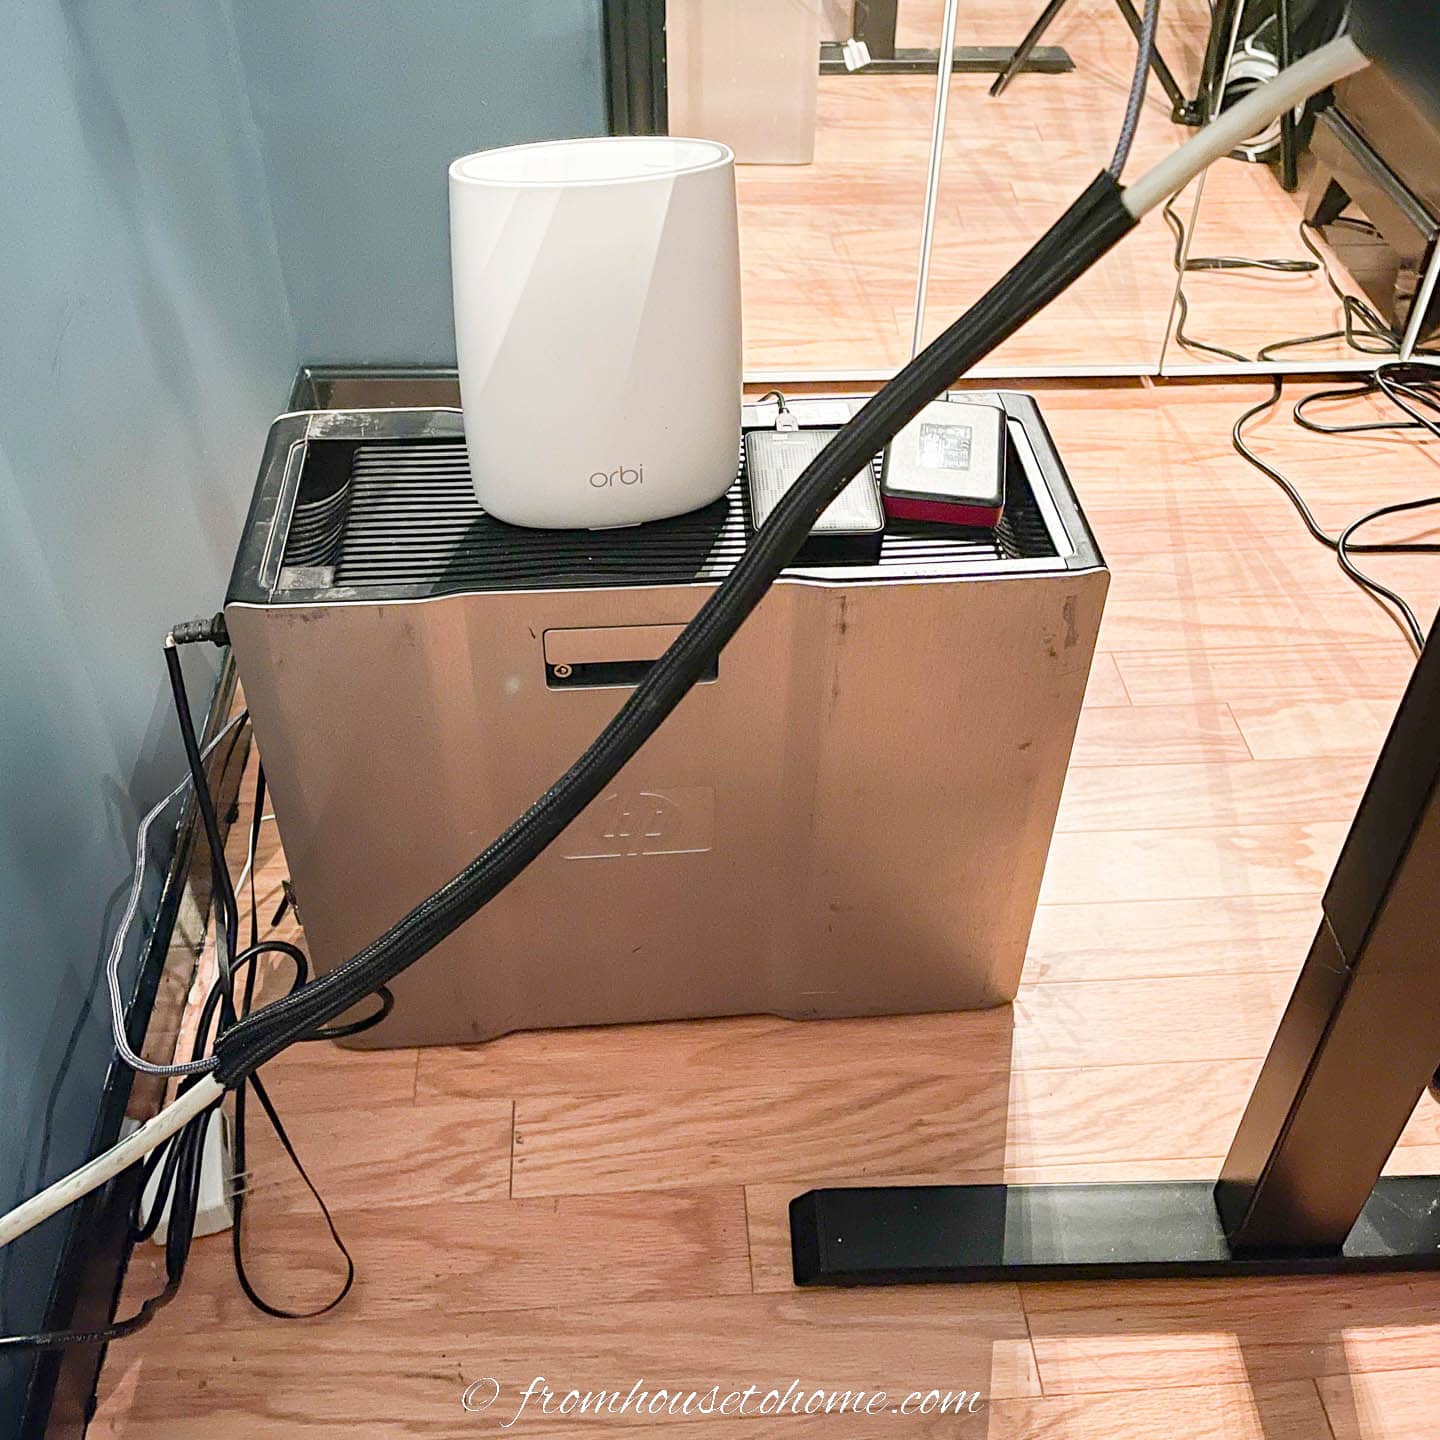
8 | Attach cords with zip ties
Then I usually zip tie the cable sleeve to the leg of the desk to keep it from being too obvious.
Just position the cable in the least obvious place on one of the legs of your desk. Then wrap a zip tie around the desk leg and the cable(s) to keep them in place.
If your desk has thick legs and the zip ties won’t fit all the way around, you can get self-adhesive zip tie holders. These attach to the side of the furniture and allow the zip ties to pass through them.
(Both the zip ties and the holders come in the same cord organizer kit* as the other products I mentioned).
Note that if you have a sit stand desk like mine does, you’ll need to be careful doing this. Only attach the cables to the part of the leg that raises and lowers with the desktop. Otherwise you’ll have trouble when you try to change its position.
9 | Or use velcro ties
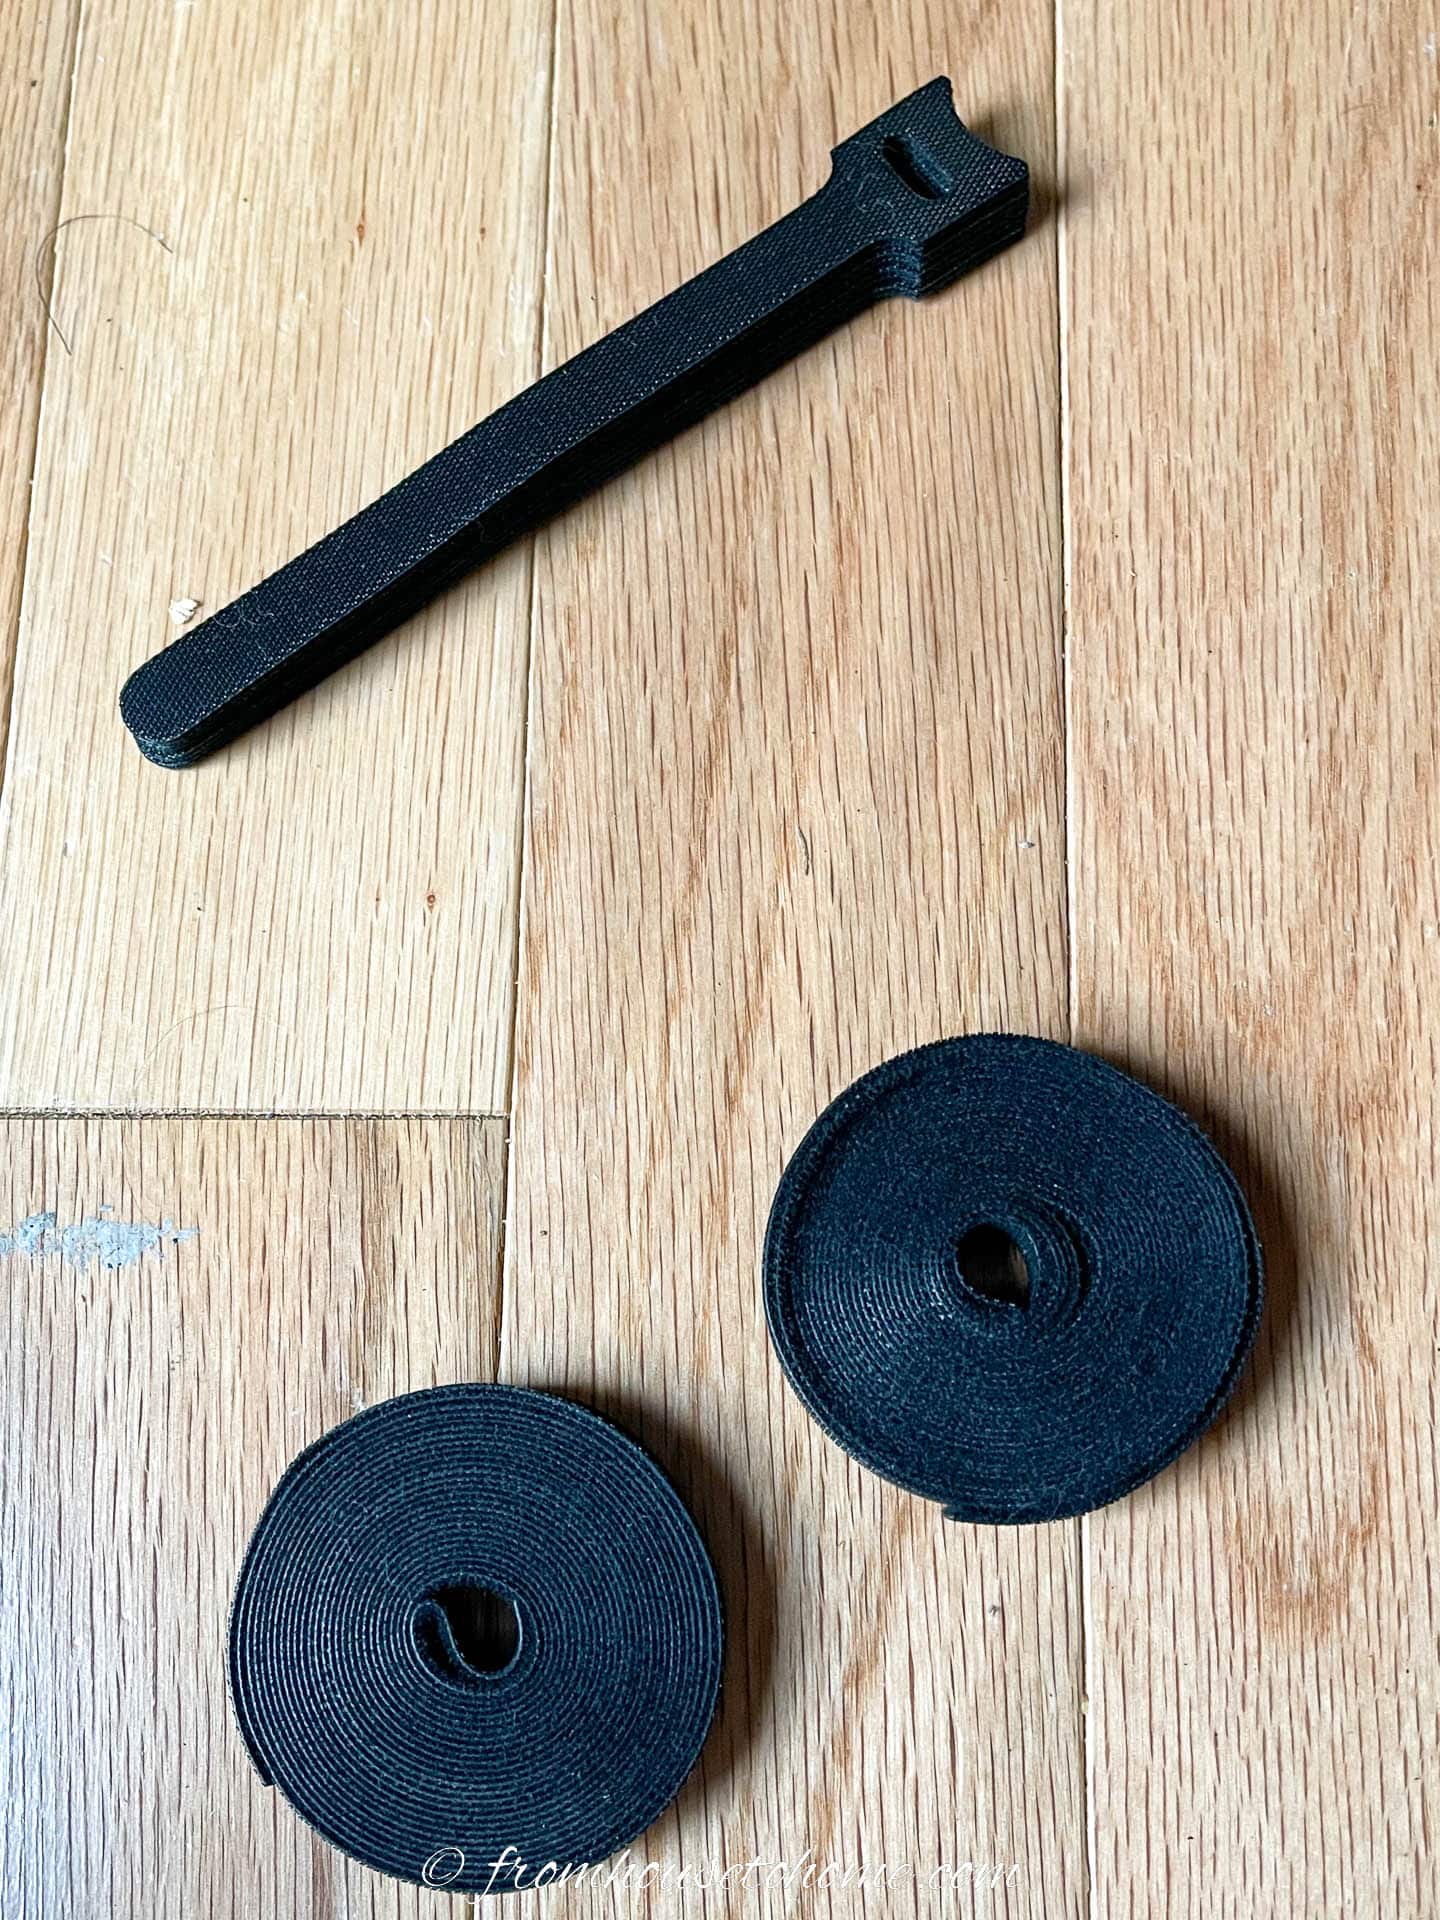
Velcro ties are another way to attach the cable sleeve to the desk leg.
You can get them either in a roll, or in pre-cut lengths.
They’re not quite as secure as the zip ties, but they are easier to move if you need to.
If you haven’t tried managing your desk cords like this before, you might want to start with velcro ties, see how they work and then convert over to zip ties later once you know everything is in a good location.
Velcro ties are also good for tying up long cords to keep them looking tidy.
And if you’re a gardener, they’re great for tying plants to stakes, too.
You guessed it…these were also in that same cord organizer kit*.
10 | Do desktop cable management

It’s hard to hide computer cables on top of the desk.
So for all of your devices that have to stay on your desktop (like speakers, headphones, iPhone, etc.), using these desktop cable organizers will keep the cords looking tidy.
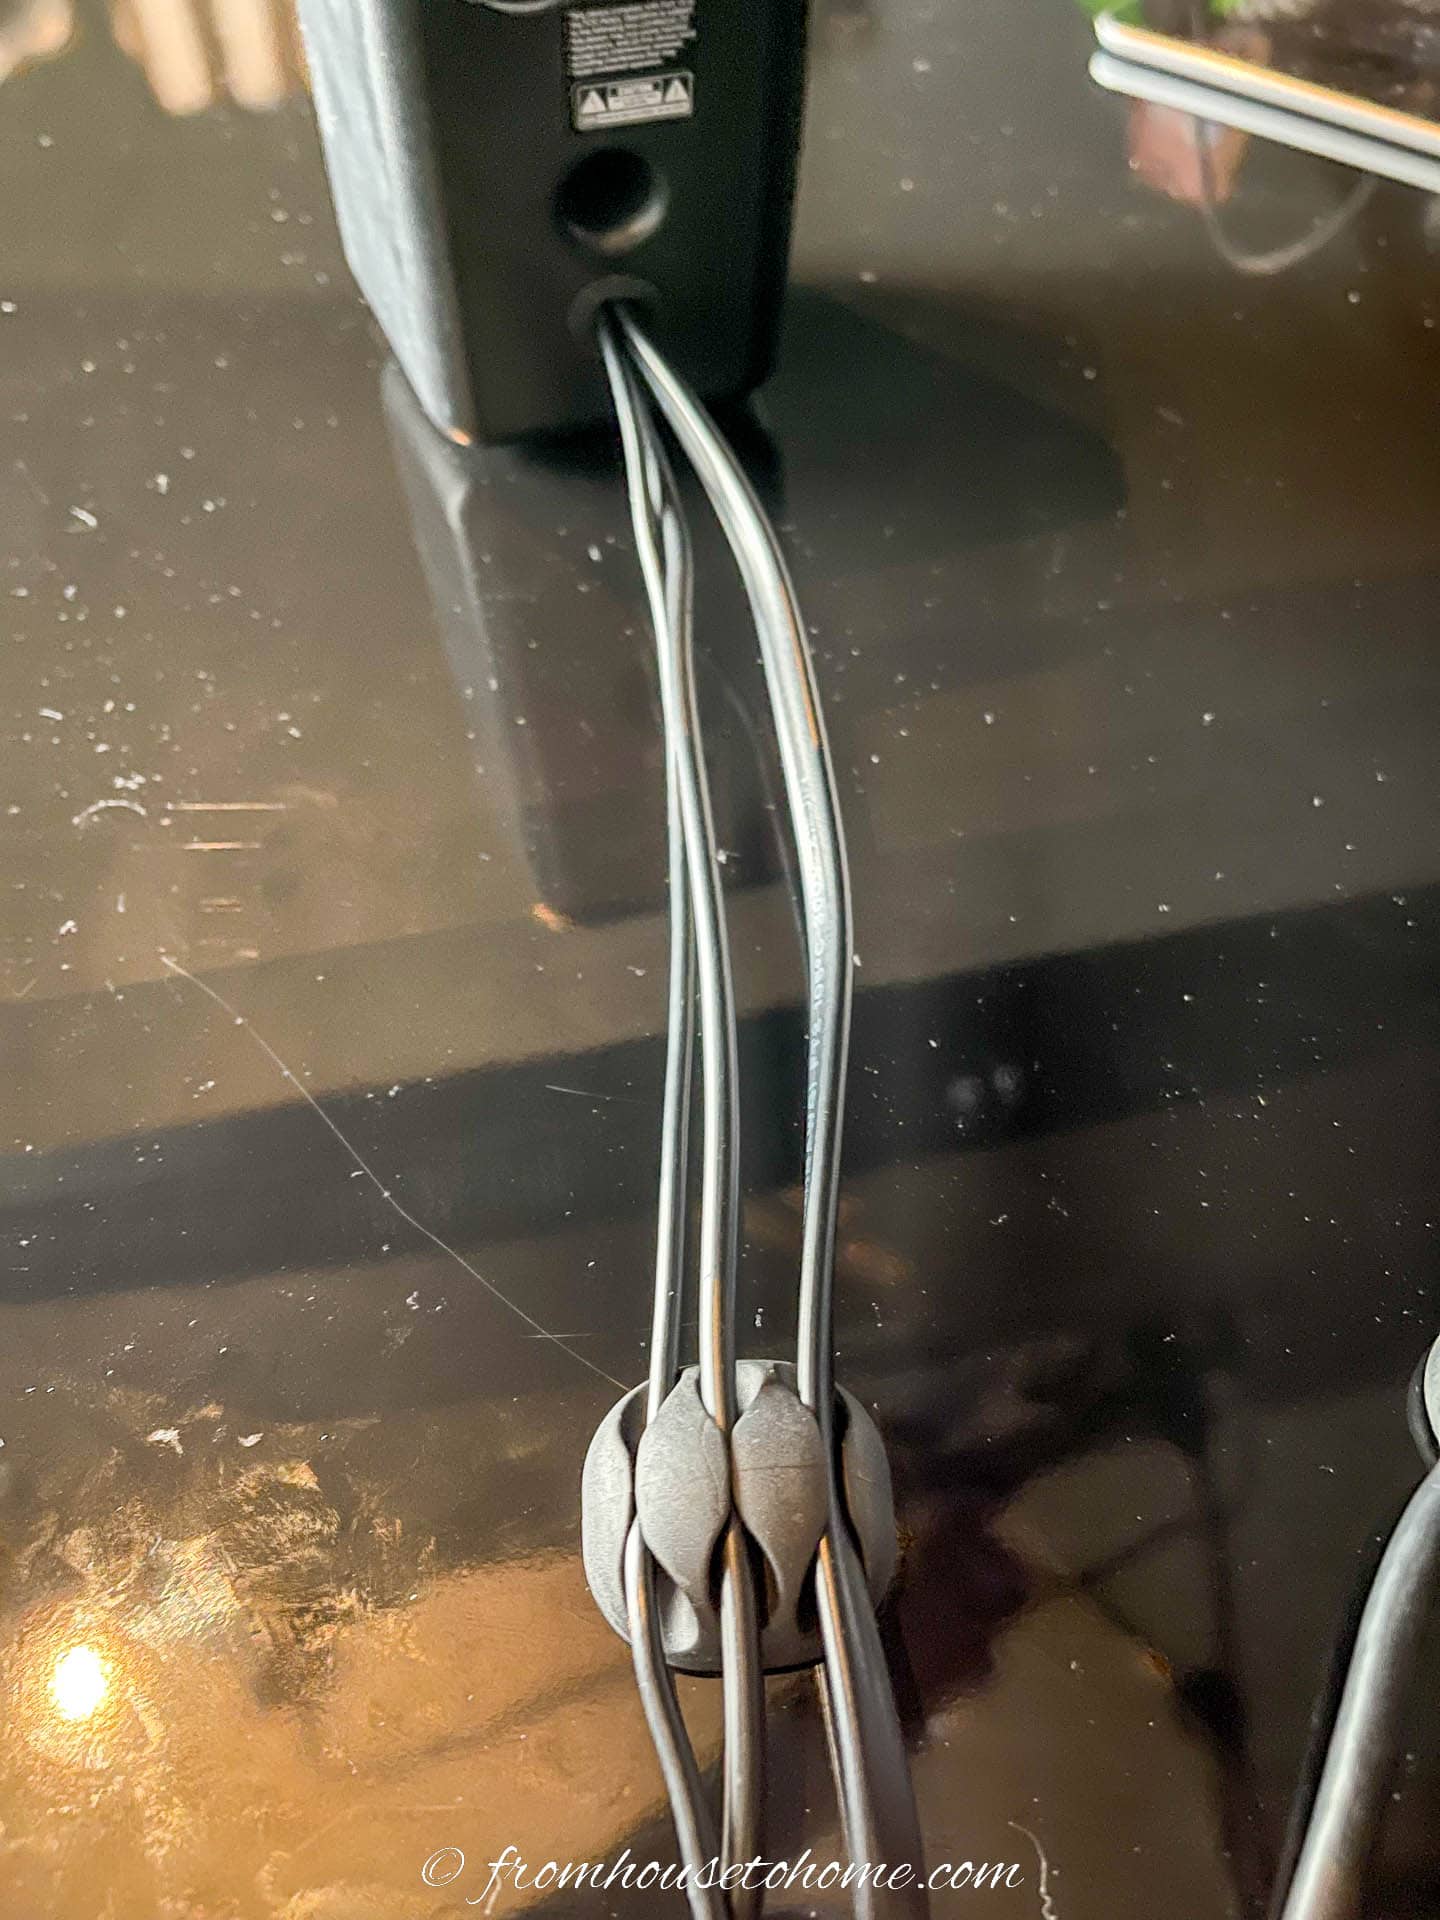
They also prevent the cords from falling off the edge of the desk when the device isn’t plugged in which is definitely a bonus.
Once again, these are part of the same cord organizer kit* as the other products.
11 | Install a charging hub
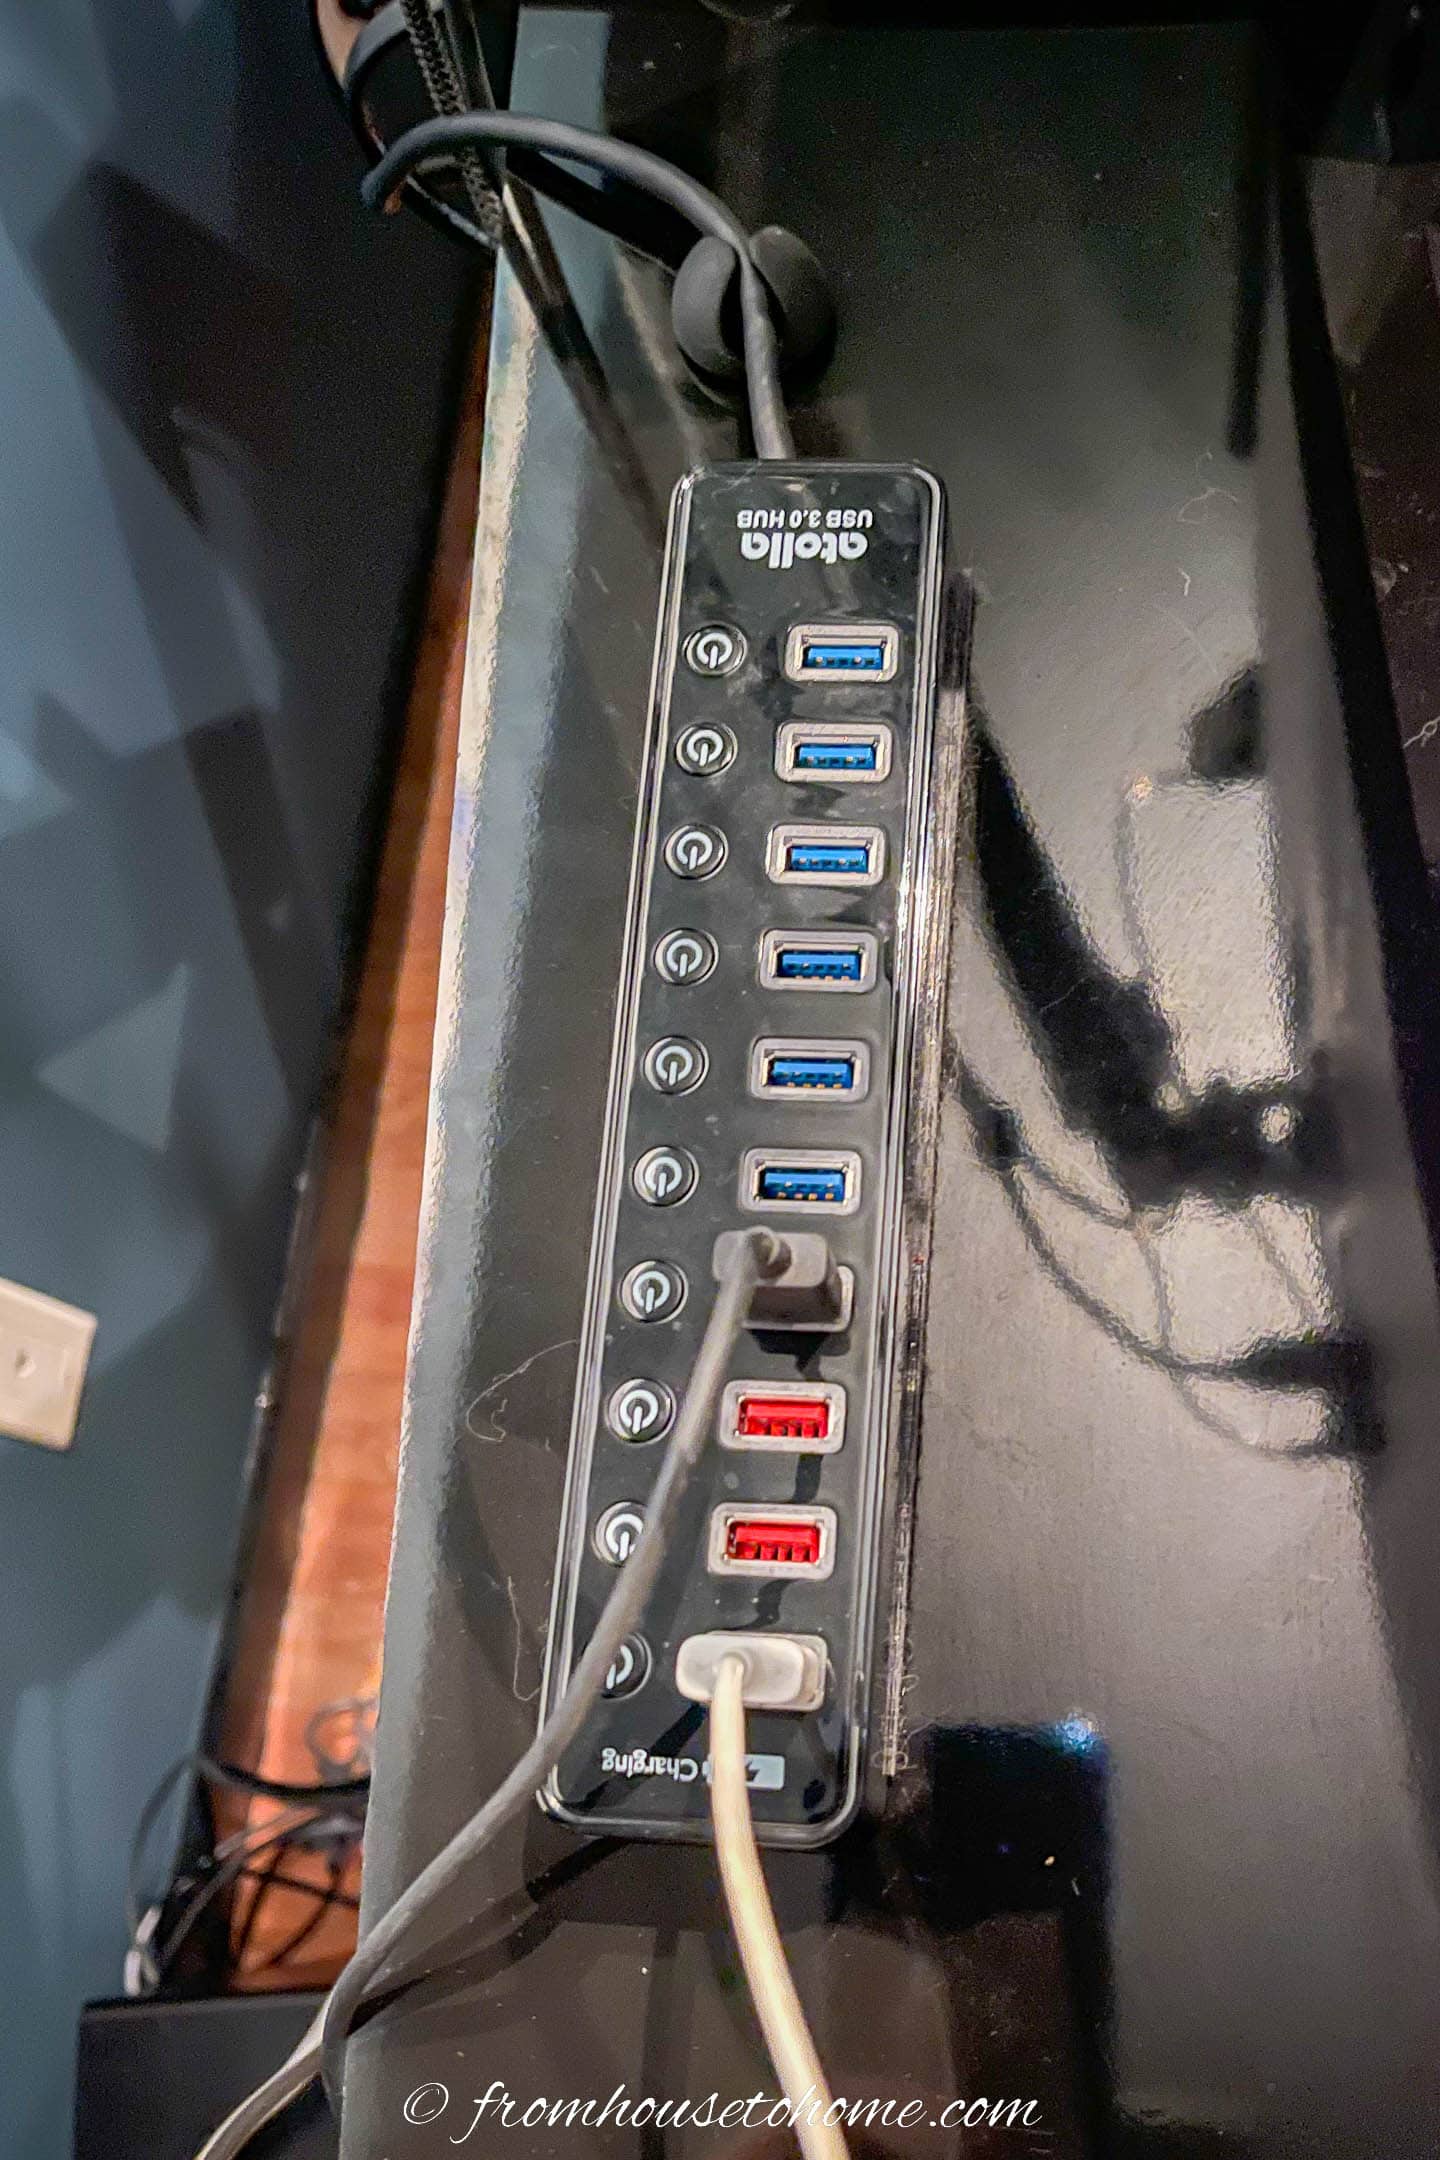
Speaking of devices, if you usually charge them on or near your desk, then a charging hub (like this one*) is a good idea.
It eliminates all of the different plugs you need and if you get one that matches your desk color, it blends right in.
The power strip I use under my desk has a couple of USB ports on it, too, so I can easily plug this charging station in there.
And I used one of the desktop cord holders from above to make sure it stays in place.

A small letter holder keeps my iPad and iPhone organized.
You might have seen this in one of my old office posts. I have had it for a long time and it still works really well.
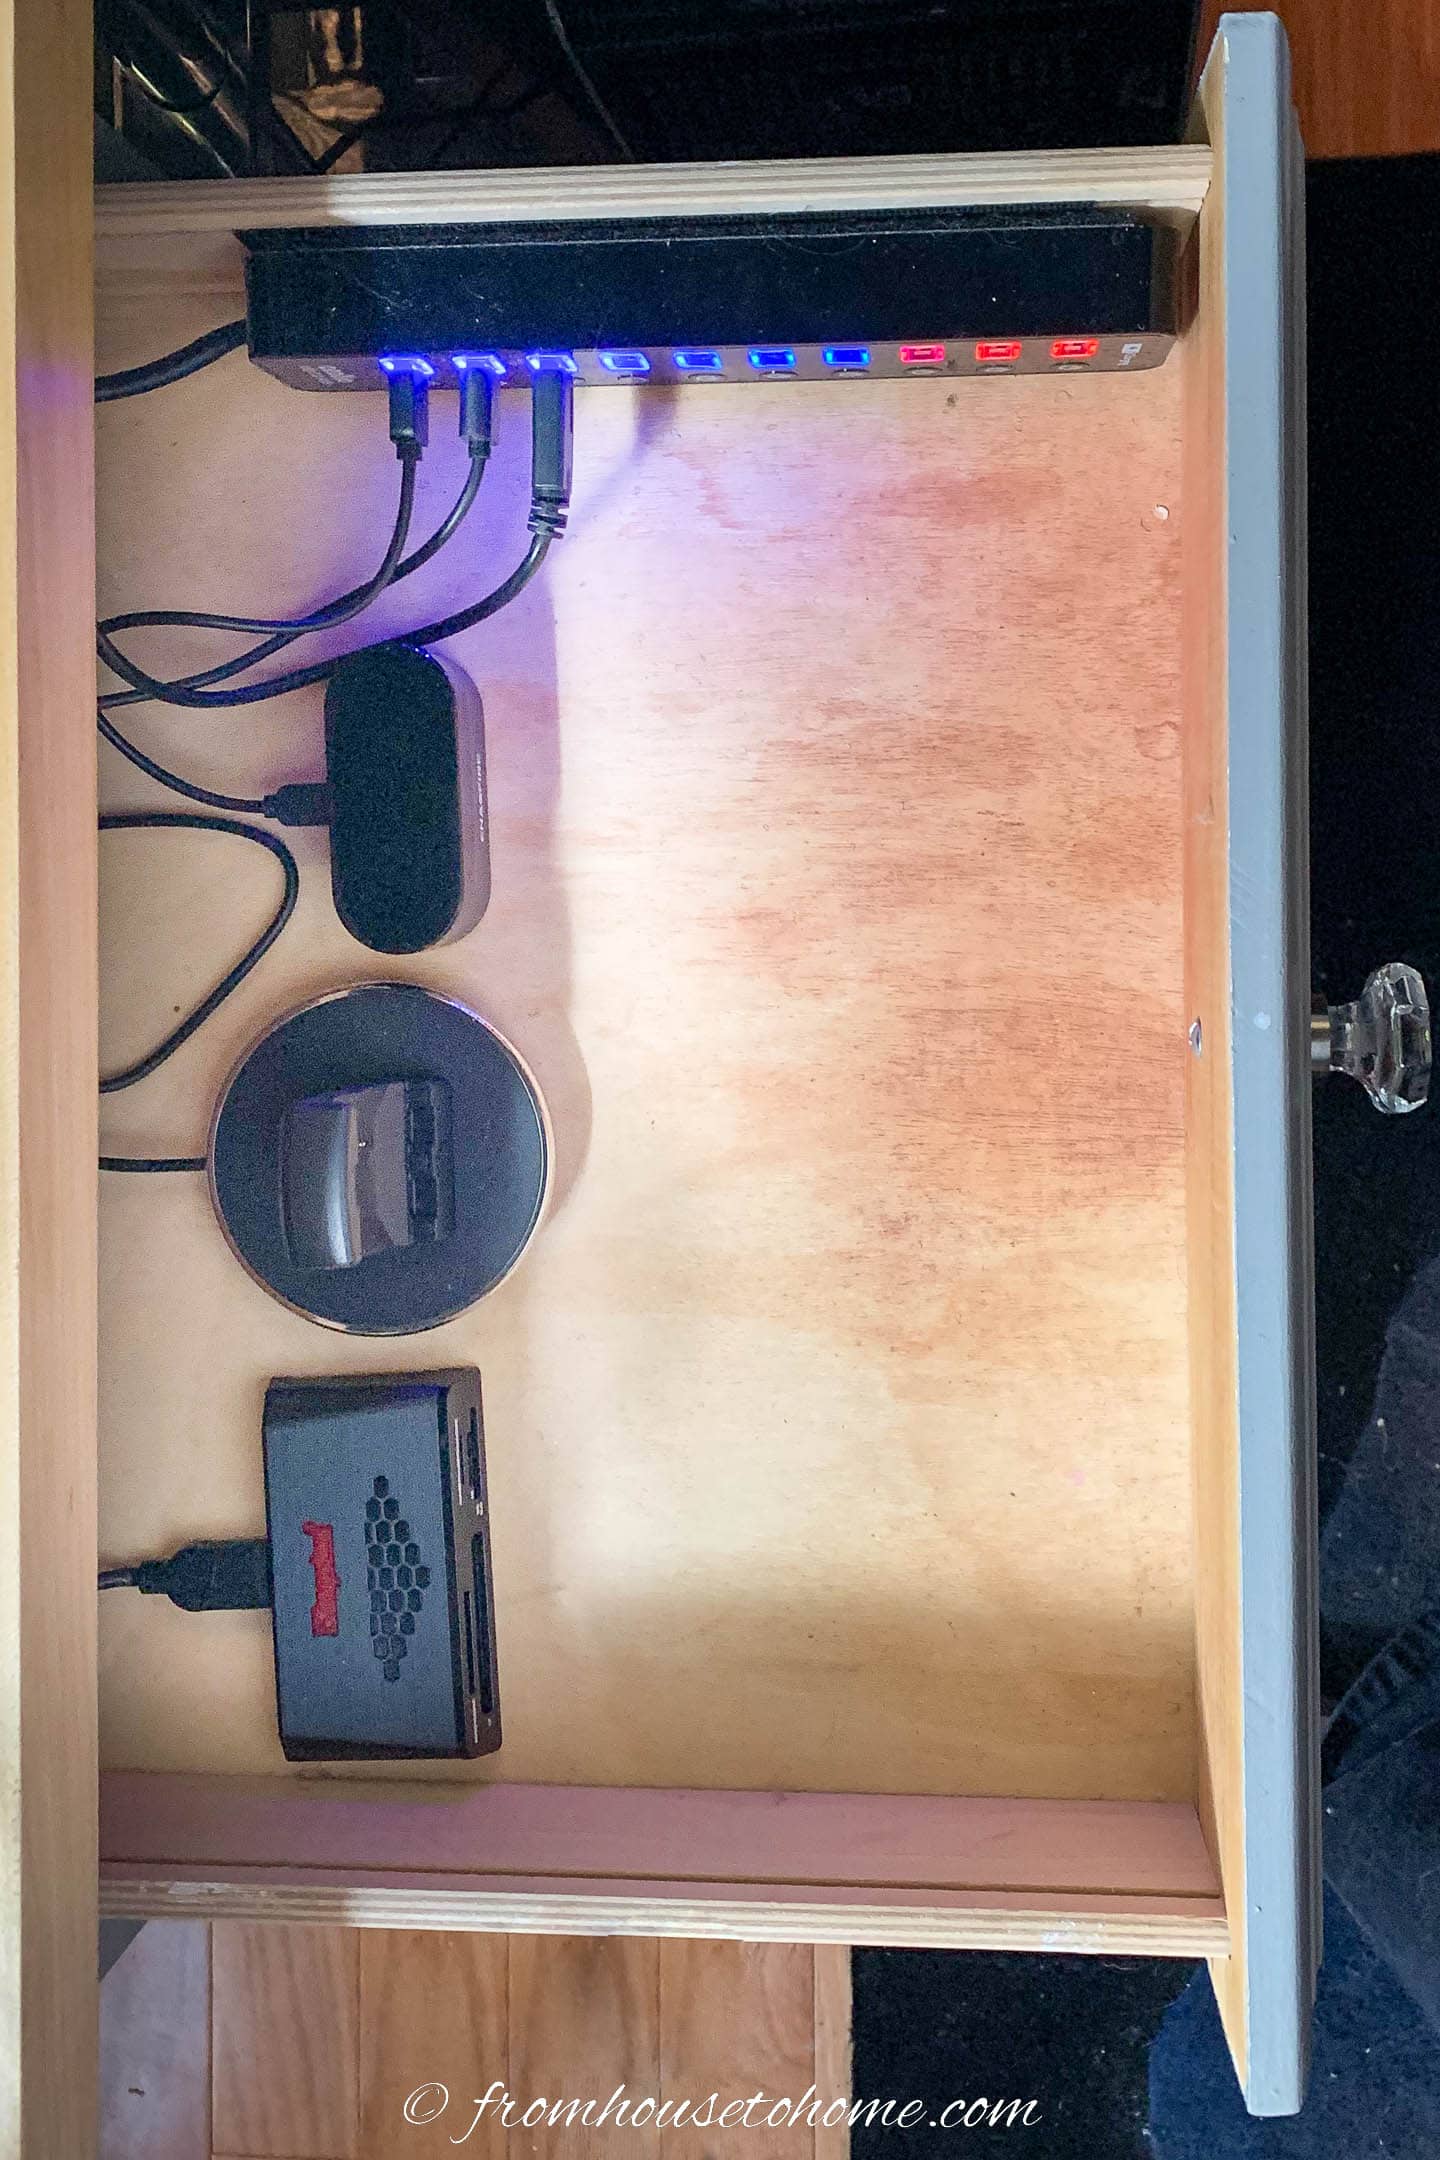
Or if you happen to have a free drawer close by, you can always install a charging station in it. I used 1-inch wide adhesive velcro to attach it to the side of the drawer.
12 | Go wireless
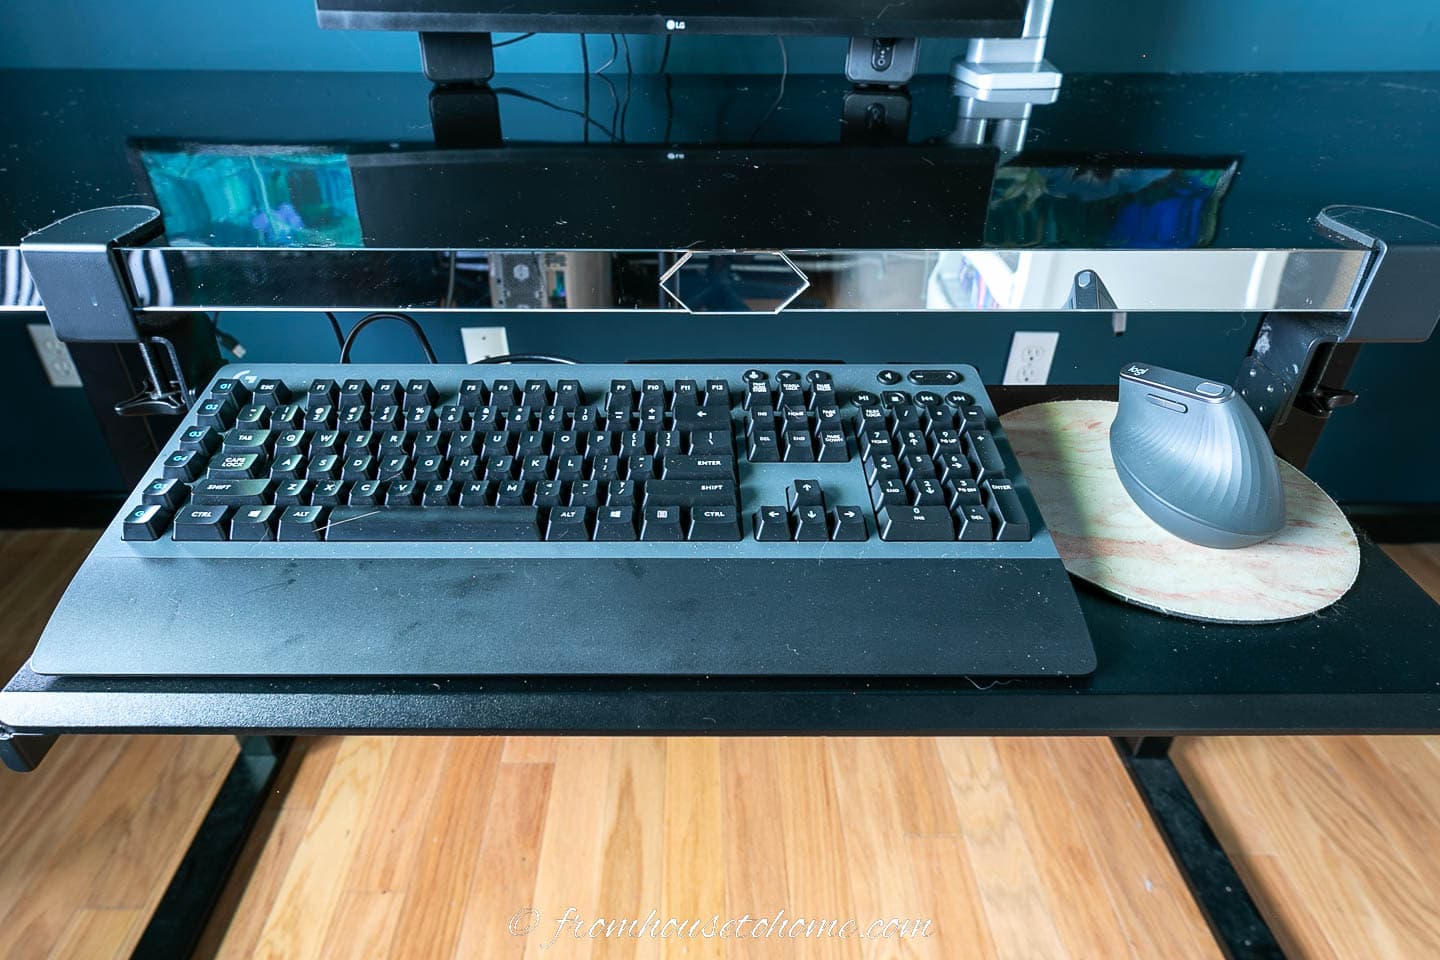
For some things like the keyboard and mouse, the easiest way to get rid of wires is to go wireless.
I recently switched to this wireless ergonomic vertical mouse* and wireless keyboard*.
And they were worth every penny! (My hands are thanking me).
Especially since you can hook them up to more than one computer so I can use them with my laptop, too.
13 | Cover cords on the floor
In my case, my desk is against the wall so I didn’t have to worry about cords running across the floor.
But if you do, an area rug is the easiest way to cover them.
Some people even cut a small slit in their rug where the cords come down the desk leg so they don’t see them at all.
Otherwise, you can try getting a rug with an uneven edge (such as a cowhide rug) and position it so one edge is close to the desk.
If you are worried about the cords needing protection from being walked on, you can put them in a floor cable cover (like this one*) and then put the rug over that.
Well, that’s it for my computer cable management ideas. Hopefully you found some of them helpful!
Read the rest of our blue home office makeover posts:
- Week 1: Blue home office ideas
- Week 2a: Blue home office mood board
- Week 2b: Home office layouts
- Week 3: Blue home office paint colors
- Week 4: DIY large wall art
- Week 5: Glam black and blue bookshelf makeover
- Week 6: DIY electric sit stand desk
- Week 7: How to hide wires on a desk
- Week 8: Hague blue and white home office makeover

Don’t forget to checkout this week’s makeovers from all the other guest participants on oneroomchallenge.com.
Have comments or questions on how to hide wires on a desk? Tell us in the section below.
This post was originally published on November 11, 2022 but was updated with new content on April 1, 2024.
Great ideas! Thank you!
I’m happy you found them helpful, Trish!