DIY Large Wall Art
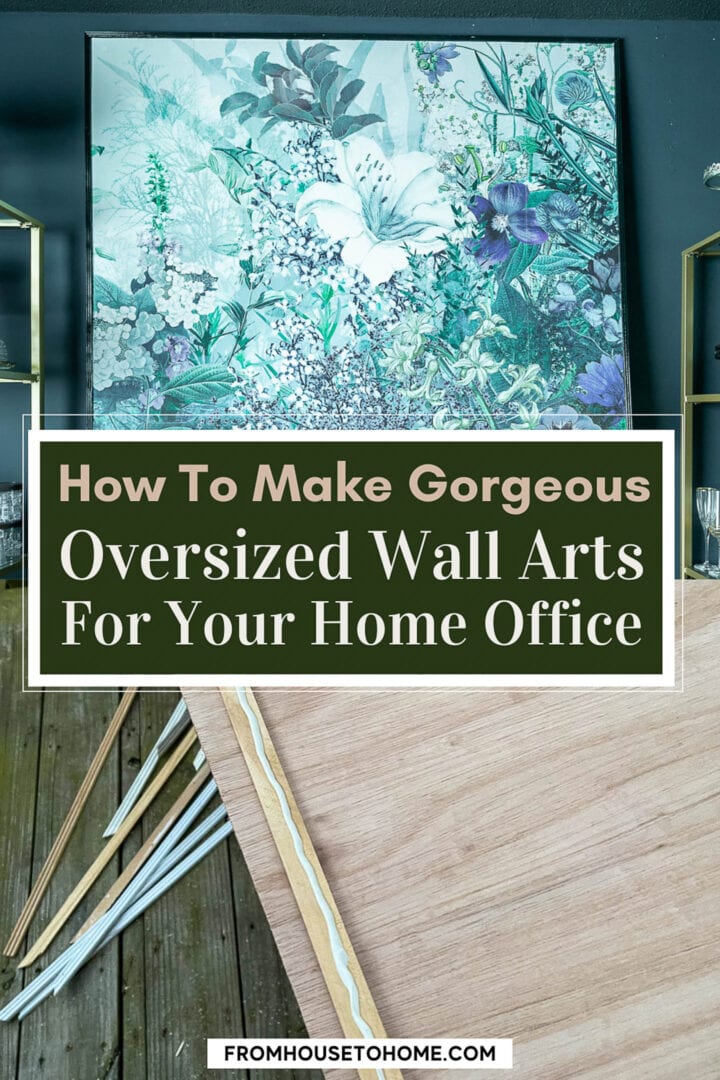

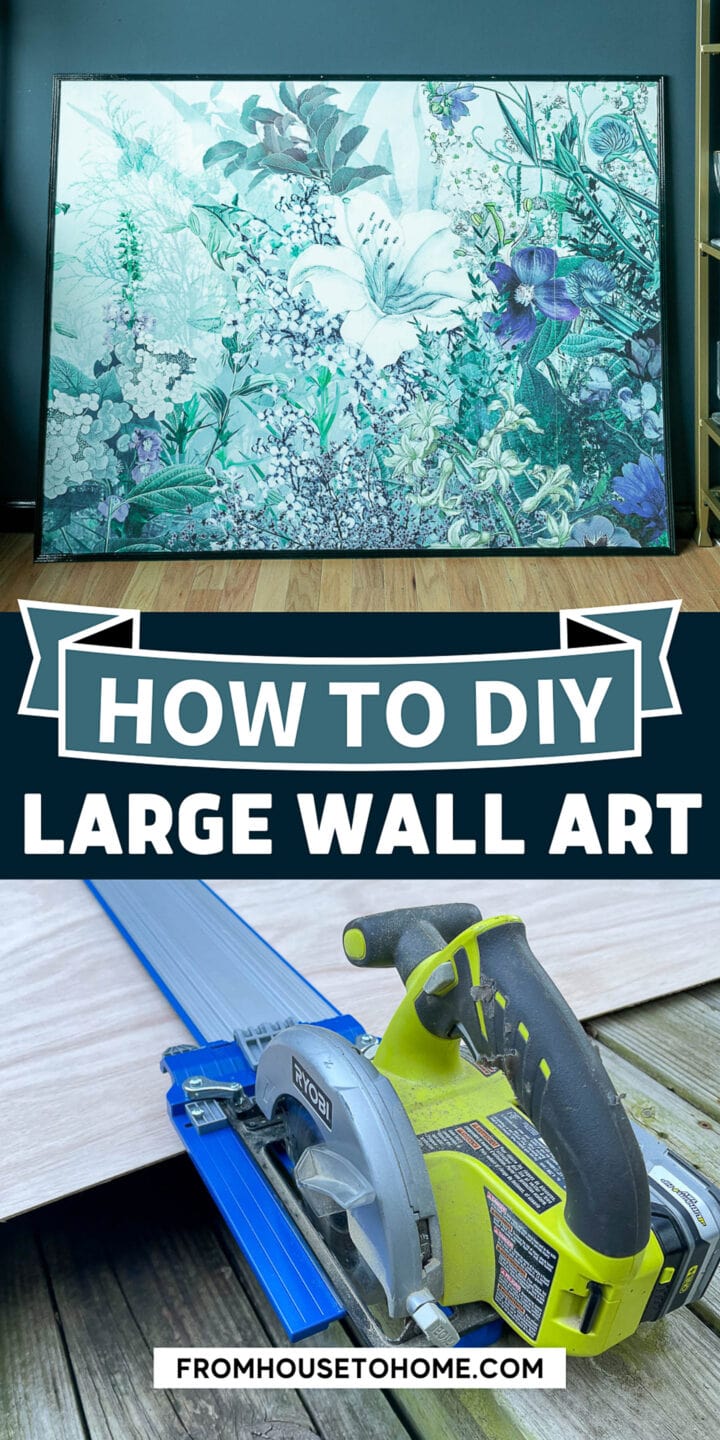
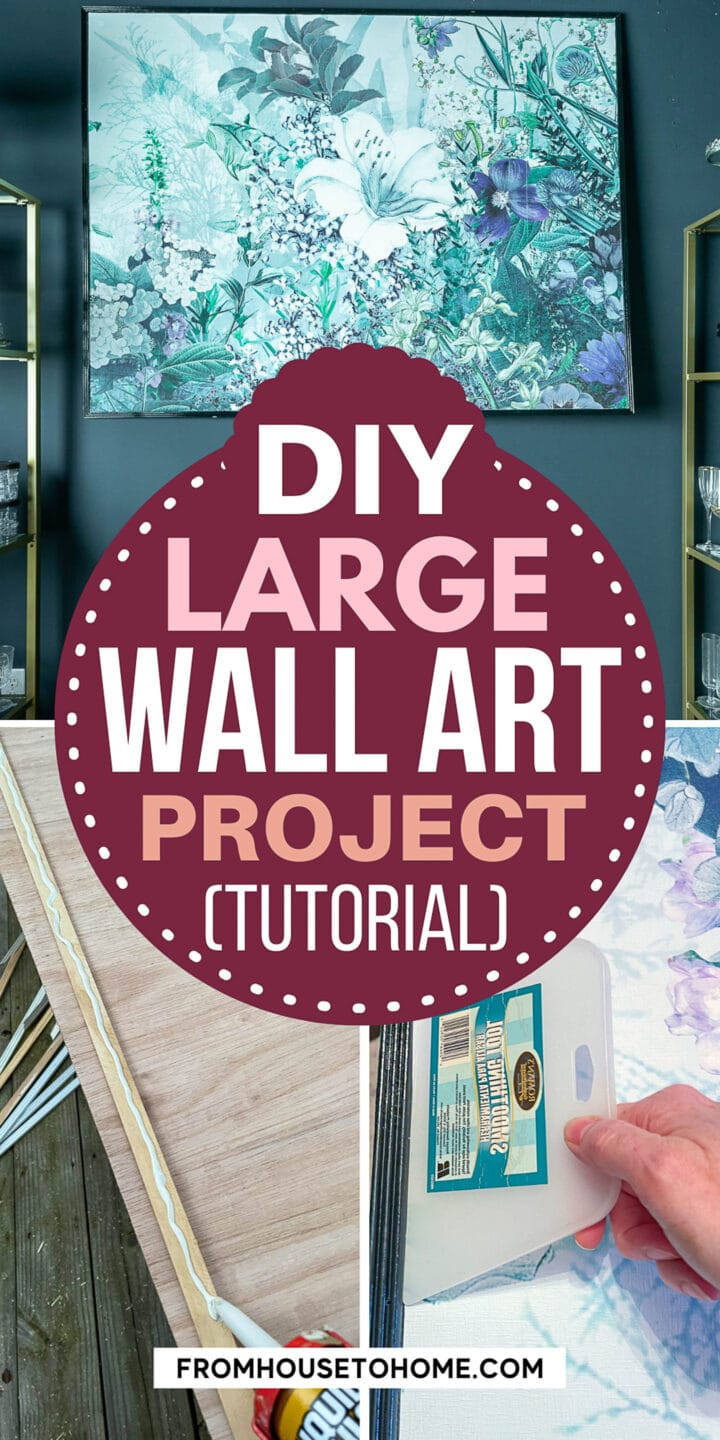

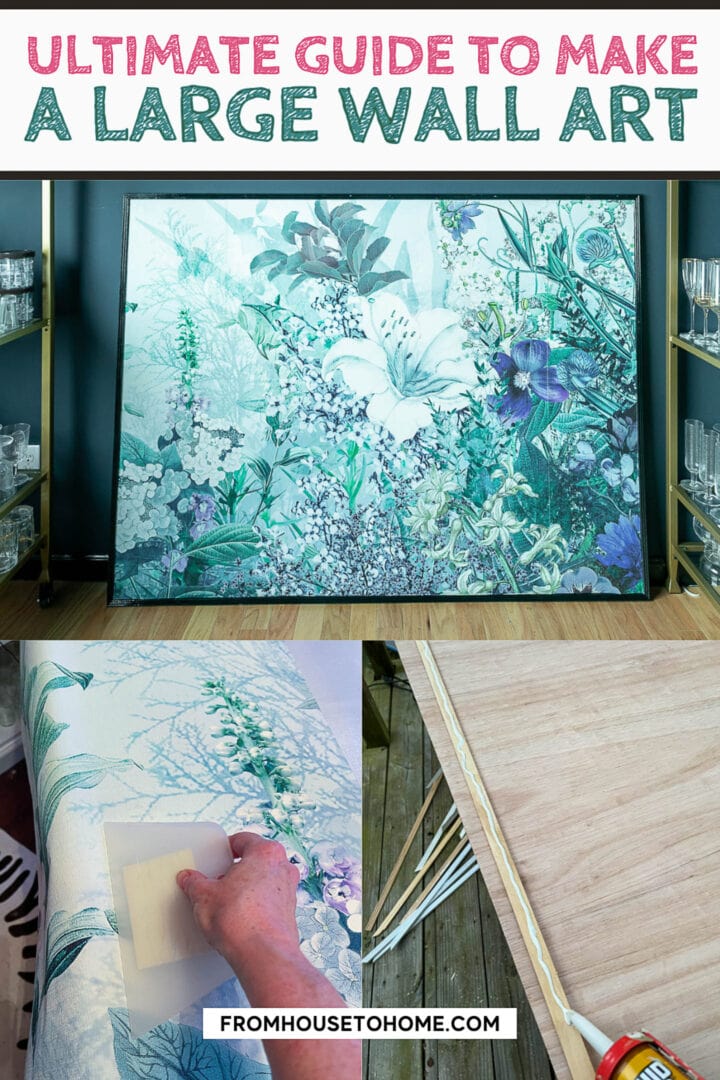
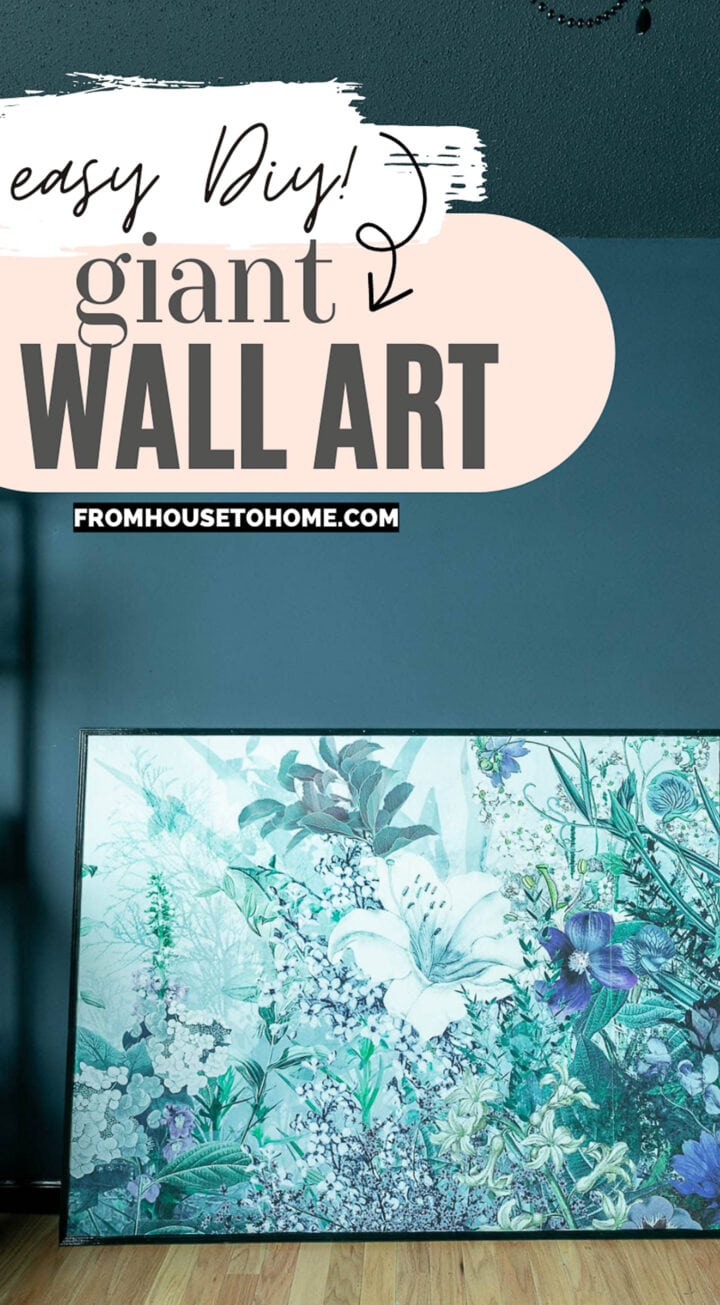
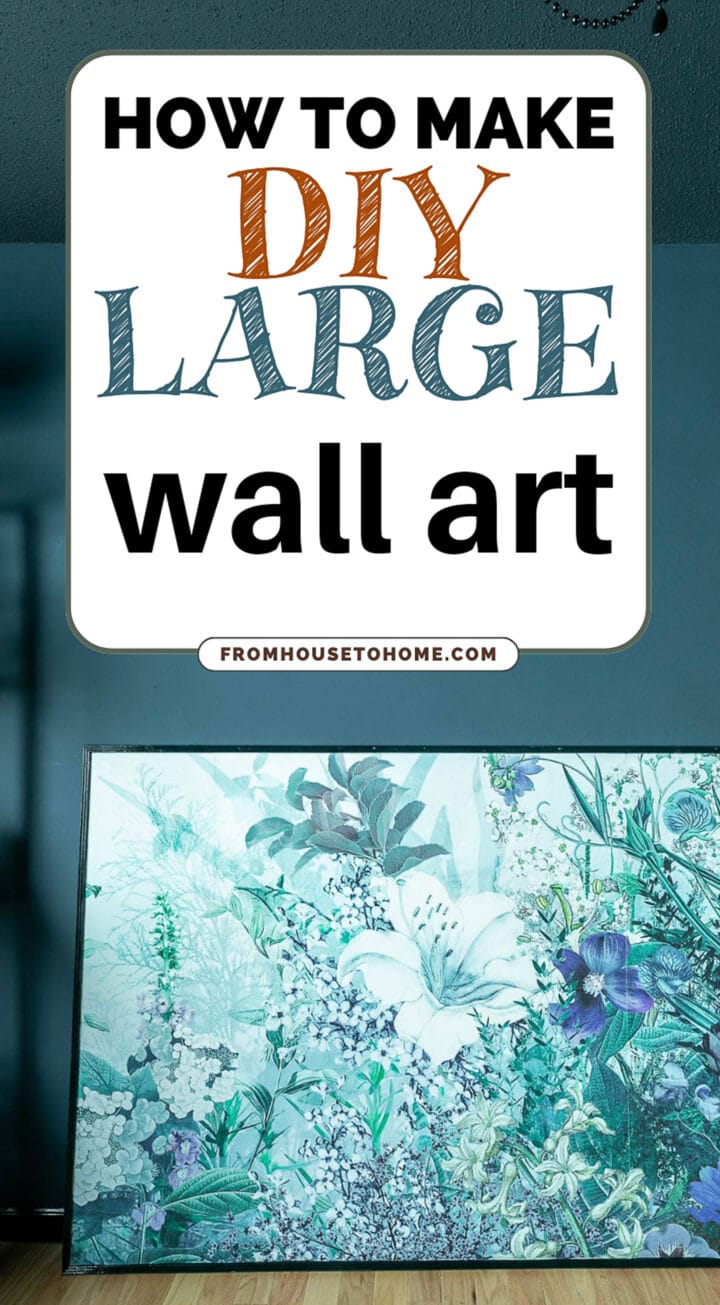
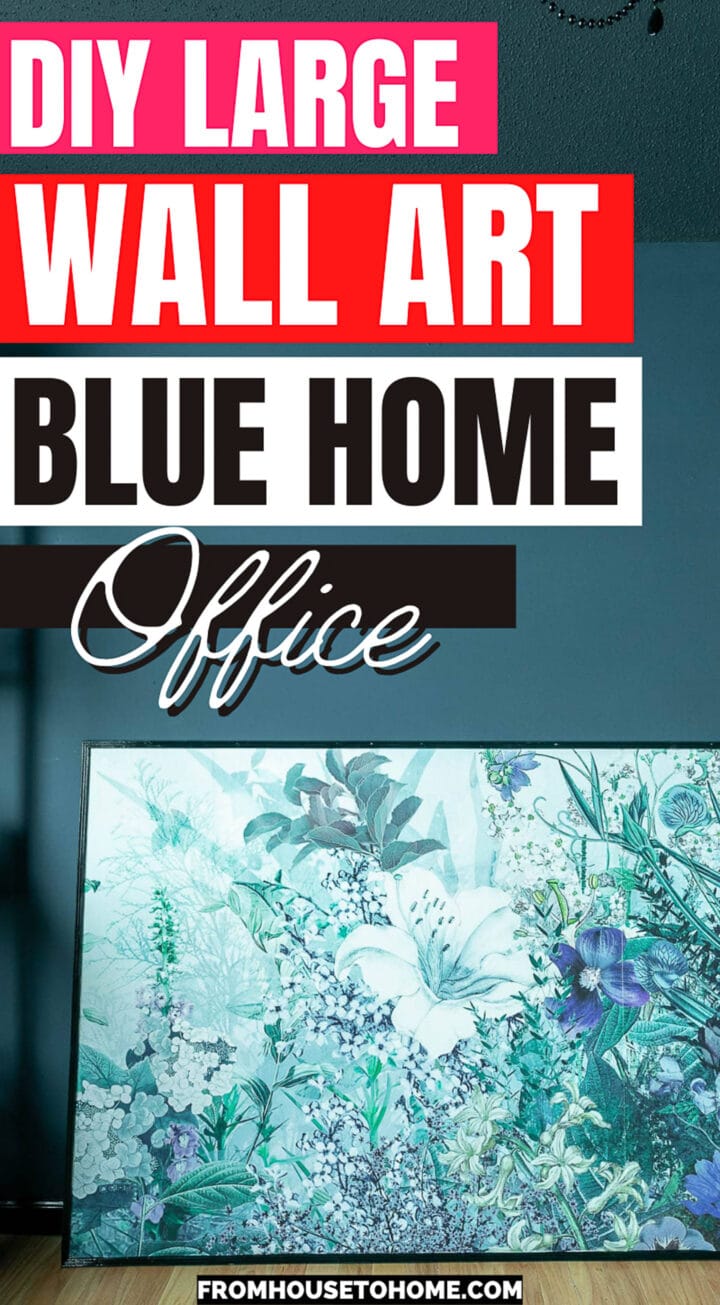


If you’ve ever wanted to cover a large wall with art, but couldn’t find something you liked in your budget, then this DIY large wall art project may be the answer you’re looking for. It uses a mural (or wallpaper), thin plywood and moldings to create a stunning wall display.

Can you believe it’s week 4 of my One Room Challenge office makeover already?
Now that I’ve found my inspiration, done all the moodboard and layouts, and painted the room blue, it’s time to move on to some DIY projects.
The first one is a large picture that I want to hang above my DIY sit/stand desk (tutorial coming soon).
In all of my favorite inspiration pictures, desks that faced the wall had some kind of picture or wallpaper directly in front of them. So you have something to look at other than a blank space.
Since my desk isn’t part of a built-in and I didn’t want to wallpaper the whole wall, I decided some artwork would be the way to go.
Except I needed it to be 6 feet wide and 4 feet tall, (a pretty big picture!). I didn’t want to spend a fortune on it. And of course, I wanted the colors to go with my room.
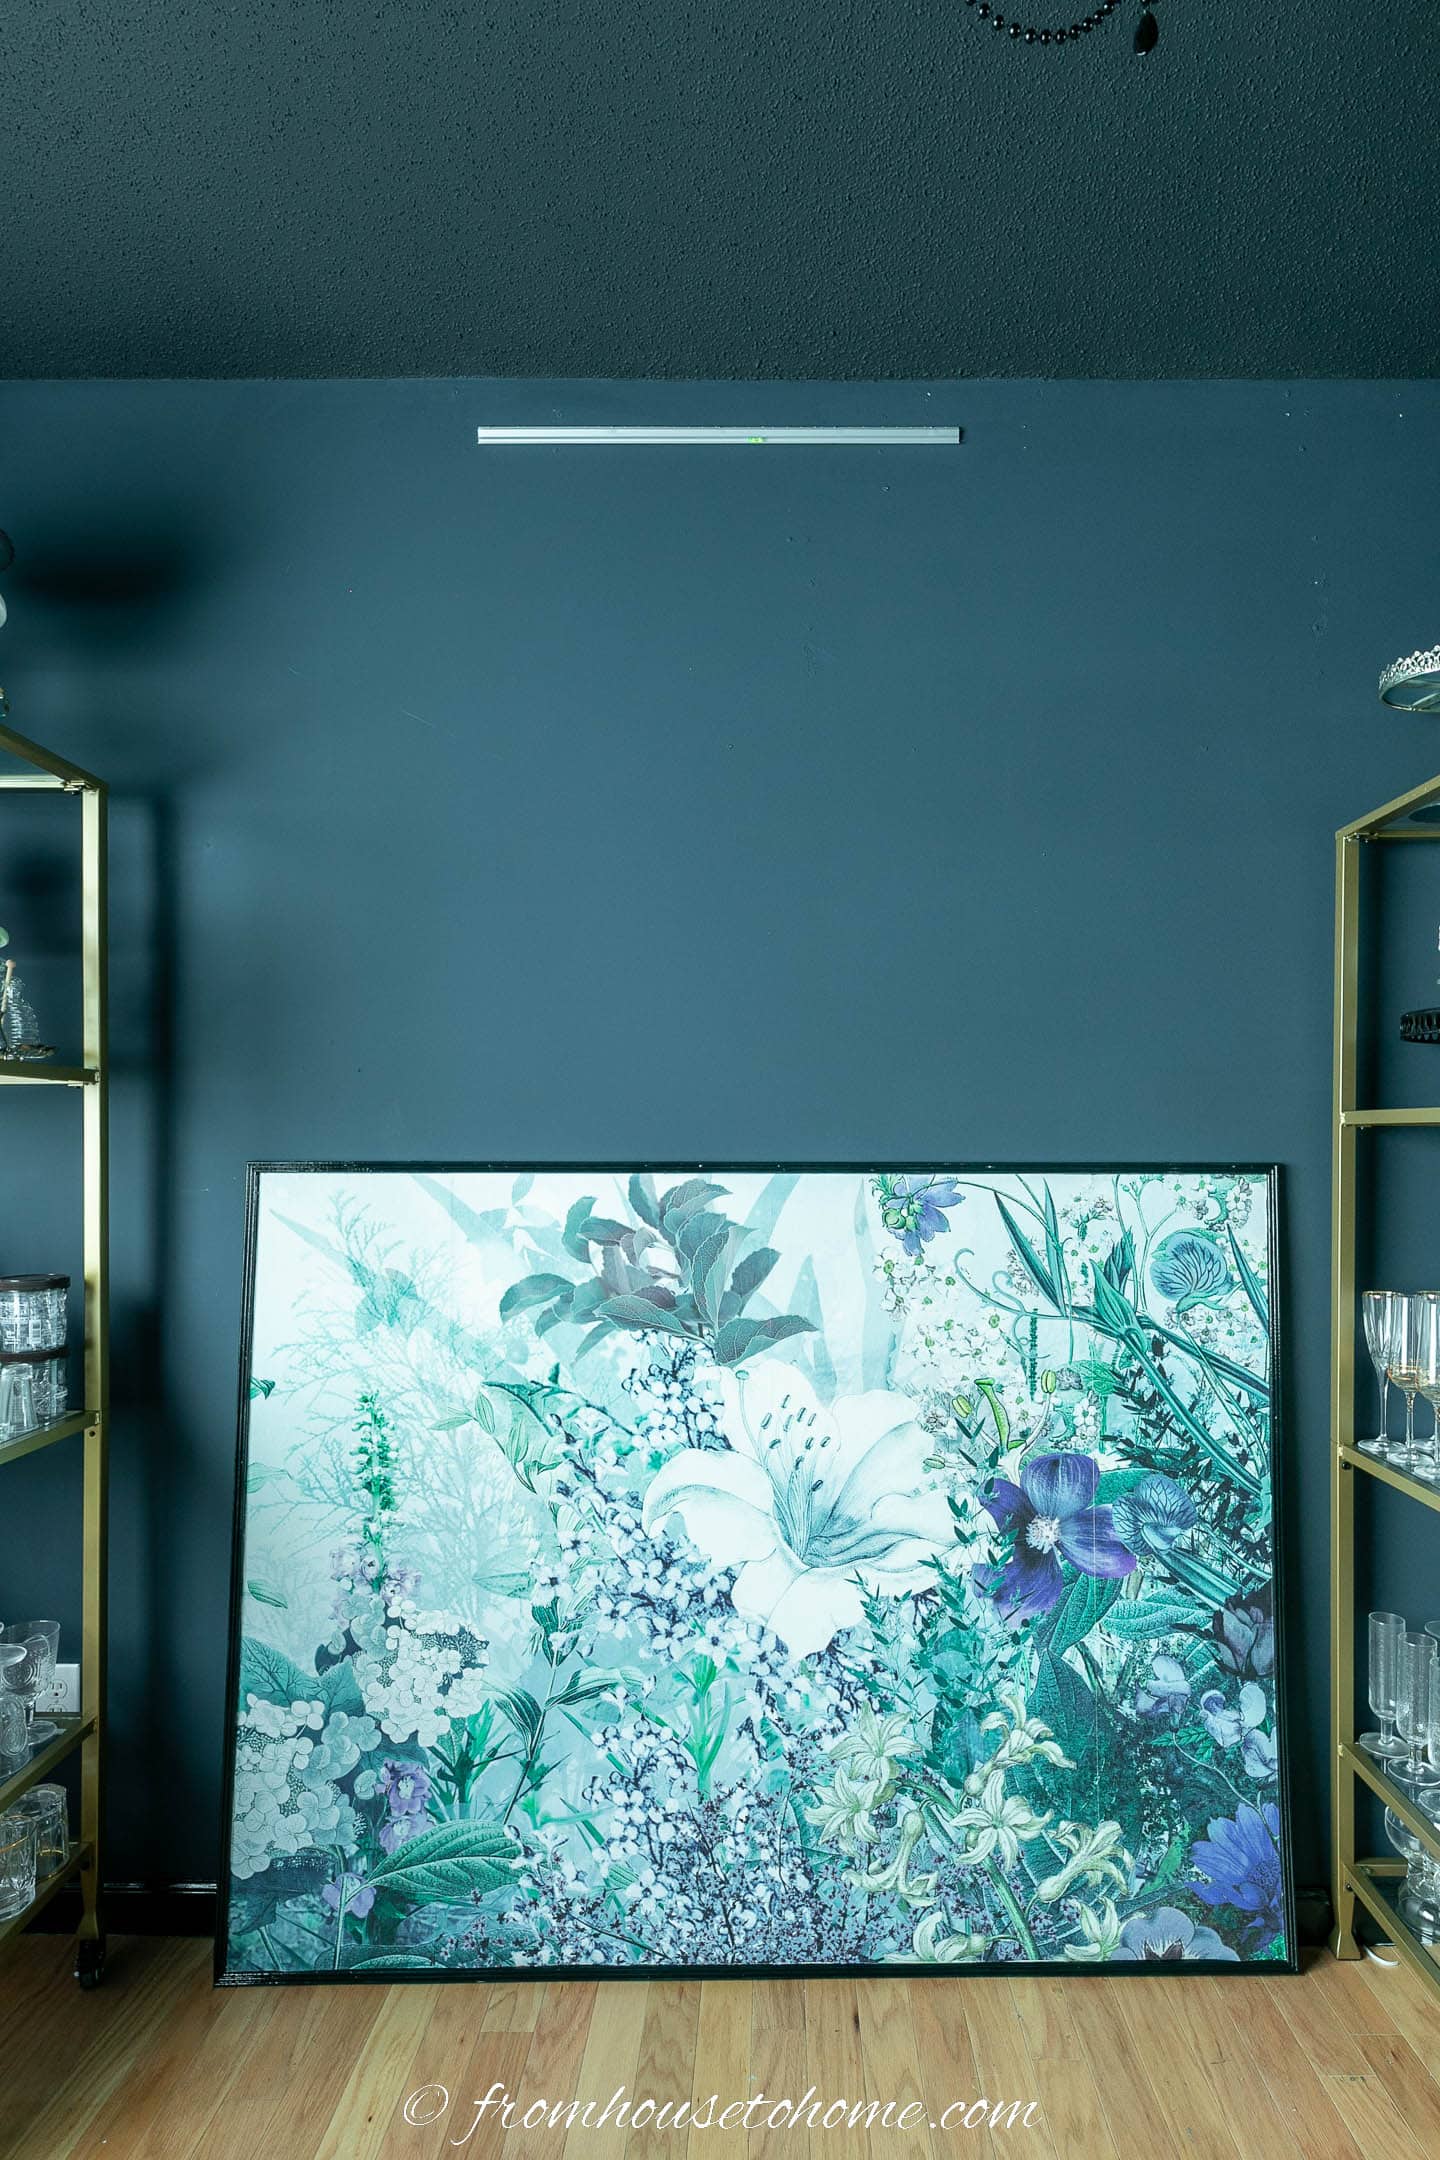
So I decided the best solution would be to create my own artwork using a mural as the picture. (Although wallpaper, fabric or even good-quality wrapping paper would work, too).
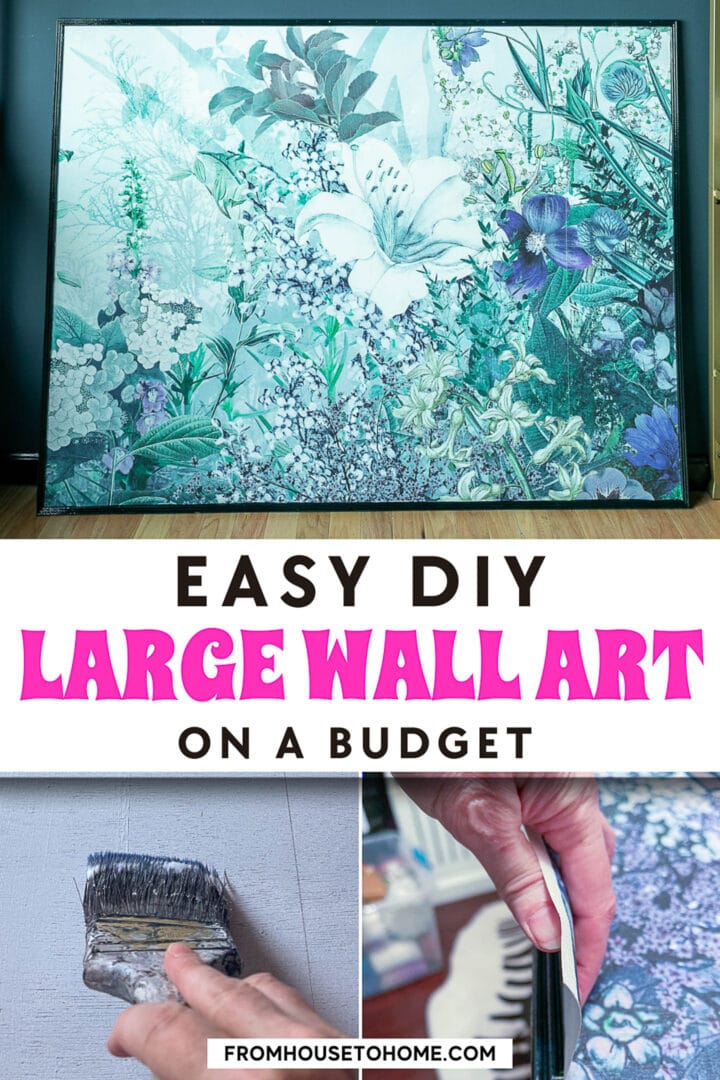
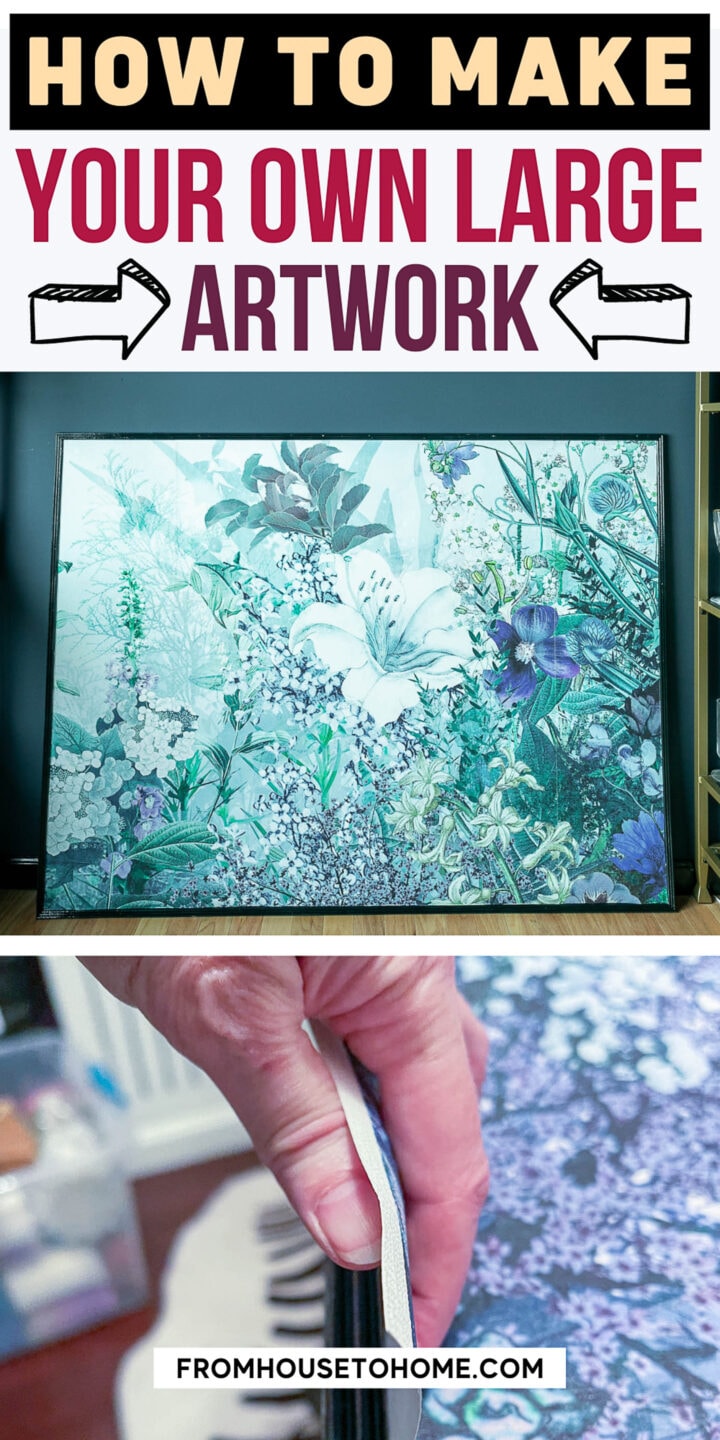
And I am so happy with the way it turned out!
Here’s the step-by-step tutorial.
Don’t let the length of the supplies list deter you. This really is a pretty easy project.
Materials
- mural or wallpaper in a pattern that you love. I used this one* from Graham and Brown. They will custom make it to the exact size you need.
- 1 4′ x 8′ sheet of 1/8″ plywood – This is the back board that the wallpaper will be glued to. You could also use 1/4″ plywood if you want a sturdier backing. But it is heavier so it will be harder to hang.
- 3 8′ long pieces of molding – For the frame. I used thin moldings because I wanted it to look more like a wall panel than a picture. But you can use thicker ones if you want it to look like a real frame.
- Liquid Nails paneling and molding glue* – Other types of construction adhesive will work, too. But I find this one to be the easiest to work with because the moldings don’t slide around as much.
- paint primer – To seal the plywood and moldings so that the paint and wallpaper adhere properly. I like Kilz or Zinsser for this.
- paint – This is for the molding frame and can be whatever color you want to use. I used Farrow & Ball Black Blue in a gloss finish.
- wallpaper primer – This will make the wallpaper go on more smoothly.
- wallpaper paste – To glue the paper to the board.
- large picture hanger – I used this one* from Amazon that makes it really easy to get the picture hung straight.
- 3/8″ screws – These are only necessary if the moldings you are using for the frame are not very thick (like mine).
Tools
- Circular saw and Kreg circular saw track* (optional), or a table saw – This is to cut the plywood to the size you need.
- Miter saw – To cut the frame moldings.
- Caulk gun – For the adhesive.
- Small clamps – (optional) For holding the glued molding in place.
- Paint roller and tray – For both the paint and wallpaper primer.
- Paint brush – To paint the molding and put on the wallpaper paste.
- Long ruler or chalk line – To mark first wallpaper line.
- Wallpaper smoother
- Sponge – To wipe up any wallpaper paste messes.
- Straight edge or metal ruler – For making sure the excess mural is cut off straight at the edge of the frame.
- Utility knife with a few sharp blades
- Wallpaper roller
- Cordless drill or screwdriver – To attach the picture hanger to the picture.
- Hammer – To attach the other half of the picture hanger to the wall.
How to make large DIY wall art
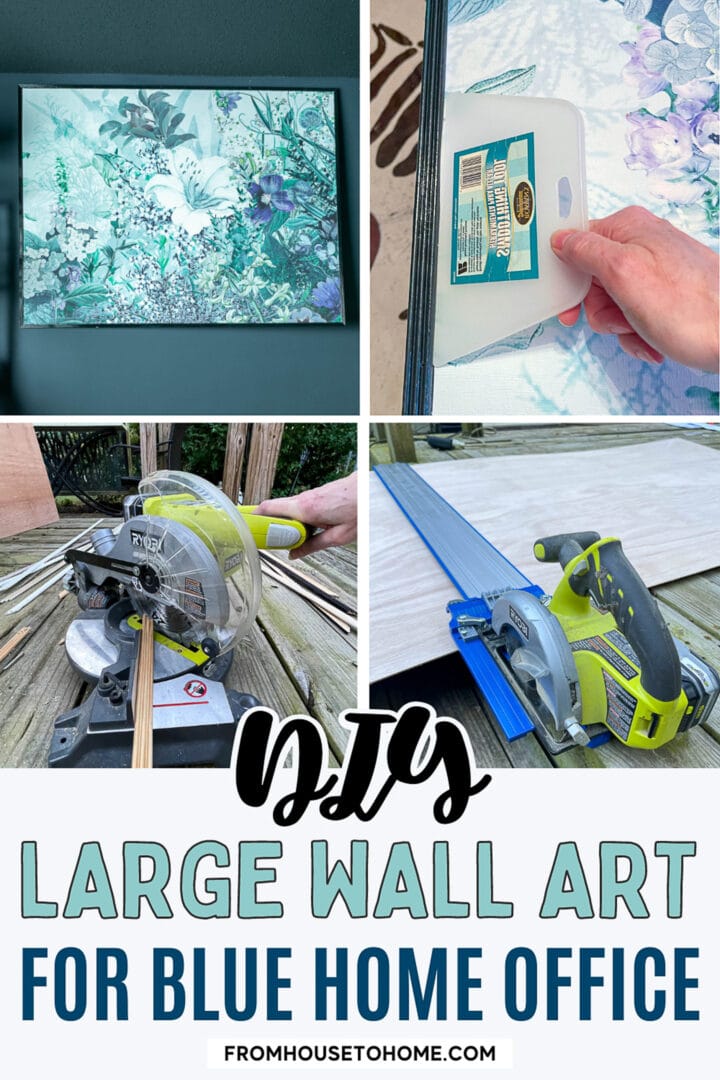
1 | Cut the back board

The first step is to cut the plywood to the size that you need. (If you are making a picture the same size as the board, you can skip this step.)
Measure and mark where the cuts should be made for your picture size. In my case, the picture was 6′ wide and 4′ tall. So I only had to cut 2′ off the end.
Since I don’t have a table saw, I used a circular saw for this.
A Kreg circular saw track* makes it really easy to ensure that the cut is perfectly straight. It’s almost as good as having a table saw, without the expense of one!
Of course, if you have a steady hand, you can do it free-hand but I can never get a really straight line this way.
2 | Cut the moldings
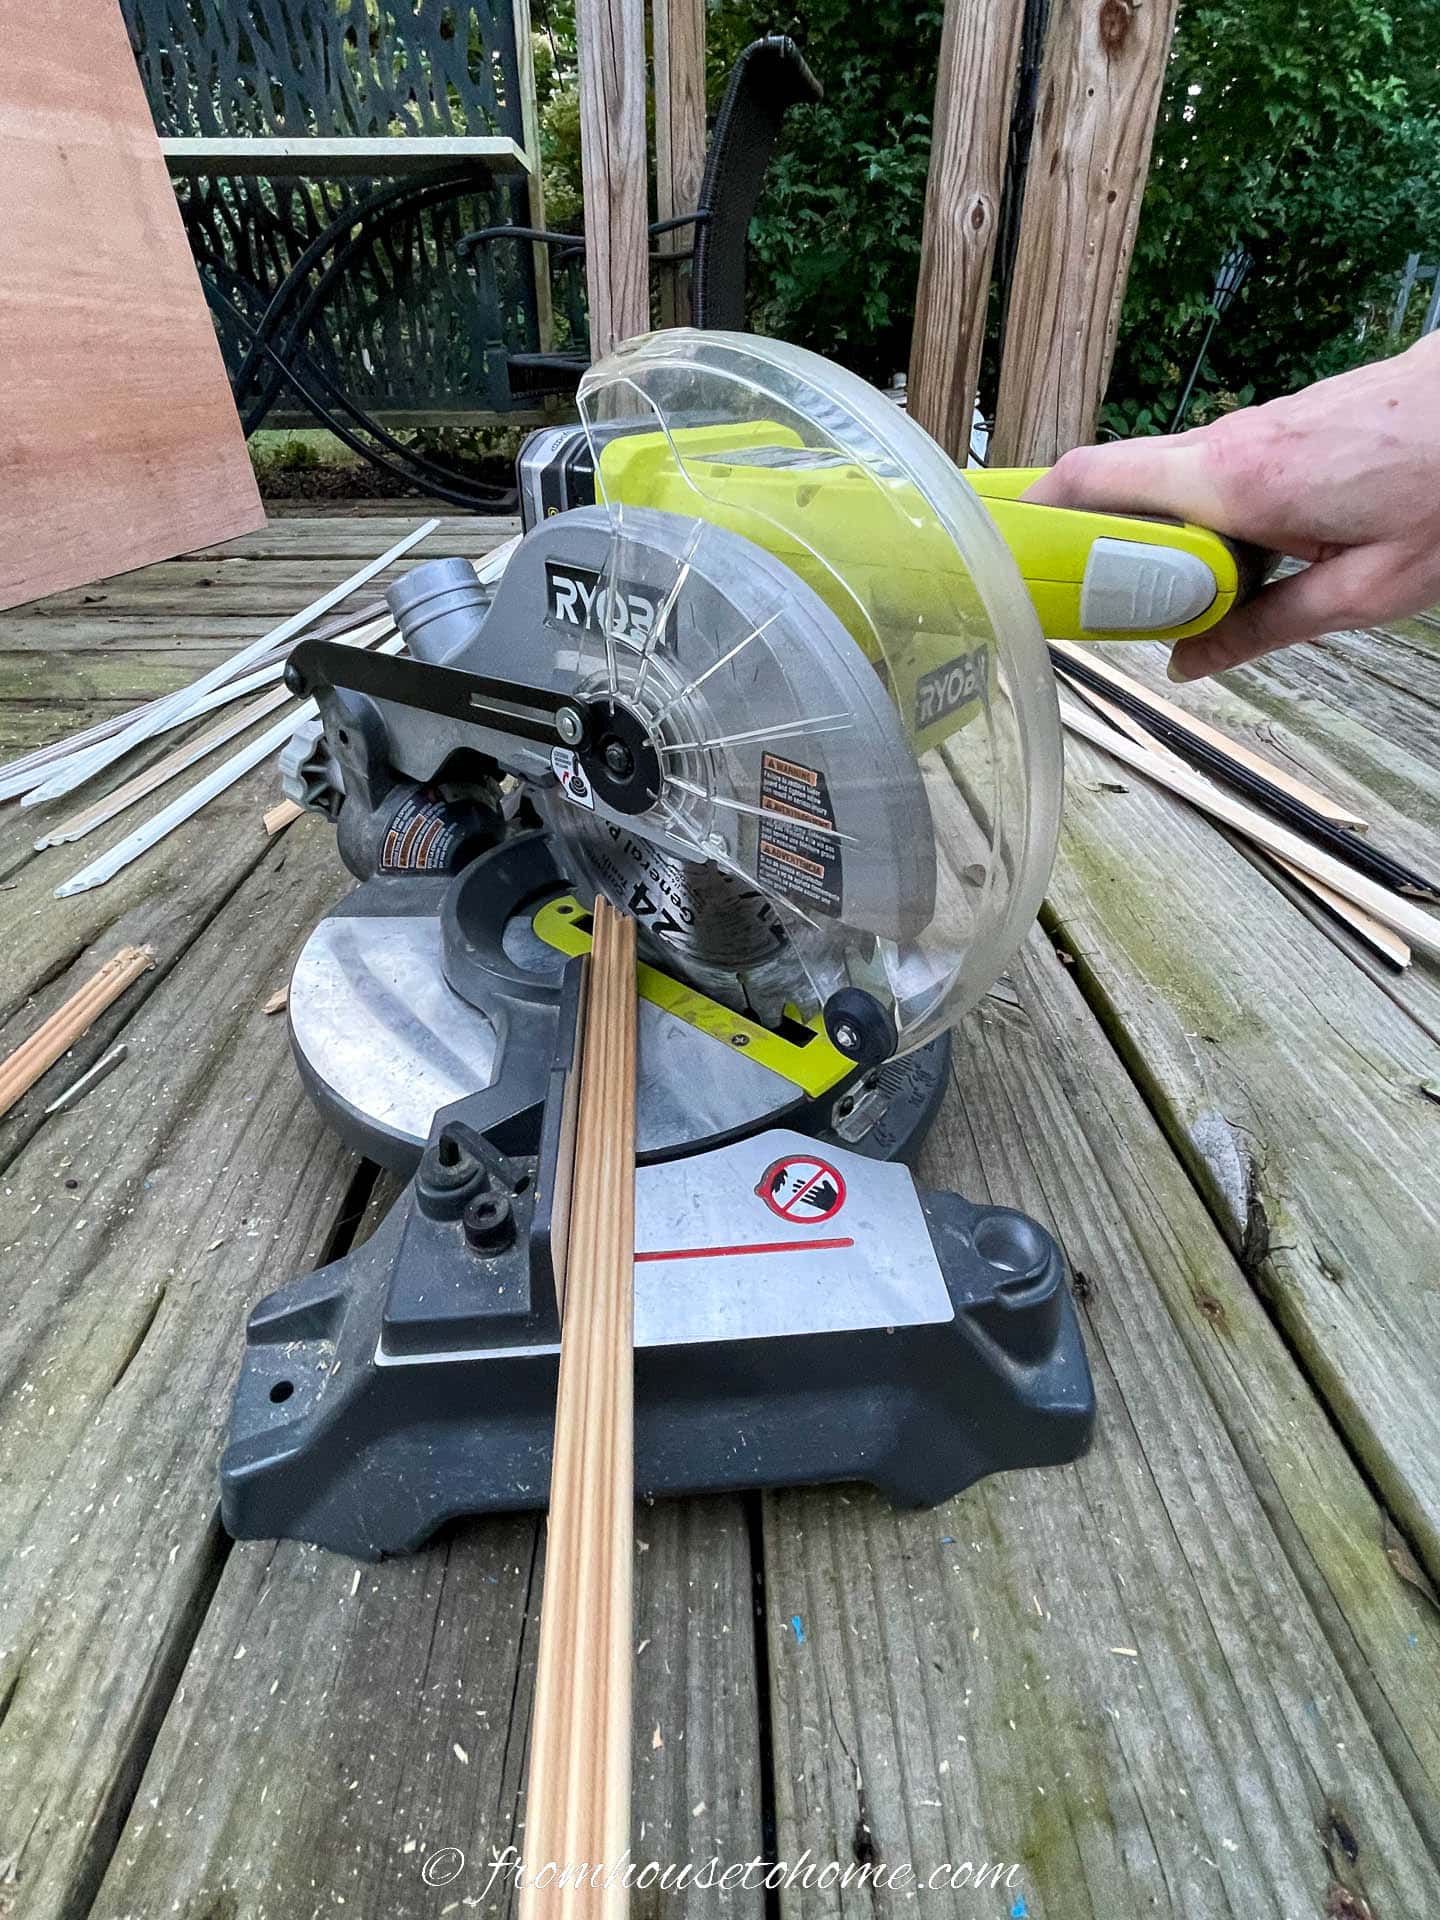
Next we need to cut the moldings that will make the frame.
For this you need to know the width and height of your picture. In my case, it was 6′ and 4′.
You’ll need to cut two moldings that are the same length as the width, and two that are the same length as the height.
All of the moldings will need to have 45 degree angles cut on both ends.
These angles should be cut in the opposite direction to each other so that one side of the board is longer than the other. This long side should be the same measurement as the width and height measurements.
3 | Make the frame
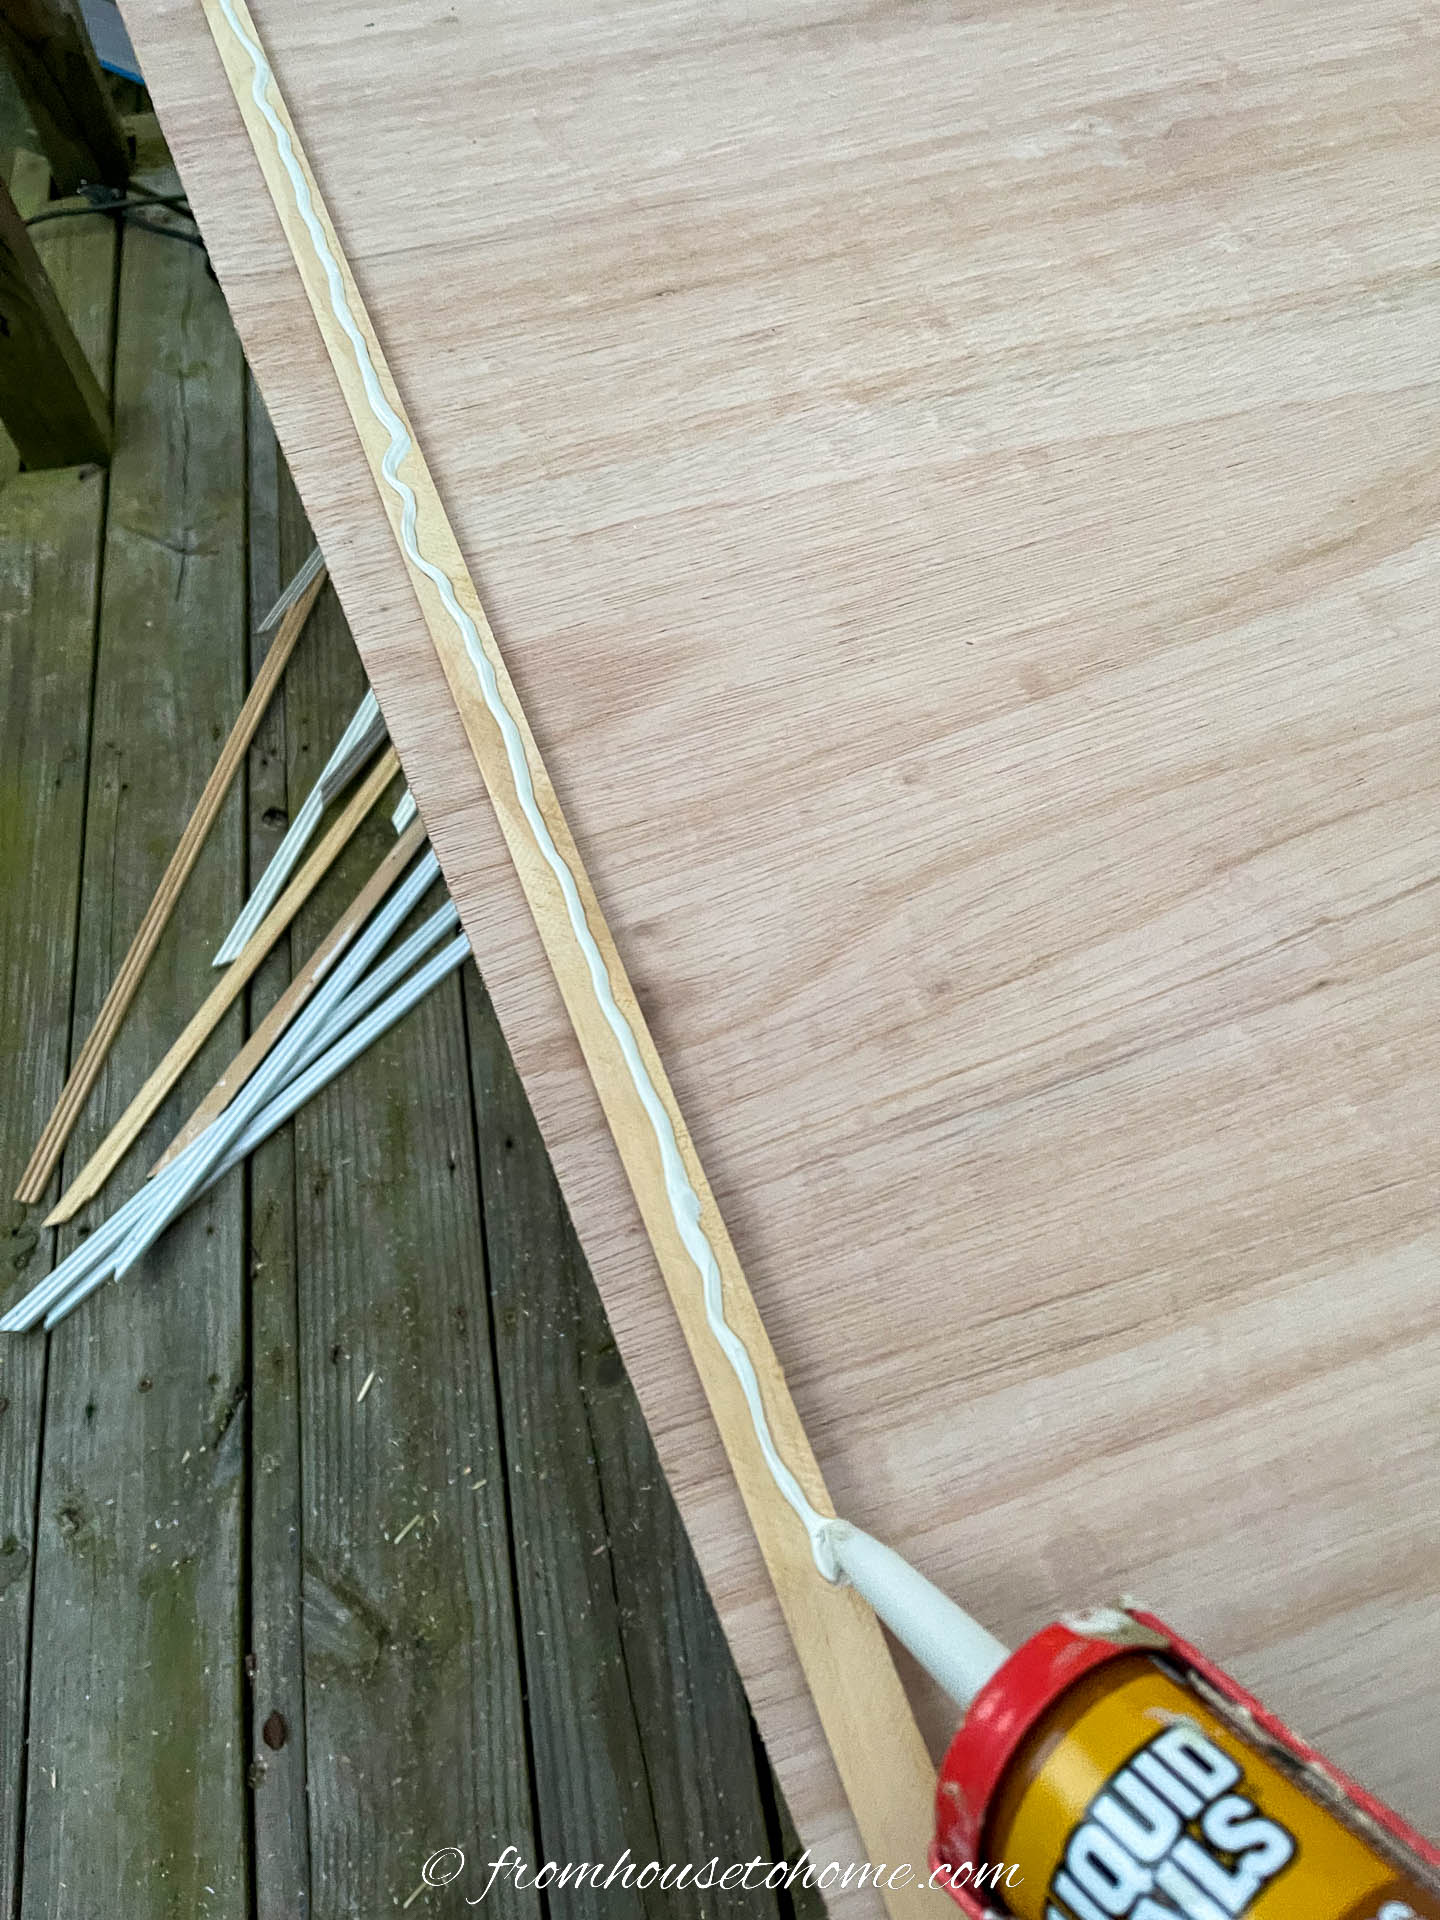
Use the caulk gun to create a line of glue all the way down the back of one piece of the molding.
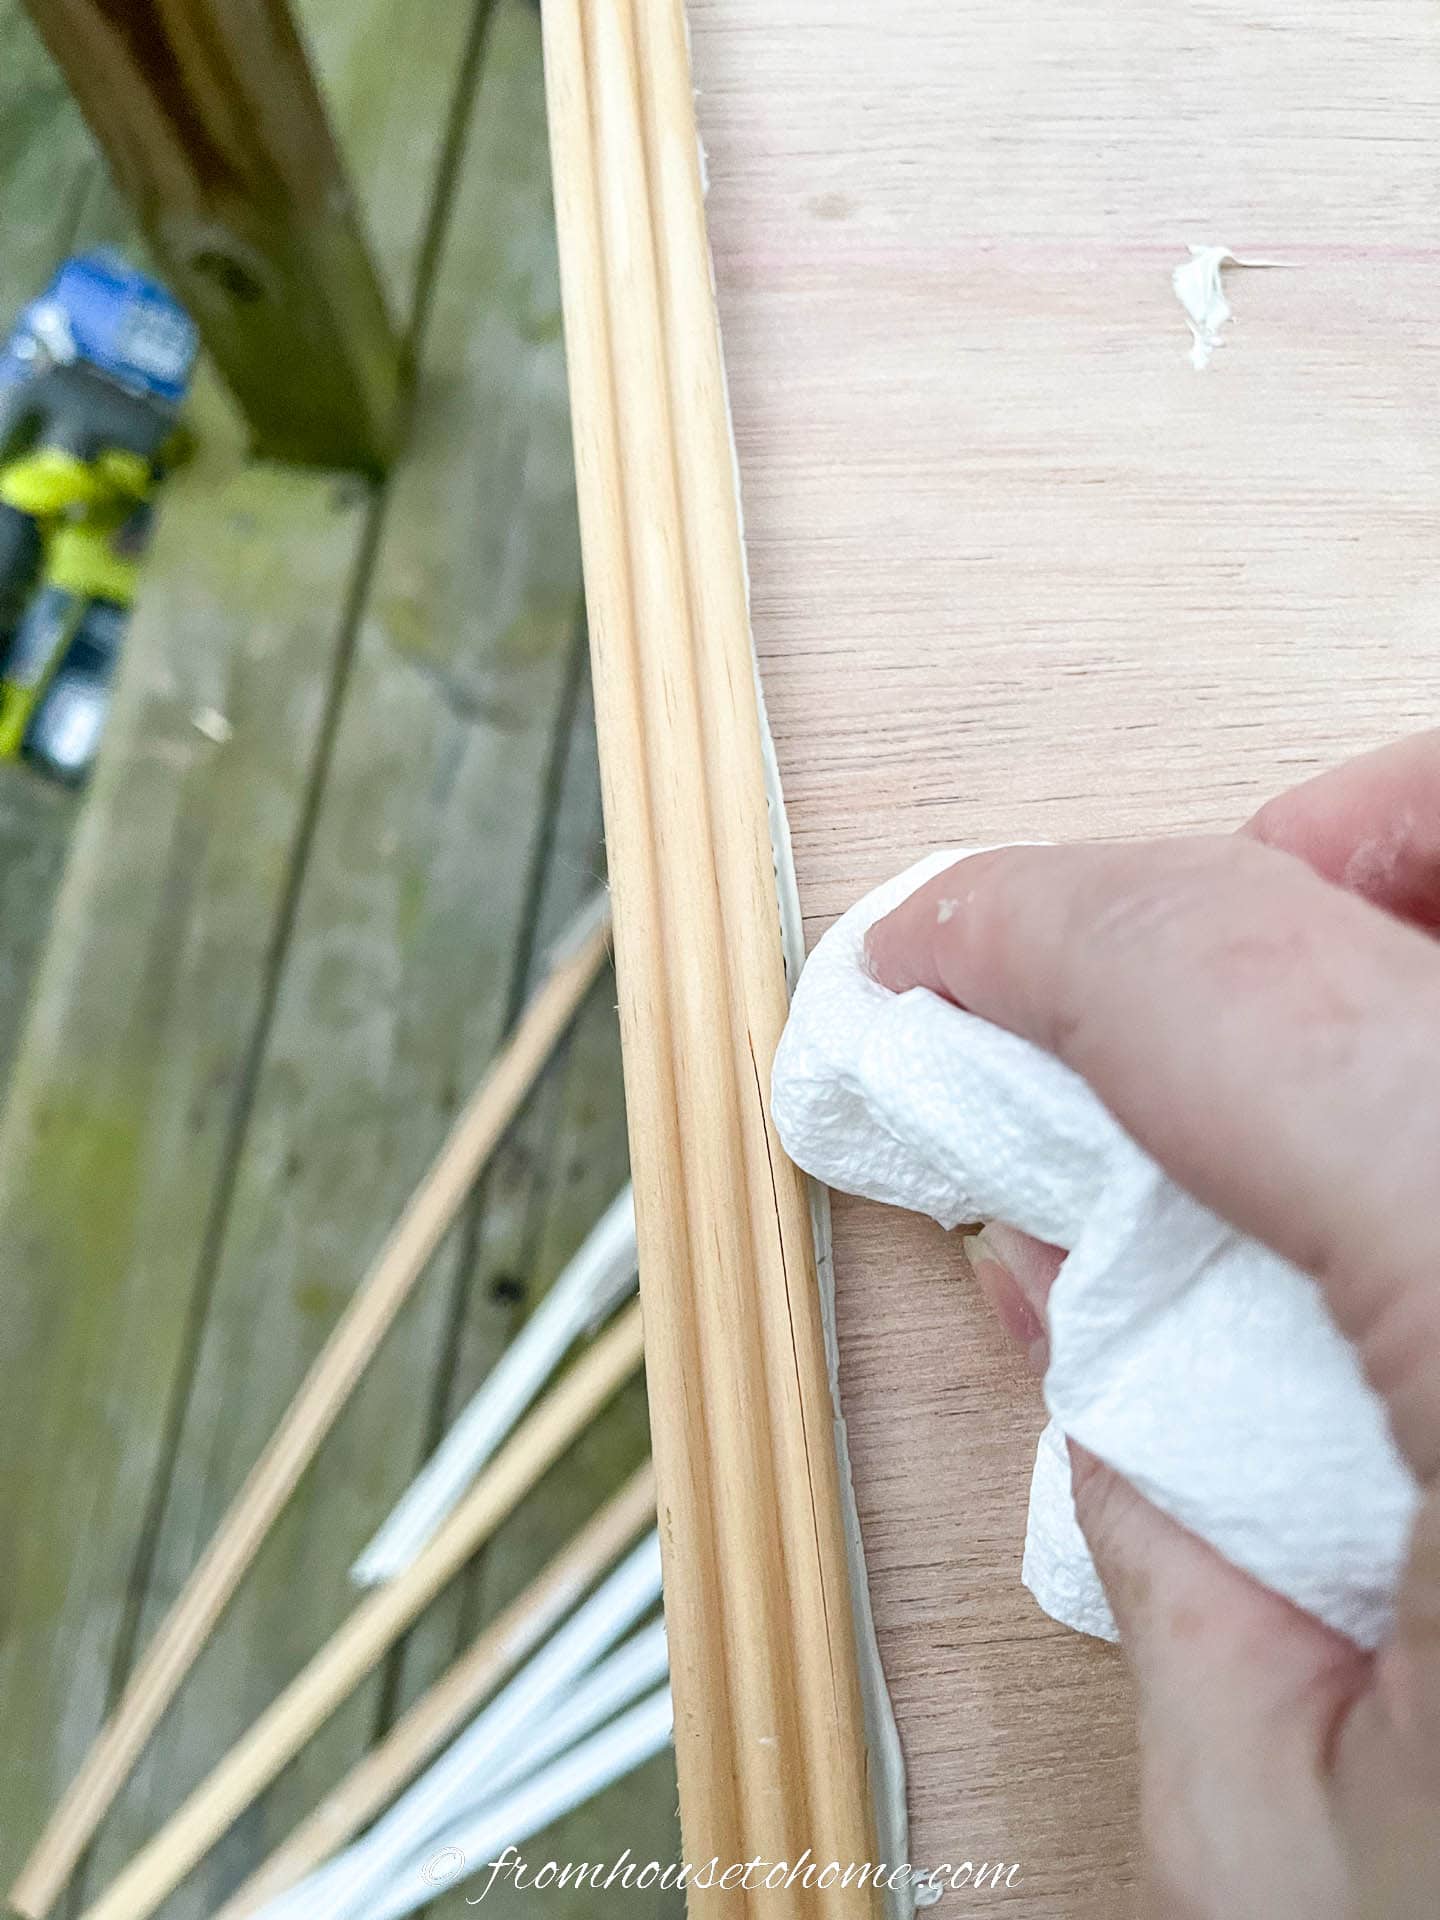
Then glue the molding onto the board so that the outside edge lines up with the outside edge of the board.
Add the rest of the moldings around the outside of the board, making sure that the corners line up.
Wipe off any excess glue with a damp cloth.
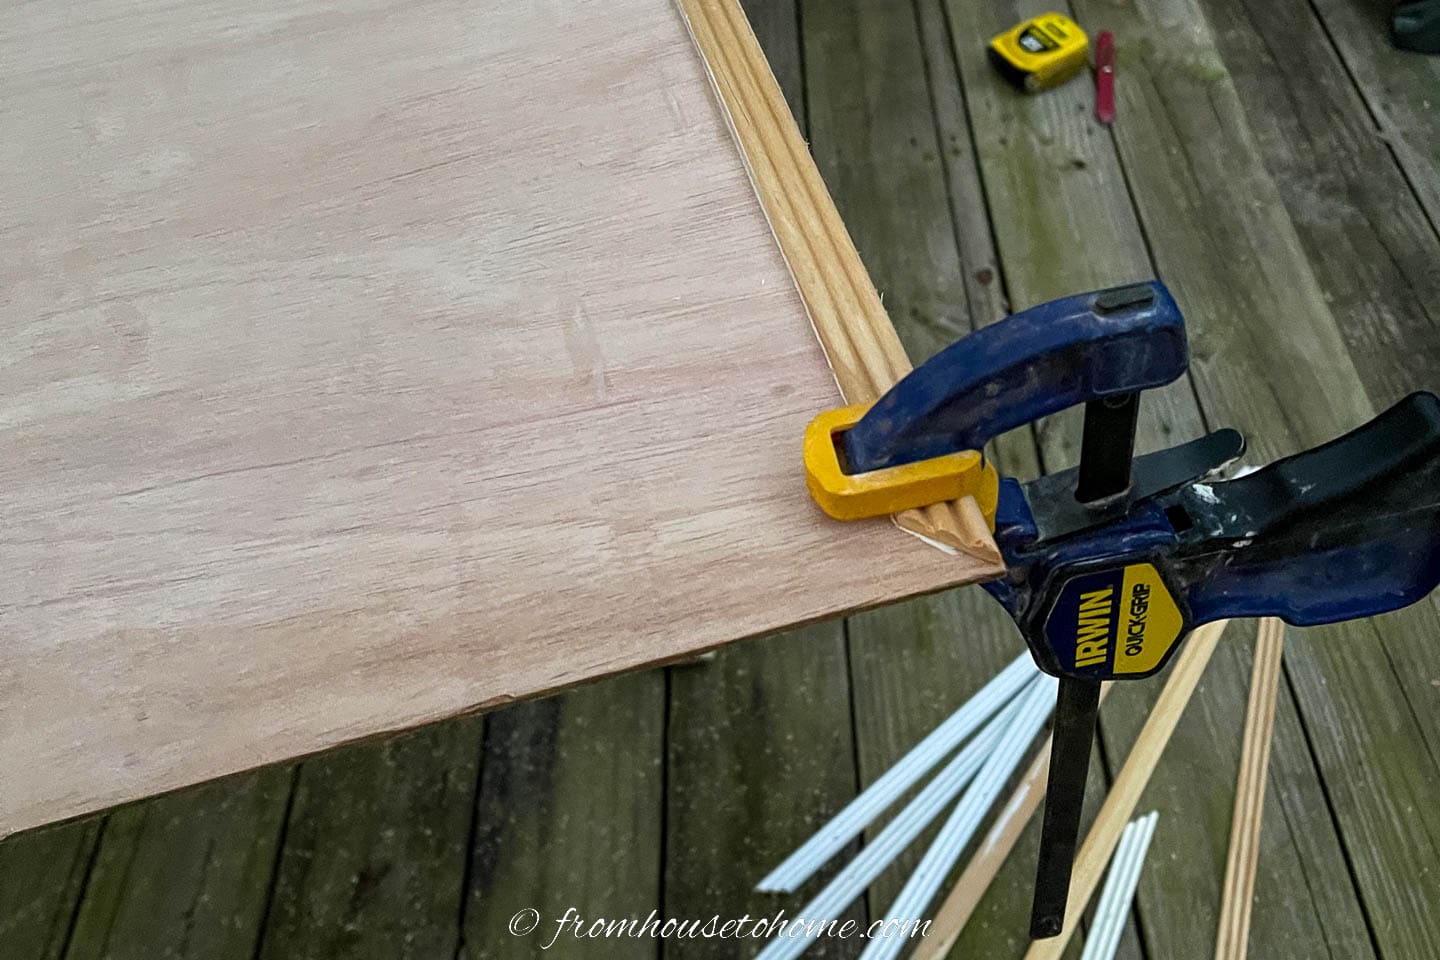
If the moldings won’t stay on the board (which can happen if the board or the molding is warped), use small clamps to hold them in place until the glue has set.
4 | Prime and paint
Now it’s time to prepare the board for the paper.
The first step is to prime both the board and the moldings with a good quality primer (such as Zinsser or Kilz). This will prevent the regular paint and glue from soaking into the wood.
If your plywood is really rough, you may want to give it a light sanding first.
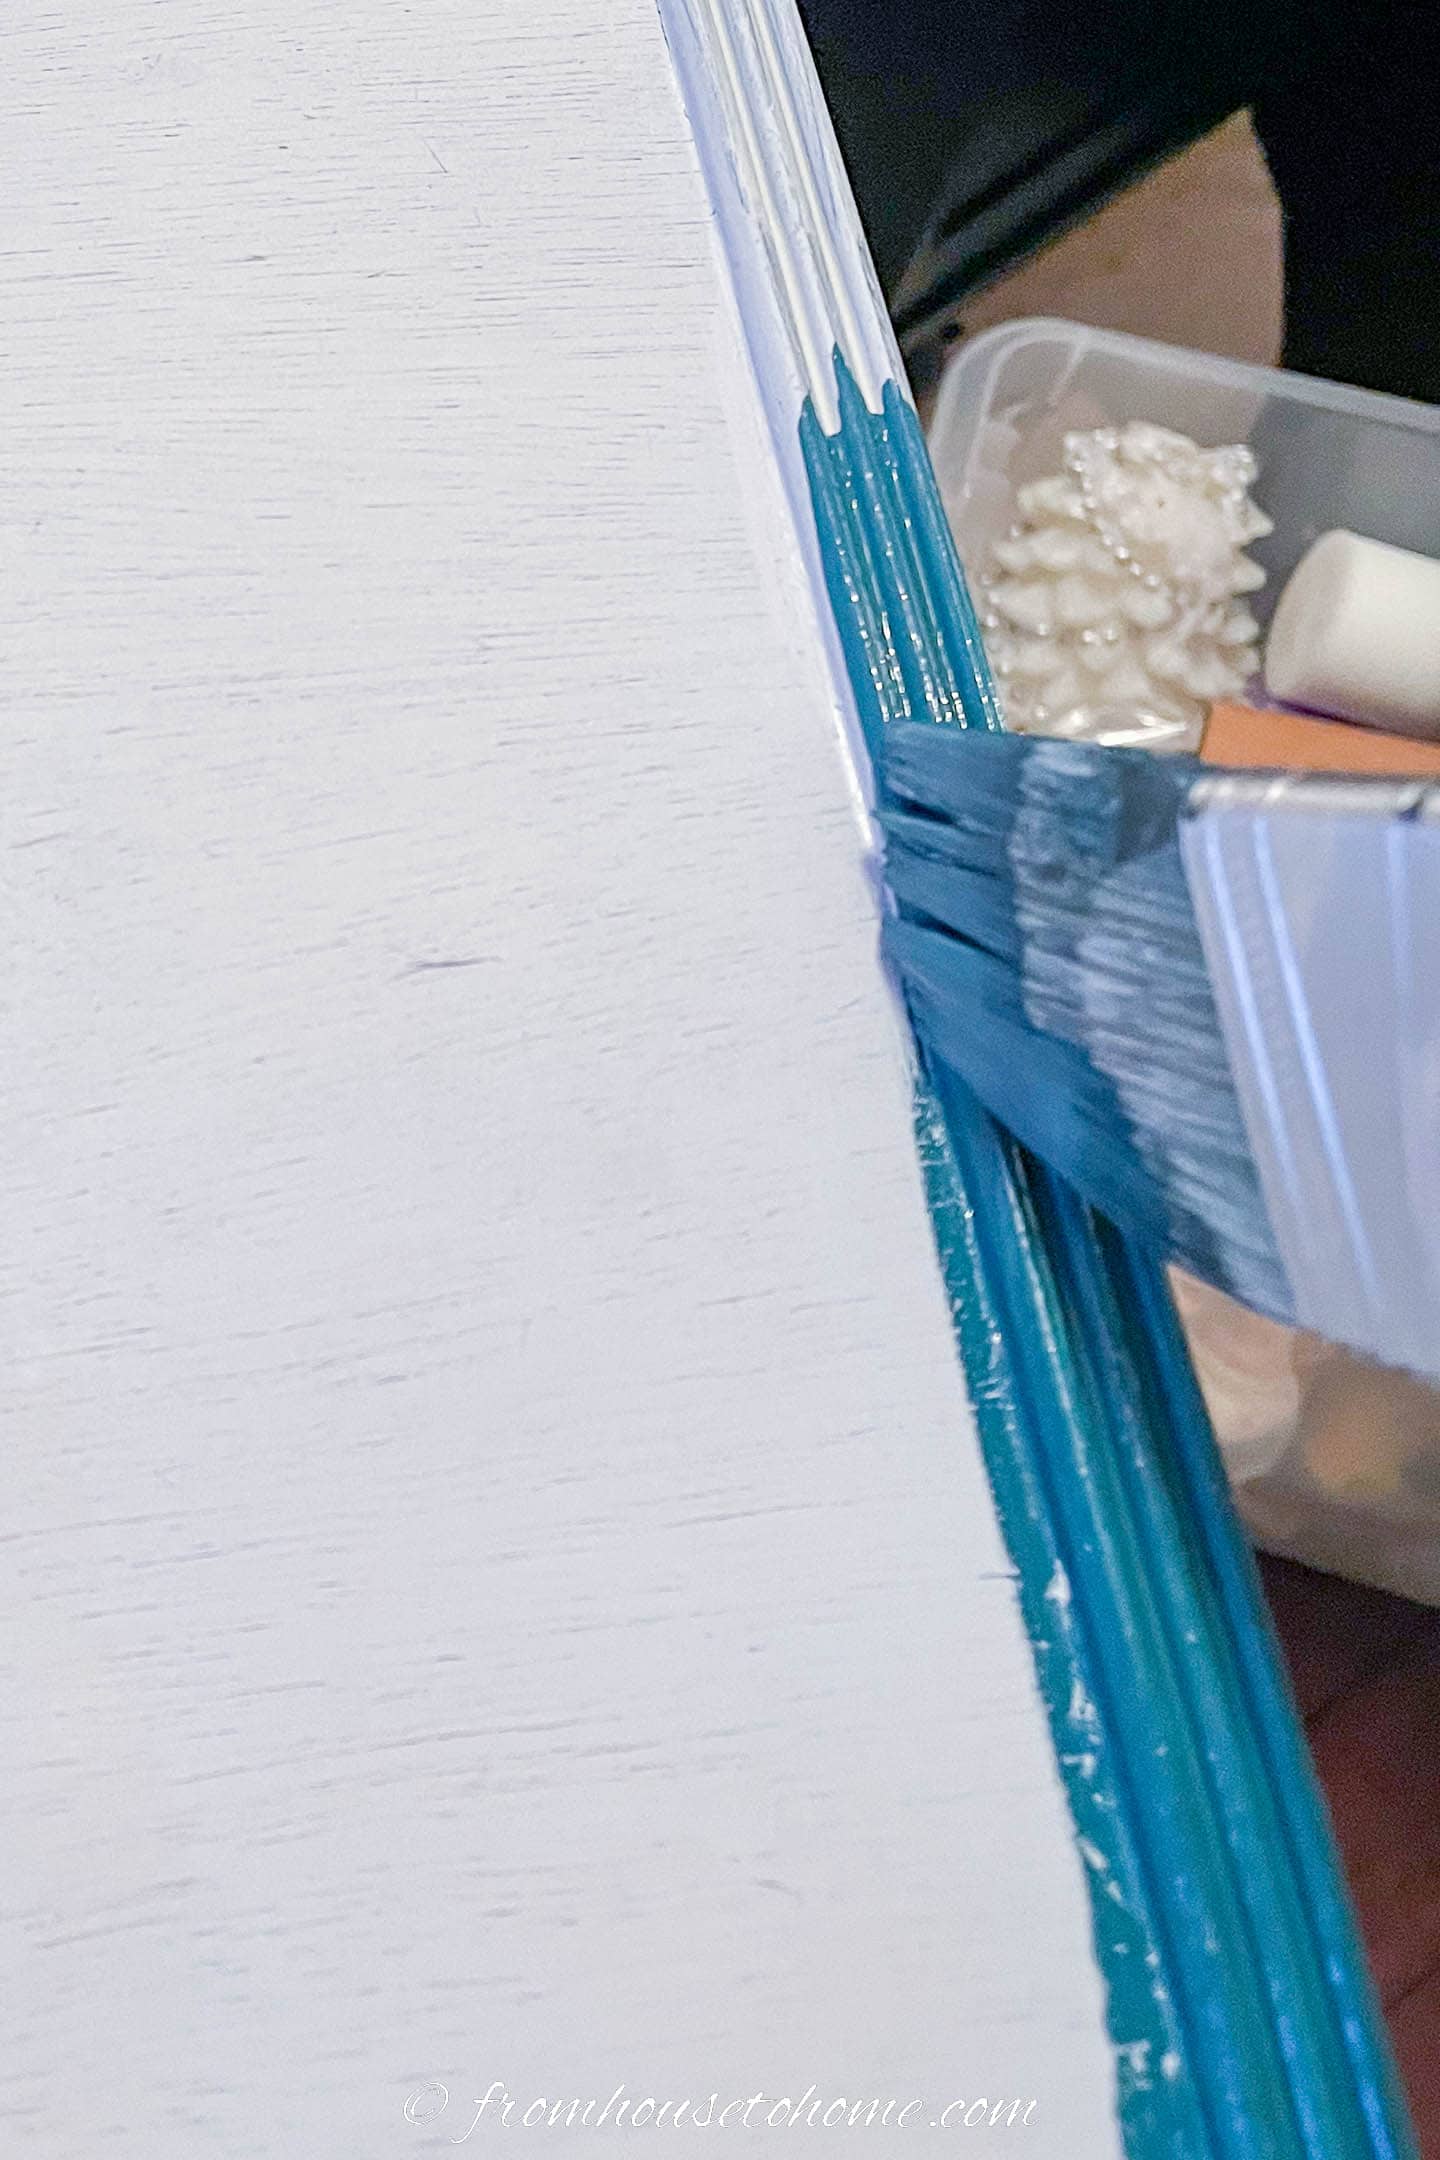
When the primer is dry, paint the frame molding in whatever color you want.
I used Farrow & Ball Black Blue in gloss finish. Which took about 5 coats to get a consistent color. But it’s absolutely beautiful now that it’s done.
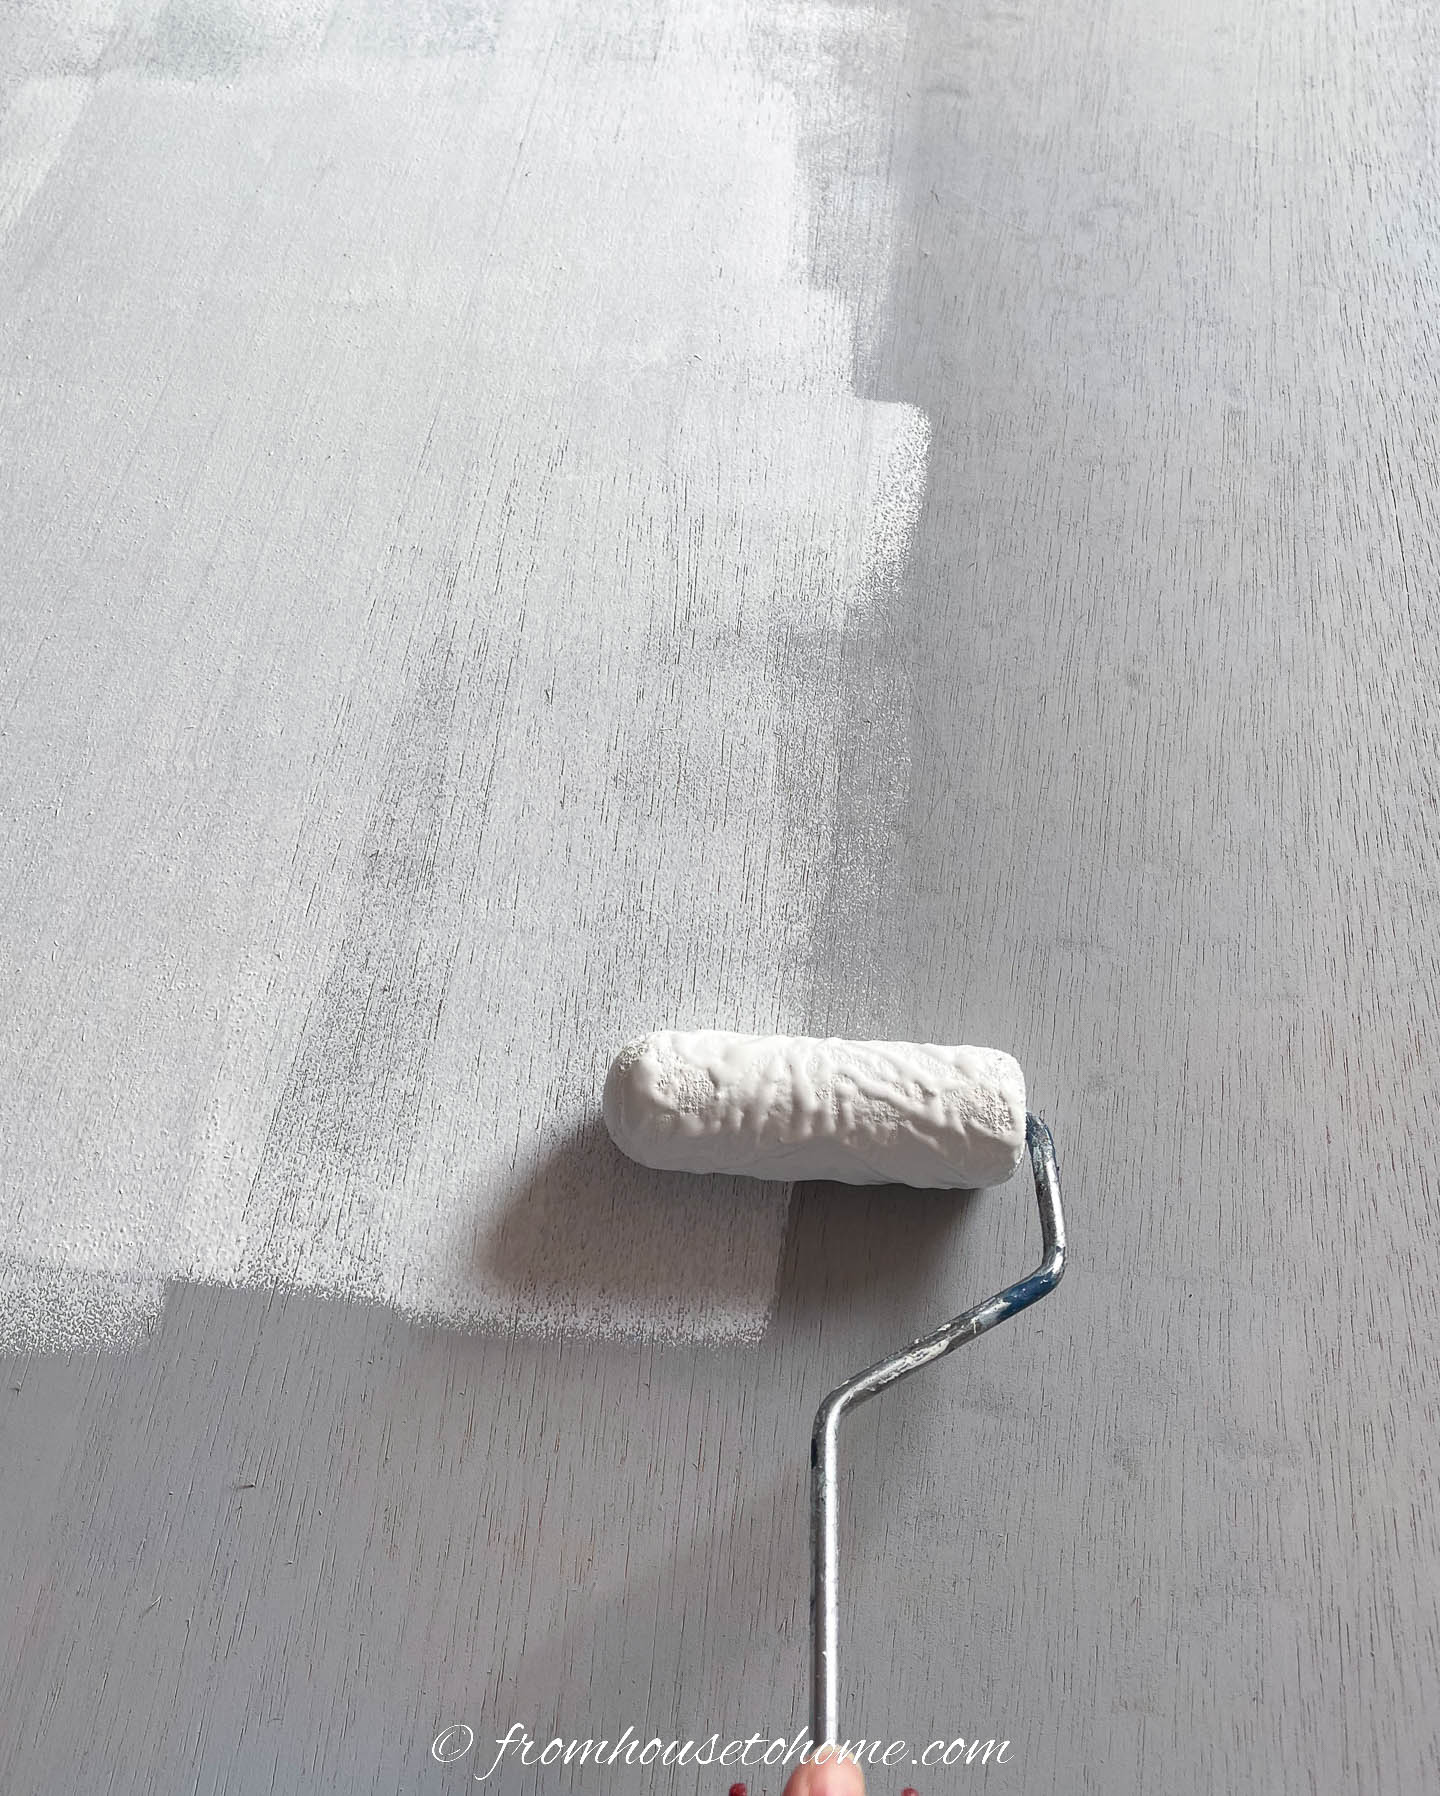
When the paint on the moldings is dry, put a coat of wallpaper primer over the board (not touching the moldings).
While this is not absolutely necessary, it does make moving the wallpaper around to align the pattern much easier.
If your mural is dark in color, you may want to get the primer tinted to match. Otherwise, any small gaps in the seams will be more obvious.
5 | Draw a line for the first strip
When all of the primer and paint coats are done, we’re ready to start putting on the mural.
If your picture is really large or you don’t have a big enough space to work in, you may want to hang your board up on the wall first, and then put the mural on. But it is easier if you can glue on the wallpaper while the board is laying flat.
The first step is to draw a straight line where the edge of your first strip of mural should line up.

Start by measuring how wide the first piece of mural is. This should be the one on the left side of the picture. In my case, it was 12 inches wide.
Subtract half an inch from that measurement and measure that distance out from the inside of the frame. So I measured out 11½ inches.
Mark the top and bottom of the frame at that distance.
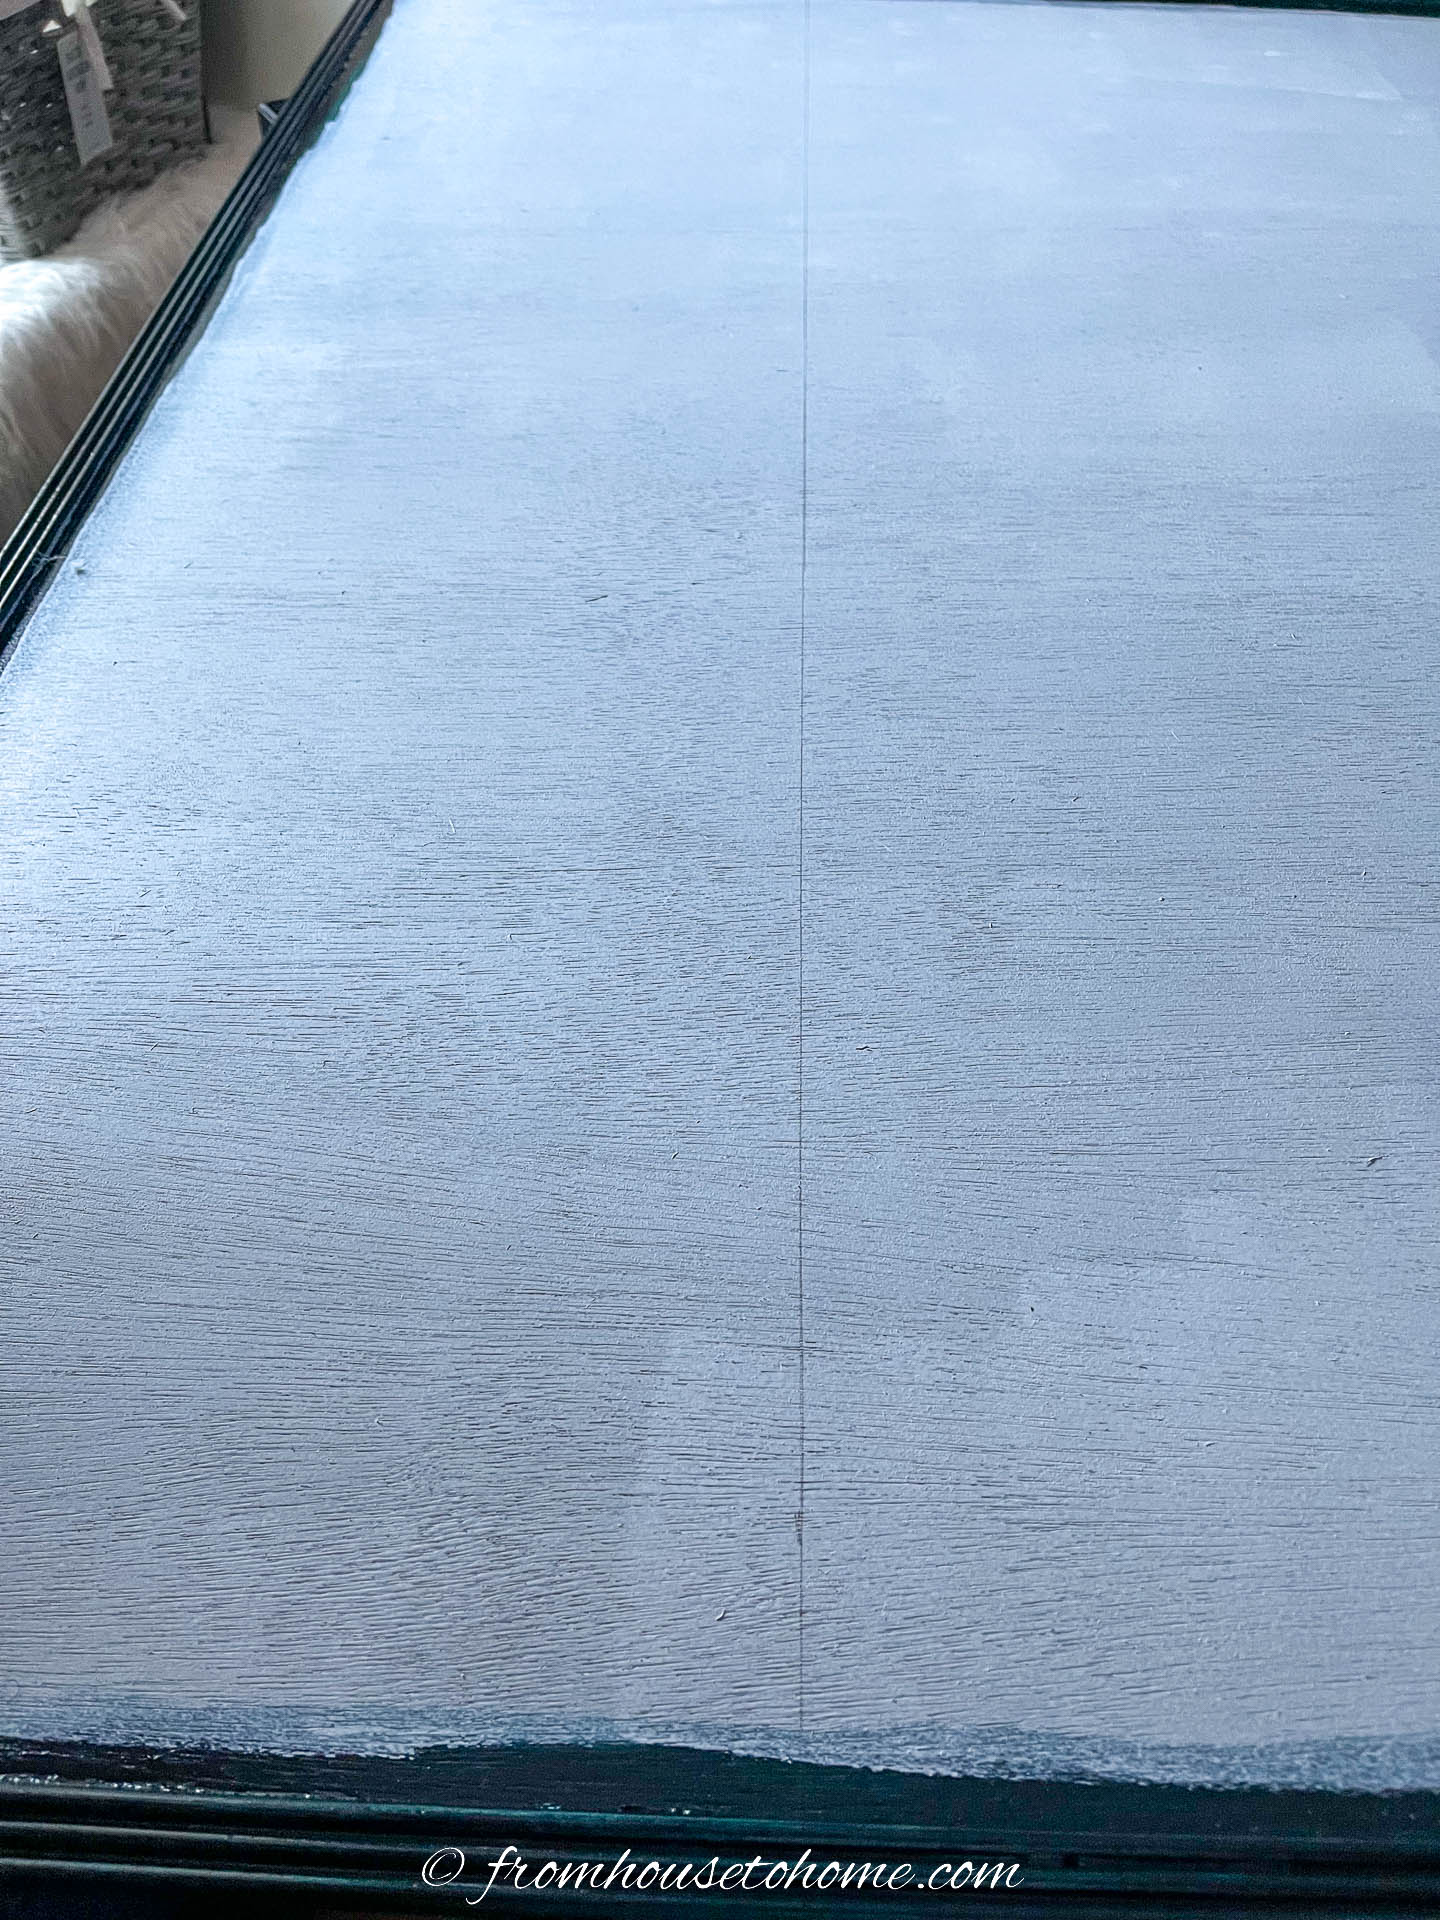
Then use a long ruler or chalk line to draw a line between those two points.
It’s very important that this line be straight since the alignment of all of your mural pieces will be determined by this.
And they won’t go on easily if they’re crooked.
6 | Glue on the first strip

Now it’s time to glue on the mural.
With a brush or paint roller, apply a liberal coat of wallpaper paste to the board where the first strip of mural will go.
Cover up to about an inch past your line. But don’t do the whole board at one time (the glue will start to dry before you get to those other sections).
Then align the right side of your first strip of mural with the line that you drew. Make sure that it matches exactly.
There should be at least half an inch of extra wallpaper hanging over all sides of the frame.
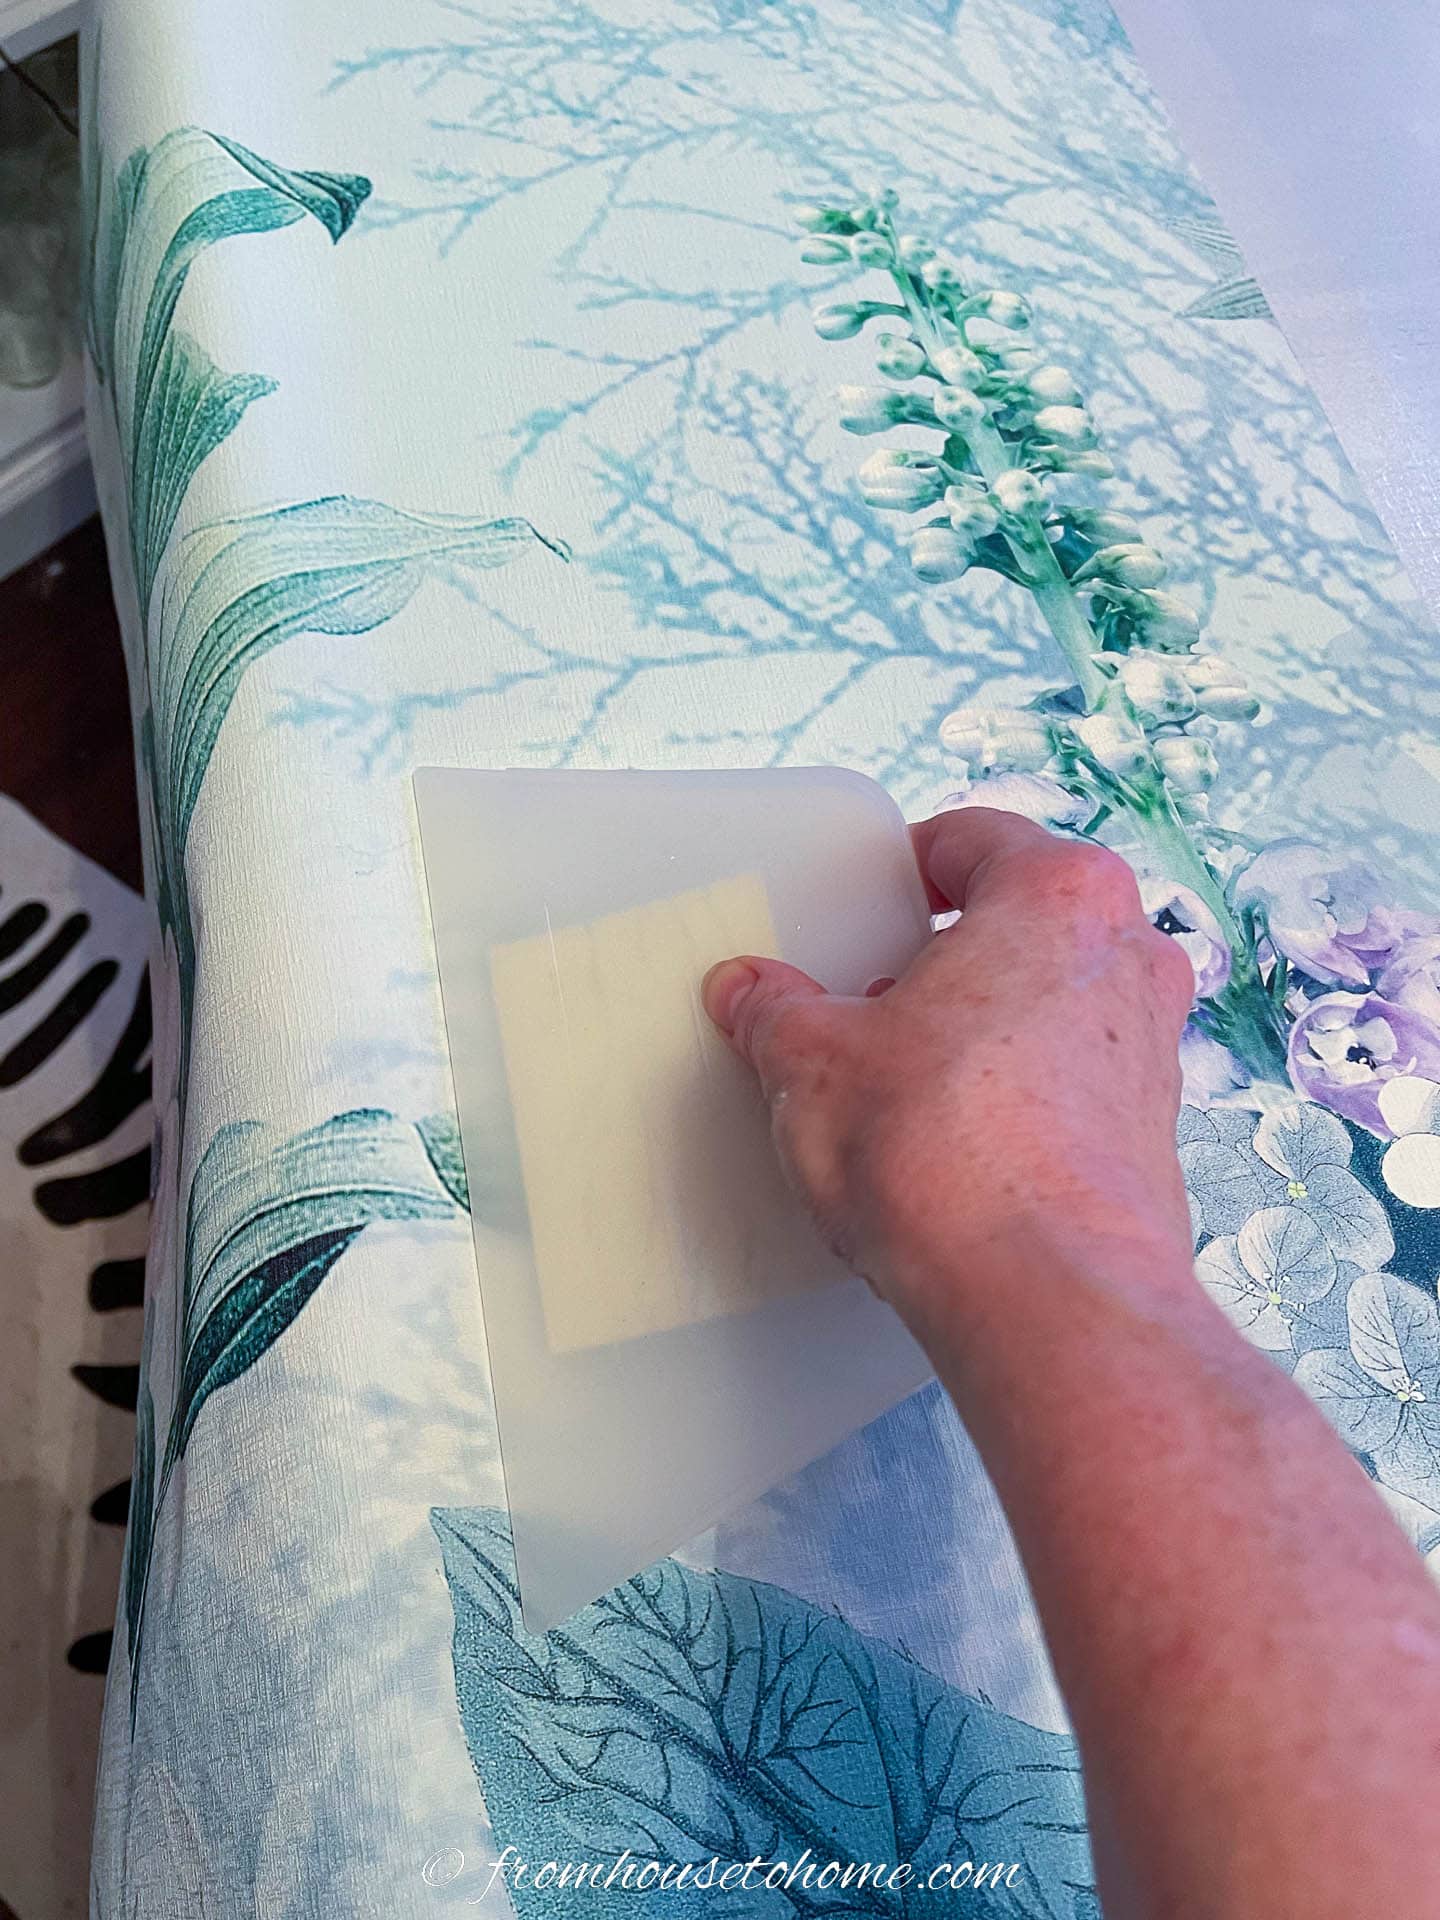
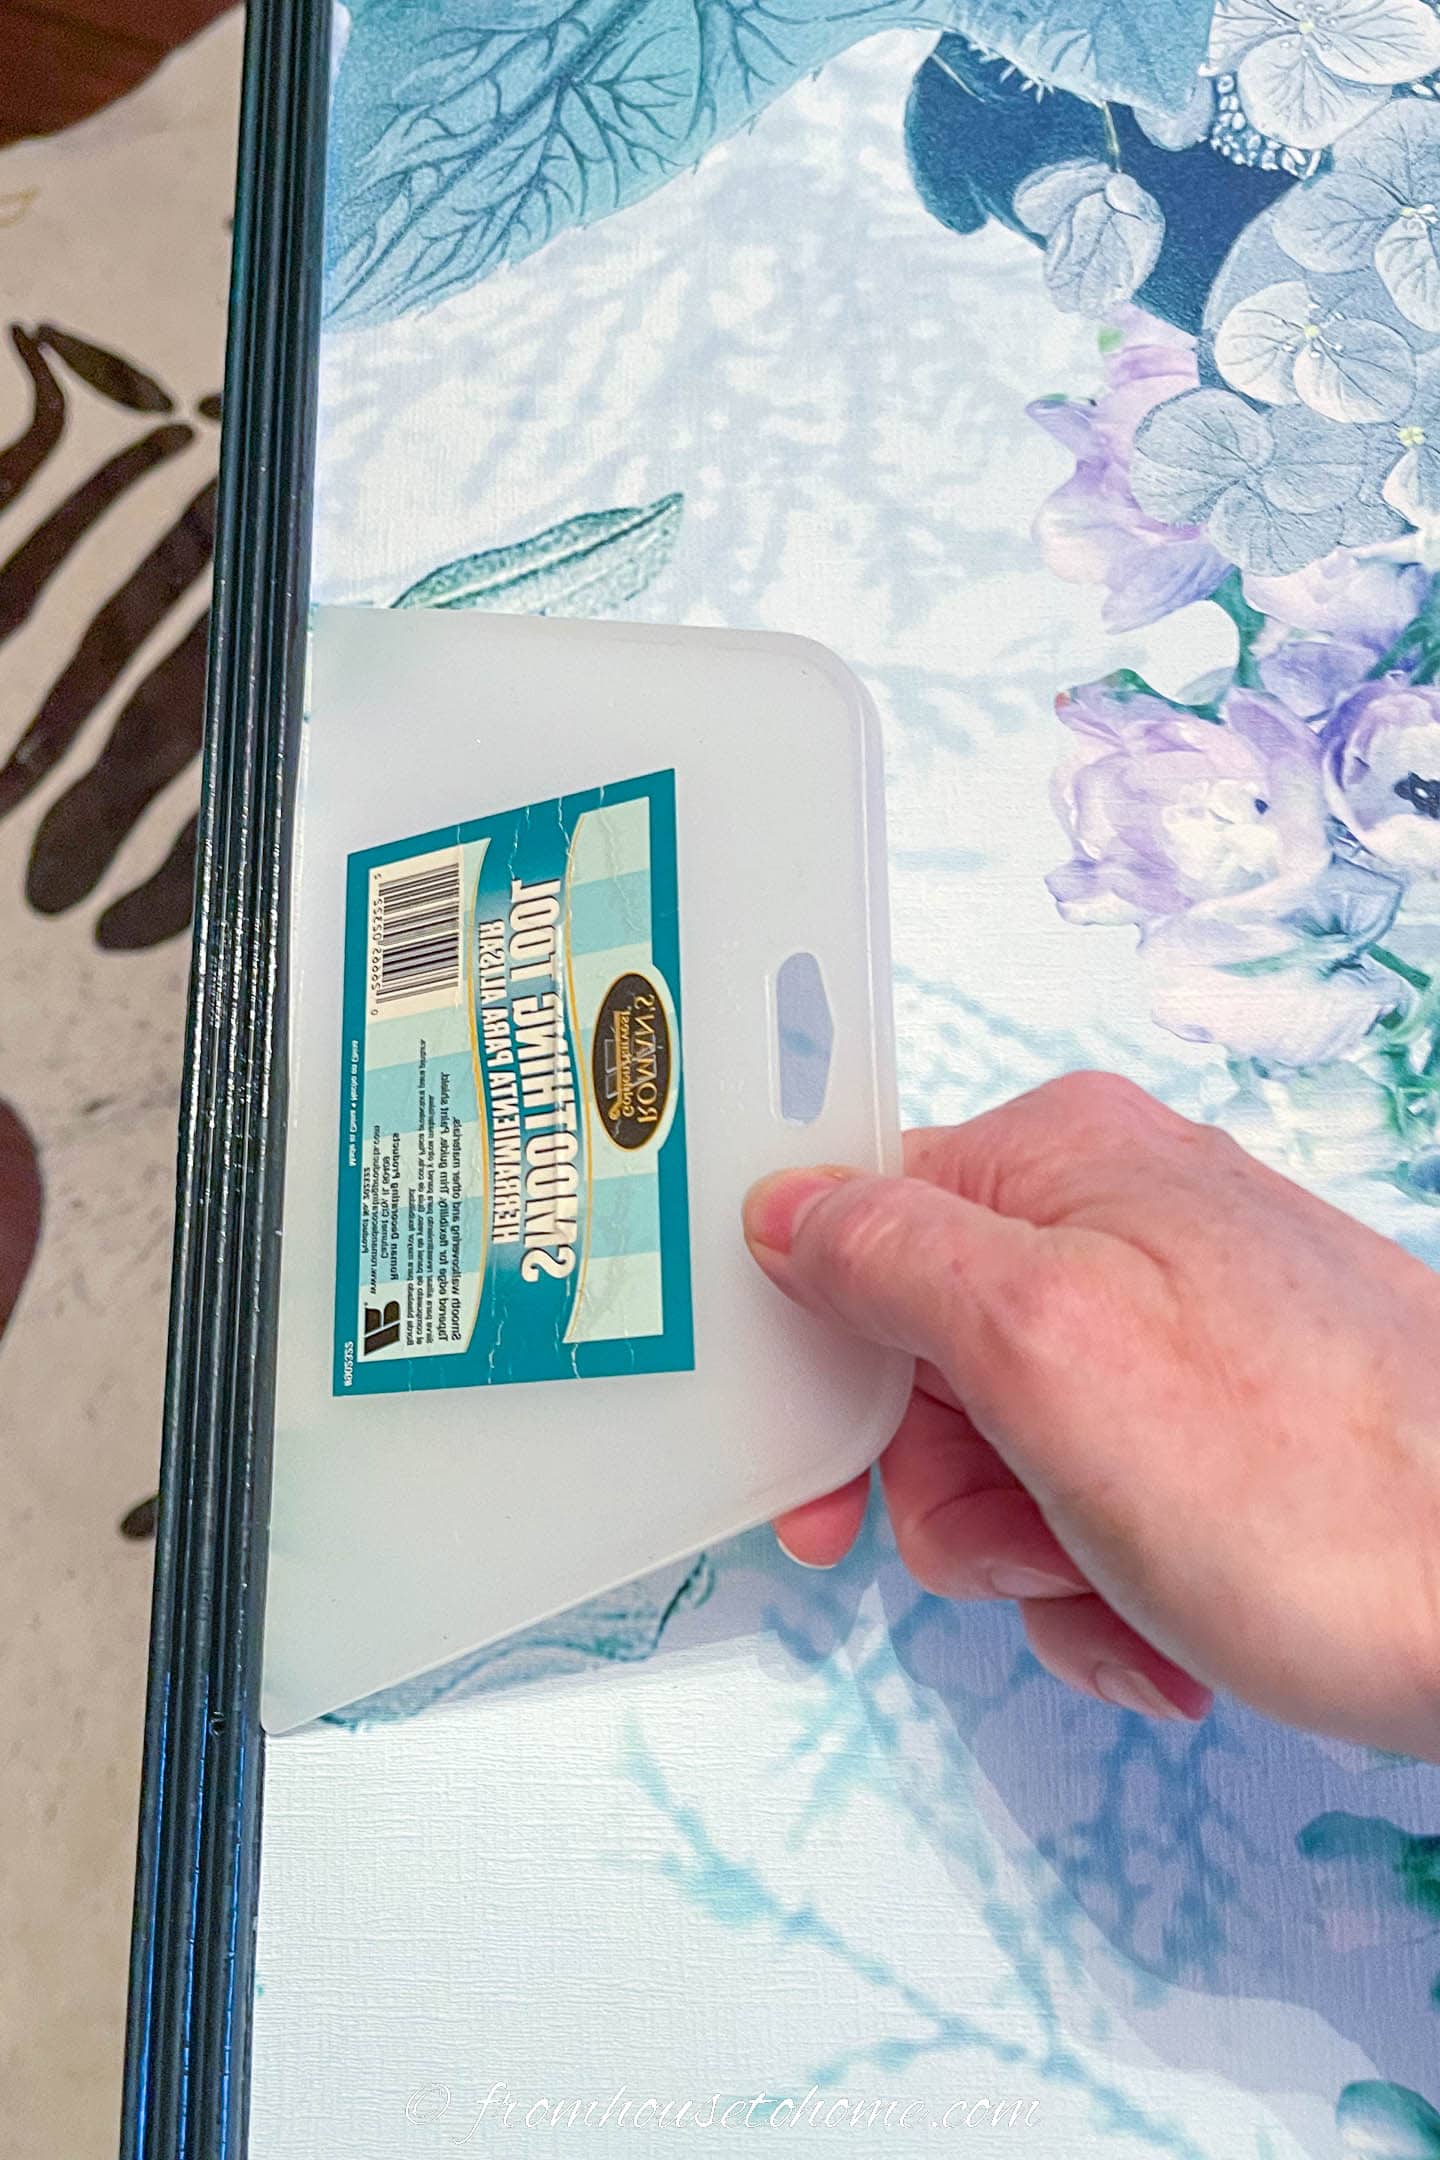
Run the wallpaper smoother from the middle of your mural strip to the outsides. This will get rid of any air bubbles and help it adhere to the surface.
Don’t press down on it too hard or you will stretch the paper.
Wipe off any excess glue that comes out the edges with a damp sponge.
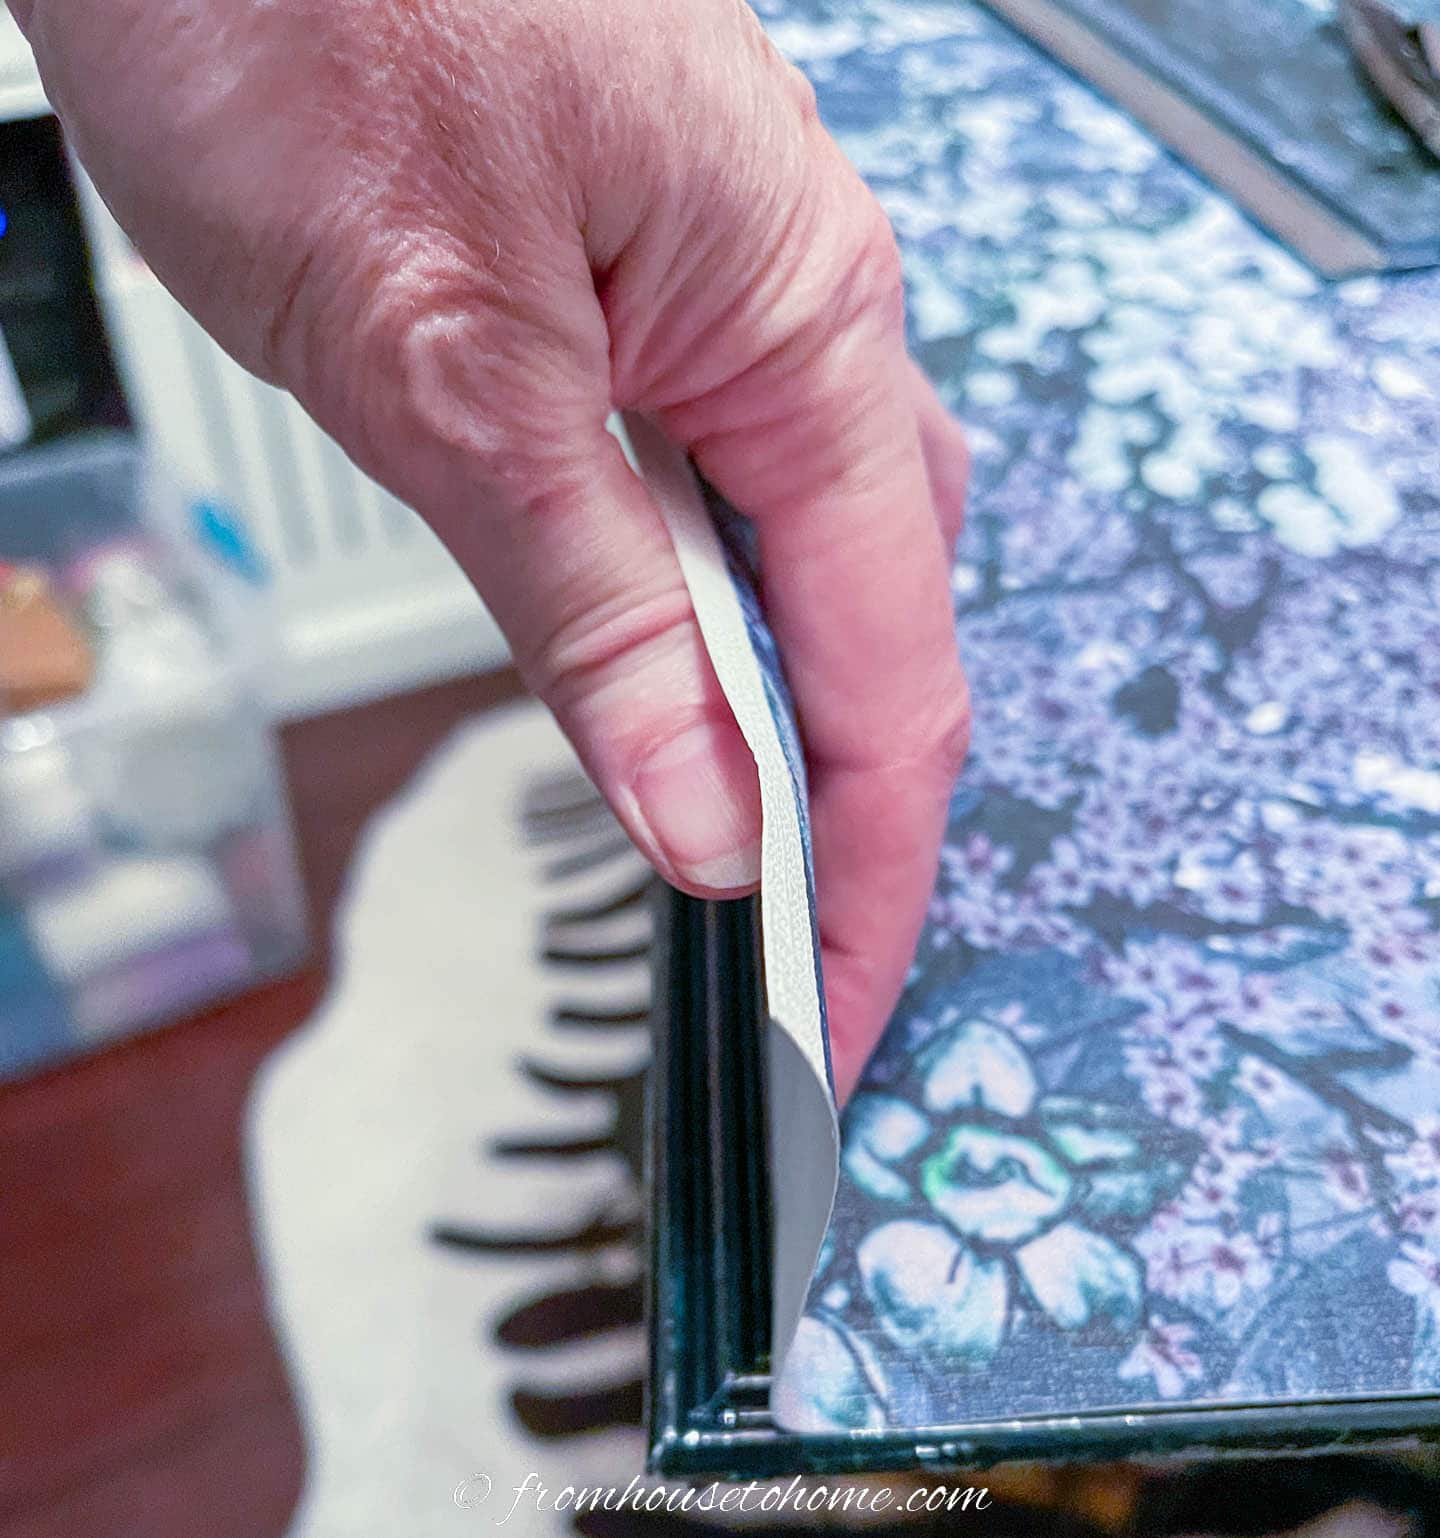
Then crease the extra paper where it meets the inside edge of the frame.
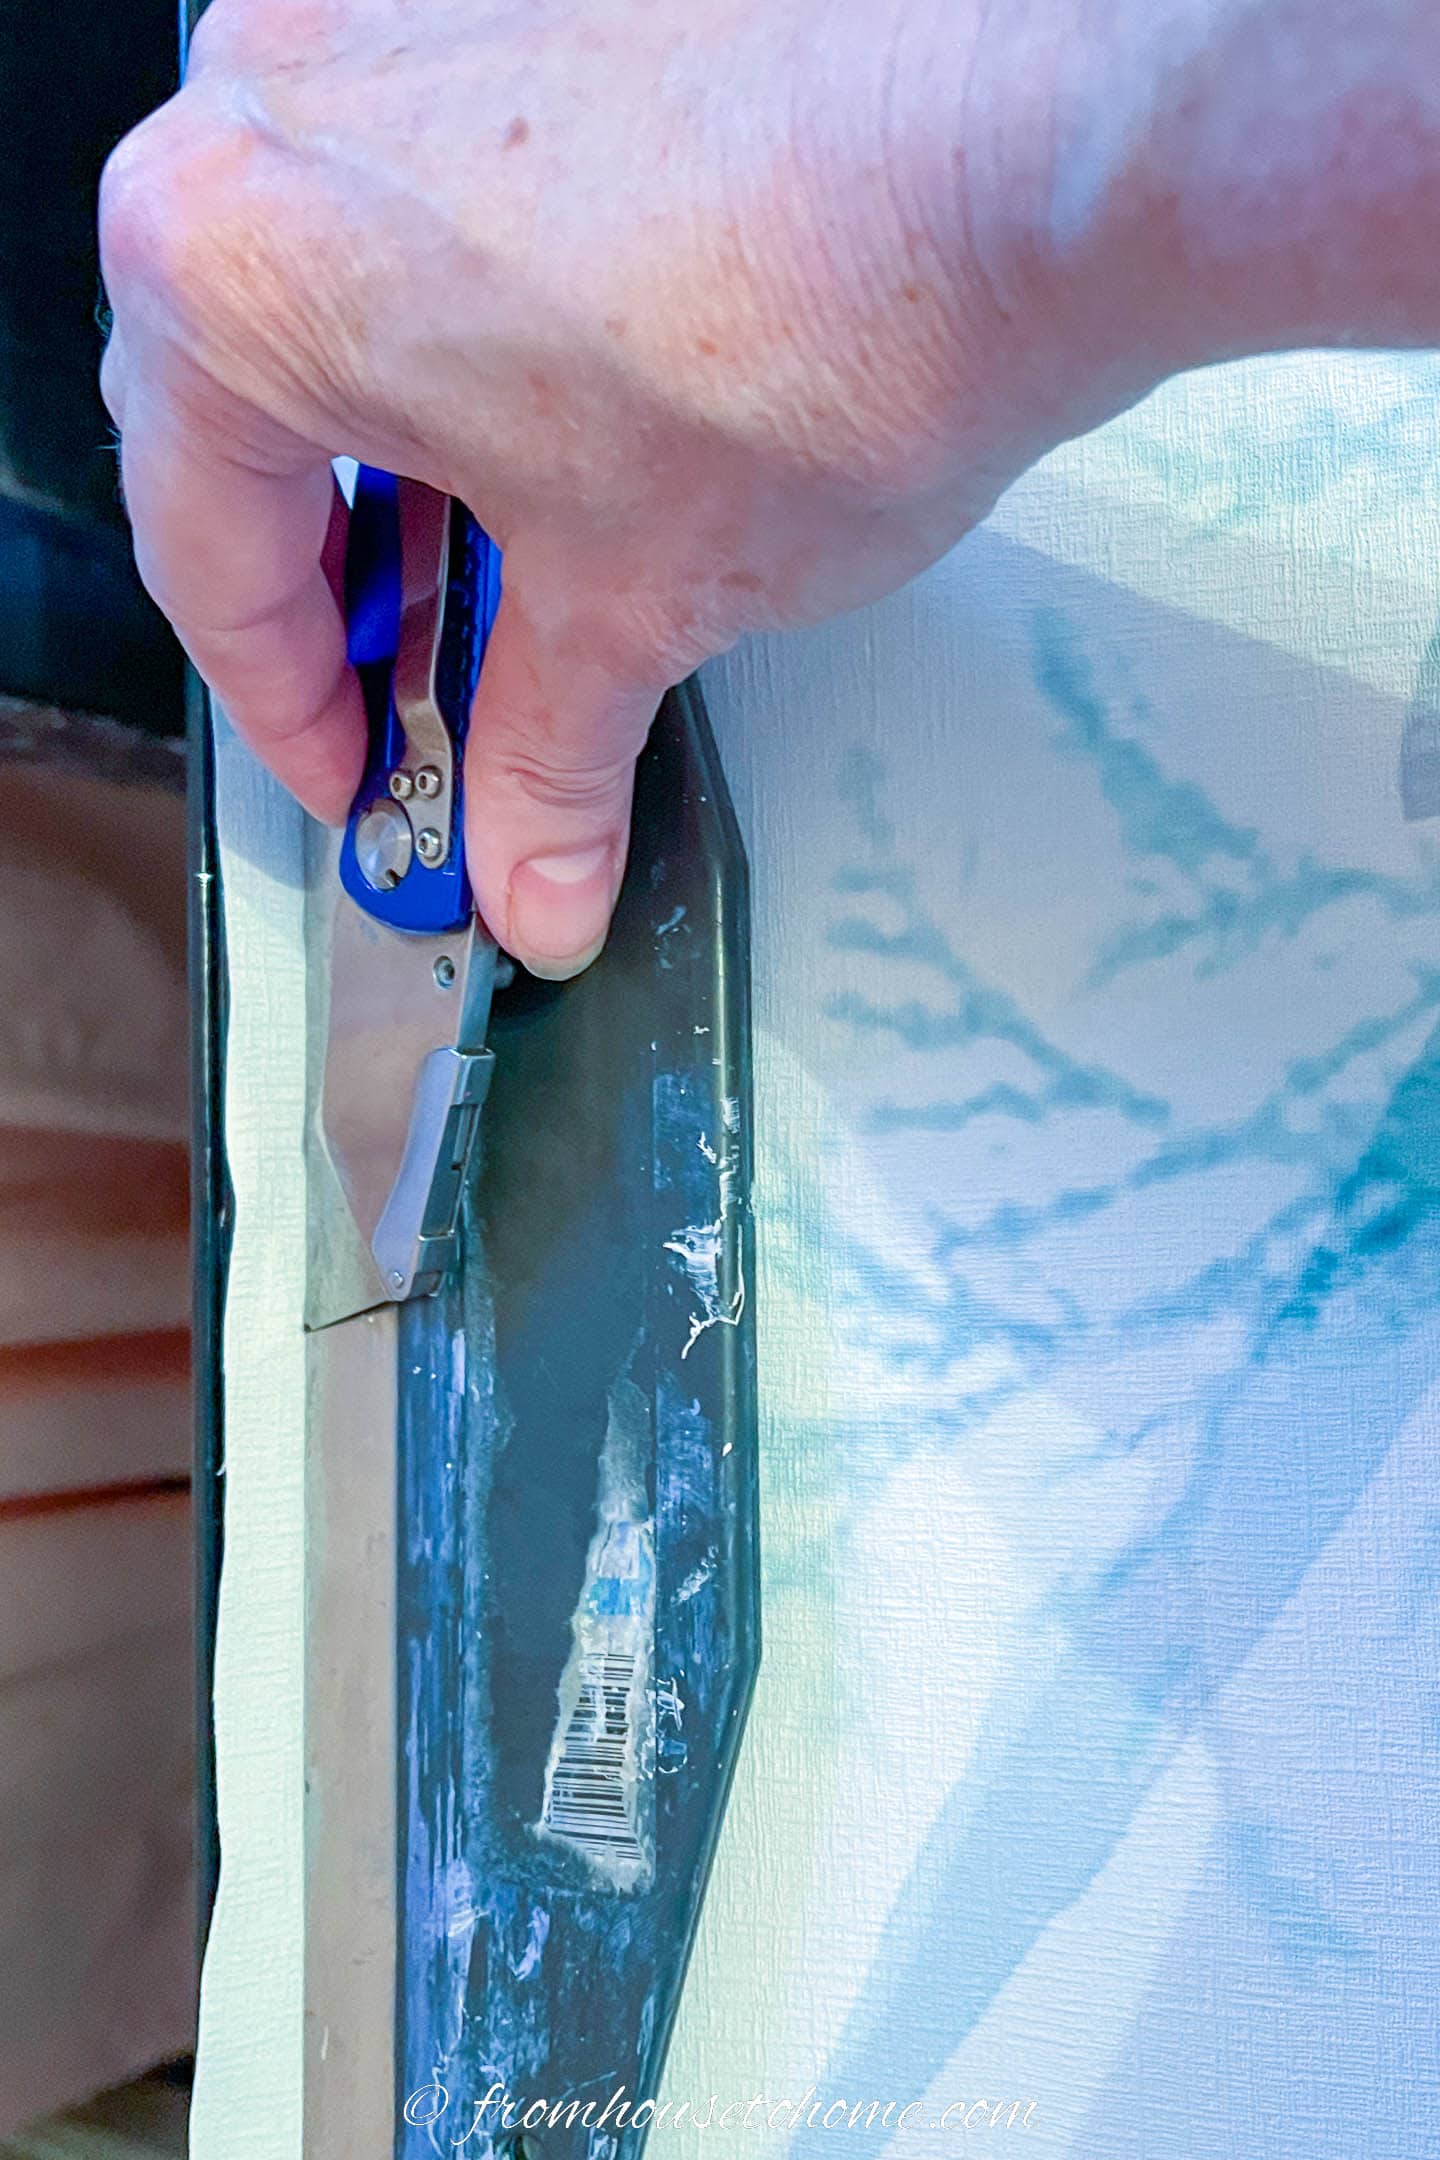
Use a straight edge (or metal ruler) to hold the creased paper down while you cut off the excess with a utility knife. Repeat this on all sides.
I find that cutting sideways into the frame rather than down into the board works best. Otherwise you may end up cutting the paper too short.
If there’s a little bit of mural sticking to the side of the frame, use the utility knife to carefully cut it off.
If you can’t cut all the way through the paper with the utility knife, or the paper starts to tear, your blade isn’t sharp enough.
Switch it out for a new one and the job will be much easier.
You will probably need to do this more than once during this process since cutting murals (or wallpaper) makes the blades get dull really fast.
Smooth down the wallpaper at the edges of the frame to make sure it sticks.
7 | Paste on the rest of the mural

Repeat the same gluing process (from step 6) with the rest of your mural strips.
The only difference is you will be lining up the left side of these strips with the right side of the last piece that was glued to the board. (No need to draw more lines).
Make sure that the pattern in the mural is matching and that you have pushed the side of the paper right up to the edge of the last piece so that there isn’t a gap between them.

After you have smoothed out the mural and cut off the excess, run a wallpaper roller along the seam where the edges meet to make sure it is glued down and stays together.
7 | Hang the picture
One of the issues with hanging large artwork is getting it to stay straight.
So I used this frame hanger* that comes with a level built in.
It’s really easy to put up, uses small nails so it doesn’t make big holes in your wall, can hold up to 100 pounds, and allows you to adjust the picture a little to the left and right if you don’t get it exactly centered properly.
First, you attach the part without the level to the back of the picture.
Depending on the thickness of your moldings, you may need to use shorter screws than the ones that come in the package. (Mine were 3/8″ long).

I put it right at the top of the frame for a few reasons:
- Because that’s where the molding is, there’s more thickness for the screws from the frame hanger to go into.
- It makes sure the metal piece from the frame hanger is straight on the back of the picture.
- It’s easier to figure out how high the frame hanger on the wall should be in order to get the picture at the right height. Just put it where the top of the picture should be.

Then hang the other half of the frame hanger (the one with the level) on the wall.
As I mentioned above, it should go where you want the top edge of the picture to be.
This frame uses small nails to hold it in place. Which is great because it doesn’t make big holes in the wall.
I put one in the middle first which held the frame hanger up.
Then moved the ends of the metal strip until the level said it was straight and added two more nails – one at each end.
Since my artwork is fairly light, I didn’t need anymore than that. But you can put more nails in if you need to increase the weight allowance for the hanger.

Then you just have to fit the groove from the metal piece on the back of the frame into the groove from the metal piece on the wall. And you’re done!
Read the rest of our blue home office makeover posts:
- Week 1: Blue home office ideas
- Week 2a: Blue home office mood board
- Week 2b: Home office layouts
- Week 3: Blue home office paint colors
- Week 4: DIY large wall art
- Week 5: Glam black and blue bookshelf makeover
- Week 6: DIY electric sit stand desk
- Week 7: How to hide wires on a desk
- Week 8: Hague blue and white home office makeover

Don’t forget to checkout this week’s makeovers from all the other guest participants on oneroomchallenge.com.
Other DIY art projects you might like
- How to hang a picture on a bookshelf (and still get to the books)
- Agate slice wall art
- How to create silhouette art
I would have never thought to use wallpaper as a picture. Such a neat idea and it is beautiful! Great job!
Thanks, Gayle! I have never done it before either, and I’m really happy with the way it turned out.