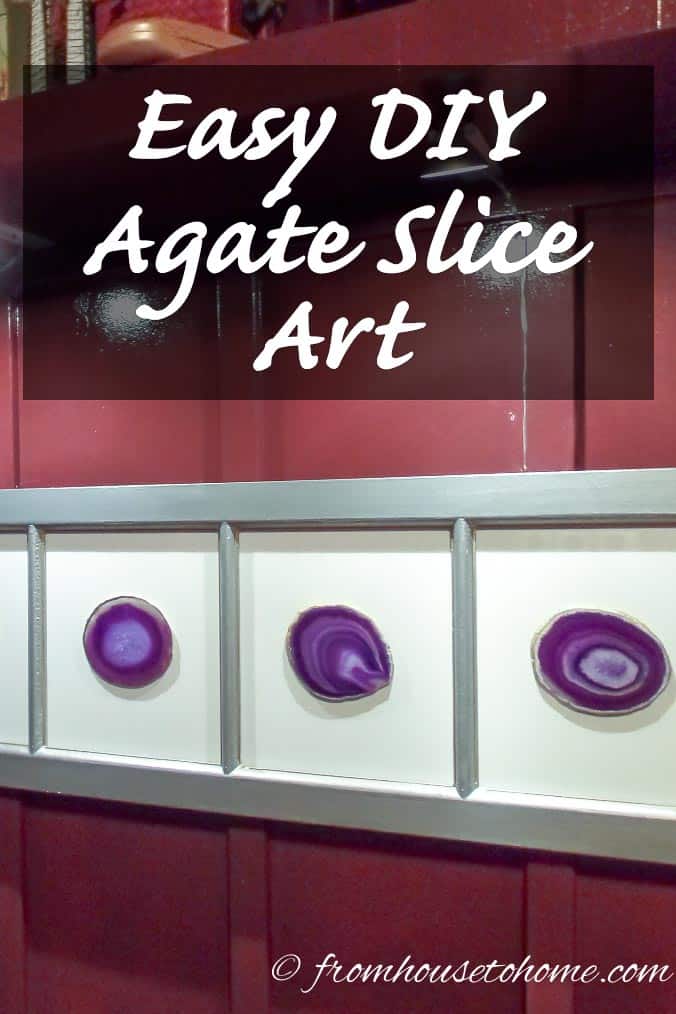
Easy DIY Agate Slice Art
I have always been fascinated by the pretty patterns and colors of rocks like agate but have never been able to figure out how to include them into my room.
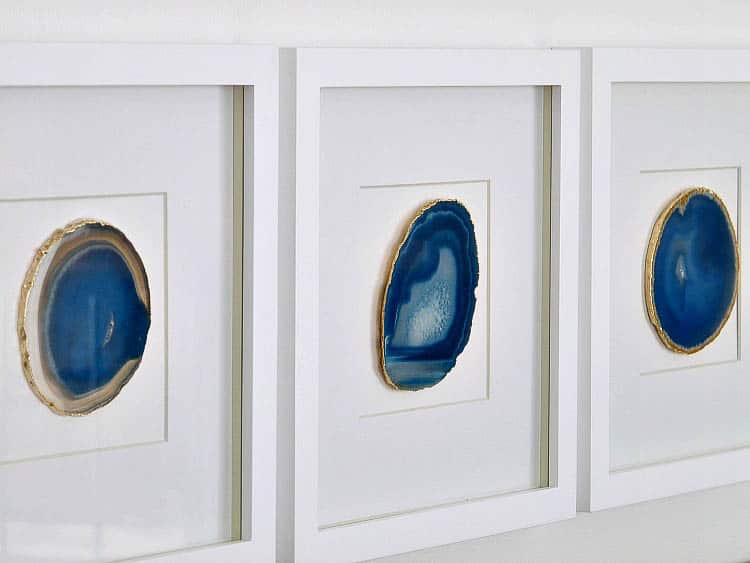
via dans-le-townhouse.blogspot.ca
Then I saw this post from dans-le-townhouse.blogspot.ca and thought it would be perfect for one of the corners in my den makeover.
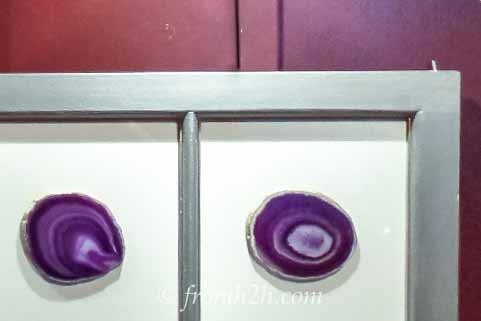
This is a preview of my version. Since it was going in my den, I decided to paint the frame the same color as my table (you can see that makeover here.) I chose to go with purple agate since it goes better with my den color scheme. The nice thing about agate is that it comes in a variety of colors so you are bound to find one to match your decor!
The rectangular shape of the frame and the different agate patterns add another dimension to the décor on the wall under my shelf. When highlighted by spot lights, a dark corner comes to life.
Click Next to see how to make your own DIY Agate Slice Art.
What You Need
- 4 Section Picture Frame
- Silver Paint
- Small Paint Brush
- 4 Agate slices or coasters – about 3½” in size
- Matte Photo Paper
- Metallic Gold Paint
- Hobby Paint Brush
- Sharpie Gold Oil Based Pen
- Epoxy Glue
- Under Cabinet Lights
Paint the Frame
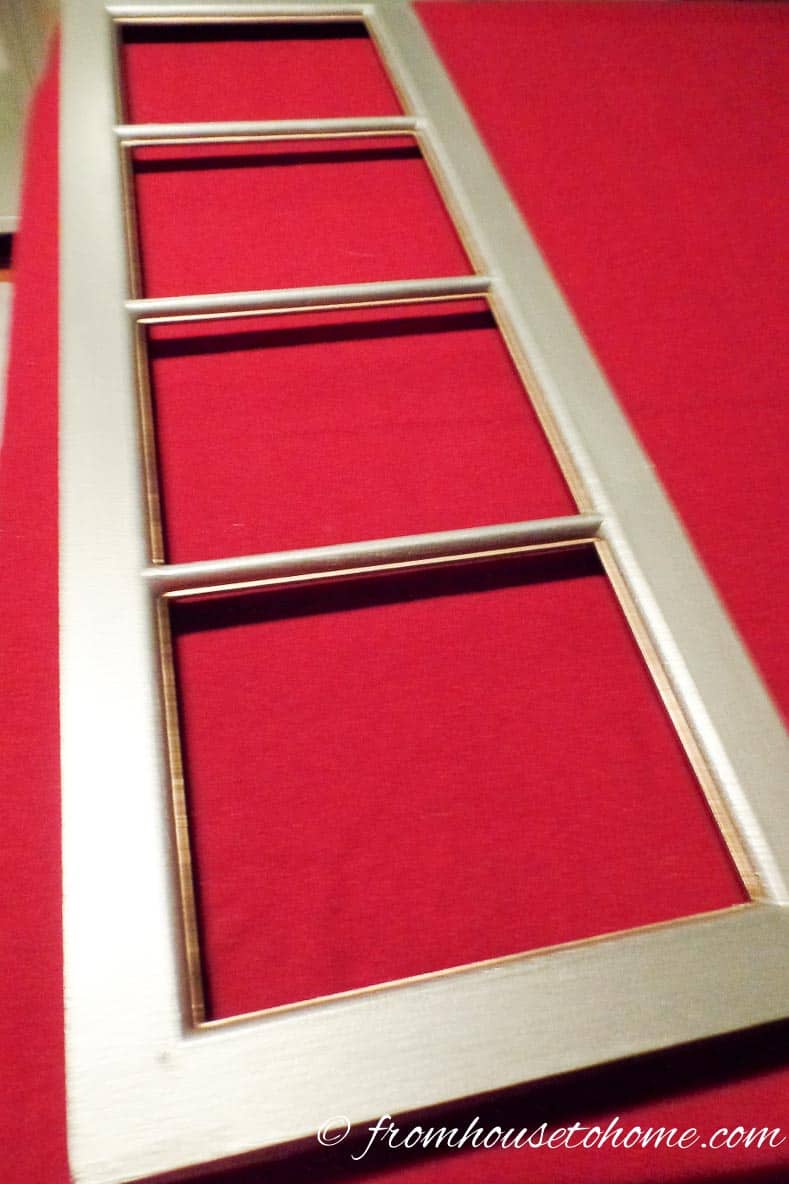
I used a divided frame rather than individual ones. This way you don’t have to worry about lining them up perfectly on the wall.
1. Remove the back and the glass from the frame.
2. Paint the frame with silver paint (or the color of your choice). It will likely need a second coat. Sorry, I forgot to take a before picture here.
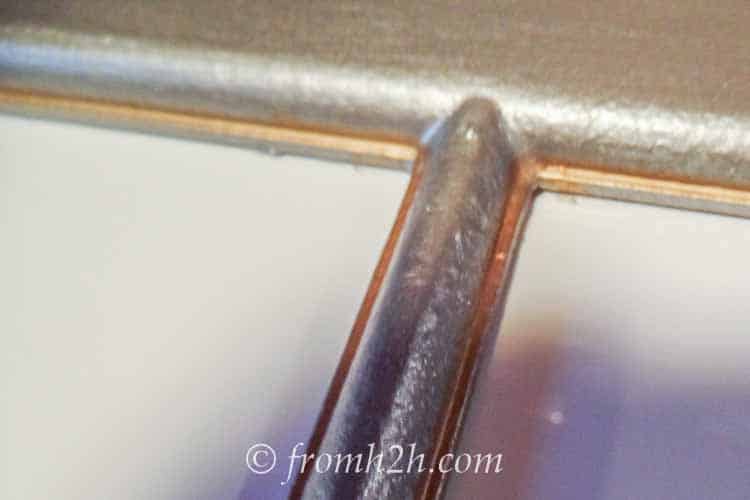
3. When the base coat is dry, outline the mullions and the picture openings with a thin line of gold, using the sharpie. I my case there was an existing molding groove around each opening that was easy to follow and highlight with the gold sharpie pen.
Put The Frame Back Together
1. Clean the glass panes.
2. Place the glass panes back into the frame.
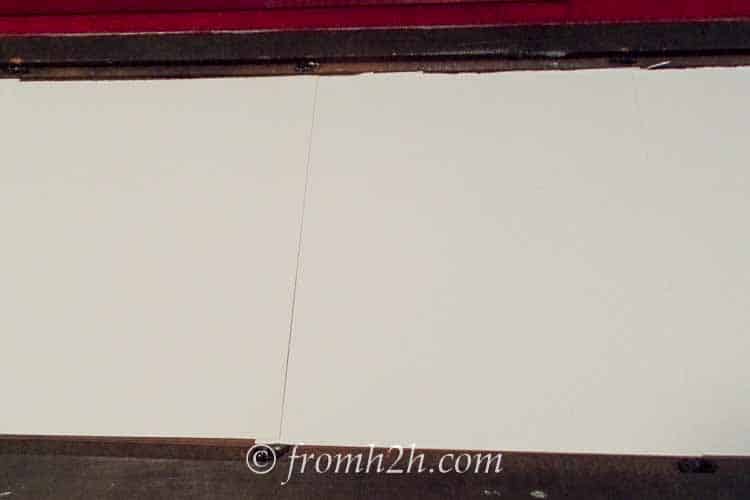
3. Cut pieces of photo paper to fit the size of the frame opening. Lie them on the glass panes so that the edges overlap and will be hidden by the mullions of the frame. This will make sure you can’t see the paper lines from the front.
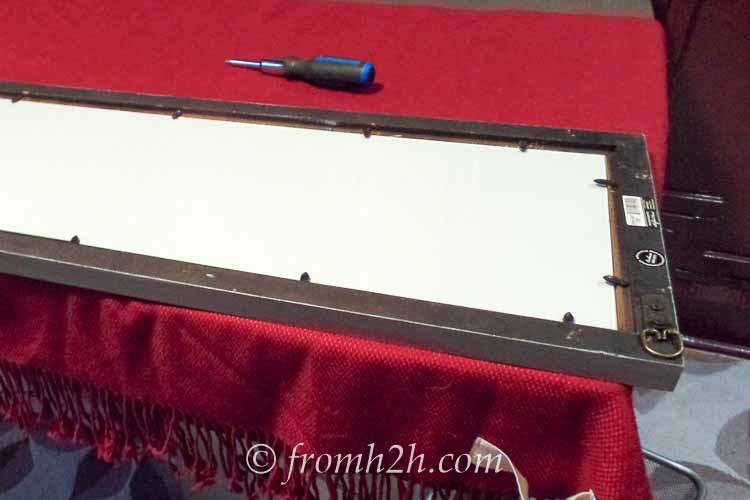
4. Put the back of the frame into place, making sure not to move the pieces of paper.
5. Secure the back in place.
Glue on the Agate Slices
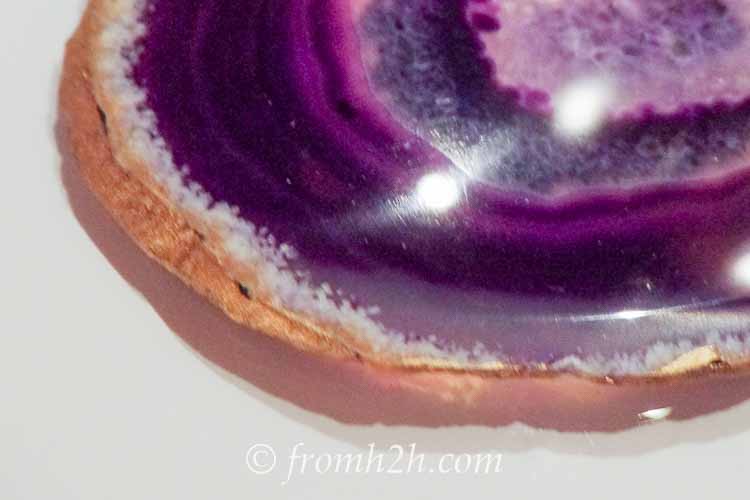
1. Paint the rims of the agate slices with the gold paint and let dry.
2. Put adhesive onto the agate slices and attach to the glass between the mullions with a twisting motion. I just eyeballed the center of each space.
3. Let the picture lie flat for 24 hrs. so that the glue can dry thoroughly.
Step 3: Hang the Art and Spot Lights
1. Hang the picture from 2 hooks making sure it is level.
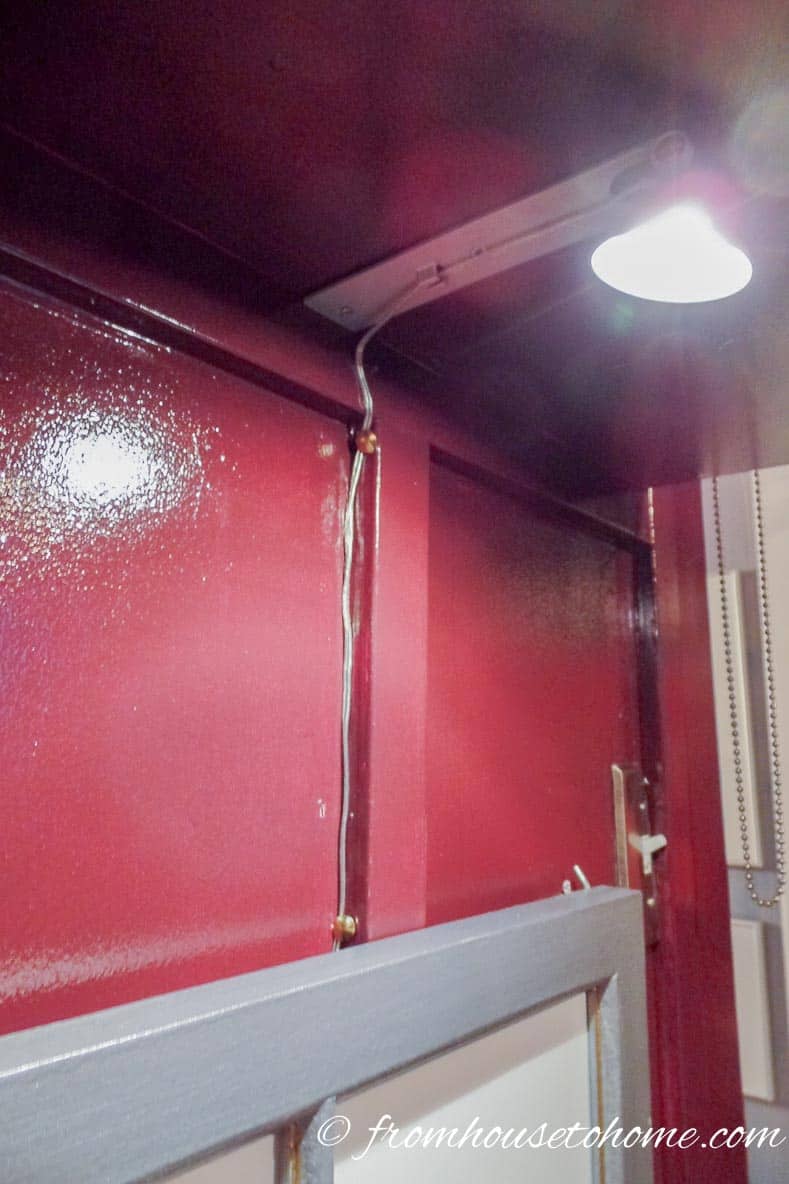
2. Install the spot lights on the underside of the shelf. I used thumb tacks to secure the cords from the lights under the shelf so that they are hidden from view. I was very careful not to puncture the wires with the tacks.
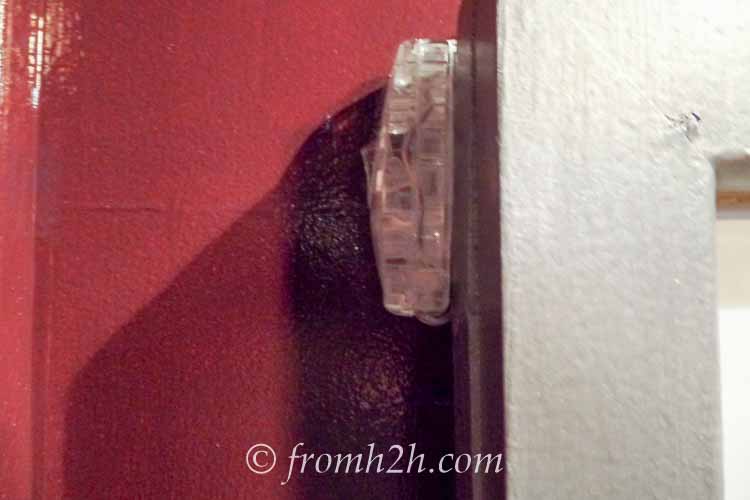
The lights came with an on/off switch which I positioned at the side of the picture for easy access.
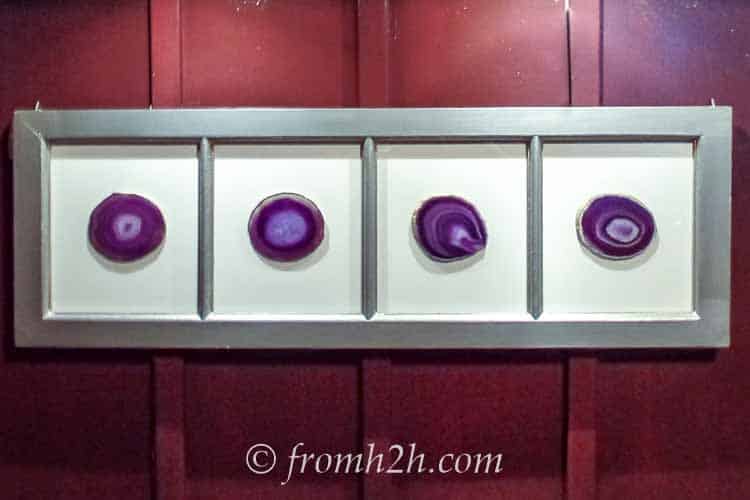
The Finished Product

The finished art really brights up this corner of my room.

And it fits perfectly in the narrow space under the shelf.
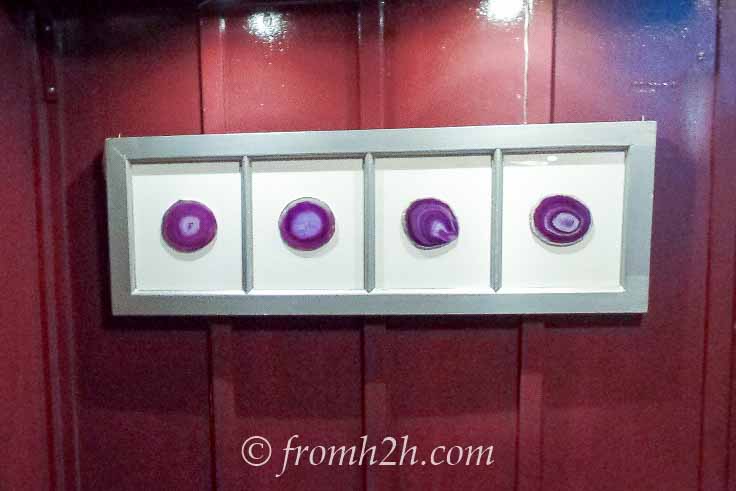
Such a big impact for such an easy project!
Have comments or questions on our Easy DIY Agate Slice Art? Tell us in the section below.
This post was originally published on February 29, 2016 but was updated with new content on July 7, 2023.
Your wall art looks awesome!! Love the purple agate!! Thanks for linking up at Sweet Inspirations!!
Thanks, Keri! Happy to post on your Link Party…thanks for hosting it!