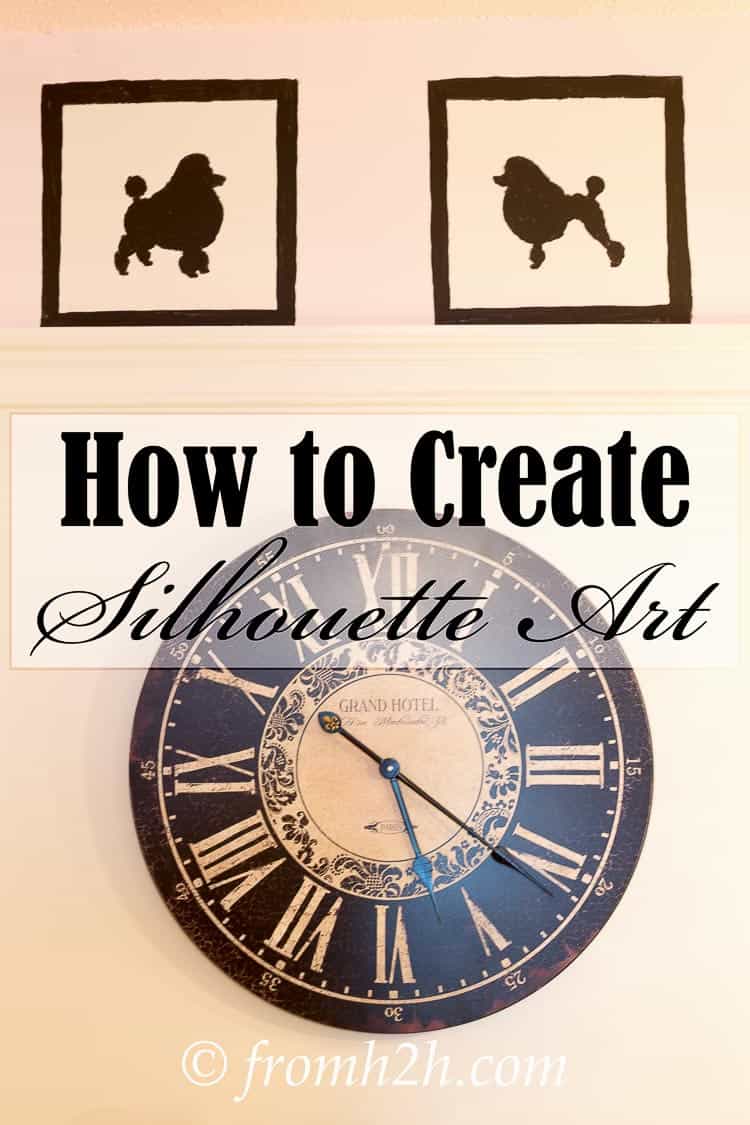
How to Create Silhouette Art
Adding artwork to your walls is a great way to add a personal touch to your space.
When you need to add some pizzazz to your walls without spending a lot of money, creating your own art is the way to go. And Silhouette Art is easy to create without needing to be an artist.
Just pick the method that works for you and your situation, and then follow our instructions to learn how to create silhouette art.
Want to see silhouette art in action? Check out our staircase makeover.
Method 1: How To Create Silhouette Art With Paper and a Frame
This post may contain affiliate links. We make a small commission if you buy the products from these links (at no extra cost to you). As an Amazon Associate, I earn from qualifying purchases. But we only recommend products we would use ourselves. For more information, click here to see our disclosures.
Use this method if you prefer to cut shapes from paper and then glue them to their background. If you are good at cutting and have an outline that does not have too many small details, this is the fastest method of getting your art made.
What You Need
- Stencil of the silhouette you want to create
- Black construction paper for the silhouette
- Chalk (I like chalk because it is easy to see on the paper and can be wiped off when you’re done)
- Scissors or X-acto knife
- White construction or mat paper for the background
- (optional) Rotary cutting tool and mat
- Gluestick
- Frame that is larger than the stencil by at least an inch on each side
Note: You can use colors other than white and black. All you really need to make a silhouette is 2 colors that contrast so that the silhouette stands out from the background.
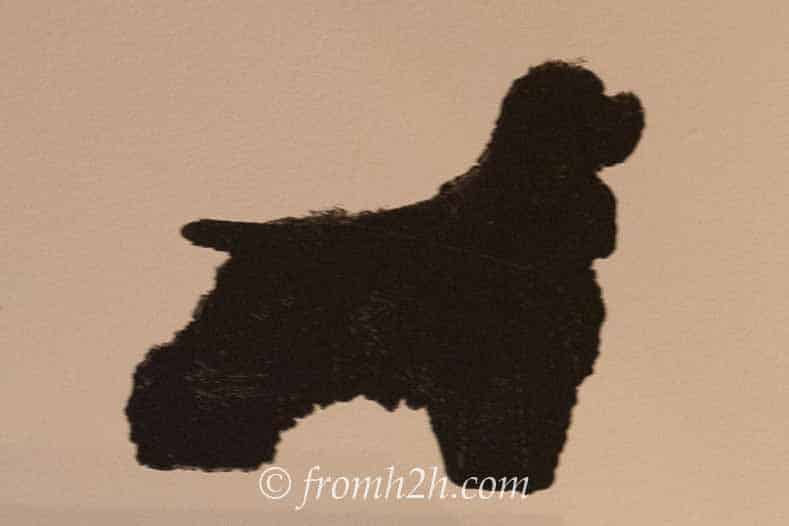
How To Create The Silhouettes
1. Place the stencil over the black construction paper.
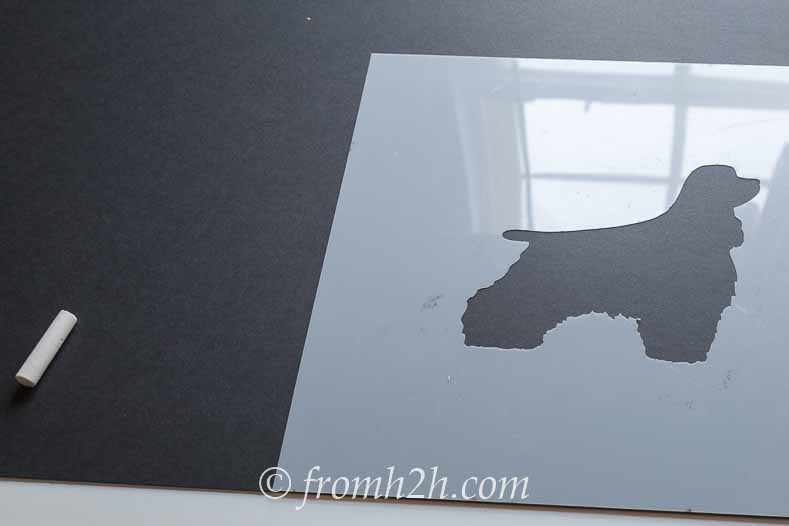
2. Use the chalk to trace the stencil outline onto the paper.
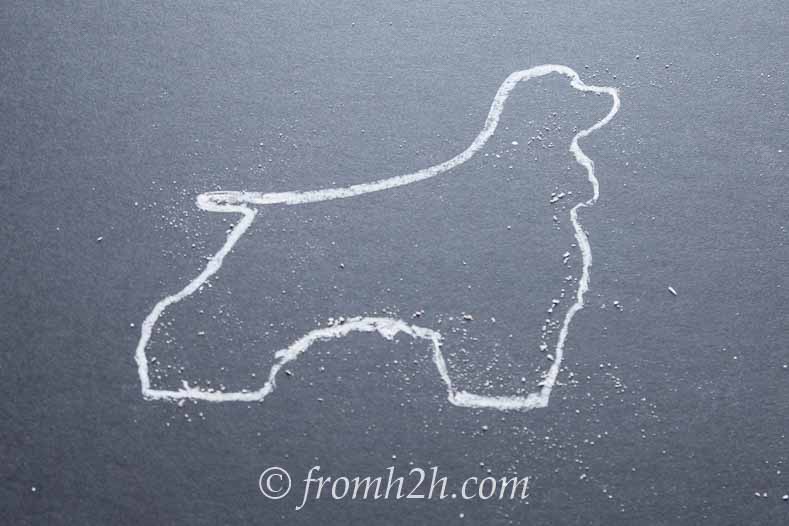
3. Use the scissors or x-acto knife to cut out the stencil design from the black construction paper.
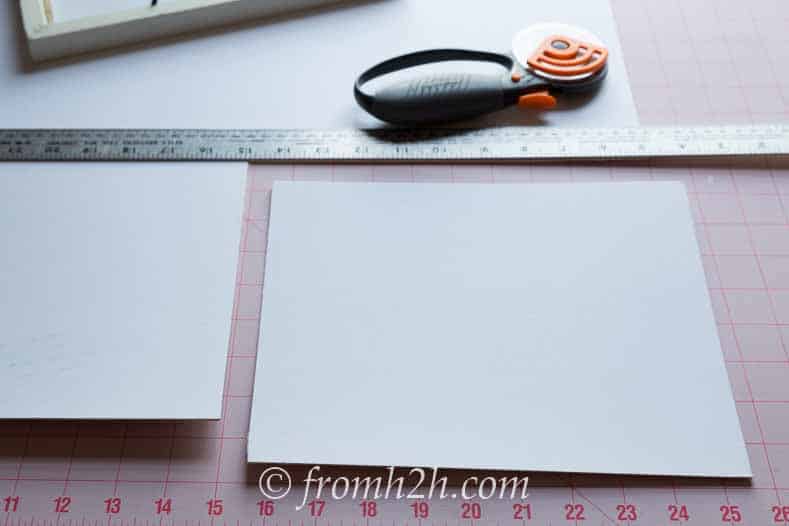
4. Cut the white construction paper to the correct size to fit in the frame. I like to use a rotary tool and mat (often used by quilters) for this step since it’s easier to get very straight lines.
5. Use the gluestick to glue the black construction paper silhouette onto the center of the white construction paper.
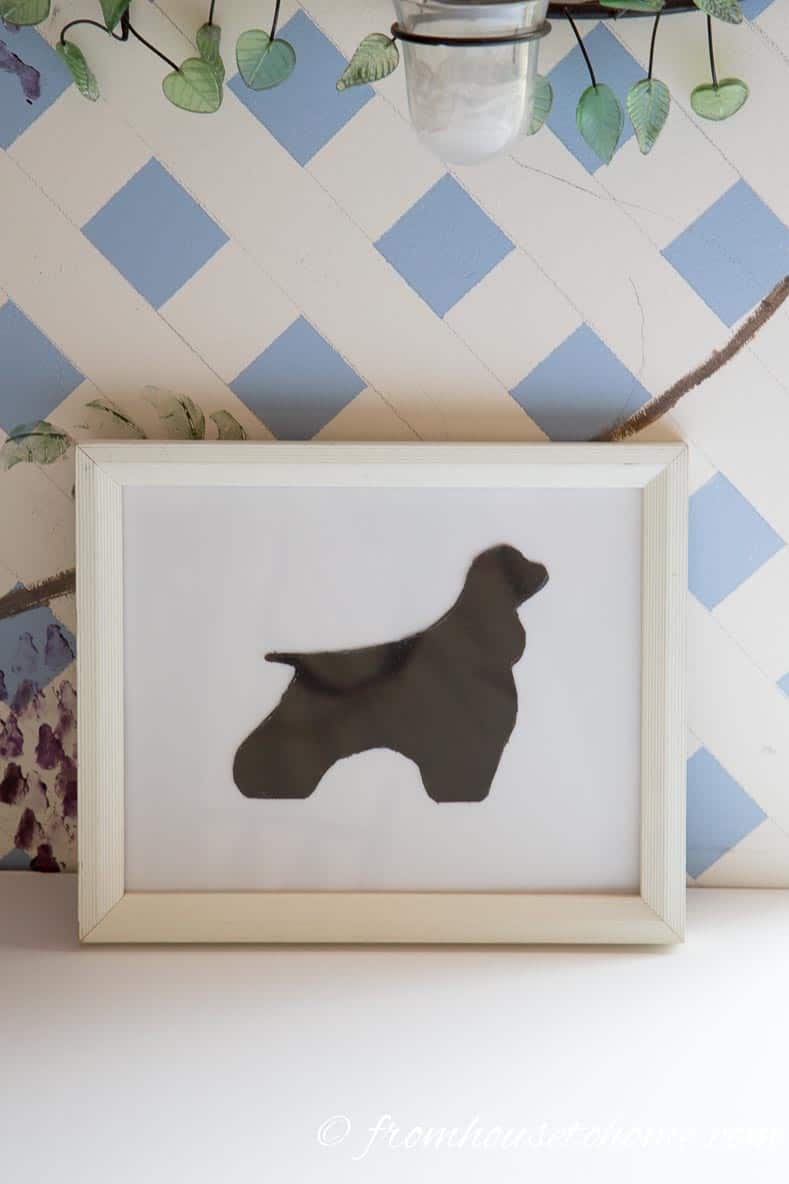
6. After the glue has dried, insert the image into the frame.
Method 2: How To Create Silhouette Art With Paint and a Frame
Use this method if you want to paint the silhouettes onto a white mat that can be framed. Outlines with more details are a little easier to create with this method since the paint will fill the stencils to the edges. It does take a little longer than the paper version since you have to wait for the paint to dry before framing.
What You Need
- Scissors, X-acto knife or rotary tool and mat
- White construction or mat paper for the background
- Stencil of the silhouettes you want to create
- Painters tape
- Small foam roller
- Black paint
- Frame that is larger than the stencil by at least an inch on each side
Note: You can use colors other than white and black. All you really need to make a silhouette is 2 colors that contrast so that the silhouette stands out from the background.
How To Create The Silhouettes
1. Cut the white construction paper to the correct size to fit in the frame. I like to use a rotary tool and mat (often used by quilters) for this step since it’s easier to get very straight lines.
2. Tape the silhouette stencil so that the silhouette figure is centered in the white square.
3. Use the small foam roller to paint the silhouette in the middle of the stencil. I usually try to get the black paint on thick enough that I don’t have to do a second coat.
4. Wait for the silhouette to dry.
5. Insert the image into the frame.
Method 3: How To Create Silhouette Art With Paint Alone
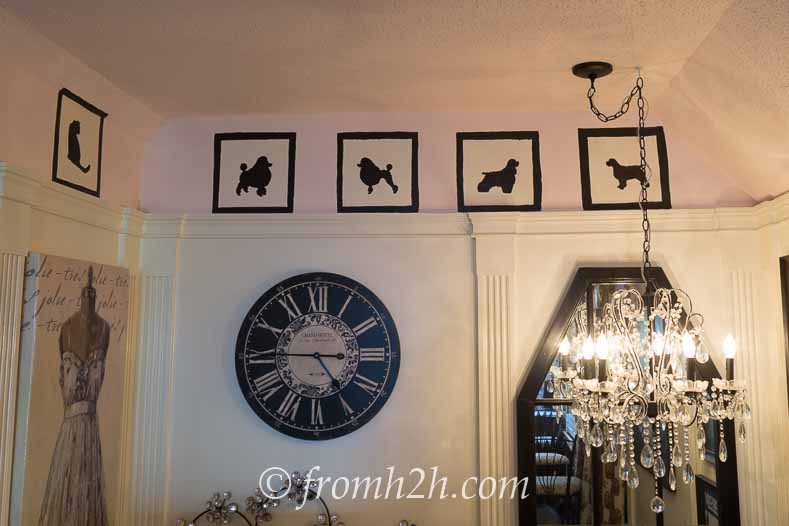
Use this method if you want to paint the silhouettes directly on the wall (as we did in our staircase makeover). In the staircase scenario, there wasn’t enough space around the top of moldings to install a standard-sized frame, so I decided to paint the silhouette and frame to get the exact size that I wanted. If you are creating a lot of silhouettes, this is also the most economical option since you don’t have to buy frames for each of the pictures.
What You Need
- Stencils of the silhouettes you want to create
- Square stencils that are larger than your silhouette stencils by at least an inch on each side
- Painters tape
- 2 small foam rollers
- Black paint
- White paint
- 1″ to 2″ wide paint brush depending on how wide you want the painted frame to be.
Note: You can use colors other than white and black. All you really need to make a silhouette is 2 colors that contrast so that the silhouette stands out from the background.
How To Create The Silhouettes
1. Use the painters tape to attach the square stencil to the wall in the correct location.
2. Use the foam roller to paint the square on the inside of the stencil with the white paint, creating the “mat” for the frame.
3. If you are doing more than one silhouette with the same square, you can repeat the first two steps for the additional frame locations.
4. Wait for the paint to dry.
5. If you want to have a solid color background, you may need to do a second coat of white paint for each of these squares (by repeating steps 1 and 2 again).
6. Make sure the white squares are dry before continuing.
7. Tape the silhouette stencils so that the silhouette figure is centered in the white square.
8. Use the second small foam roller to paint the silhouette in the middle of the stencil. I usually try to get the black paint on thick enough that I don’t have to do a second coat.
9. Repeat steps 7 and 8 for as many silhouettes as you are creating.
10. Wait for the silhouettes to dry.
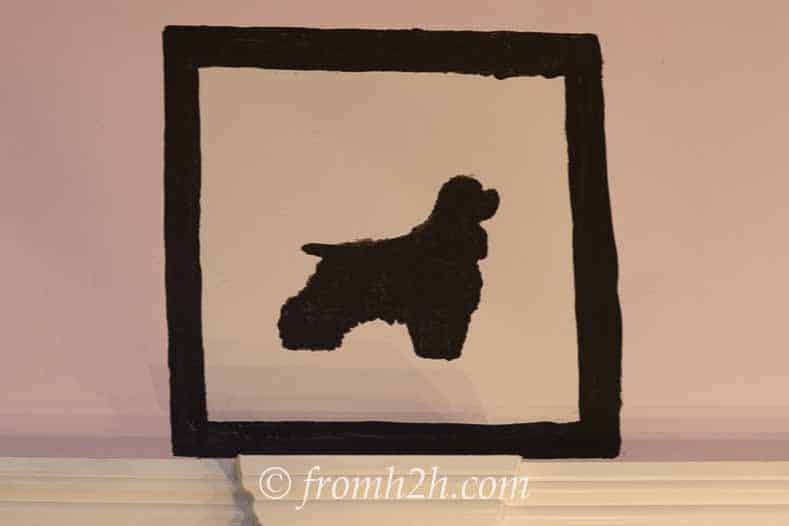
11. Use the paint brush with the black paint to hand-paint the frame around each square. I usually start with the top of the frame, then do the sides, and then the bottom. The width of the paint brush will determine the width of the frame. You will likely not end up with a perfectly straight frame, but I think that adds to the character. If you are concerned about getting very straight lines, you can use an additional square stencil that is at least 1″ bigger all the way around than the white background. The stencil will ensure that the outside frame edge is straight. Hold a ruler or paint edger along the outside of the wide background square to ensure that the inside frame edges are also straight.
All that’s left is to enjoy your new artwork!
Comments or questions on How to Create Silhouette Art? Tell us in the section below.
This post was originally published on June 30, 2015 but was updated with new content on June 26, 2019.
Yes, I to love silhouettes, and want to do complete pictures of my family. I hope to give it a try tonight or tomorrow. If it turn out right I’ll let you know. Thanks for the tips.
Hi Ivory…good luck with the silhouettes! I hope they turn out well 🙂
I would LOVE to silhousette my great-grands. How would you go about making a ‘templet’ of a child? Love your ideas and just know you can help me. Thanks, Charlotte
Hi Charlotte…What a great idea! I think you could use a picture of the child facing sideways to create a template. Print the picture to the size you want your silhouette to be and then cut around the child’s head to create the silhouette shape. (If you are using a professionally printed picture and don’t want to cut it, you can scan it or photocopy it, and then do the cut out on the copy). I think I would do the cut-out so that the outside of the picture is kept in tact, to create a DIY stencil (the hole that is left in the middle would be the silhouette template). Then you can either use it as a stencil and paint the silhouette, or use it as a template to trace the silhouette shape onto black construction paper (or whatever material you are using for the silhouette). The rest of the process would be the same as the instructions in this post. I hope this works for you…Thanks for visiting!