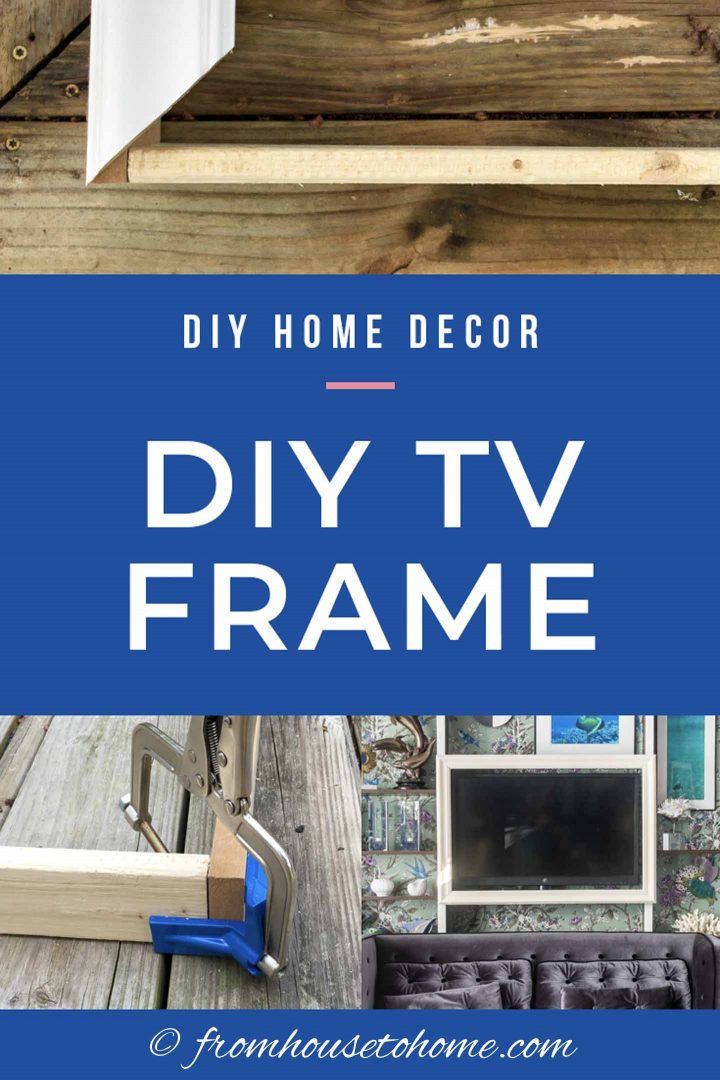
How To Build A DIY TV Frame
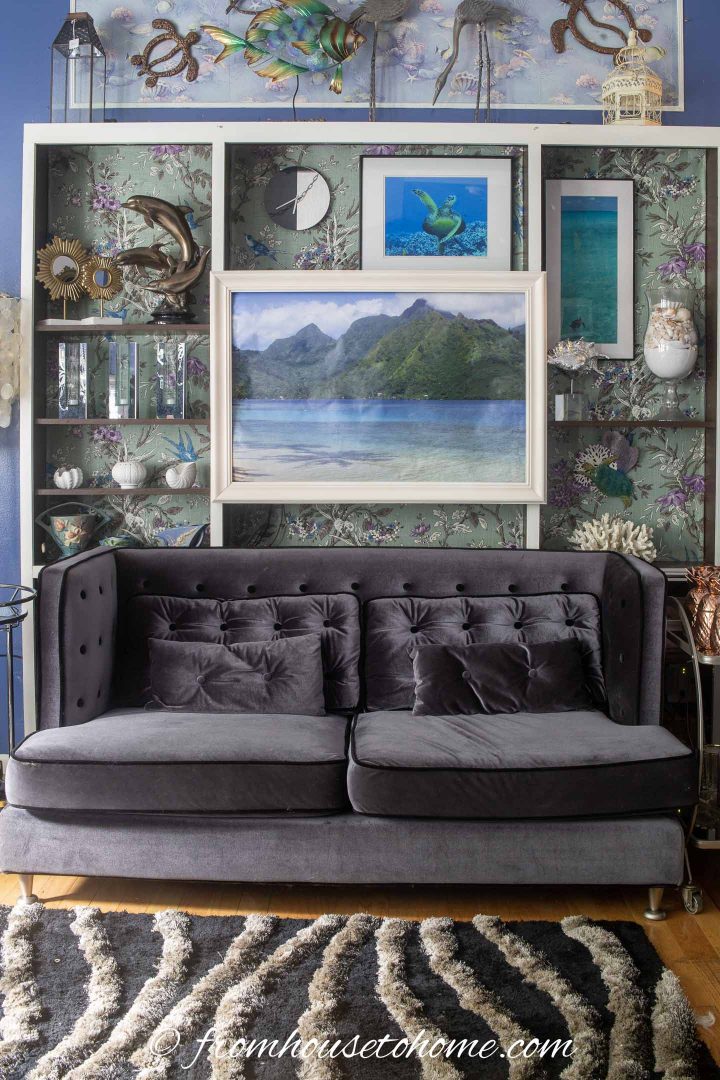
If you’re looking for a way to dress up your flat-screen television, why not build a DIY TV frame? With a couple of pieces of wood (or MDF) and some molding, you can make this easy project in a couple of hours. And it looks great around my DIY TV cover pull down picture.
DIY TV Frame
This post has been a long time coming. Ever since I shared my pull-down picture that covers my TV, a number of people have asked how I built the frame around the picture.
Well, I’m finally getting around to writing up that tutorial.
Even if you’re not going to cover the TV with a picture, making a frame for it does give your television a more finished look.
Keep reading to find out how to build a DIY TV frame.
DIY TV Frame Supplies
Materials
- 3/4″ thick MDF sheet – I used MDF for this project since it doesn’t warp and is easy to paint, but you could use plywood or even pre-cut wood boards.
- 3″ wide chair rail or baseboard molding – These will make the front of the frame so pick a molding design and color that you like. You can also use wider moldings if you have a larger television and want the frame to make more of a statement.
- #6 – 1 1/2 inch screws
- 1 inch finishing nails
- paintable caulk*
- Paint
- 2 – 1 1/2″ corner braces with screws
Tools
- Measuring tape
- Circular saw
- Pencil
- Miter saw* or miter box*
- Cordless drill
- Corner clamp*
- Small drill bit
- Caulking gun
- Hammer
 or
or Measure The TV
The first step of building DIY TV frame is to measure how big it needs to be.
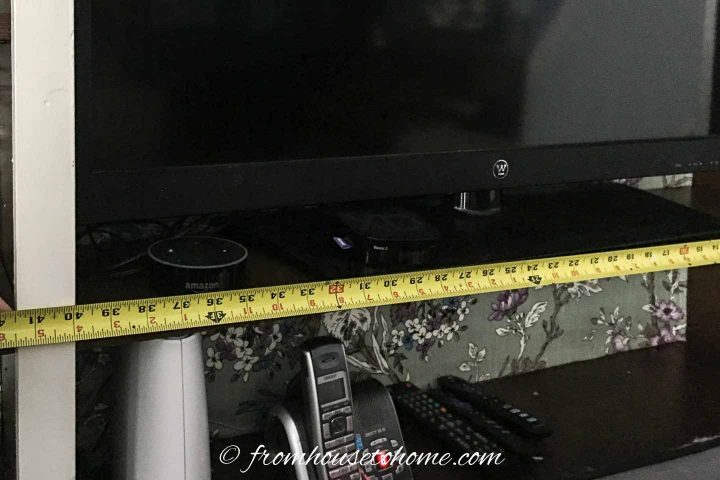
Measurement 1: For this, you’ll need to measure the width of the TV. Add 4 inches to this measurement.
Note: If you are using molding that is wider than 3″, you will want to add more than 4 inches to the measurement so that the molding doesn’t cover the screen.
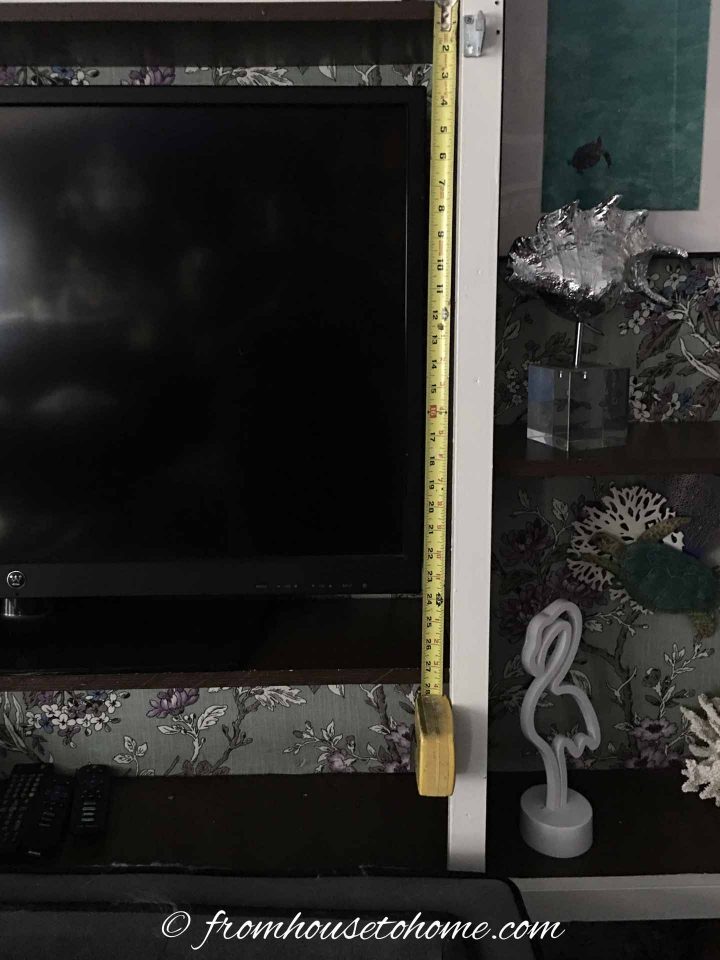
Measurement 2: Then measure the height of the TV and add 3 inches to this measurement.
Again, if your moldings are wider than 3 inches, you’ll want to adjust the height to accommodate the difference.
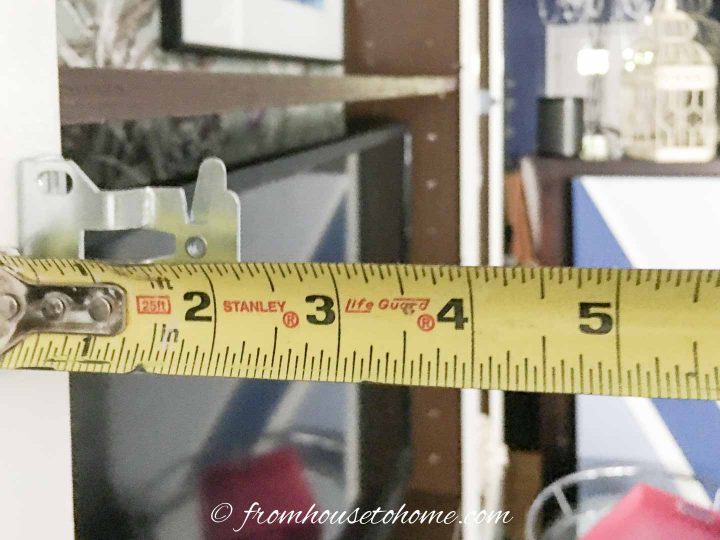
Measurement 3: Finally, measure how far the TV sticks out from the wall.
Make sure to measure all 4 corners just in case some of them stick out further than others. Use the biggest measurement. Then add about an inch.
Since my TV is in a shelf, it doesn’t stick out. But I do need my frame to cover the pull-down picture frame.
Cut The MDF
The MDF is the portion of your DIY TV frame that attaches to the wall. These boards need to be wide enough to stick out further than the TV.
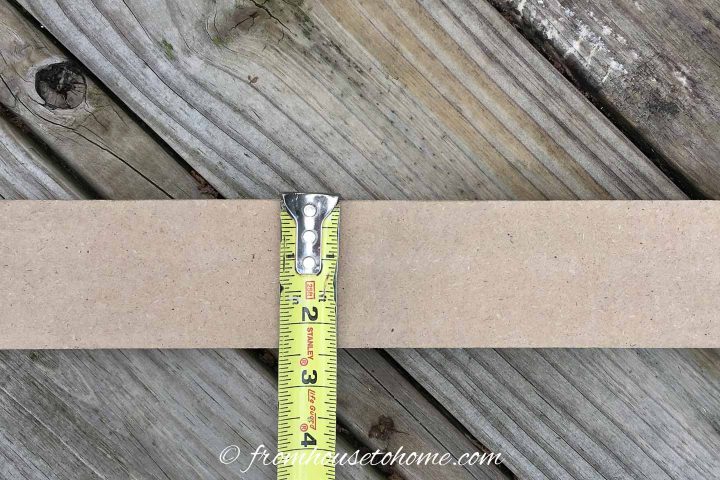
To make these boards, use a circular saw to cut MDF strips that are the same width as Measurement 3.
You could also use wood boards or plywood. I like MDF because it is easy to paint and doesn’t warp.
If you don’t want to cut these strips yourself, you can usually get the strips cut to measure when you buy MDF sheet.
From these strips, cut 2 boards that are the same length as measurement 1.
Then cut 2 boards that are the same length as measurement 2.
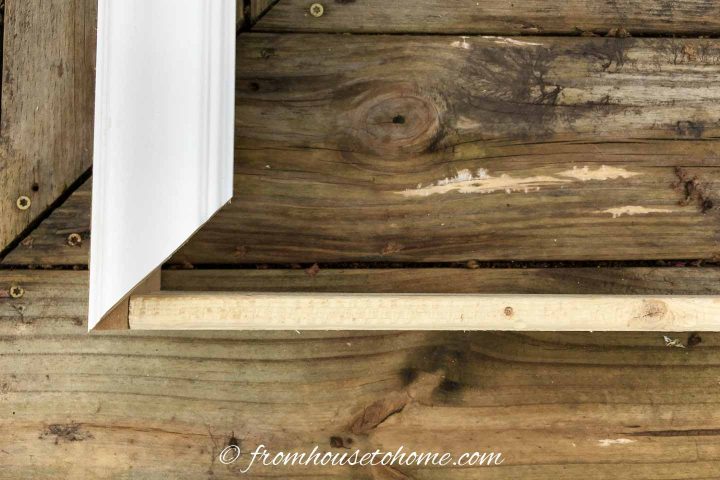
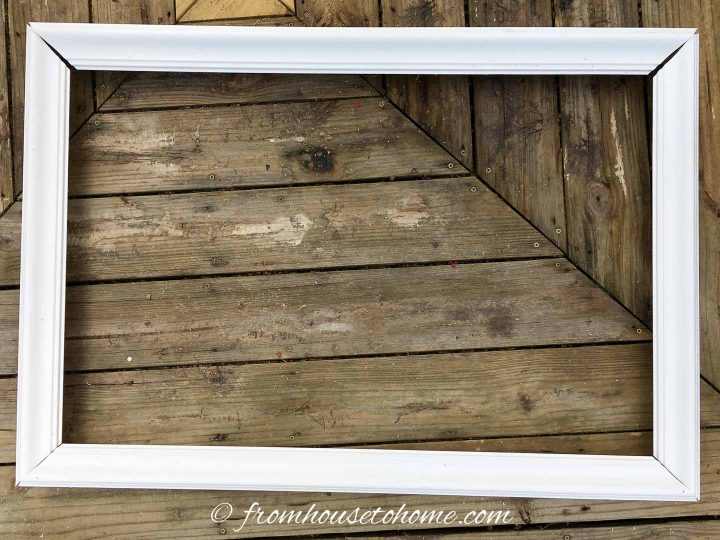
Put The Back of the Frame Together
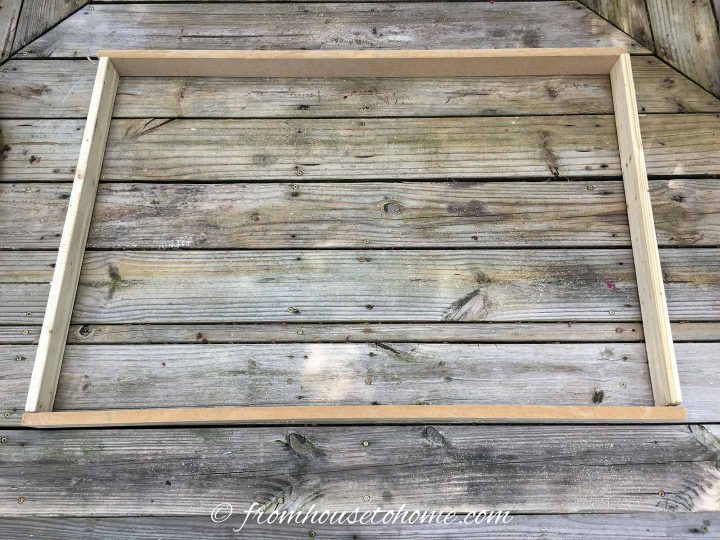
The next step is to make a rectangular frame from the boards.
The two shorter boards should line up with the ends of the two longer boards. I like to lay them out to make sure everything looks square.
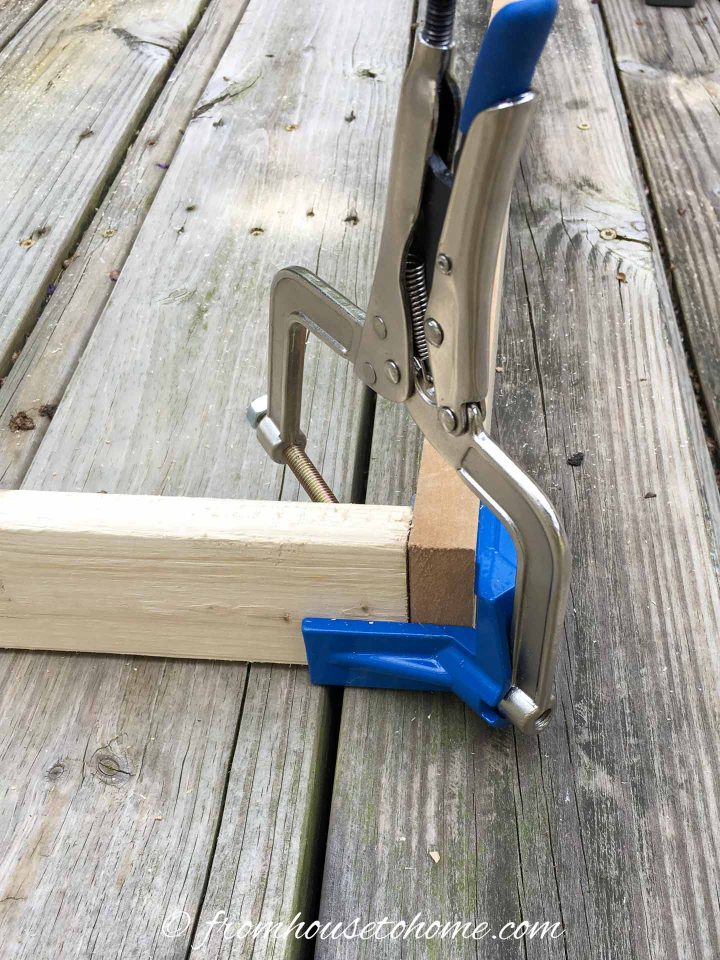
Then secure the first corner using a corner clamp*.
This will make sure that the boards are forming a 90 degree angle. If you don’t have a corner clamp, you can also use a construction square to line them up properly.
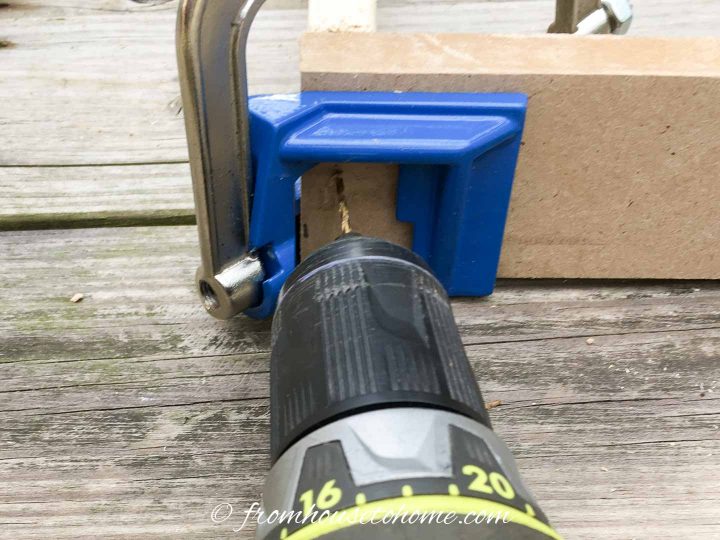
Pre-drill 3 holes in the end board using a small drill bit.
This will make it easier to put the screws in. And if you’re using boards rather than MDF, it prevents the wood from splitting.
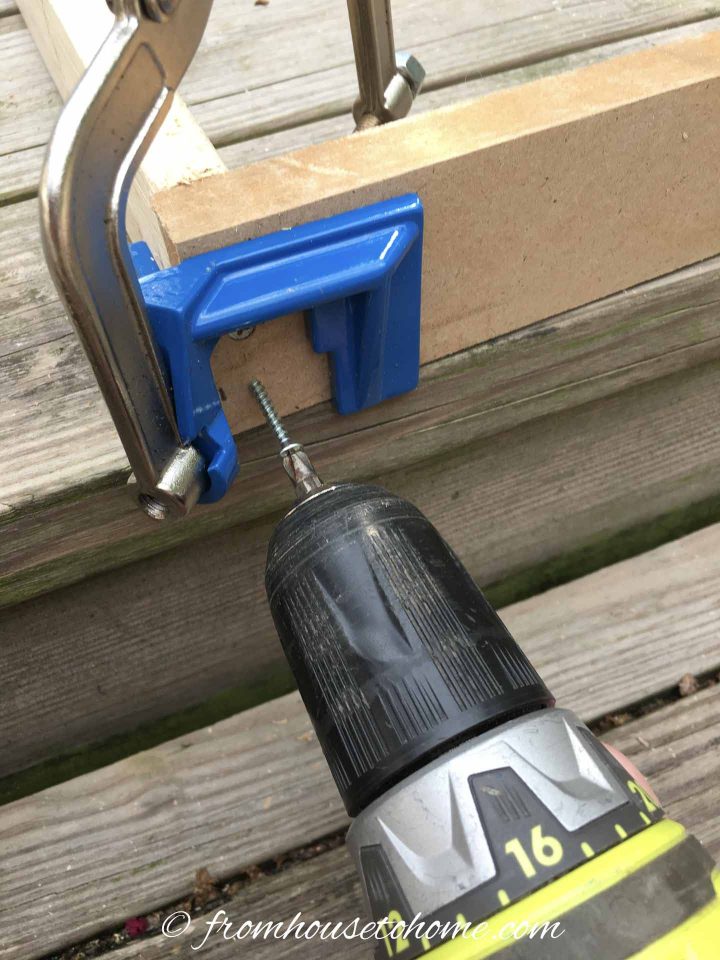
Use #6 size 1 1/2″ long screws to attach the boards together.
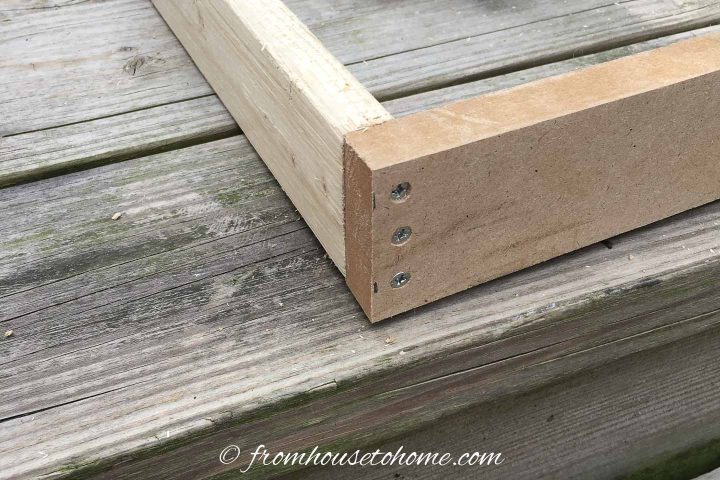
Repeat for all of the corners.
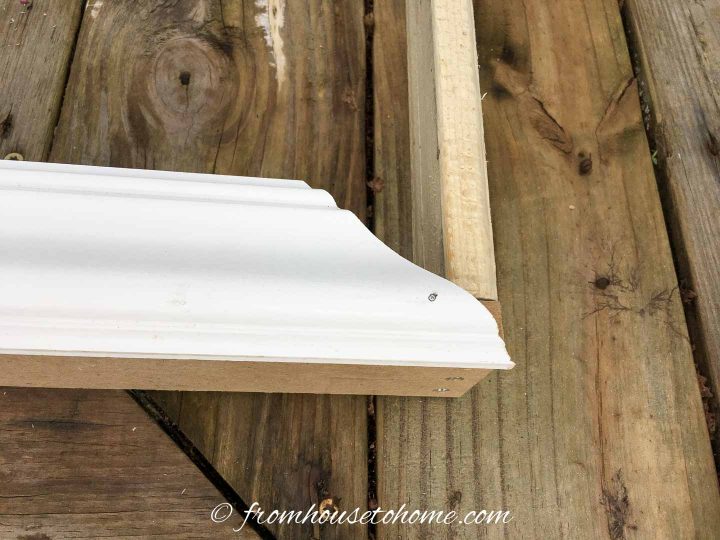
Cut The Long Side Molding
Next you will need to cut the molding. This is going to go on the front of your frame, so pick a molding design that you like.
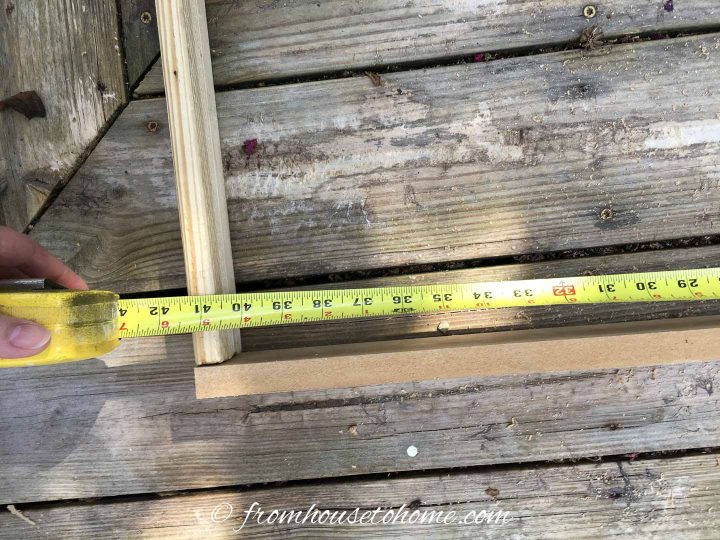
Measure the length of the long side. It should equal your measurement 1 from above.
But I always like to double check.
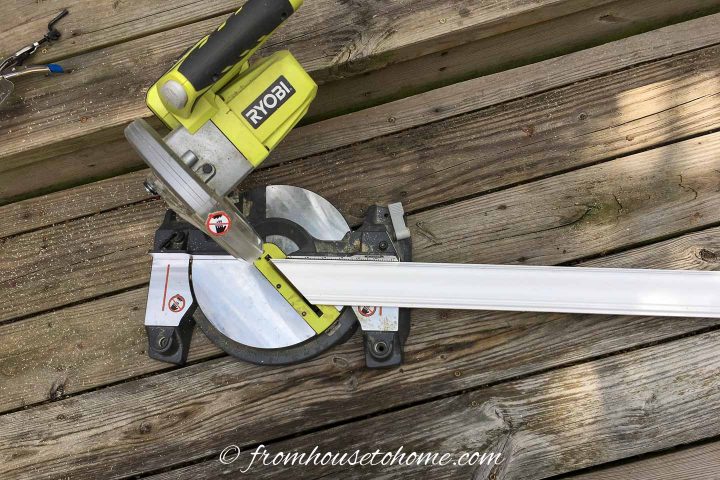
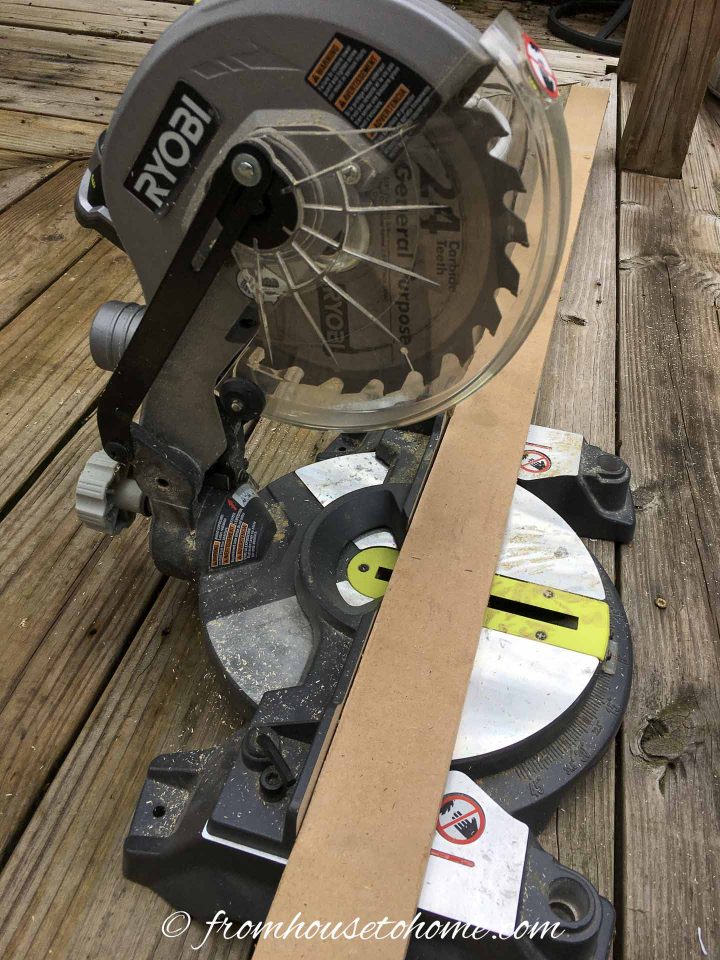
Now we will need to cut the ends of the moldings using a 45 degree angle.
I used my favorite cordless miter saw* to do this, but for a less expensive option, you could also use a miter box*.
Lay the molding flat on the saw and cut one of the ends to a 45 degree angle.
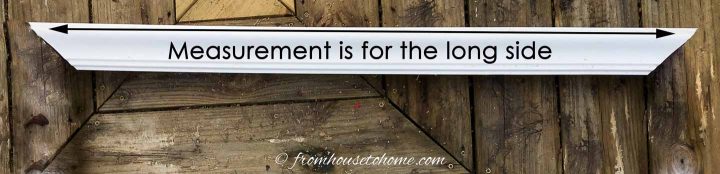
Then measure along the pointed side of the board the length that you measured above.
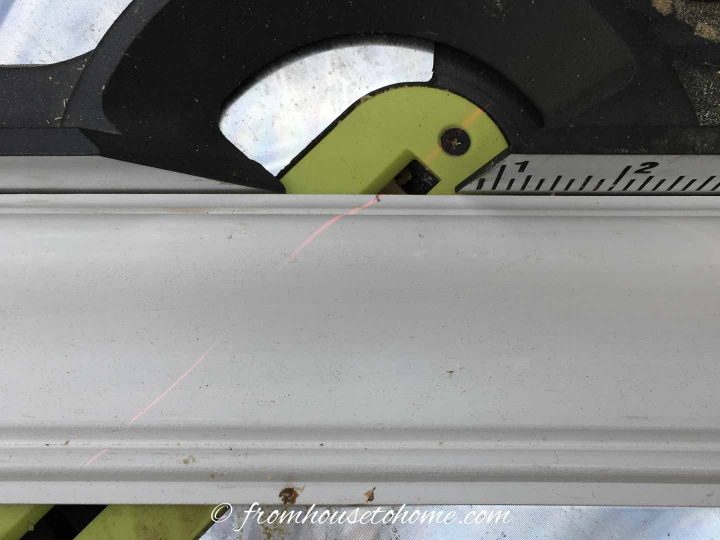
Make a mark on that side of the board.
This will be the pointed end of the next 45 degree cut.
You will need to move the miter saw around to use the 45 degree mark on the other side of the center mark. If your saw has a light marker, use it to make sure that the cut will start where your mark is.
Cut another piece of molding the same size.
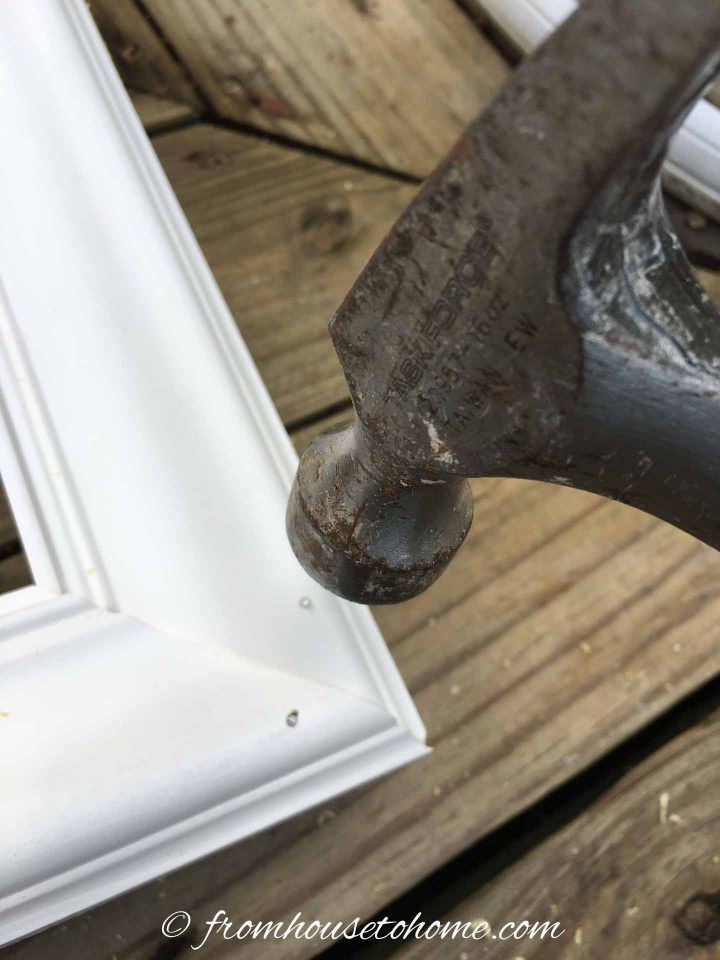
Install The Long Side Moldings
To make sure that the shorter side moldings fit better, I like to attach the long side molding to the rectangular frame before cutting the short size moldings.
Line up the point on the molding with the corner of the frame.
Check the other end to make sure that it is also lined up with the corner.
Then tack it in place with a finishing nail.
Attach the other end of the molding with another finishing nail. We’ll fill in the rest of the nails later (once we’re sure we have it in the right place).
Repeat the process on the other side of the frame with the second molding.
Cut and Install The Short Side Moldings

Then you can measure between the points of your moldings to find out the exact length of the short moldings.
Cut the short moldings the same way that you did the longer ones using this measurement.
Fit them onto your frame pushing them in to make the gaps in the corners as small as possible.
Don’t worry if you can’t get them to match exactly. We will fill in the gaps later.
Then attach the corners with finishing nails like you did with the longer pieces.
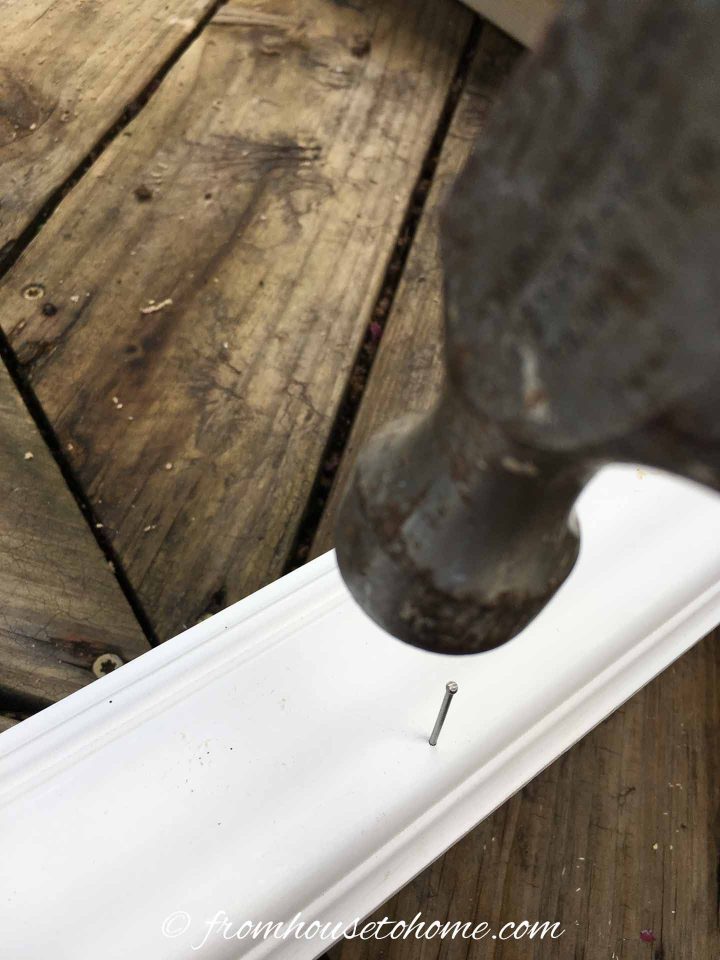
Once you have all of the corners tacked in, add some more finishing nails along the edges of the molding to hold them in place.
I put them in about every 12 inches or so.
Caulk and Paint
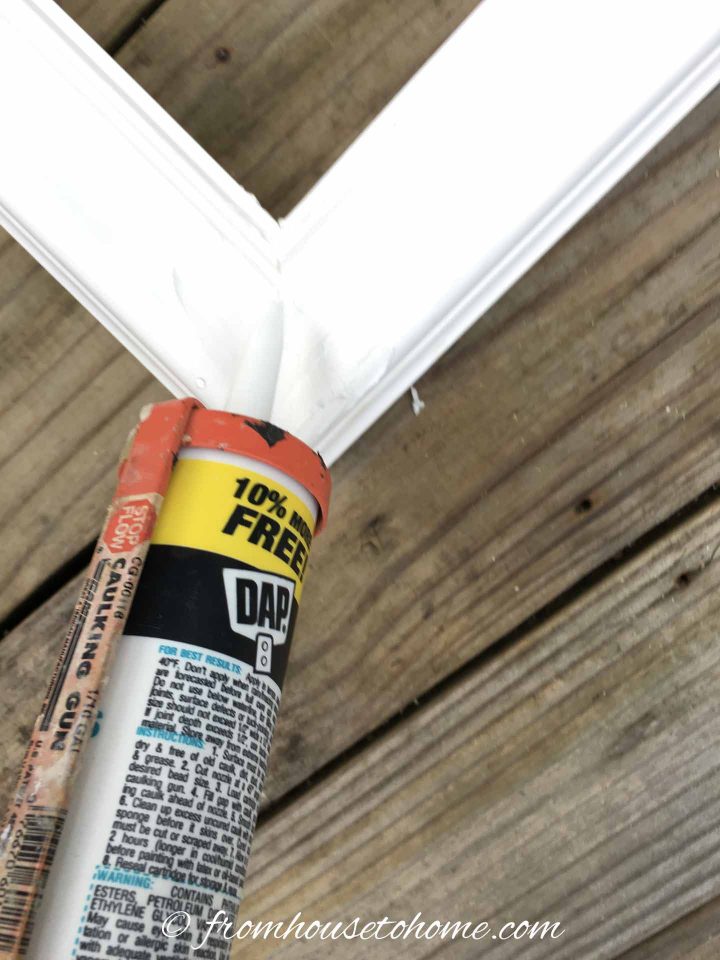
The final steps are to caulk and paint your frame.
Use a tube of caulking in a caulking gun to fill in the gaps in the corners of your frame, as well as the nail holes and screw holes in your frame.
Wipe off any excess with a damp cloth.
When the caulk has dried, paint the frame to match your decor.
Hang Your Frame
Now, you’re ready to hang your frame.
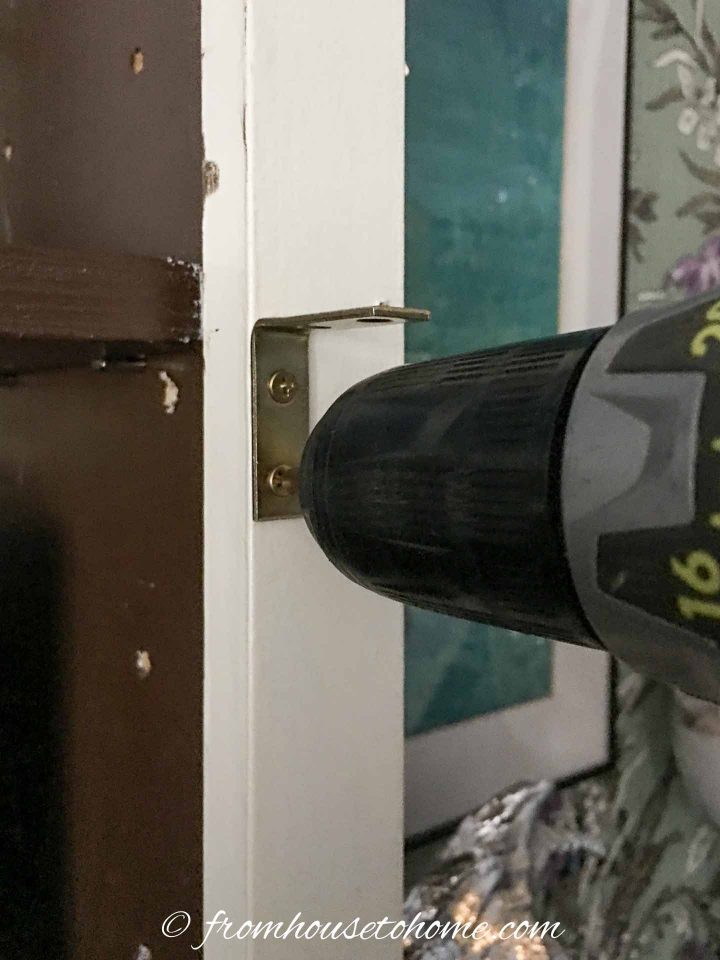
To do this, install corner brackets on to the wall at the top edge of your TV where the frame will hang.
If you are building a frame for a large TV (40″ or wider), you will probably want to add one or two extra corner braces between the edges to help support the frame.
Use the longest corner brackets that will fit inside your frame. They will provide the most stability.
I also prefer not to screw the frame on to the brackets, so the top board of the frame rests on top of the brackets but is not firmly attached. That way you can remove it easily.
However you can add screws through the corner bracket into the inside of the frame if you want to make sure it doesn’t fall off.
(Optional) Add A Pull Down TV Cover
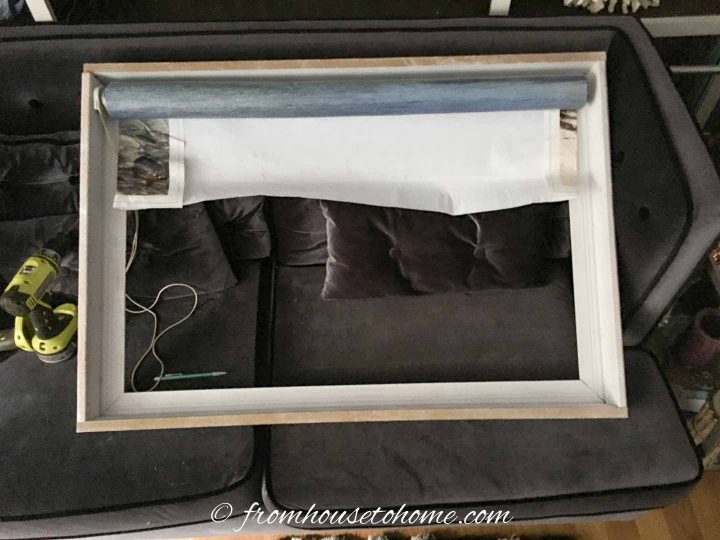
If you are adding a DIY pull down picture to cover the TV like I did, you can attach the roller hardware inside of the frame. This makes sure that it is hidden behind the frame.
You may need to swap out the screws for shorter ones to make sure they don’t come through the other side of the frame.
You can find the tutorial for making and installing a pull down picture HERE.
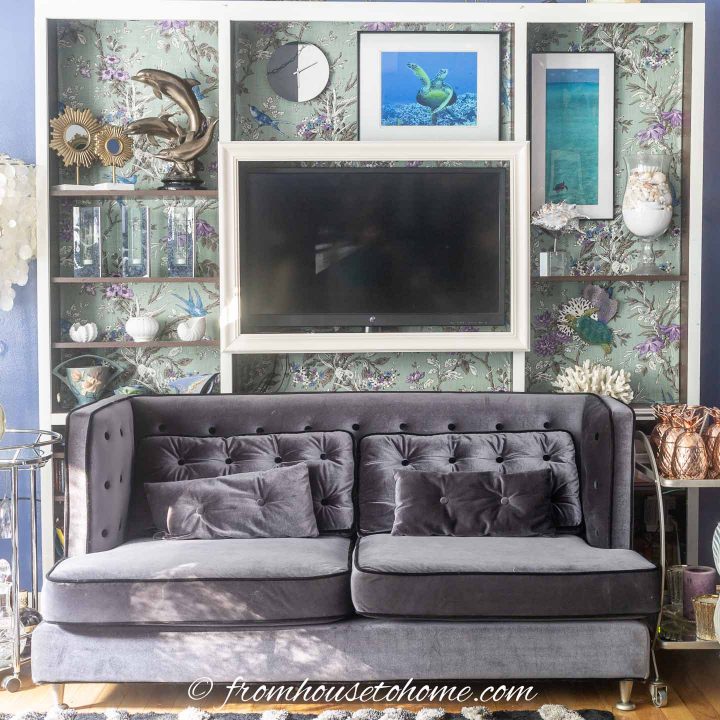
Then hang the frame (and the picture) up on the corner brackets.
I love how it covers all of the electronics on the shelf in my living room.
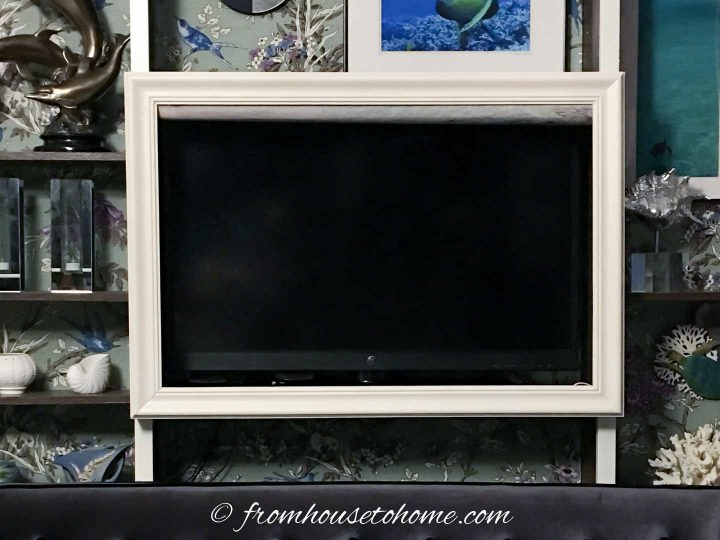
And when the picture is rolled up, it’s hardly visible inside the frame.
Well, that’s it for my tutorial on how to build a DIY TV frame. Hopefully, you’ve found some inspiration to make your TV into a piece of art.
Other DIY Decor Projects You Might Like
- How To Hide The TV With Style
- How To Make a Pull Down Picture
- How To Hang Art On A Bookcase (And Still Have Easy Access To The Books)
Have comments or questions on how to build a DIY TV frame? Tell us in the comments below.
Pin It So You Don't Forget It!

This post was originally published on August 8, 2019 but was updated with new content on April 6, 2020.
Thank you for the tv frame and cover. In the old days tv’s were so big and bulky. I still remember the basket and doily on the floor model mom had placed there. My flat screen is currently sitting on a chair until it and I get into our new house.
Hi Jody…I am glad the days of the big, bulky TV’s are over 🙂 Yes, not much point making frames and things until you are in your new house and figure out where everything’s going to go.