How To Make a Pull Down Picture
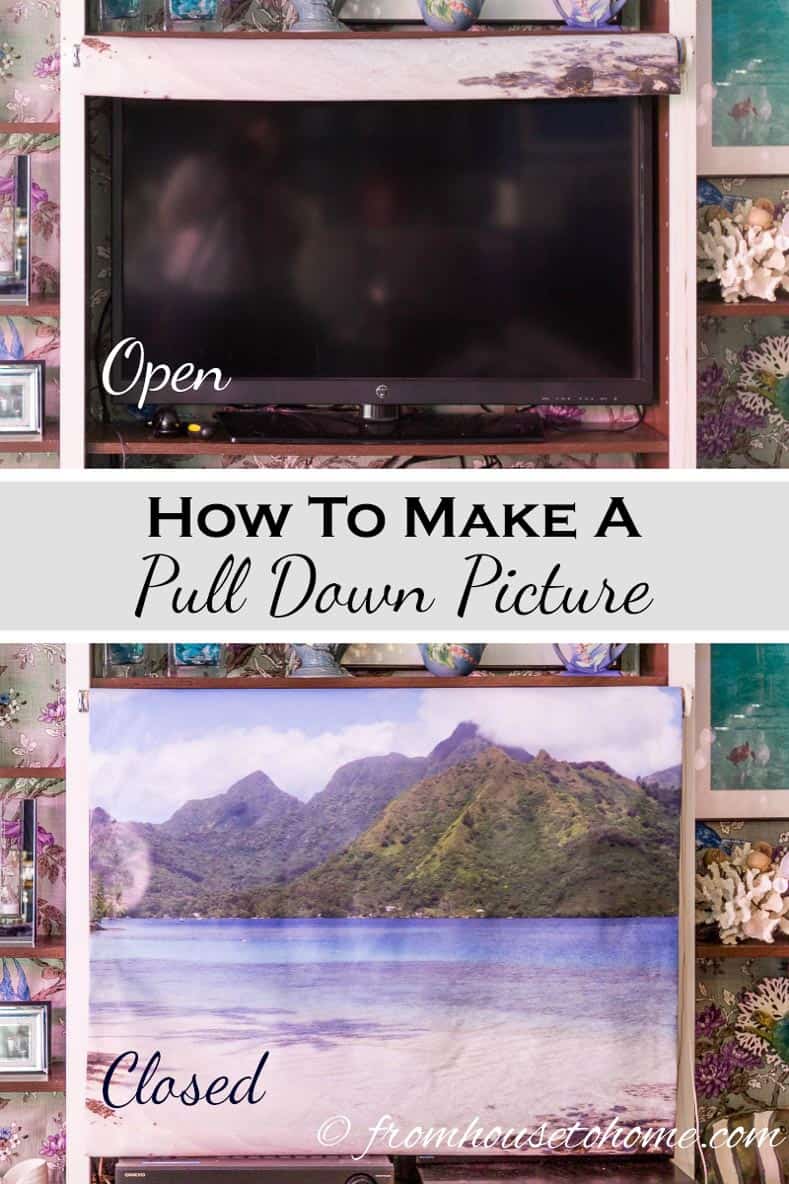
In last week’s post about hiding clutter on shelves, I promised I would do a tutorial on how to make a pull down picture, so here it is!
It’s a really easy way to cover one or two shelves on a bookcase, and display one of your favorite pictures at the same time.
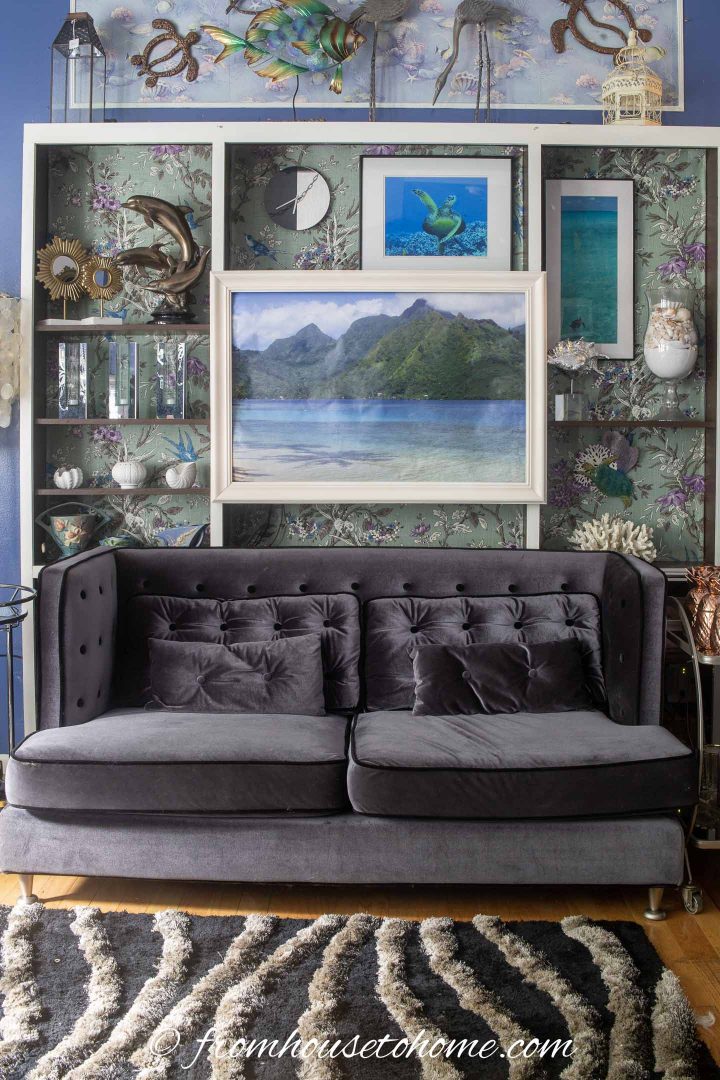
To really finish it off, I also made a frame to go over it. (Find the DIY frame tutorial HERE).

I used a picture I took on a vacation in Tahiti (this is actually Moorea…one of the French Polynesian islands).
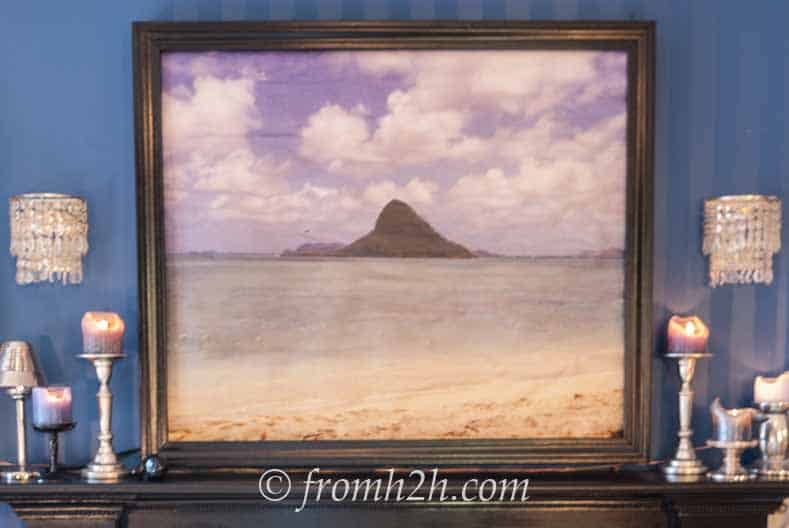
I have also used this same technique to make a cover for a TV that hangs over my fireplace. In that case, I wanted something that would hide the TV if I wanted to decorate the mantel…and this works perfectly for that! (You can find some other ways to hide the TV here).
As you can see, I love ocean pictures that remind me of being on vacation on a beach somewhere 🙂 But you can use any kind of picture that you want in your room, or even a piece of fabric that you love.
Keep reading to find out how.
What You Need
Materials:
- fabric roller shade kit*
- a picture printed on canvas (I ordered from www.easycanvasprints.com)
- double sided tape
- copper pipe – this is just to weigh the shade down, so you can use any long heavy tube to do this.
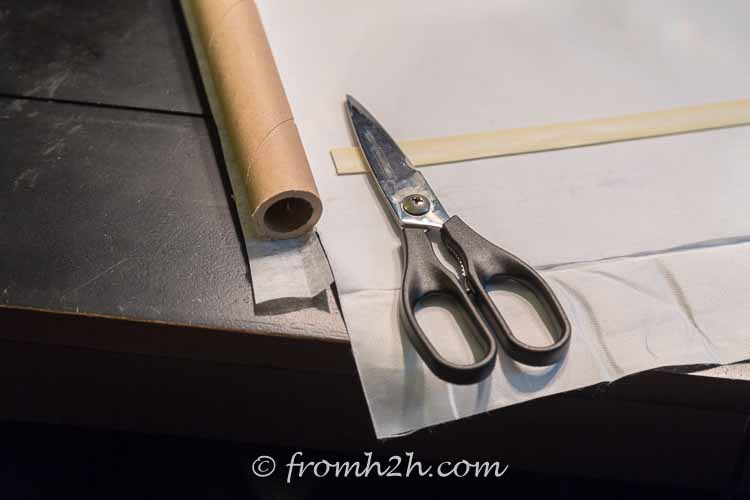
Tools
- scissors
- miter saw
- staple gun
- iron
- copper pipe cutting tool*
- screwdriver
Measure and Order The Supplies
1. Measure the height and width of the space where you want to install the pull down picture.
2. If you are installing it in a shelf, figure out if you want to install the picture with the brackets inside the shelf (like an inside mount window shade) or outside the shelf. Inside mounts are a little neater since the roller hardware is hidden by the shelving, but you need about 2 inches of extra shelf space to make it work. Outside mounts let you cover more than one shelf with the same picture, but you may want to put a frame around it to finish it off.
If you want to do an inside mount, you will need to subtract 1½” from the width that you measured (that’s how much space the brackets will take up). For outside mounts, just make sure that you have about ¾” available on either side of the picture in order to install the brackets.
2. Find a digital picture that you would like to have printed for the space. If you are having a large print made, make sure it is a good quality picture to prevent the image from being grainy.
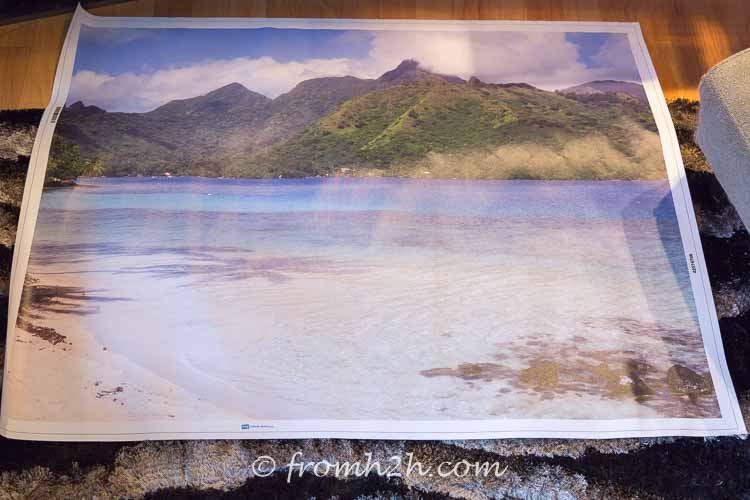
3. Get a copy of the picture printed on canvas. I used www.easycanvasprints.com. Make sure to order an unstretched print (not stretched or framed) since we want to be able to roll it. You will need a size that is at least as wide as your space and at least 5″ longer.
4. Order a fabric roller shade kit* that is at least as big as your picture.
Cut The Shade To Size
This step is only necessary if the roller is larger than you need for your space.
1. Remove the interface from the roller.
2. Use a saw to cut the roller to the length that you need it. I used a miter saw, which worked really well for getting a straight cut.
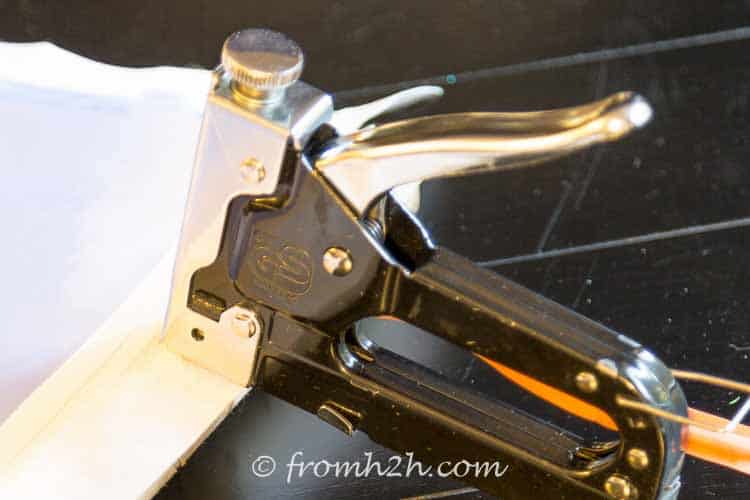
3. Use a stapler to re-attach the interface to the roller. Make sure that it is on straight or the shade will not roll properly.
4. Cut the interface to the same width and length as the picture.
Iron On The Picture
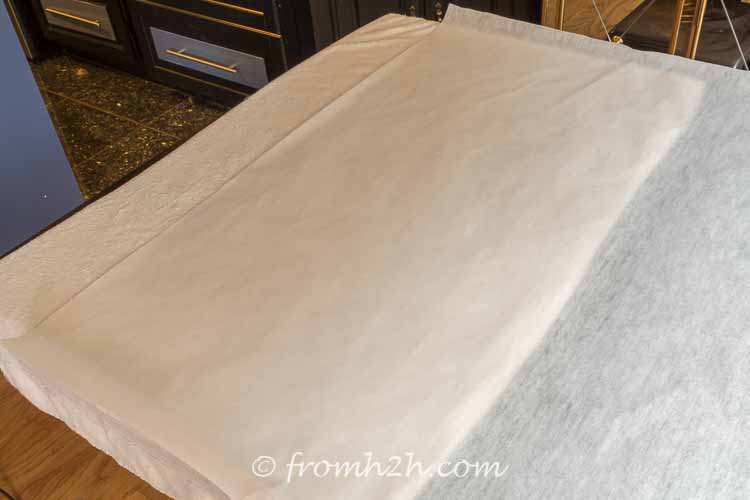
1. Lay down a towel on a table that is large enough to fit the entire width of the picture. This will protect the table from the heat of the iron.
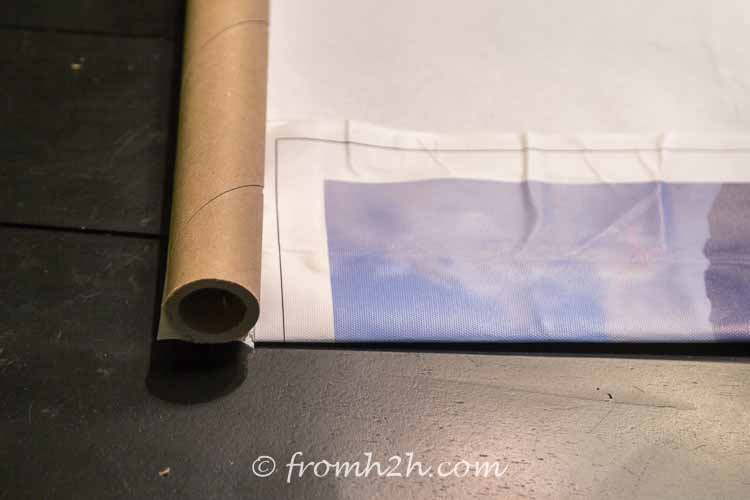
2. Roll out the window roller interface with the shiny side up.
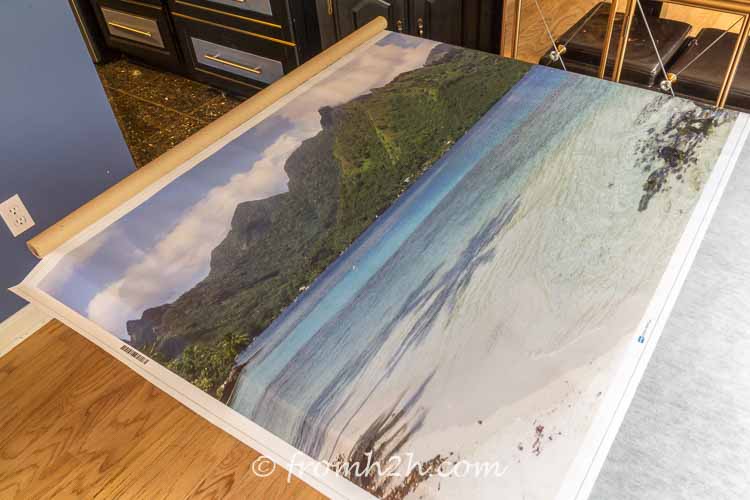
3. Position the picture over the interface the way that you want it to be centered.
4. Flip the interface and picture over so that the picture is face down. Make sure to keep them lined up the correctly.
5. Heat an iron to high heat with steam on.
6. Iron the interface on to the back of the picture. You will need to run the iron slowly over the interface until it has fused onto the canvas.
Finish the Edges

Make sure that the picture and interface has cooled down completely before continuing with this step, or you will end up with a puckers in your picture like I did.
If you do happen to have this problem, you can salvage it. Remove all of the tape. Re-iron the back to remove the wrinkles. Then let it cool again.
1. If the interface is sticking out past the edge of the roller above the picture, cut the corner off so that it is even with the roller.
2. If the picture is wider than the roller, you will need to fold the edges over:

a. Stick double sided tape onto the back of the picture. It works best if you stick the tape onto the part that is not being folded. It’s easier to make sure there aren’t any wrinkles in the picture. Wrinkles on the folded part don’t matter too much since you can’t see them.
b. Remove the backing from the double sided tape.
c. Fold over the edge and stick it onto the other side of the tape.
3. Repeat these steps for the other side.
4. Stick double sided tape across the bottom of the picture, making sure that it is at least 4″ up from the bottom of the picture.
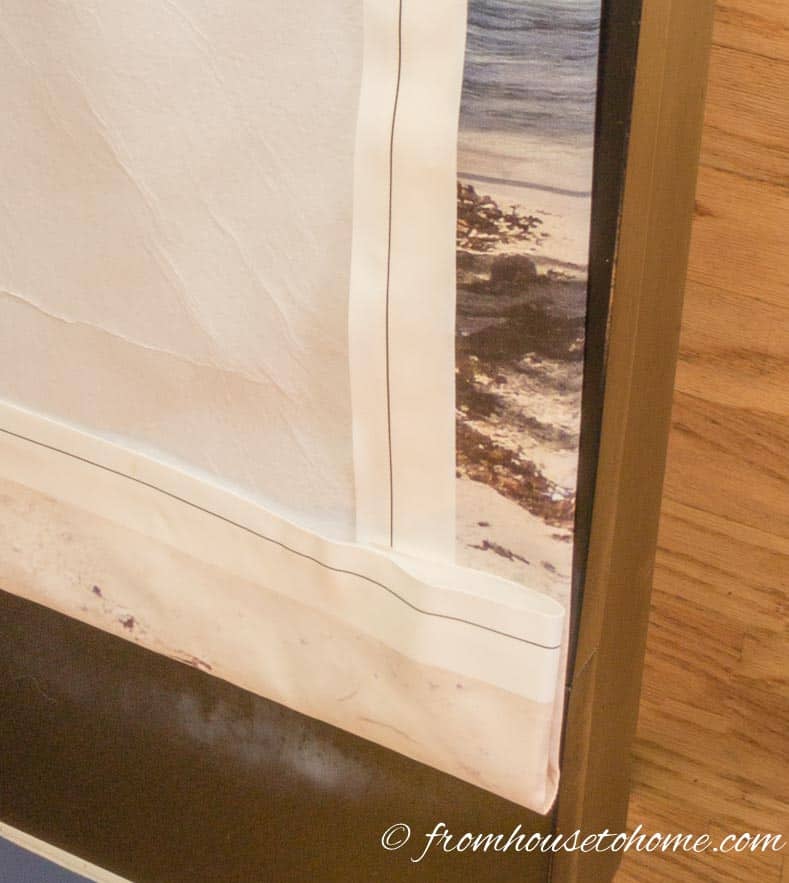
5. Fold the bottom of the picture up so that there is at least a 2″ pocket on the back of the picture. This will be used to hold the weight that will help pull the picture down and straight.
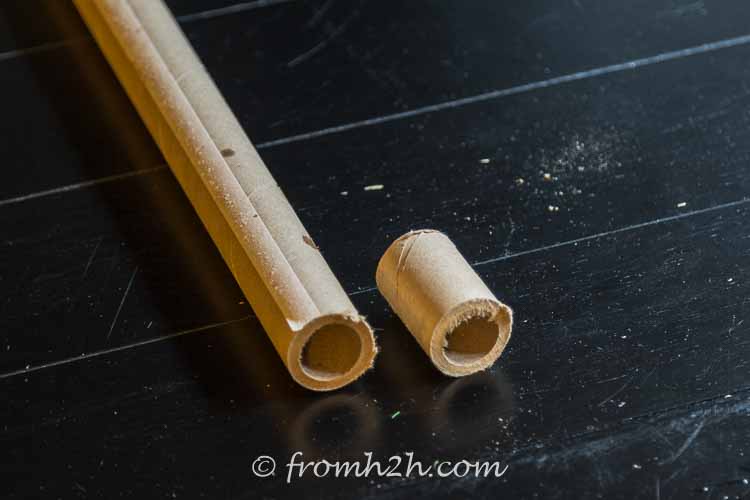
Add The Bottom Weight
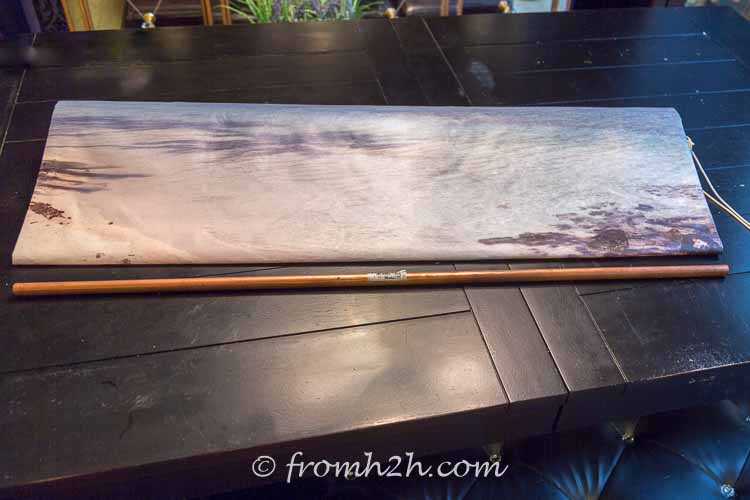
I used copper piping as the bottom weight. It has a little more weight than a wood dowel, which helps to pull the picture down a bit better if you have a large picture…but feel free to use a wood dowel if you prefer.
1. Determine the length of the piping. It should be a little shorter the width of the roller.
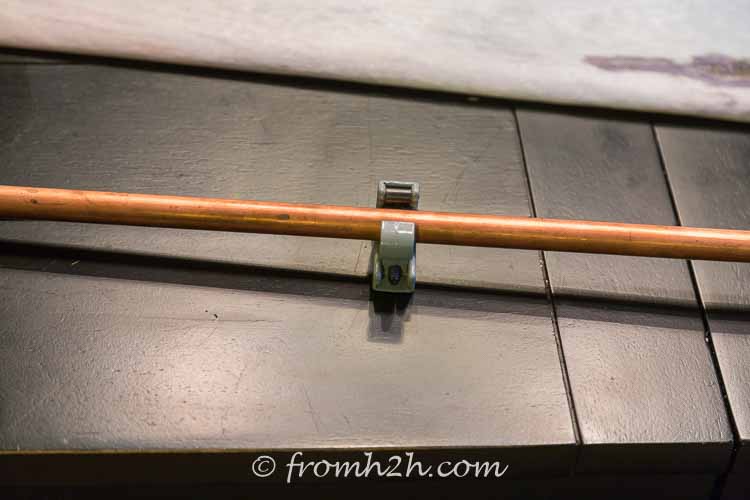
2. Use a pipe cutter to cut the copper pipe. These are really easy to use…fit it over the pipe. Then rotate it around the pipe and tighten the knob every couple of turns until the pipe is cut.
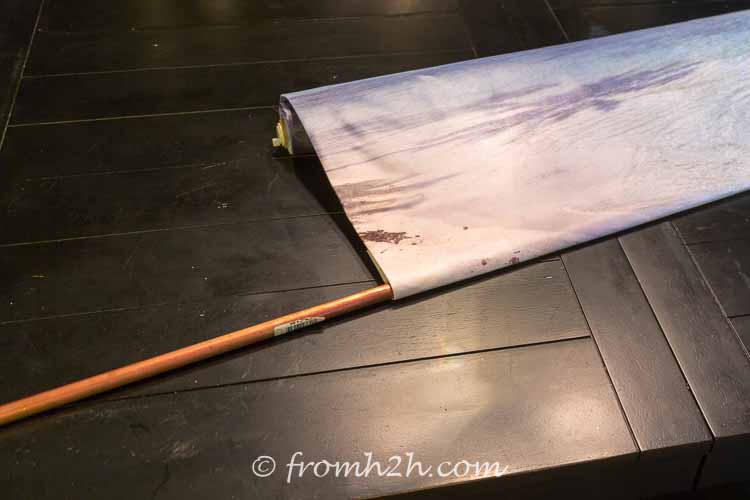
3. Fit the pipe into the pocket at the bottom of the picture.
Install the Roller
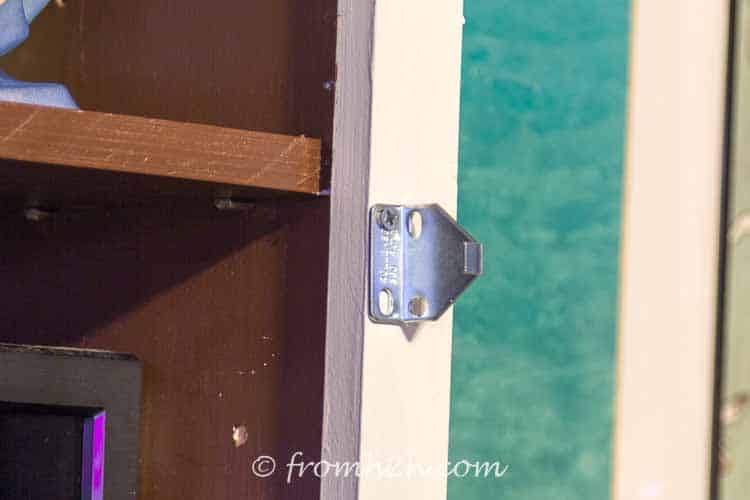
While these instructions are for installing the brackets outside the shelf, you can also turn them around and install them on the inside of the shelf if you want you picture to be inside mounted.
1. Install the simpler bracket on the right hand side of where your picture is going.
2. Install the other bracket on the other side, making sure it is at the same height and the correct distance away.
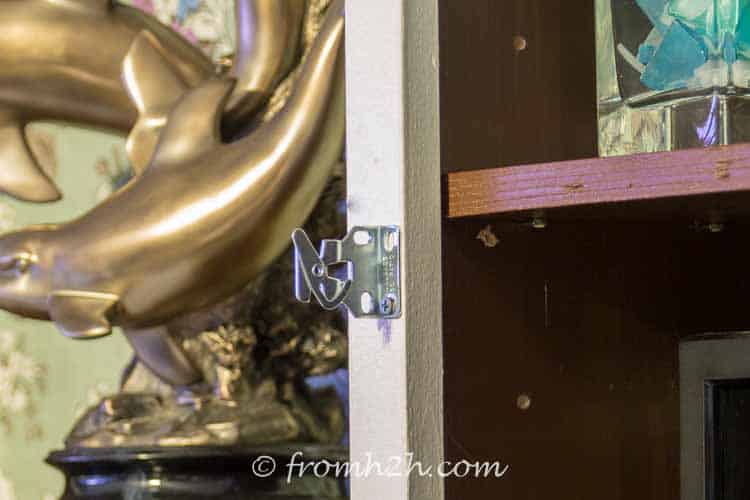
3. Push the ends into the roller. Make sure that the end with the strings is on the right side of the roller when the picture is facing towards you.
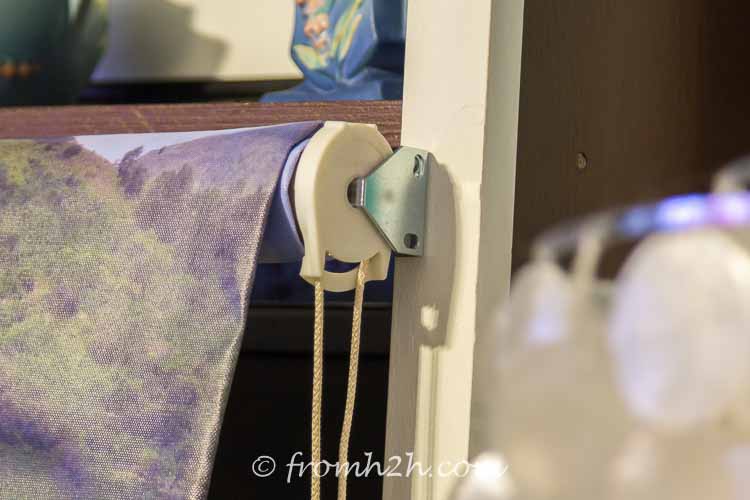
4. Insert the point of the bracket into the hole at the side of the end with the strings. Make sure that the string mechanism is facing down.
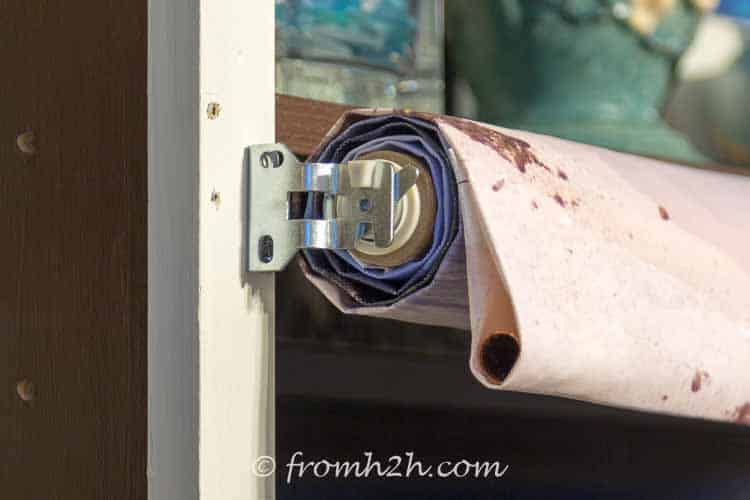
5. Finally, put the point on the other end into the notch in the other bracket
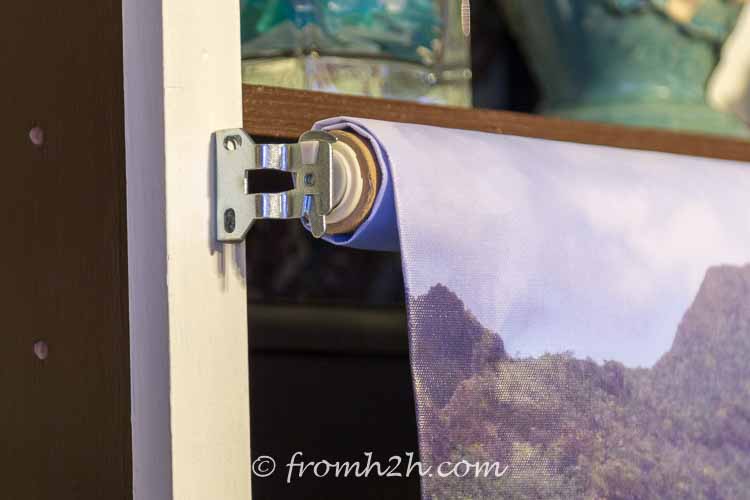
6. Rotate the hook around so that it keeps the end in place.
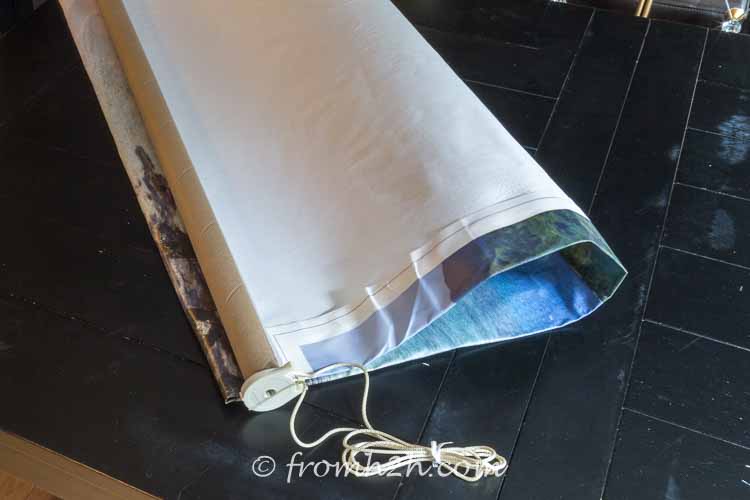
The Finished Project
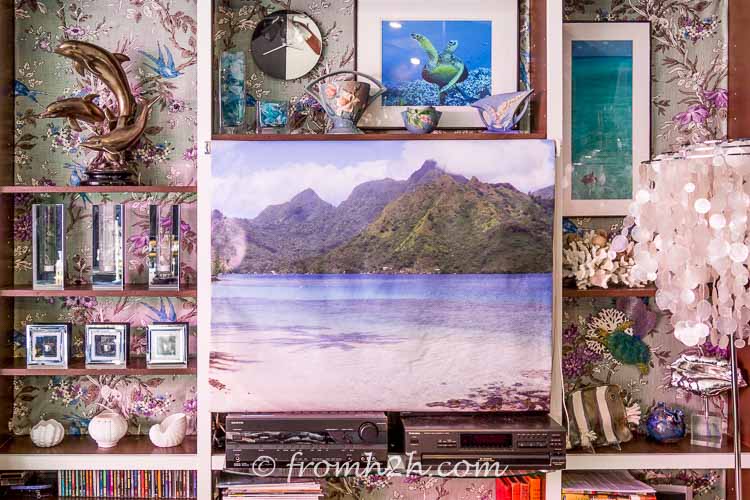
When the picture is pulled down, it completely covers what is on the shelf (a TV in my case).
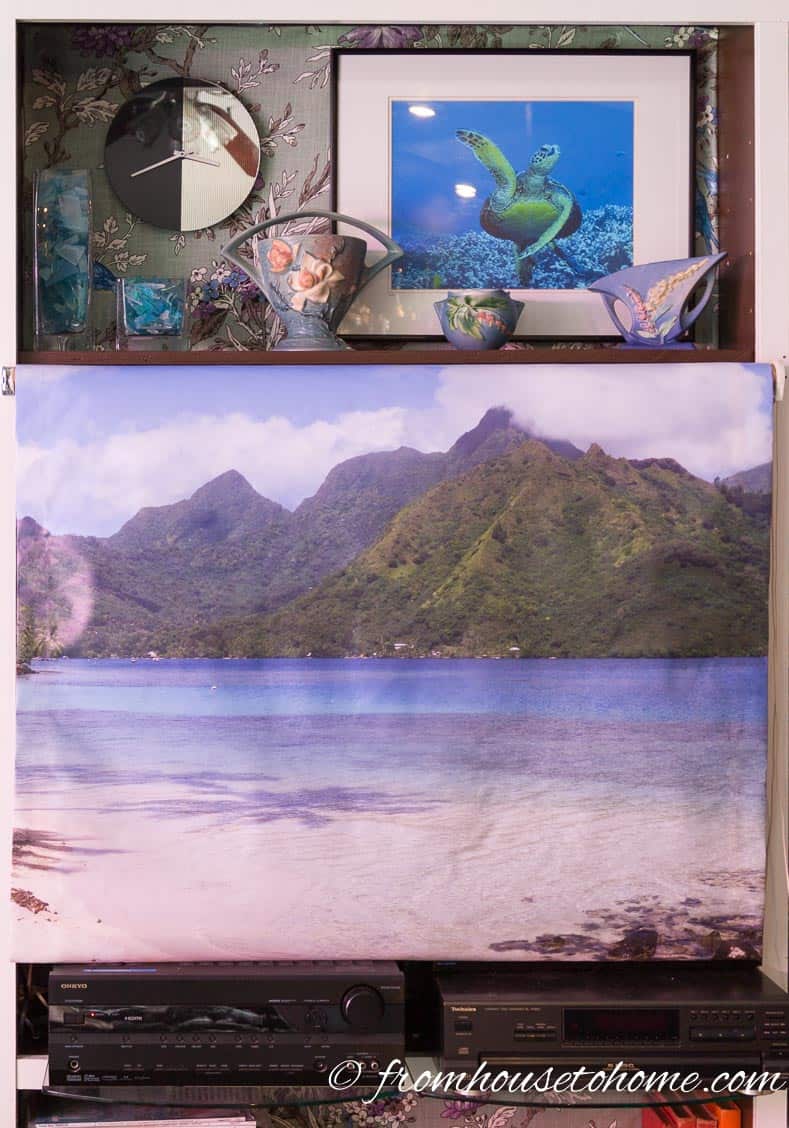
It’s a great way to include a favorite picture into your room and provide some hidden storage on your shelving.
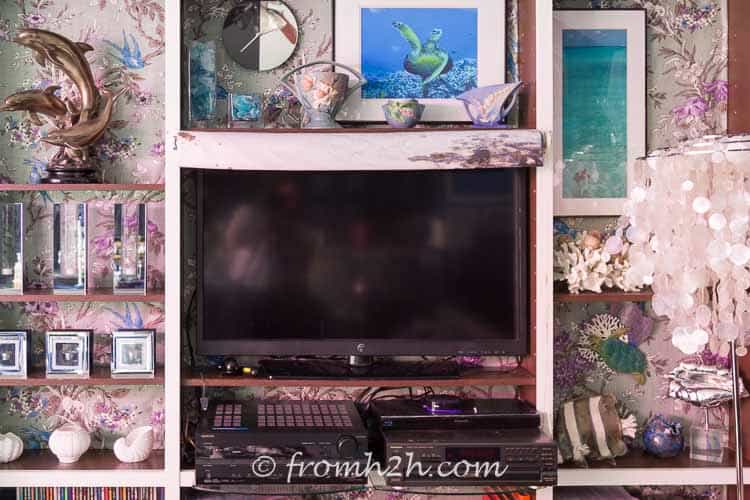
It’s easy to roll up the picture by using the pull strings on the side. When it’s rolled up, it doesn’t take up a lot of space.
If you want to finish the look of the picture a bit more, you can add a frame around it. Since my picture is covering a fairly large area, it’s hard to get a frame that size…so I made my own. Learn how to make a TV frame HERE.
Other DIY projects you might like
- How to hang art on a bookcase (and still have access to what’s behind it)
- Wallpaper home decor ideas
- Living room wall decor ideas
Hi Wanda !
I love this idea ! Wondering on the last example picture where the canvas is in a black frame how you did that ? Is that canvas still on a roller or is that a true canvas in a frame with no television behind it ?
Thanks !
Tammy
Hi Tammy…Yes, that last picture is still with the canvas on a roller. I built the black frame separately, and made it just big enough to fit around the TV (and the picture). It’s basically a square frame made from 1″ x 6″ boards (so it sticks out from the wall a little more than 5″) , and then baseboard molding nailed to the front of it to make it look like a picture frame. I have been meaning to post the instructions on how to make it, but haven’t got to it yet 🙂
I would love to see the instructions for that too! I found you on Pinterest when I had the same idea, but I’m lost on how to do it with a frame surround. It looks incredible!
Hi Emily…I’ll try to write something up in the next week or so and let you know 🙂
Thank you! 🙂
Hi! Were you ever able to write up a post on how to frame this?
Sorry, Emily…no, but it is on my to-do list. I need to build another one so I can take some in-process pictures. It’s on my schedule for a couple of weeks from now, so the post should be coming out shortly after that.
Beautiful and very creative. Thanks!
Thanks, Ivory! I love this picture…reminds me of being on vacation even when I’m not 🙂