
Easy And Economical DIY Glass Bowl Christmas Tree
If you’re looking for an easy and economical way to add to your Christmas decor, you’re in the right place. This DIY glass bowl Christmas tree is made with thrifted crystal dishware, and looks much more expensive than it actually is.
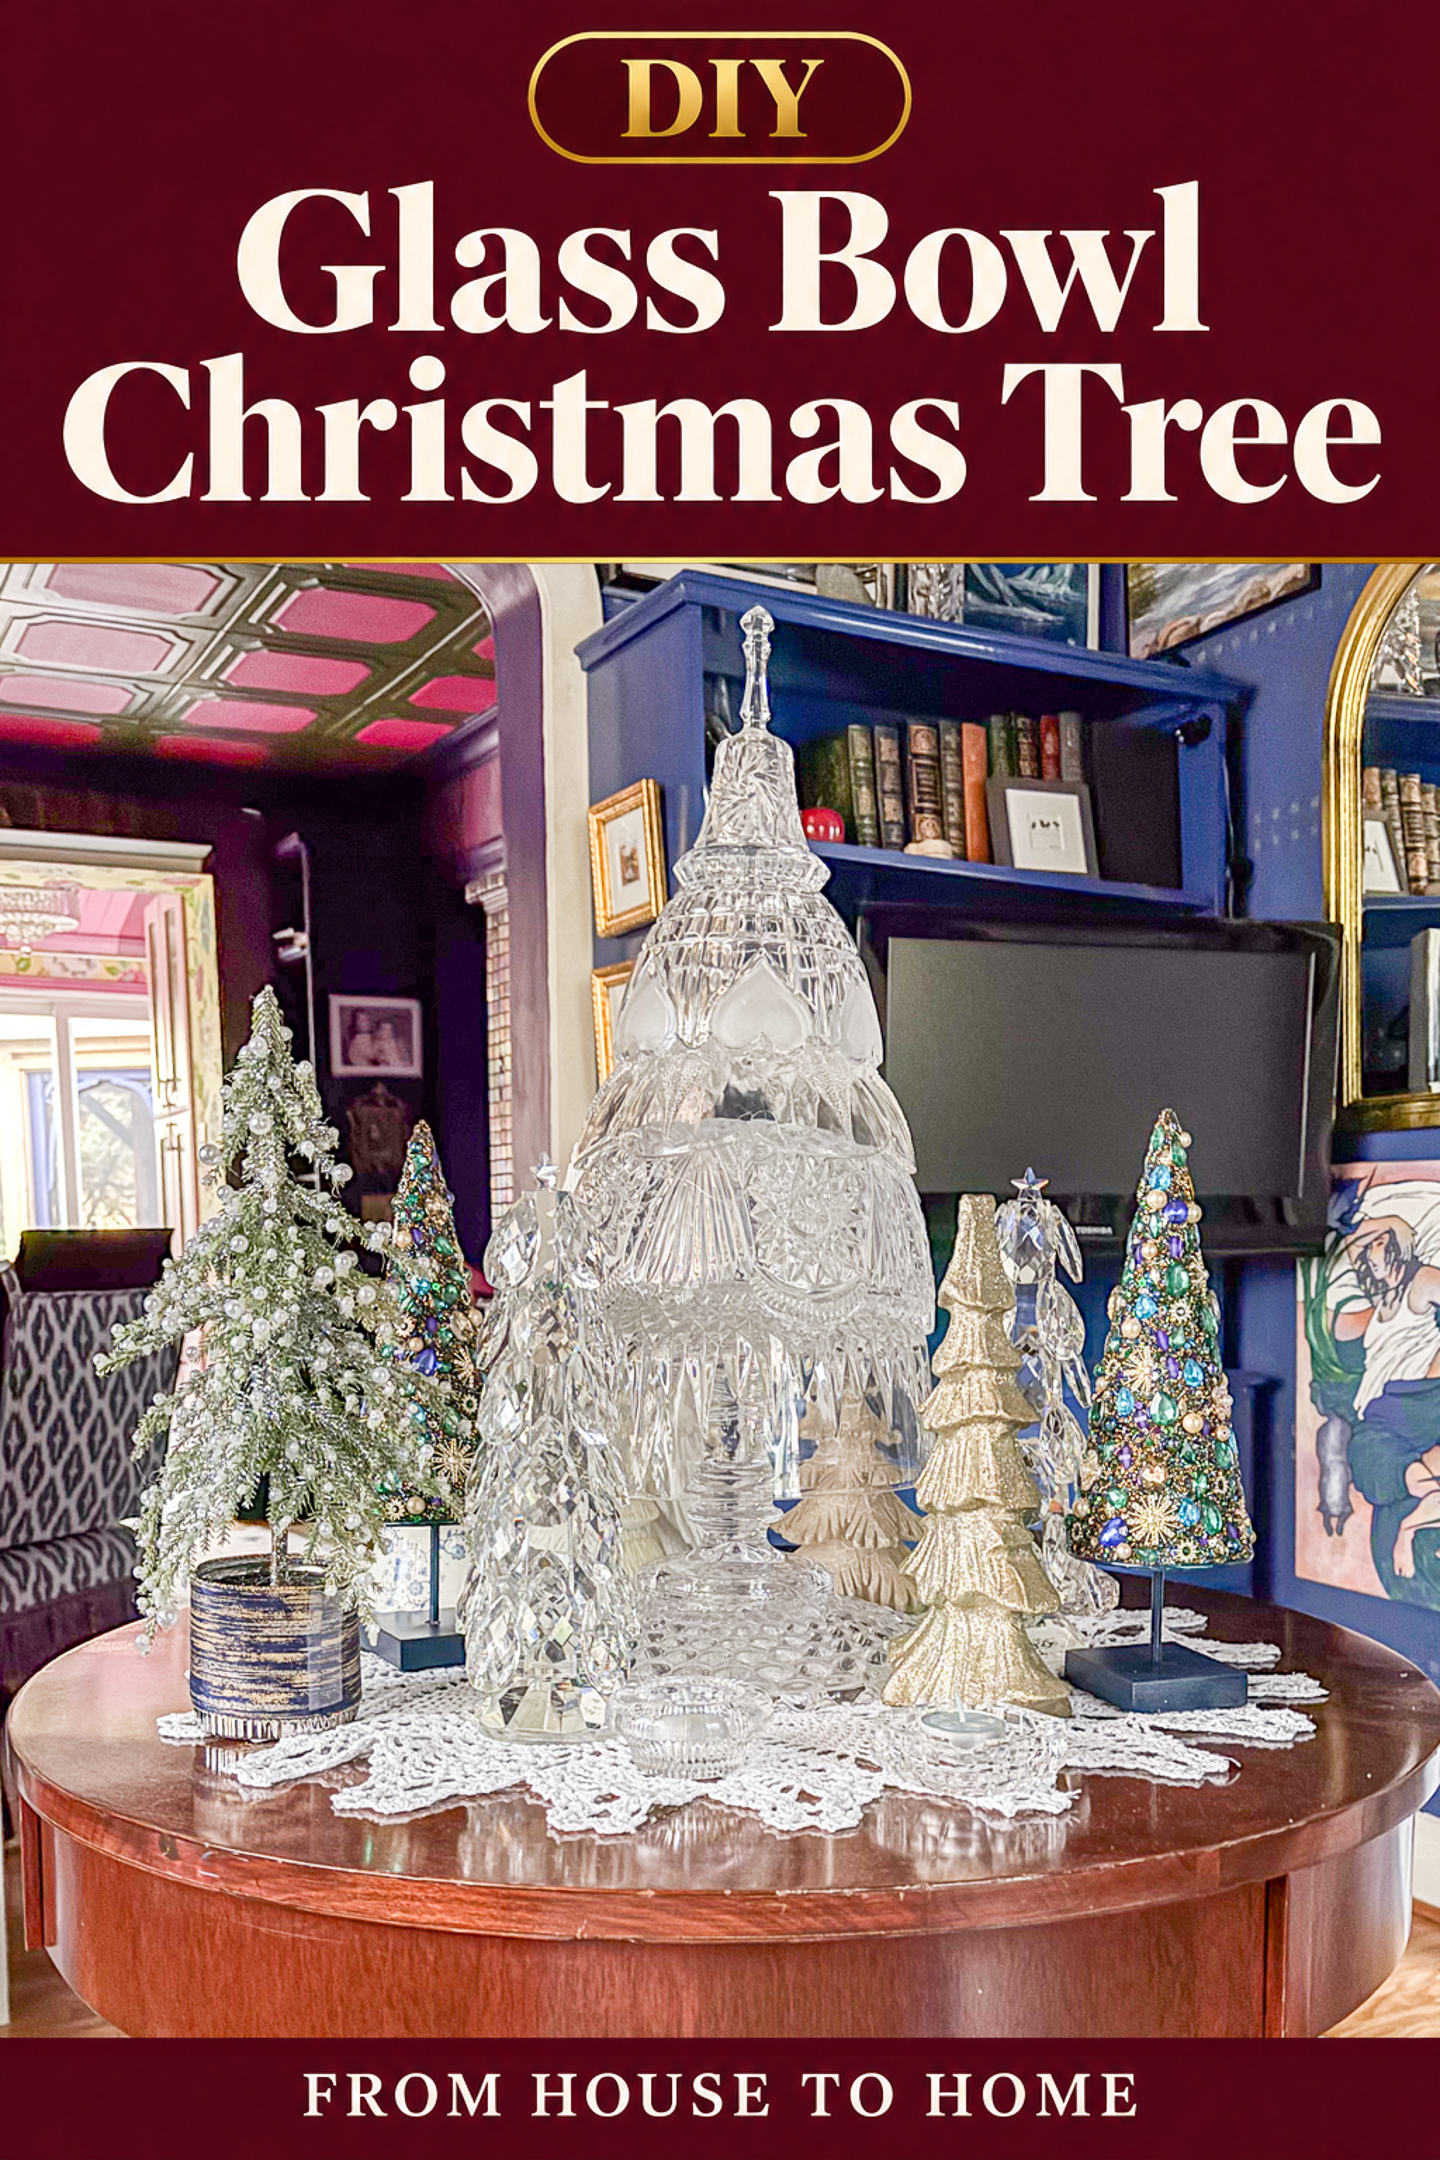
Every year I like to add to my tabletop Christmas tree collection.
And this year I really enjoyed doing this very quick and easy DIY project using economical thrifted crystal and cut glass bowls.
I had the most fun hunting for the various bowls needed. I scoured the Salvation Army thrift store and Facebook marketplace looking for crystal and cut glass bowls and a crystal bell topper.
Fortunately, people seem to be getting rid of these kinds of things so there were a lot of options to choose from!
Keep reading to see what I found and how to make a DIY glass bowl Christmas tree.
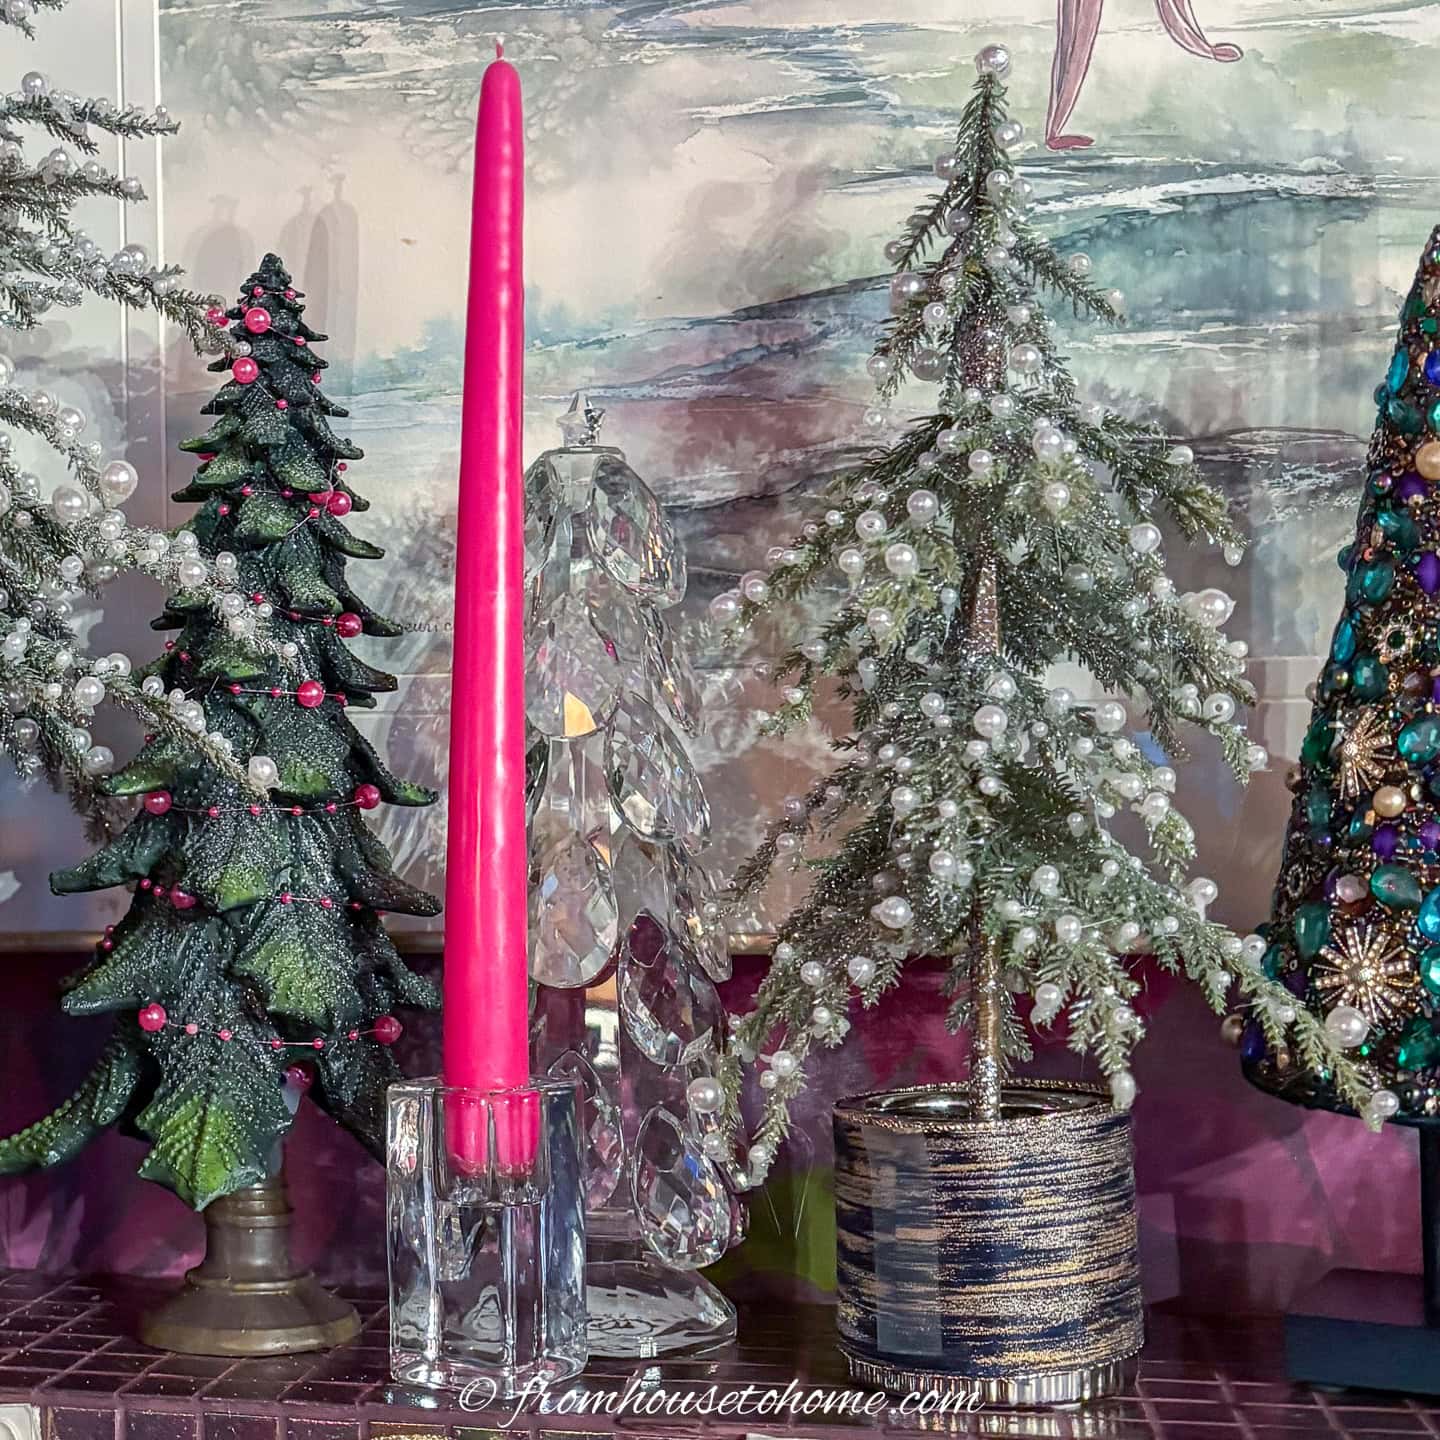
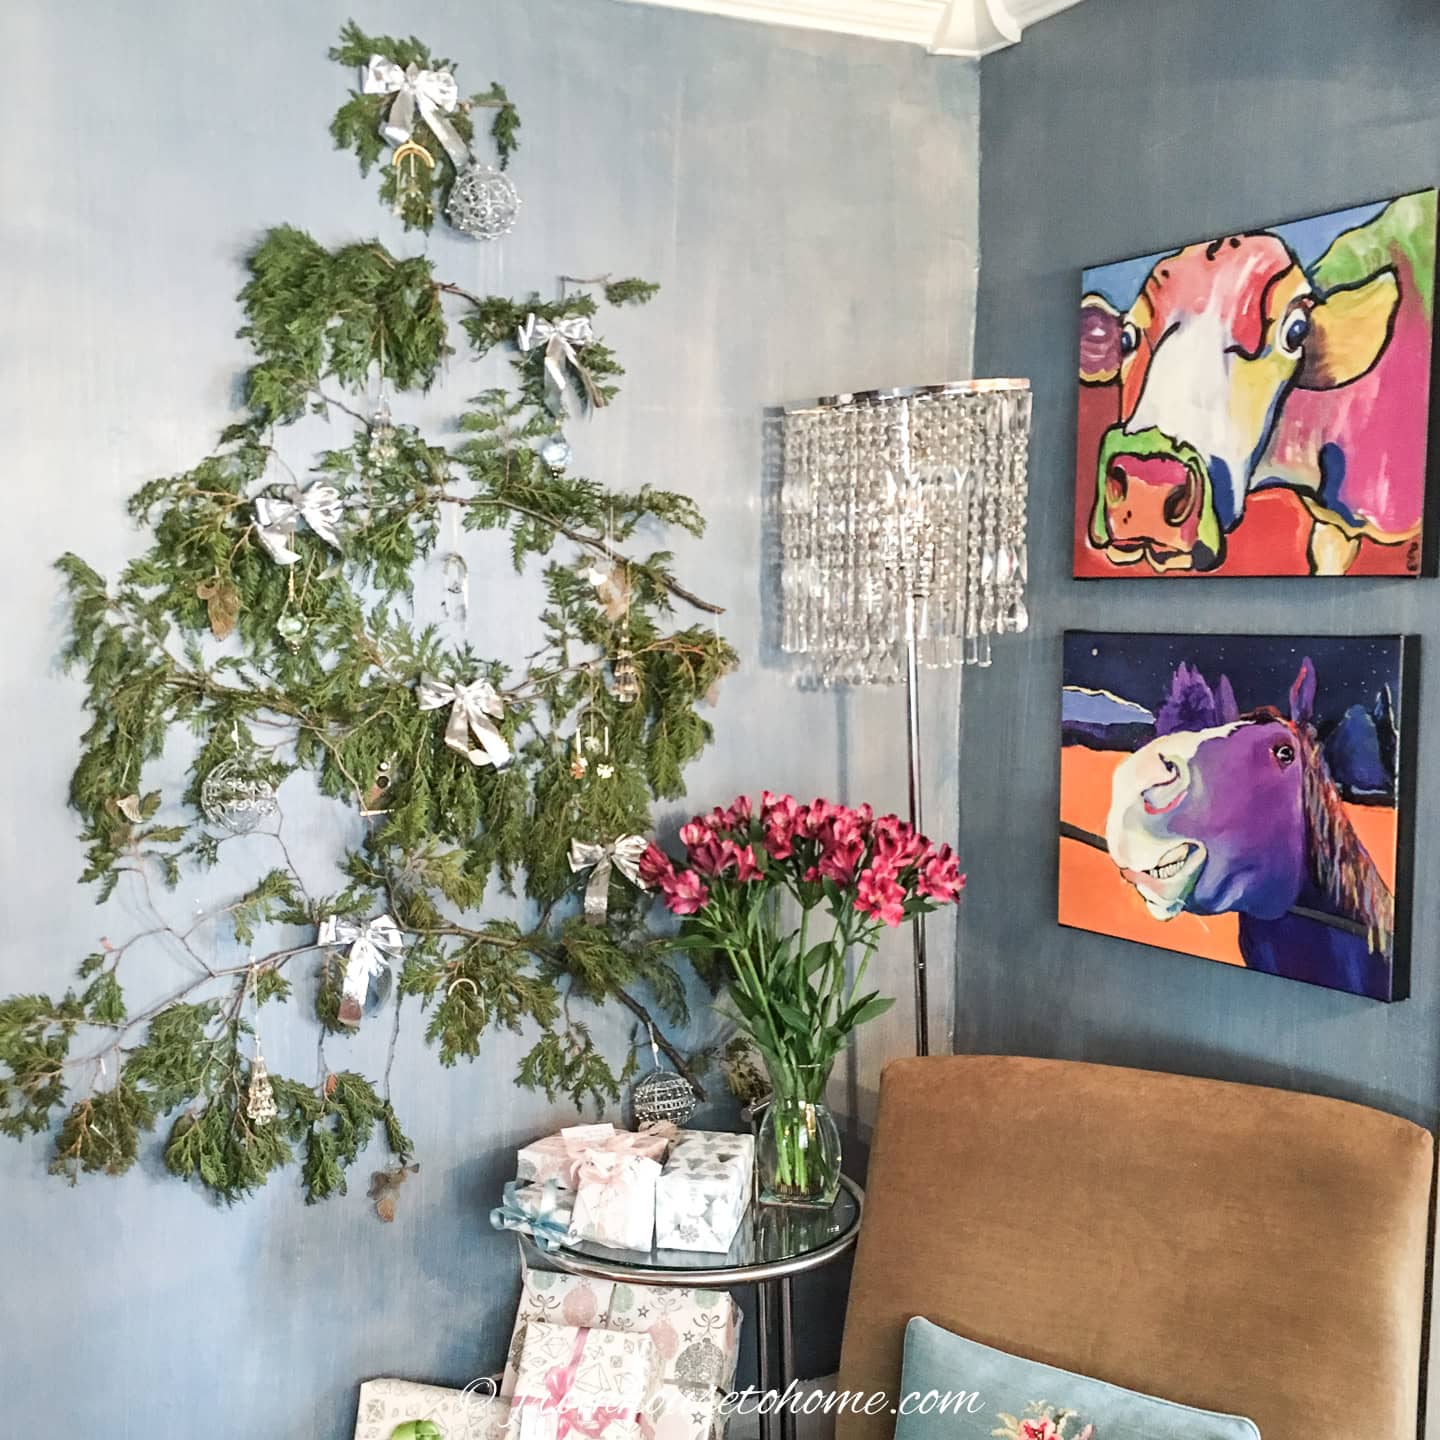
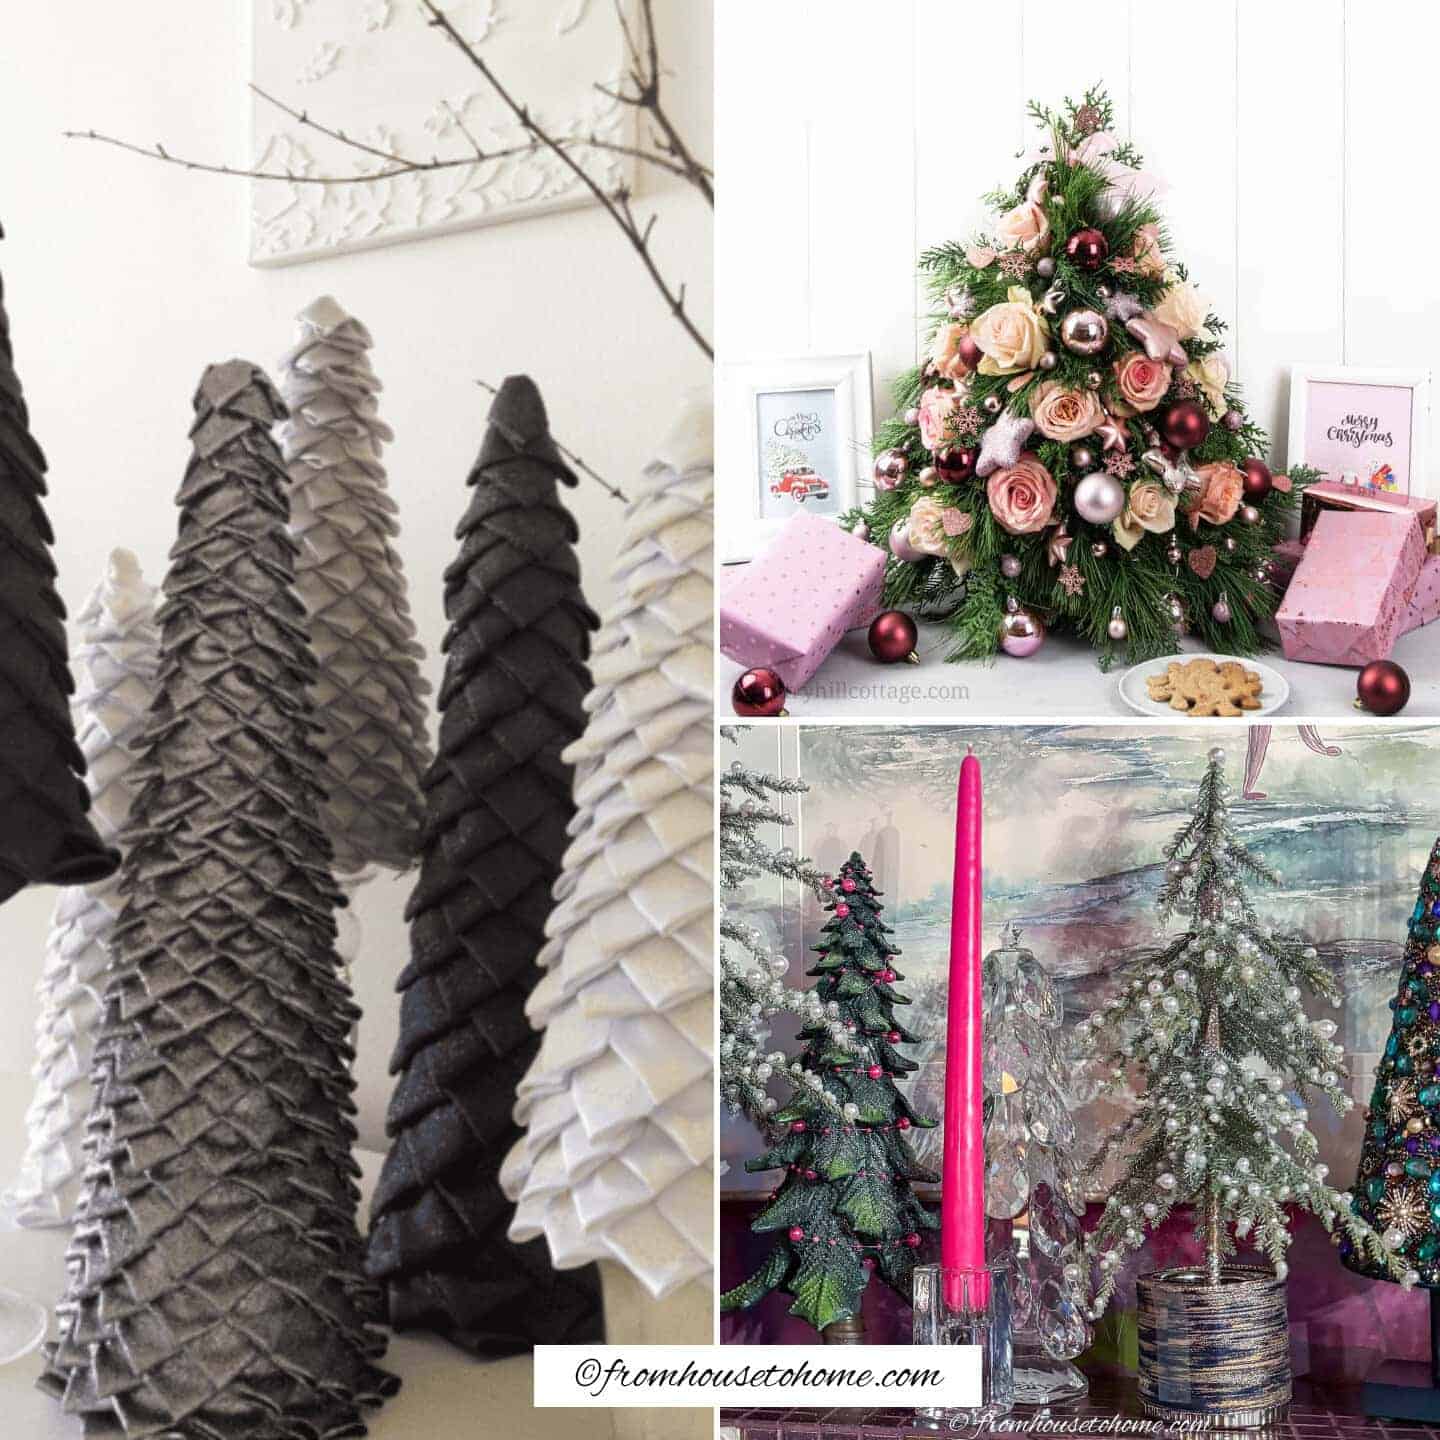
More DIY tabletop Christmas trees
Supplies
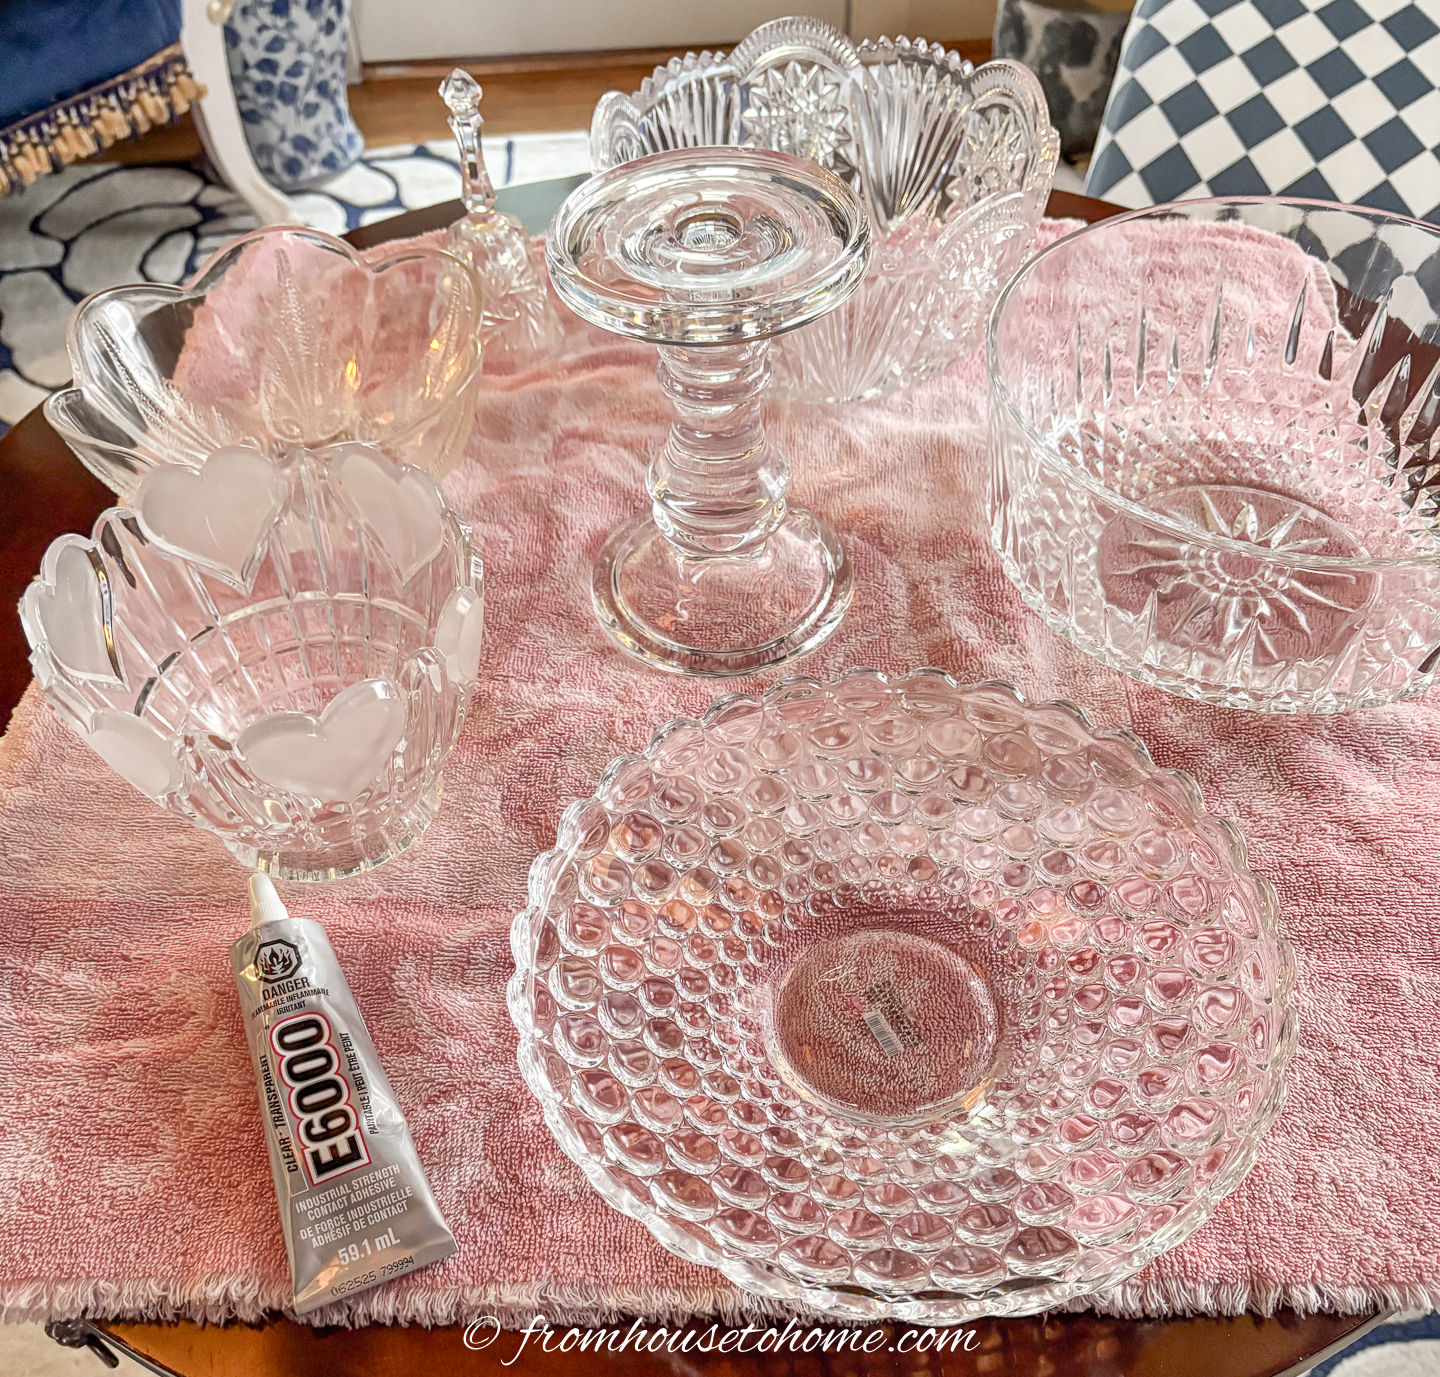
Materials:
- 1 9″ wide shallow bowl with a smooth, straight bottom for the base – The candlestick trunk will be glued to the bottom of this bowl so it needs to be flat in order for the tree to be stable.
- 1 glass pillar candle stick, about 6″ tall – this will be used for the tree trunk. You could also use a heavy brass candle holder
- 4 crystal or cut glass bowls starting with 9″ diameter and selecting the rest each about 1″ in diameter smaller than the previous one. The diameter of the bowls is flexible as long as it is decreasing in size. – Your tree will look better if all of the bowls have a similar rim. All of mine had scalloped edges. But you could use all straight rims.
- 1 small crystal bell for the top
- Tube of E6000 clear glue
Tools:
- Small level
How to make a DIY glass bowl Christmas tree
1 | Make the base of the tree
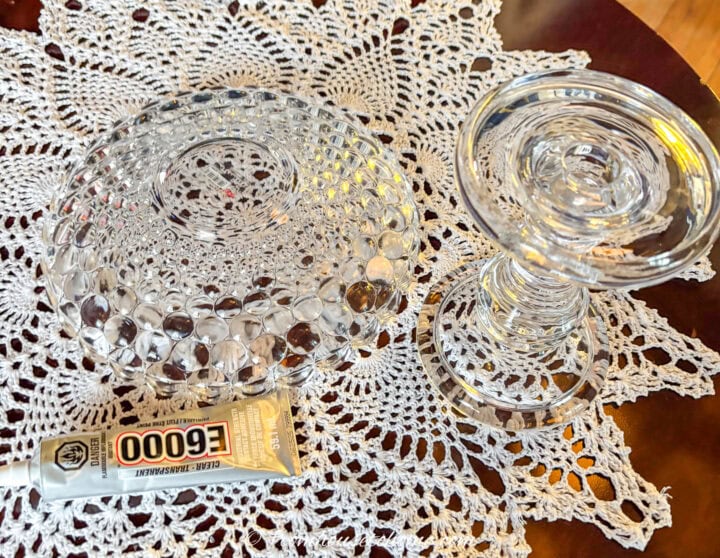
Start by turning the large, shallow bowl (the base) upside down.
Then run a line of adhesive around the bottom edge of the glass pillar candle holder.
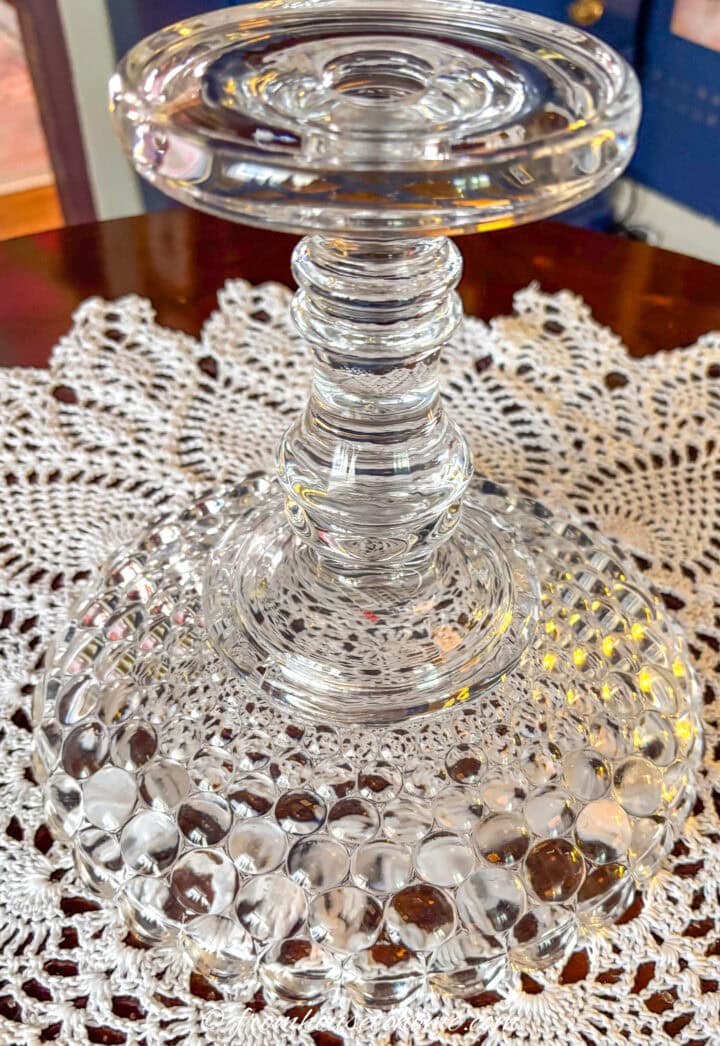
Press it firmly on to the center of the inverted shallow dish.
Set aside to dry.
2 | Glue the 2 largest bowls together
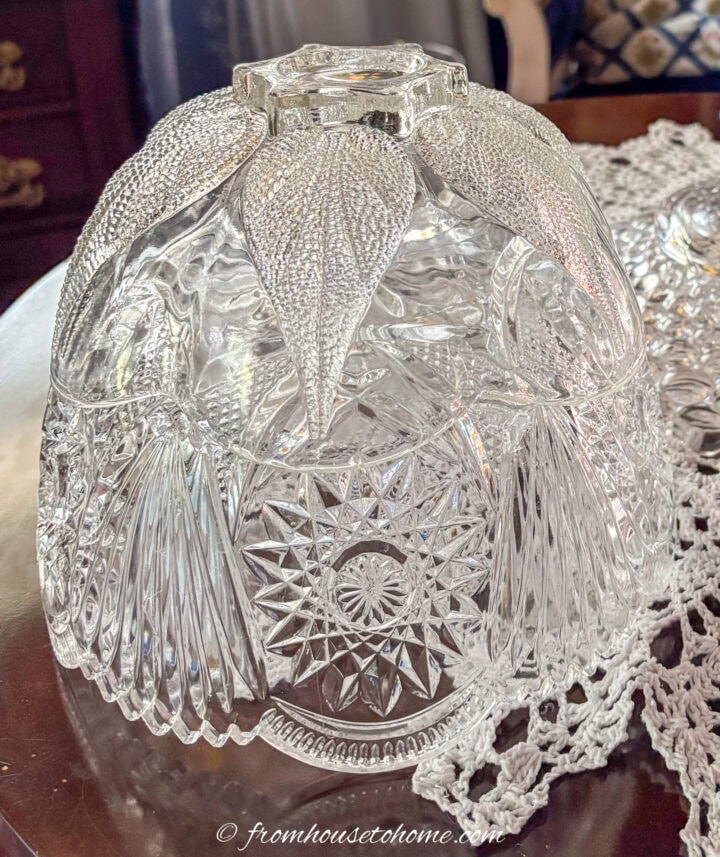
Get out the 2 largest bowls.
Turn them both upside down.
Then stack the smaller bowl over the upside-down larger bowl and observe where they touch.
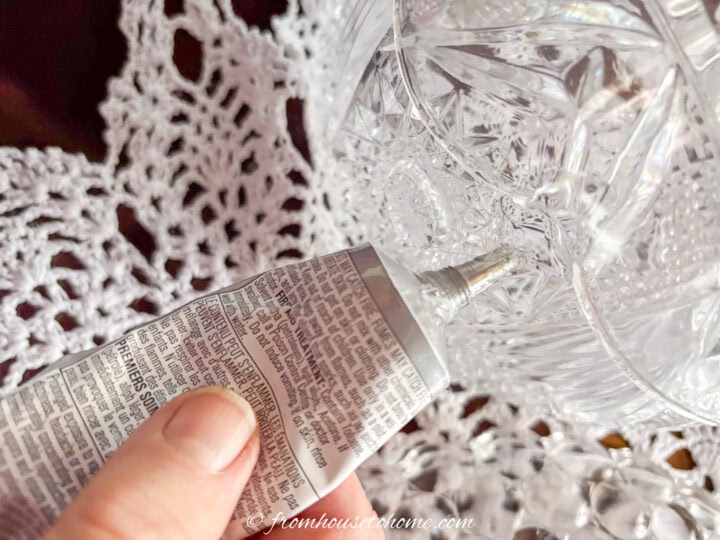
Apply glue inside the rim of the smaller bowl at all of the spots where it meets the larger bowl.
If the bowls have a 1″” difference in diameter (like mine), this will be about 1/2″” inside the rim.
Firmly press the 2 bowls together. Use a level across the top to make sure the top bowl is on straight.
Set this pair aside to allow the glue to set.
3 | Glue the smaller bowls together
Repeat the process with the 2 smallest bowls.
Adhere the smallest diameter bowl to the bottom of the 3rd bowl, then stack the two bowls one on top of the other and press firmly together.
Make sure the small bowl is on straight before setting them aside to dry.
4 | Glue the large bowls to the candlestick
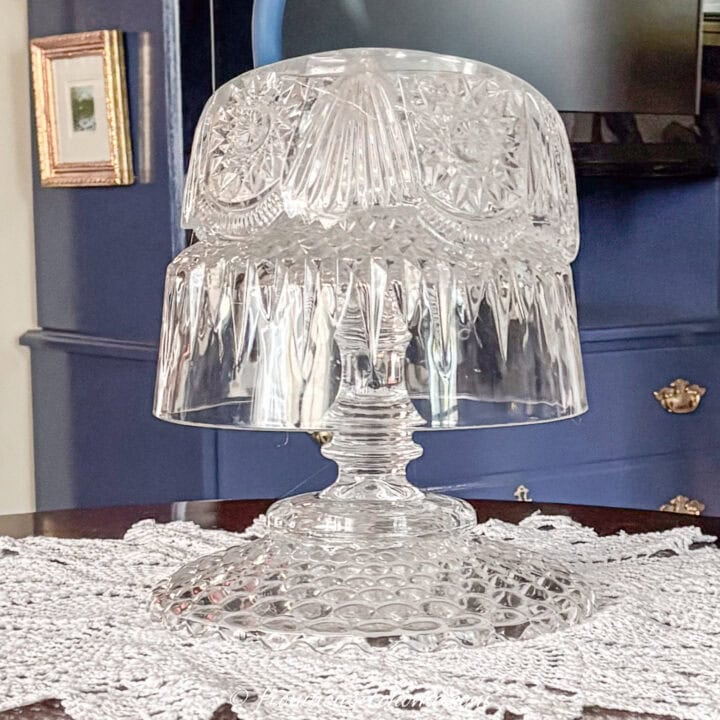
Once the glue has dried on the 2 sections (about 4 hours), apply a line of adhesive to the outside edge of the top of the candle holder.
Invert the large bowl assembly over the candle holder, center it carefully, and firmly press the inside of the largest bowl onto the top of the candle holder.
Let it sit until the glue has dried (about 4 hours).
5 | Add the smaller bowls to the top
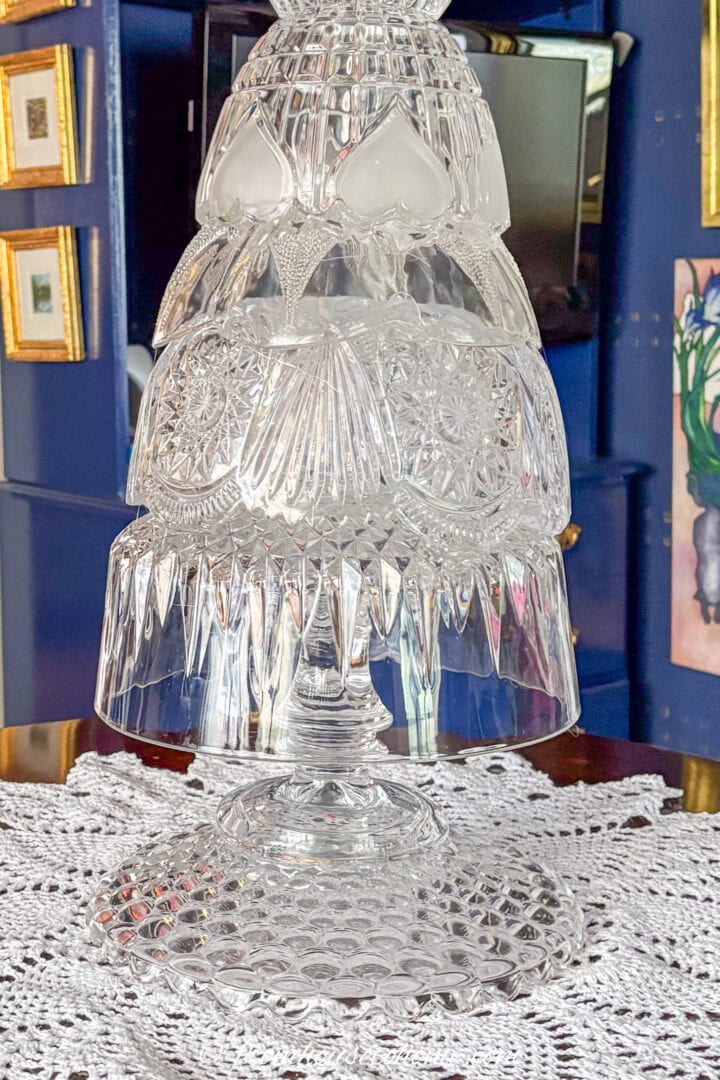
After the adhesive is thoroughly set, use the same process that you used for the 2-bowl sets to glue the small bowls to the top of the large bowls.
You now have a stack of upside-down bowls standing on a base.
Once again check that the top bowl is level before letting the glue set.
6 | Attach the bell
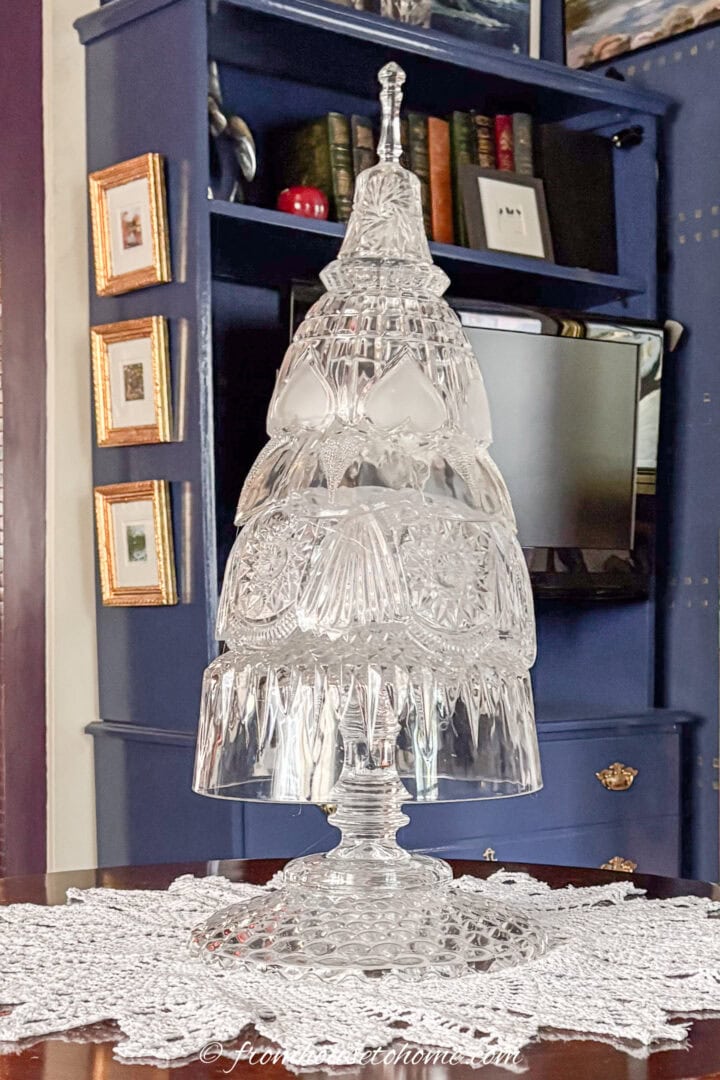
Once the glue is dry, apply clear adhesive to the rim of the crystal bell and press it firmly to the center of the top inverted bowl.
The bell completes the ‘tree’ look by providing a pointed topper.
Let it dry for at least 4 hours (I left mine overnight) before moving it to its final location.
The finished tree
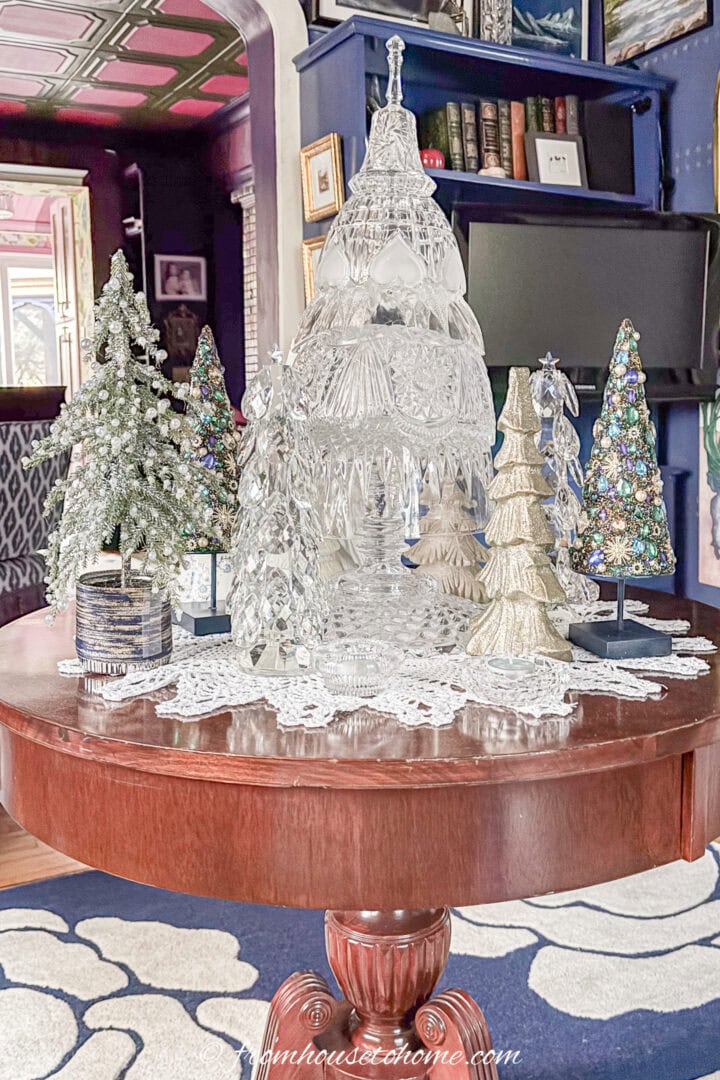
I staged my new crystal tree by surrounding it with a bunch of smaller tress from my collection. Which I grouped in threes (I like odd numbers).
Then I added three crystal tea light holders to the table top.
All of the shiny glass reflects the glow of the candles beautifully. And the whole scene looks very festive!
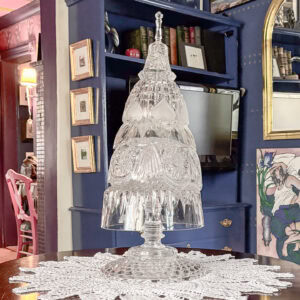
DIY Crystal Mini Christmas Tree
Ingredients
- 1 9 ” wide shallow bowl with a smooth , straight bottom for the base
- 1 glass pillar candle stick , about 6″ tall
- 4 crystal or cut glass bowls starting with 9″ diameter and selecting the rest each about 1″ in diameter smaller than the previous one. The diameter of the bowls is flexible as long as it is decreasing in size.
- 1 small crystal bell for the top
- Tube of E6000 clear glue
Instructions
- Turn the large shallow bowl upside down. Then glue the base of the candlestick in the center of the bottom of the bowl. Set aside to dry.
- Flip the two largest bowls upside down. Place the smaller bowl over the bottom of one large bowl and check where the rims meet. Flip the smaller bowl right side up, then glue around the inside rim where it will join the larger bowl (about 1/2″ down from the rim if there’s a 1″ diameter difference). Press the bowls together firmly, keeping the top bowl level. Set the glued pair aside to let the glue set.
- Repeat the process with the two smallest bowls. Glue the smallest bowl to the bottom of the third bowl. Then press the two bowls firmly together, keeping the small bowl straight. Let the glue dry for about 4 hours before proceeding.
- When the glue is dry, apply a line of adhesive to the outside edge at the top of the candle holder. Invert the large bowl assembly, center it over the candle holder, and press the inside of the largest bowl firmly onto the top. Let the glue dry before proceeding.
- After the adhesive sets, glue the smaller bowl set to the top of the large bowl set using the same process as above. Make sure the top bowl is level. Let the glue dry before proceeding.
- Apply clear adhesive to the rim of the crystal bell, then press the bell firmly onto the center of the top inverted bowl. Let the adhesive dry for at least 4 hours before moving the tree to its final location.
Have comments or questions about our DIY crystal Christmas tree tutorial? Tell us in the section below.