
DIY Faux Marble Table Makeover With Contact Paper
If you’ve got a plain, inexpensive desk that’s bringing down the look of your room, this DIY faux marble table makeover is an easy way to give it a high-end upgrade without spending a lot of money. With just marble contact paper and a little spray paint, you can turn it into a stylish piece that actually looks like it belongs in your space.
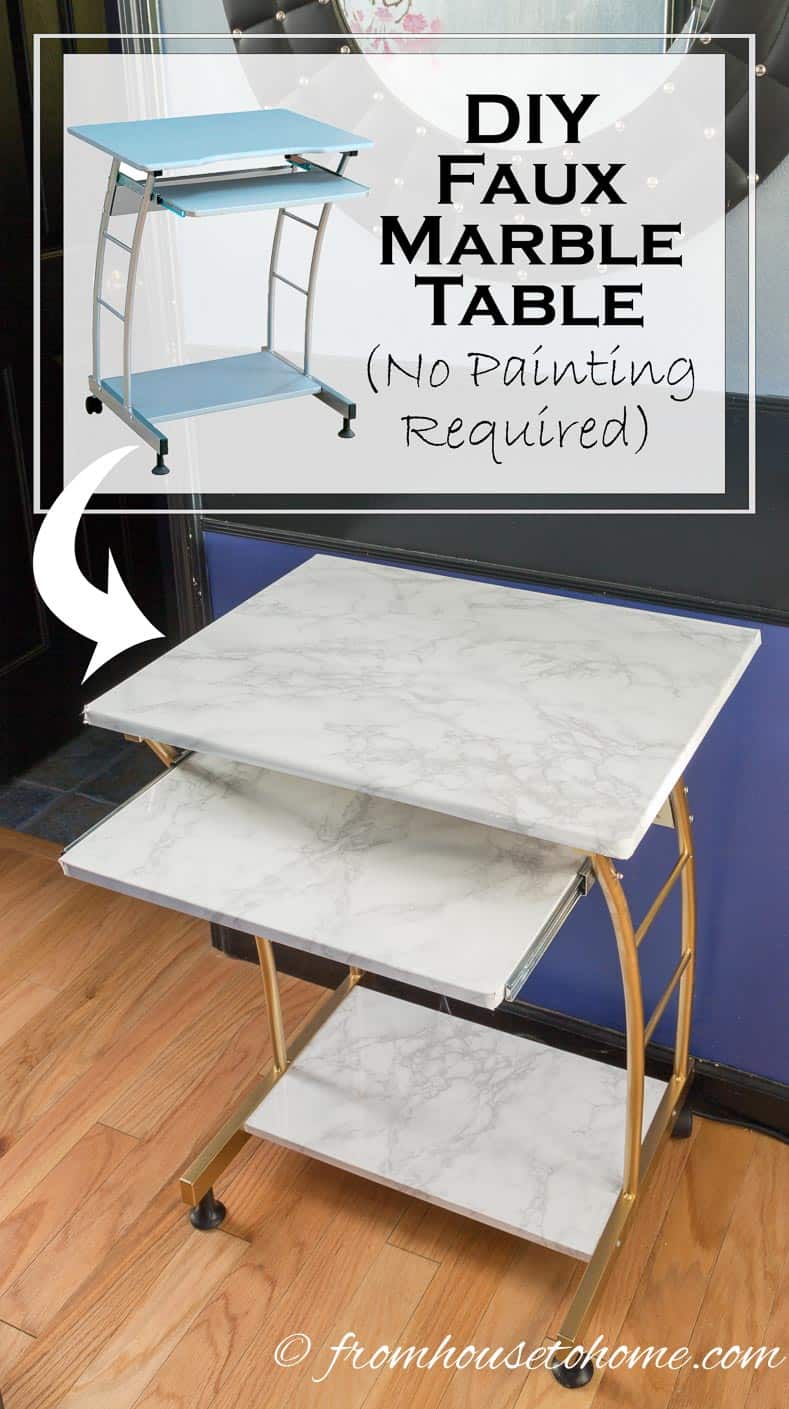
Ever had a table that needed a little “pick me up”, but didn’t feel like painting it?
That’s exactly where I was with the computer table I wanted to use in my home office makeover. I needed the functionality of a small computer table (the room is tiny) but the look really didn’t go with my glam office update.
Then I came across this really easy way to make the top look like marble!
Better yet? There’s no painting required! And it takes less than an hour to do. A win-win-win situation if you ask me.
Keep reading to find out how to make a DIY faux marble table.
Get a FREE Room Makeover Workbook by signing up for our newsletter
You’ll also get access to our members-only resource library with all of our other printables.
We won’t send you spam. Unsubscribe at any time.
The Faux Marble Secret
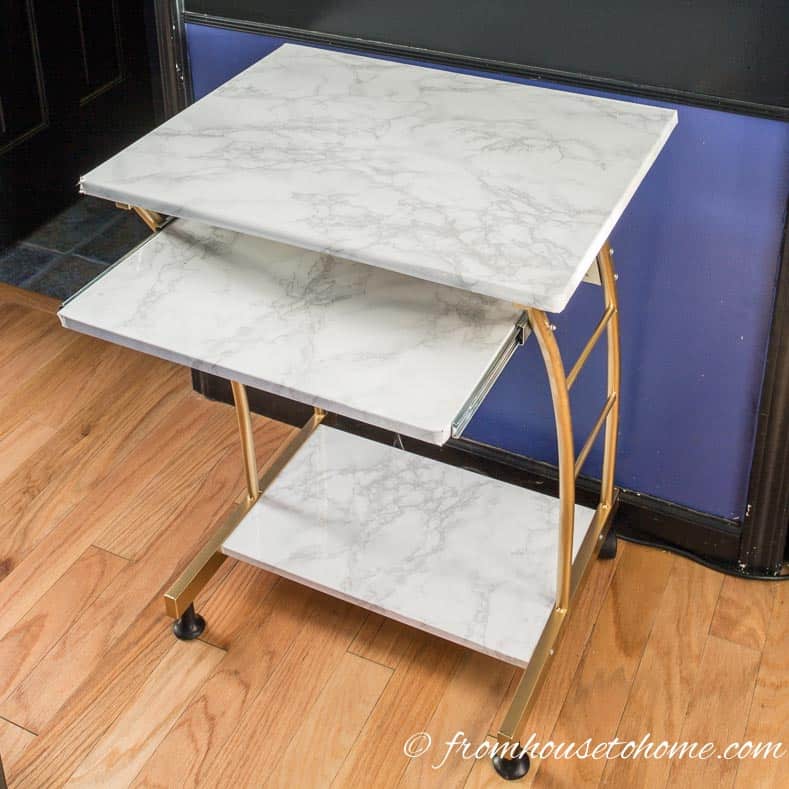
Here’s my finished table. The faux marble actually looks quite real.
The bonus? It’s really easy to put on, and there’s no faux painting skills involved!
The trick? Faux marble contact paper!*
It comes in all kinds of faux-stone patterns and in different widths.
Most of them have grid lines on the back to make measuring and cutting very easy.
Then peel off the back and stick it on, and you’re done.
One caveat…I think this solution will only work if you can find contact paper that is wide enough to cover your table. Trying to match it and not have a visible seam would be pretty much impossible in my opinion.
Supplies
- The piece of furniture or table you want to make over.
- Marble contact paper that is wider than what you are trying to cover* – I think the matte finishes look more realistic than the shiny ones.
- Straight edge ruler*
- Wallpaper smoother*
How to apply contact paper
1 | Take the table apart
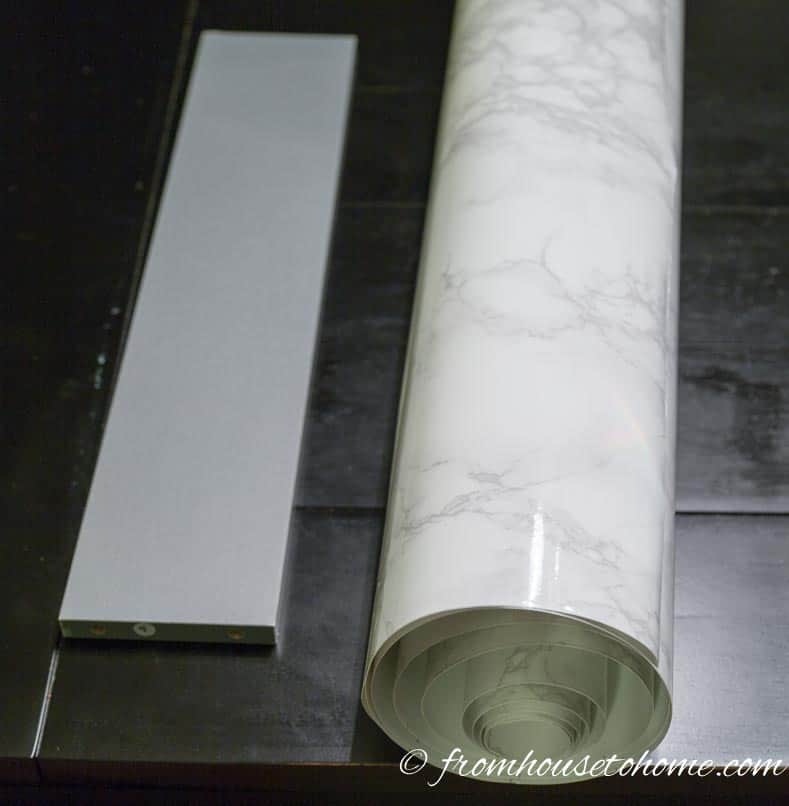
This is optional, but if your table or piece of furniture comes apart, it makes it a little easier to cover each of the flat boards with the contact paper.
If that’s not possible, you can still do a similar process for assembled furniture. You will just need to be a little more careful about getting the first edge on straight.
I would recommend only trying to cover flat surfaces that don’t have too many curved edges.
The contact paper is very hard to bend smoothly around curves.
2 | Measure and cut the paper
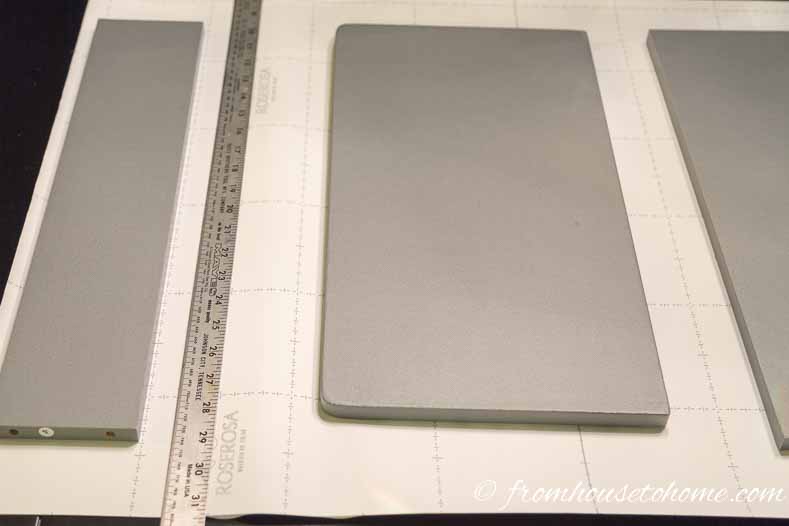
Before you start, make sure that the table top to be covered is clean and dry.
Lay out the contact paper facing down on a flat surface.
If you were able to remove the table top (or if you have a fairly light table that you can turn upside down), place it on the contact paper.
If you weren’t able to remove the table top, you will need to measure it to figure out how big the contact paper needs to be.
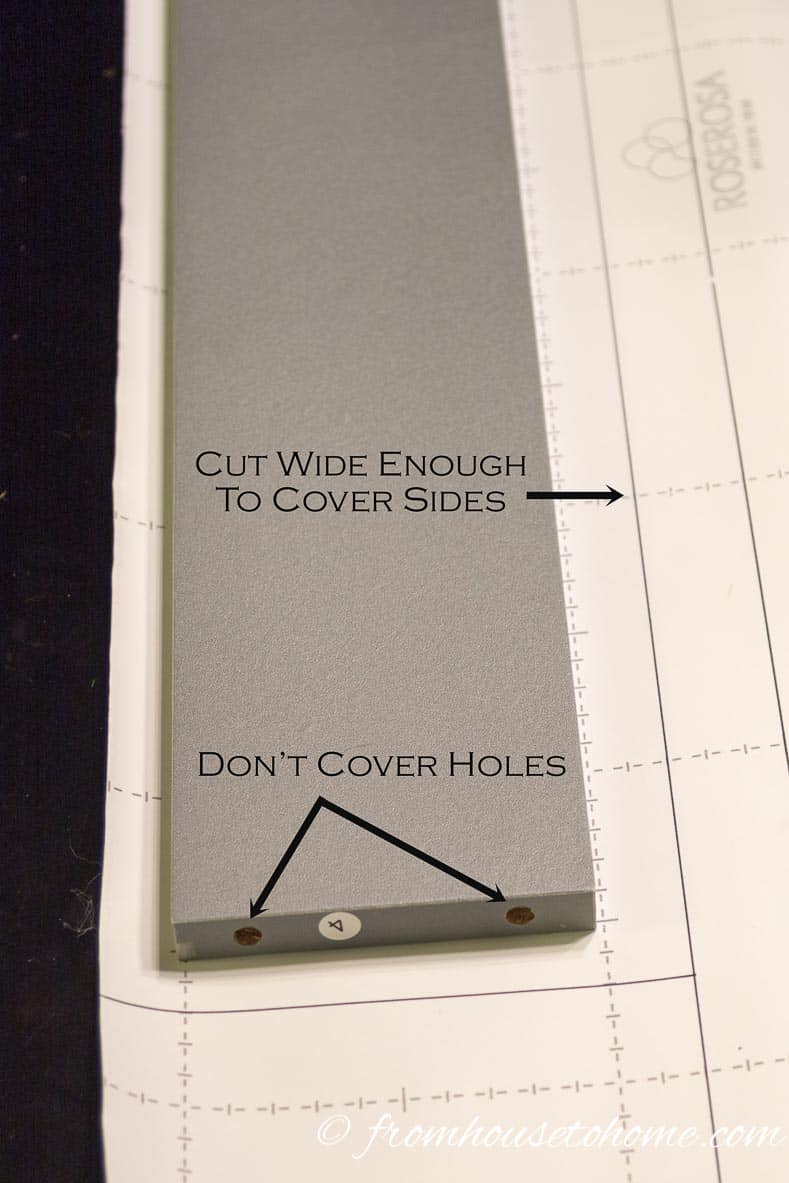
Figure out which parts of the table top need to be covered.
If there are any holes for connectors, make sure you’re not covering them.
Most of the time, you won’t have to cover both sides of the board, but if you do, you will need to include that extra side in the measurement.
Also include the thickness of the board on both sides if it will show.
Mark those measurements on the contact paper.
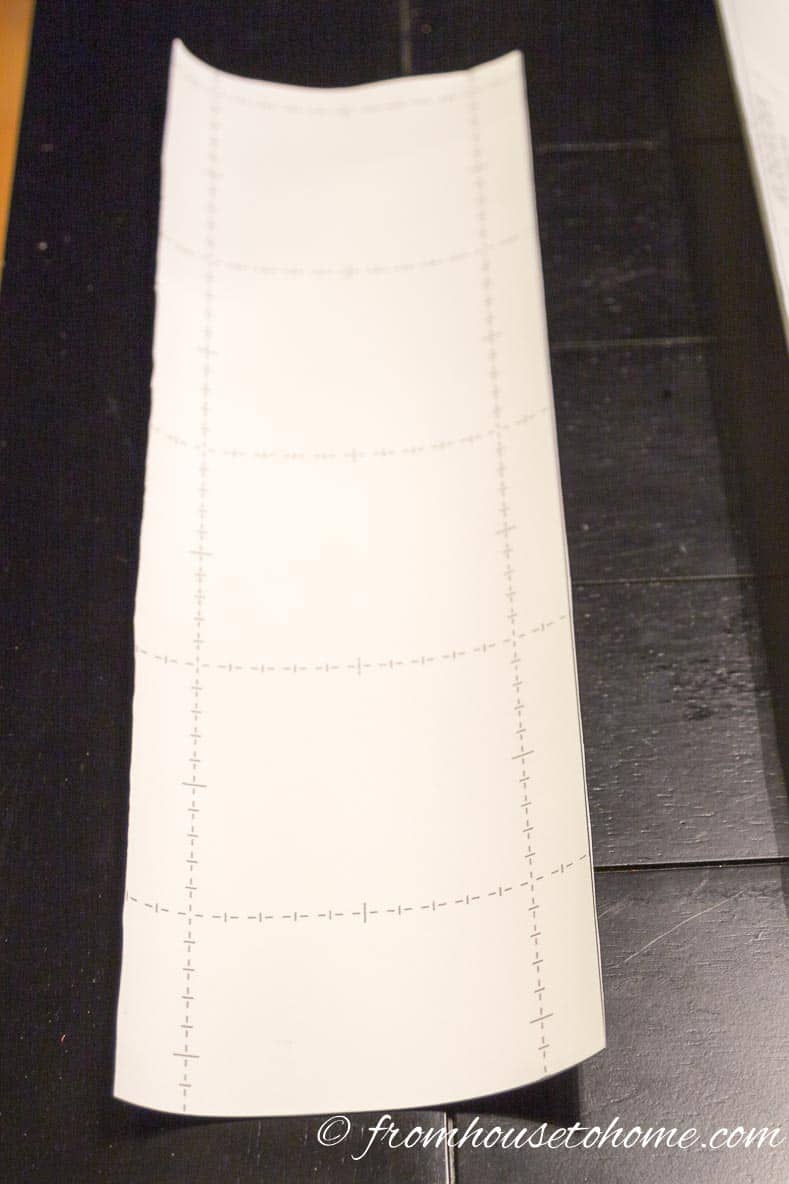
Cut the contact paper to size.
3 | Stick on the contact paper
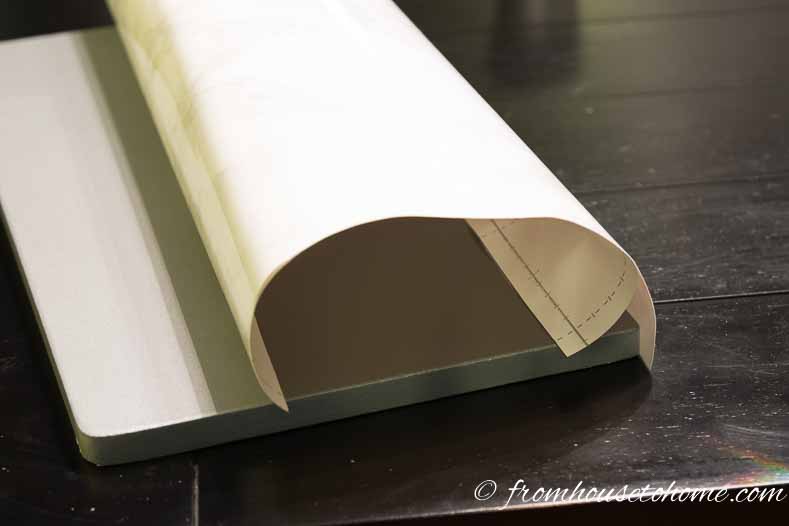
Start at the bottom side of one of the edges.
Peel off just enough of the contact paper backing to cover the thickness of the board.
This is important! The contact paper is very sticky, so if you expose more of the glued side than is necessary, it will probably stick to something you don’t want it to. And you will end up with bubbles in the finish.
Fold the paper over the corner onto the flat part of the board.
Again, only peel off enough of the backing to stick down the next portion of the board.
Work from one corner of the board to the opposite corner.
This will keep the paper going on straight and minimize the possibility of bubbles forming.
4 | Smooth out any bubbles and wrinkles
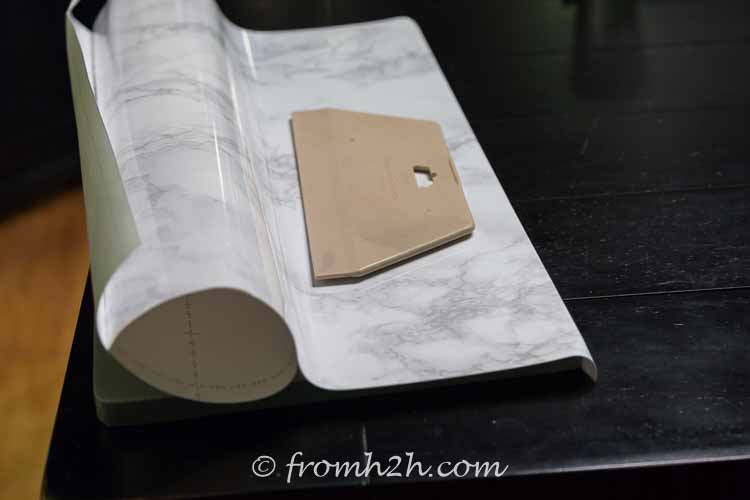
Use the smoother tool to make sure that the contact paper is stuck to the board and to remove any bubbles.
If there are bubbles that you cannot smooth out, pull up the paper and try again.
If you have tried a couple of times and the bubbles just won’t go away, it probably means the paper is not on straight.
Pull back as much as you can (all the way to the first edge) and start over making sure that the contact paper is stuck on straight.
Keep going until you have reached the other side of the board.
5 | Fold over the corners
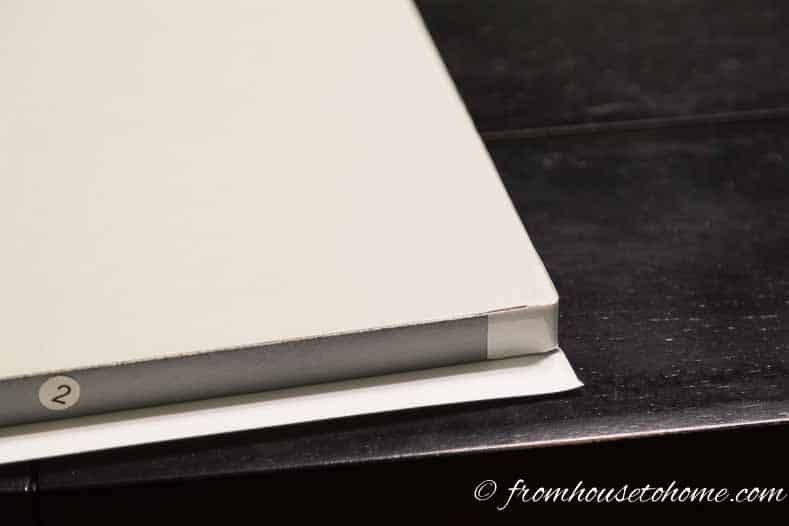
If you have corners where both sides are covered by contact paper, you will need to cut a slit in the paper to allow the fold to happen.
To do this, flip the board over so that the covered side is down.
Cut the slit so that it creates a piece of paper that is as thick as the board.
Fold this tab over and stick it to the end of the board.
Then cover this end by folding up the larger piece of paper.
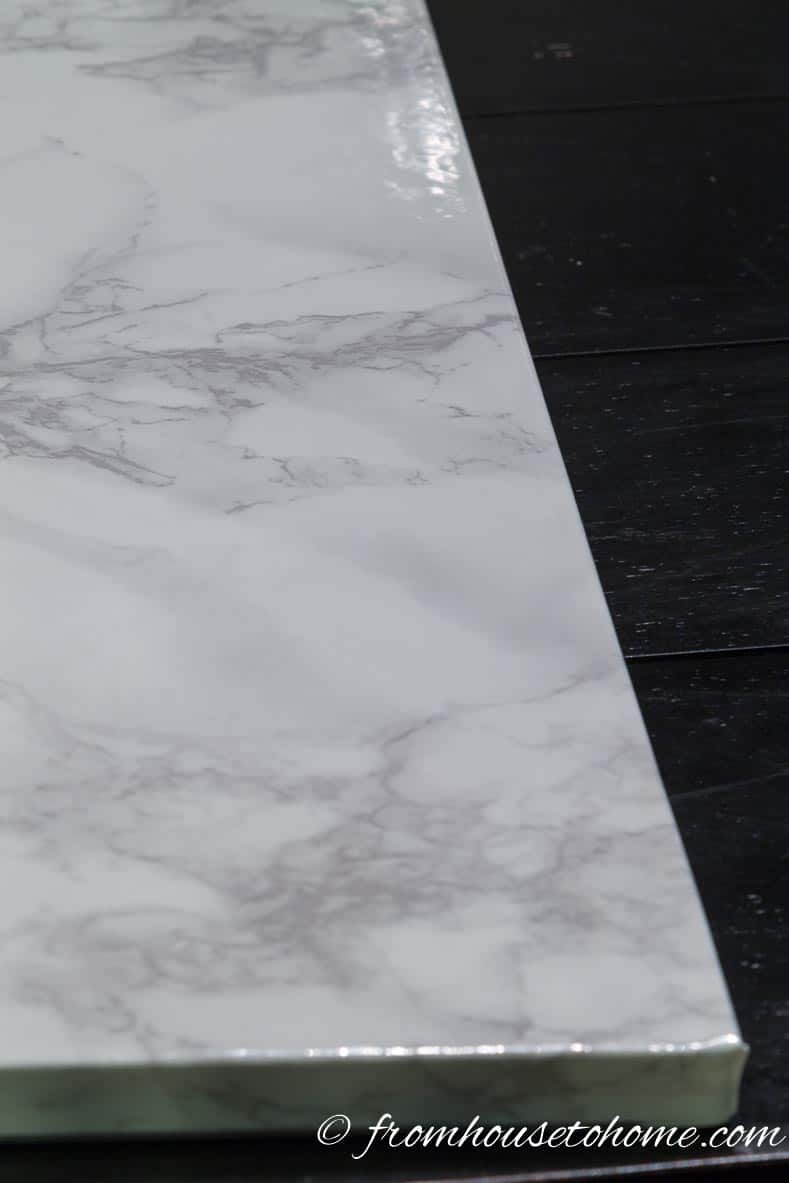
You should now have a neat-looking corner.
When you have covered all of the surfaces you want to cover, put your table back together (if you took it apart) and it’s ready to go.
The Finished Table
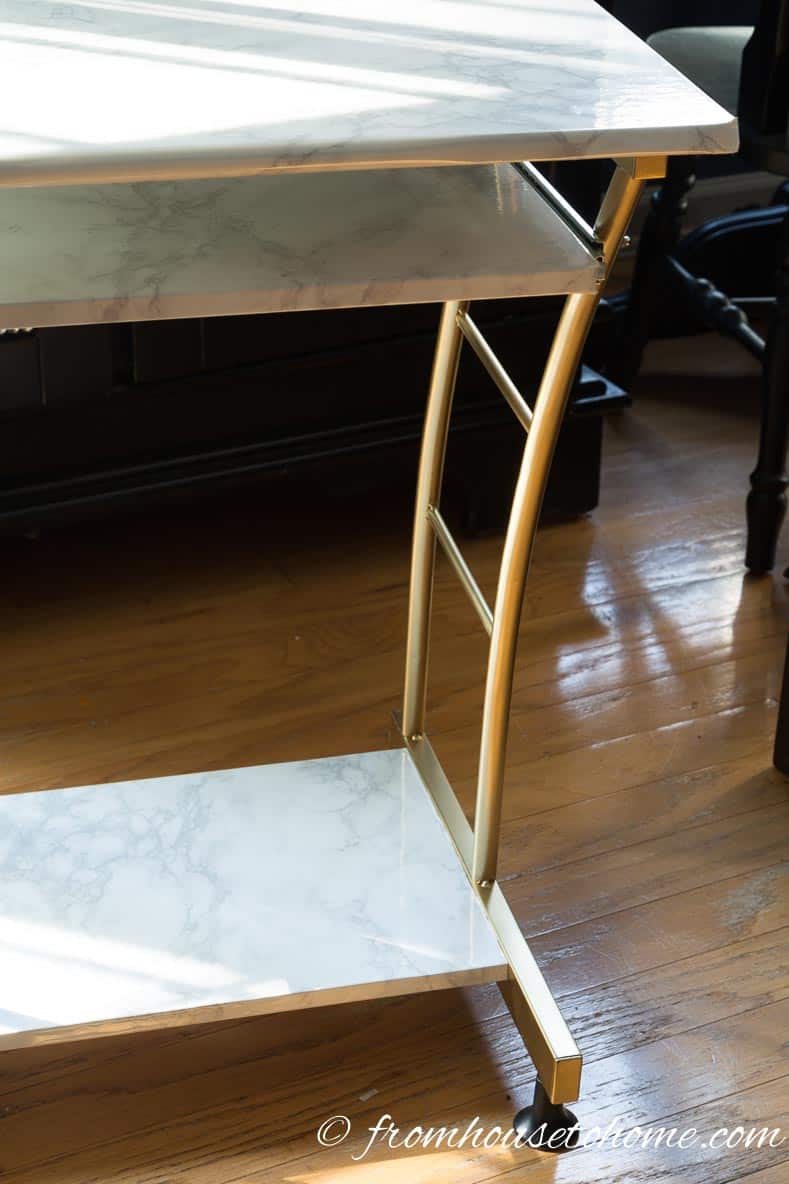
In my case, I also spray painted the legs gold before I put the table back together.
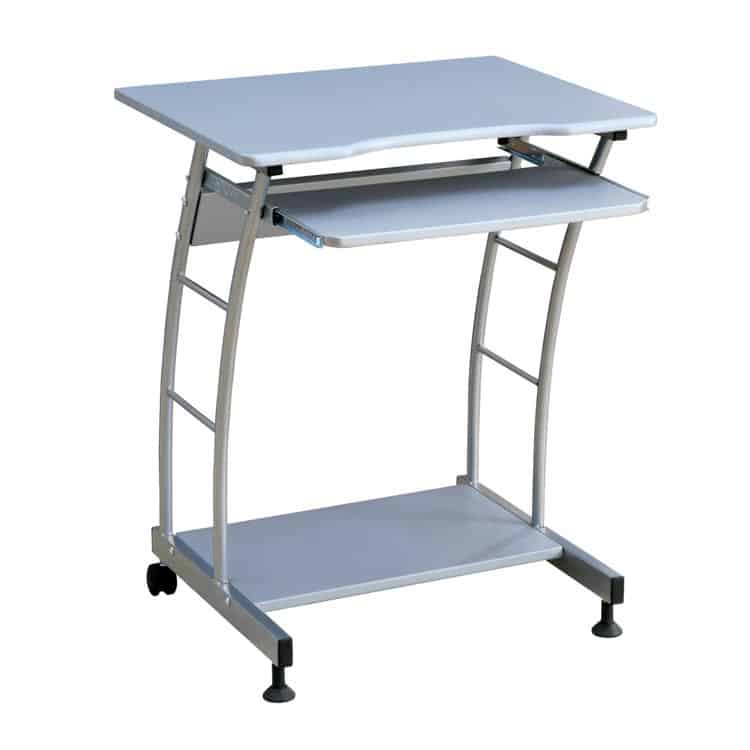
Here’s the table that I started with.
And here’s the updated version which definitely has a little more character!
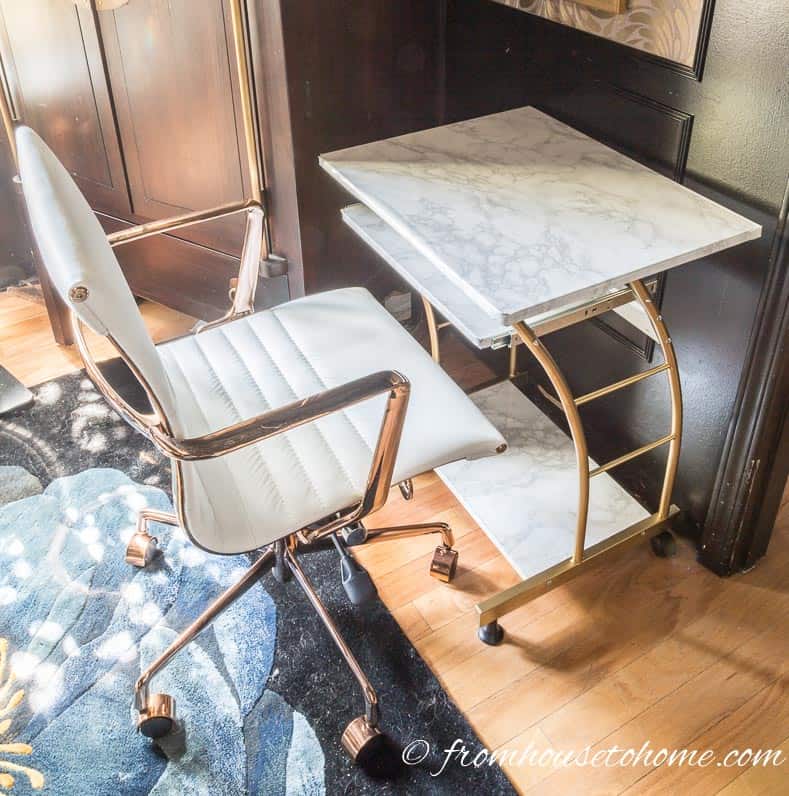
It even works with my new office desk chair (although this isn’t the room that either of these will end up in).
Other DIY furniture makeovers
- Black lacquer and gold leaf cabinet makeover
- White and gold accent table makeover
- Black and gold nightstand makeover
Or browse all of our DIY furniture makeovers.
Have comments or questions on how to make a DIY Faux Marble table? Tell us in the section below.
This post was originally published on April 18, 2016 but was updated with new content on March 30, 2026.