How To Update A Tiered Side Table With Paint, Wax and Nail Head Trim

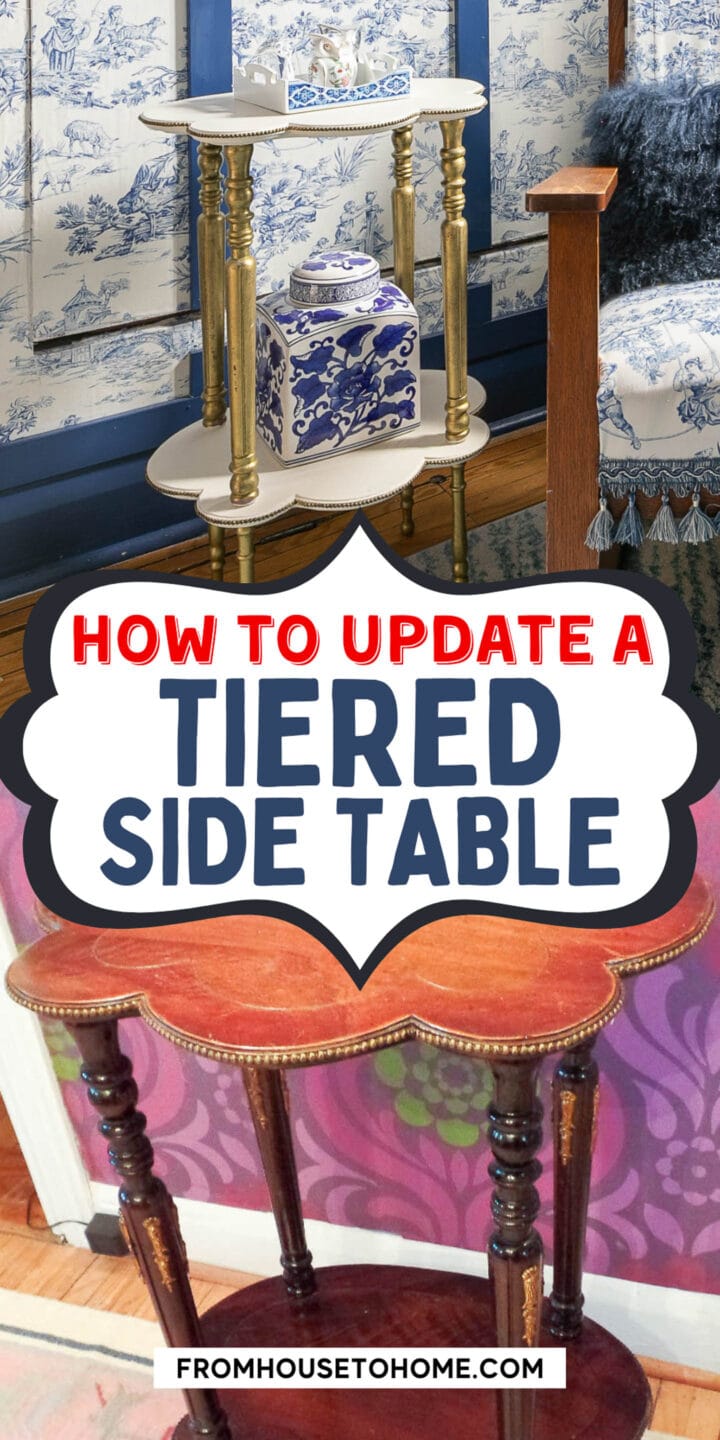
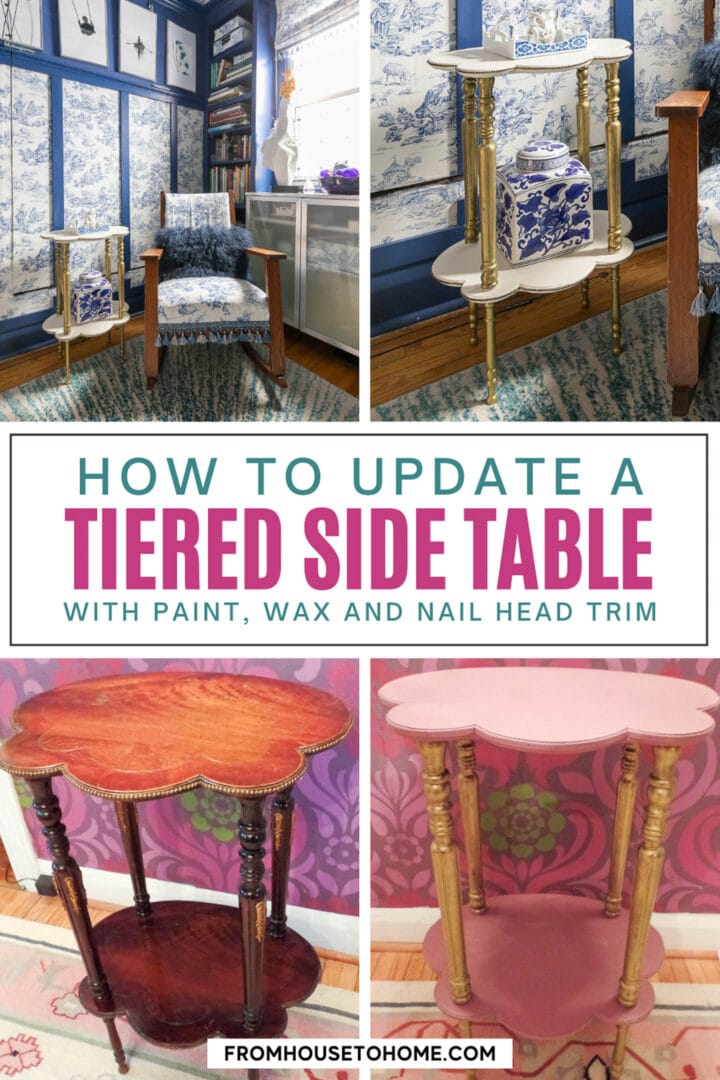


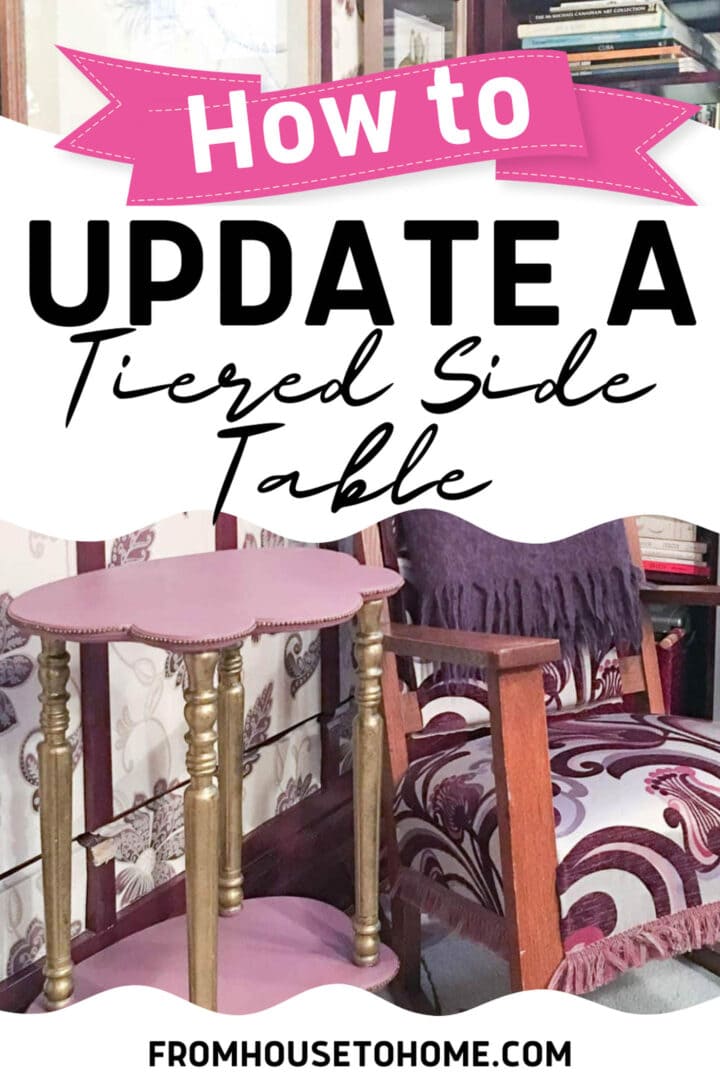
If you have a tiered side table that needs an update, this DIY project maybe just want you’re looking for. With paint, metallic wax and nail head trim, you can turn it into the showpiece of your decor.

It seems like everyone has at least one of these little side tables.
They are quite functional since they are small enough to fit anywhere but still large enough to put down a drink or a book.
But a lot of them need some help in the design department.
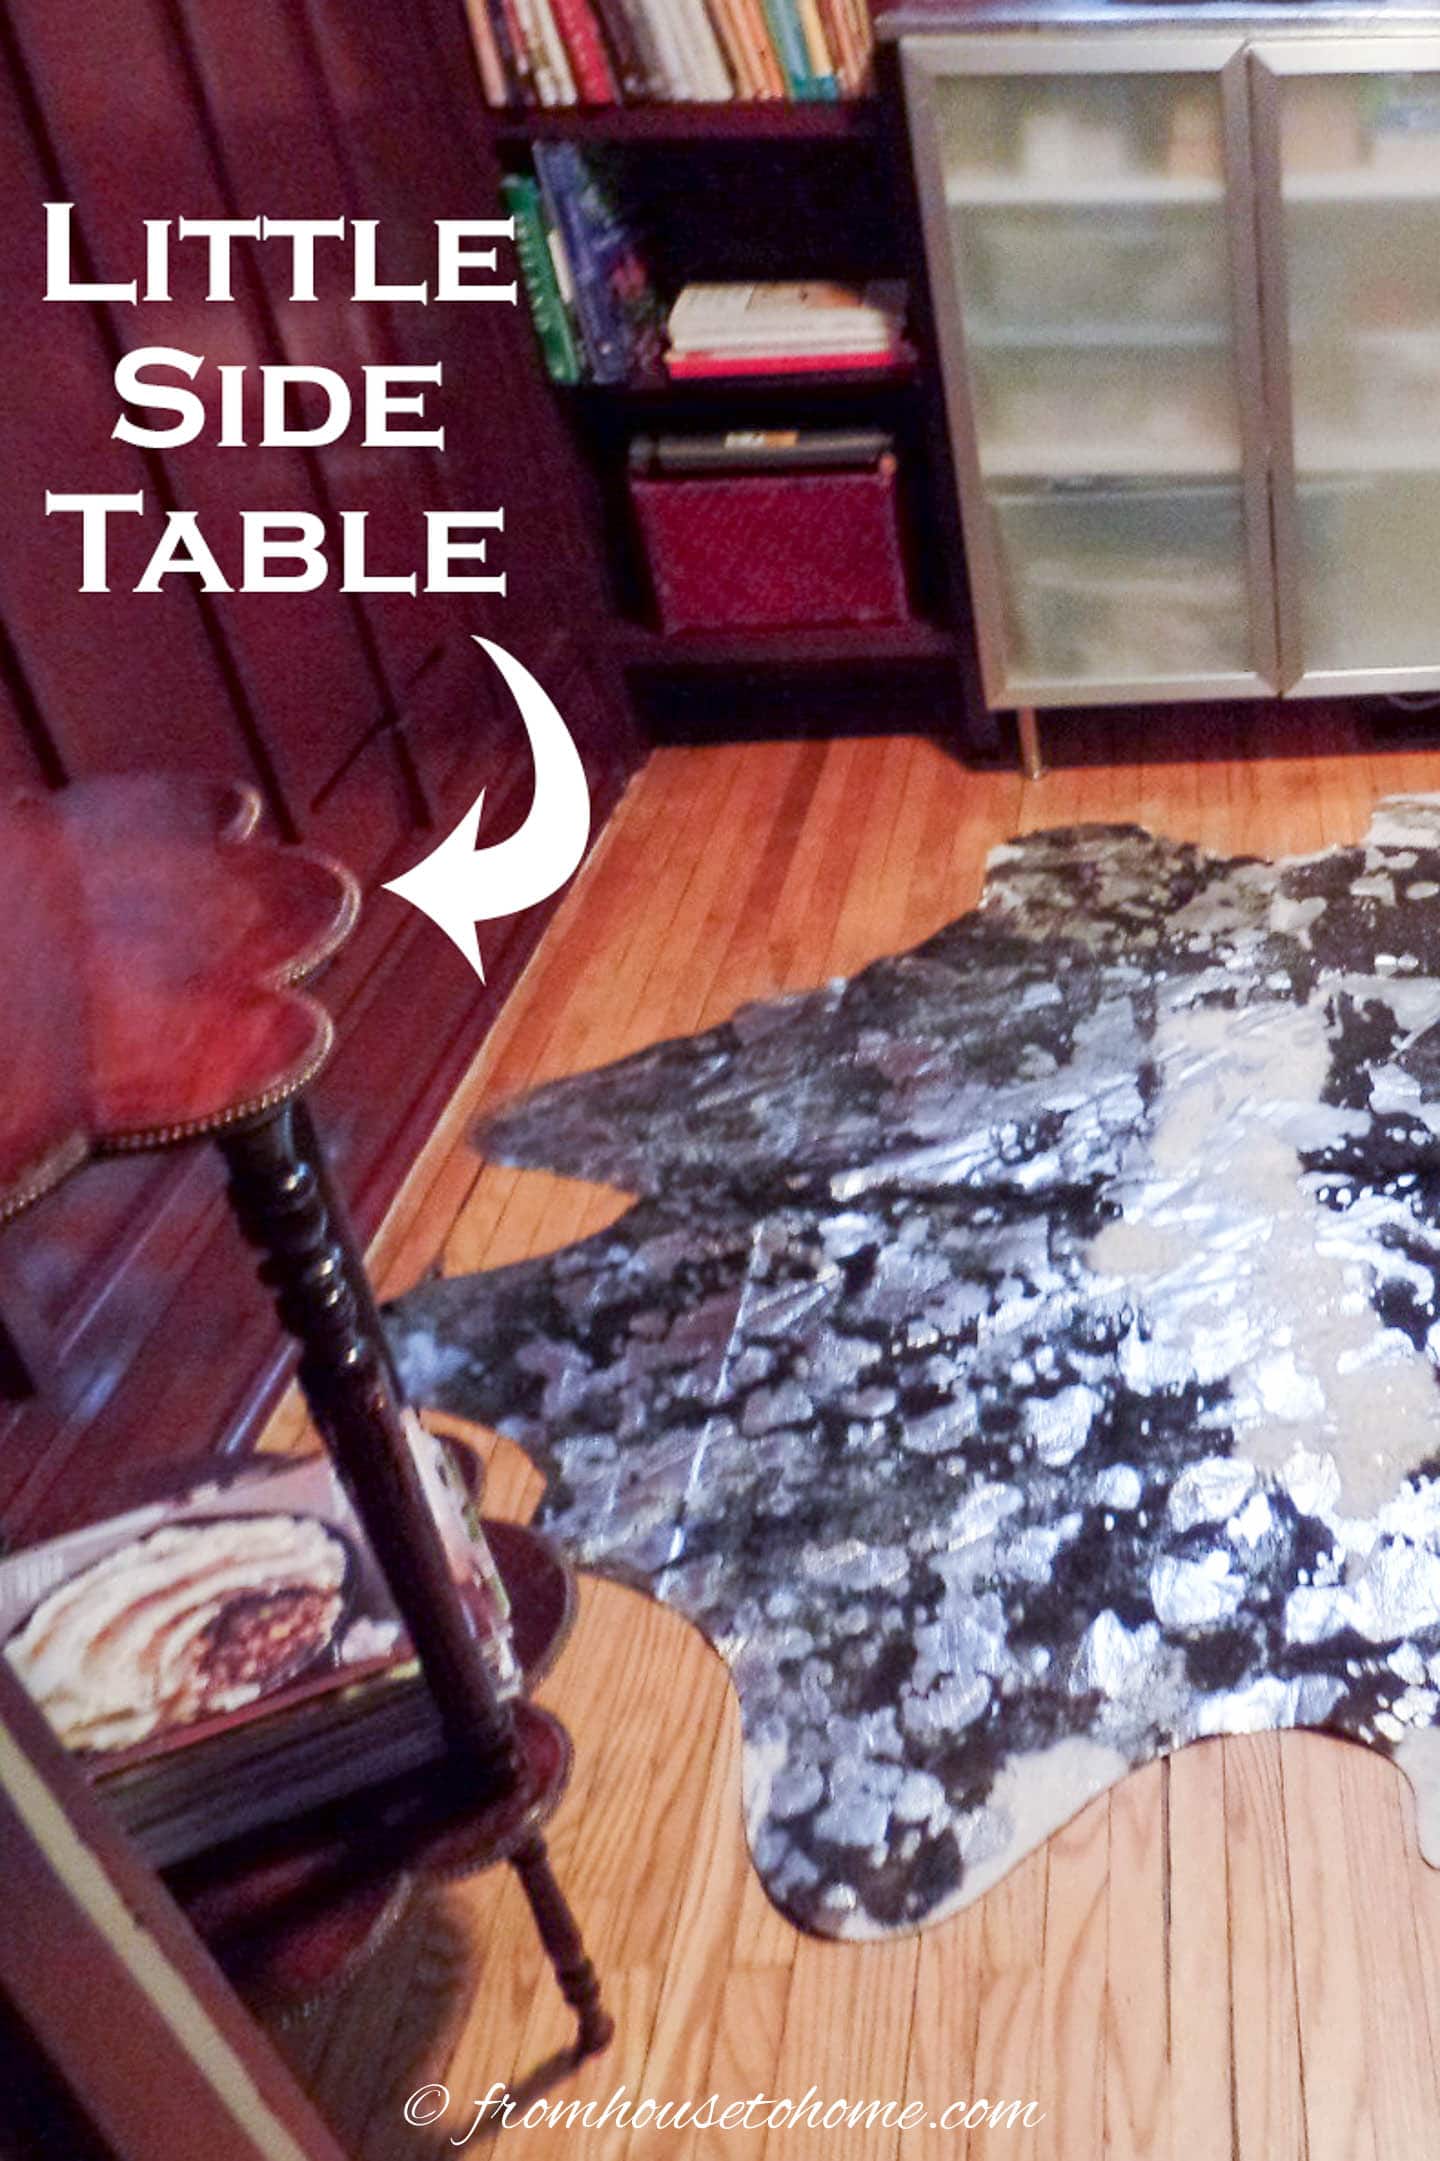
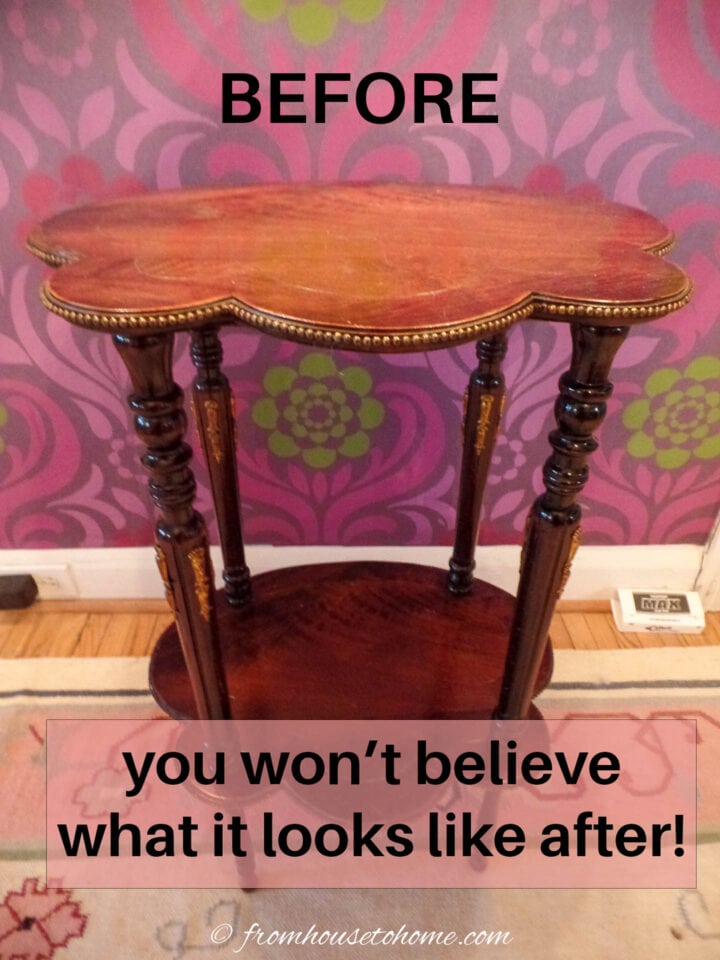
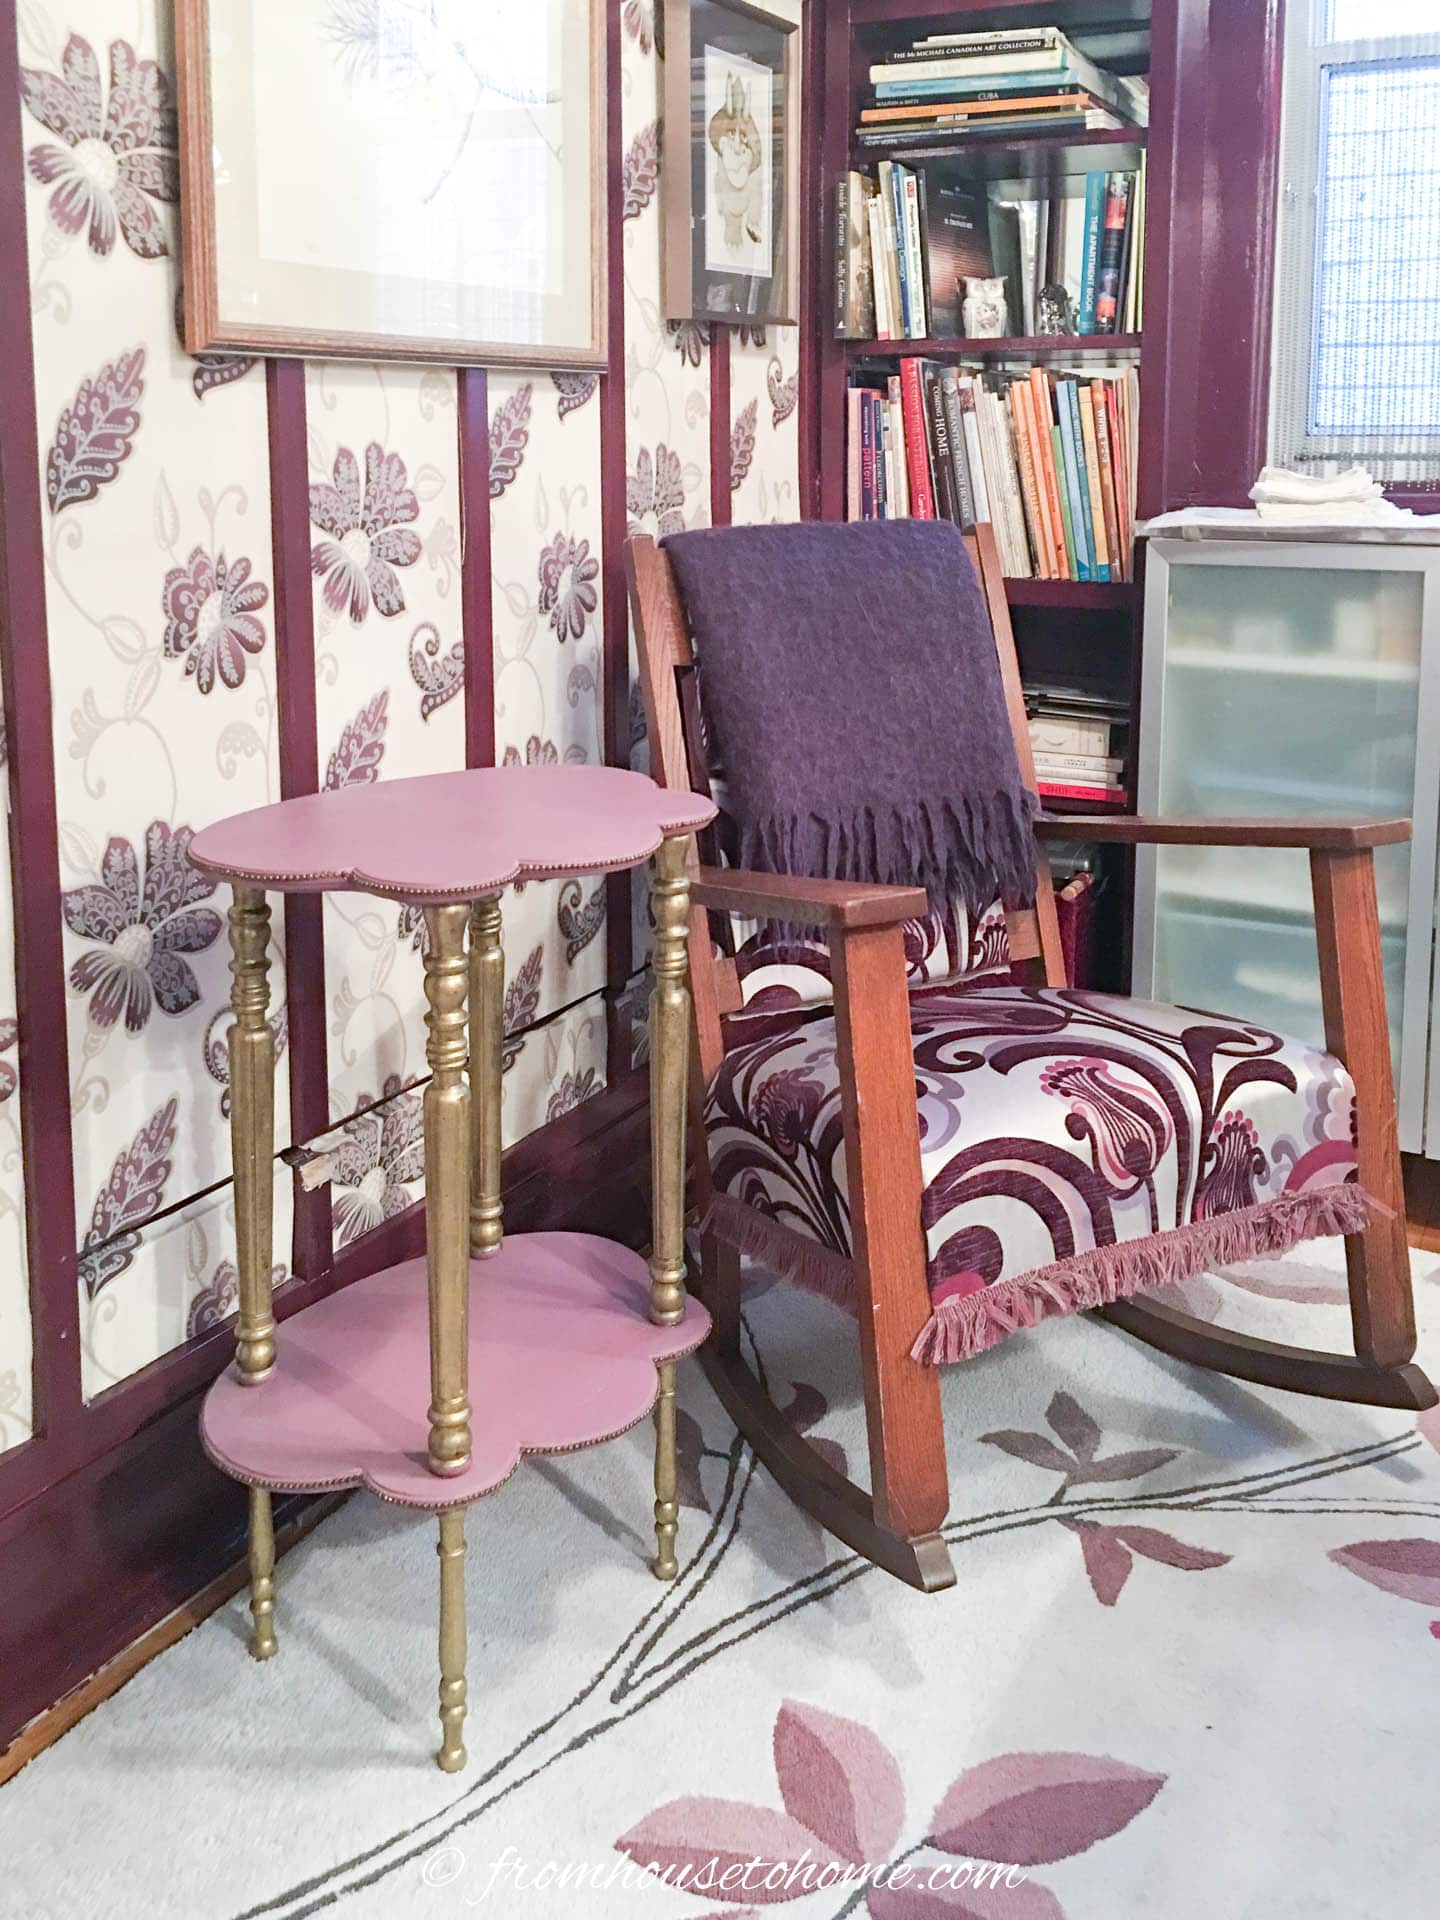
Mine was no different (sorry for the poor picture quality!).
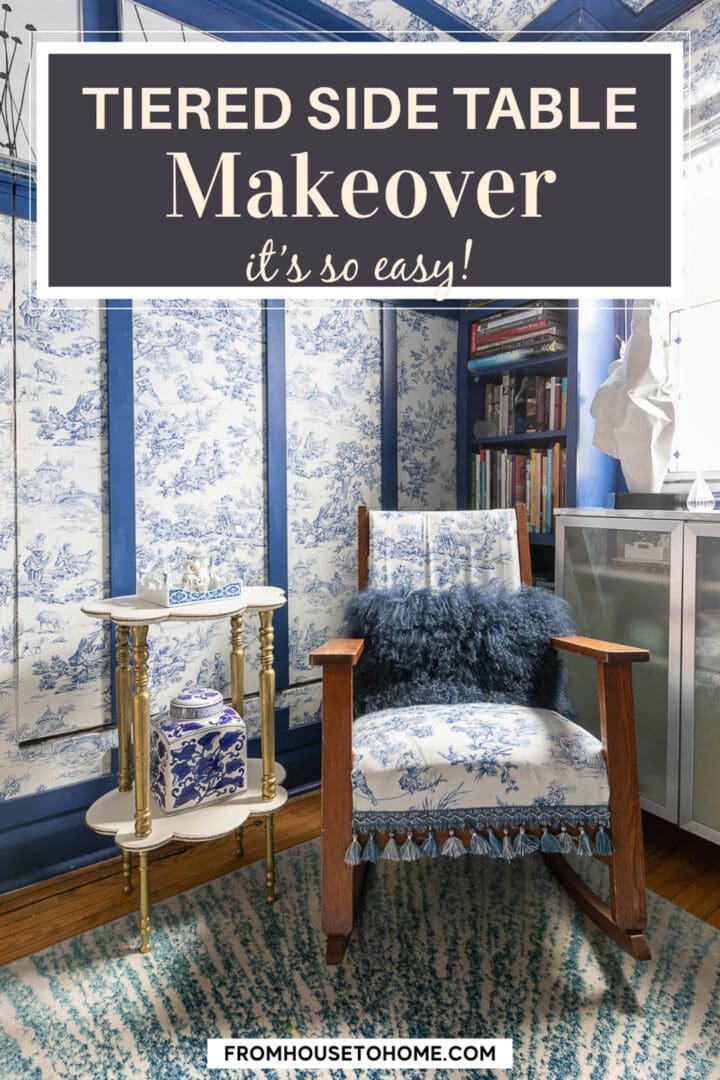
As I was updating my den, it became obvious that I needed to do something about the little side table beside the rocking chair.
The finish was not in good shape and it did not add much to the decor.
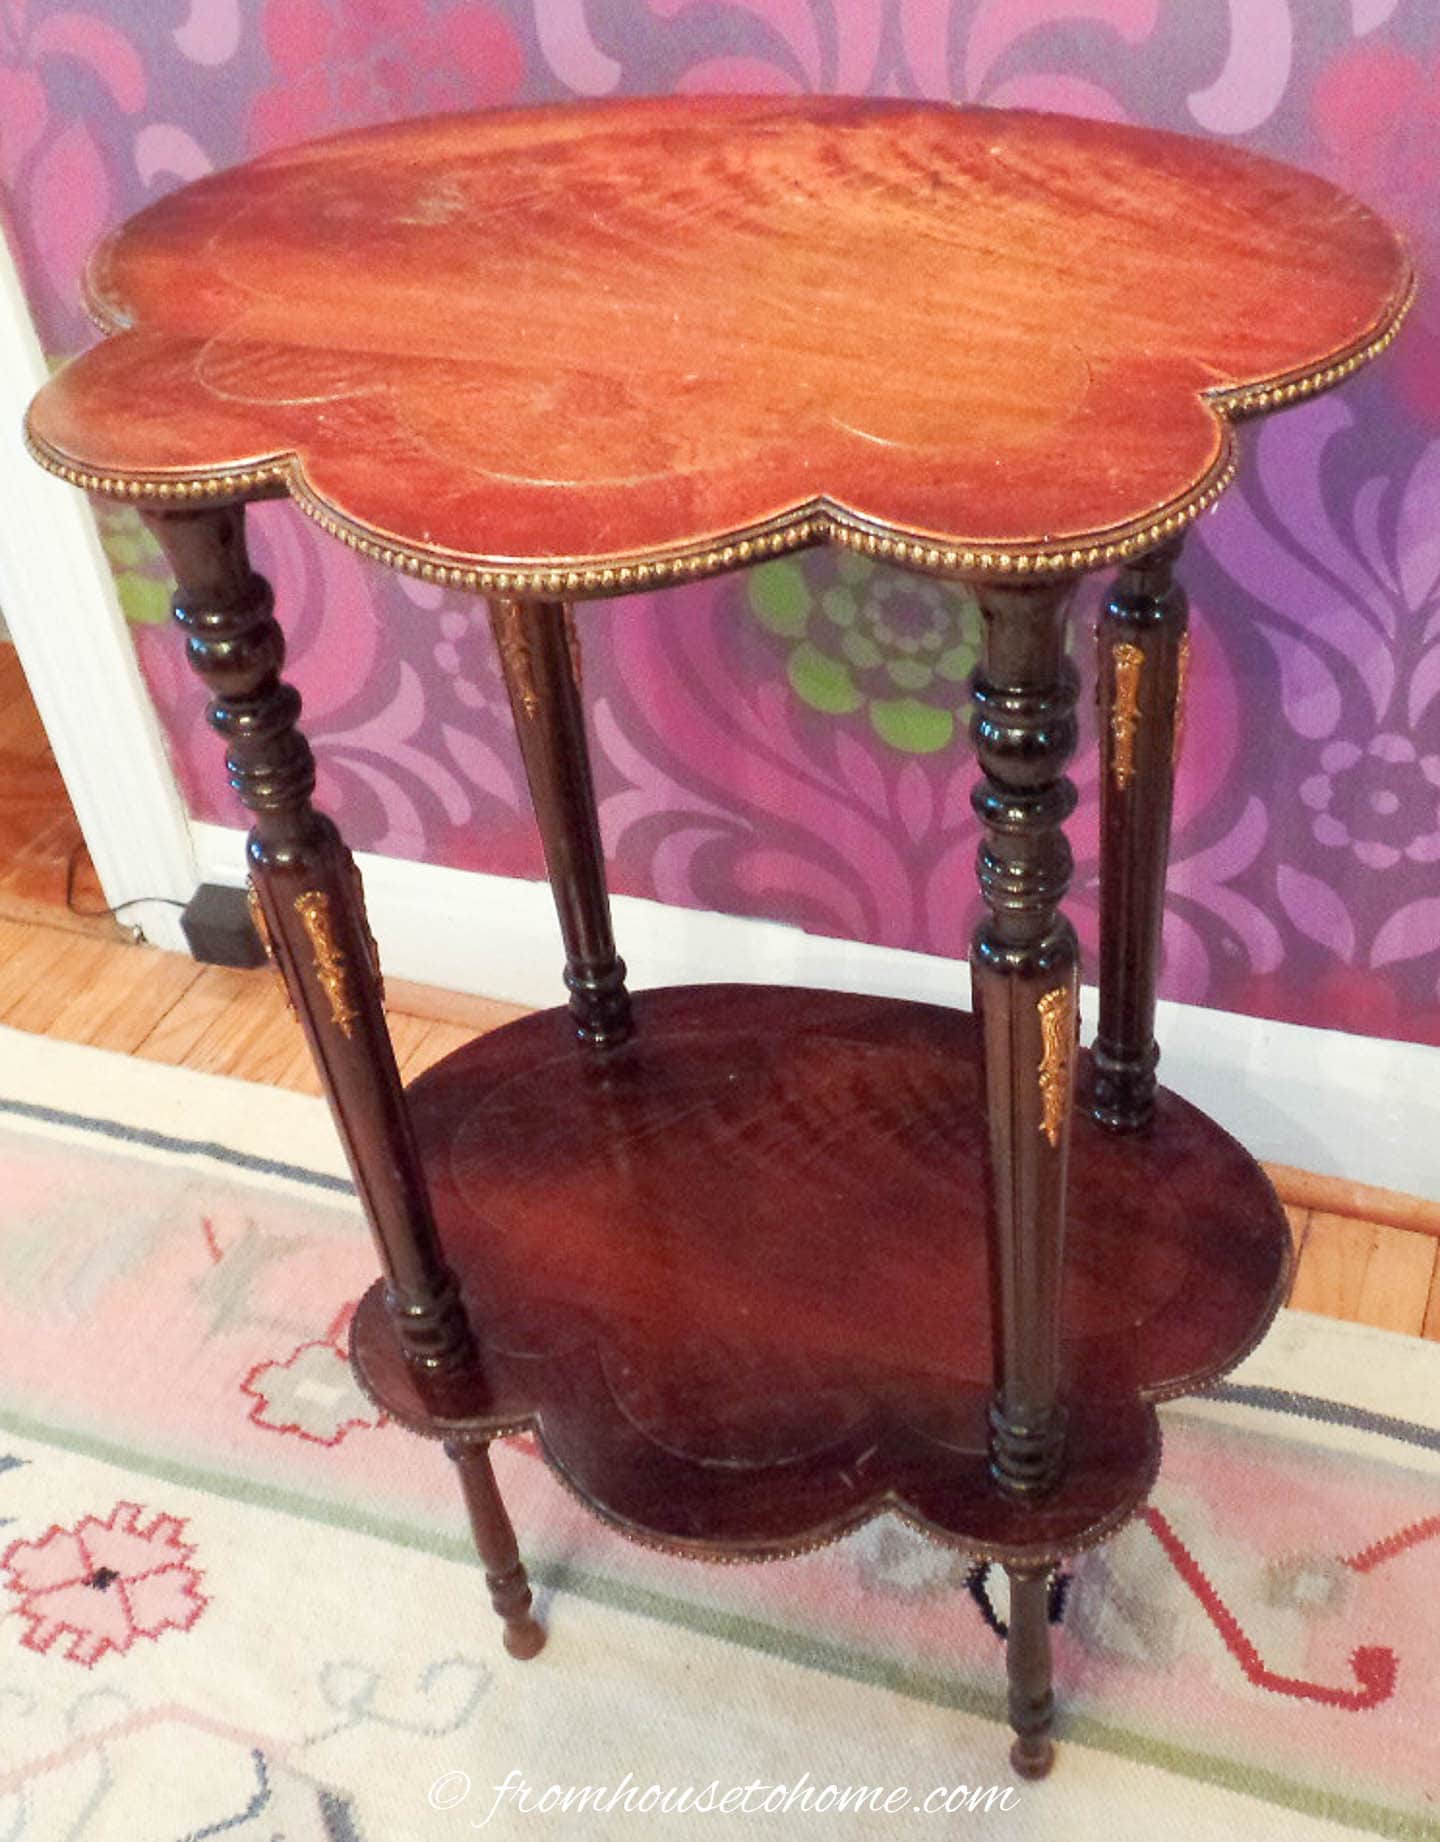
Since its footprint is desirably small, I thought it could be salvaged and serviceable as a side table.
A little paint and a metallic wax finish were just the thing to bring it back to life.
What You Need
This post may contain affiliate links. We make a small commission if you buy the products from these links (at no extra cost to you). As an Amazon Associate, I earn from qualifying purchases. But we only recommend products we would use ourselves. For more information, click here to see our disclosures.
Materials
- a small side table
- wood filler
- cleaner/degreaser*
- primer – I use Kilz. This is not necessary if you use chalk paint instead of latex paint.
- latex paint – We’ll use this for the table tops. You could also use chalk paint if you prefer.
- urethane (optional)
- metallic wax* – I used antique gold. This is for the legs.
- nail head trim* – My table came with nail head trim already on it. But if yours doesn’t, you can add it if you want to.
Tools
- cordless finish sander
- 120 grit sand paper
- 400 grit sand paper
- 1″ paint brush for the legs
- 2″ paint brush for the top
- damp sponge
- soft cloth
Step 1: Sand and Clean
First, remove any existing trims and garnishes. I just pried them off with a small knife, being careful to retain the nail head surround so that I could replace it later.
Use a finish sander to scuff the table surface…or surfaces in my case (since there are 2). I find the cordless sanders are the easiest to use. But of course, a corded one will work, too.
Hand sand the legs with the 400 grit sandpaper to rough up the surface.
Fill any holes and rough spots in the veneer with Carpenter’s wood filler.
When it is dry, re-sand until the top is smooth to touch. Any unevenness will show up on the painted surface so make sure that it is smooth.
Clean the entire piece with a degreaser to ensure there is no dust, grease or dirt left.
Step 2: Paint The Surface
Now you are ready to put on a coat of primer.
I used an undercoat because I planned to use latex paint as opposed to chalk paint. (A primer is not necessary if you are using the latter).
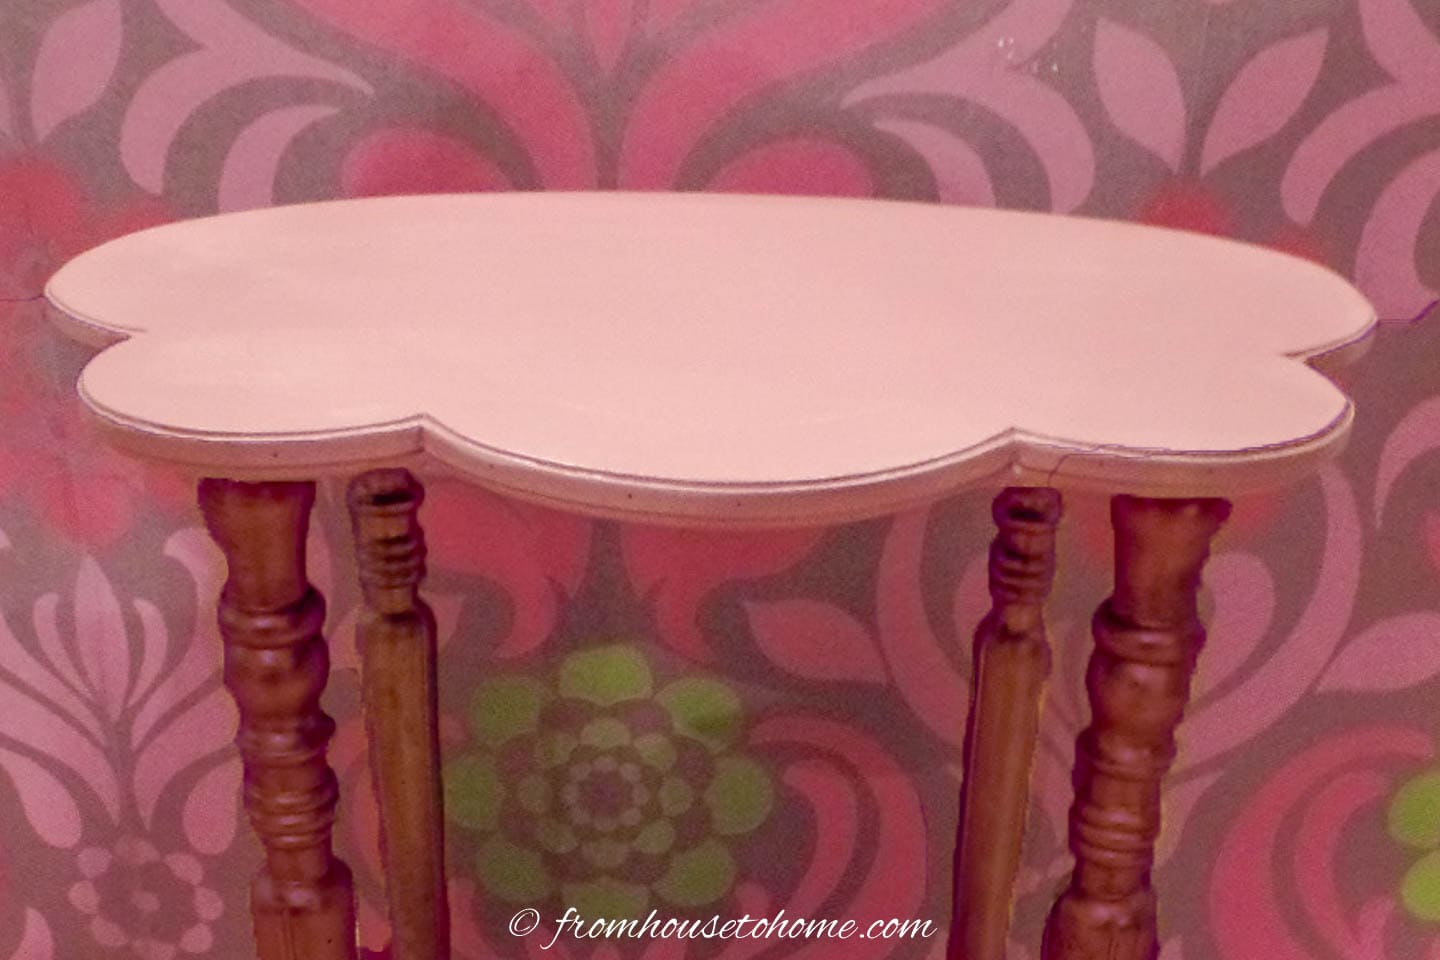
When the primer has dried, apply 2 or 3 coats of paint on the table surfaces, allowing it to dry thoroughly between coats. Read the instructions on the can to find out how long your brand of paint requires for this.
If you want to protect the surface a little more and don’t mind the extra shine, apply a couple of coats of urethane, allowing it to dry in between.
Since my table is in a low use area and I liked the matte finish, I left it as is.
Step 3: Apply Gold Wax To the Legs
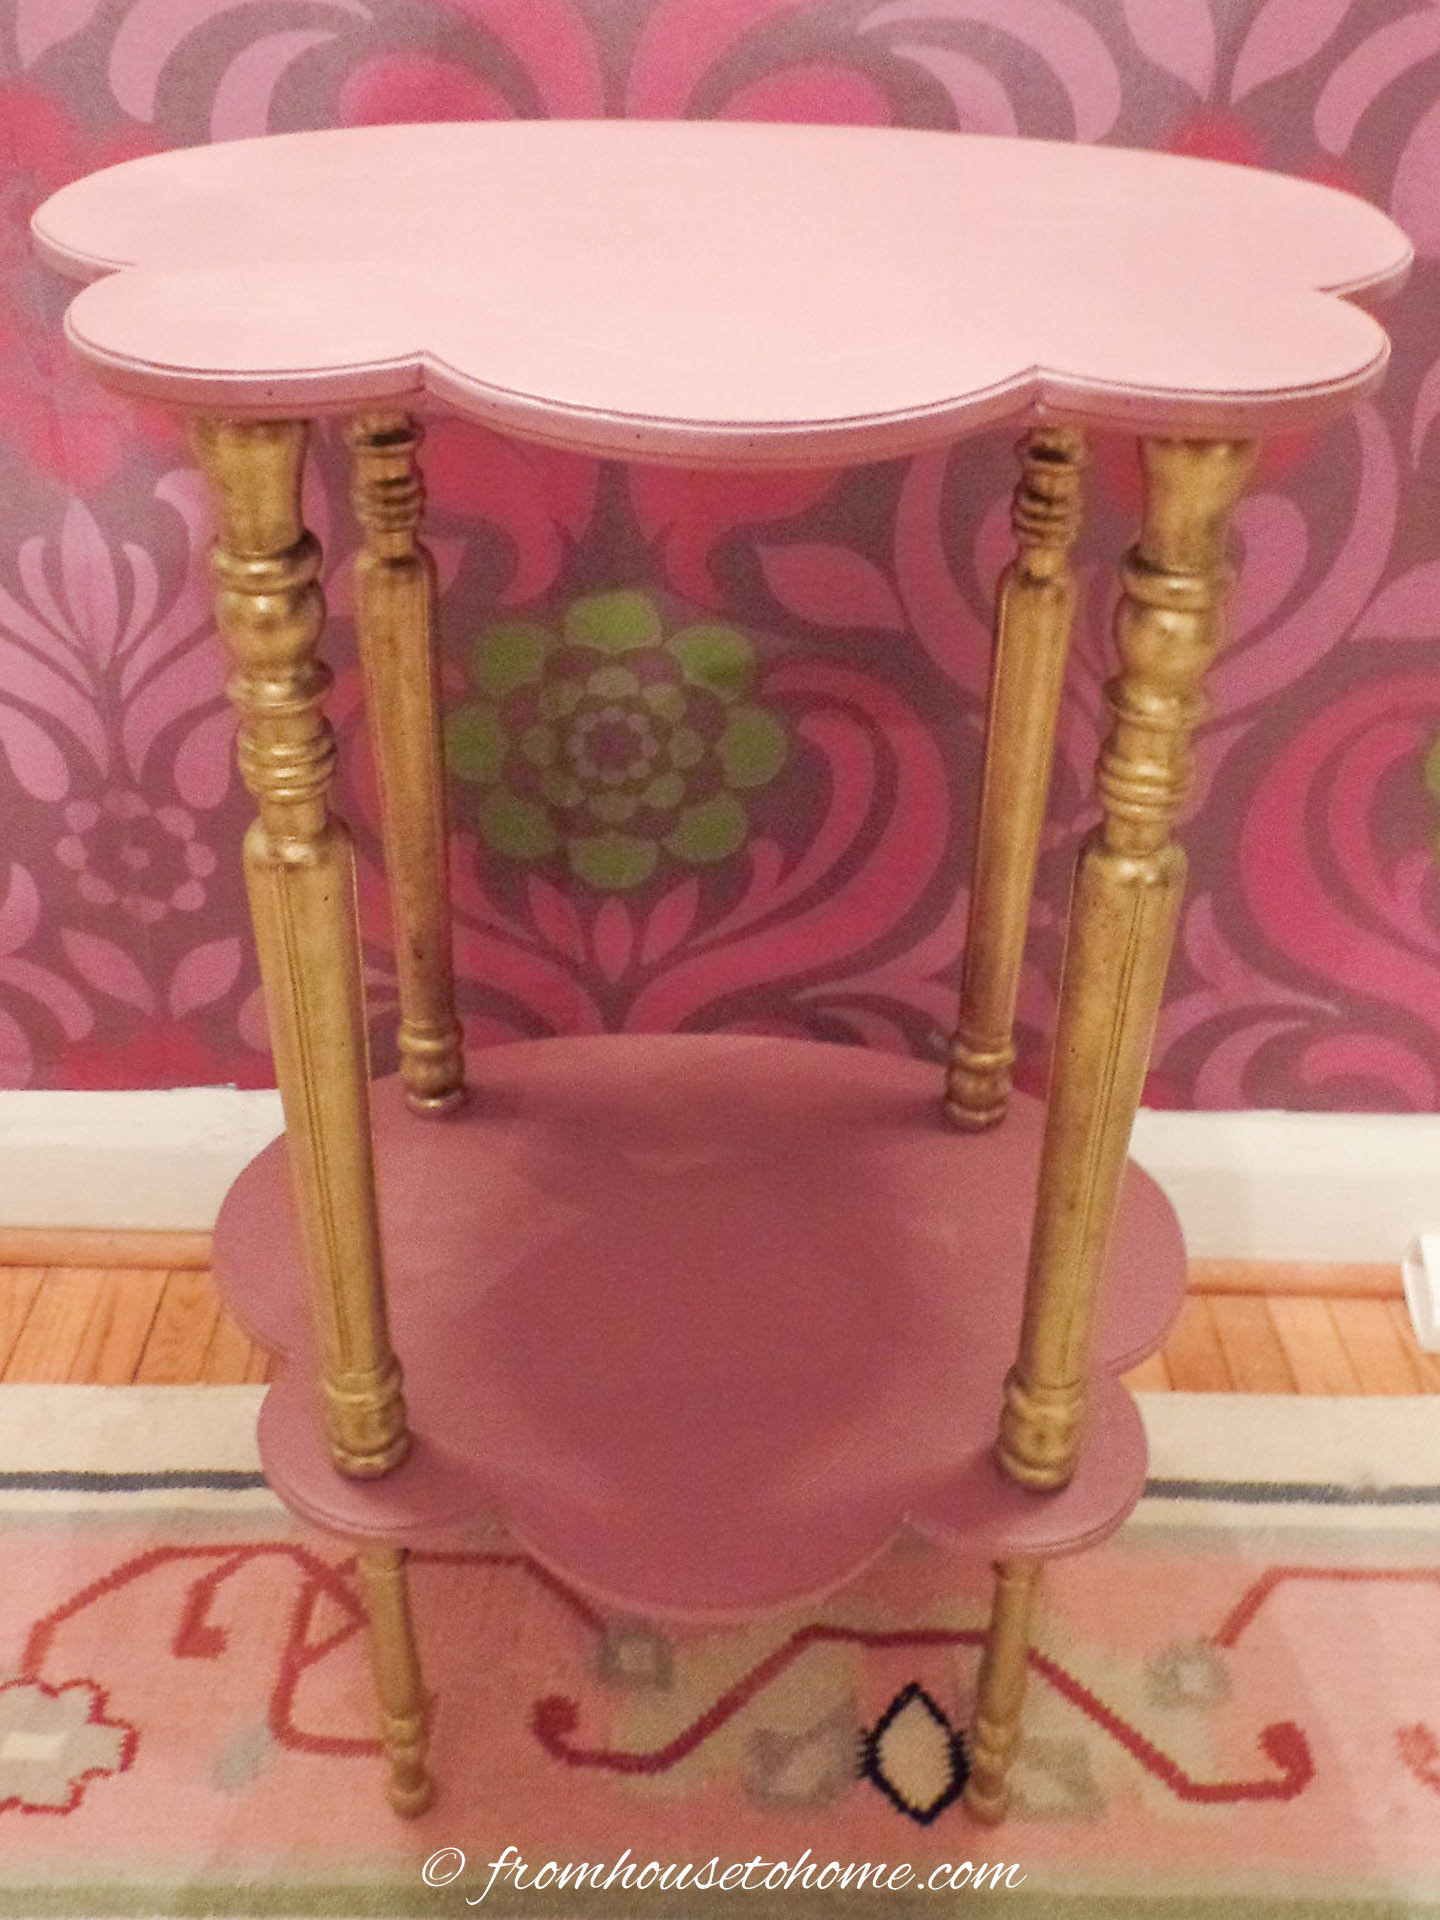
Apply 2 coats of metallic wax to the spindles of the table with a small brush, and smooth the brush strokes with a damp sponge. I used “Antique Gold”, but you can use whatever color goes with your room.
Before it dries, buff the wax with a soft dry cloth to bring up the patina.
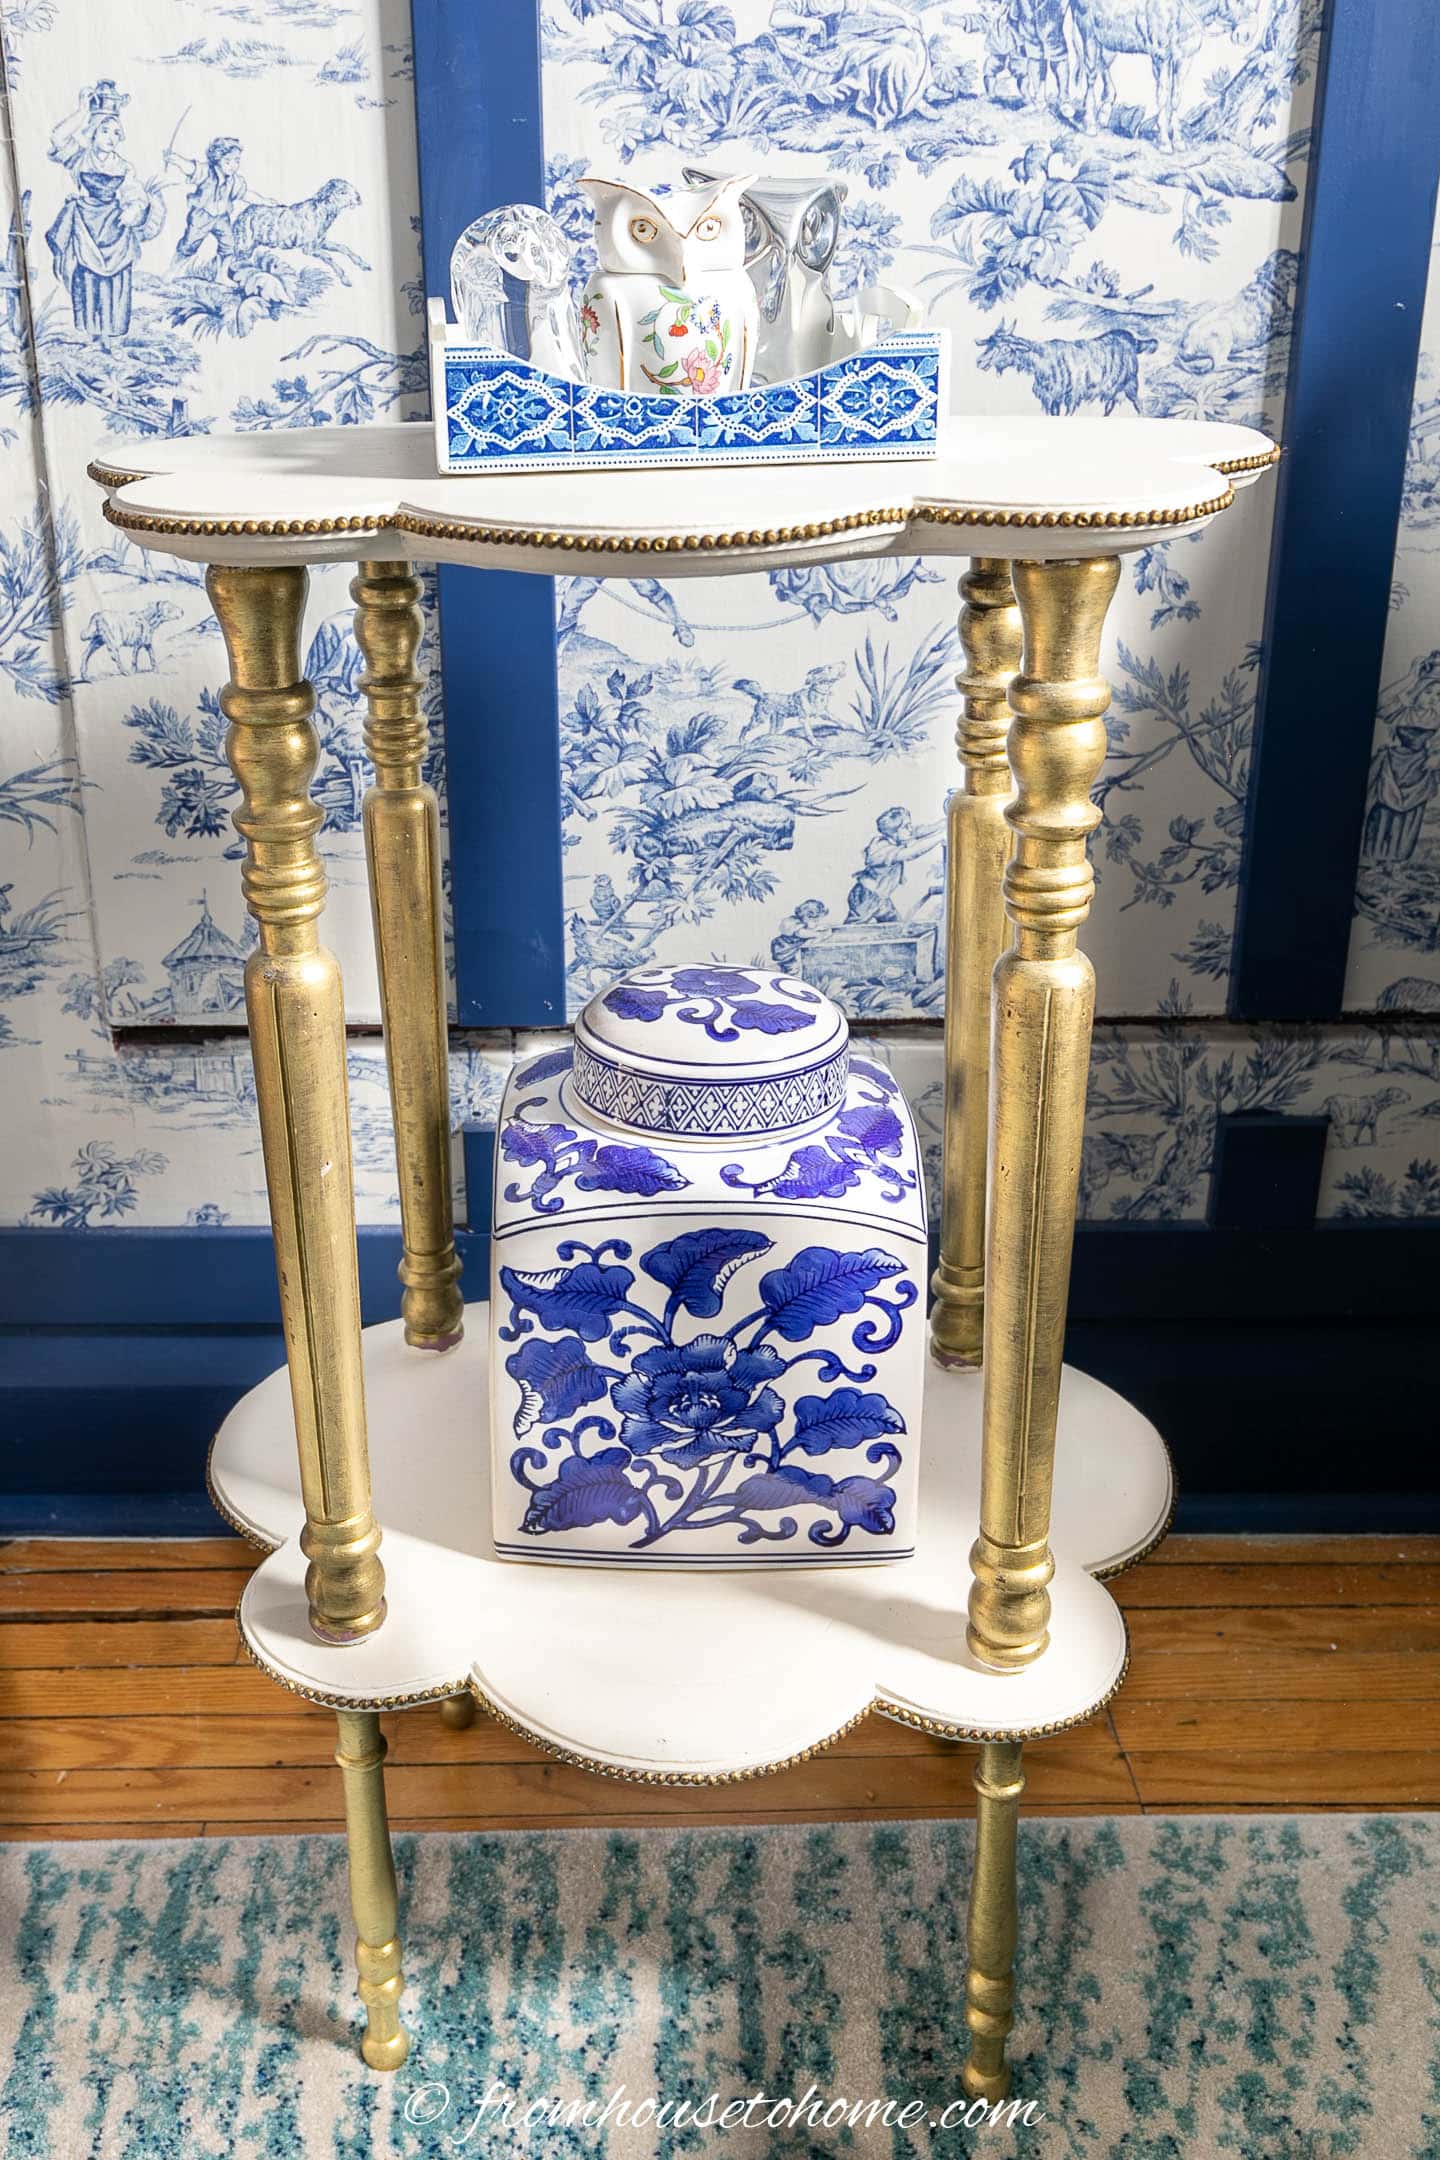
Step 3: Add Nail Head Trim Around the Edges

The final step is to add nail head trim around the edge of the table top.
You can either apply individual upholstery nails (click here to see our instructions on how to do this), or use a nail head strip that only requires a nail once in a while.
In my case, the trim was already on the table so I just had to put it back on.
It goes very well with the design of the table and with the gold legs.
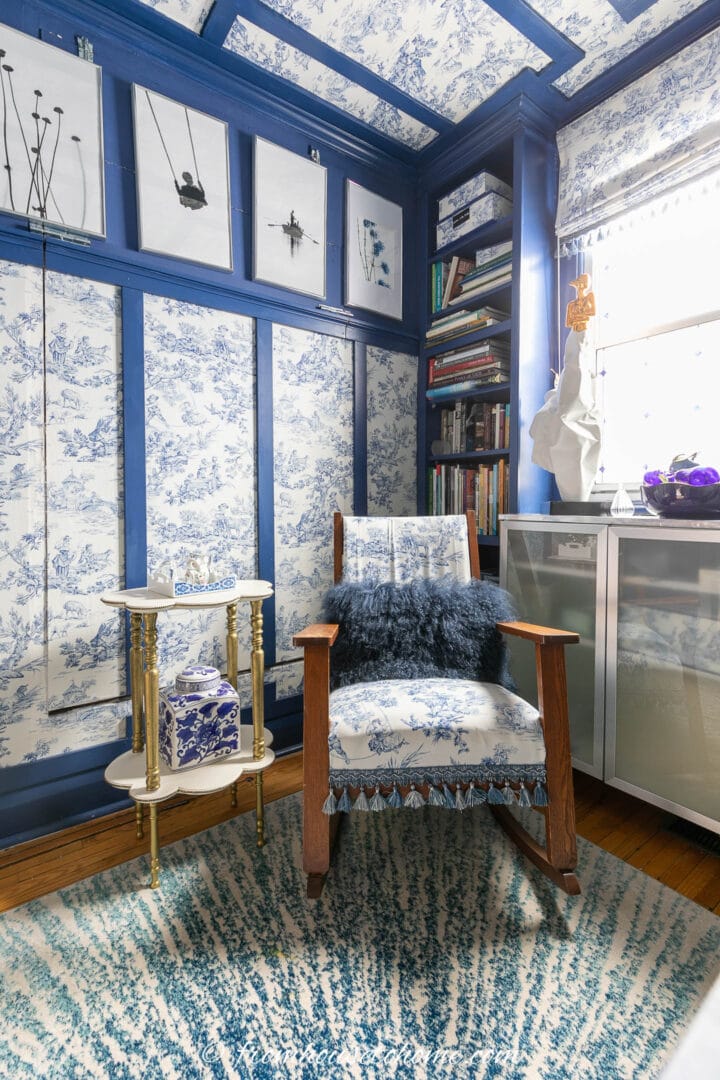
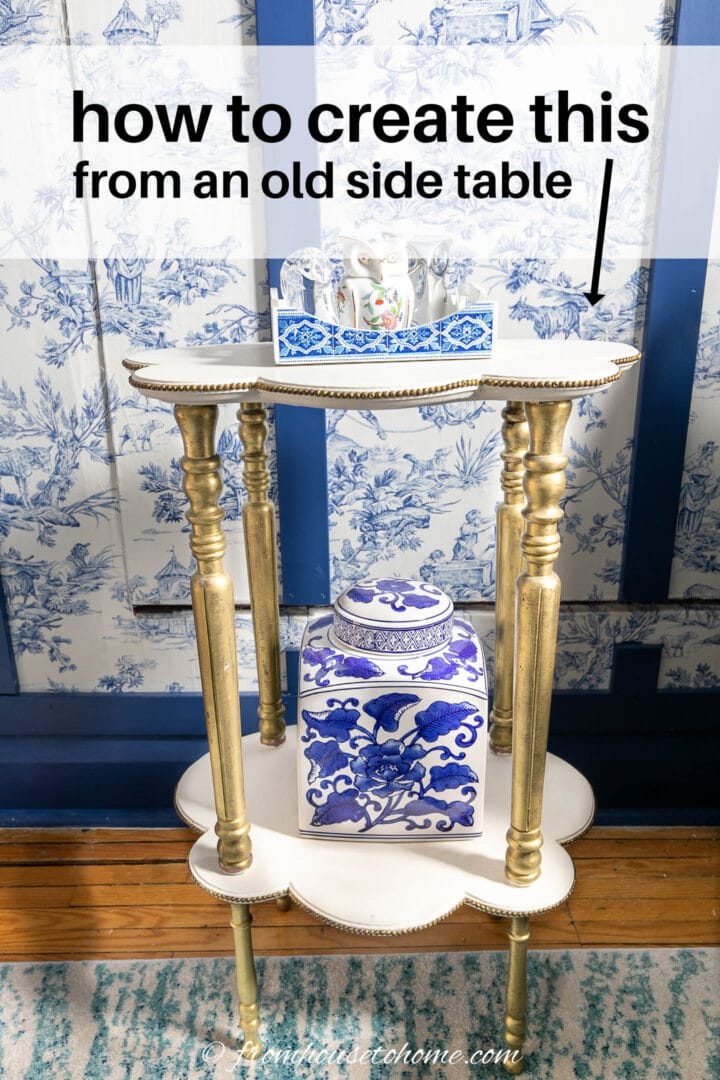
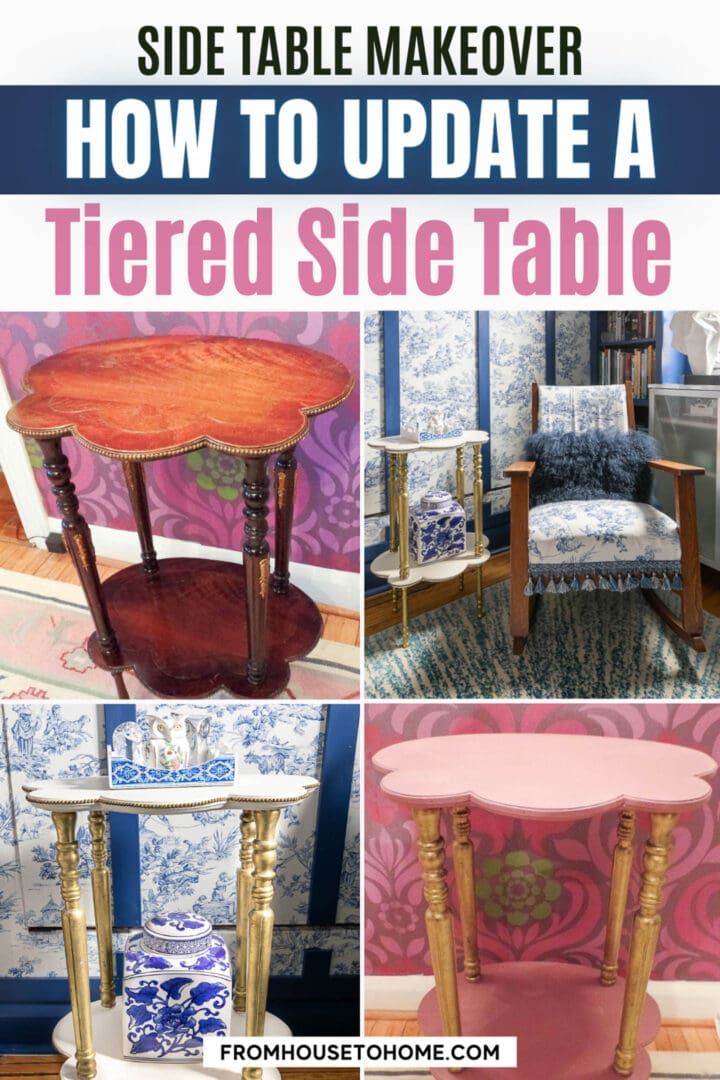
The Finished Table
There is a lot of silver in this room, so I think the addition of some gold gives a visual reprieve. Besides. I like to mix my metals!
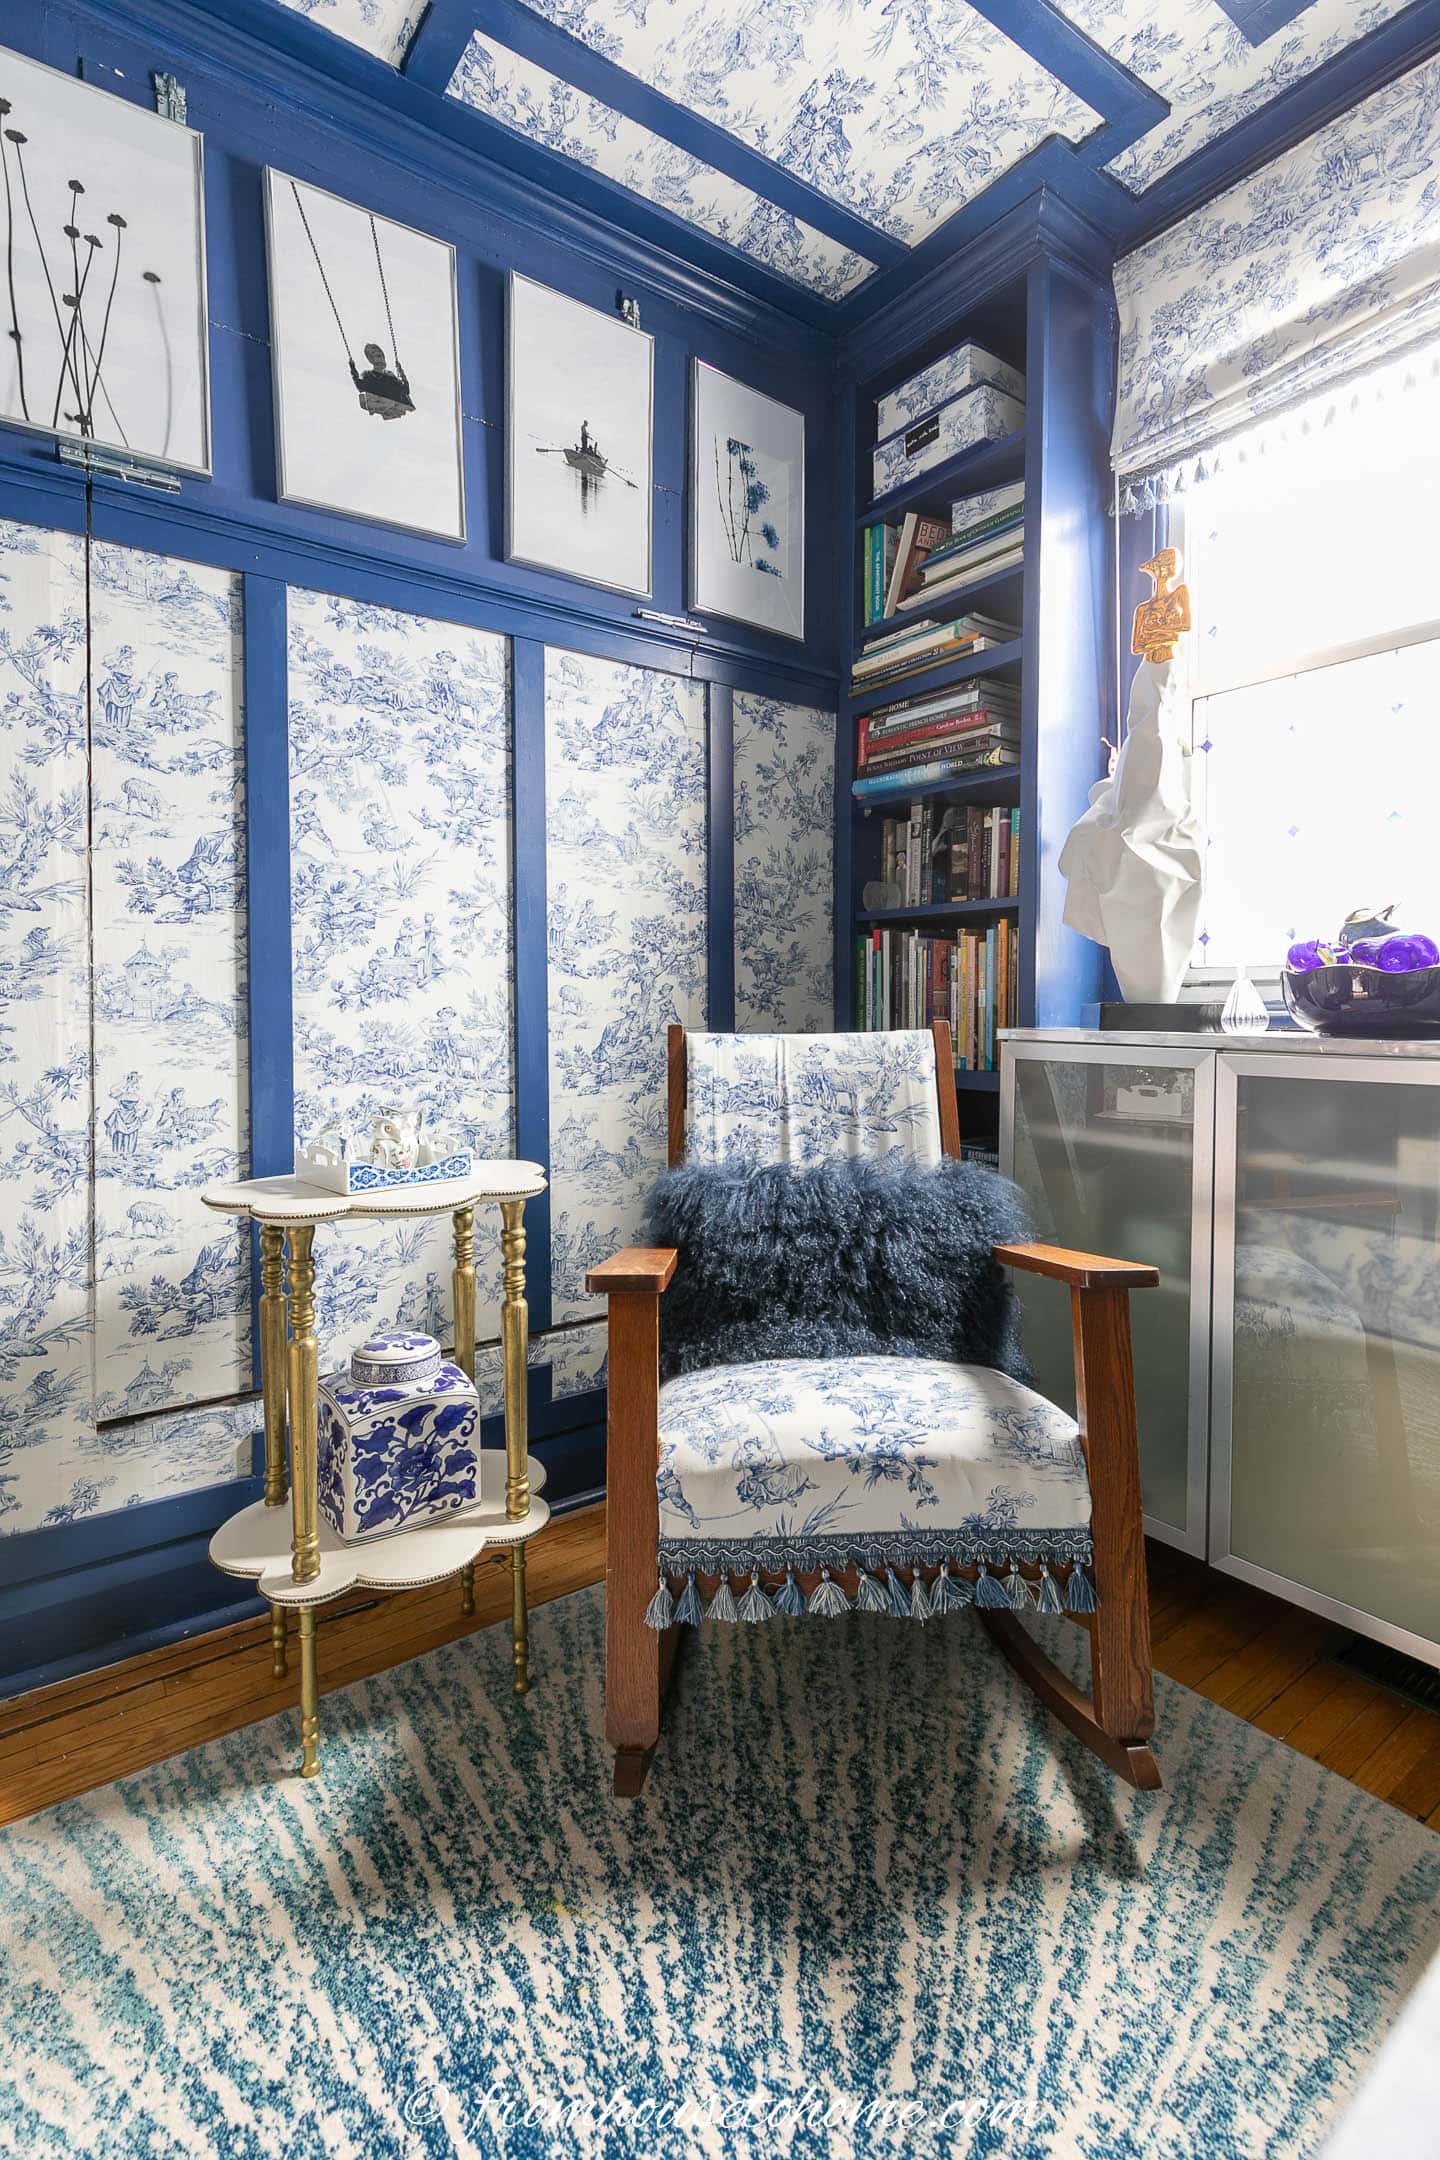
And when I updated the colors in this room to blue and white, it was so easy to just paint over the table top with white.
Which I think looks even better with the gold legs.
Other DIY furniture projects you might like
- DIY glam industrial filing cabinet
- How to make a silver bathroom shelf
- DIY glam armoire makeover
- 10+ DIY glam furniture makeover projects
- DIY Hollywood Regency bar makeover
DIY Tiered Side Table Update With Paint, Metallic Wax and Nail Head Trim
Equipment
- cordless finish sander
- 120 grit sand paper
- 400 grit sand paper
- 1″ paint brush for the legs
- 2″ paint brush for the top
- damp sponge
- soft cloth
Materials
- a small side table
- wood filler
- cleaner/degreaser
- primer
- latex paint
- urethane (optional)
- metallic wax
- nail head trim
Instructions
Step 1: Sand and Clean
- First, remove any existing trims and garnishes.
- Use a finish sander to scuff the table surface.
- Hand sand the legs with the 400 grit sandpaper to rough up the surface.
- Fill any holes and rough spots in the veneer with Carpenter’s wood filler. When it is dry, re-sand until the top is smooth to touch.
- Clean the entire piece with a degreaser to ensure there is no dust, grease or dirt left.
Step 2: Paint The Surface
- If you are using latex paint, apply a coat of primer. This is not necessary if you are using chalk paint.
- After it has dried, apply 2 or 3 coats of paint on the table surfaces, allowing it to dry thoroughly between coats. Read the instructions on the can to find out how long your brand of paint requires for this.
- If you want to protect the surface a little more and don’t mind the extra shine, apply a couple of coats of urethane.
Step 3: Apply Gold Wax To the Legs
- Apply 2 coats of metallic wax to the spindles of the table with a small brush, and smooth the brush strokes with a damp sponge.
- Before it dries, buff the wax with a soft dry cloth to bring up the patina.
Step 4 : Add Nail Head Trim Around the Edges
- The final step is to add nail head trim around the edge of the table top.
- You can either apply individual upholstery nails, or use a nail head strip that only requires a nail once in a while.
Have comments or questions on how to update a tiered side table? Tell us in the section below.
This post was originally published on April 11, 2016 but was updated with new content on March 28, 2024.