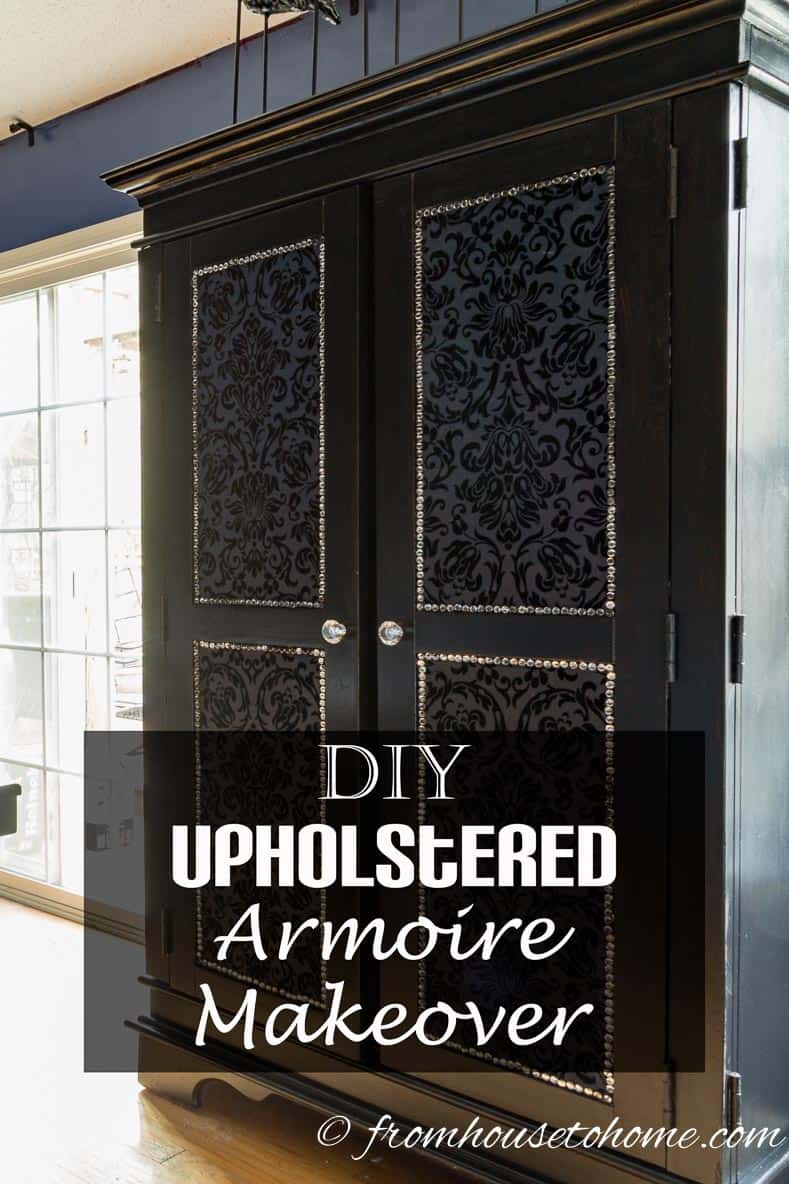
DIY Upholstered Black Armoire Makeover
If you have an armoire that could use an update, this DIY upholstered black armoire makeover may be just what you’re looking for. It’s an inexpensive way to recycle old furniture and add some much-needed personality to your decor.
It doesn’t seem to matter how much storage I have, I always seem to be looking for more!
And over the years I have collected a lot of armoires to help out with some of these storage issues. They provide a lot of storage that is easy to get to.
The problem I have is that they last for a long time.
And the style of my rooms never stays the same for that long.
So I have to come up with ways to make the armoire “fit” with whatever style I’m currently working with.
This usually involves some type of DIY project. In this case, using some paint and “upholstery” techniques to add a little pizzazz to an old armoire.
Caution: If you are someone who can’t bring yourself to paint wood furniture…avert your eyes…this post is not for you 🙂
The original armoire
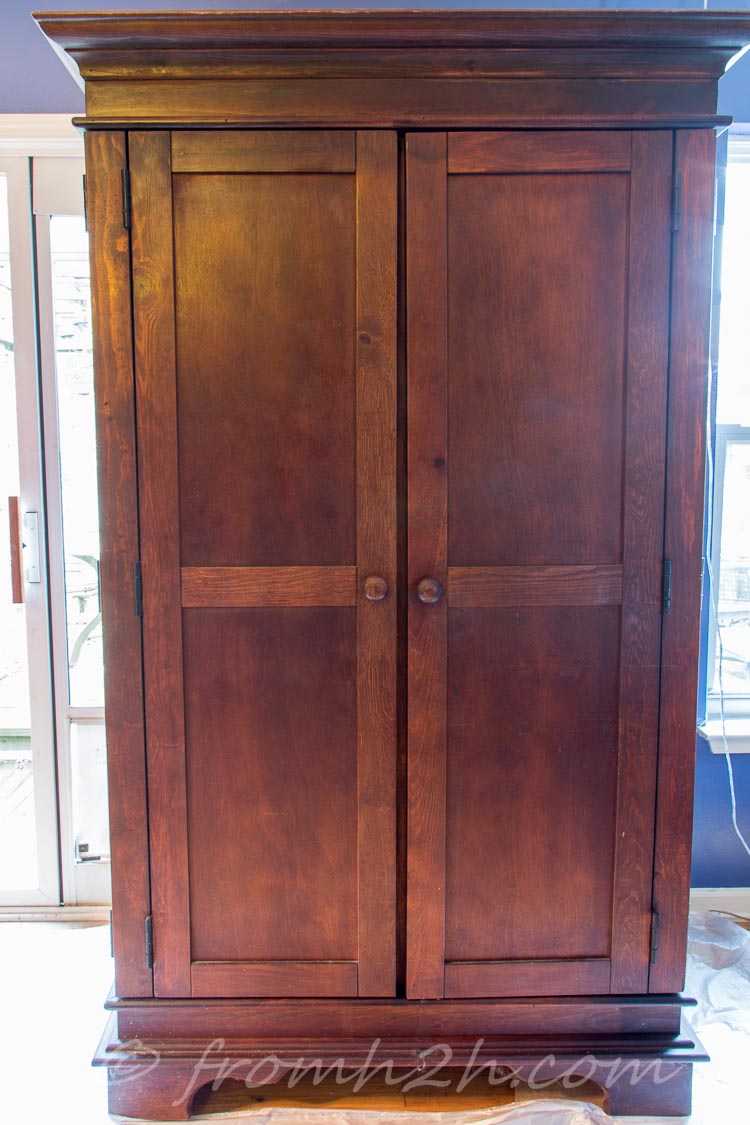
This is the armoire that I started with.
It is quite large (big enough to hold a whole bunch of outdoor patio cushions). It sits right inside the patio doors in the dining area of my great room.
This is where the problem comes in.
The armoire has a bit of a rustic feel to it, which used to go quite well with my dining room furniture when it was done in more of a country style.
But then I redecorated my dining room with a more contemporary look.
And now this armoire really doesn’t fit in very well with the decor.
So I had to come up with a way to makeover the armoire that would make it look like it “belonged”.
Which means making it look more dressed up than the original.
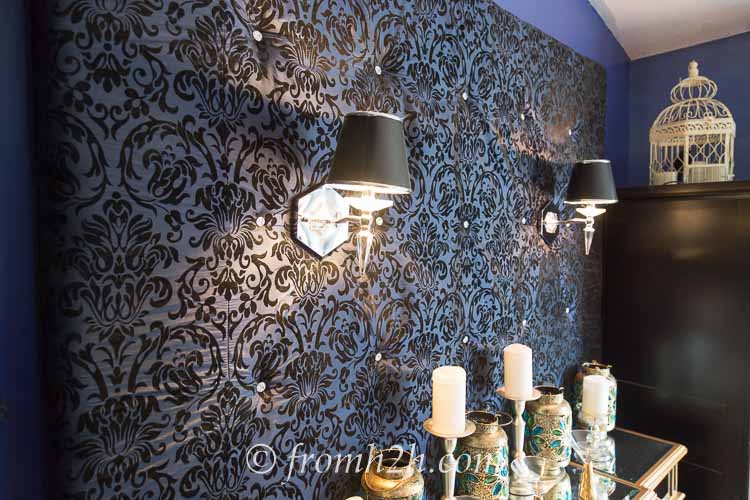
So I decided to paint it black, upholster the door panels with the same fabric as the dining room backdrop and add some crystal upholstery tacks for a little bit of sparkle.
Materials
- damp cloth
- painter’s tape
- black paint – I used Valspar “Dark Kettle Black” in semi-gloss. This provides an easy-to-clean finish that doesn’t get scratches very easily.
- fabric
- crystal upholstery tacks – I used these ones* (from Amazon).
- crystal door handles – (optional) I used these ones* (also from Amazon).
Tools
- electric or hand sander with 120 grit sand paper
- measuring tape or long ruler
- scissors or quilting cutting wheel
- stapler with ¼-inch staples
- rubber mallet
Step 1: sand, prime and paint the armoire
The first step to painting any wood furniture is to prepare the surface so that the paint will stick.
1. Lightly sand the wood to take the outer finish off.
2. With a damp (but not wet) cloth, wash the sawdust and any other dirt off the wood.
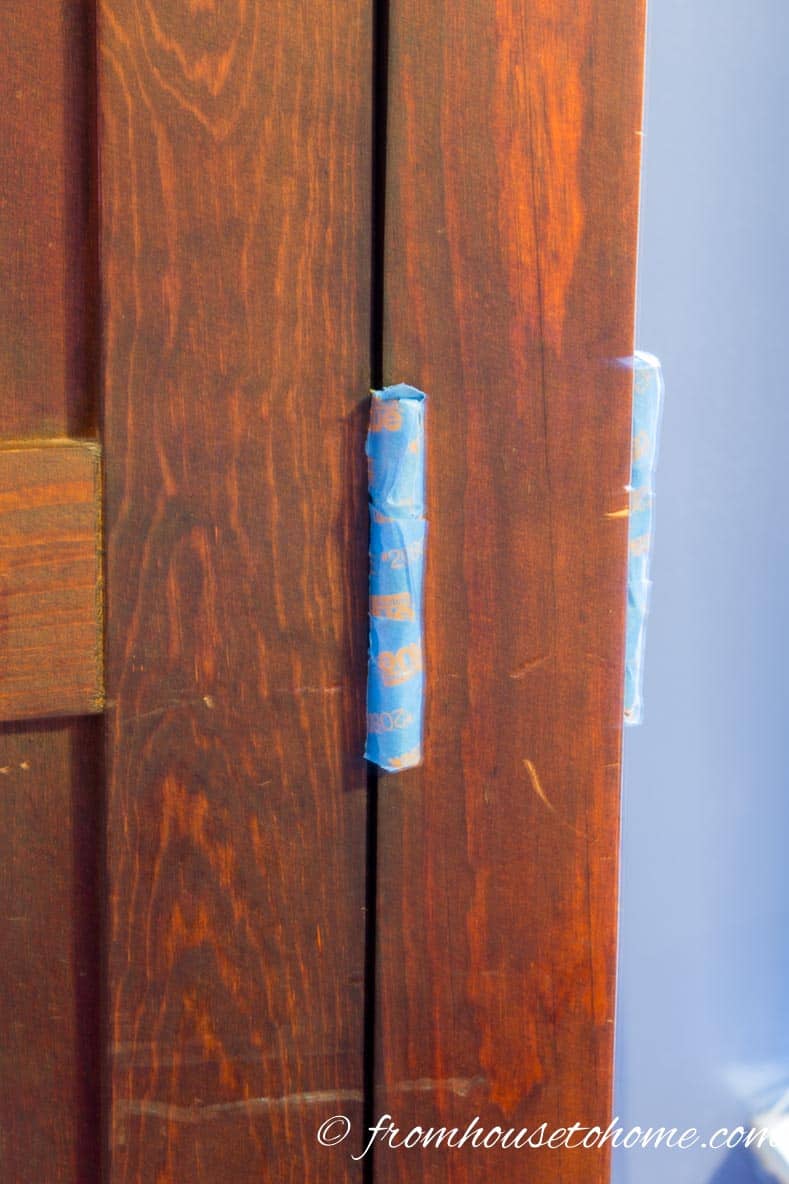
3. To make the painting easier, tape the hinges with painter’s tape.
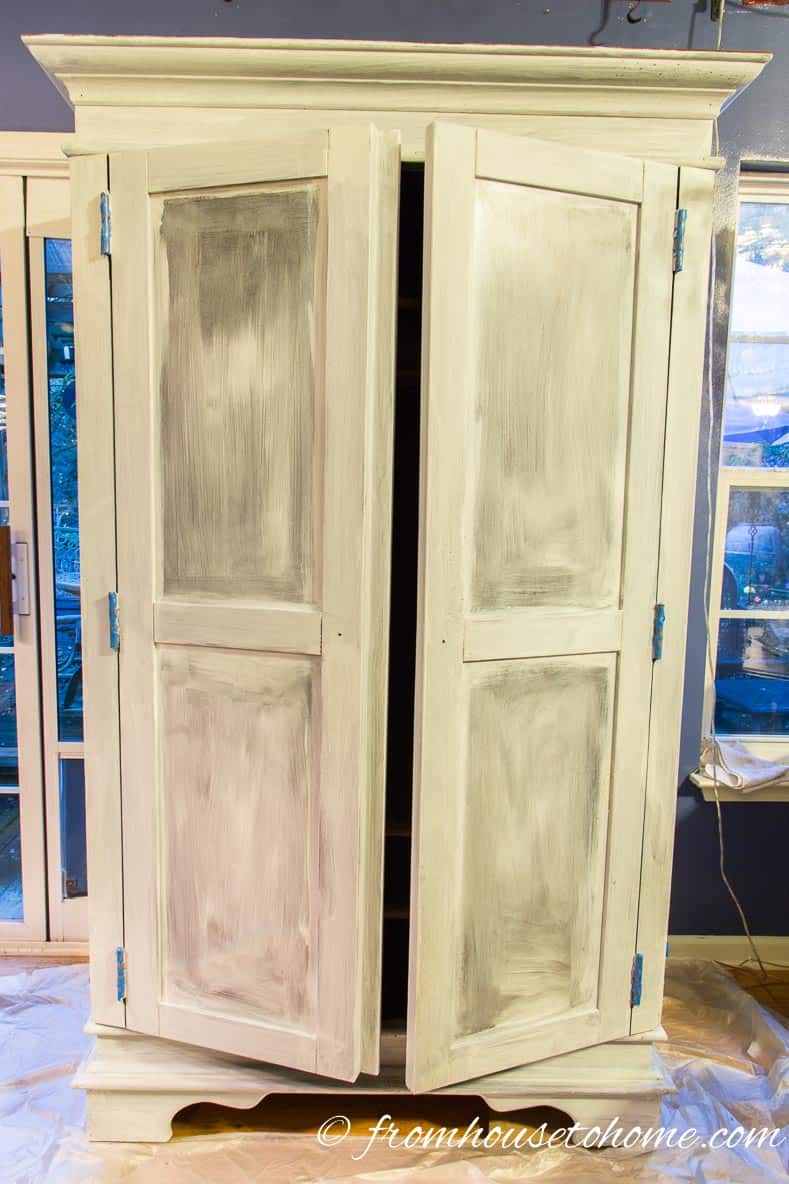
4. Prime the wood with a primer (like Zinsser) that will block stains from soaking through the paint.
5. When the primer has dried, sand it lightly to get rid of any bumps.
5. Then apply 2 to 3 coats of the black paint, sanding lightly between each one. this will make sure you end up with a smooth finish.
You can also paint it with a paint sprayer if you have one.
Make sure that you let the paint dry completely between each coat. (I like to leave it for at least 2 days.)
If you get impatient and start re-coating too soon, you can end up with a tacky surface that never seems to dry.
The same can happen if you are painting outside or in the garage, and the weather isn’t suitable for painting. Make sure the temperature isn’t too high or too low and the humidity isn’t too high. (The ideal temperature range can usually be found on the side of the paint can).
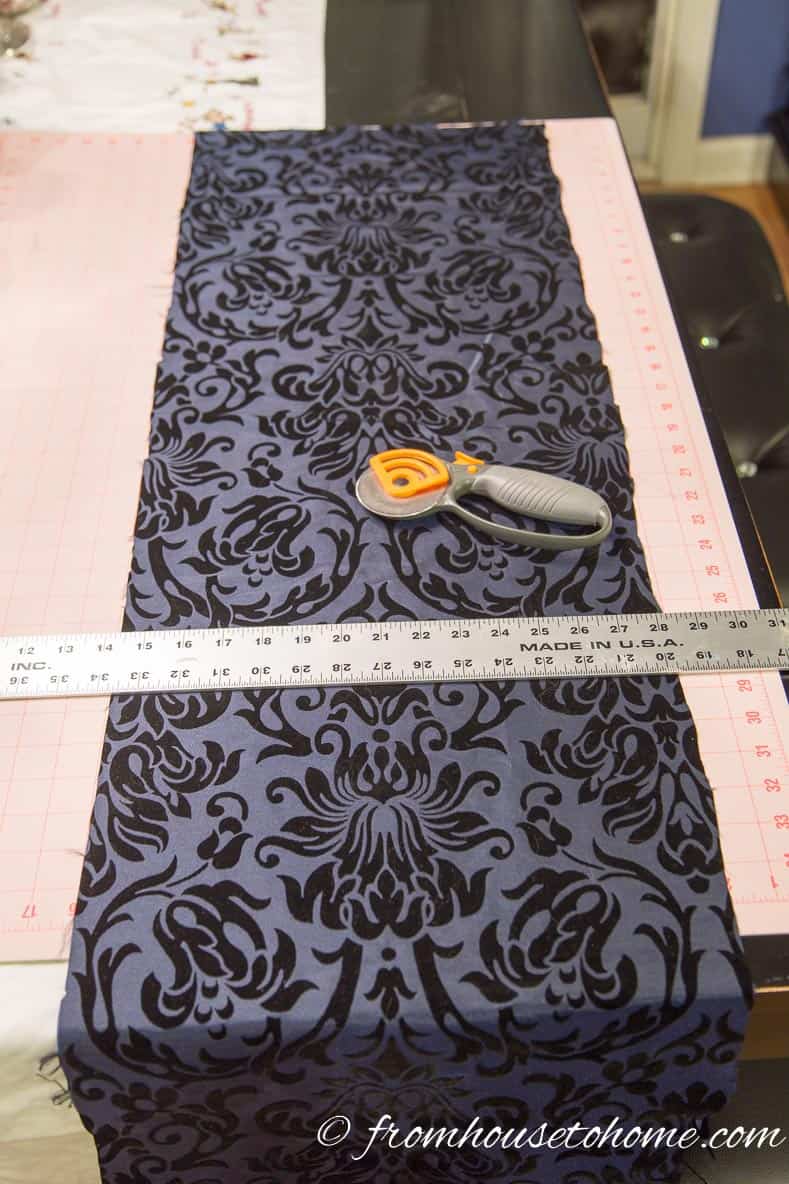
Step 2: Cut the fabric
If you can, remove the doors from the armoire. Everything in this process is much easier if you can lay the doors down while you are doing it!
In my case, the doors had panels already built in, so all I had to do was measure the panels that were already there.
If you don’t have panels on the doors, you can make your own by creating a “frame” from thin molding and attaching it to the front of each of the doors.
Once you know the size of your panels, you will need to cut pieces of fabric to fit. If your fabric has an obvious pattern (like mine does), try to have the pattern match on an panels that are beside each other.
Each piece of fabric should be about an inch wider and longer than the panel size.
I like to use a quilting cutting mat and rotary cutter for this task. It makes the fabric measuring and cutting really easy!
If you have fabric that frays at the edges (like mine), you might want to use a sewing machine or serger to zig-zag stitch around the edges of each piece of fabric. This will help keep the fraying to a minimum.
Step 3: Install the fabric
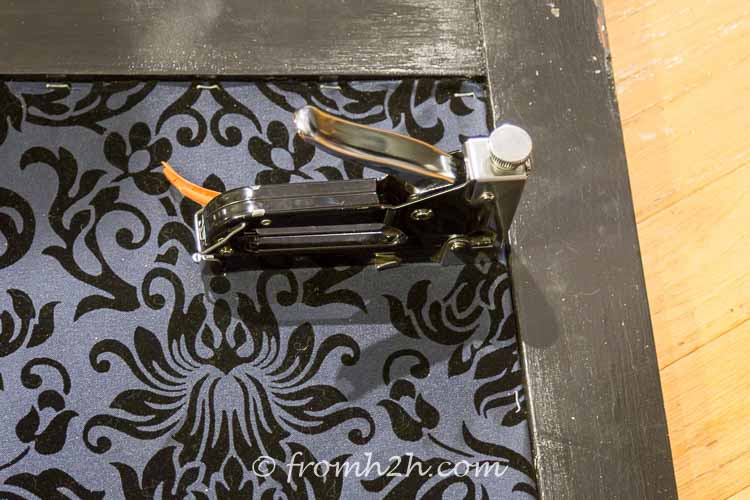
1. To install the fabric, start by folding over the edge about a 1/2″ at the top (with the cut side in so that you can’t see it).
2. Then use a stapler to staple the fabric to the inside of the panel at the top, starting in the middle and working your way out to both edges. Stop before you get right to the edge.
3. Pull the fabric straight down to the bottom of the panel, making sure that it is pulled tight. Also make sure that the fabric pattern is going straight down so that you have it centered correctly at the top and bottom.
4. Fold the fabric under at the bottom, making sure that the folded edge meets the inside edge of the panel.
5. Staple along the bottom edge from the middle out to both sides (but don’t staple the edge yet.
6. Repeat the process with both sides, making sure to pull the fabric tight across the panel.
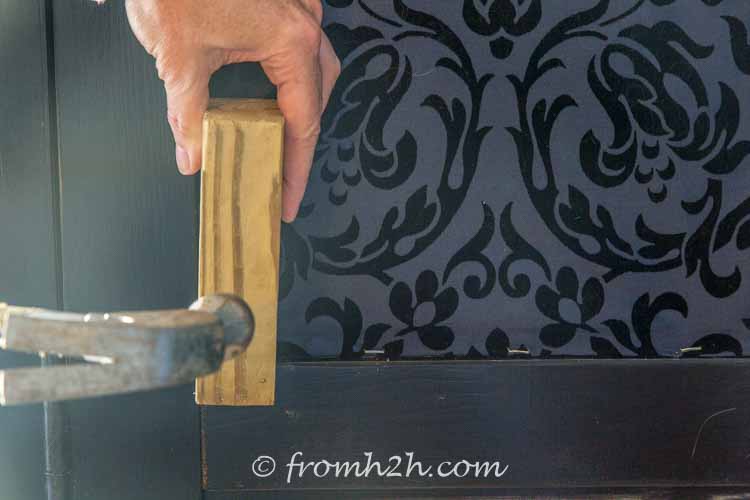
7. If you have staples that are not fully embedded into the door, use a wood block and a hammer to nail them in. The wood block helps prevent the paint getting chipped.
Step 4: Apply upholstery nails around the panels
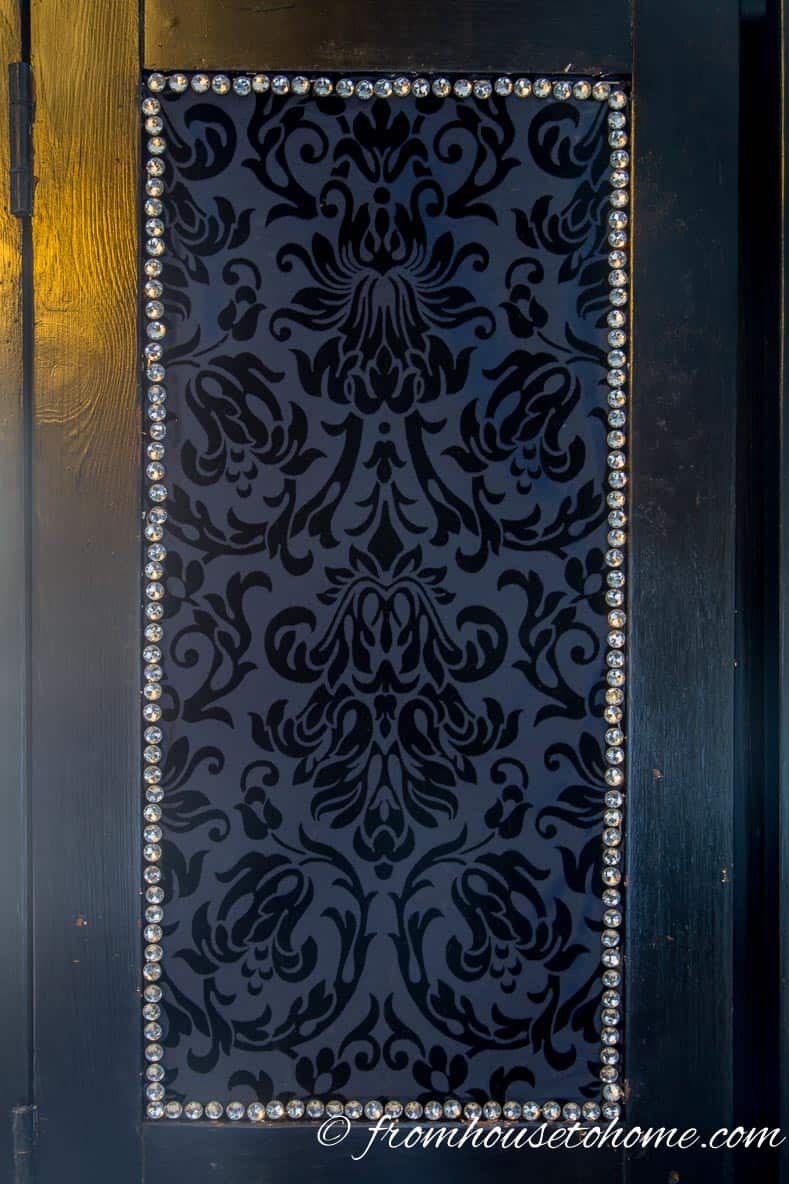
Apply upholstery nails around the edge of the fabric panel.
To keep the upholstery nails evenly spaced all the way around your panels, it helps to make a jig. I made one by drilling holes around the edge of a piece of cardboard. You can find the step by step instructions HERE.
Otherwise, you can use a rubber mallet to hammer the nails in manually. But take my word for it…it’s very hard to get them to go in straight this way!
Step 5: Add some pretty door pulls
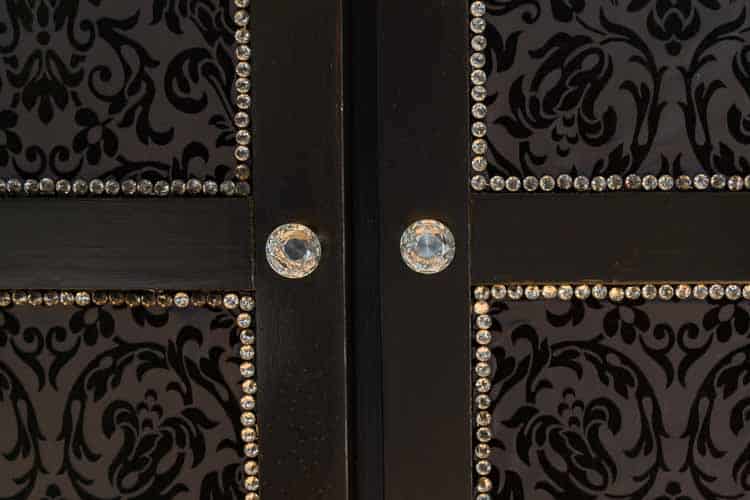
My original armoire came with some wood door knobs that were functional but not very pretty.
I replaced them with some crystal door pulls that really finish off the project.
The finished black armoire
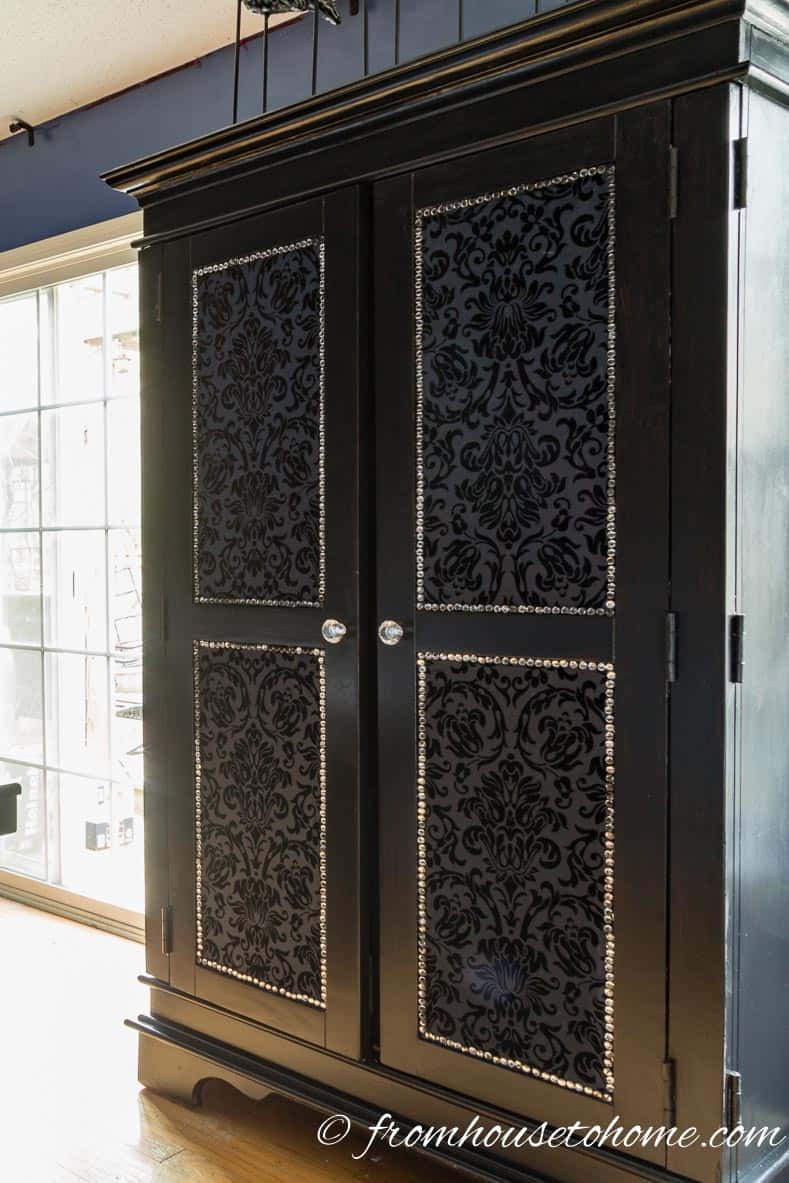
Here’s what the final product looks like.
I think it achieved exactly what I was looking for…a more dressed up version of a functional storage piece, that blends right in with the rest of the decor!
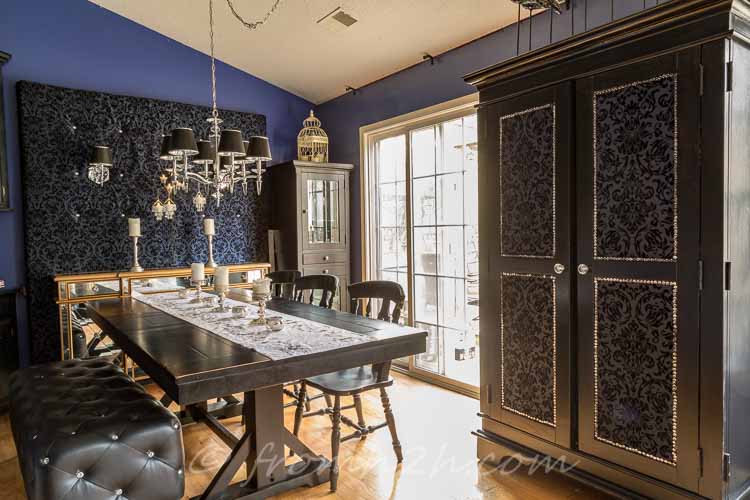
It goes perfectly with the dining room decor and I love the little bit of sparkle!
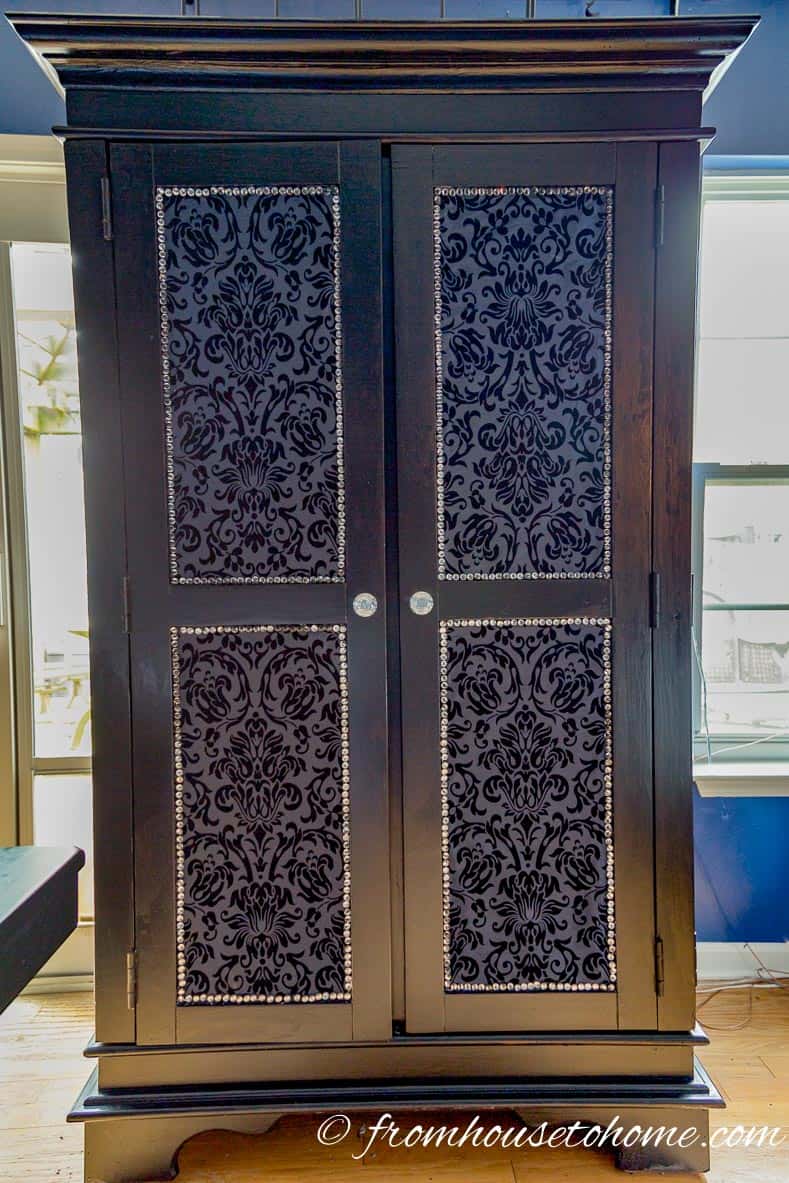
And it’s a fairly simple DIY upcycle project that made the armoire look completely different!
Other furniture makeovers you might like
- How to convert an armoire into a home office
- Furniture makeovers to upgrade your old pieces
- 20+ DIY bookshelf makeovers
- Glam black and gold bar cabinet makeover
Have comments or questions on our DIY upholstered black armoire makeover? Tell us in the section below.
This post was originally published on December 21, 2015 but was updated with new content on October 23, 2022.
I think using a thin quarter round to hold the fabric would be a faster/cheaper/easier option for when you want to update. Some spray adhesive would nicely smooth and hold the fabric
Hi Gayle…it probably would be faster to use quarter round, but I like the look of the upholstery tacks better 🙂
Awesome transformation! Love what you did with the armoire. Painting wood intimidates me – but this is encouraging!
Thanks, Terri! I used to be scared to paint wood, too. But it really isn’t as hard as it seems.