
How To Update A Countertop With Wallpaper (An Easy DIY Countertop Makeover)
For an easy easy way to give dated surfaces a more custom, stylish look without the cost of replacing them, learn how to update a countertop with wallpaper. It’s an inexpensive upgrade that can make a workspace, craft room, or any other area feel more custom and pulled together.
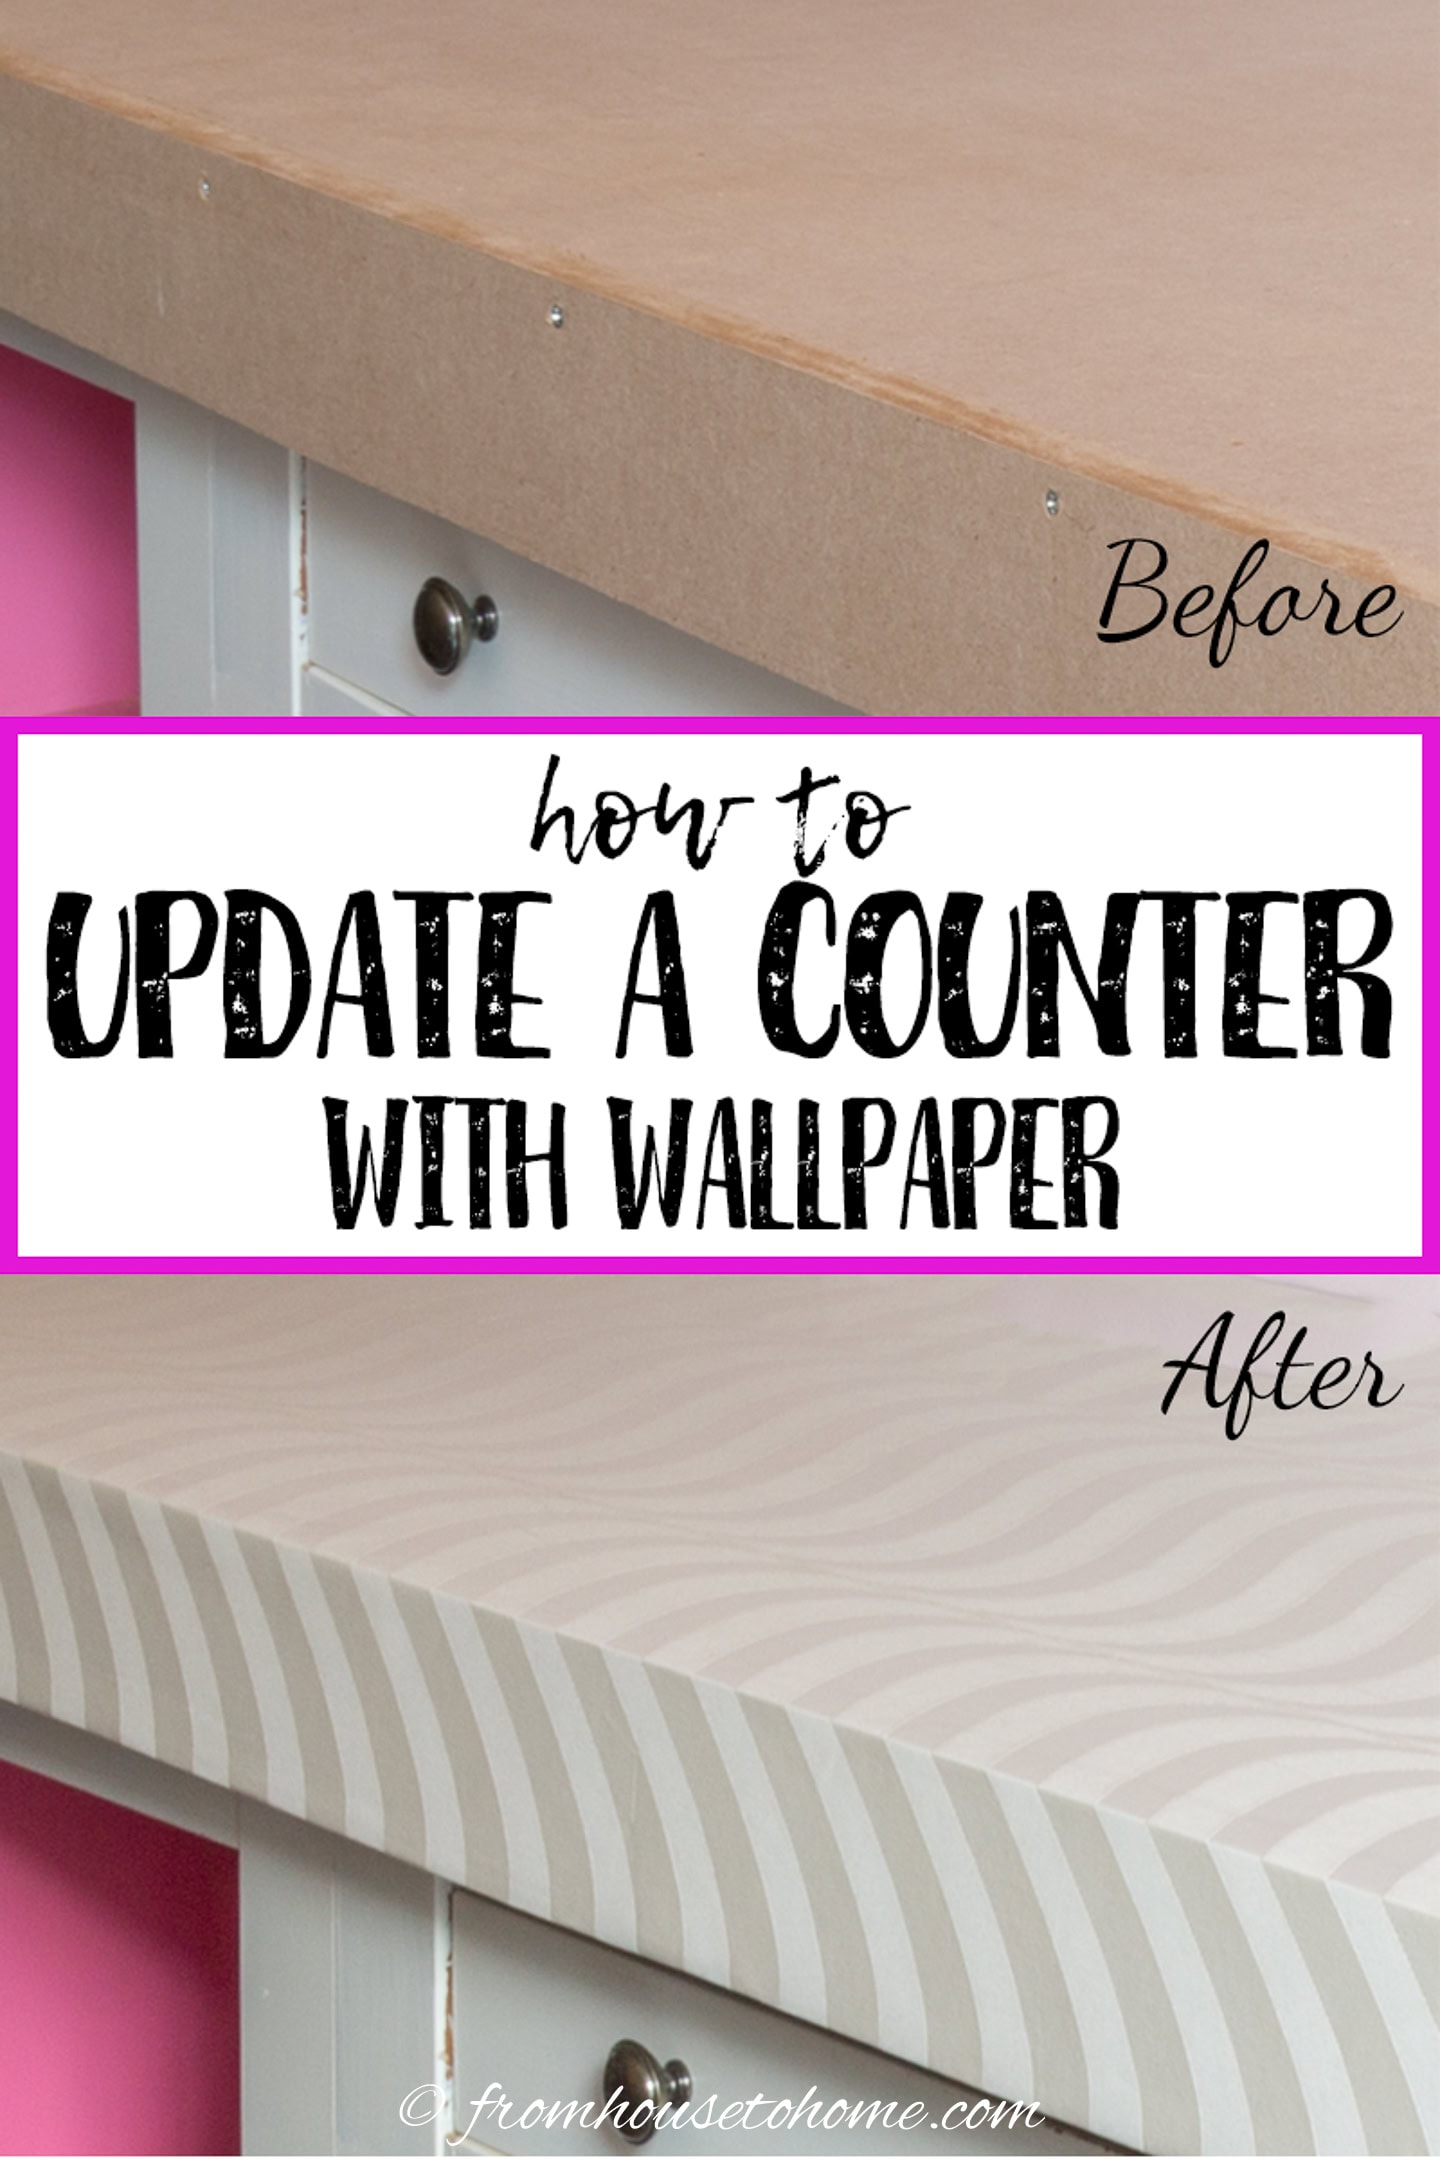
As part of my home office makeover, I built a counter over a row of filing cabinets and wanted a way to make it more interesting without spending a lot of money.
I had originally considered using marble contact paper (like I did on this computer table), but the color of the “marble” was a little too white and didn’t go with my room.
Then I thought about painting the counter and using traditional decoupage (where you glue images on to the surface) to add some interest to it. But that sounded like a lot of work!
So I finally decided to find some wallpaper in a pattern I liked and glue it on.
Traditional wallpaper is available in so many colors and patterns that you can always find something to go with your decor.
And it turned out to be the perfect solution!
Read on to find out how to update a countertop with wallpaper.
Get a FREE Room Makeover Workbook by signing up for our newsletter
You’ll also get access to our members-only resource library with all of our other printables.
We won’t send you spam. Unsubscribe at any time.
Supplies
Materials
- Caulk or wood filler
- Sand paper
- Good quality primer* such as Kilz
- Wallpaper – Ideally, the paper should be wider and longer than the countertop area that you are covering, including any overhang. That way you don’t have to worry about matching the pattern or creating a seam.
- Wallpaper paste*
- Mod Podge* – This keeps the wallpaper from getting stained and was fine on its own for my home office (where there isn’t any water).
- Marine varnish* (optional) – If your countertop is in a wet location or gets a lot of wear and tear, you will want to use marine varnish on top of the mod podge for a really hard and waterproof finish.
I prefer traditional wallpaper that requires adhesive over the peel-and-stick kind for this project (especially if you are updating a long countertop). Glue-on wallpaper is much easier to reposition if you don’t get it on straight the first time. And it is less likely to crease when you try to remove any air bubbles that might form.
Tools
- Putty knife
- Foam rollers
- Paint roller and tray
- Paint brush
- Wallpaper smoother*
- Wallpaper roller
- Carpet knife*
- Staple gun with ¼” staples
- Hammer
How to wallpaper a counter
1 | Prepare the surface
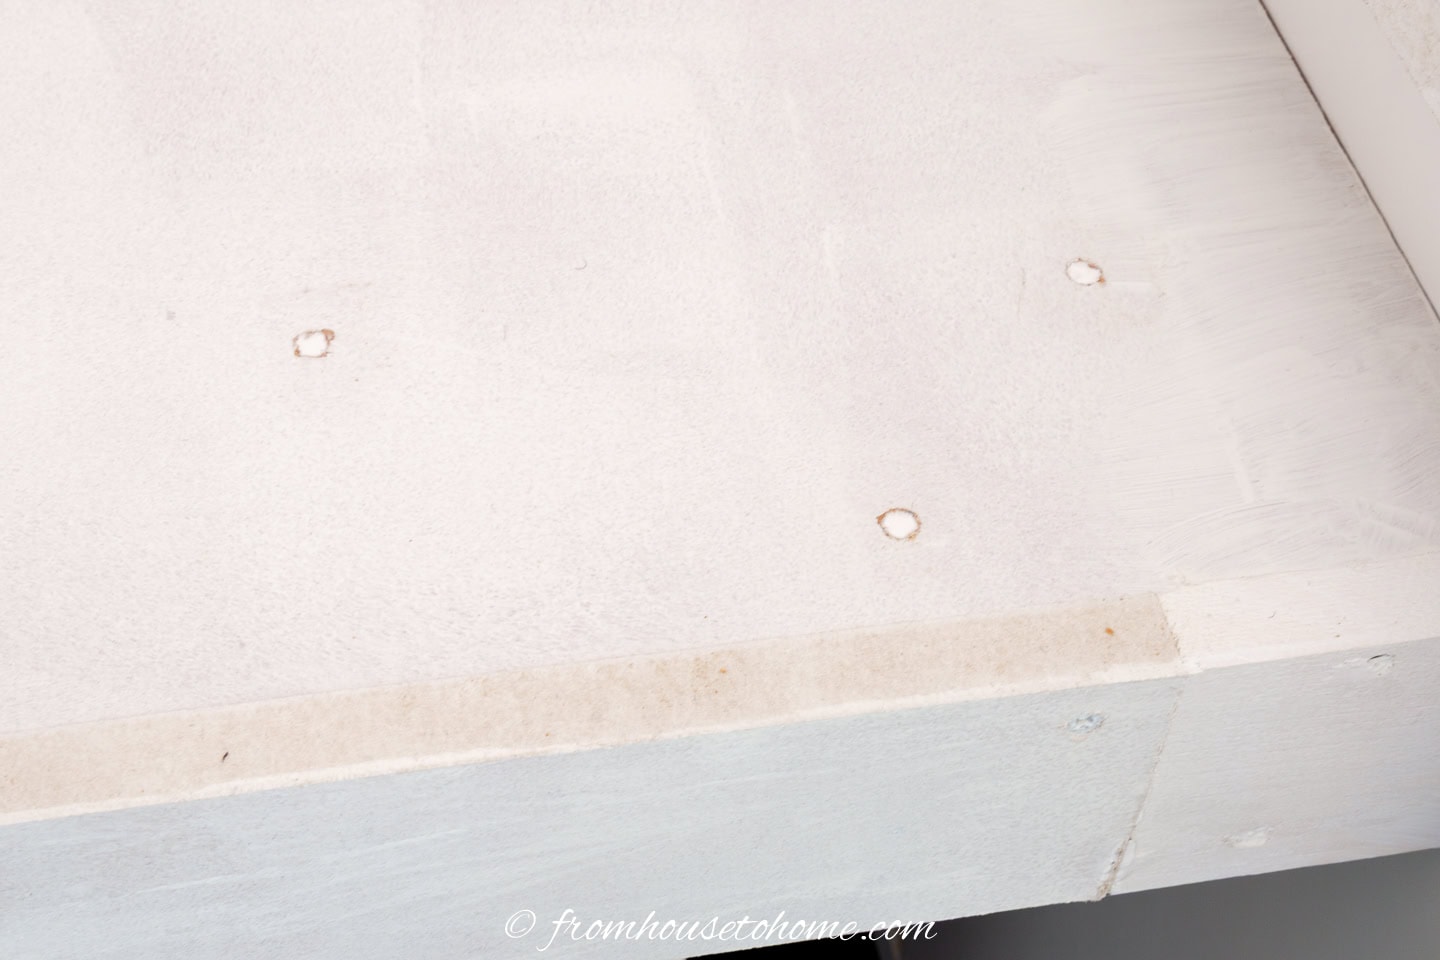
Use a putty knife and caulk or wood filler to fill any holes and cracks in the surface.
I like to use caulk for this because I think it is easier to work with, but either one will do the job.
Sand the surface to remove any shine or loose bits on the existing countertop.
Make sure there aren’t any bumps on the surface or they will show through once the paper is installed.
Wash and dry the surface.
2 | Prime the surface
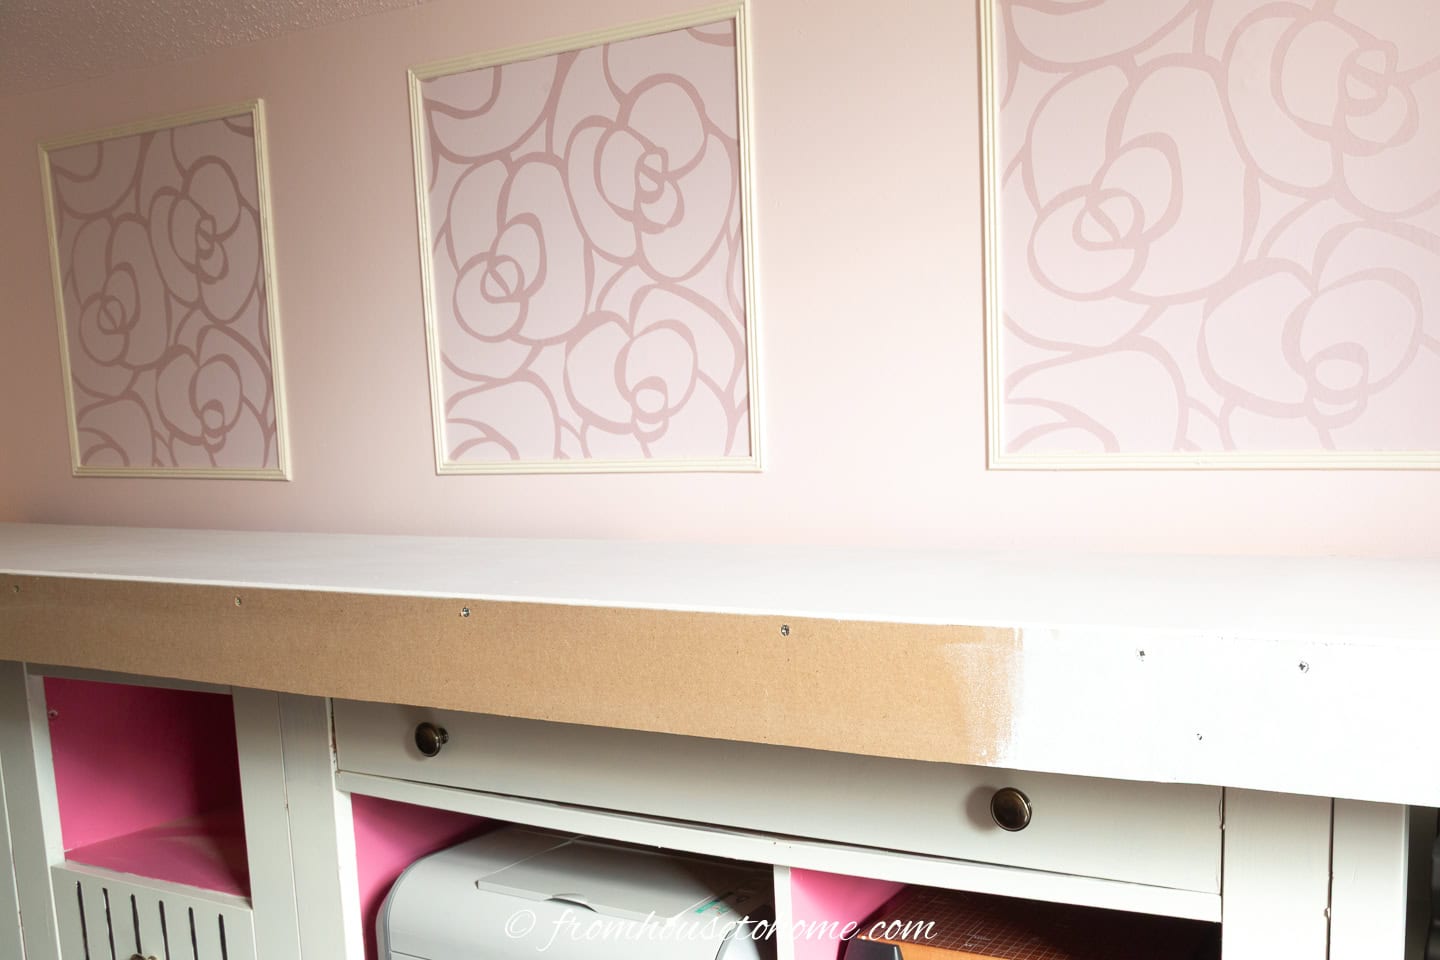
Priming the surface makes sure that the wallpaper will stick and prevents any stains from bleeding through the wallpaper.
Start at the back of the countertop and work your way forward. That way you are less likely to lean on the wet paint.
I like to use foam rollers for this since they leave a really smooth surface.
3 | Cut the wallpaper to size
Measure the length and width of the counter top, including the overhang.
Cut a piece of paper that is a few inches longer and a couple of inches wider than your counter top (including the overhang).
It is easier to work with the paper if it is close to the size that it needs to be.
But make sure you leave yourself enough extra to cover any parts that might not be straight (in my case, I have very wavy walls!)
4 | Glue on the first section of wallpaper
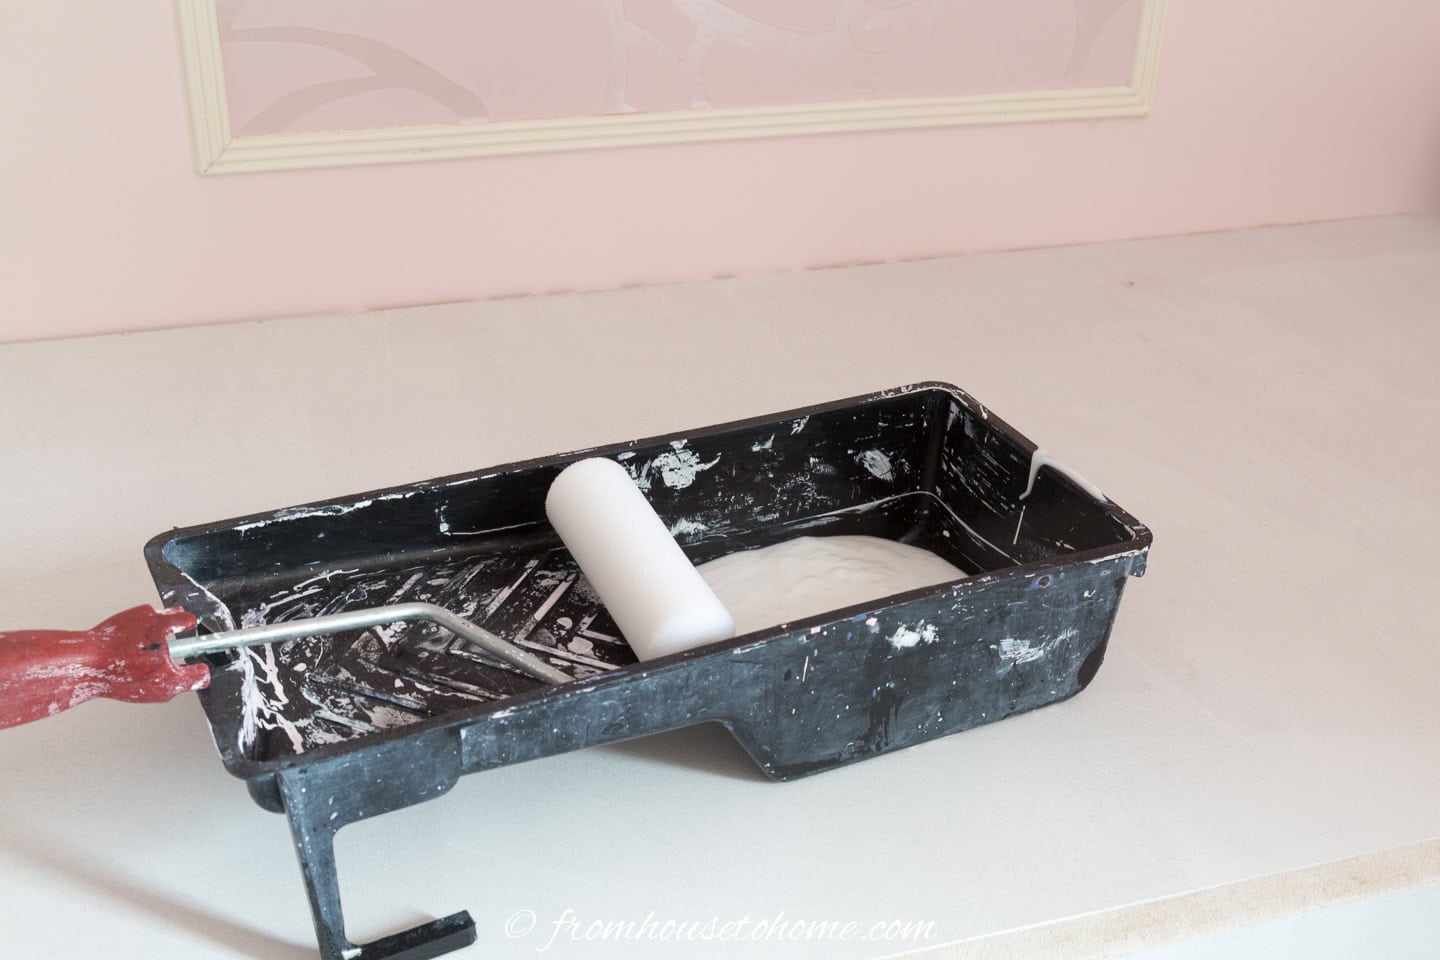
Start at one end of the counter.
Use a foam roller to roll wallpaper paste* onto the first 3 feet of the counter. Apply the paste liberally, but try not to have lumps.
Leave the overhang for now. We will do it later.
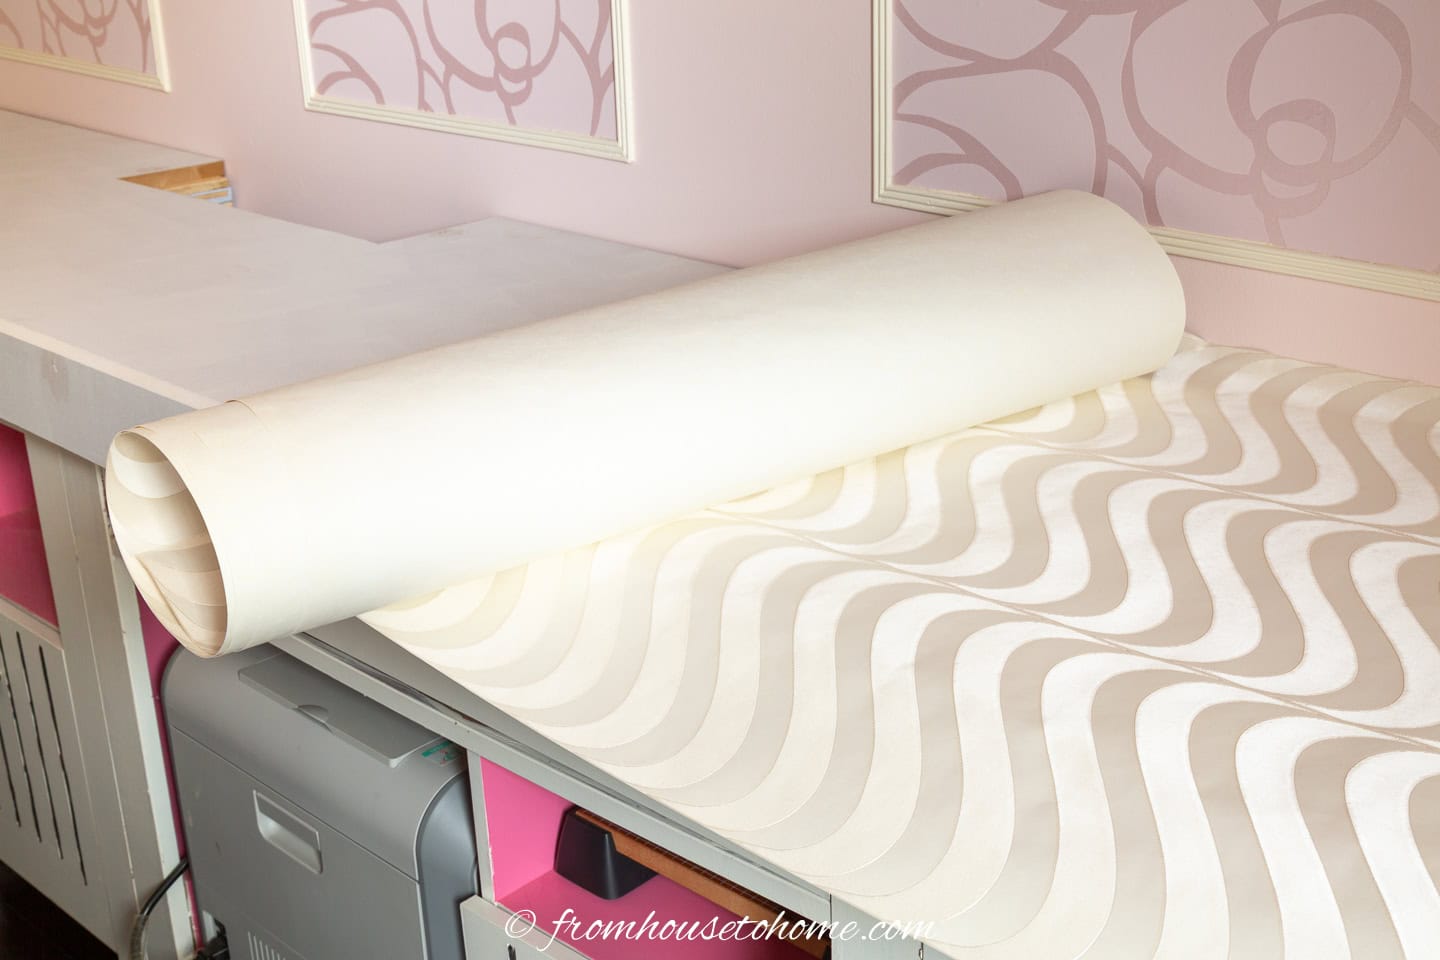
Before you start gluing it down, roll up the paper inside out (so that the back is facing outwards). This makes it much easier to manage.
Stick the paper onto the glue making sure that it is straight.
Getting this first section right is very important. The straighter you get it, the easier it will be to do the rest of it (especially if you have a long countertop.)
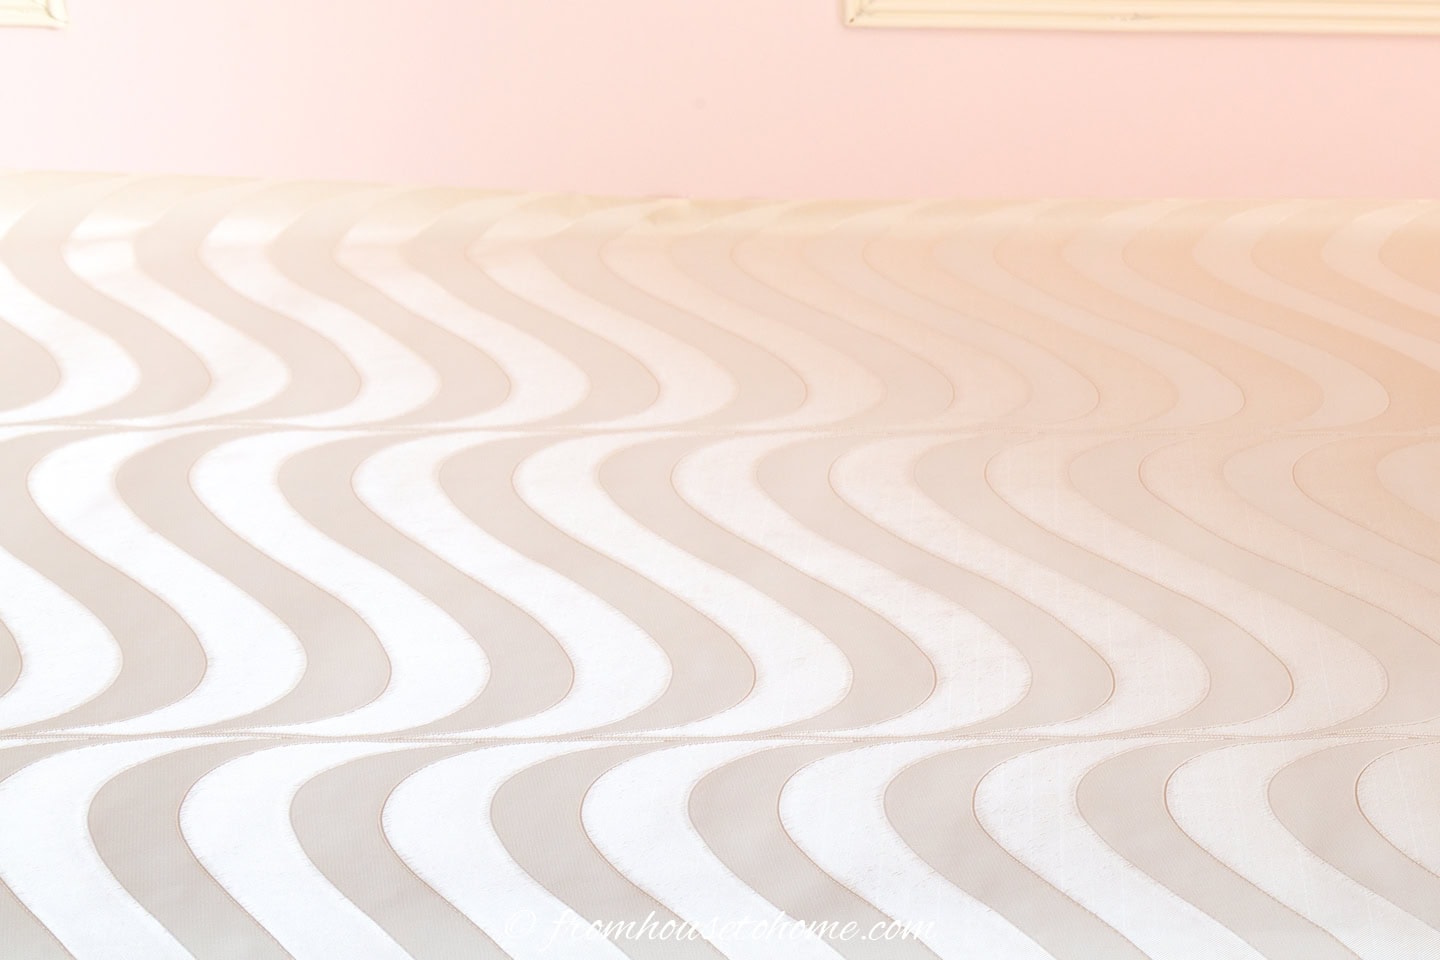
If your walls are wavy like mine, you’ll want to put the wallpaper about 1 inch up the wall on the other side. That way you can cut it off at the wall when you are finished and you won’t have any gaps.
If you have a pattern with stripes, make sure that they line up with the edges of the countertop (it will be pretty obvious if they don’t).
5 | Smooth out any bubbles
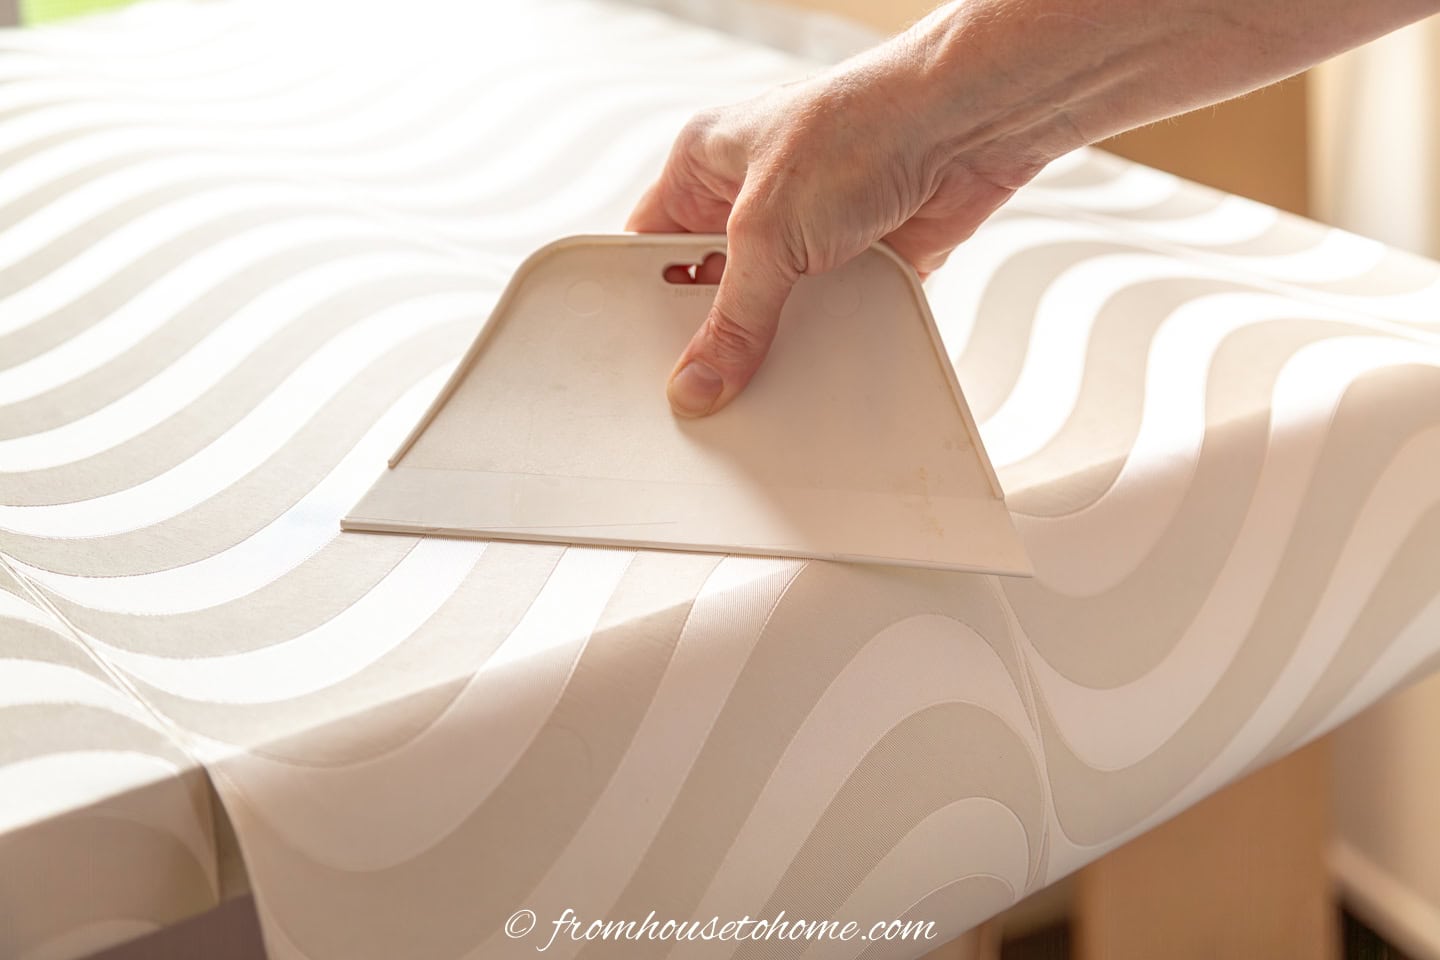
Use a wallpaper smoother to smooth out any bubbles by pushing gently from the middle of the paper out to the edges.
If excess glue squishes out at the edge, just wipe it up with a damp cloth. Don’t push too hard or you will stretch the paper (or even worse, tear it).
If you have stubborn bubbles, you can use a pin to prick a small hole to let the air out. However I find this usually happens when the paper is not on straight so you might want to try re-positioning it first.
6 | Repeat
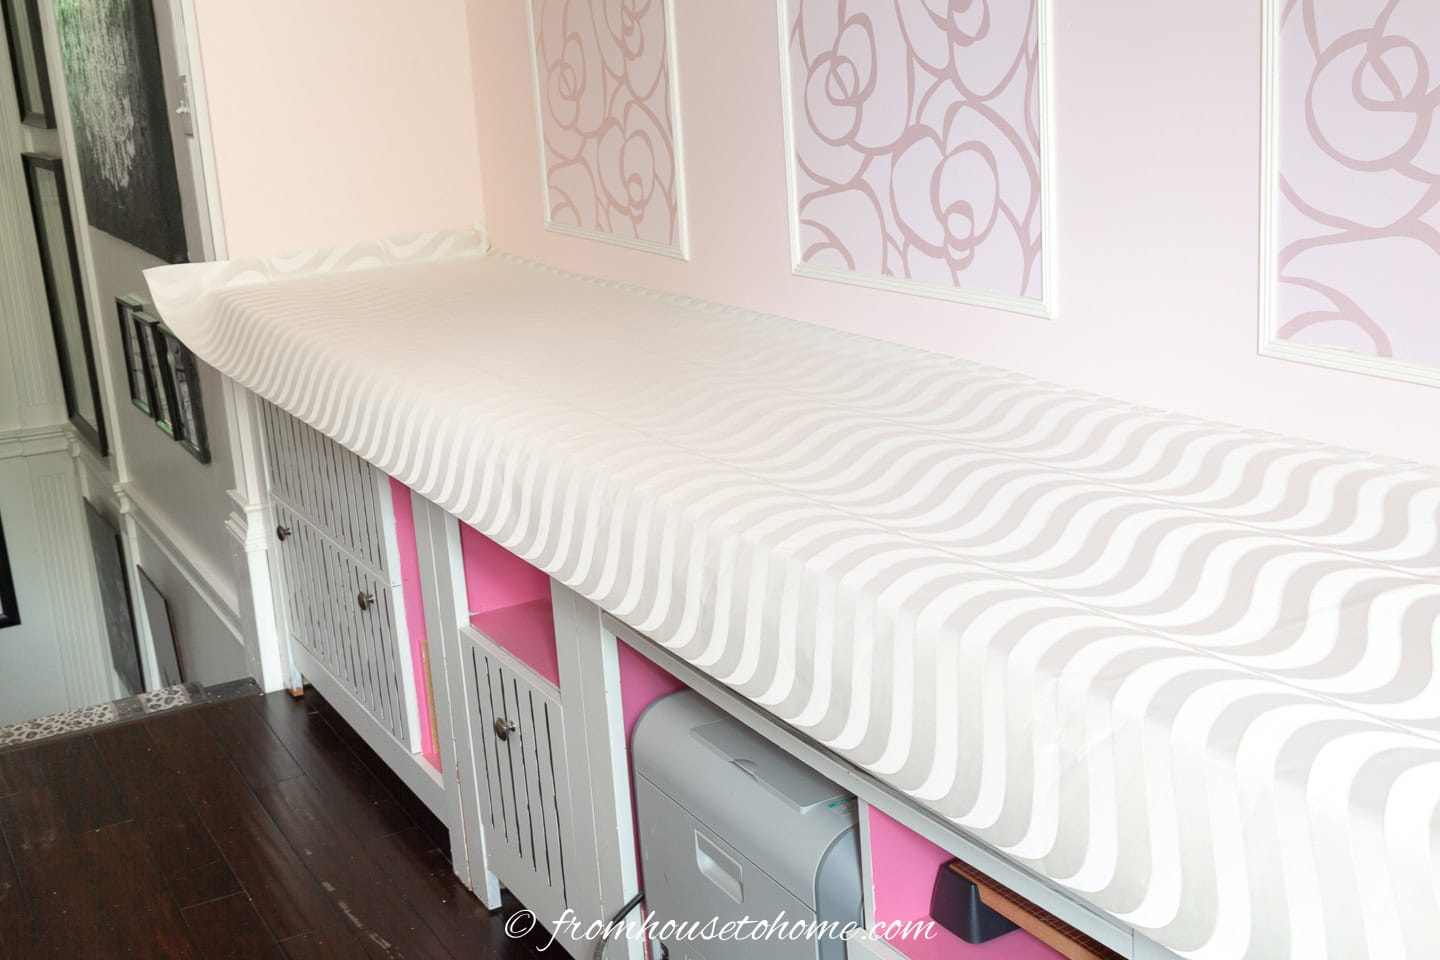
Repeat the glue and paste cycle in 3-foot sections until you have all of the paper stuck to the top of the countertop.
7 | Glue the wallpaper to the overhang
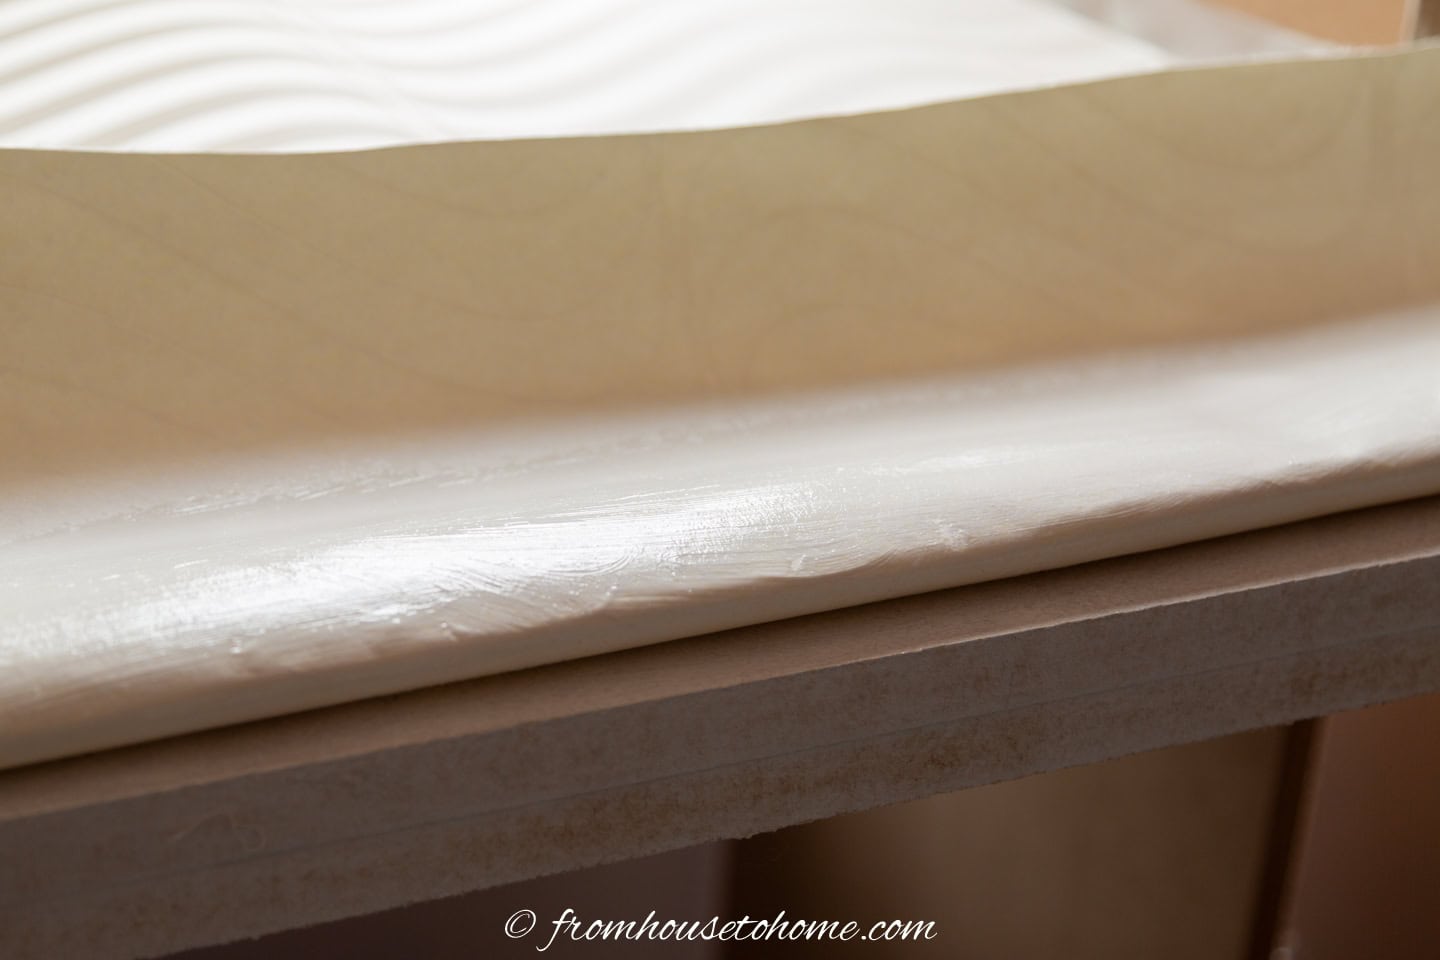
Now you will do the overhang, again working in 3-foot sections like we did for the top.
Roll the wallpaper paste onto the overhang portion of the counter top.
Then use a brush to put some paste on the back of the wallpaper as well.
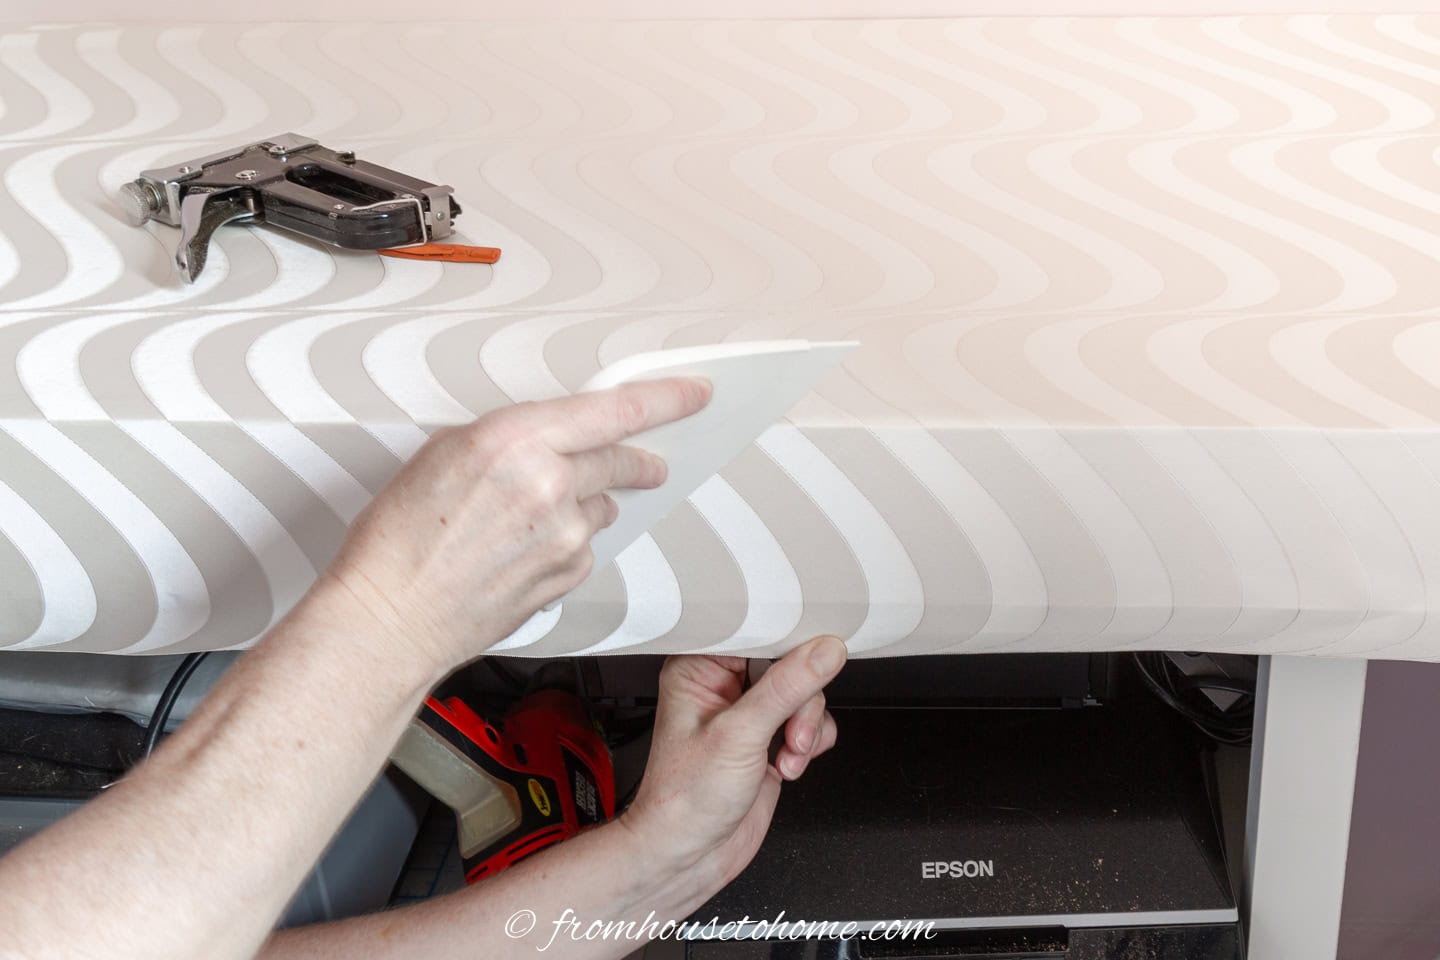
Pull down on the edge of the paper (gently) so that it is tight, and stick it onto the sides.
Use the smoother to create a crease at the corner and to smooth out any bubbles.
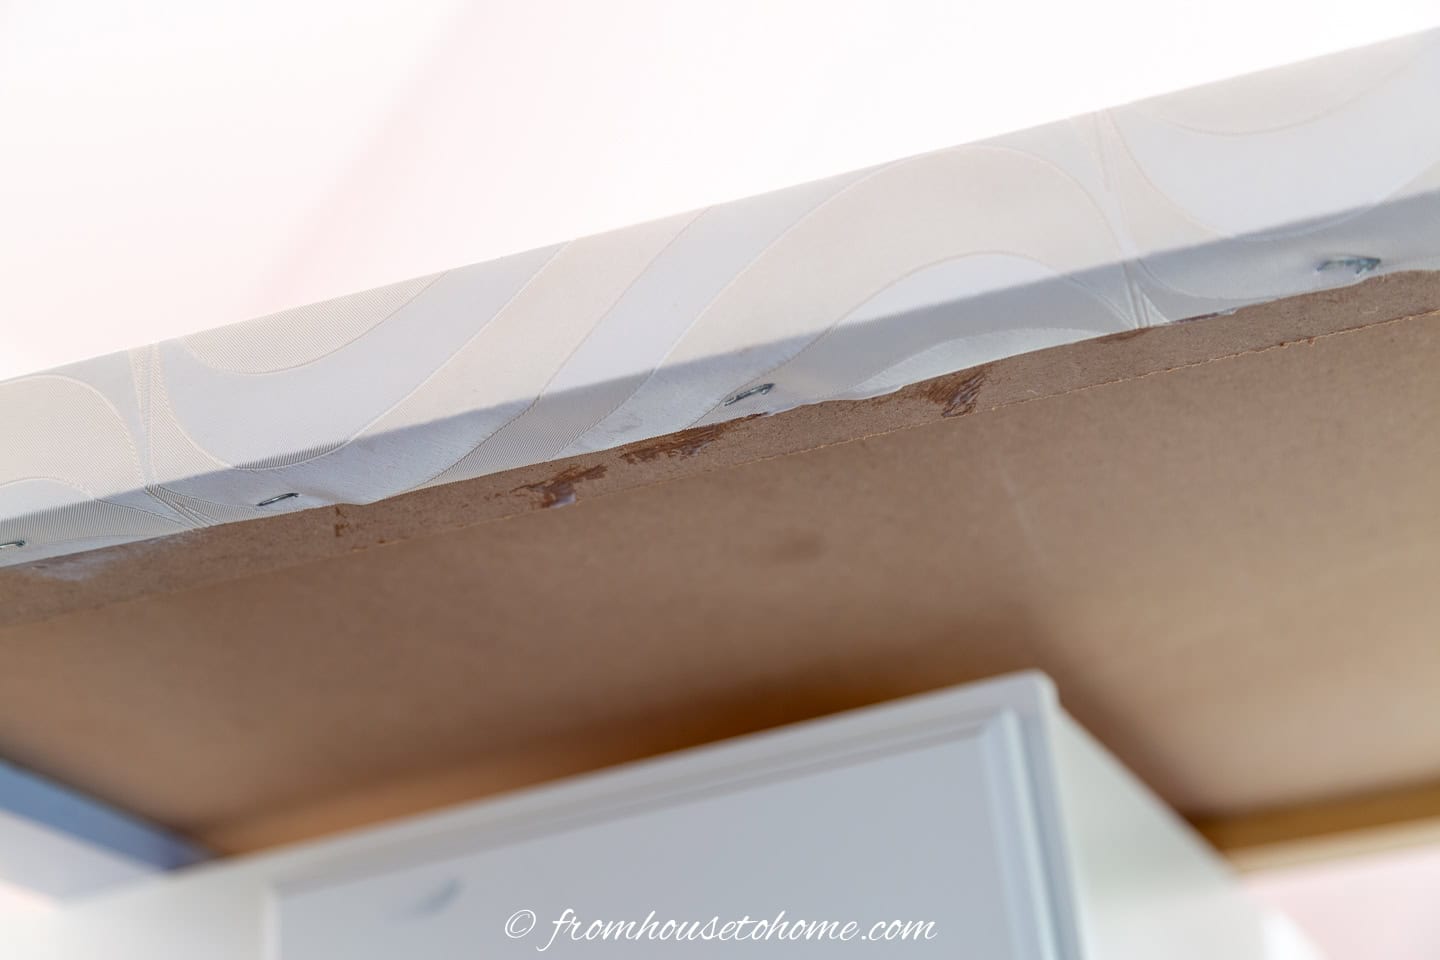
If you have a square edge countertop like mine, you might want to use a staple gun to staple the paper to the underside of the overhang.
This will make sure it stays in place and glued down.
If the staples don’t go all the way in, you can use a hammer to make them go in the rest of the way.
8 | Finish any corners
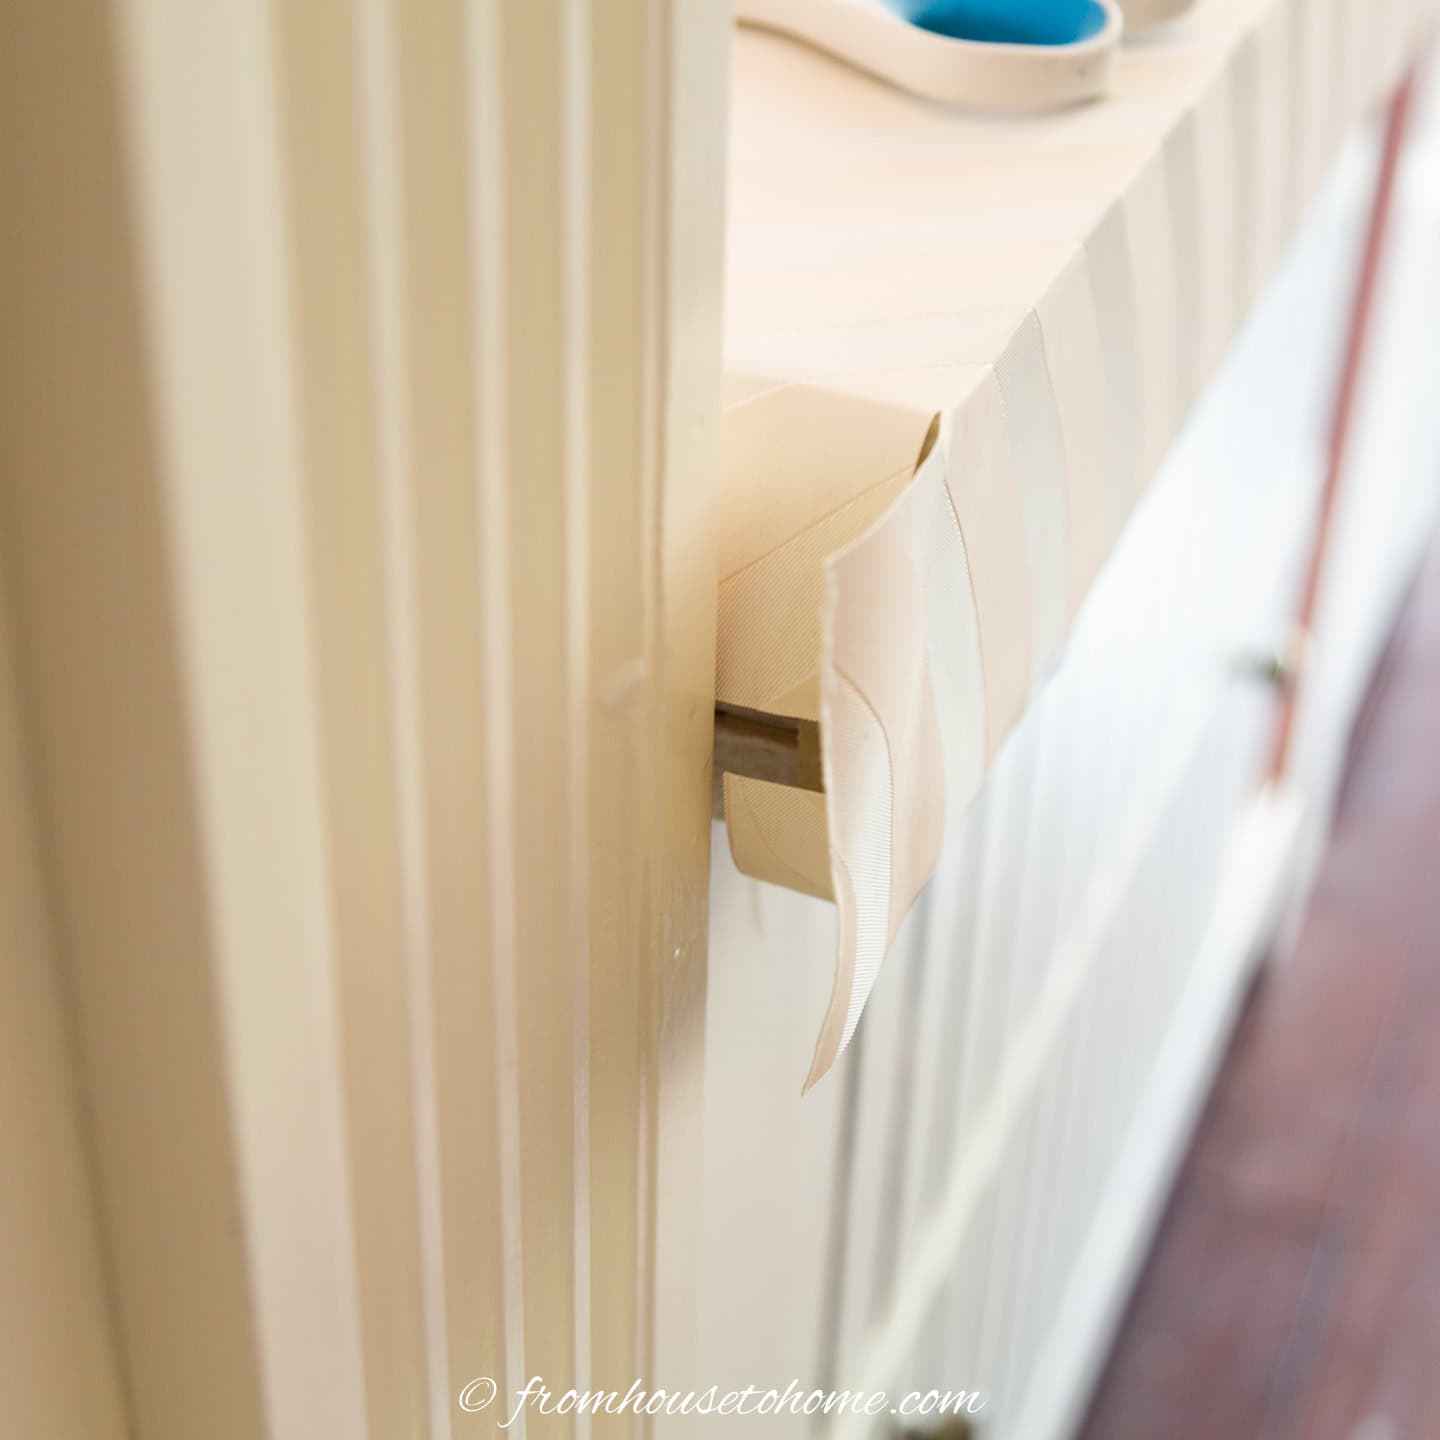
If you have any corners that show, cut slits at the top and bottom of the overhang, and fold the edges over like you are wrapping a present.
Then add some extra wallpaper paste to make sure these stay stuck.
9 | Cut off the excess paper
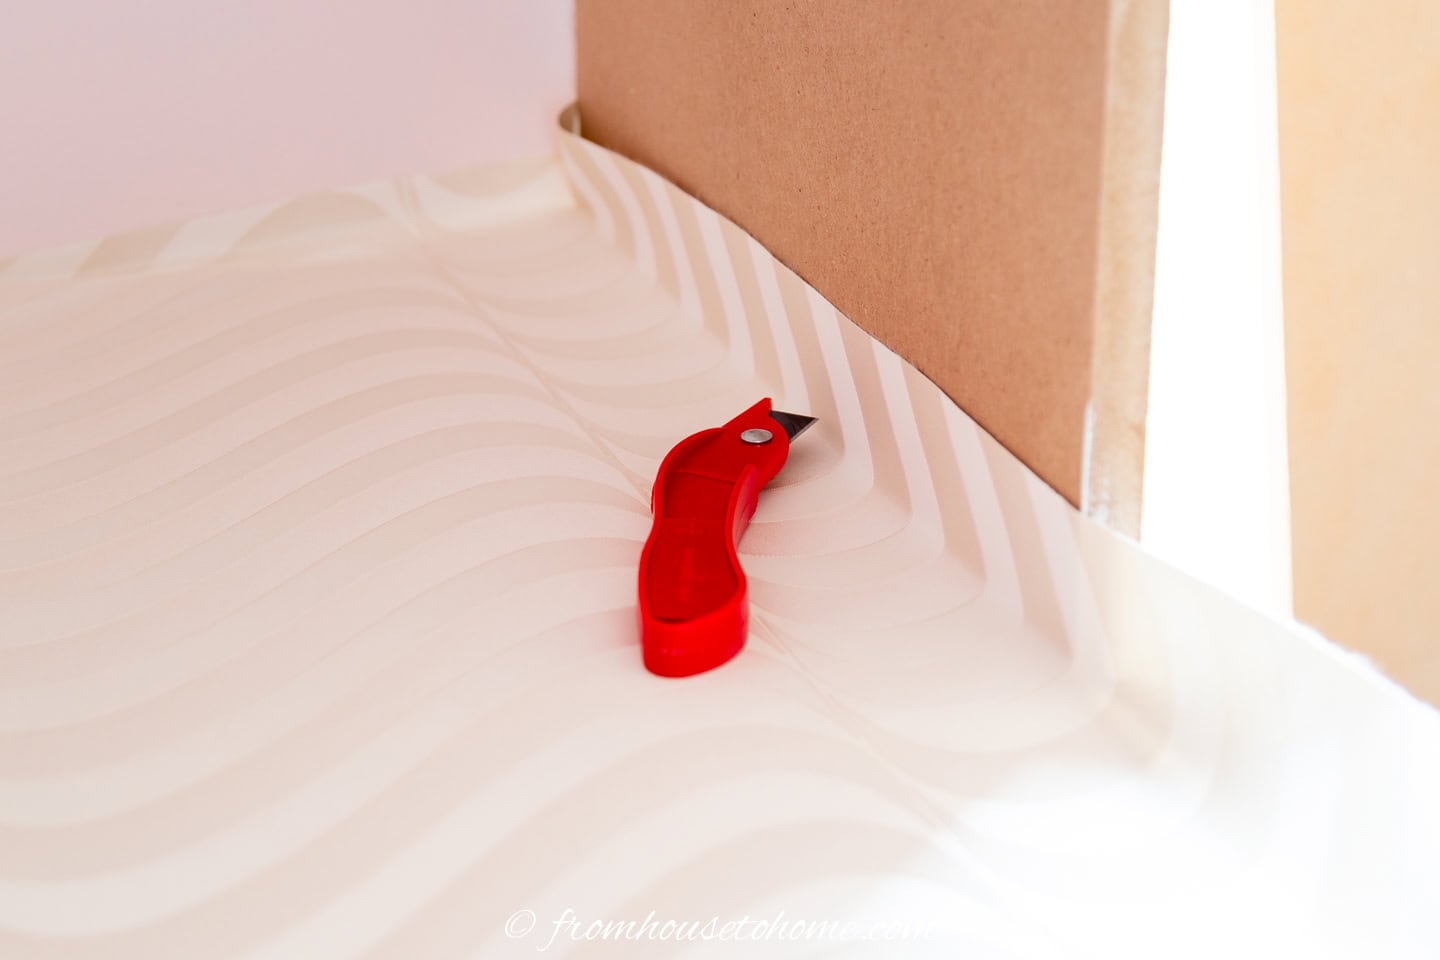
Use a utility or carpet knife to trim the excess paper from the edges of the counter top.
I think carpet knives and blades work best. Since they’re sharp enough to cut through carpet, they do a good job of making clean cuts in wallpaper.
If the wallpaper starts to snag while you are cutting it, the blade is getting dull. Change it out to keep your edges straight and smooth.
10 | Seal the countertop
In order to protect the paper, you will need to put on several coats of sealer.
Start with 2 coats of Mod Podge.
You can apply the second coat of Mod Podge 15 to 20 minutes after the first which makes this process pretty quick. I like to use a foam roller for this to prevent brush marks in the finish.
If this is a relatively low-use surface (like my office countertop), adding a couple more coats of Mod Podge will make it durable enough to use.
However if this countertop is in a bathroom or kitchen where it will get lots of use and could get wet, you will want to use multiple coats of an oil-based Polyurethane finish or Marine Varnish. (I prefer marine varnish. I have a wood countertop in my bathroom that was sealed with it so I can vouch for the fact that it is definitely water proof!)
Wait for 24 hours after the last Mod Podge coat before applying the first coat of polyurethane. Then follow the manufacturer instructions.
You will need at least 4 or 5 coats in order to protect the paper properly.
The wallpapered counter
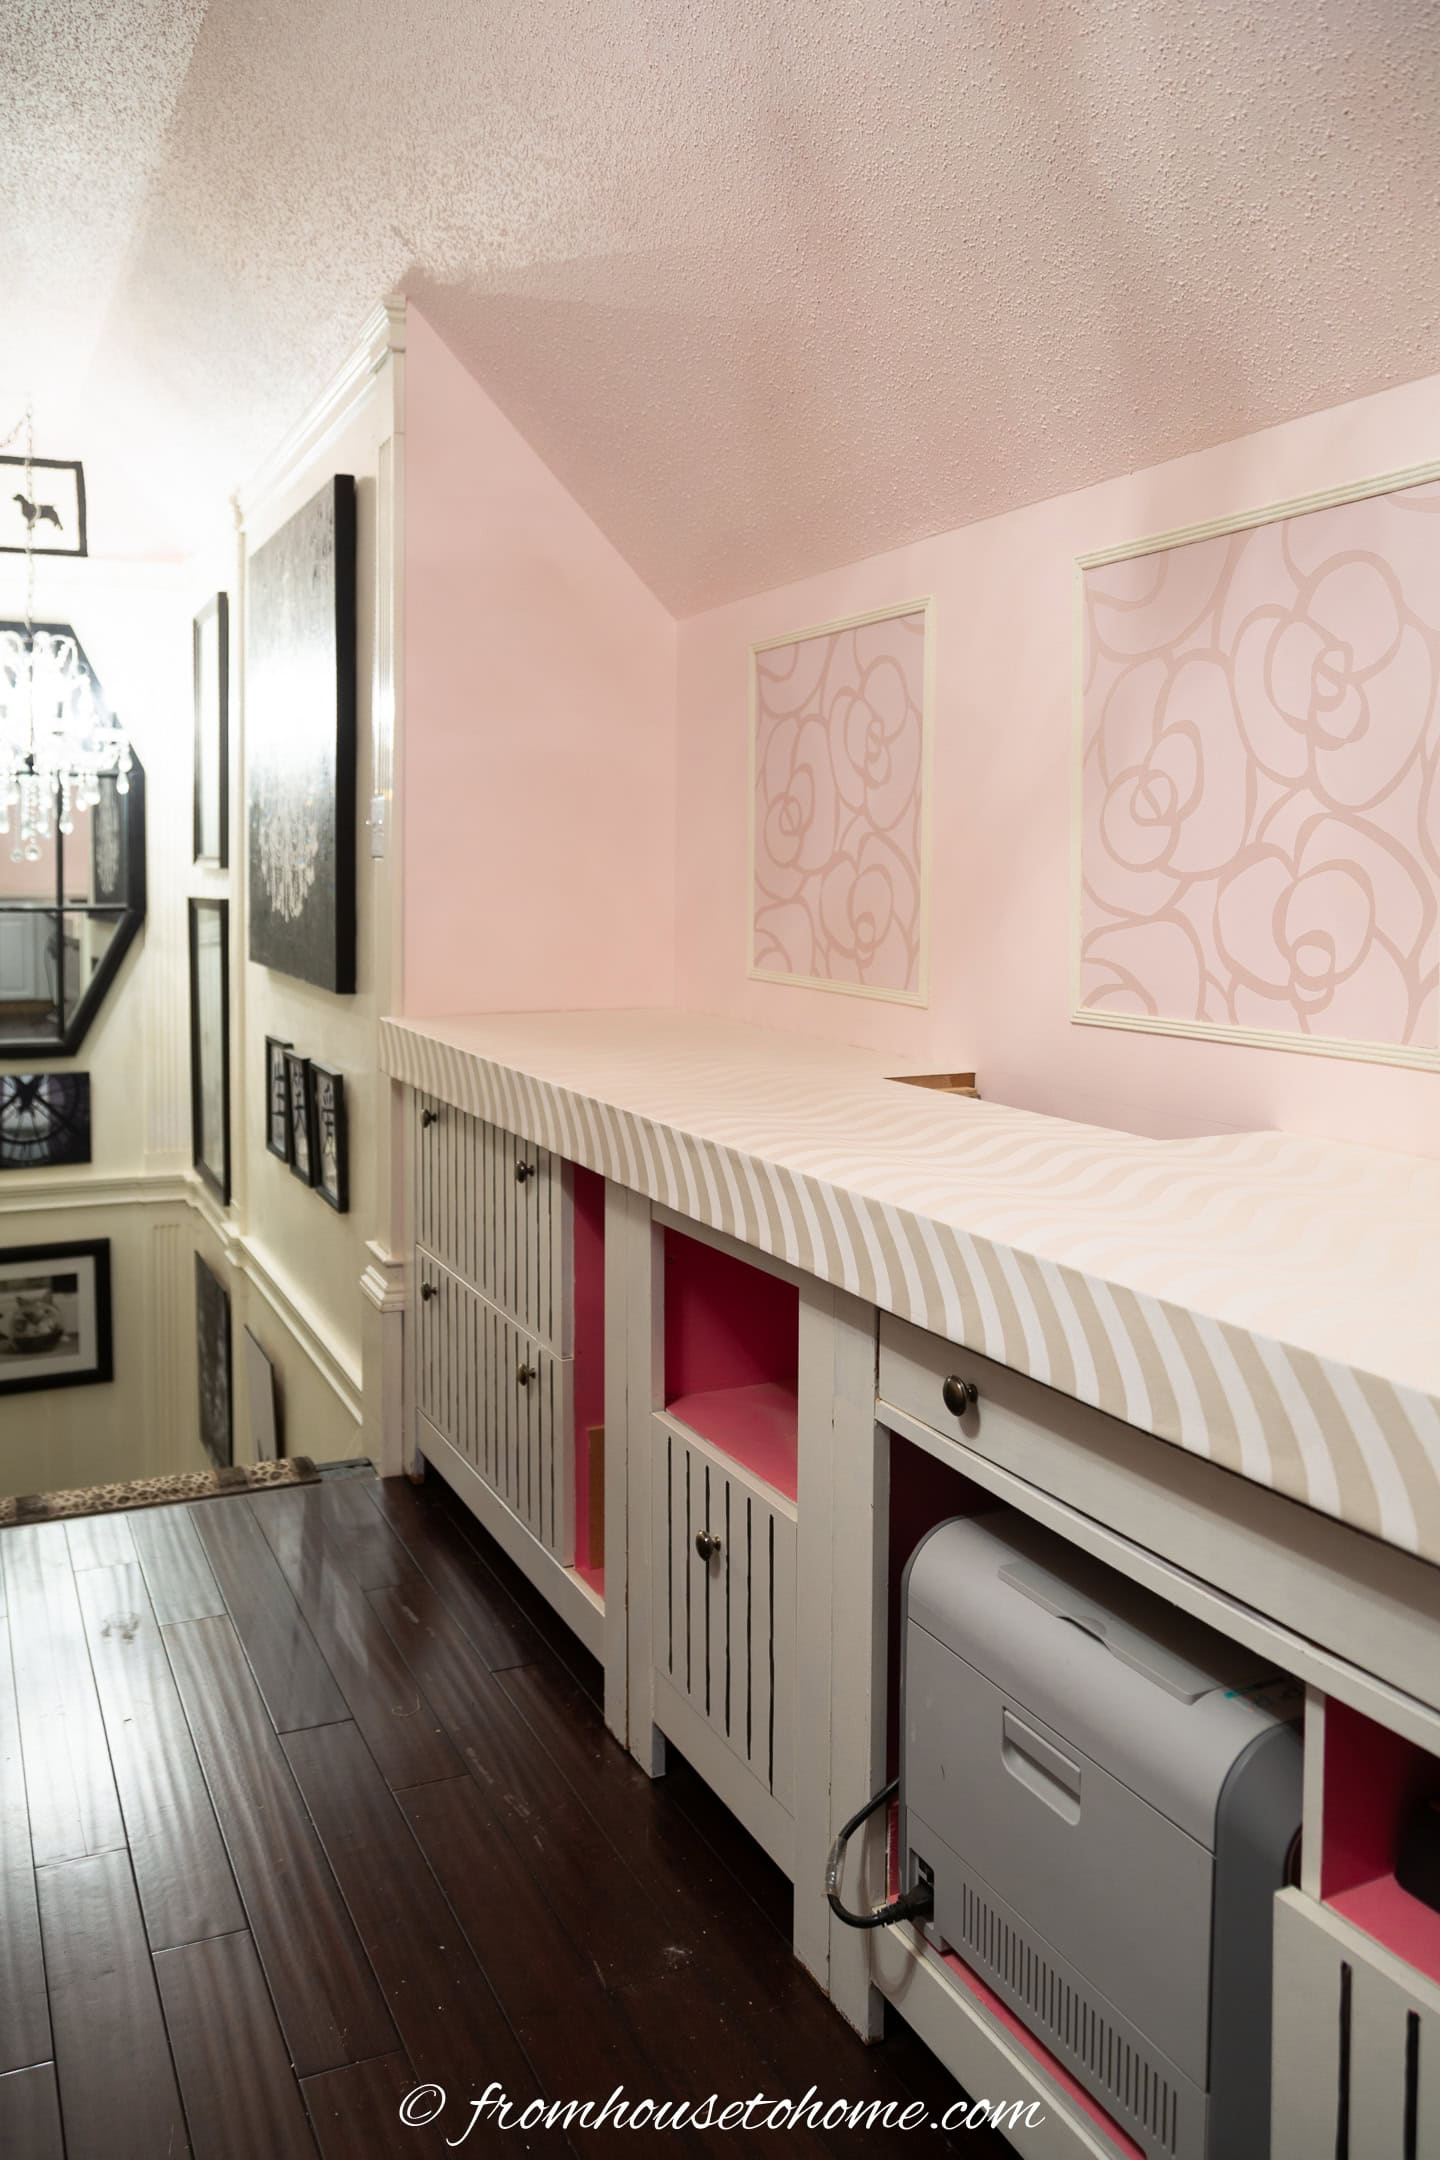
I love the way the new countertop looks.
It has enough of a pattern to add some interest but it doesn’t distract from the rest of the room.
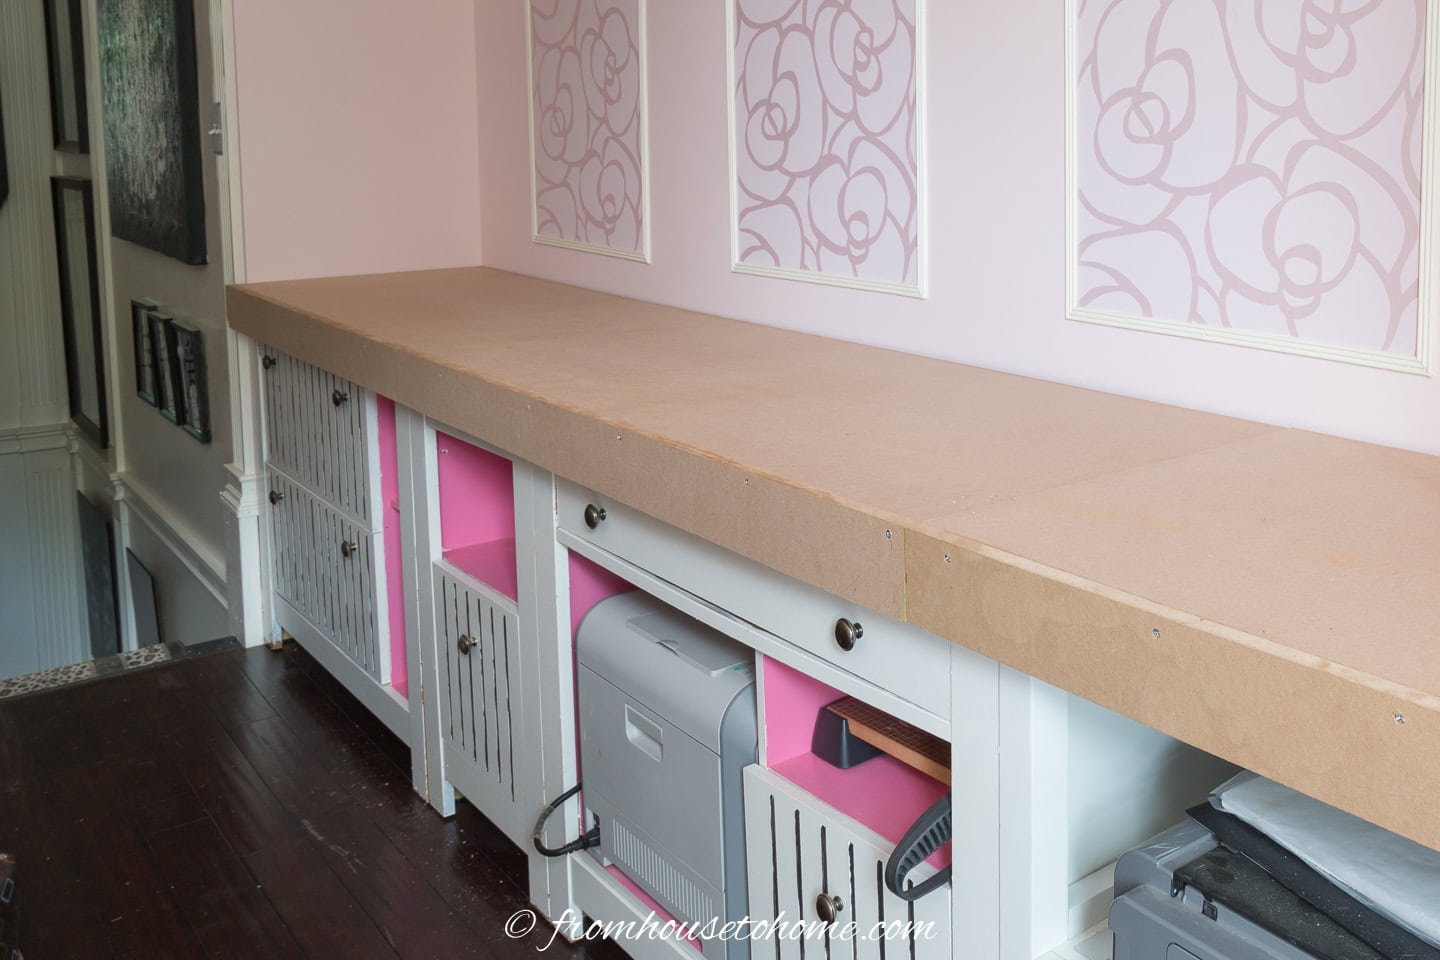
It definitely looks better than when it started!
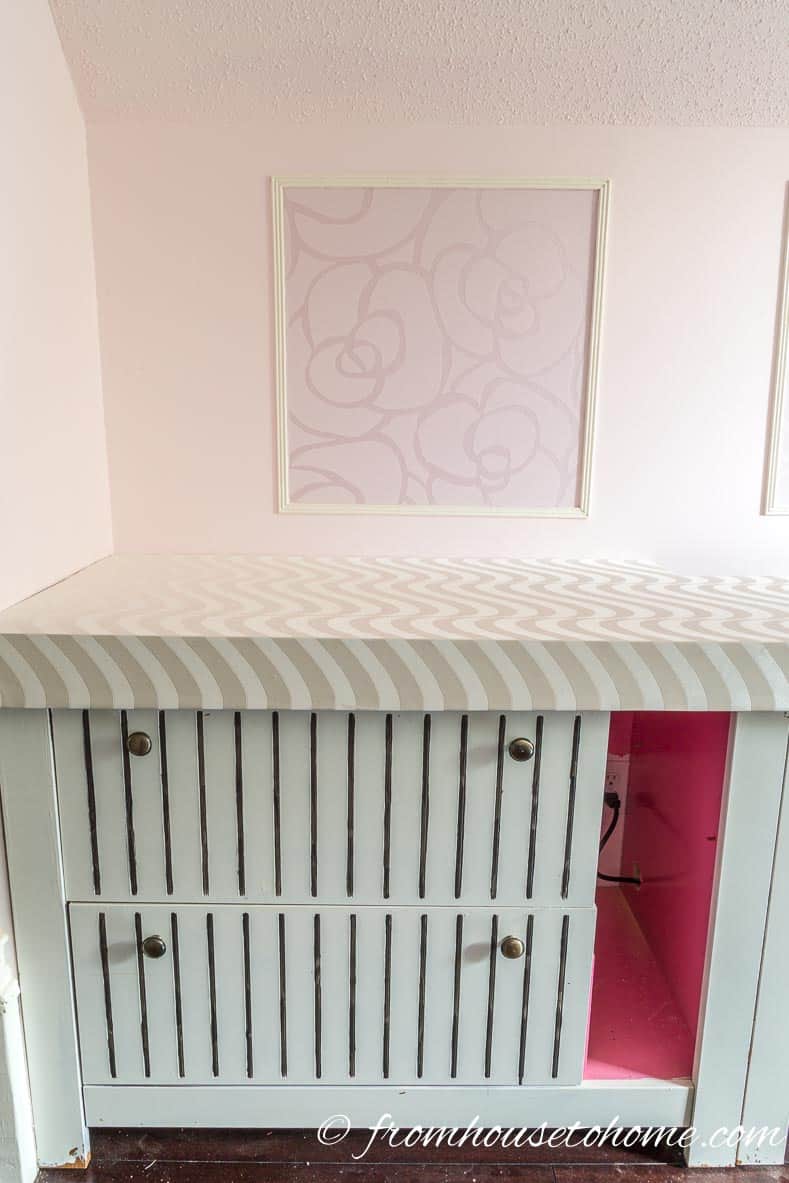
The colors go perfectly with the cabinets and the wall mouldings.
And it was a very inexpensive DIY project! A win-win solution all around.
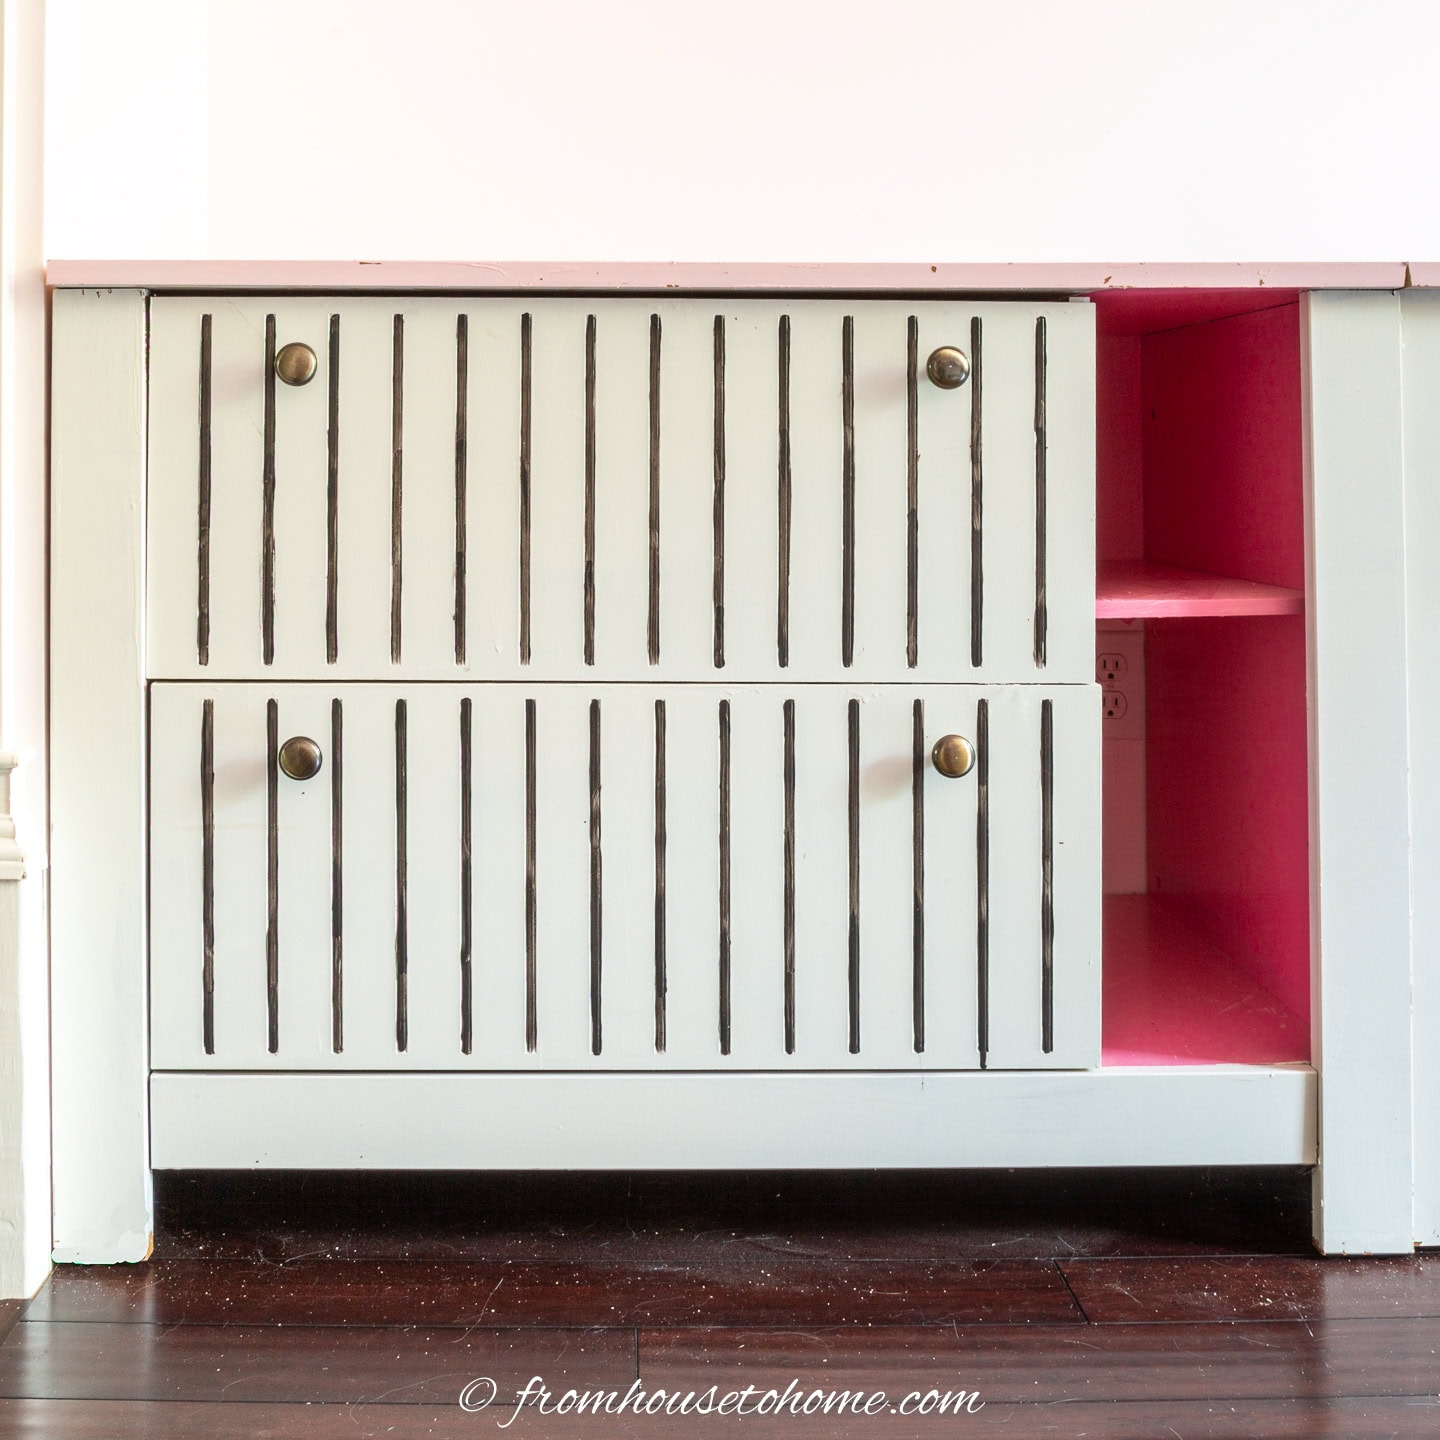

Have comments or questions about how to update a counter with wallpaper? Tell us in the section below.
This post was originally published on May 2, 2016 but was updated with new content on May 25, 2026.