How To Build A Fireplace Mantel With Crown Molding
A fireplace is a natural focal point in any room. But if your fireplace surround isn’t up to par, it may not be making the statement you want it to. Fortunately, upgrading it doesn’t have to be expensive. With this DIY tutorial, learn how to build a fireplace mantel with crown molding and MDF.
This post is another in the “upgrades to my builder grade house” saga.
Let me start by saying I love my fireplace.
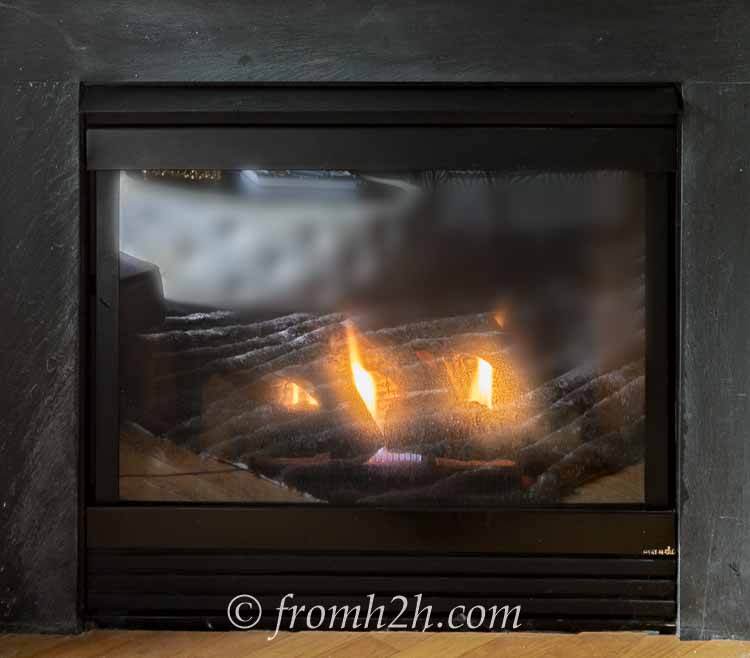
This is the first time that I have ever had a gas fireplace and I love being able to turn it on with the flip of a switch.
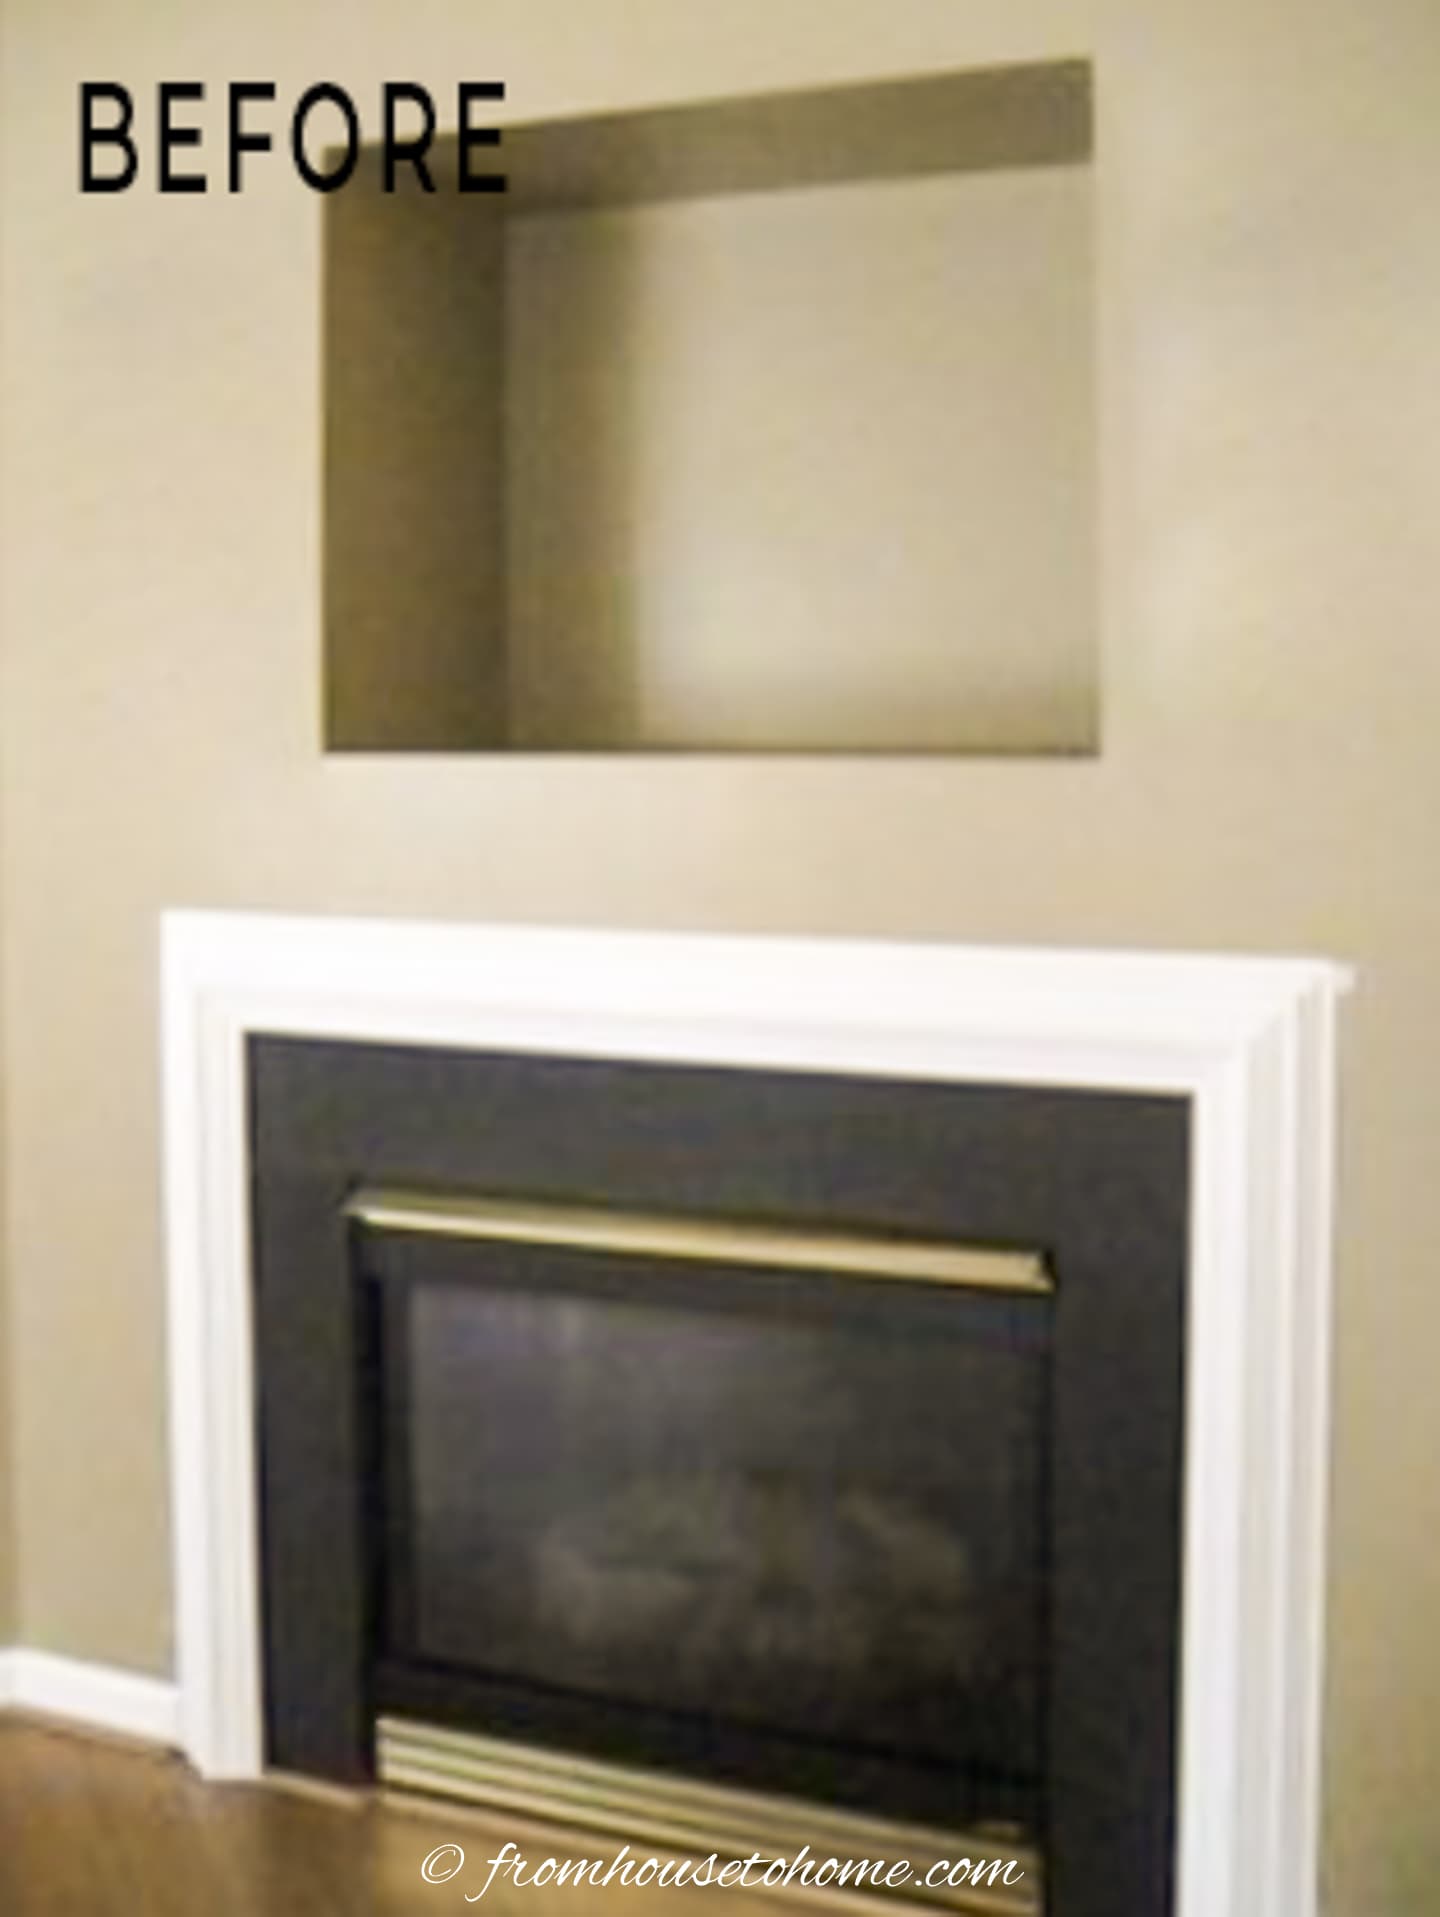
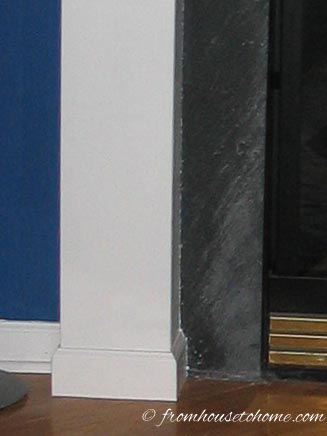
The problem was that it didn’t have a mantel. (Sorry for the horrible picture!)
So it kind of blended into the wall and wasn’t the statement focal point that I wanted it to be.
And there’s no where to hang Christmas stockings or put up decorations. (Which takes away half the fun of having a fireplace if you ask me.)
After finding out how expensive it is to buy a fireplace mantel, I decided a DIY project was the best way to go.
I figured with some inexpensive MDF along and a few moldings, I could make exactly what I was looking for.
supplies
This post may contain affiliate links. We make a small commission if you buy the products from these links (at no extra cost to you). As an Amazon Associate, I earn from qualifying purchases. But we only recommend products we would use ourselves. For more information, click here to see our disclosures.
Materials
- 1 – 4′ x 8′ x 3/4″ MDF panel
- 1 – 6′ board that is at least 9″ wide for the top of the mantel. I like to use project lumber for this because it has a rounded edge that looks a little more finished. But you can cut it from the MDF if you don’t want to spend the extra money. (If you’re handy with a router, you could round the edge manually).
- 6 foot length of crown molding
- 6 foot length of chair rail molding
- 3 foot length of panel molding
- 3 foot length of baseboard molding
- Paint – this is for the mantel
- Black Spray Paint (optional) – To paint over the brass at the top and bottom of the fireplace.
Tools
- Circular saw (or table saw) – I love my cordless circular saw for these types of projects.
- Hammer and nails (or a nail gun if you happen to have one)
- Miter saw or Miter box and hand saw
- Caulk
- Caulking gun
The plan

The first step to designing the fireplace surround was to measure.
Then I came up with the following plan. If your fireplace measurements are different you’ll want to adjust these sizes to fit what you have.
- I wanted to create 2 plain columns, one for each side of the fireplace. Since the slate surround was 6″ wide, I decided to make the columns 9″ wide and 3″ deep. I always look at the existing measurements and use an even multiple to come up with a proportional looking build.
- Since I wanted to add some height, I decided to make the columns 12″ higher than the top of the slate.
- I wanted the mantel to extend about 6″ on either side of the fireplace, so that meant it had to be 72″ long, and I wanted it to be 9″ wide (partly because I had a board in the garage that would fit that width).
- That meant that the board which stretches between the columns underneath the mantel would be 12″ wide and 44″ long.
- Adding molding creates some architectural interest. So I decided on the following:
- crown molding under the top board on the mantel,
- chair rail molding just above the top of the slate,
- panel molding around the columns (just under the cross board) and
- baseboard molding around the bottom of the columns
Cut the MDF
Use your circular saw or table saw to cut the pieces from the MDF using the measurements from above.
If you have a separate board for the top of the mantel, you can cut out the pieces something like this:
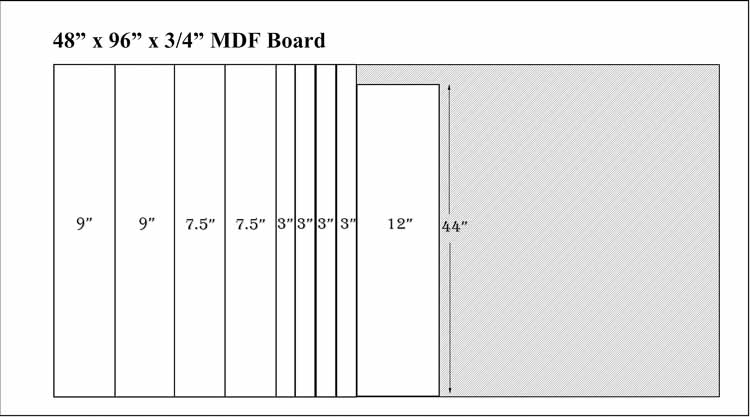
If you are cutting the top board out of the MDF as well, you can lay them out something like this:

However, the layout that makes the most sense for you will depend on the length of the boards you are cutting.
How to build the fireplace mantel
1 | Assemble the fireplace surround columns
Put half of the columns together by nailing one of the 3″ x 48″ column sides to the 7.5″ x 48″ column back
Nail the column back to the wall so that the column side is right next to the slate surround.
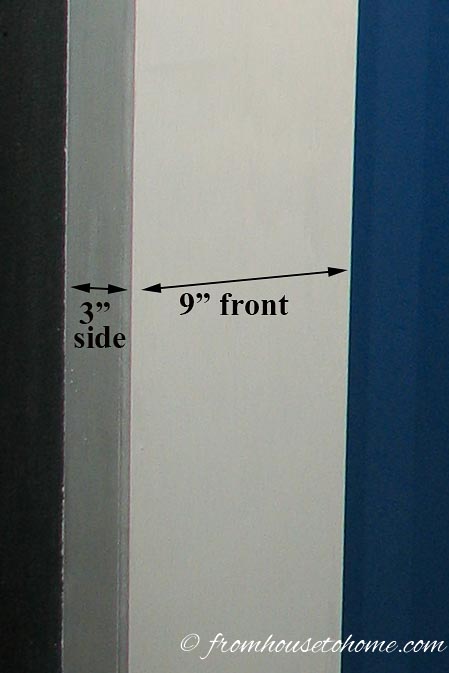
Assemble the other half of the columns by nailing the other 3″ x 48″ column side to the 9″ x 48″ column front
Attach the second half of the column to the part that is already attached to the wall to form a column box.
Repeat the same steps for the column on the other side of the fireplace
2 | Add the mantel and joining board

Nail the joining board to the wall above the slate and between the 2 columns.
Center the mantel board over top of the columns and nail it to the tops of the columns.
3 | Add crown molding under the mantel board
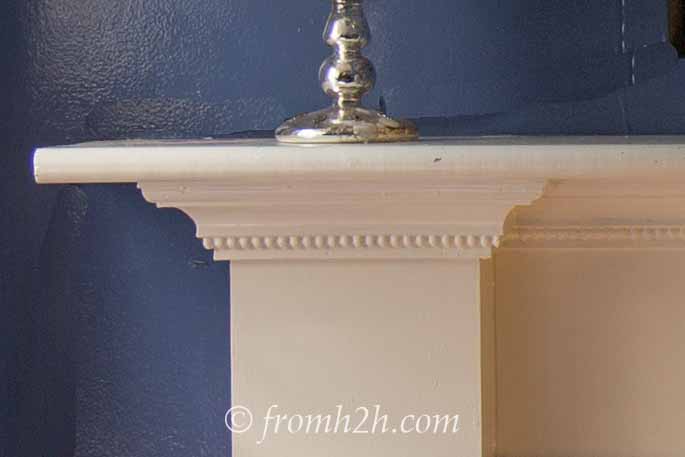
Now we need to cut the crown molding and nail it to the fireplace mantel using finishing nails:
Cut the first piece of crown molding to cover one side of the column with a 45 degree outside angle on the free end. The backside dimension should be 3¾”. Using a molding guard on the miter saw will make sure that the angle is cut correctly for crown molding.
Cut the next piece with a 9″ length along the back of the molding and 45 degree outside angles on both free ends.
The next molding will fit the inside of the column. One end will be an outside 45 degree angle and the other will be an inside 45 degree angle. The inside length should be 3″ long.
Next cut the crown molding to be installed over the joining board. This will be 44″ long on the back side of the crown molding. Both ends have a 45 degree inside angle.
The inside of the other column will be 3″ on the backside of the crown molding. One end will be an outside 45 degree angle and the other will be an inside 45 degree angle.
The front of the other column will be 9″ on the backside of the crown molding. Both ends will have 45 degree outside angles.
The last piece of crown molding will cover the outside of the other column. The backside of the crown molding should be 3¾” long. The end closest to the wall will be a straight cut. The other end is an outside 45 degree angle.
4 | Add chair rail and panel molding
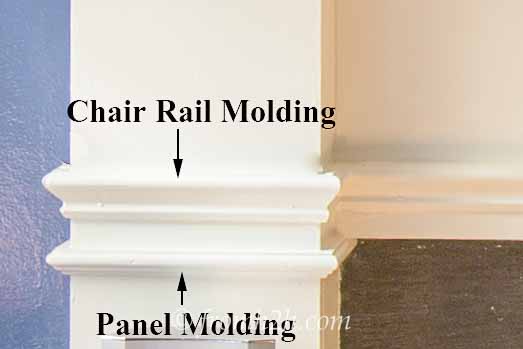
Install the Chair Rail Molding about 1″ above the bottom of the joining board. This will use the same measurements as the crown molding in the step above.
Cut the panel molding to fit around the columns:
- The panel molding that covers the outside edge of the column will be 3¾” long on the back side with an outside 45 degree angle.
- The panel molding the goes across the front of the column will be 9″ long on the back side with both ends having outside 45 degree angle cuts.
- The molding that covers the inside edge of the column will be approximately 3″ long on the back side with one straight cut (for the section next to the wall) and one 45 degree outside angle. Make sure to double-check this measurement since the exact size will depend on how thick your slate is.
Then use finishing nails attach them to the mantel just below the edge of the joining board.
Repeat the same process for the panel molding on the other column.
5 | Add base board molding and caulk
The last building step is to cut the baseboard moldings and attach them to the bottom of the columns with finishing nails:
- Cut the base board molding that covers the outside edge of the column to 3¾” long on the back side with an outside 45 degree angle.
- The base board molding the goes across the front of the column will be 9″ long on the back side with both ends having outside 45 degree angle cuts.
- The base board molding that covers the inside edge of the column will be approximately 3″ long on the back side with one straight cut (for the section next to the wall) and one 45 degree outside angle. Make sure to double-check this measurement since the exact size will depend on how thick your slate is.
Repeat the same cuts for the base board molding on the other column.
6 | Caulk and paint the mantel
Now that you are finished with building the mantel, use the caulk to fill in any nail holes and smooth out the edges of your surround and mantel.
Then prime and paint the whole thing.
If your fireplace has brass on it like mine did, you can spray paint it black to make it blend in better.
Spray paint works better than latex paint for this step because it sticks better to metal and seems to be more heat resistant.
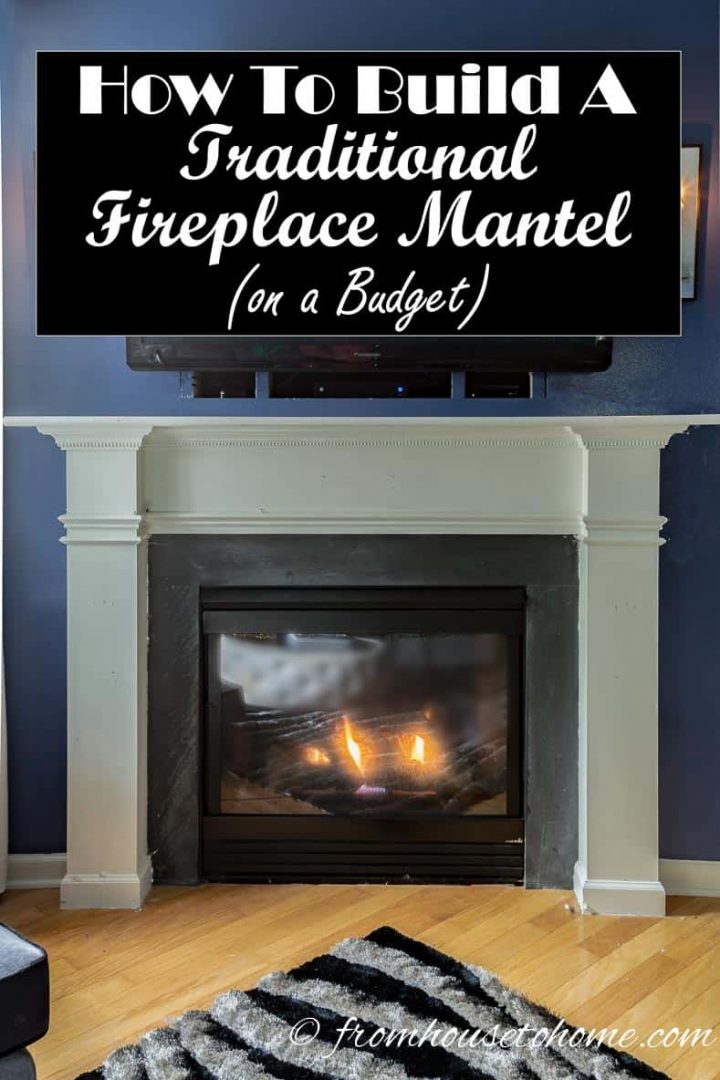
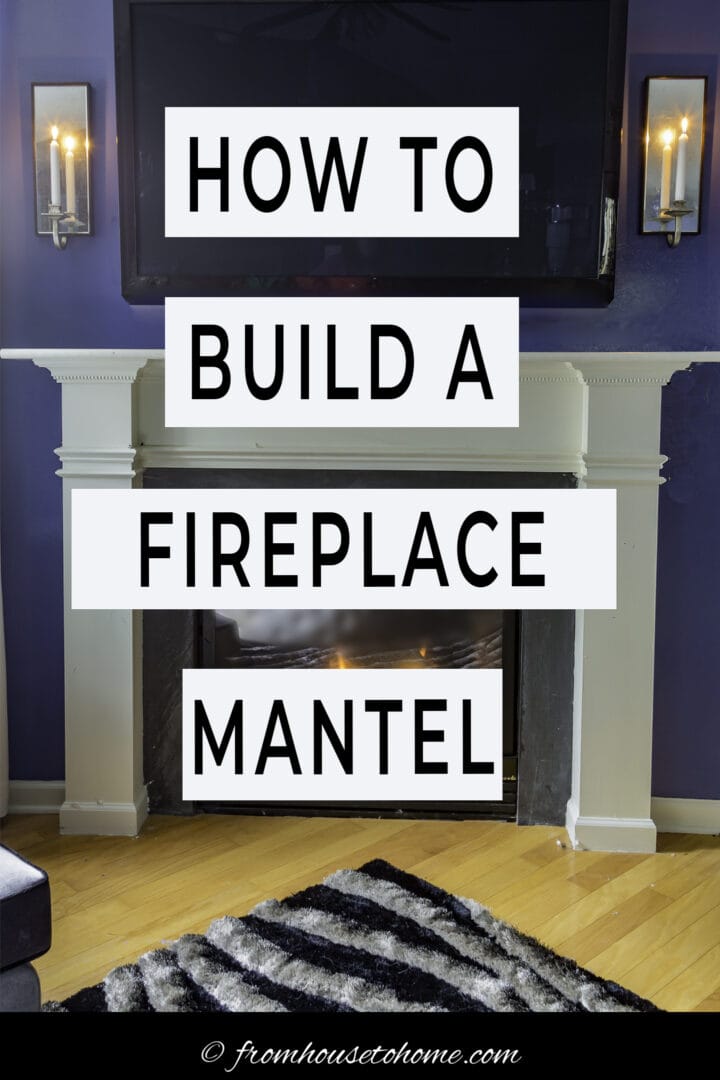
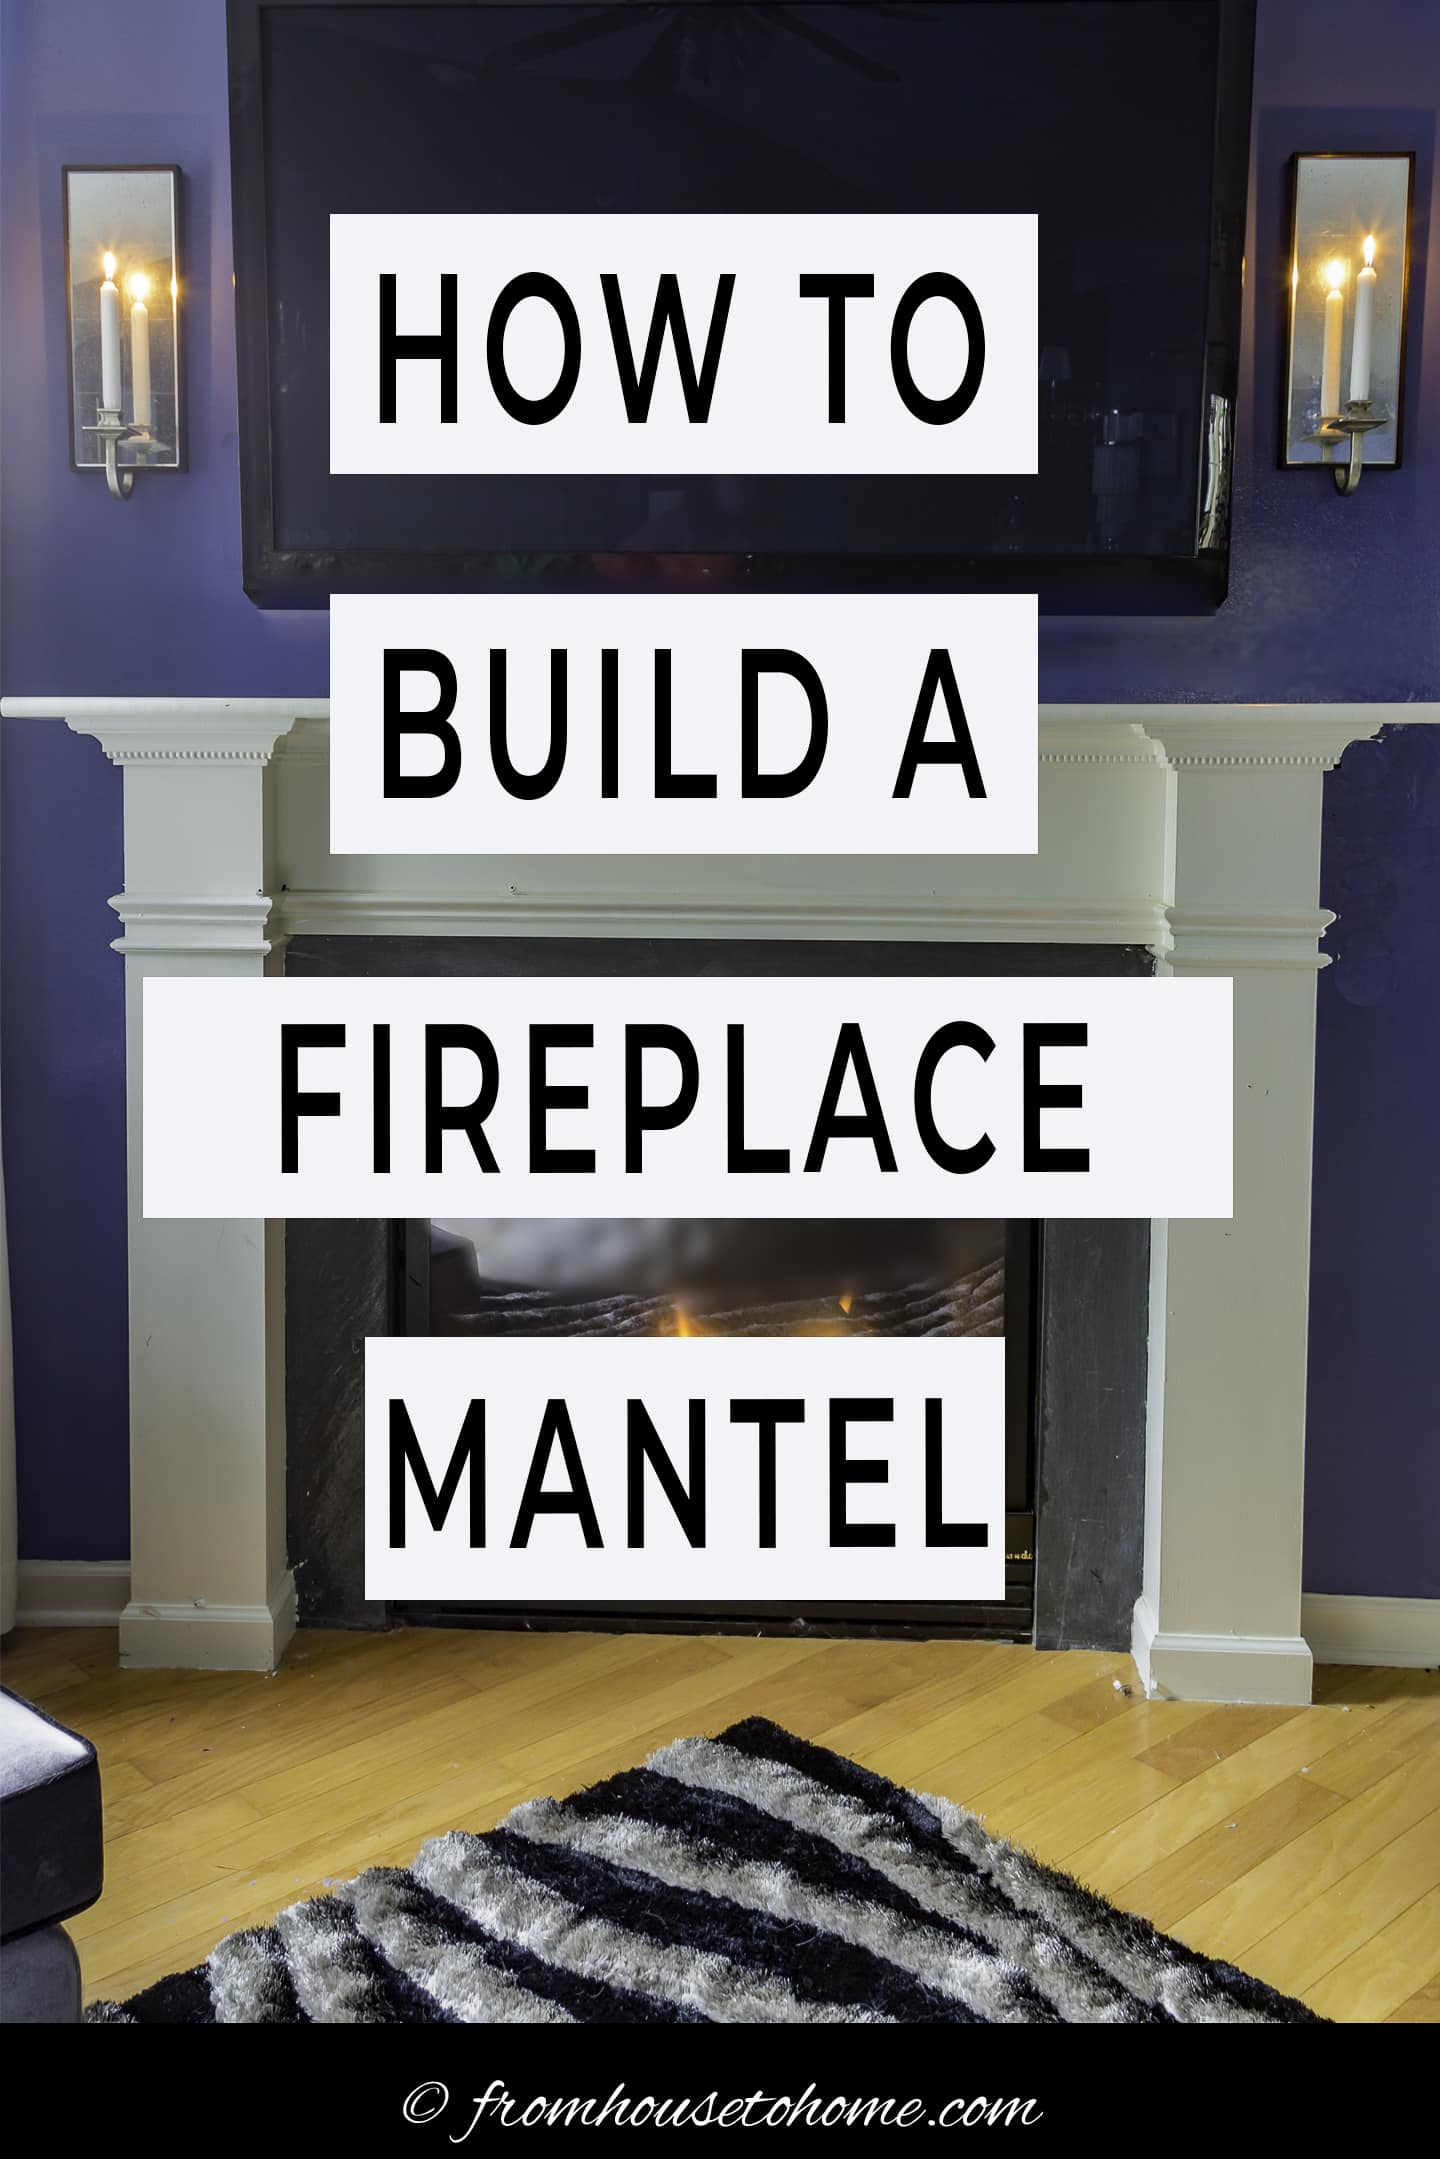
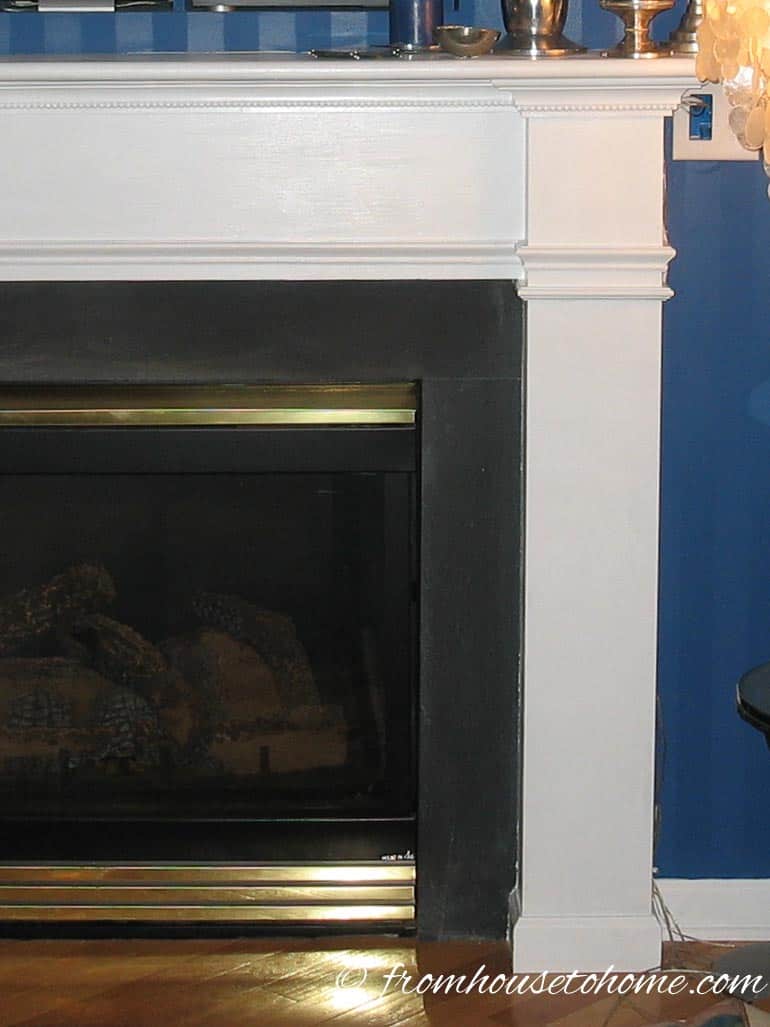
The finished DIY fireplace mantel
The finished mantel makes the statement I was hoping for.
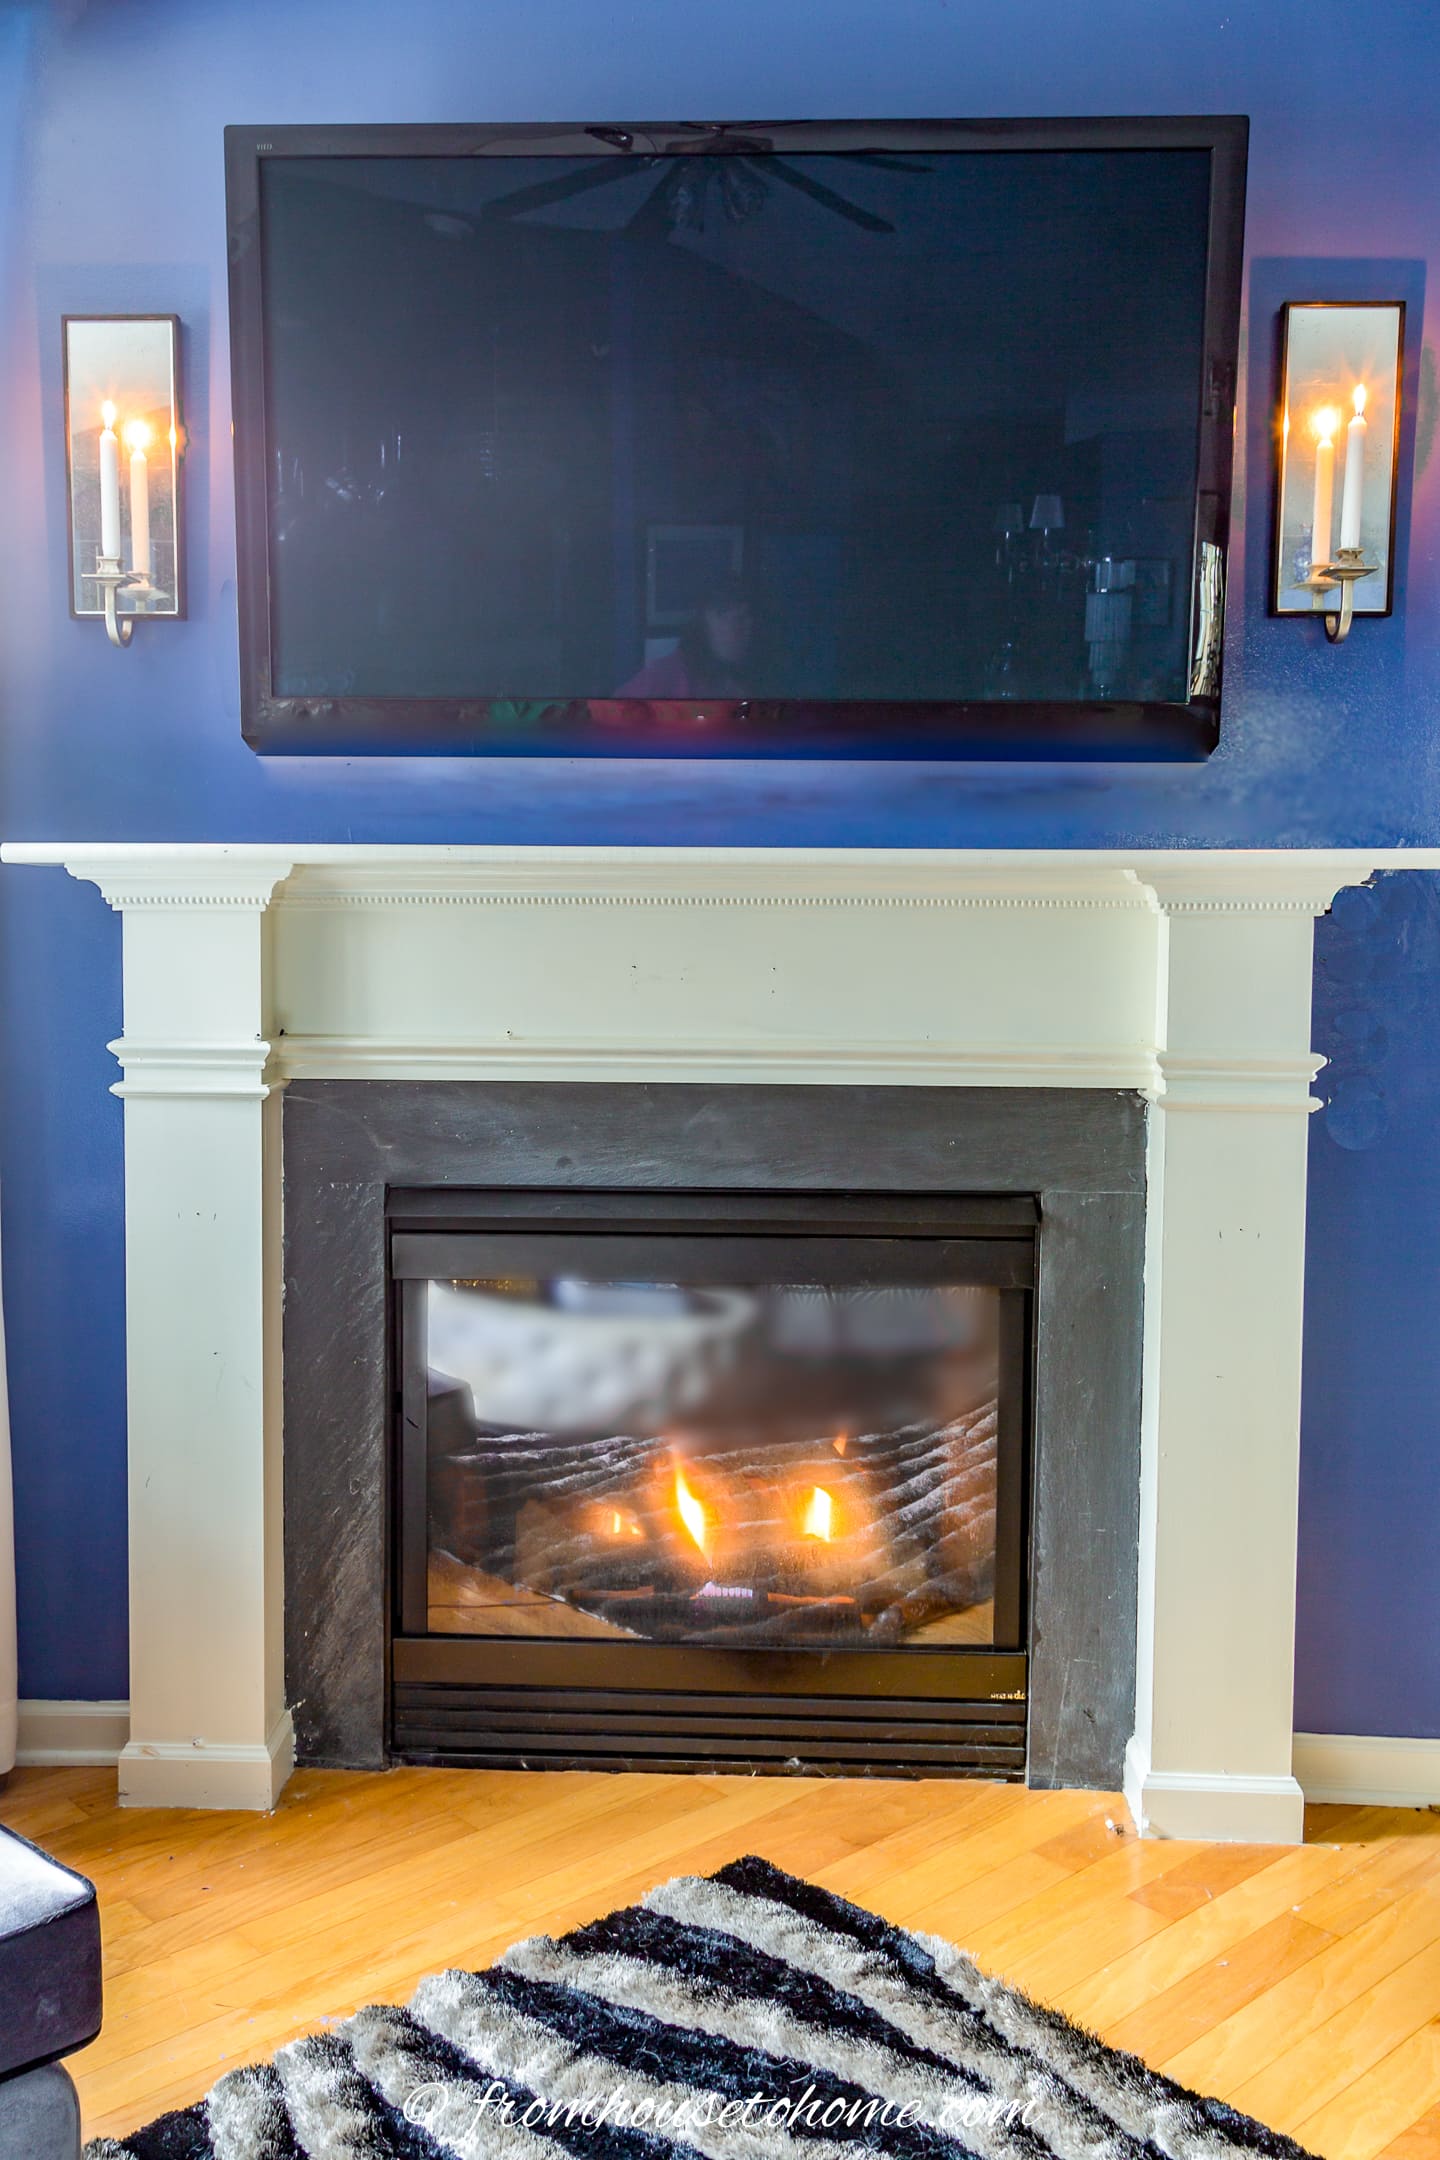
In the current version, I have painted the fireplace surround white and given up trying to hide the TV (mostly because the TV got bigger and was harder to hide).
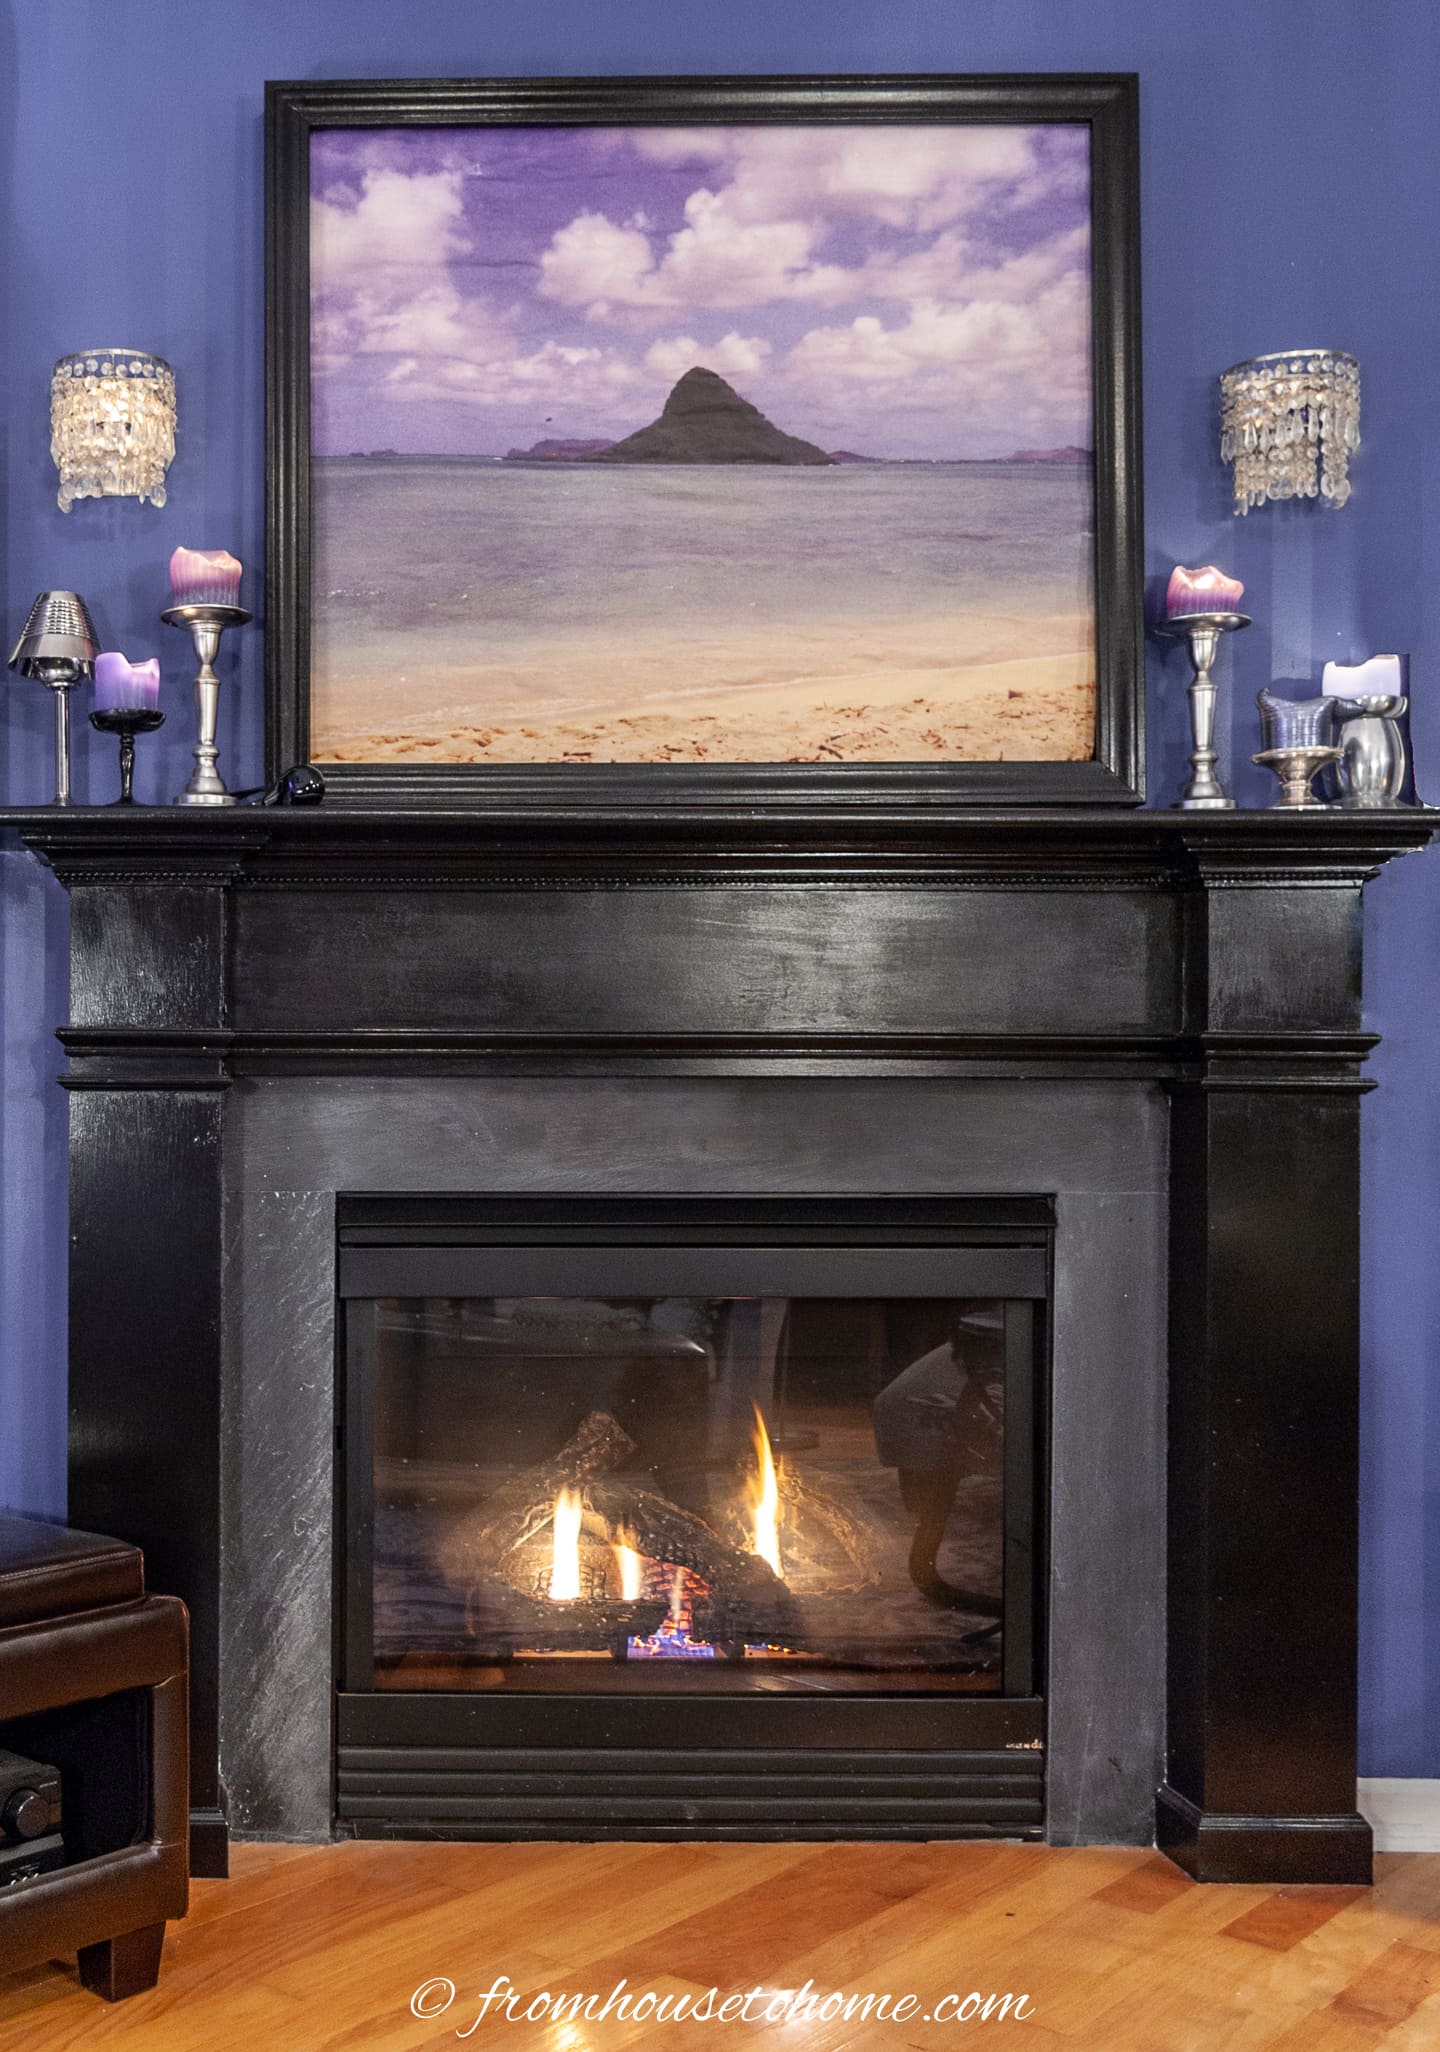
In this picture, the mantel was painted black and I covered the TV with a pull down picture surrounded by a frame that I made for the TV.
In any case, the fireplace wall is definitely a focal point now.
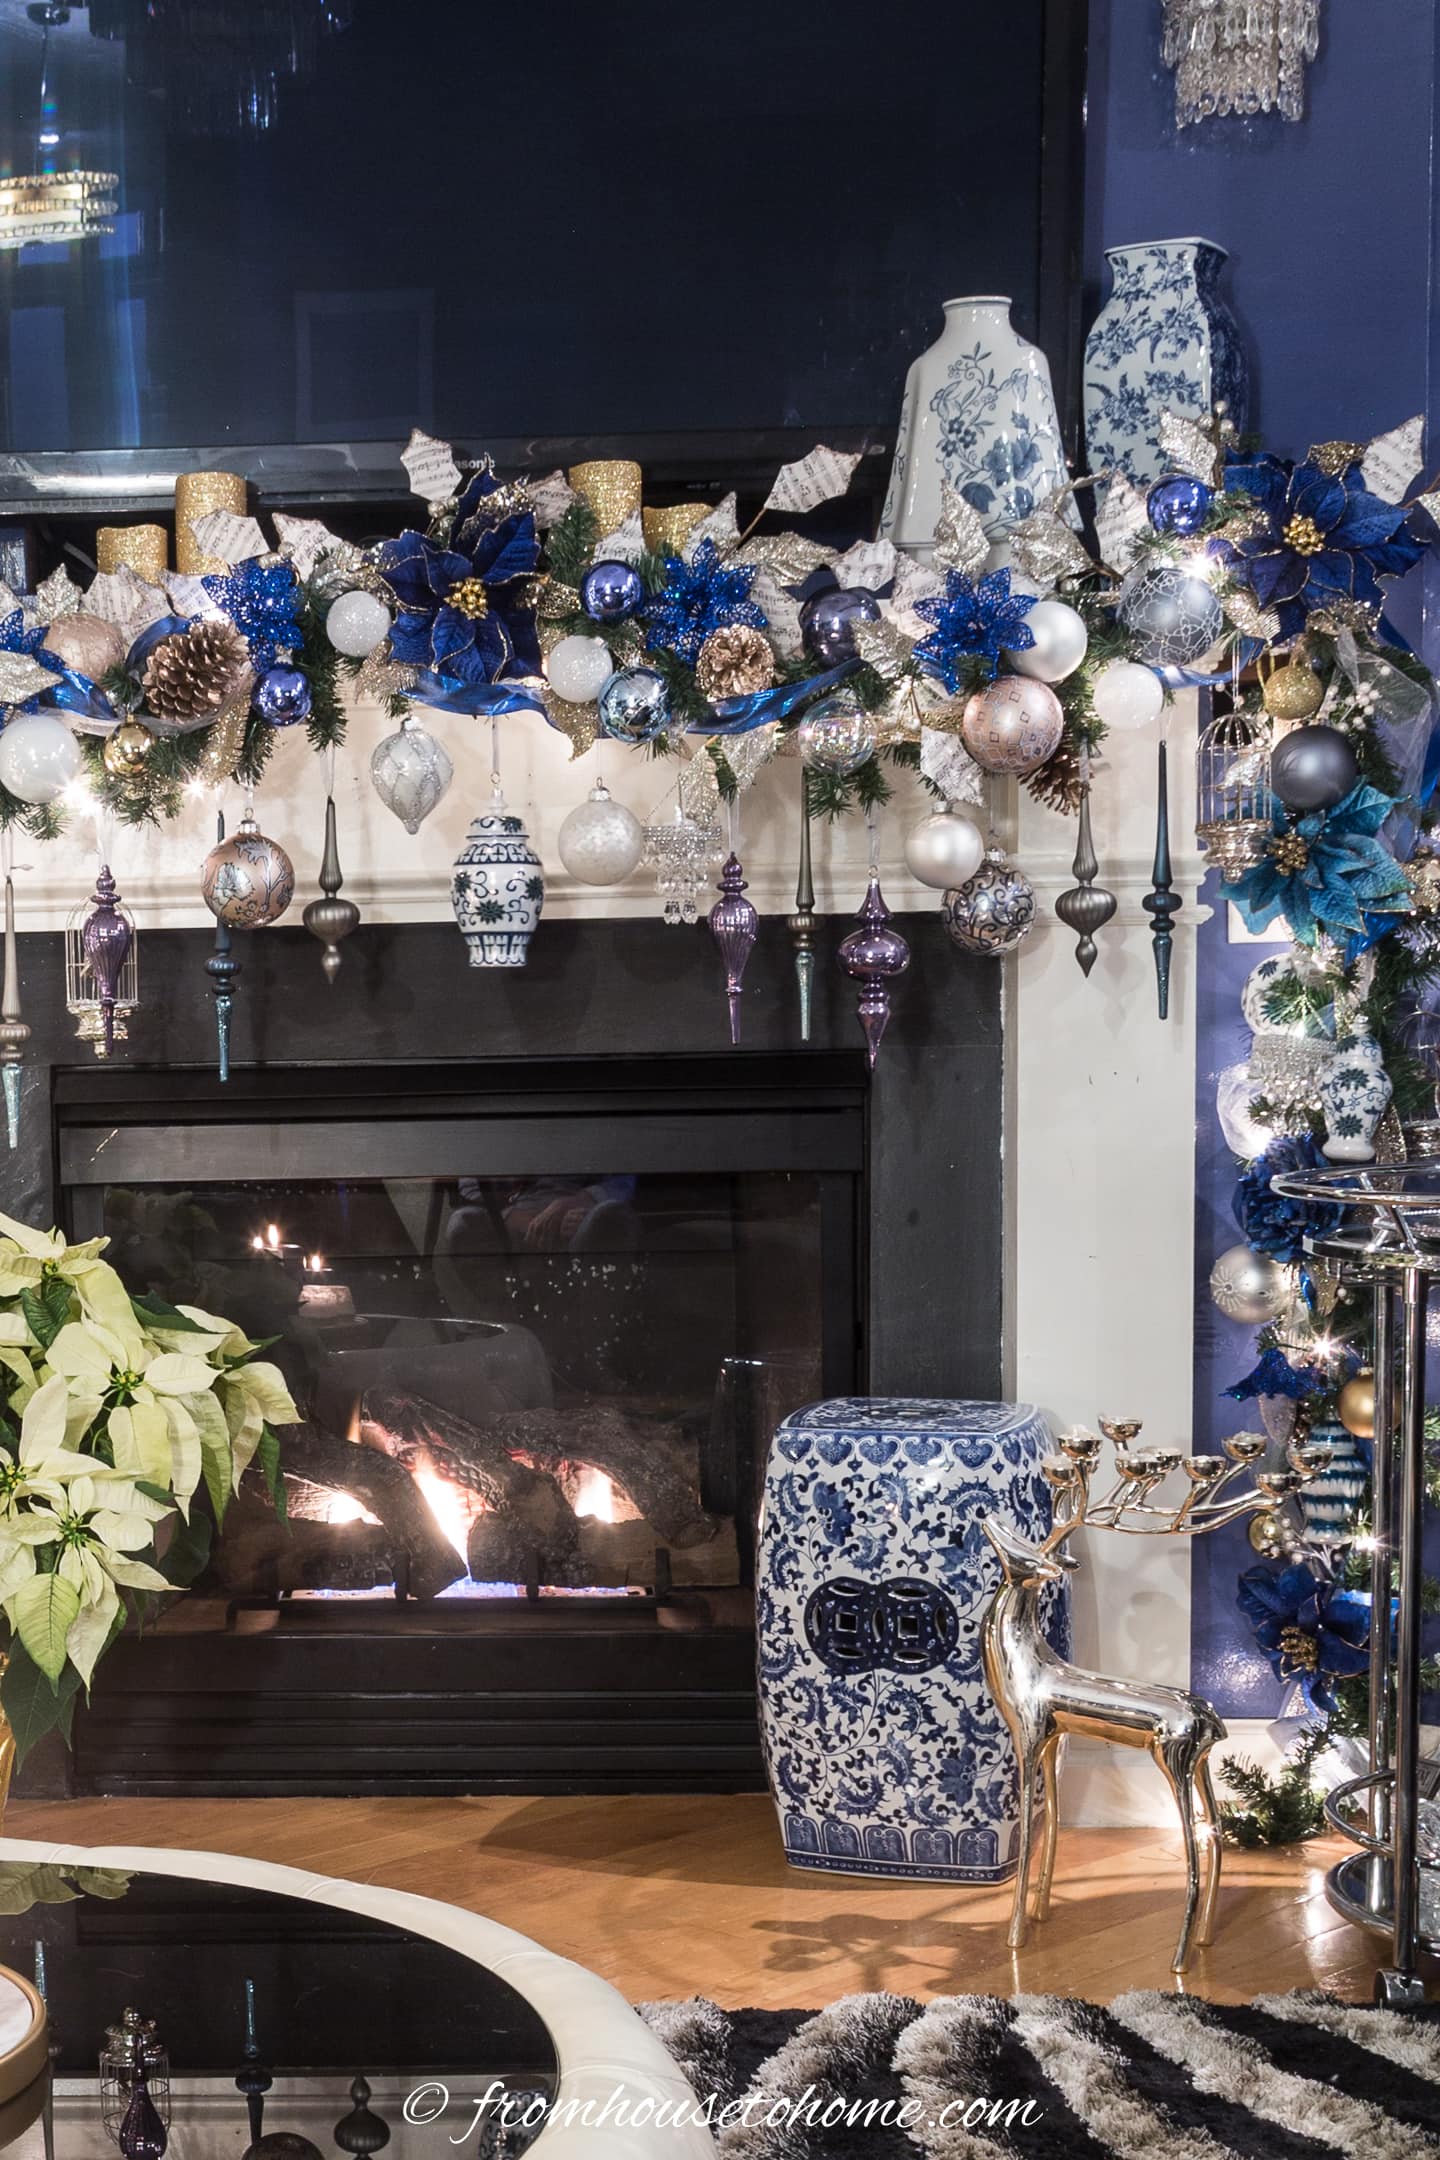
And it’s perfect for all kinds of decorations.
Even better? The process of building my own mantel was much easier than I thought. And it cost less than $100.
Other living room decor ideas you might like
- Living room focal point ideas
- Living room layout ideas with a TV and a fireplace
- How to decorate a coffee table
Comments or questions about how to build a fireplace mantel? Tell us in the section below.
This post was originally published on September 29, 2015 but was updated with new content on August 11, 2023.