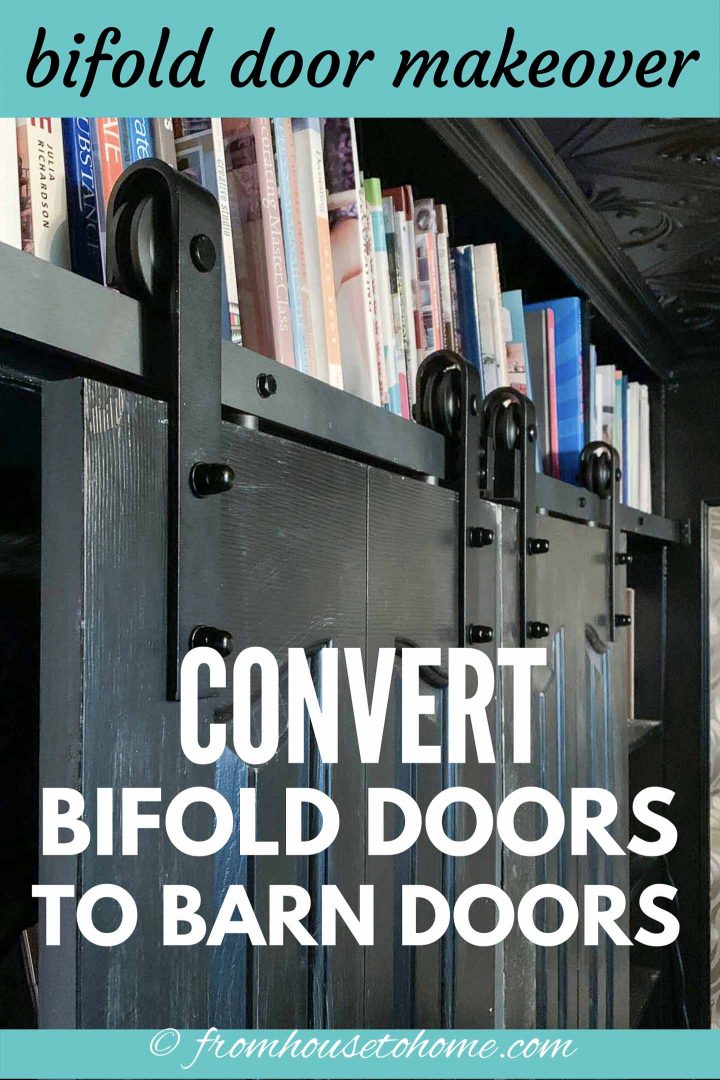
Bifold Door Makeover: How To Turn Bifold Doors To Barn Doors
In my house, all of the closets came with bifold doors. While they don’t take up as much space in the room as a regular door when they’re open, they do partially block the doorway. So I decided to do a door makeover and convert the bifold doors in my office to barn doors. It’s a great upcycling project and it’s a lot less expensive than installing brand new barn doors.
Since I live in a builder grade house, most of the closets in my home came equipped with really cheap bi-fold doors.
In most of my rooms, I have already replaced them with other options.
But in my office, I never got around to it. In face, they’ve been there so long, the doors were starting to fall off their hinges.
Probably because I’m always taking them on and off.
I store a couple of wheeled craft carts in this closet that are just wide enough to fit…when the doors aren’t blocking the edge of the doorway.
So whenever I want to get them out, I have to take the doors off.
Which gets quite annoying after a while (not to mention that these doors aren’t really built to stand up to that kind of use).
So I finally decided to fix them!
Since this room is really small, regular doors weren’t really an option. I don’t have room to open them all the way out.
So I decided that converting the bifold doors into barn doors would be the way to go.
That way I get full access to the closet space without taking up any extra space in the room.
And since I re-used the doors, I only needed to buy the barn door hardware which is much less expensive than buying brand new doors.
The best part is it only took a few hours to put them together (it’s really not hard at all!)
I love the end result! Now I’m kicking myself for waiting all these years to do this 🙂
Supplies
This post may contain affiliate links. We make a small commission if you buy the products from these links (at no extra cost to you). As an Amazon Associate, I earn from qualifying purchases. But we only recommend products we would use ourselves. For more information, click here to see our disclosures.
Materials
- barn door hardware kit* – I got the double-door hardware kit. But there’s also a single-door option if that’s what you need.
- wood board the length of your track – this is only required if your barn door is being installed over a doorway with moldings or if the studs in your wall don’t line up with the holes in the track. Get a board that is at least as thick as your moldings are so that the door can slide by them without getting stuck. You’ll also need some long screws to attach the board to the wall.
- extra 3/8″ washers (optional) – these are only required if your door is less than 1 1/4″ thick.
- barn door floor guide* (optional) – this helps to keep the bottom of the door in line. I used this version rather than the one that came with the door because I didn’t want to screw the other one into my hardwood floors and it required cutting a groove in the bottom of the door (too much work!) However, you can use the one provided with the kit if you prefer.
Tools
- measuring tape
- jig saw with a metal cutting blade
- level
- 7/64″ drill bit
- 11/64″ drill bit
- cordless screw driver – If you have two, it’s a little easier since you don’t have to keep switching between screwdriver bits and drill bits
- pencil
- 13/32″ drill bit – you can go a little bigger than this if you don’t have a drill bit this size. They can be a little hard to find.
- #13 socket wrench
Note: The drill bit sizes and measurements below are based on the barn door hardware kit that I used. If you use a different brand, double-check the directions that come with the door to see what sizes and measurements you should be using.
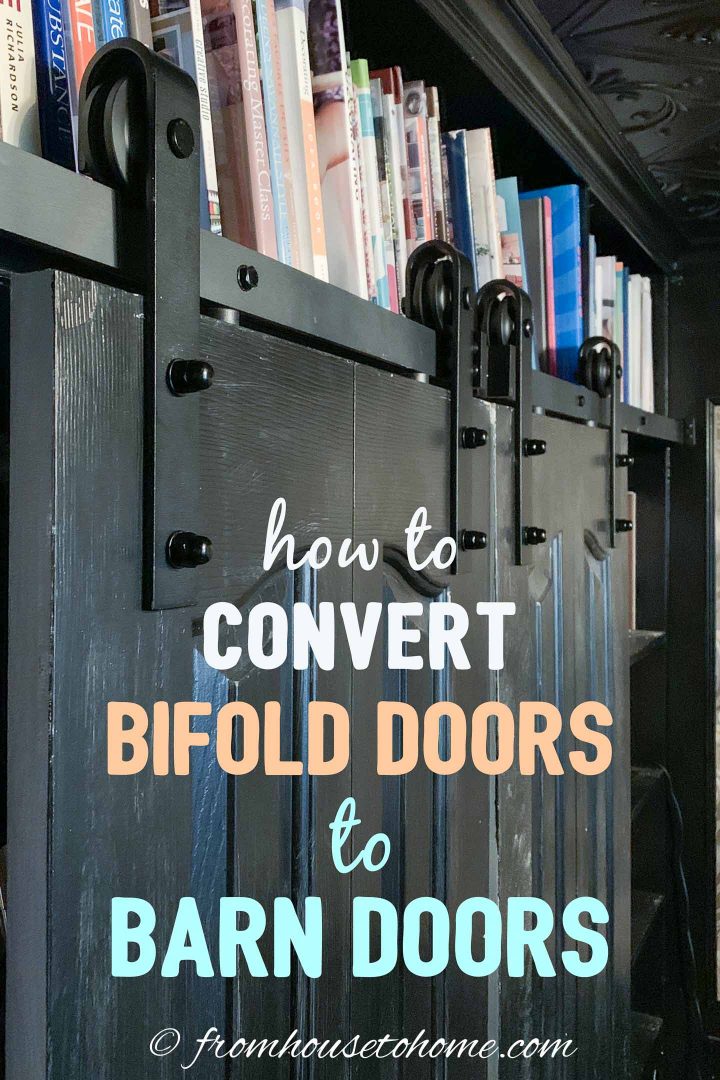
How To Convert Bifold Doors To Barn Doors
1 | Measure and calculate
Before you start, make sure you have enough space beside your doorway for the door to slide all the way over.
Since my doors are 2 feet wide, I needed 2 feet on either side of the door in order to be able to open them.
Figure Out How High To Install The Track
Then figure out how high the bottom of the track will need to be by adding 5/8″ to the height of your door(s).
Calculate The Length Of The Track
The track length should be at least twice the width of your door(s).
In my case, I wanted the track to reach all the way across the bookshelves, which is 8′ 5″ long (or 101″) so that is my track length.
2 | Determine what track pieces you need to use
My double-door kit came with 13 feet of track. Which means you can install barn doors to cover up to a 6½ foot opening.
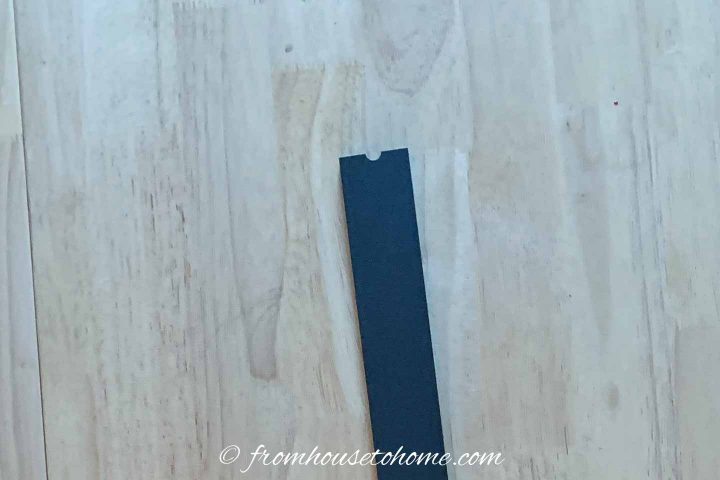
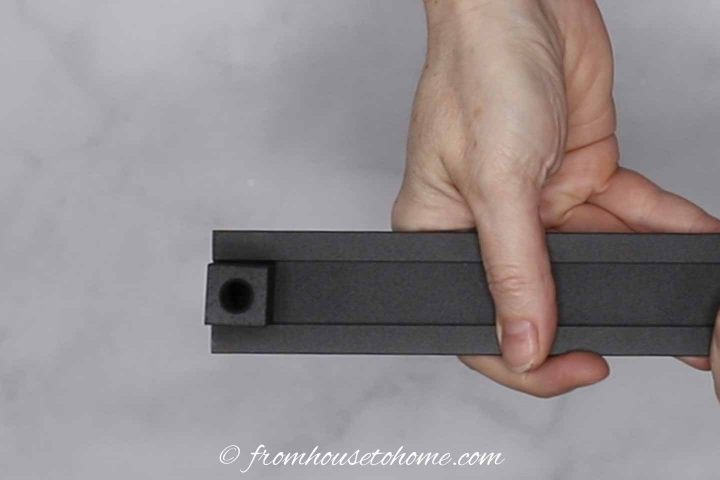
There are 3 middle pieces that are 32″ long and have notches on both ends for screws to fit through.
And there are 2 end pieces which have a notch on one end and a straight side on the other. These are about 30″ long.
Since the straight sides should be on the outside ends, you’ll need to use both end pieces.
Then add as many middle pieces as you need to get to the correct length.
3 | Cut the track (if necessary)
If the length of track you need doesn’t work out evenly with those measurements, you’ll need to cut the pieces to fit.
The first and last track piece will need to be at least 17″ long. This is because the screw hole is at the 16″ mark. So you can’t cut it off and still be able to use the track (unless you want to drill a new hole).
If you are cutting off the original end pieces, make sure you’re cutting off the ends that are straight (not the end of the notch). Otherwise the screws won’t fit properly when you go to put the track up.
This is how I calculated how much to cut off:
- Start with the total length measurement from above. Mine was 101″.
- Subtract 34″ (that’s 2 x 17″ – the minimum length that the end tracks can be). For me, that came out to 67″.
- Figure out how many 32-inch middle track sections will fit in that measurement. For my doors, I needed 2 middle sections (2 x 32″ = 64″ which is slightly less than the 67″ I needed).
- Then subtract the length of the middle track sections that you just calculated from your total length. In my case, that was 101″ – 64″ = 37″.
- Finally divide that number in half to come up with the length of the end pieces. For me, that was 37″ divided by 2 = 18 1/2″ each.
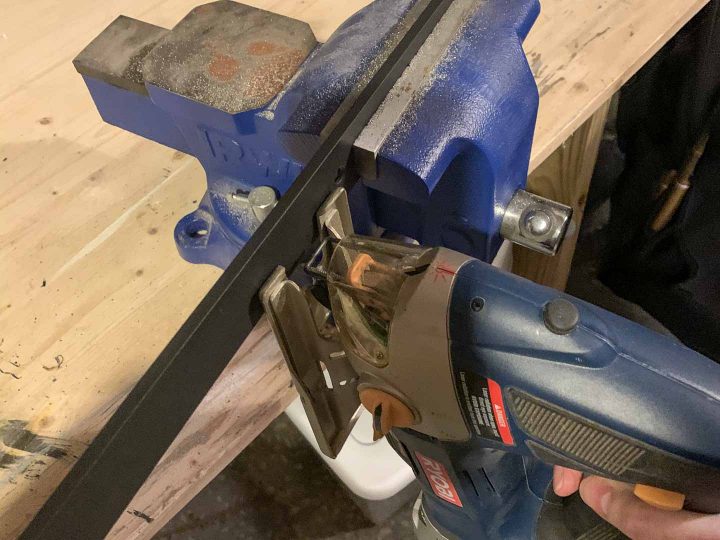
I used a jig saw with a thin metal blade to cut the track. But you could also use an angle grinder or a hack saw if that’s what you have.
4 | Prepare the doors
Assuming you are re-using old doors like I did, you’ll want to remove any of the old hardware that is sticking up or down from the doors.
For bi-fold doors, leave the hinges in place as they help to keep the doors in position. You could add some construction glue between the doors to keep them from folding if you want to (I didn’t bother…the track keeps them pretty straight as they are).
5 | Prep the wall
For installation into drywall, you’ll first need to figure out where your studs are.
If the studs in your walls do not line up with the holes in the track (or if you are installing the track over a doorway with moldings), put up a wood board where you want the track to go. Then you can install the track screws into the board.
In either case, measure up the distance that you calculated above for the height of the track.
Draw a line across the wall at that location.
Use a level to make sure the line is straight and even.
Make sure that this line is perfectly level. Otherwise, the doors won’t stay in place and may not line up properly when they’re closed.
Things To Keep In Mind
There are spacers that go on the back of the track to hold it away from the wall (so the doors can move freely).
These fit into a groove that runs along the back of the track, so make sure to slide them on properly before installing the track.
Also, there are bumpers that slide on to the track to prevent the doors from rolling too far in one direction or the other. If you are installing a single door and the ends of the track are not bumping into a wall and the last screw is more than a couple of inches from the end, you can install these after the track is up.
However, if you’re doing double doors like I did. Or your track ends at a wall (also like mine did). Or there isn’t much room between the end of the track and the last screw (also like mine).
Then you’ll need to put the bumpers on the track before you screw it into place.
6 | Install the track
Use an 11/64″ drill bit to pre-drill the holes where the screws will go.
I like to use the track as a guide when I’m doing this. That way I know the holes are at the right height and are spaced correctly.
Now you’re ready to put up the track.
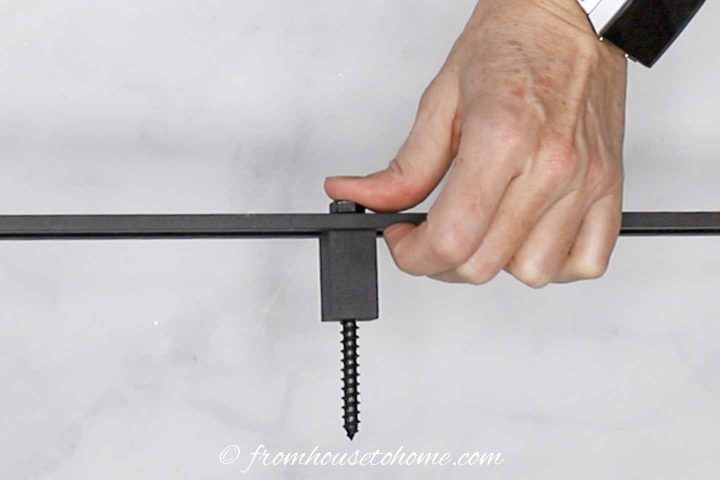
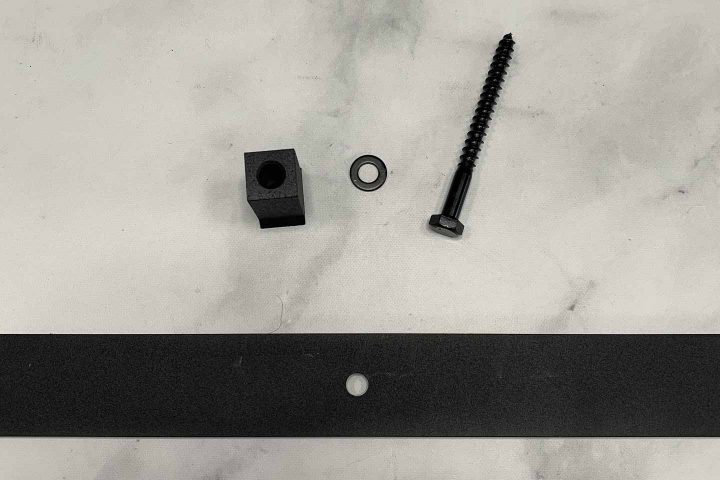
Put a washer on to one of the long wood screws.
Slide a spacer into the groove on the back of the track.
Line up the hole in the spacer with the hole in the middle of the track.
Slide the bumper on to the track (if necessary) with the rubber pads facing away from the end.
Use a #13 socket wrench to put the screw into the pre-drilled hole you made earlier.
Don’t screw it all the way in yet…you may need to make slight adjustments as you go.
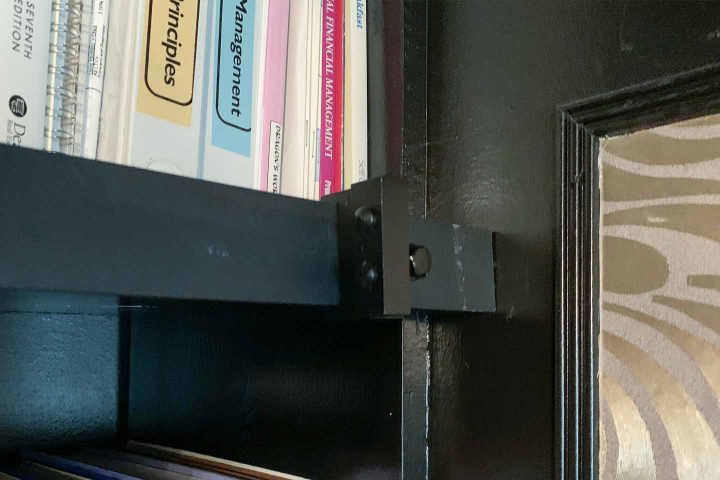
Now move over to the notched end of the track.
Slide another spacer into the groove at the back of the track so that the edge of the hole lines up with the notch. Half of it should be sticking out past the end of the track.
Then slide the next piece of track onto the other half of the spacer so that the edges of the two tracks meet.
Put in the next screw and washer to hold the two tracks in place.
Make sure that the track is following your straight line. Keeping it level is very important to having barn doors that close properly.
Continue screwing the track in all the way across your doorway.
If you are doing a double-door installation, remember to add the bumpers as you go. There should be two in the middle, where the doors will meet. The rubber pads for these should be facing out towards the end of the track (in opposite directions).
The last bumper will get added to the last piece of track with the rubber pads facing away from the end.
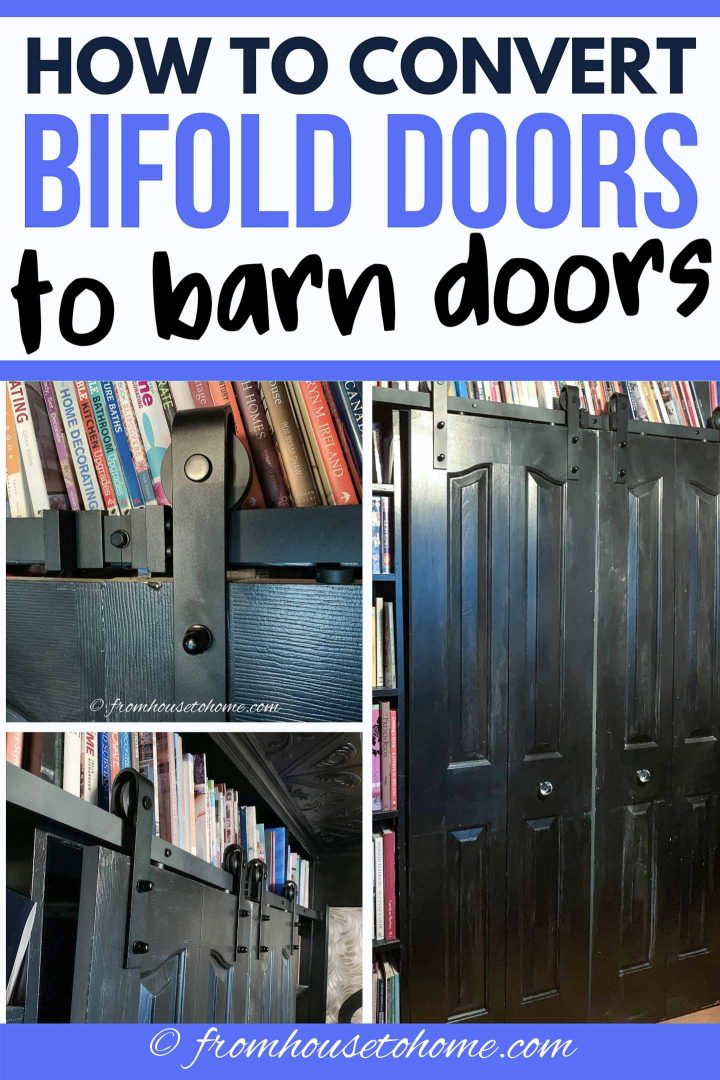
7 | Add The Pulleys
Now that the track is up, we need to add the pulleys to the top of the door(s).
These should be positioned a few inches from either end of the door.

Measure down 6 3/8″ from the top of the door. Line up the bottom of the pulley with this measurement.
Make sure that it is straight up and down.
Then mark where the two holes in the pulley are on the door.
Repeat the same process for the pulley on the other side of the door.
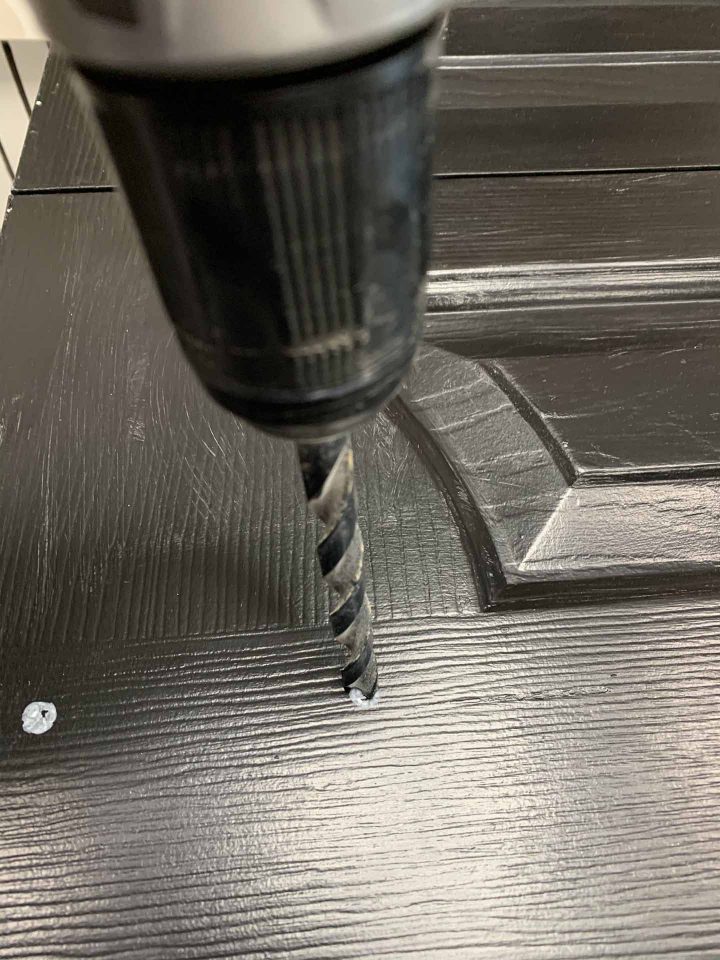
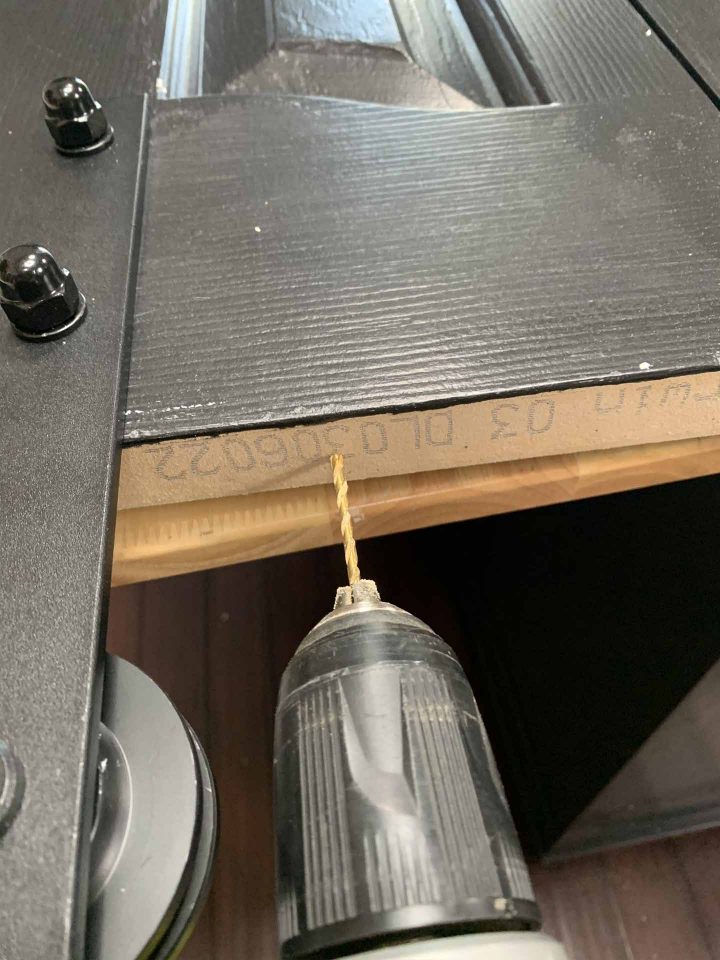
Use a 13/32″ drill bit to make the holes where you’ve drawn them.

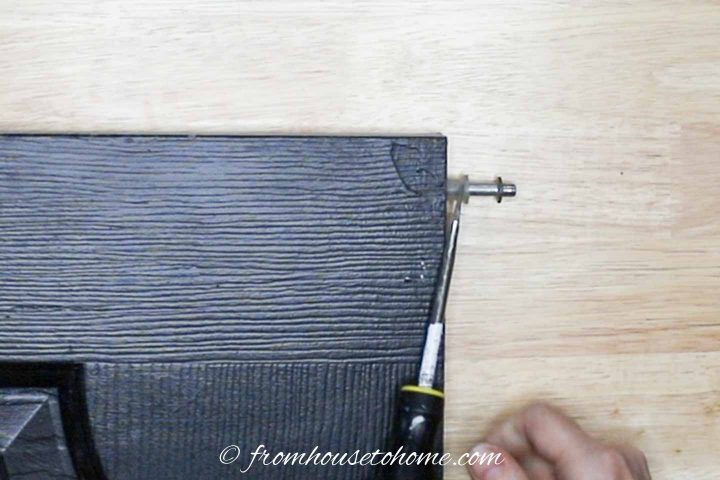
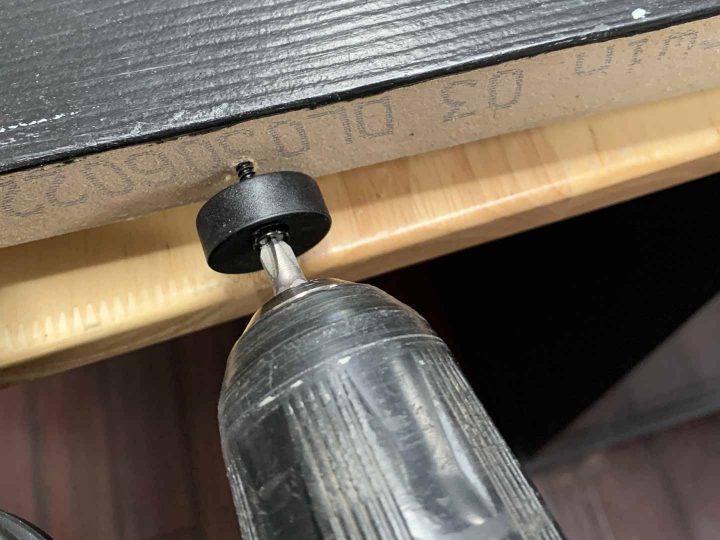
Install the pulley bolts by placing a washer on the bolt, pushing it from the back of the door to the front, putting on another washer and then screwing on the nut.
Make sure that the wheels are facing the back of the door.
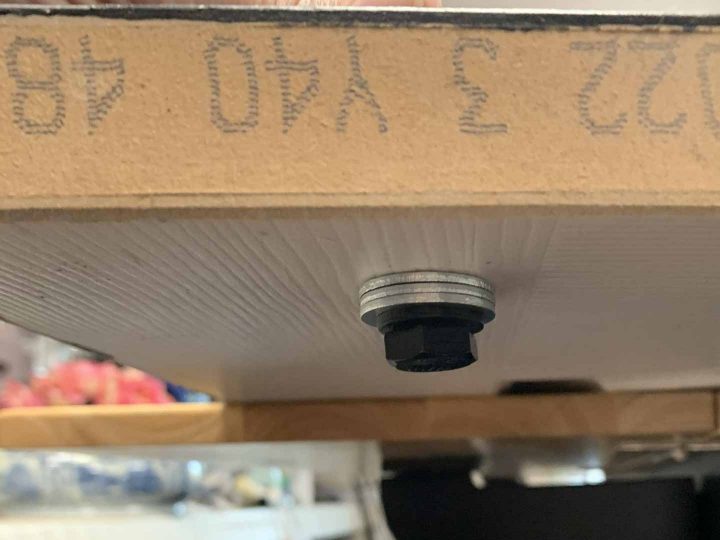
If your door isn’t 1 1/4″ wide (mine wasn’t) and the bolt sticks out too far, you can either buy shorter bolts to fit.
Or add extra 3/8″ washers on to the bolt on the back side of the door until the nut can be tightened properly. For my door, it took an additional 3 washers for each bolt.
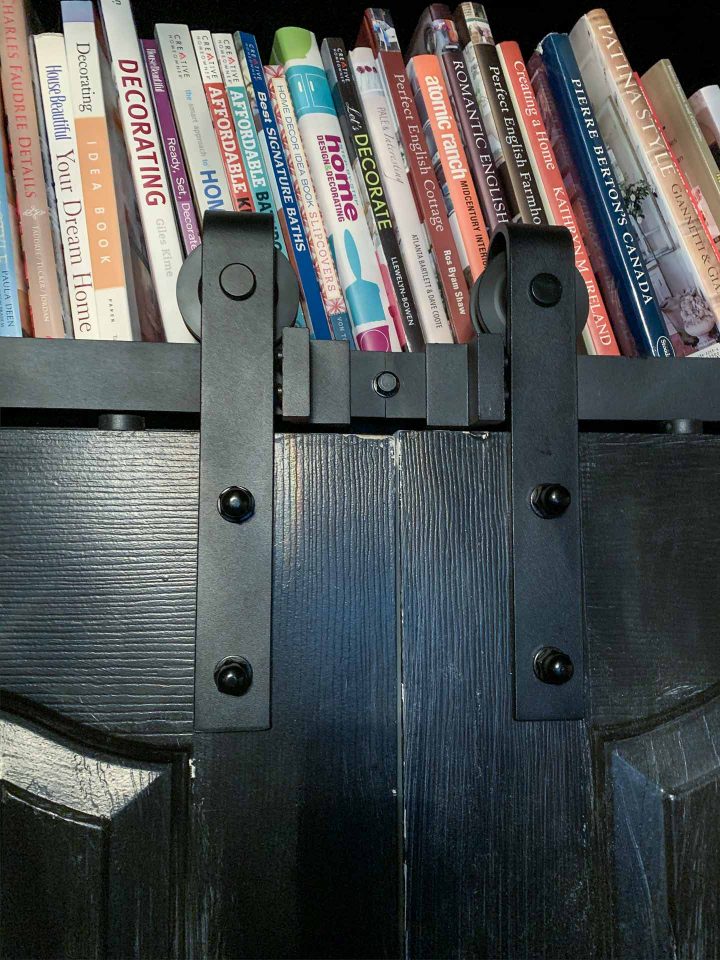
8 | Install The Rail Guards
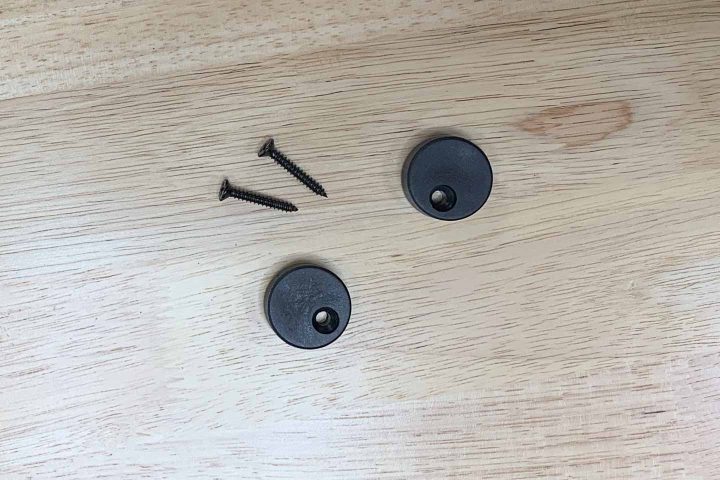
The rail guards go at the top of the door and help to keep it from falling off the tracks.
There is no set position for where to put them. I placed them near the pulley wheels.
Use a 7/64″ drill bit to pre-drill the holes.
Then attach the rail guards using the provided screws.
9 | Put The Barn Doors Up
Next we’re ready to put the doors up.
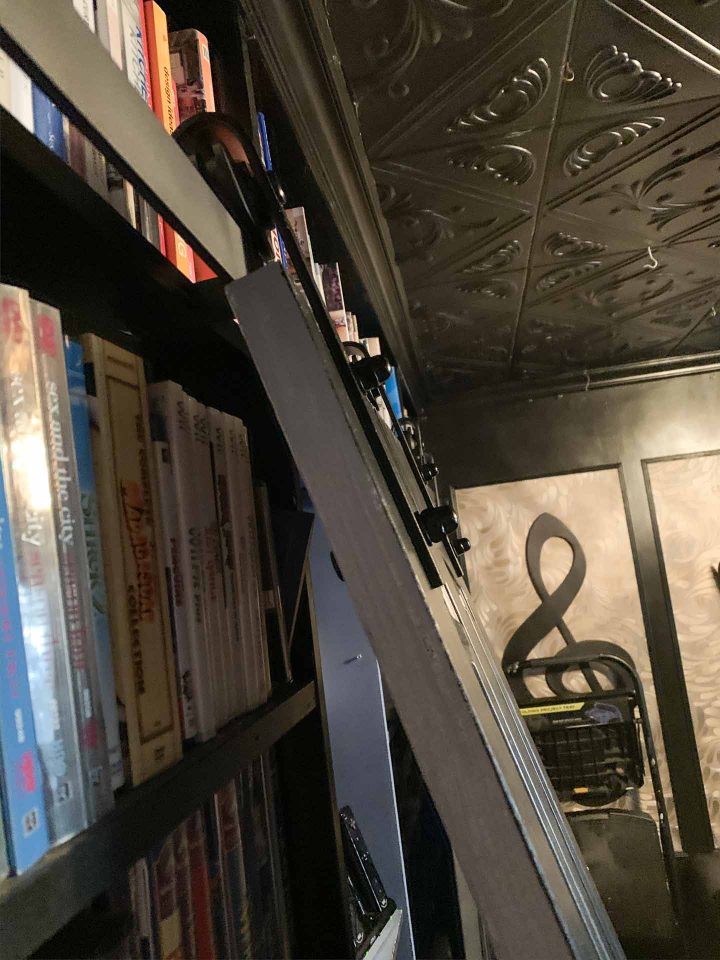
Lift the door up on an angle so that the pulley wheel is over the track.
Make sure that the groove in the wheel is centered over the track.
Then let the door go down straight so that the rail guard slides under the track.
10 | Position The Bumpers
Now that the doors are up, it’s time to position the bumpers on the rail so that the doors don’t slide too far.
To do this, move the door(s) to their closed position.
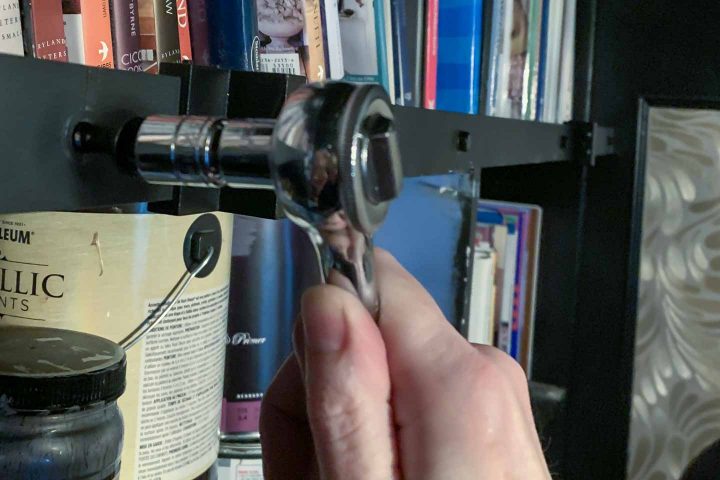
Then position the bumper on the track so that it is touching the pulley wheel post.
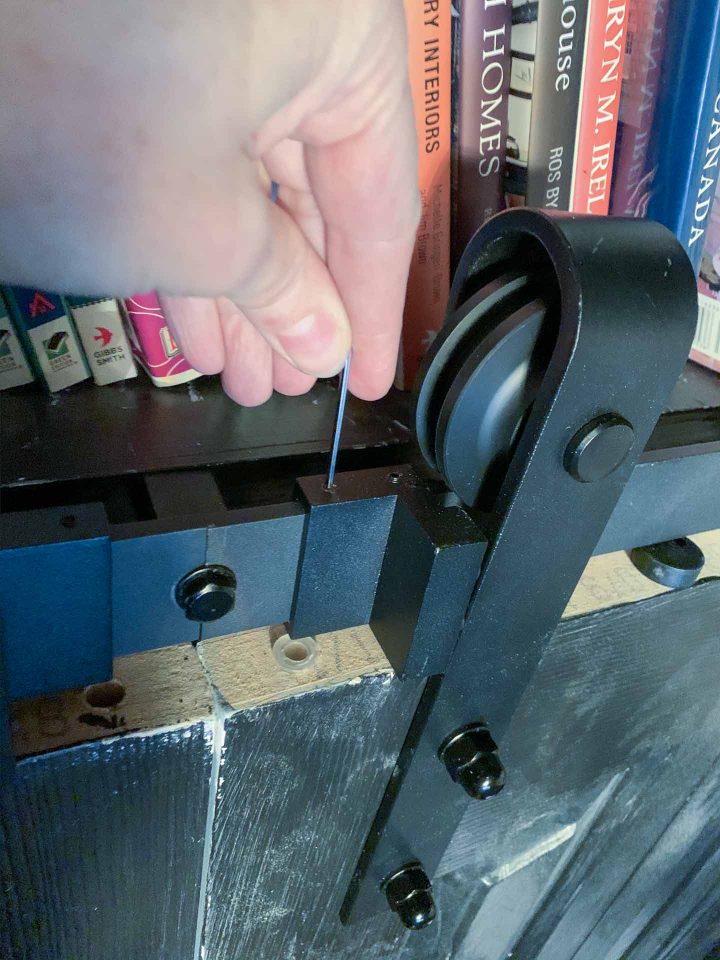
Use the provided allen key to remove one of the little black screws from the top of the bumper.
Replace it with one of the little silver screws that came with the kit.
This will lock the bumper into that location.
Now move the door to the furthest point out that you would like it to go.
Repeat the process with the other bumper so that the door stops at the right place when it’s open.
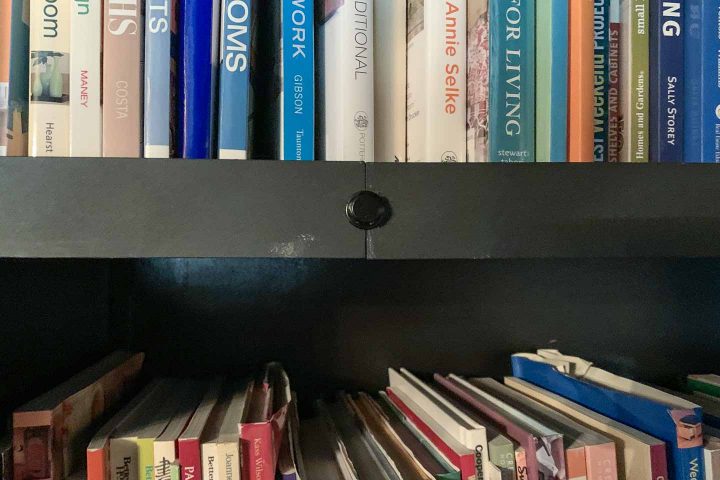
11 | Install The Door Guide
The last step is to install the door guide at the bottom of the doors.
This should go on the bottom outside corner of both doors so that they’re held in line when they’re opening but don’t block the doorway.
Adjust the rollers on the guide so that it fits snugly around the doors.
Then screw it into the wall at the appropriate height for your doors. In my case, I was able to rest the bottom on the floor, but you could raise it off the floor if the bottom of your doors are higher.
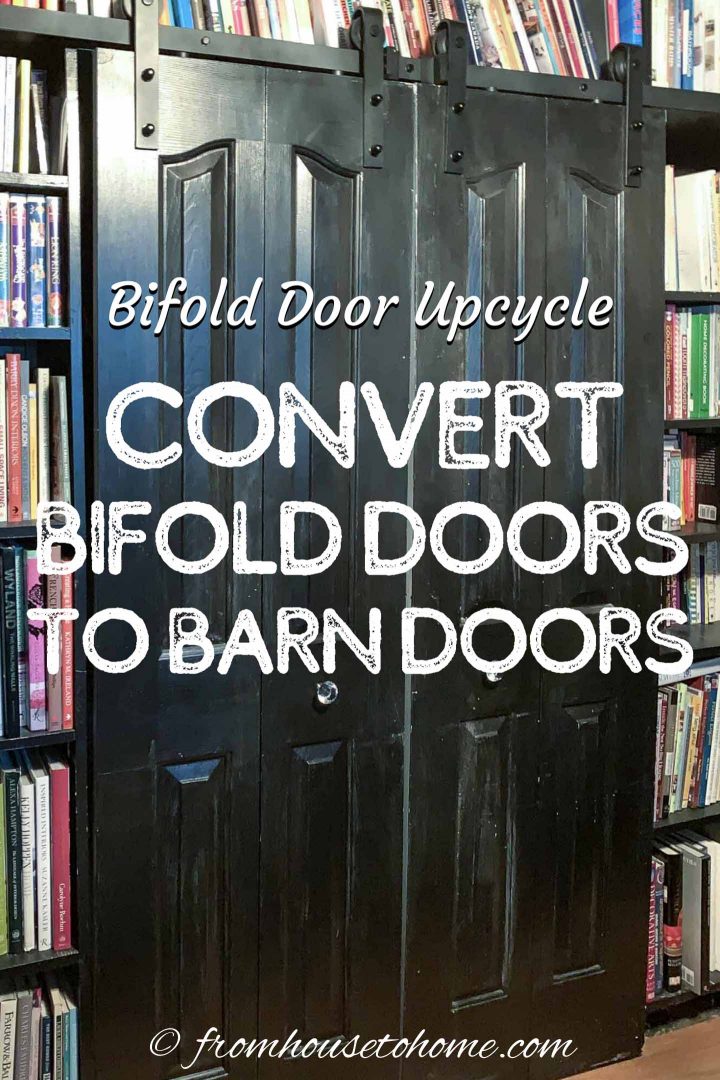
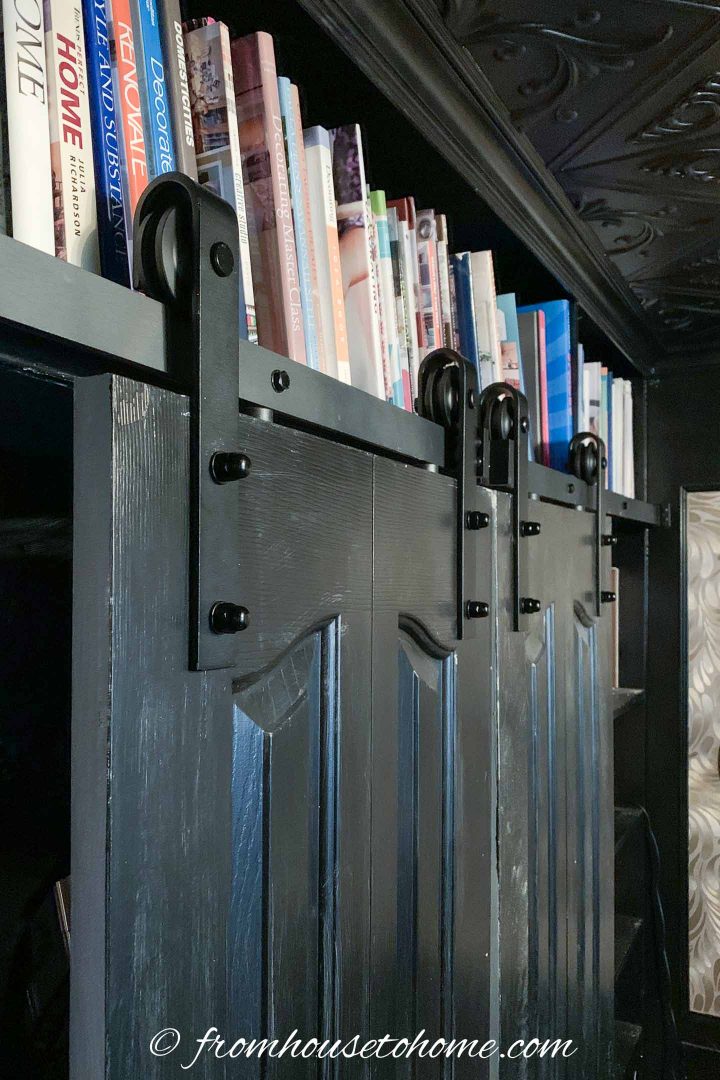
The Finished Barn Doors
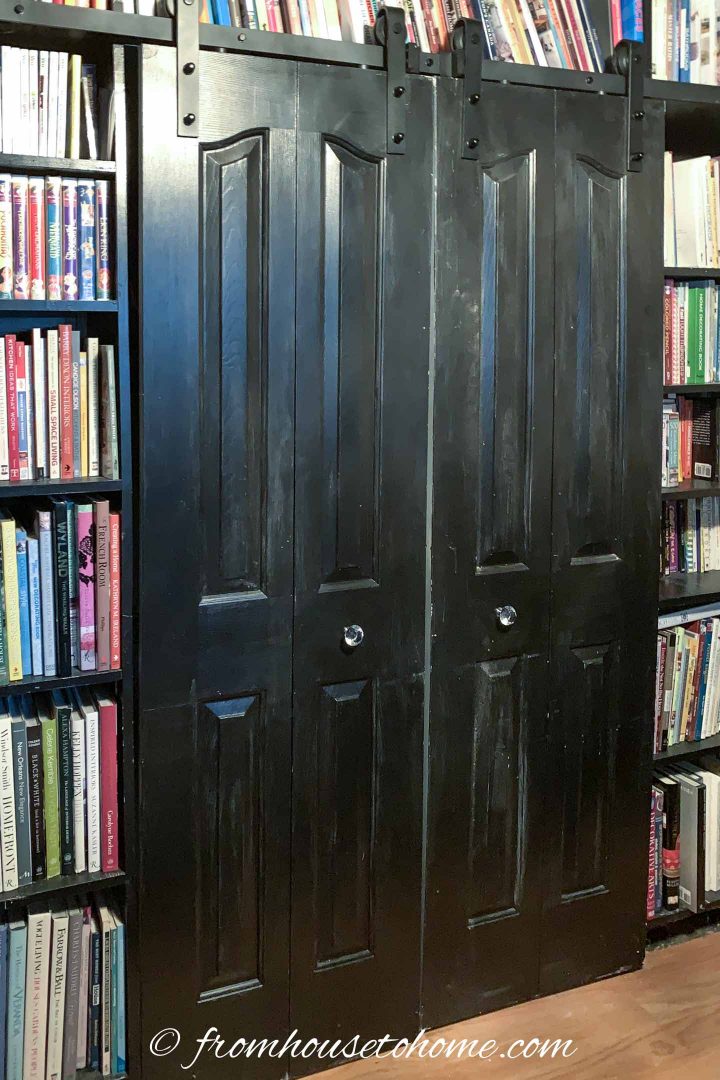
And that’s all there is to it!
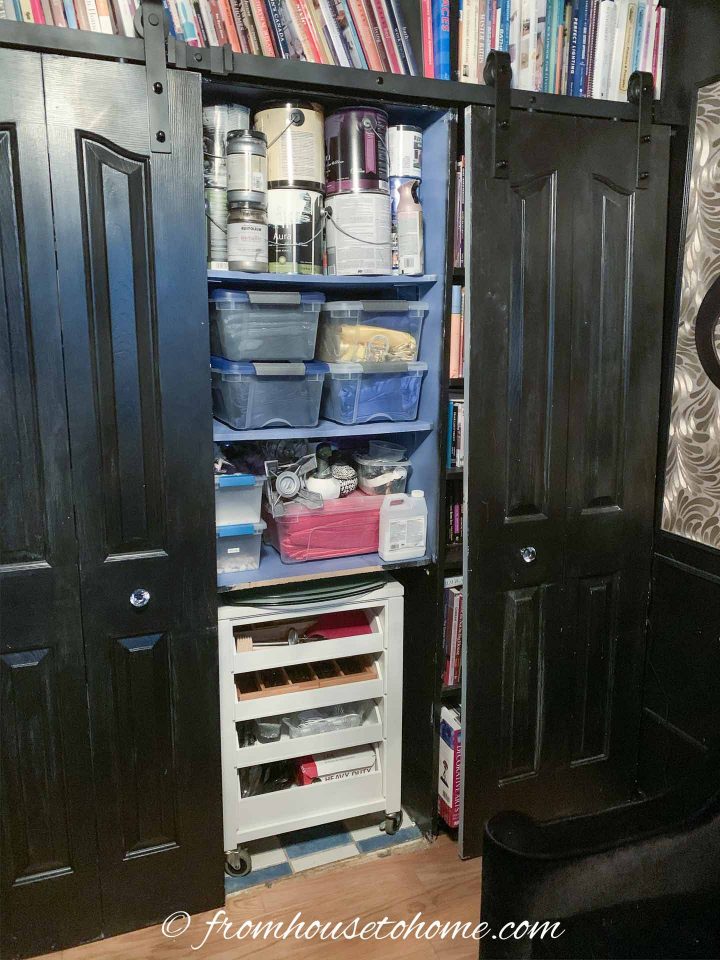
Now it opens wide enough to let me get my cart out easily.
And having the door open doesn’t take up any space in the room.
Which is great news, since I’ll be using it as part of my buffet table set up for my Super Bowl party this weekend!
Other DIY Home Decor Ideas You Might Like
- Tiling Tips and Tricks
- 10 Expensive Looking Makeovers For Your Old Furniture
- How To Apply Gold Leaf To Furniture
Have comments or questions on how to convert bifold doors to barn doors? Tell us in the section below.
Pin It So You Don't Forget It!

This post was originally published on January 31, 2020 but was updated with new content on May 22, 2023.
I knew someone out there thought of this! I want to try it.
Hi Michelle…It was pretty easy to do. The trickiest part is just making sure the track is straight so the doors close together in the middle. But I love the way it turned out!
I have an office entry that I’d like to add doors to. I like this idea. Thanks for sharing!