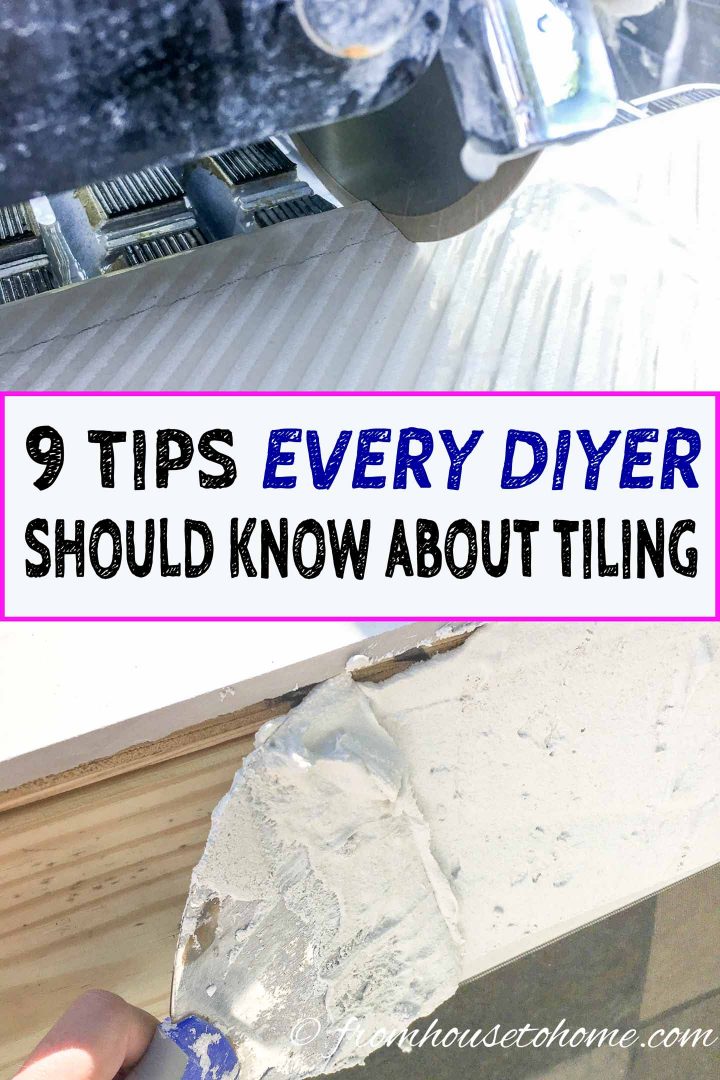
DIY Tiling Tips and Tricks That Make The Job Easier
I have to admit…I have a love-hate relationship with tiling.
I love the look of tile, but installing tile is one of those projects I really don’t like doing.
However, it costs so much to get someone else to do it that I always end up doing it myself anyway.
And after doing my share of tiling jobs (like the floors and walls in my master bath makeover #2, the floors and shower surround in my master bath makeover #1, and the floors in my guest bathroom just to name a few), I have learned a few DIY tiling tips and tricks that nobody told me.
And they make tiling sooo much easier.
1 | Pick The Right Size Of Tiles
There are all kinds of different sizes of tiles and I used to think you just chose the one you wanted based on the pattern you were going for.
Now that I’ve done a few rooms, I have decided that if you want to make the installation easier, different sizes work better in different locations.
Use Large Tiles For Floors
Large tiles (12″ x 12″ or bigger) work best for floors or other horizontal surfaces.
They’re generally thicker so they don’t crack very easily (which is very handy if your floor isn’t quite level).
And because they are so large, there are fewer of them to try to get level. (Getting tiles level is a bit of a pain!)
Use Smaller Tiles For Walls
Smaller tiles (eg. 4″ x 4″) work better for walls or vertical surfaces.
That’s because small tiles don’t weigh too much, so they don’t slide down the wall while you’re trying to install them. Which makes it much easier to keep your lines straight.
The best wall tiles of all are mosaics.
They give you the best of both worlds. Mosaic tiles usually come in a 12″ x 12″ square that is held together by a mesh backing. So you get the benefit of covering a larger area of the wall at once, but the mosaic tiles don’t slide at all.
2 | Mix Thinset Based On The Application
Speaking of installing tiles on walls versus floors, I have found that how you mix the thinset makes a different in how easy it is to install your tiles.
If you look at the instructions on the thinset bag, they always give you a range for the amount of water to add. I always assumed this was to due to differences in temperature and humidity (which maybe it is).
But it also makes a difference in how easy it is to stick on the tiles.
For floors, I use the highest water measurement that is suggested. This makes the thinset easier to spread which makes the flooring tiles go down faster.
However, for walls, I use the lowest water measurement that is suggested. That makes the thinset thicker which helps to prevent the tiles from sliding down the wall.
3 | Clean Excess Thinset Off Immediately

I will say…thinset is very forgiving. I have mixed it all kinds of ways…sometimes with too much water, sometimes with too little, occasionally just right 🙂
In all cases, I have never had a problem with the tiles not sticking. Once it dries, the tiles are stuck!
And so is the thinset that ended up somewhere you didn’t intend it to be.
So the moral of this story is to clean off any excess thinset (including any that squished out between the tiles) while it is still wet. Because once it’s dry, it is VERY difficult to remove.
4 | Use A Mixer Attachment
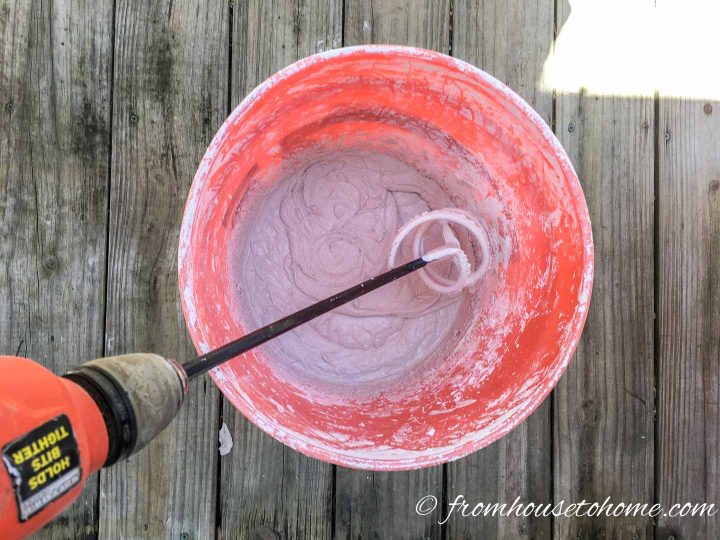
Speaking of mixing thinset (or grout for that matter), it is very hard to do manually.
The instructions usually say to stir it with the water for 5 minutes. And that stuff is thick!
So one of these mixer attachments* that attaches to your drill is a definite arm saver!
Just make sure the shaft is the right size for your drill. And you may need to use a corded drill instead of a cordless…most of the cordless ones don’t have enough juice to turn it.
5 | Divide The Thinset
One bag of thinset powder turns into a BIG bucket of thinset.
If you are working by yourself, chances are you will not be able to use up all of that thinset before it starts to harden. Adding water at this point doesn’t work (the thinset won’t stick).
So I always divide the bag into quarters before I start. Then I have smaller amounts to work with at a time. Using a bathroom scale to weigh each batch makes sure that they’re equal sizes.
Plus when I finish a batch, it gives me an excuse to take a break 🙂
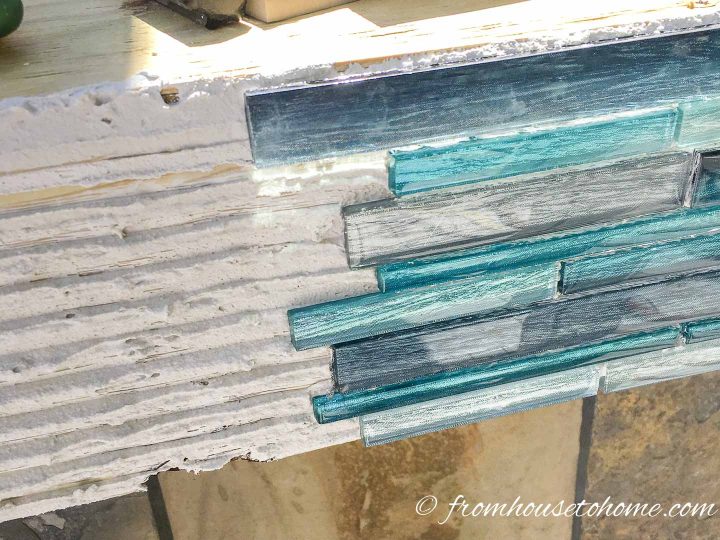
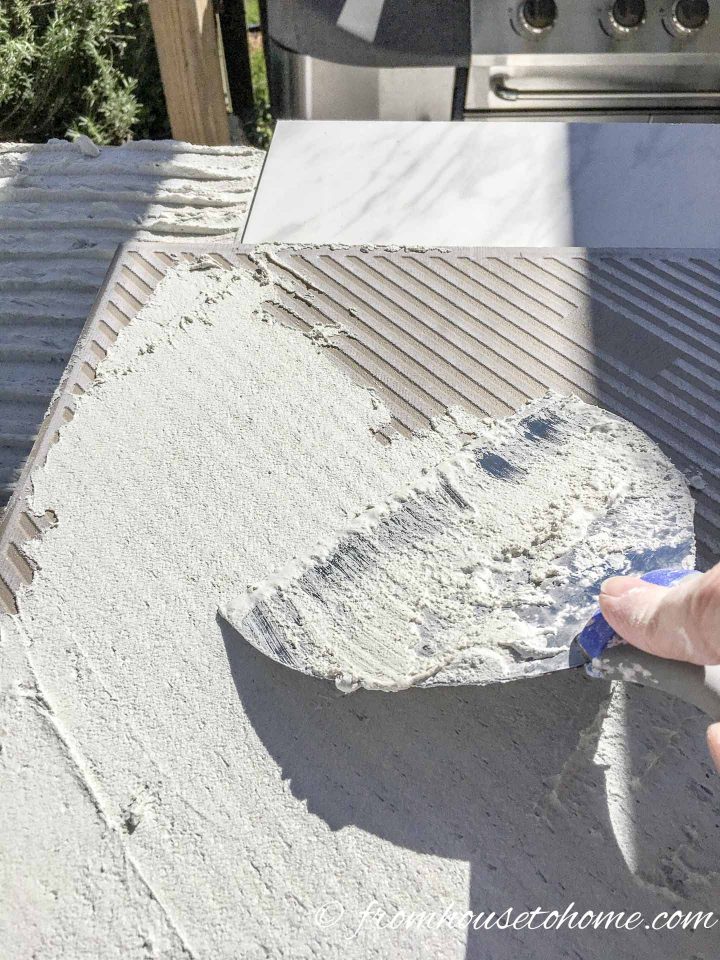
6 | Always butter the back
Most of the instructions I’ve read say “you may need to back butter large tiles”.
In my experience, back buttering always makes the tiles stick better. Regardless of the tile size.
In case you’re not sure what back buttering is, it just means to scrape a thin layer of thinset on the back of the tile before you install it.
Then the thinset on the back of the tile sticks to the thinset on the floor or wall making a better bond.
7 | Draw Special Cuts On The Tile
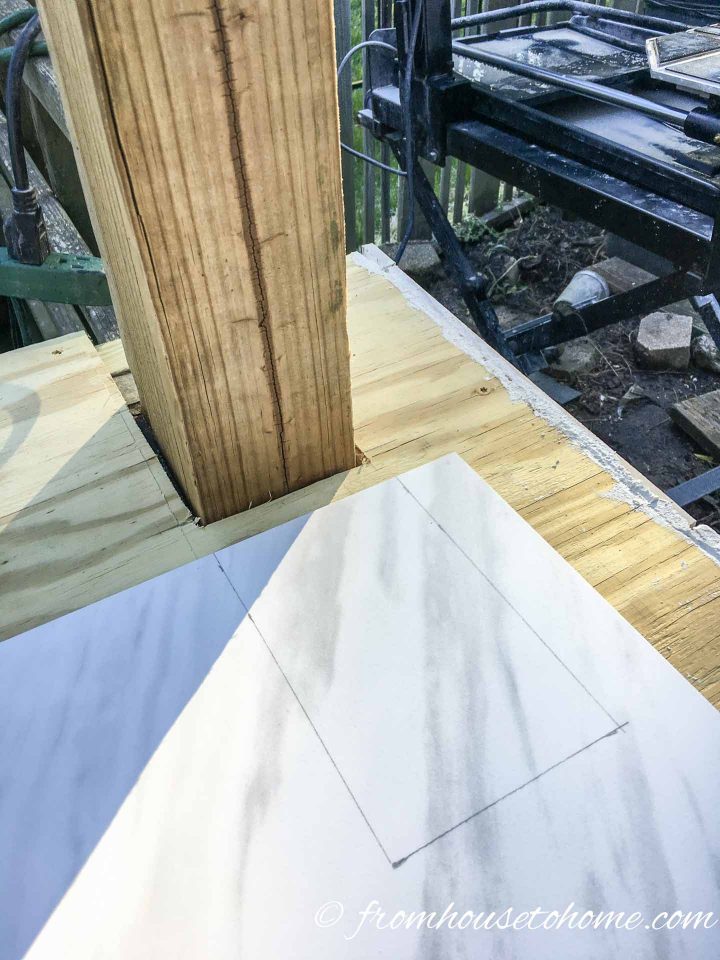
If you’re tiling an area where you need to cut around corners or outlets (or posts in my case), it’s helpful to draw the cuts on the tile.
That way you can make sure you are making the cuts in the right place. Which cuts down on the number of re-do’s (and wasted tiles).
8 | Make Corner Cuts Upside Down
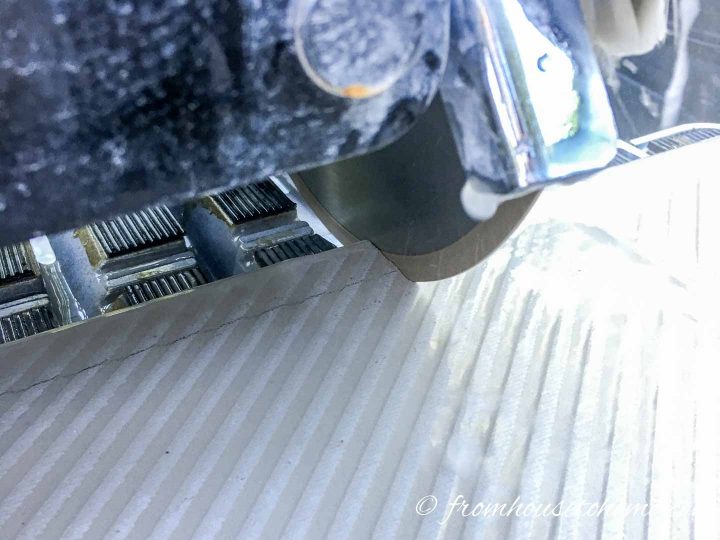
Speaking of tiling around corners, my next tiling tip is a trick for getting clean cuts…turn the tile upside down on the tile saw.
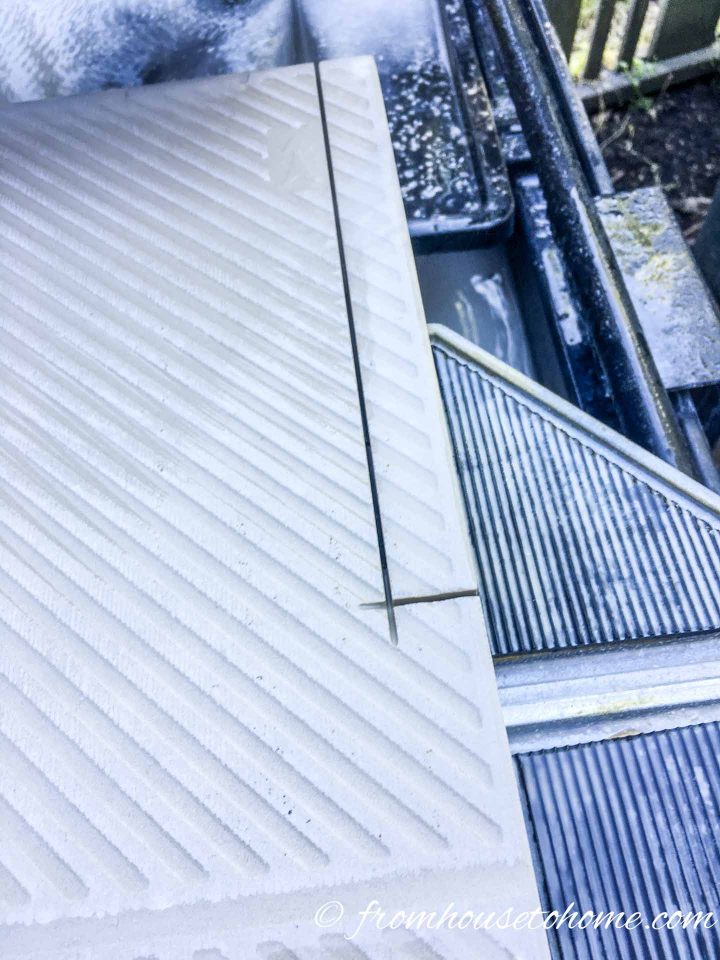
Because of the shape of the blade, you have to cut a little past the corner in order to cut all the way through the tile at the corner.
If you do this on the right side of the tile, you’ll see those extra grooves.

If you turn the tile upside down to cut it, you will get a cleaner cut on the right side.
9 | Don’t Wash Grout Off Too Soon
The last of my tiling tips has to do with grouting.
When you grout the tiles, one of the last steps is to wash off the excess grout. Which you do want to do before it totally dries (or it will be hard to remove).
However, you don’t want to do this when it is too wet either.
Otherwise, the grout comes out from between the tiles and ends up on your tiles…so you end up making the problem worse rather than better.
I find that waiting for about 30 minutes after you have applied the grout to wipe it off works the best.
Well, that’s it for my tiling tips and tricks…and I’m very happy that job is finished!
The project that inspired this post
This project was part of a One Room Challenge makeover of my deck and outdoor entertaining area.
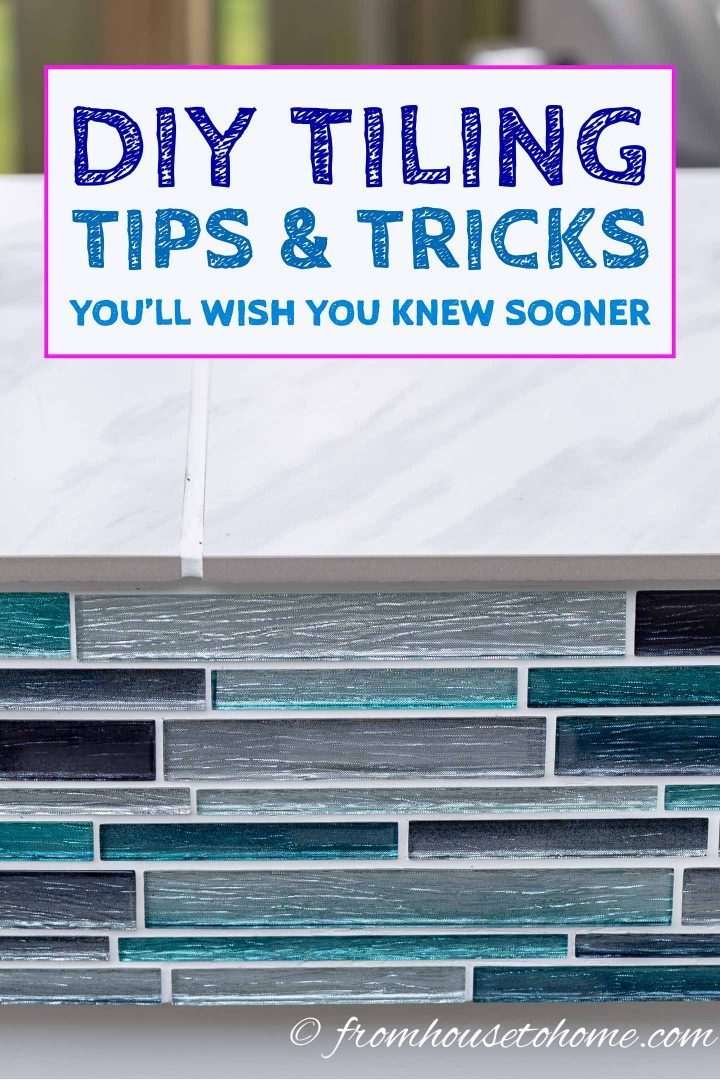
And specifically the countertop for my outdoor tiki bar.
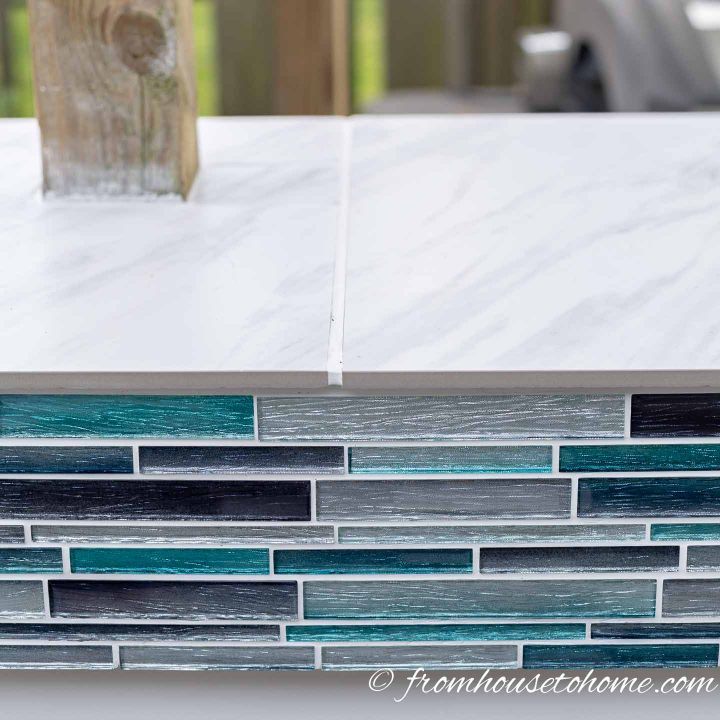
I went with a marble-look porcelain tile for the countertop, and a turquoise and silver mosaic tile as an accent around the top.
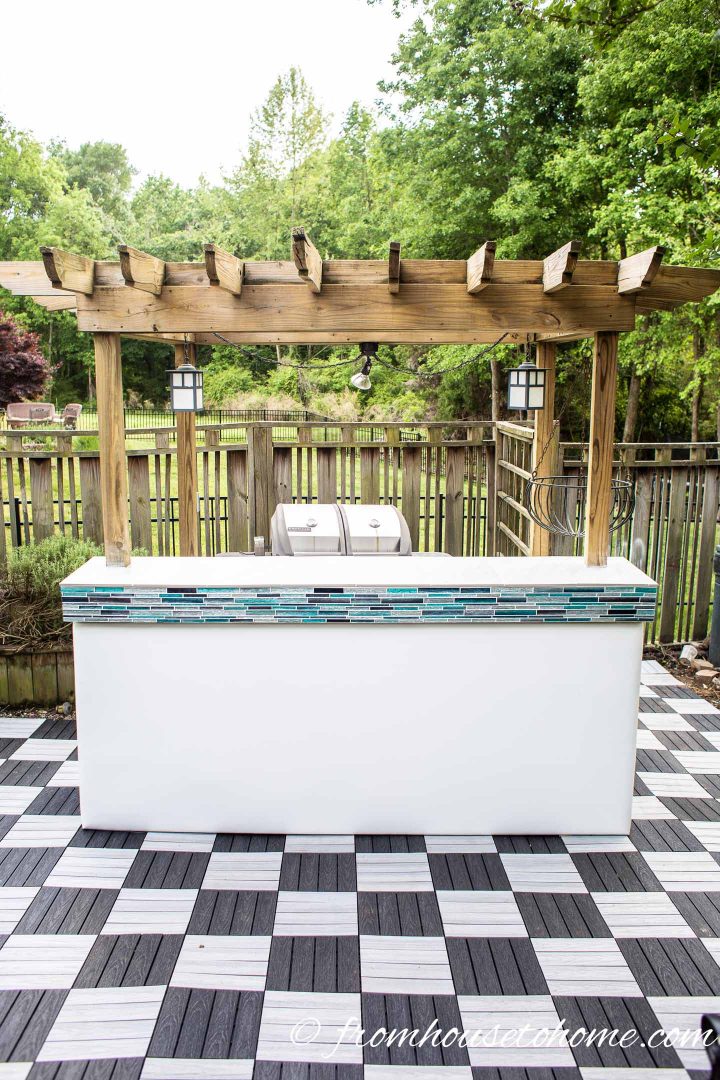
It looks so much better than it did before!

This is the “before” picture in case you forgot what it looked like.
You might have noticed that I also changed up the deck tiles.
Fortunately, these ones are a lot easier to install since they just click together.
In case you’re interested, you can find out more about installing deck tiles here.
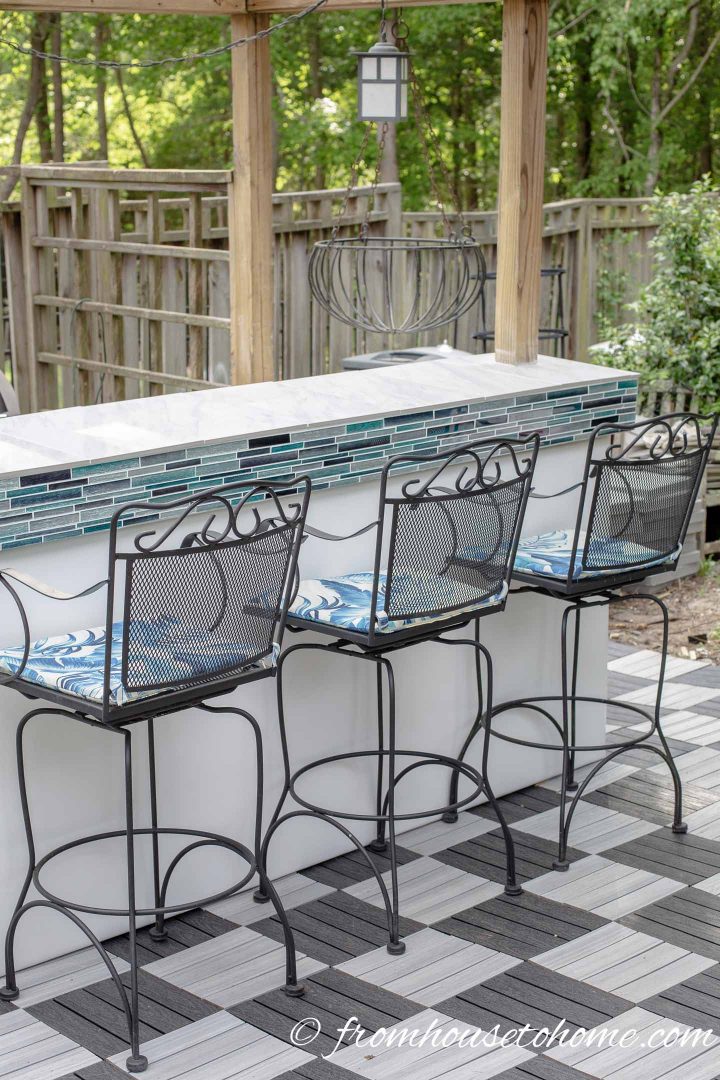
Of course, I had to try it out with my chairs and new cushions…and it looks AMAZING!
In case you’re interested, here are the rest of the updates on the deck makeover:
- Week 1: The Deck “Before”
- Week 2: Palm Beach Chic decor inspiration and deck plan
- Week 3: Sneak peek at my DIY trellis and outdoor cushions
- Week 4: How to paint outdoor furniture
- Week 6: The final deck makeover reveal
Other tiling ideas You Might Like
- The best way to remove thinset from concrete
- Glam black and white floor tiles
- How to install deck tiles
Have comments or questions on our tiling tips and tricks? Tell us in the section below.
Pin It So You Don't Forget It!
This post was originally published on May 1, 2019 but was updated with new content on April 8, 2024.
I have not tried to tile yet but this tutorial makes me want to try! I love the colors and the accent tile you went with!
Thanks, Jenn! Tiling isn’t really that hard…just a little time consuming. And it is pretty awesome when you get it finished 🙂
I could have used these handy tips last week before starting my first tile job ever! :). Your outdoor space is looking beautiful!
Thanks, Libbie! Tiling is not one of my favorite DIY projects so I’m always looking for ways to make it a little easier 🙂 Congratulations on getting your first tile job under your belt!
Wow! Looking so great! And those flamingo accents are going to be amazing — just in time for summer!
Thanks, Angela! I am really looking forward to getting this finished so I can start entertaining out there 🙂
Great job and great tips. I’ve tiled before but never thought about turning the tile over to prevent that “overcut” look. Thank you!
Thanks, Gloria! I’m really happy with the way it turned out.