The Best Way to Remove Thinset From Concrete
Need to remove some thinset from a concrete floor? You’ve come to the right place! We tried everything to get it off, and finally found the one solution that actually works!
I can’t believe it! It’s already week 3 of the One Room Challenge makeover of my master bathroom!
In case you’re joining in for the first time, the One Room Challenge is a 6-week event (put on by Linda at Calling It Home) where a whole bunch of designers are crazy enough to agree to makeover a room in 6 weeks and post their progress every week. If you missed them, you can see where I started in week 1 HERE, and see the design plan in week 2 HERE. Or if you want to skip ahead, you can see week 4 HERE, week 5 HERE and the reveal in week 6 HERE.
In every makeover, it seems there is always (at least) one week where things don’t go according to plan (commonly referred to as The Week From Hell). This week was that week for my bathroom makeover.
The Problem
This post may contain affiliate links. We make a small commission if you buy the products from these links (at no extra cost to you). As an Amazon Associate, I earn from qualifying purchases. But we only recommend products we would use ourselves. For more information, click here to see our disclosures.
My goal for this week was to get the floor tiles installed, which (as you may have guessed) did not happen.
The problem was that whenever my mother and I install something, we want it to last. So we always do a very good job of making sure everything is firmly attached. And to our credit, the things we make don’t fall apart 🙂
However, my mother and I installed the blue and white tile floor that was in my bathroom originally…
Needless to say, removing those tiles (and the associated thinset) was much harder than I anticipated!
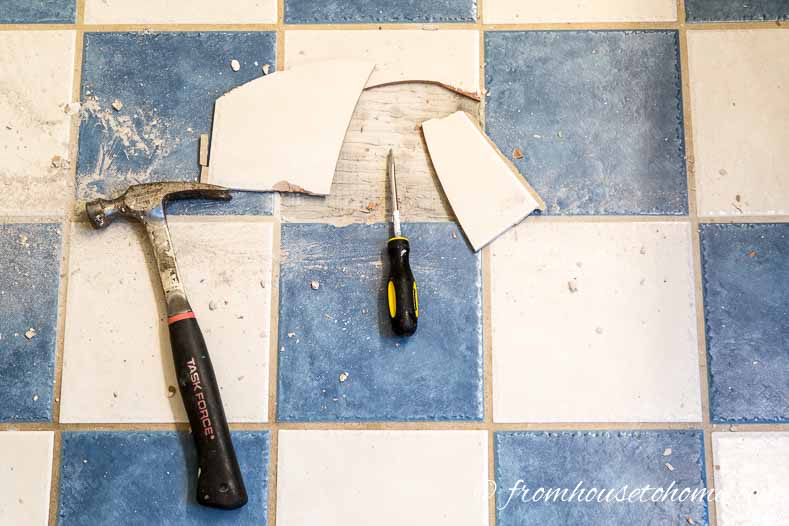
Getting the tiles off, was tough, but we managed to do that in an afternoon.
We started out with a screwdriver and hammer (worked but very slow!).

And then moved to a tile scraper* attachment for the reciprocating saw* which did a decent job, relatively quickly.
I did go through quite a few scraper blades doing a fairly small floor…I found out afterward that there are a couple other tools that probably would have worked even better (see below).
Since I’m putting down new, large-sized floor tiles, getting the old tiles off was just the first step.
To prevent the tiles from cracking, the floor also needs to be level.
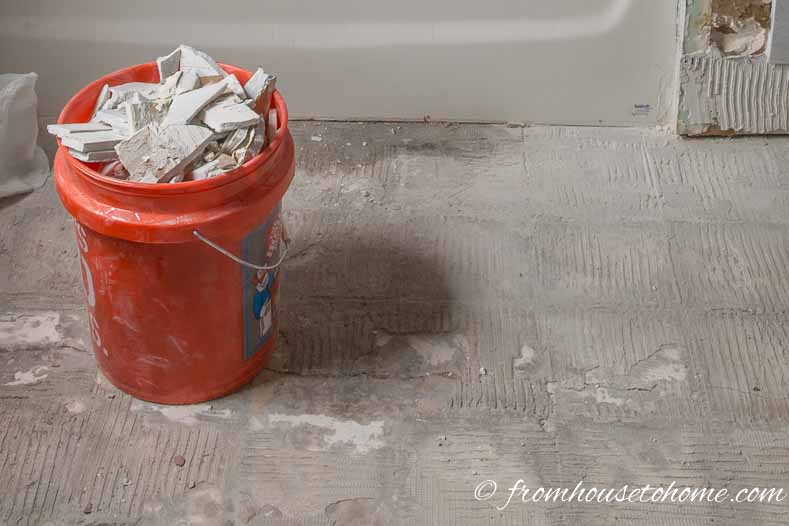
After the old tiles were removed, there were still large areas of thinset stuck to the concrete that were obviously not level.
So I needed some way to remove it, and the reciprocating saw / tile scraper combo wasn’t doing it.
The First Solution
Since I’ve never tried to remove thinset from concrete before, I did what most DIYers do in this situation…I googled it.
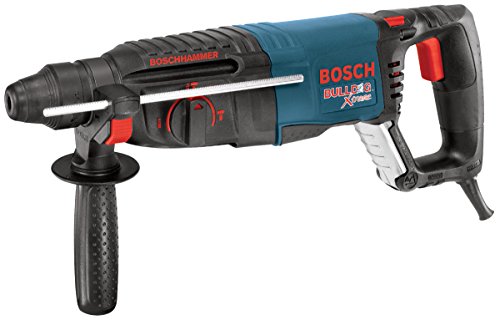
Everything I read said to buy a 2″ tile chisel for the hammer drill.
It will chisel the thinset off the cement like butter, they said.
Yeah…not so much.
It was working but was taking so long I thought the whole 6-week challenge would be over by the time I got the mortar off the floor.
So I hired a guy to do it for me.
He came out of the bathroom after an hour with the hammer drill in 2 pieces (yes, it literally fell apart!), and had only cleared about 1 foot square of floor space.
As a side note, I do think this hammer drill / tile chisel combo would have worked better for removing tiles than my reciprocating saw / scraper blade did. I’ll know for next time!
The Second Solution
So I figured, there must be a tool for this! (I know I’m not the only person who has ever tried to remove thinset from a concrete floor).
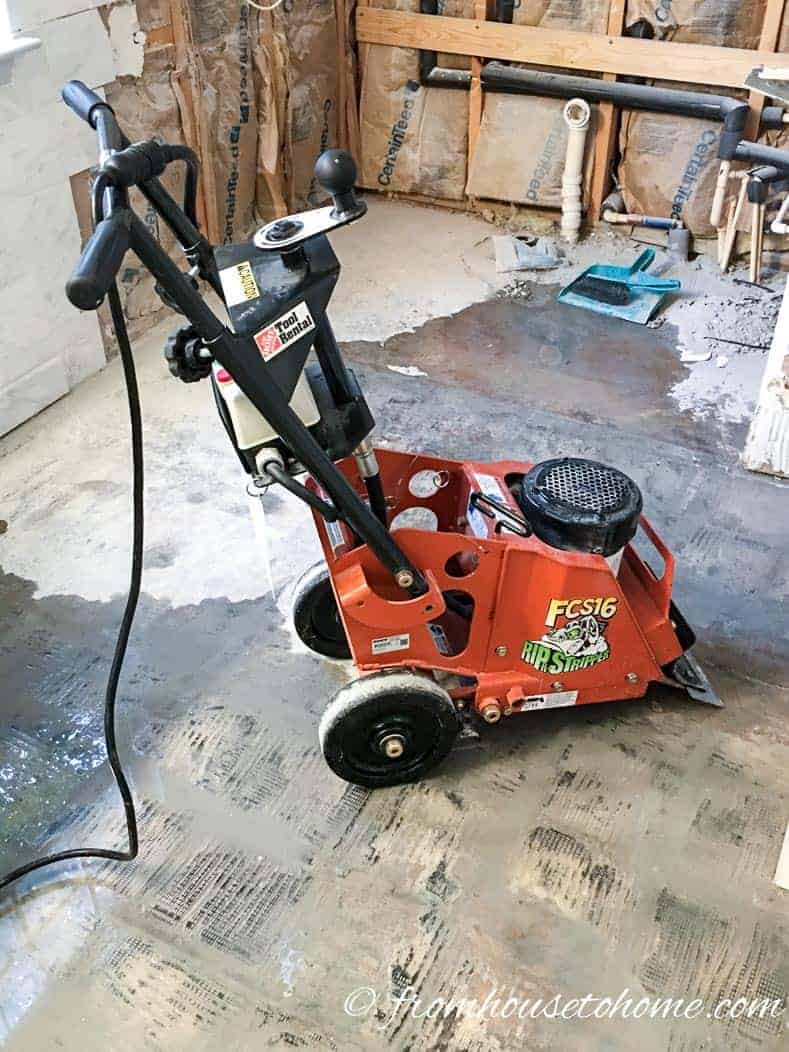
I went to the Home Depot rental department and asked them what kind of a tool I could rent that would get this job done.
They rented me a rather large “floor removal” machine that certainly looked like it would get the job done!
And it worked really well for removing the top layer of thinset. (I think this would be the mac-daddy of tile removal solutions…if I were doing it again, I would rent this machine to take up the tiles).
However, there was still about 1/4″ of mortar covering large sections of the floor, which just would not come off.
The Final Solution
Back to google again to see if I could find some other way…
And that’s when I saw it, a solution that looked like it would actually work!
It was on a blog (House of Hepworths) and I’m not sure how I missed it the first time.
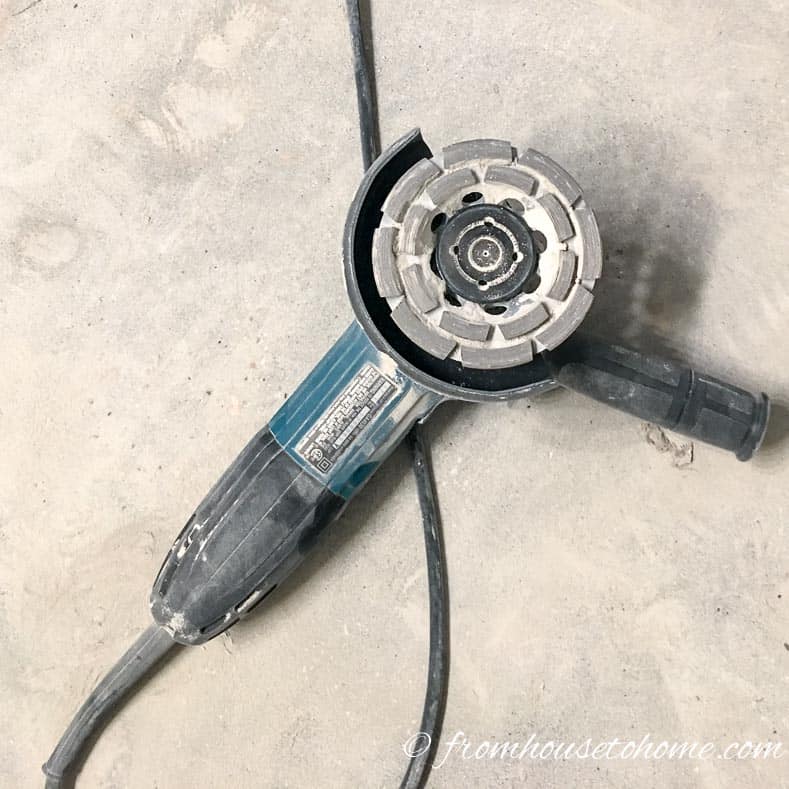
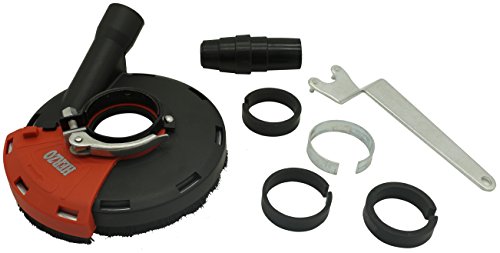
They had the exact same problem and ended up using a Floor Maintainer with a Diamabrush to grind the thinset off the floor.
I rushed over to my local Home Depot rental center, and of course, (since I was in the makeover week from hell) it was already rented out.
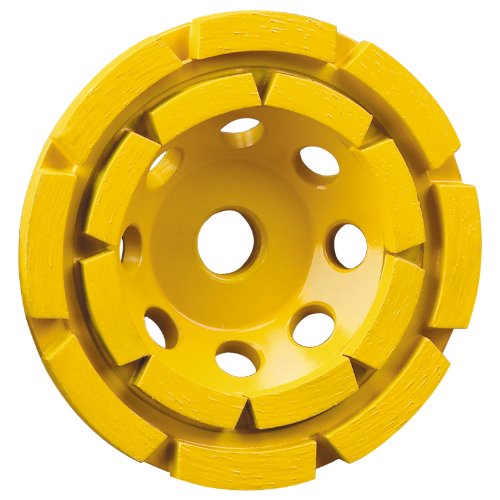
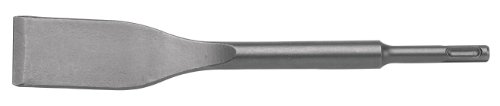
But they did have a smaller version for sale that attaches to an angle grinder*. (I used the 4″ disc, but probably could have gone with the 5″ one).

And what do you know, it worked!
Just look at how smooth that concrete floor is now!
A few words of caution…it creates a lot of dust!
I felt like I was in the Sahara Desert in the middle of a sandstorm. If you decide to take this on, make sure to wear a ventilator and goggles. (Actually, I think a hazmat suit would be better). Take everything out of the room that you can, and enclose the area as much as possible. I had all of the doors to the bathroom closed, and still ended up with a thick coating of dust on everything in my bedroom and closet.
With this tool, I think the clean up from this job took longer than the work. But it’s finally done! Now, I can start the tiling 🙂
I also noticed (after I finished), that you can get a dust shield* for the angle grinder that connects to your shop vac. This would definitely be worth trying!
Hopefully next week, I will have some prettier pictures to show you.
Click HERE to go to week 4 of my master bathroom makeover.

Have comments or questions on the best way to remove thinset from concrete? Tell us in the section below.
This post was originally published on April 19, 2017 but was updated with new content on April 8, 2024.
No no no! Put water on the floor. The get a jackhammer with a floor scraper blade. Very fast and almost no dust if done right. Do NOT use a chisel. It can gouge the heck out of your foundation. Floor scrapers are thin spring steal blades that take off thin set without damaging the foundation.
Thanks for the suggestion! I’ll have to try it next time I need to do this 🙂
Steven is correct. Wet the thinset, wait a few minutes for it to soak in, then sawzall with the flat blade, and it will come right up, no dust. If theres dust, wet it some more and wait.
I tried the jackhammer with the scraper blade but it would constantly bounce up on top of the thinset without taking it off. Putting water on top of it 1st however is essential.
Thank you for this post! My son and I are renovating his master bath; I found this post and the angle grinder was a lifesaver! Soooo dusty, but got the job done!
You’re welcome, Peggy! It does work really well…but cleaning up all that dust is no fun.
Ugh! What a pain! At least it’s finally done! Hopefully it won’t take too long to get the replacement vanity.
Thanks, Sam! Yes, I’m very happy this part of the makeover is done 🙂 And I’m keeping my fingers crossed for the vanity…
Holy tamoly! I’ve installed a lot of tiles in my day, but I don’t think I’ve ever had to remove them, and clearly it’s not something I would want to do by reading this. I might even have contemplated adding a thin layer of floor leveller on top to avoid it – but your floors turned out great! Looking forward to next week 🙂
Hi Nicole…I don’t think I’ll be removing any tiles anytime soon, either! In hindsight, floor leveller over top of the tiles might have been the best option. In any case, it was definitely a learning experience 🙂