
DIY Lavender And White Deco Mesh Pouf Christmas Wreath
Transform your outdoor holiday decor with a stunning lavender and white Christmas wreath made with shimmering deco mesh! This step-by-step tutorial will guide you through creating a chic, non-traditional wreath that will add a touch of elegance to your front door.

It’s that time of year again!
The weather is getting colder and I’m figuring out what holiday decorations to put up in my front yard.
If you’ve been here before, you know that I live in a purple house.
So I almost always use purple in my outdoor Christmas decorations in order to compliment the house.
And this year is no different.
I decided to go with a combination of white and lavender deco mesh along with some ribbons, picks and a couple of ornaments to create a stunning centerpiece for my front door.
I’ll warn you now, there are a lot of steps to this project.
But none of them are hard.
And it doesn’t take as long to put together as it seems like it might.
So don’t be scared off by the process!
Read on to find out how I made my lavender and white deco mesh pouf Christmas wreath.
Get a FREE Room Makeover Workbook by signing up for our newsletter
You’ll also get access to our members-only resource library with all of our other printables.
We won’t send you spam. Unsubscribe at any time.
Materials
For the wreath form
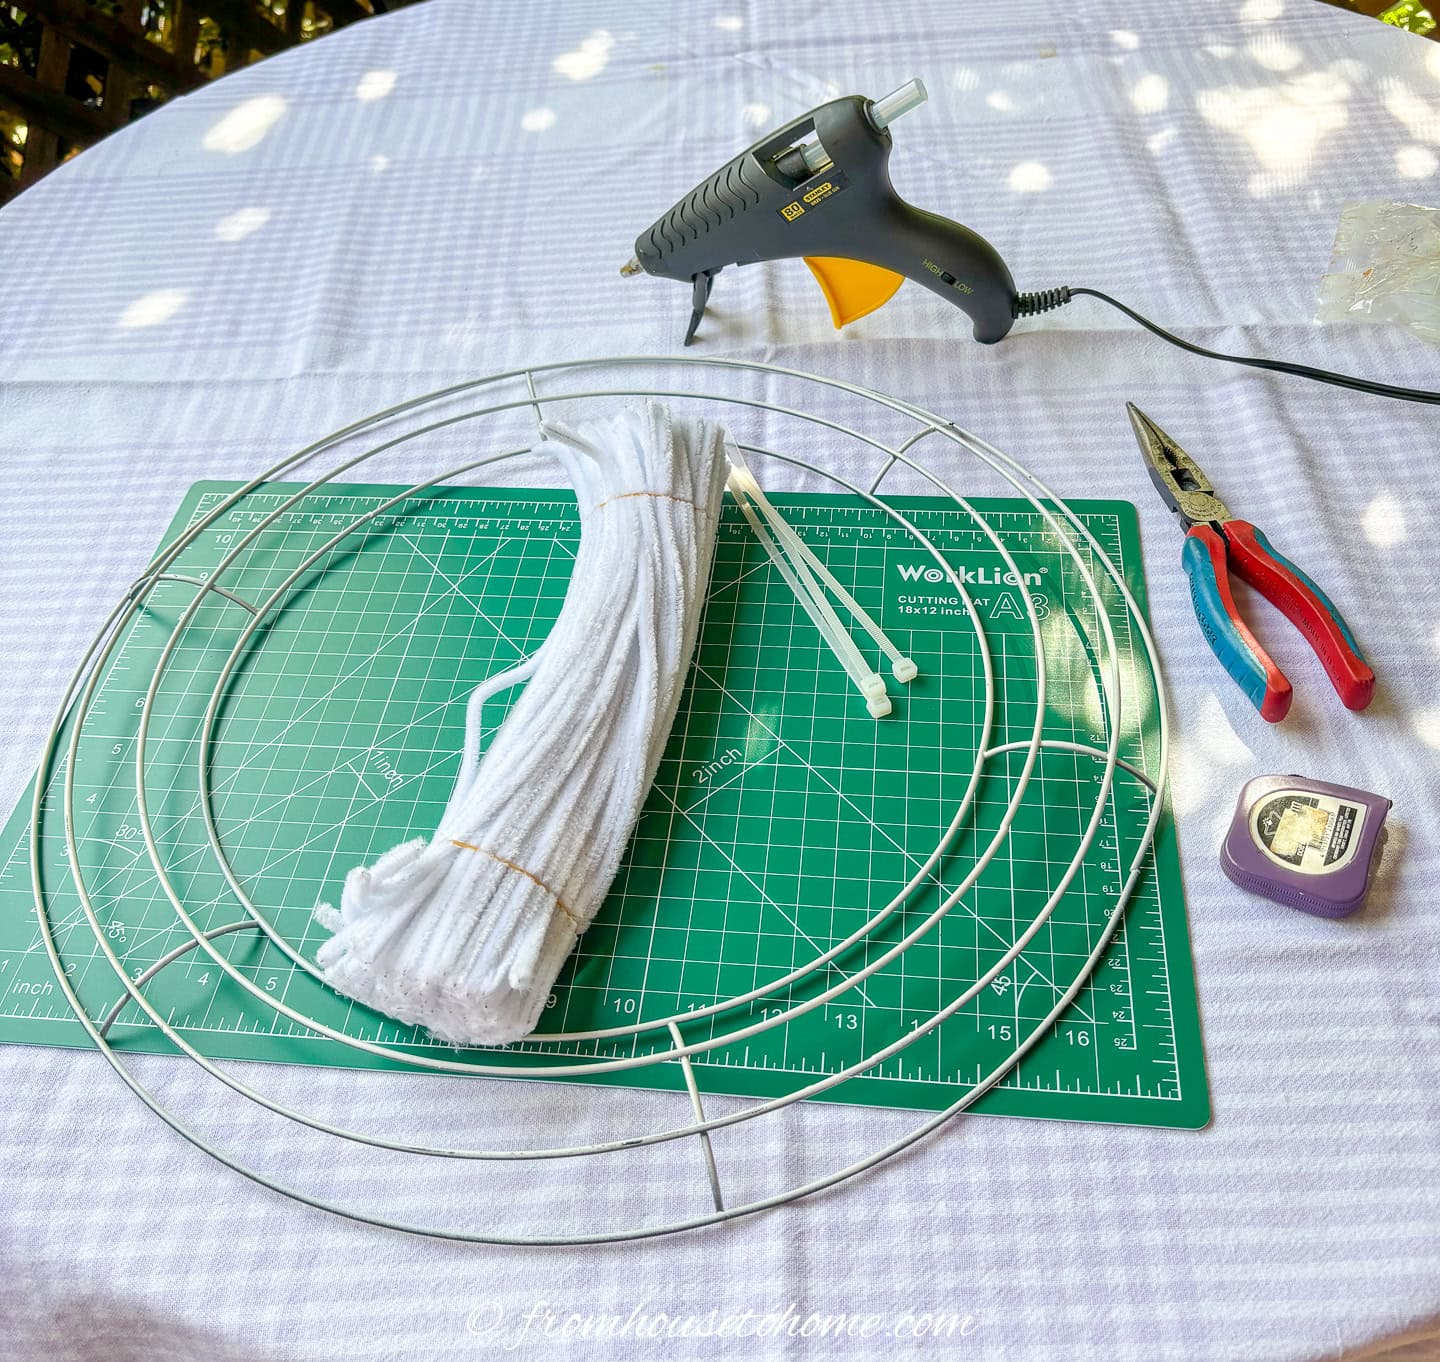
You can either buy a wreath form that already has the pipe cleaners attached to it (available at craft stores).
Or make your own (which allows you to customize the colors) with the following supplies:
- 18″ wire wreath form* – You can use a different size but it will affect how much deco mesh, decorations and other supplies you will need
- white spray paint – I used flat but you won’t really see it when you’re finished so any finish will work. If you are working with different colors, choose a color that matches your decor.
- 18 12″-long pipe cleaners* – These should be the same color as your deco mesh so they don’t show through at the end. I used white.
For the wreath
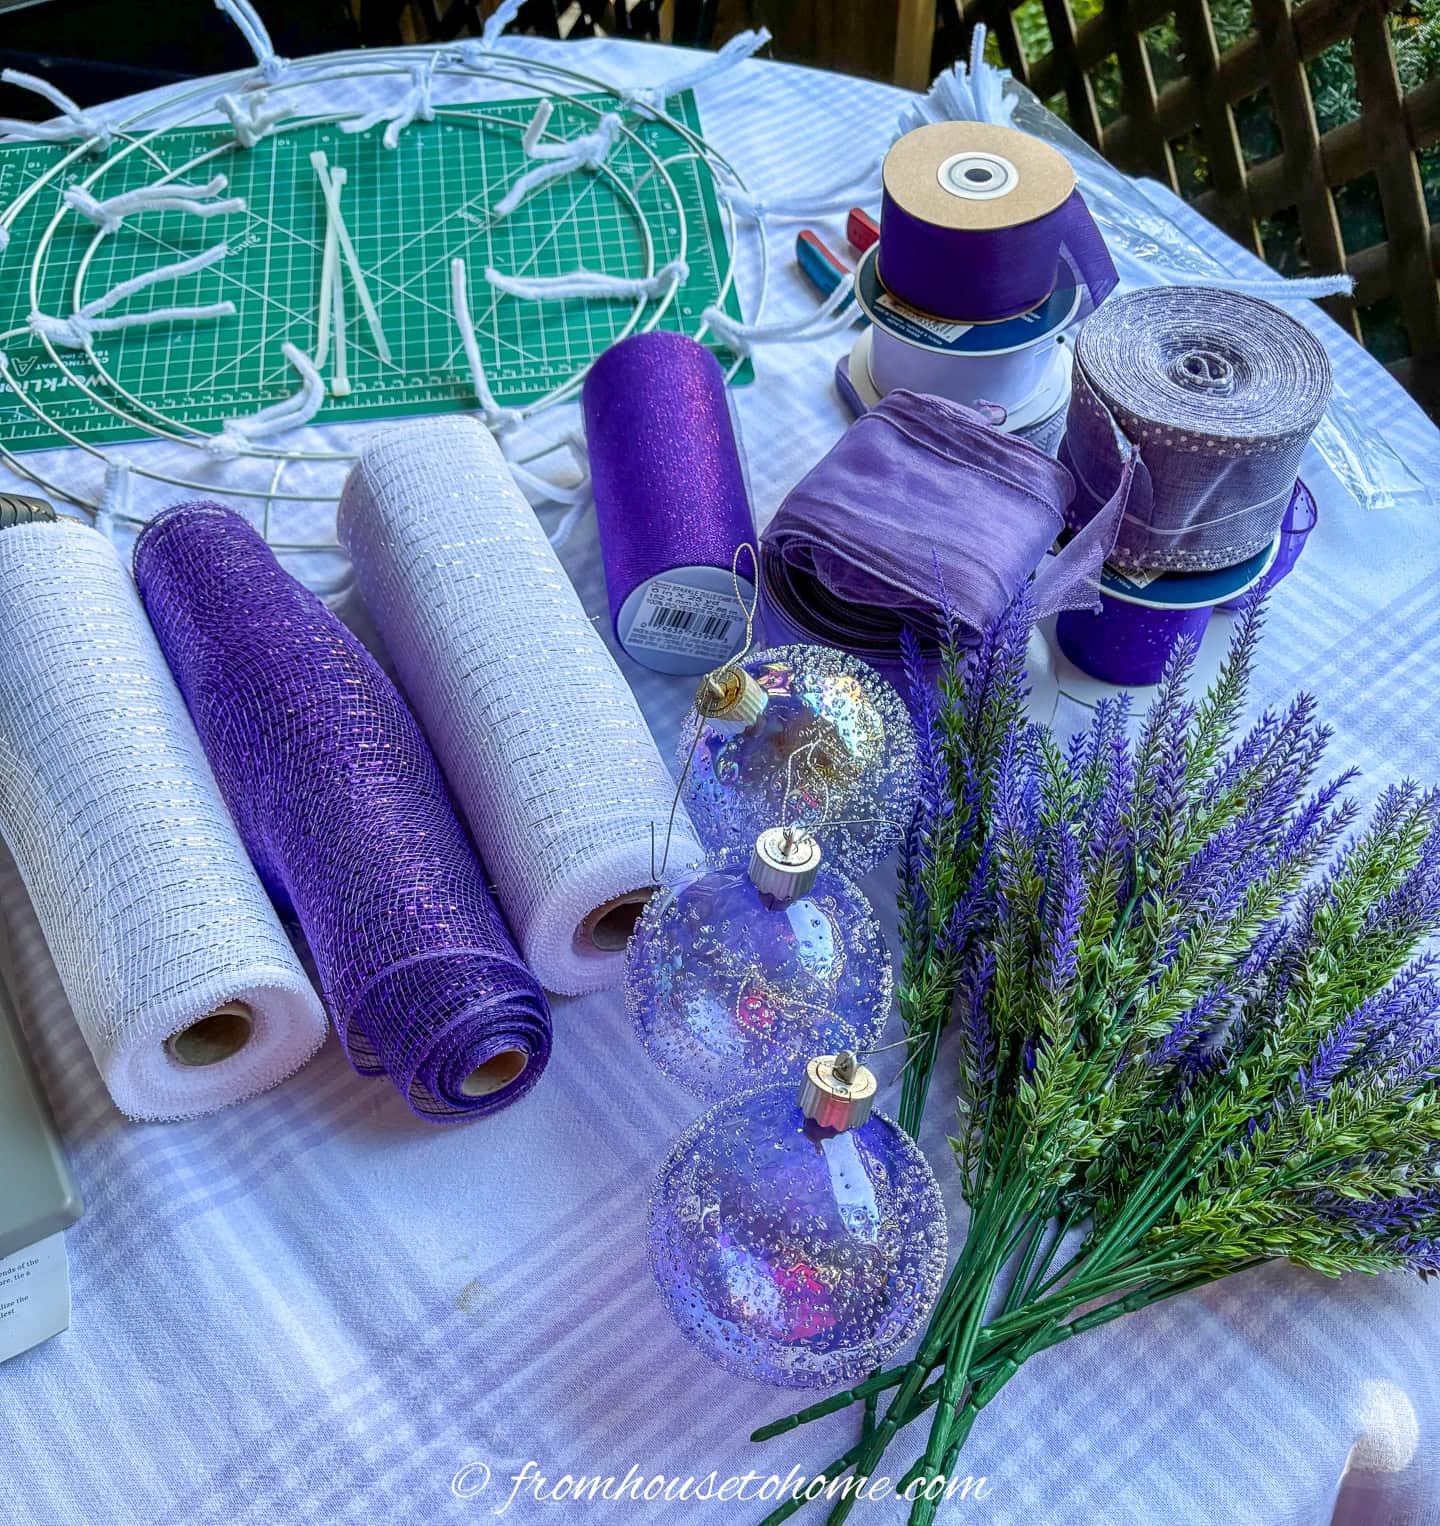
- 2 rolls of Deco mesh 10″ wide by 30′ long (I used this white one with silver metallic stripes*)
- 1 roll metallic Deco mesh 10″ wide x 15′ long in a contrasting color (I used this purple one*)
- 5 8-inch zip ties
- 6 white and purple coordinating ribbons some 2 1/2″ wide and some 1″ wide
- 3 4″ purple Christmas balls
- florist wire*
- artificial lavender picks*
- 2 command hooks that hold at least 2 pounds each
Tools
- hot glue gun and glue sticks
- needle nose pliers
- tape measure (only required if you are attaching your own pipe cleaners)
- cutting wheel*
- self healing craft mat*
- scissors
- bow maker* – This is the easiest way to make bows that turn out every time. But if you’re good at making them from scratch, you can do that, too.
How to prepare the wreath form
Note: You can skip this step if you bought a pre-wired wreath form.
1 | Paint the wreath form
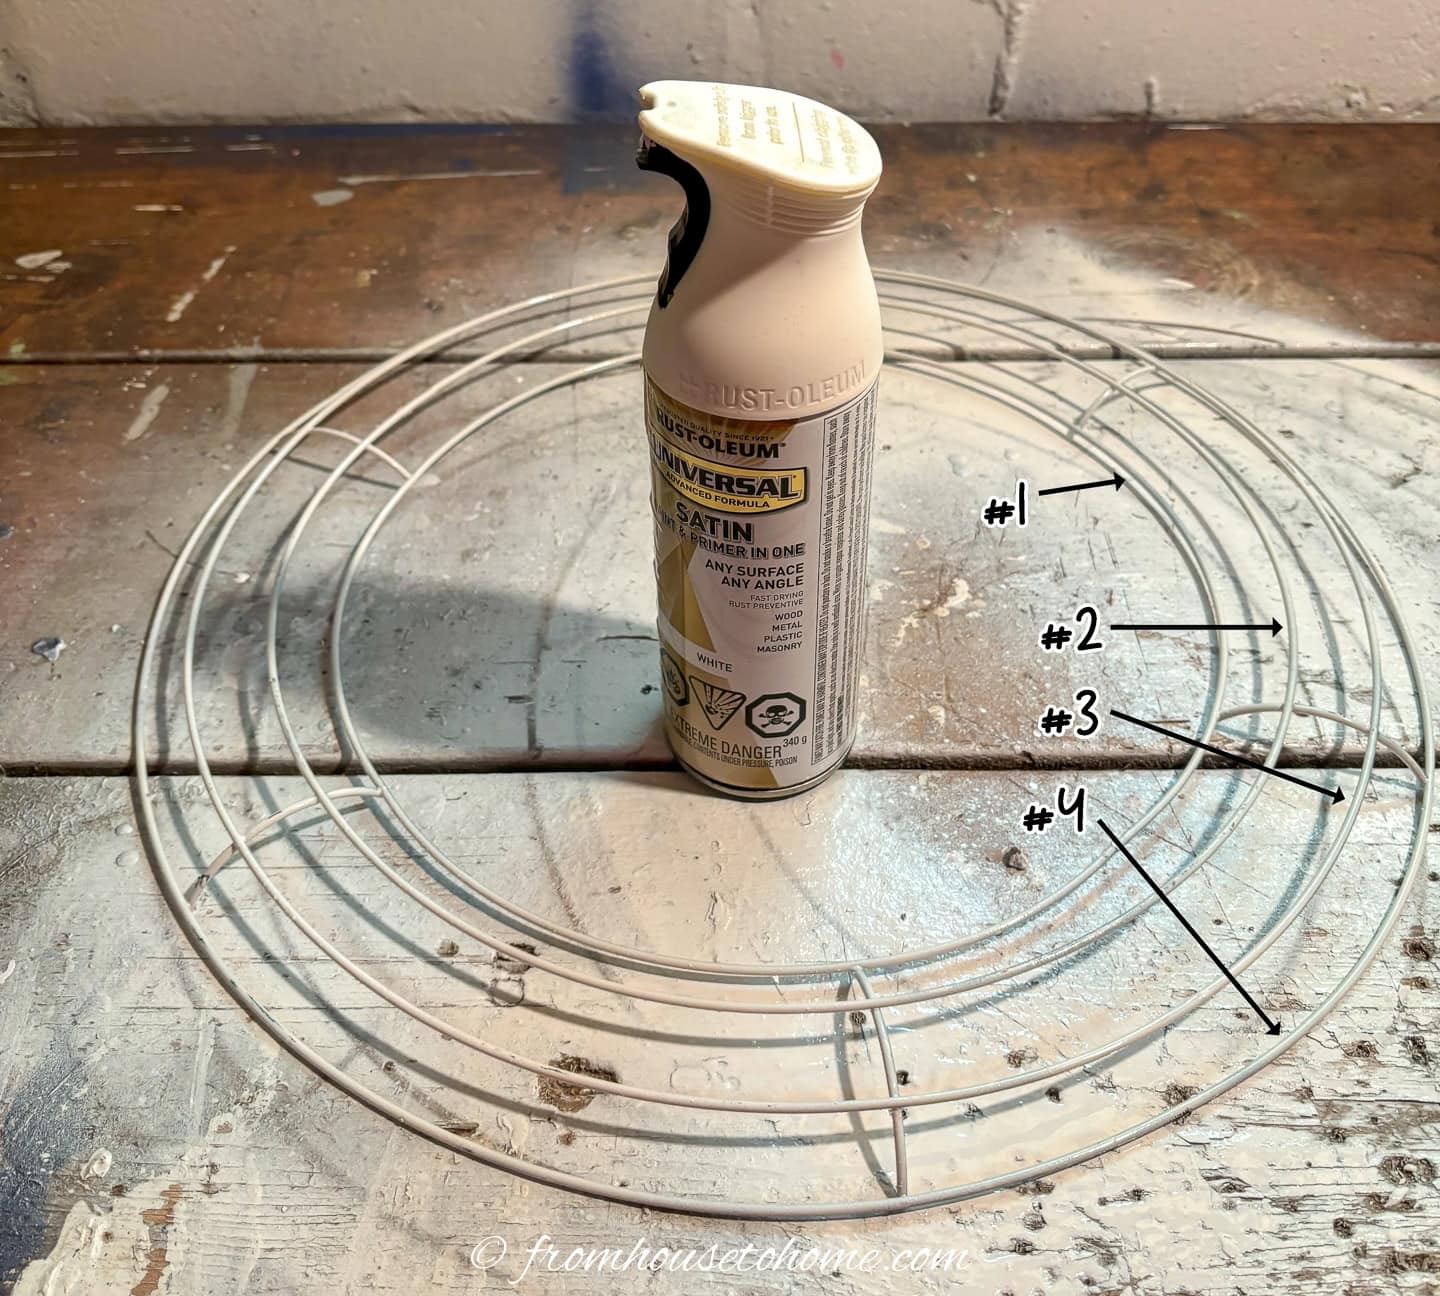
Spray paint both sides of the wire form to match the color of the deco-mesh you plan to use.
Let the paint dry thoroughly.
2 | Add pipe cleaners to the inside wires
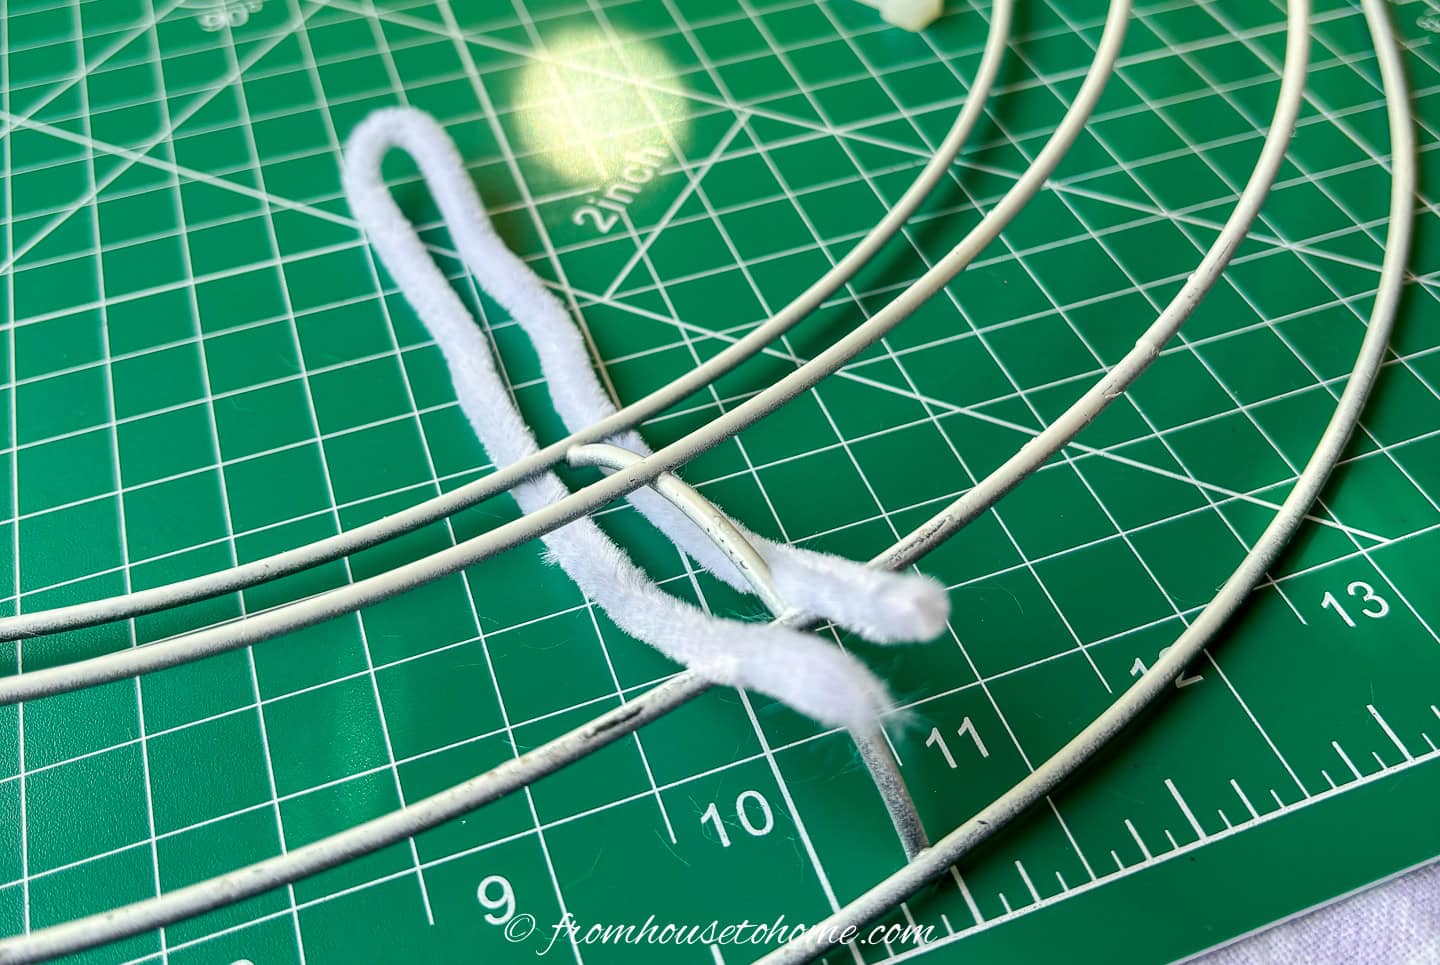
For ease of reference I number the wires of the form 1, 2, 3, and 4 — #1 being the inside wire to #4 being the extreme outside.
Start on the inside wire (#1) at a cross bar.
Fold a pipe cleaner in half, and place it under the inner 2 rows of the wreath form with the folded end facing in towards the center of the wreath.
Bring the ends out so they are on top of row #3, making sure they are on either side of the cross bar.
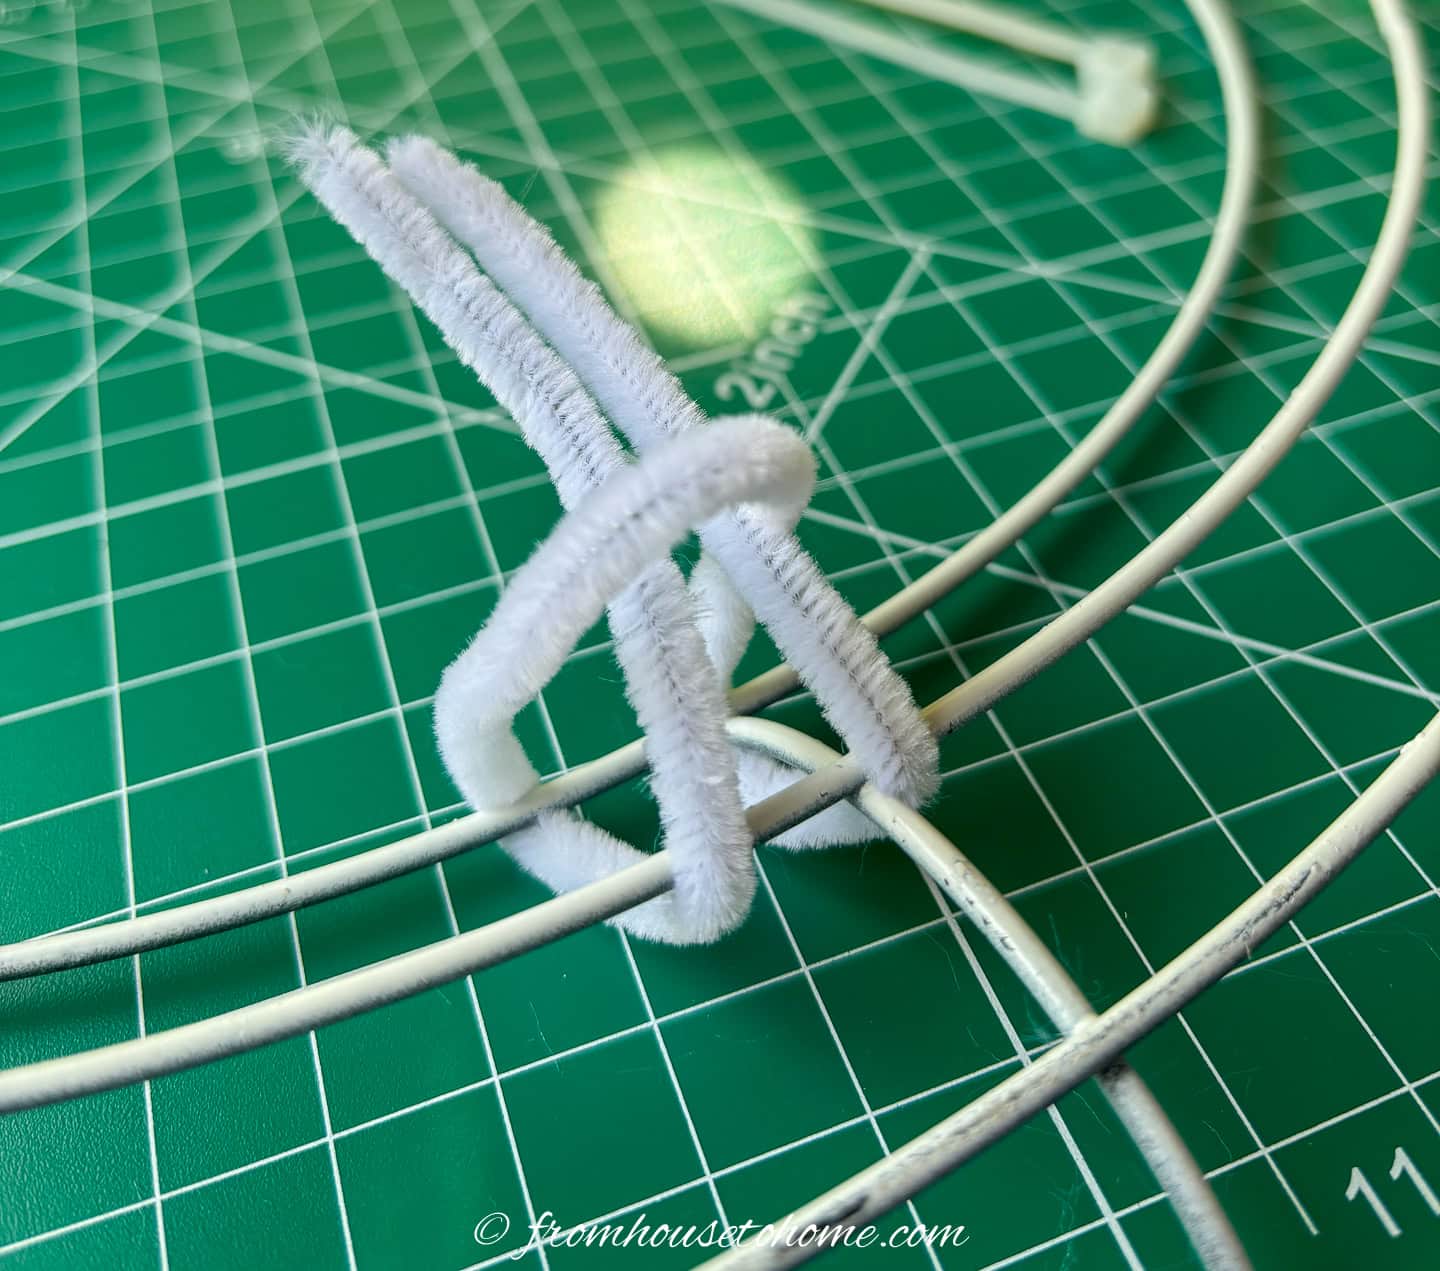
Wrap it around rows #1 and #2 and insert both ends of the pipe cleaner into the loop.
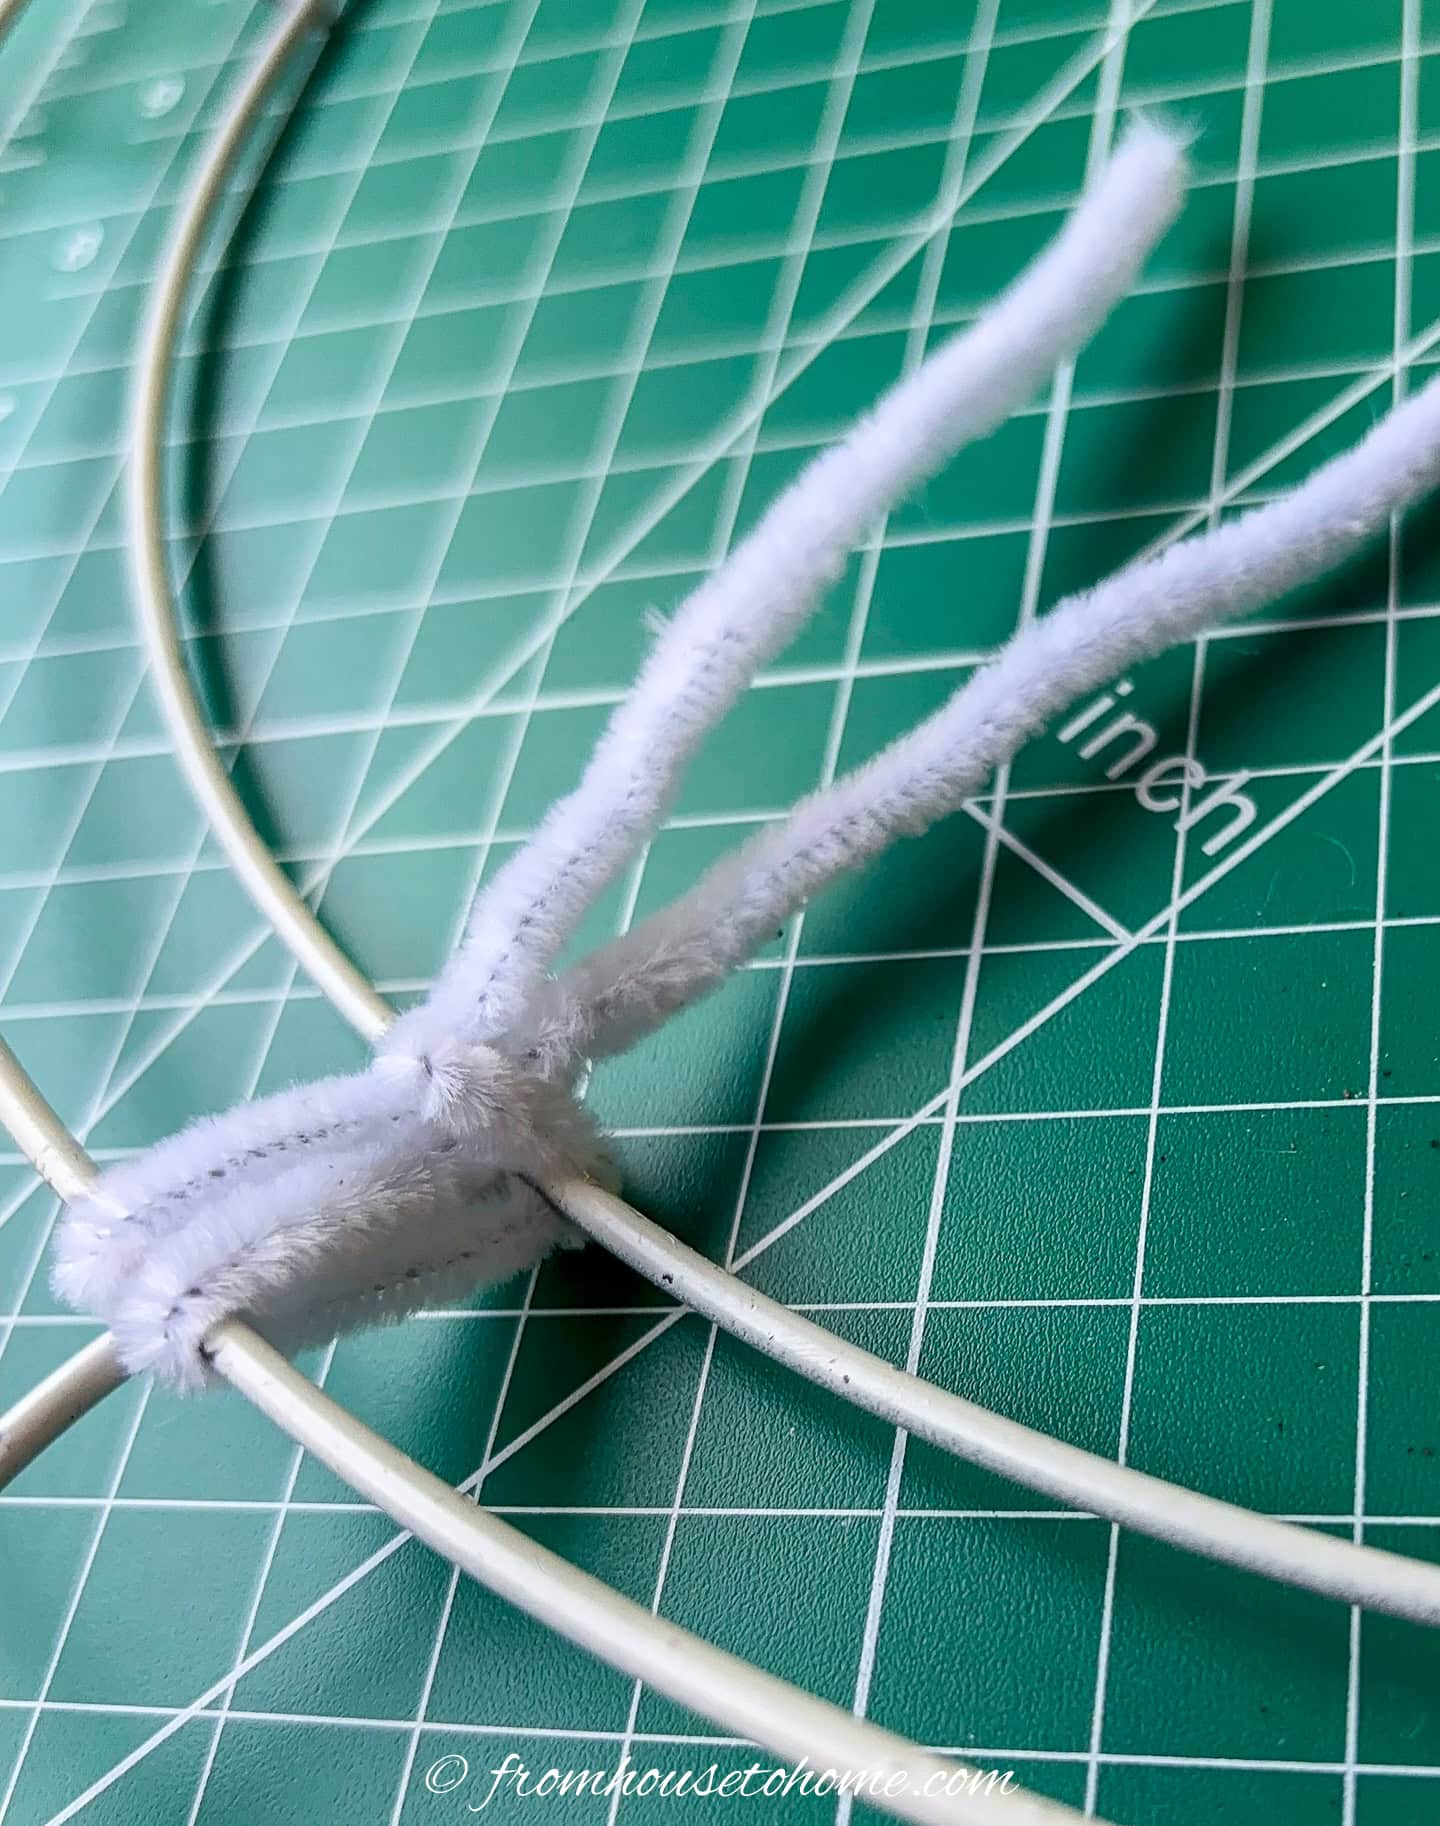
Pull up on the ends so that they are very tight on the wreath form.
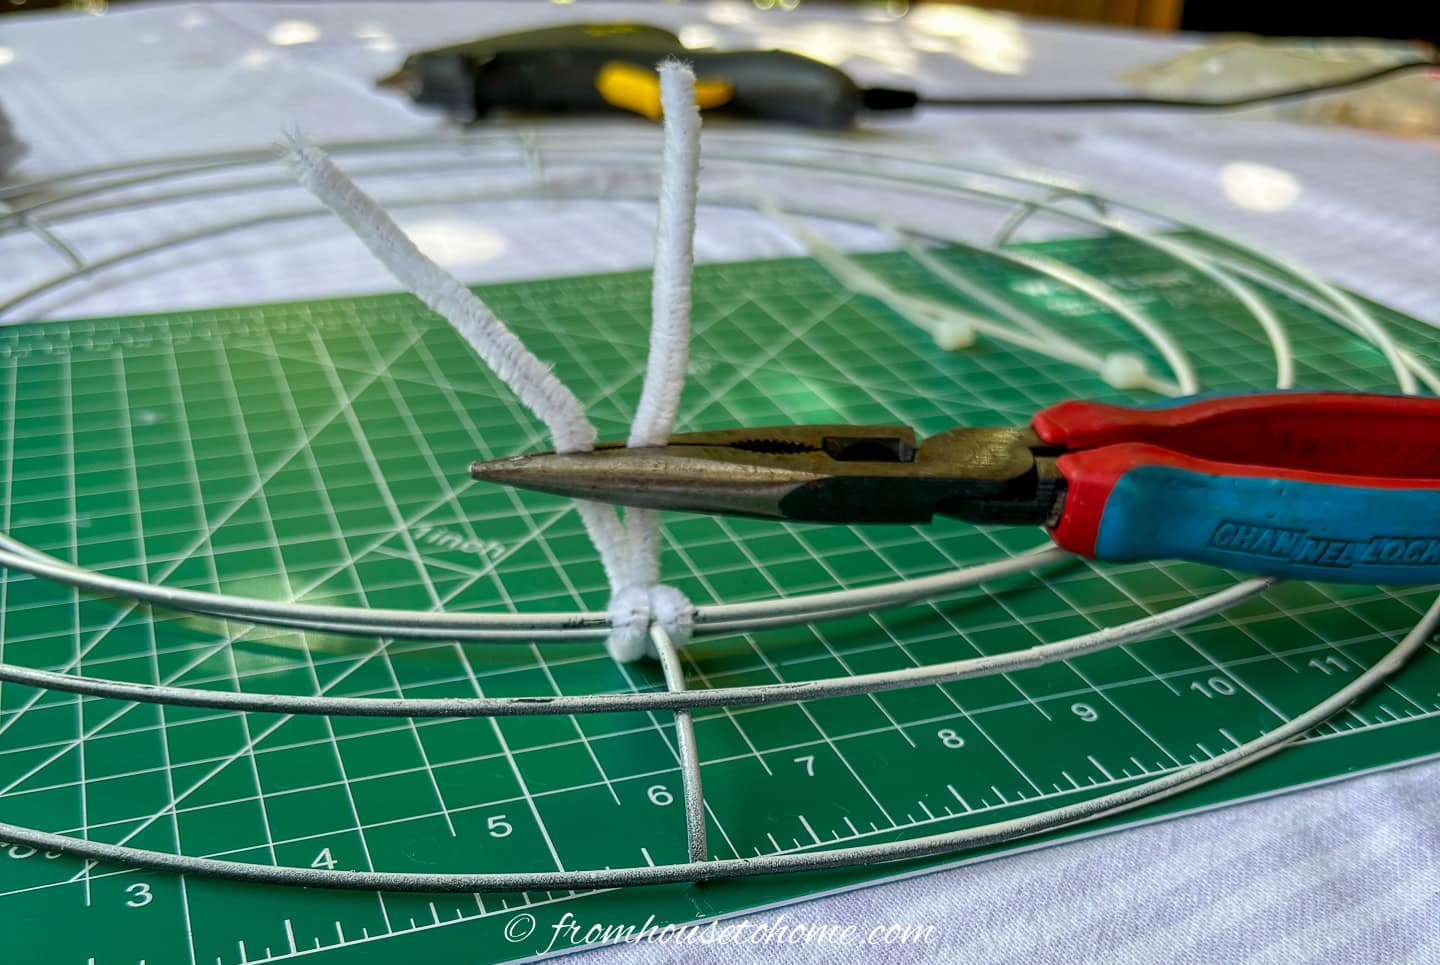
Use the pliers to twist the pipe cleaner a couple of times to further tighten it against the wire frame.
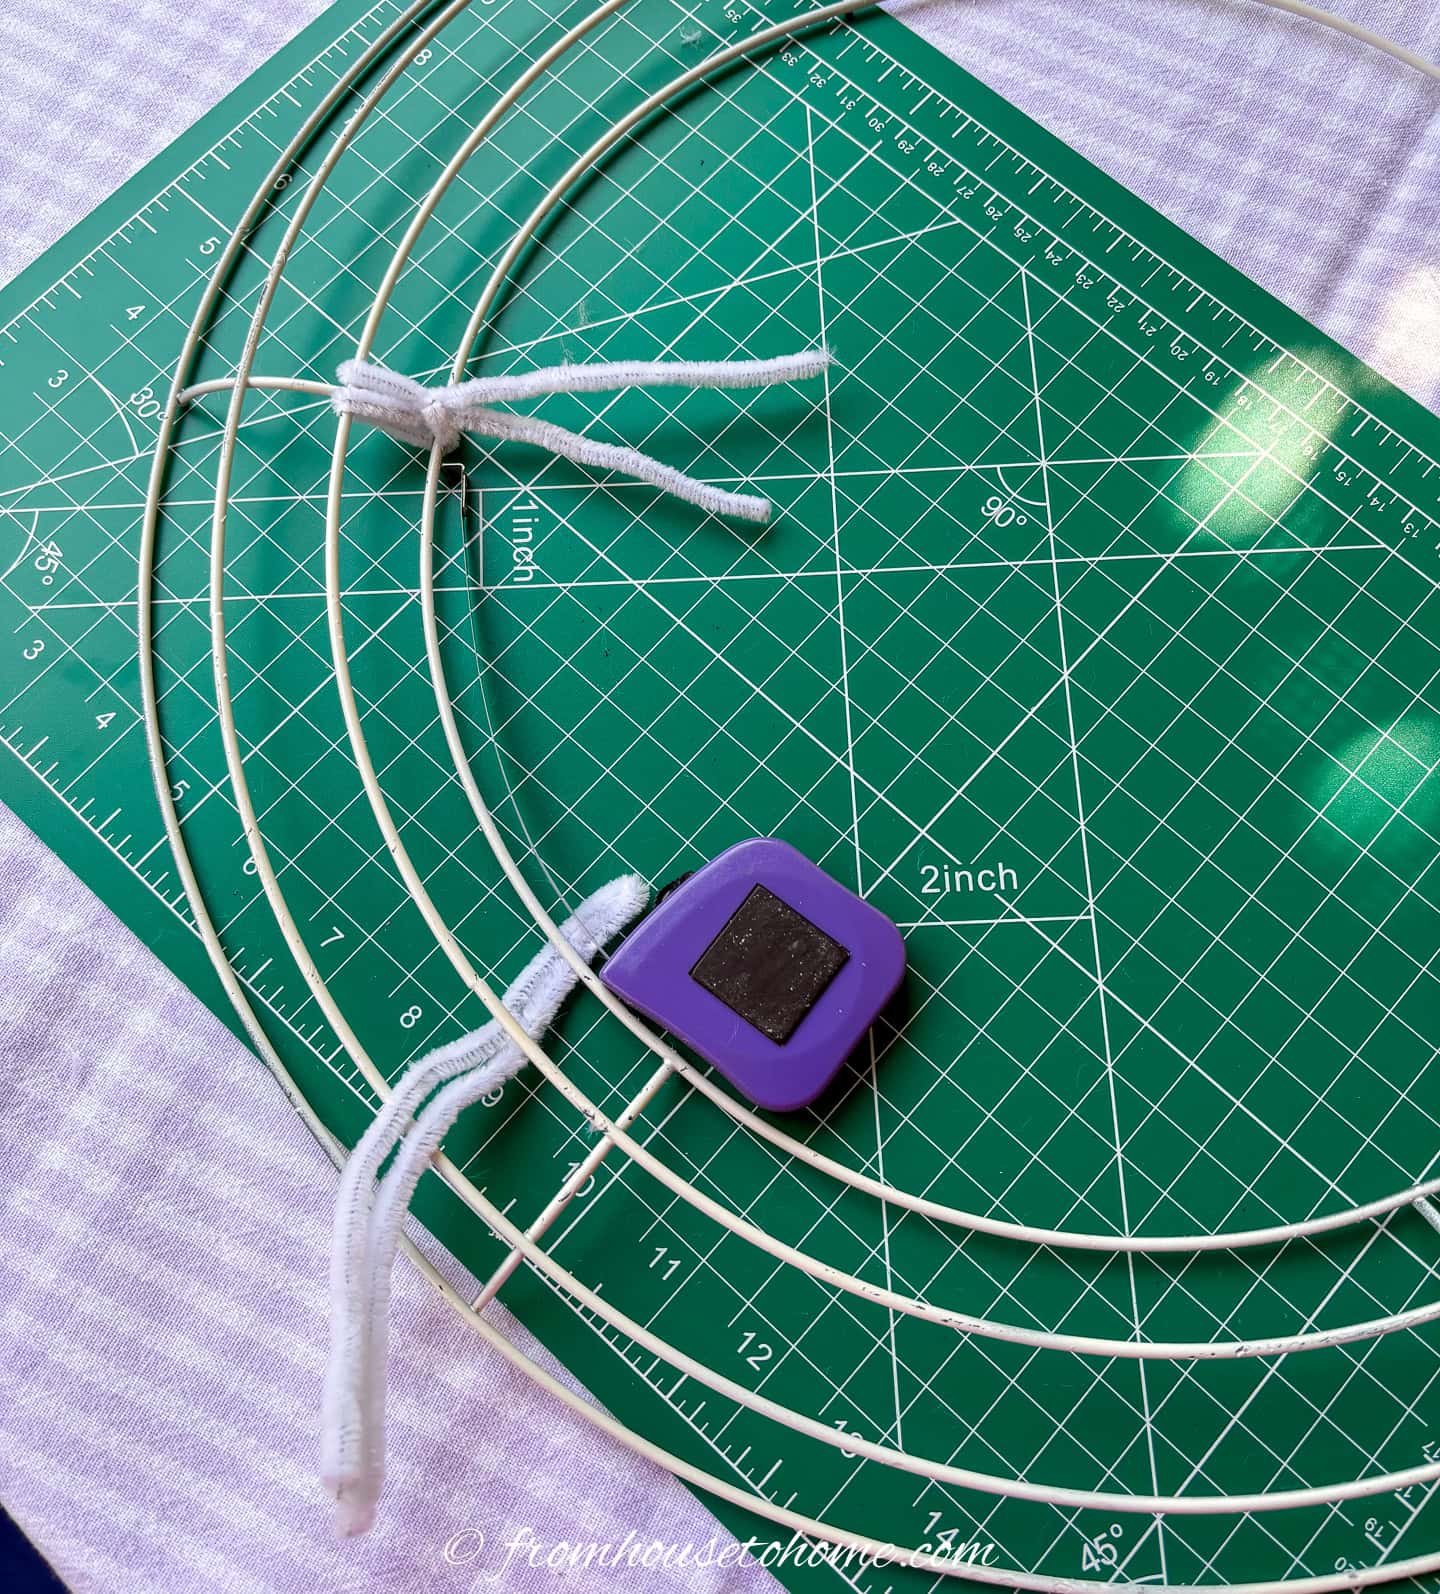
Measure 5″ along the inner edge of the form and put another pipe cleaner at this position, using the same steps as above.
Repeat this process until there is a tie every 5″ along the inner wire (#1). There will be 7 pipe cleaner ties on an 18″ diameter frame.
You may need to make small adjustments to the distances between the pipe cleaners to make them even.
3 | Add pipe cleaners to the outer rim
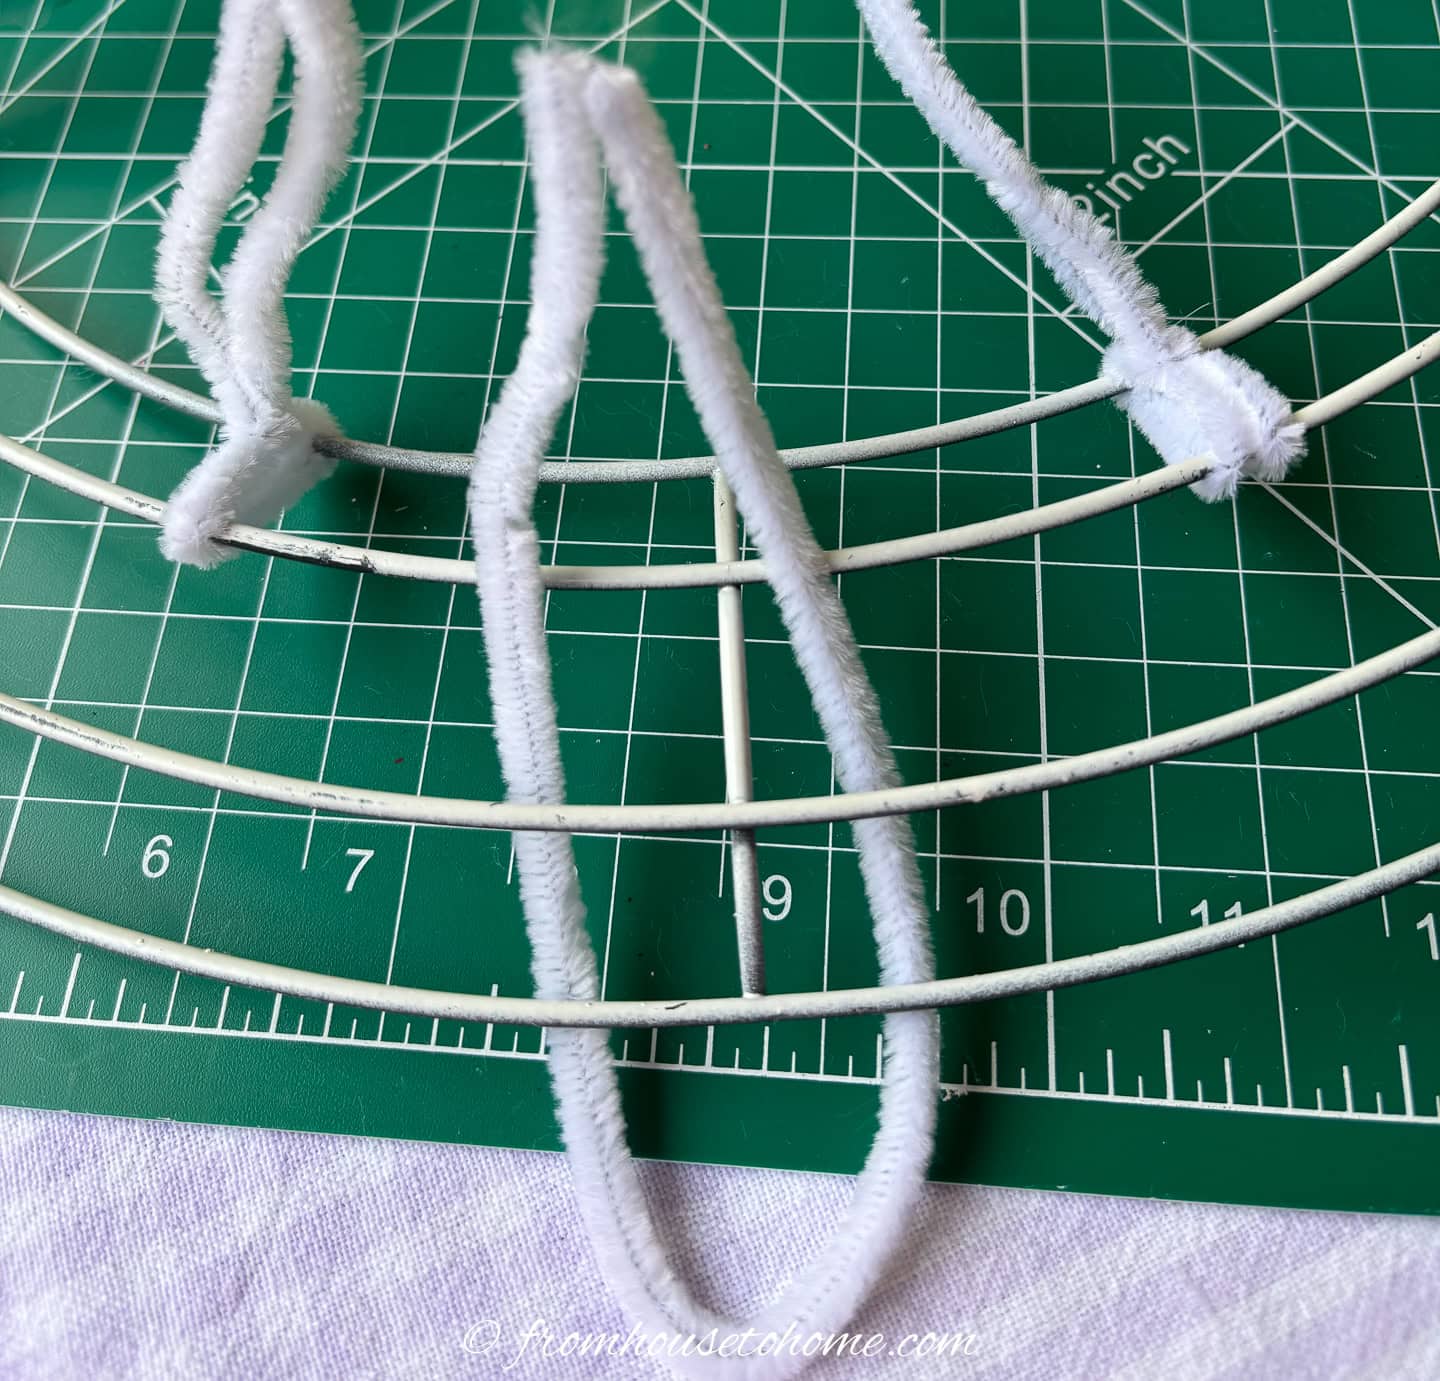
Now we’ll work on the pipe cleaners for the outer rim (wire #4).
Find a cross brace that is about half-way between 2 inner-rim pipe cleaners.
Fold a pipe cleaner in half and position it behind the outer two rows with the fold facing out.
Make sure the ends are on top of row #2 and on either side of the cross brace. Then pull it through the loop and tighten the same way that you did for the inner rows.
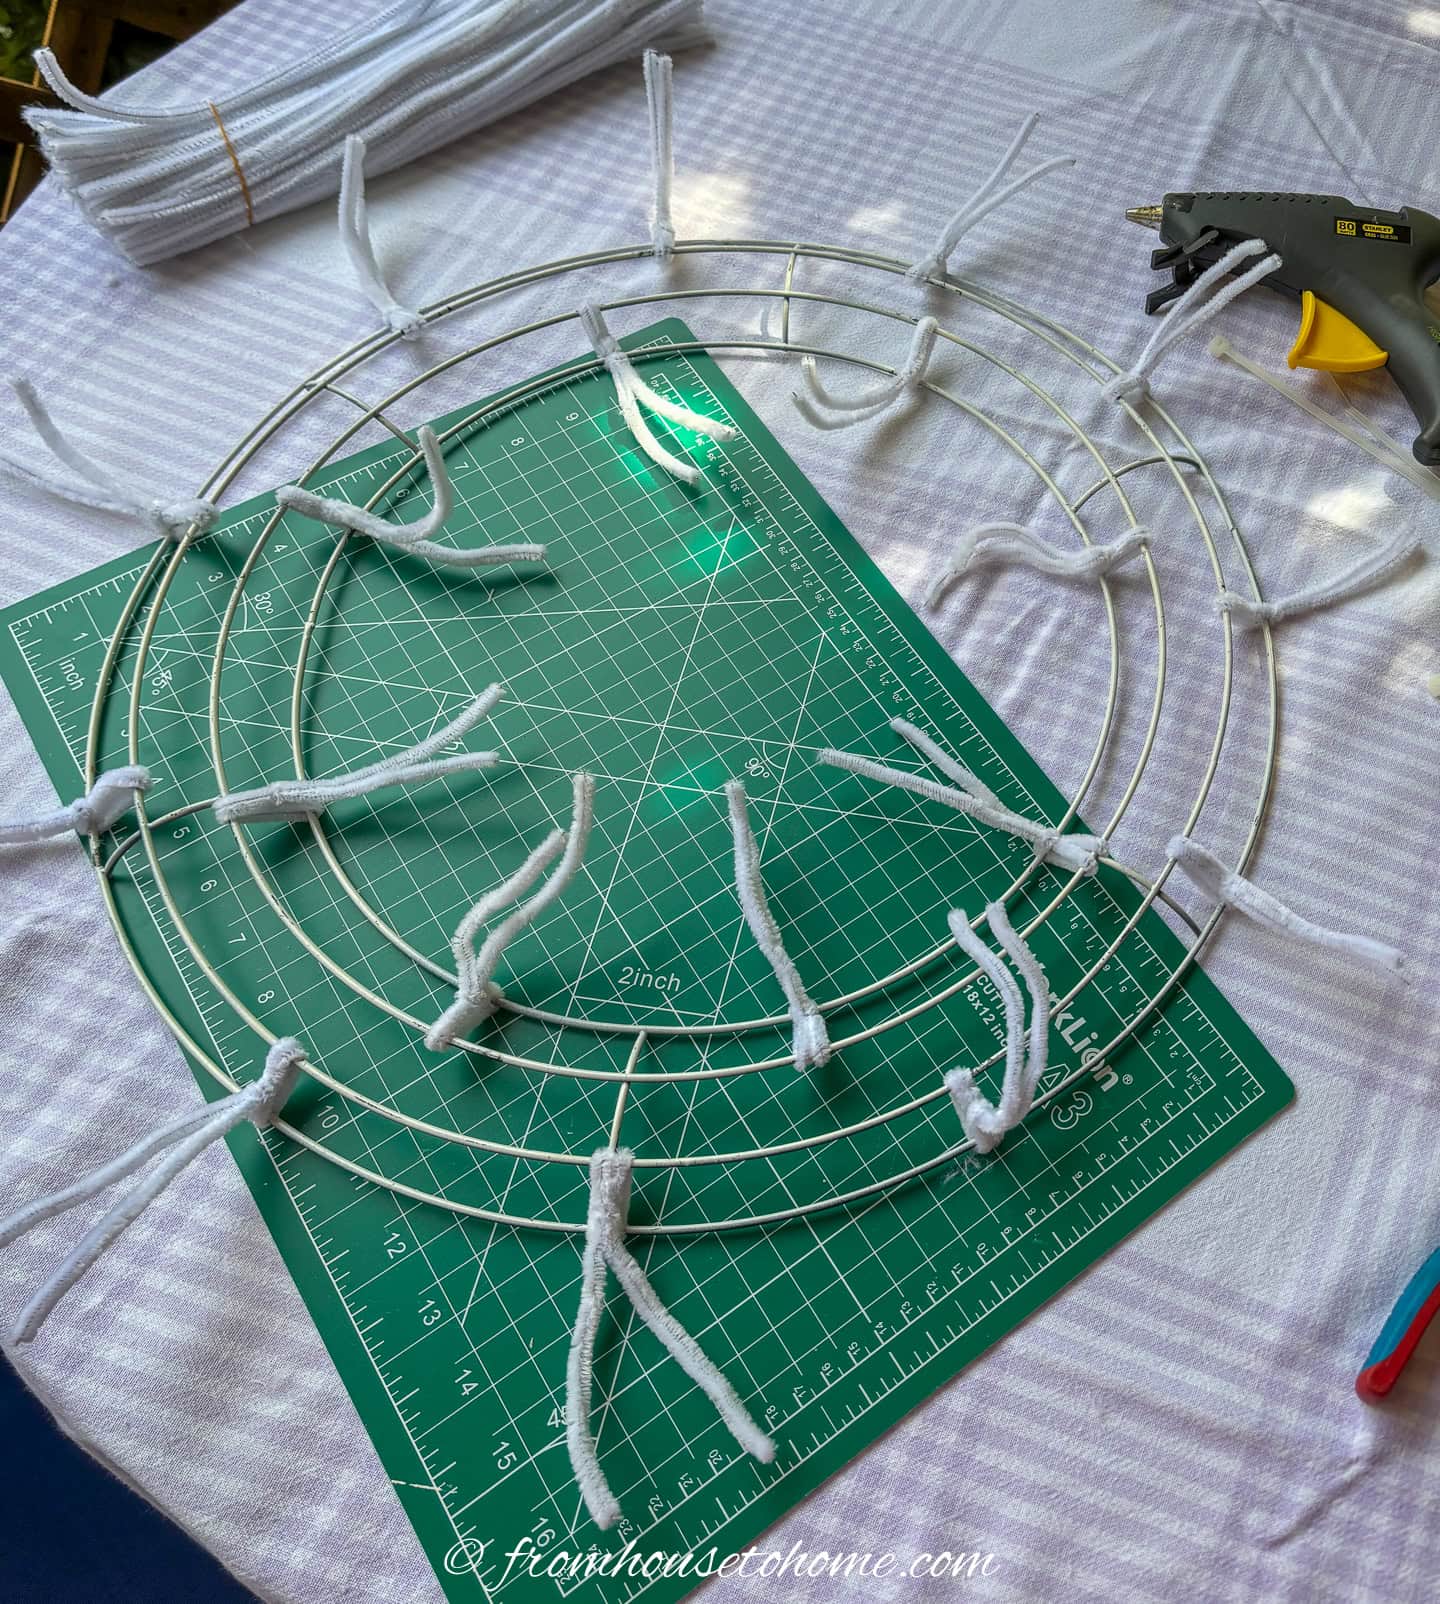
Measure every 5″ along the outer wire #4 and repeat these steps until you have securely attached 11 pipe cleaners.
The spacing will not work out to be 5″ exactly. Take a look at the distances between the ties and make slight adjustments so that the spaces appear even.
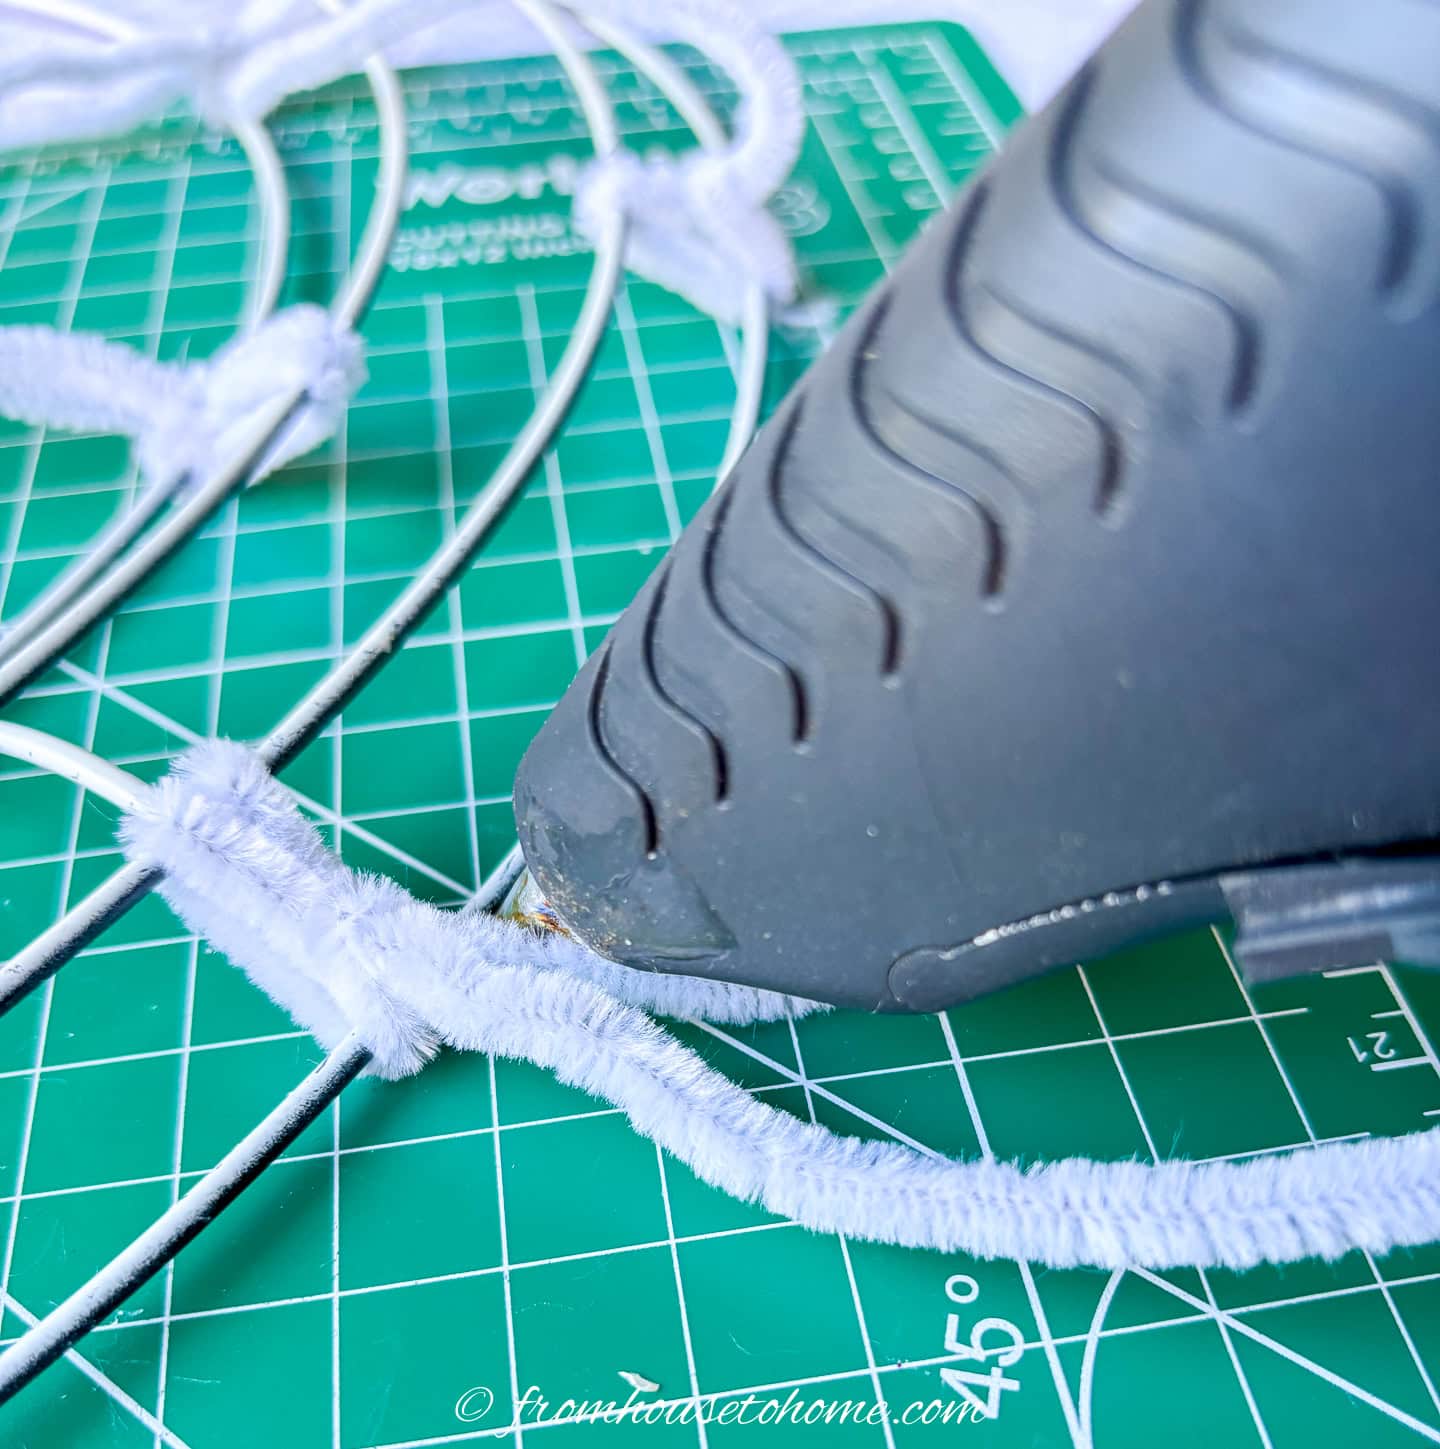
To keep the pipe cleaners from moving, apply a dab of hot glue to both sides of each pipe cleaner at the wires.
How to make the wreath
1 | Add poufs to the outer edge
The poufs are made with one continuous long strip of deco mesh for each color–white for the inner and outer rows (which is why you need twice as much of it), and purple for the middle row.
Because the white Deco Mesh is pretty thin, I used 2 layers of it to make sure you could see it. This may not be necessary if you’re using a darker color or thicker mesh.
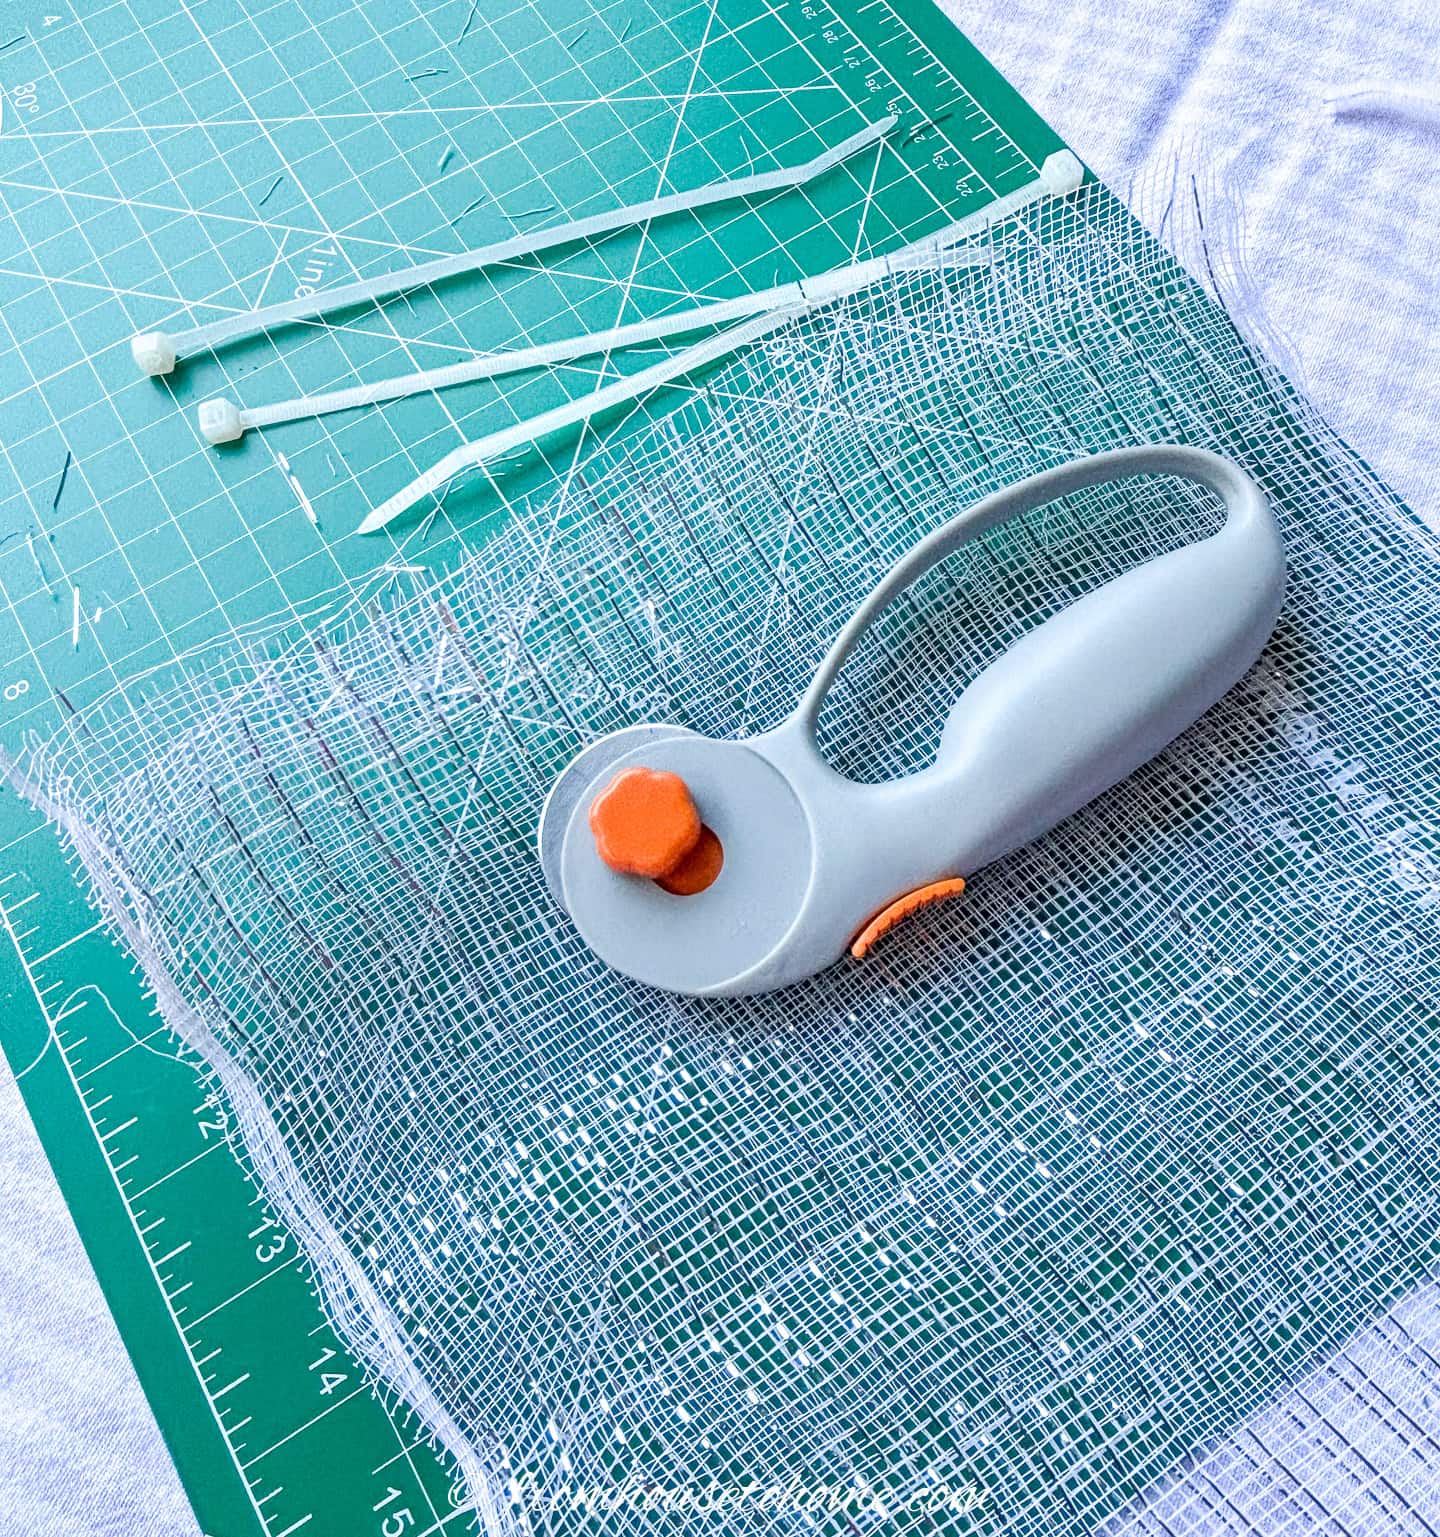
To do this, stack the ends of 2 separate rolls of mesh on top of the other.
Then, lay the edges on the craft mat and cut them straight along a line on the mat using your cutting wheel. For ease in managing the length allow the rolls to fall over the edge of the table to the floor.
Open out all the pipe cleaner ties on the outer rim (#4 wire) by pulling the ends apart so that each end is on opposite sides of the wire. This gets the ties ready to receive a pouf.
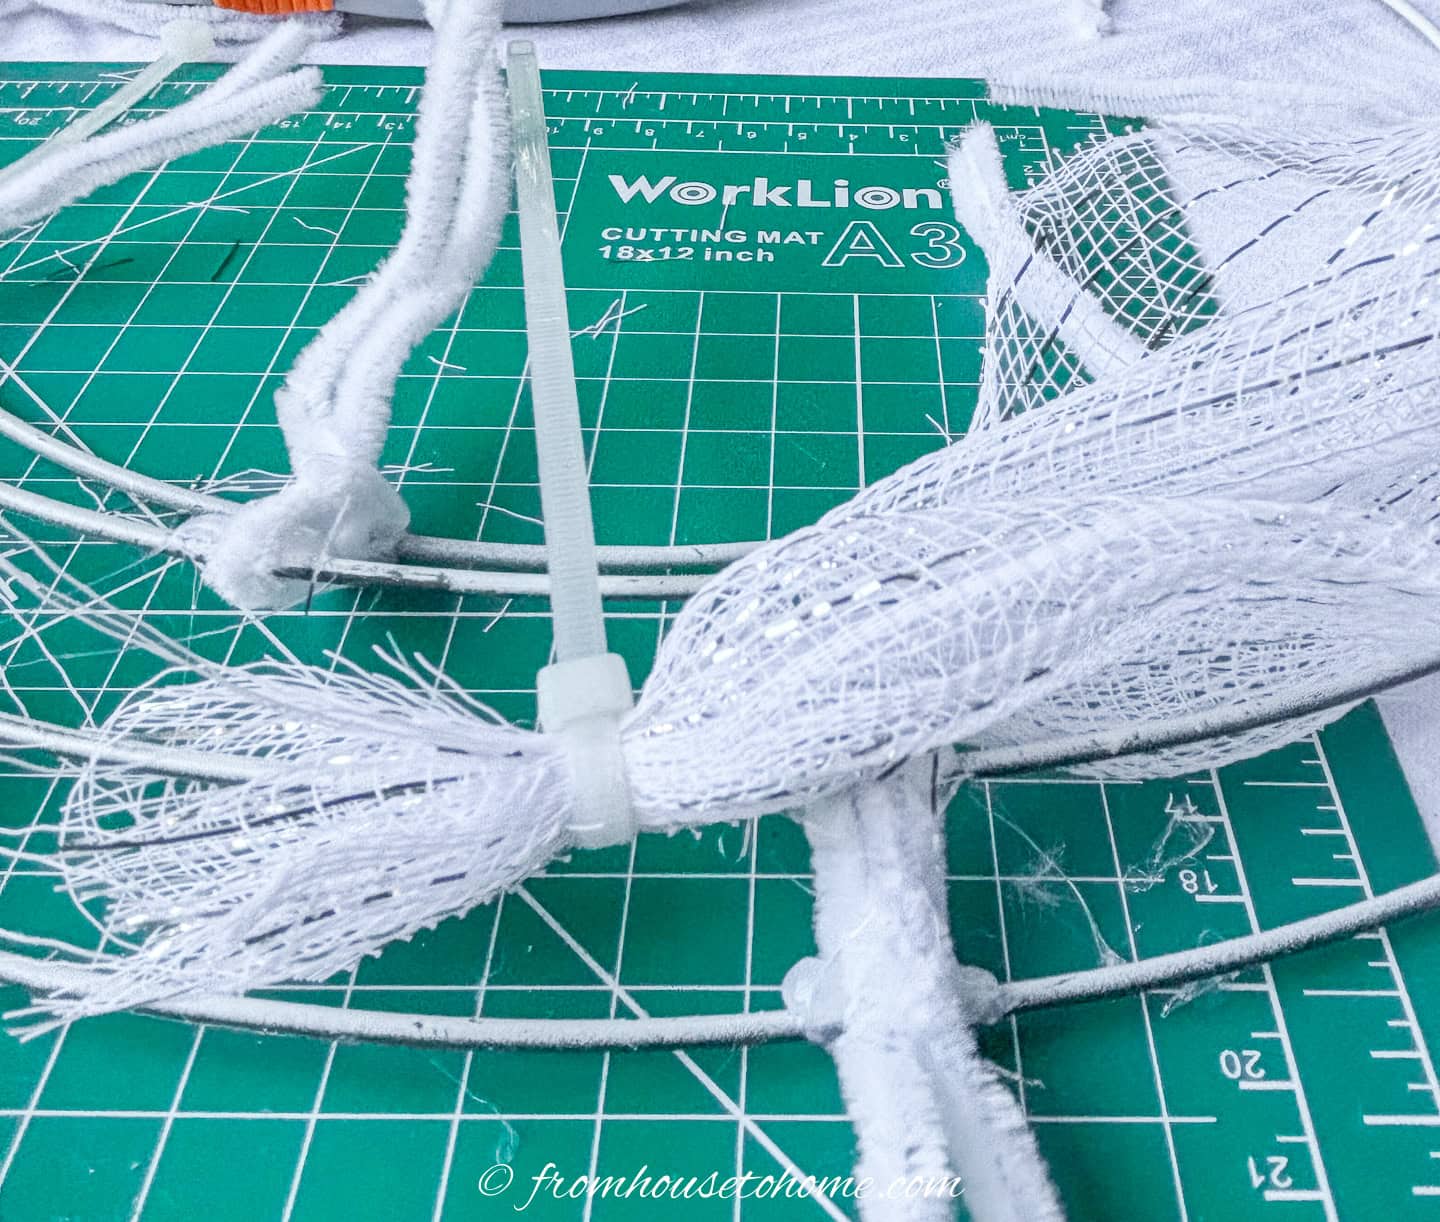
Select a location on wire #3 at the bottom of the wreath that is about 1-inch to the left of a pipe cleaner tie on the outer rim.
Gather the doubled deco mesh edges together with your fingers and hold the bunched mesh firmly on the third wire.
Use a twist tie to attach the scrunched end firmly in place.
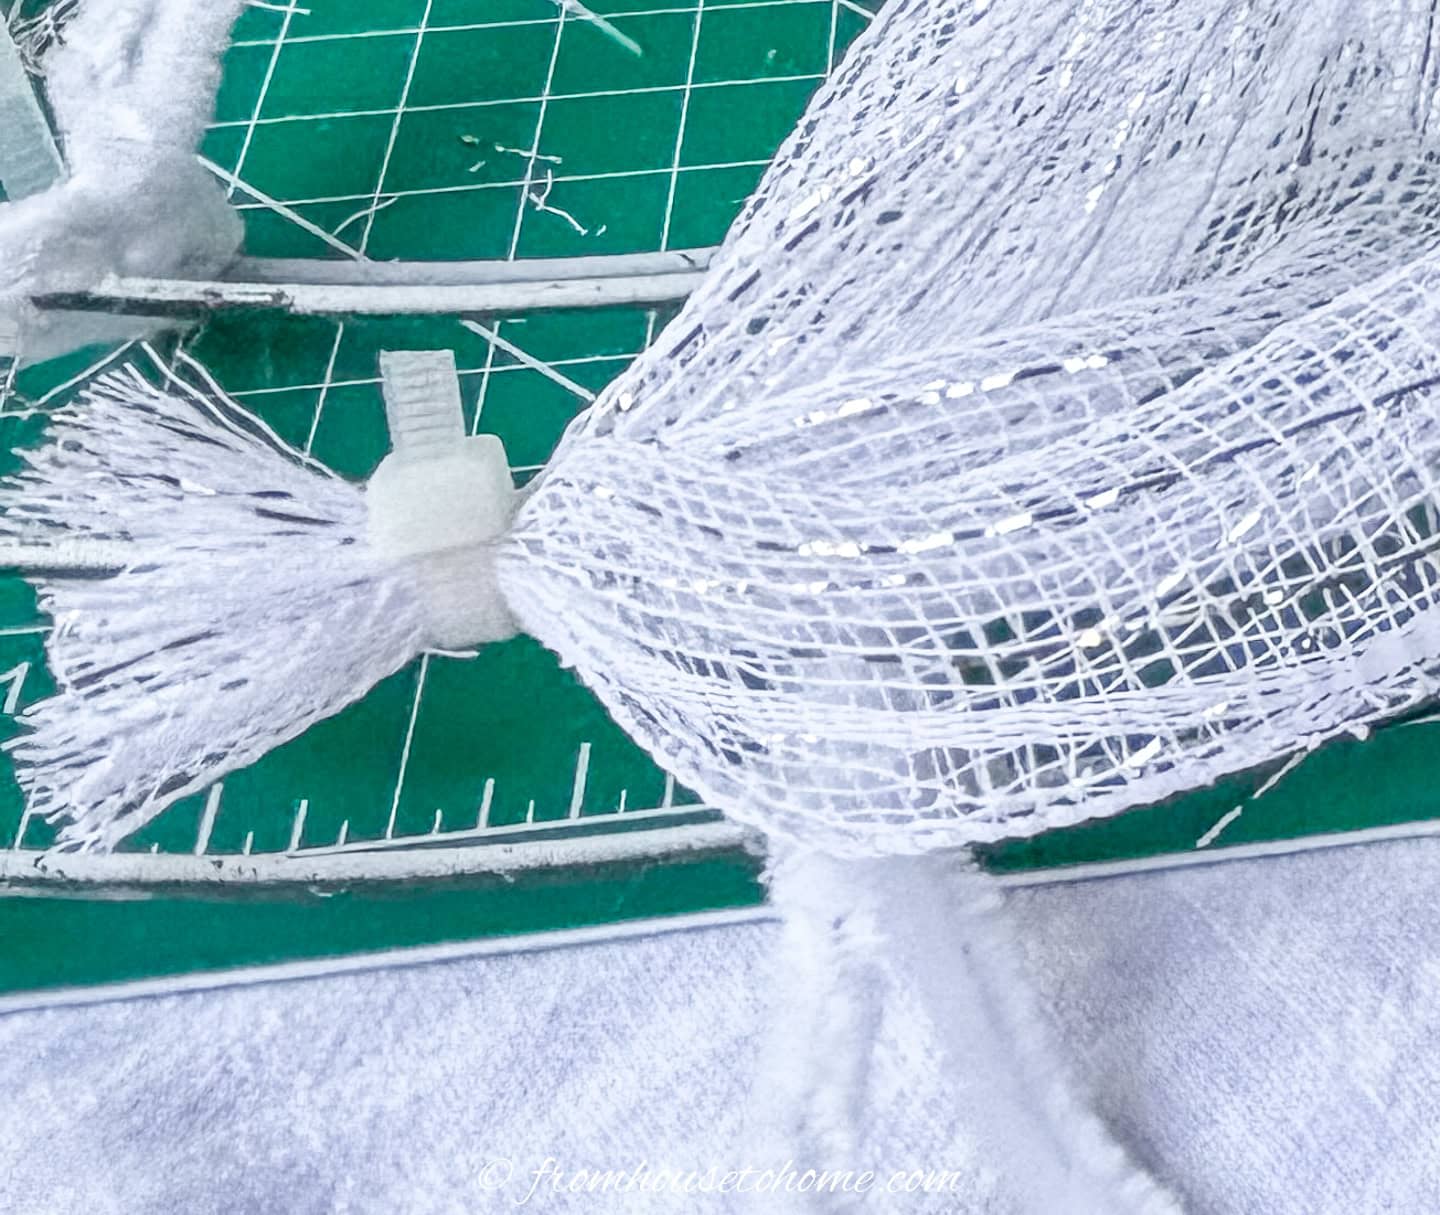
Pull the zip tie as tight as you can then cut off the long end to about ½ inch from the fastener.
Now it’s time to start making poufs.
It is important that the length of mesh used in each pouf be the same in order to have uniformity in size. Since our pipe cleaners are equally spaced, we’ll use them to measure out our poufs.
To do this:
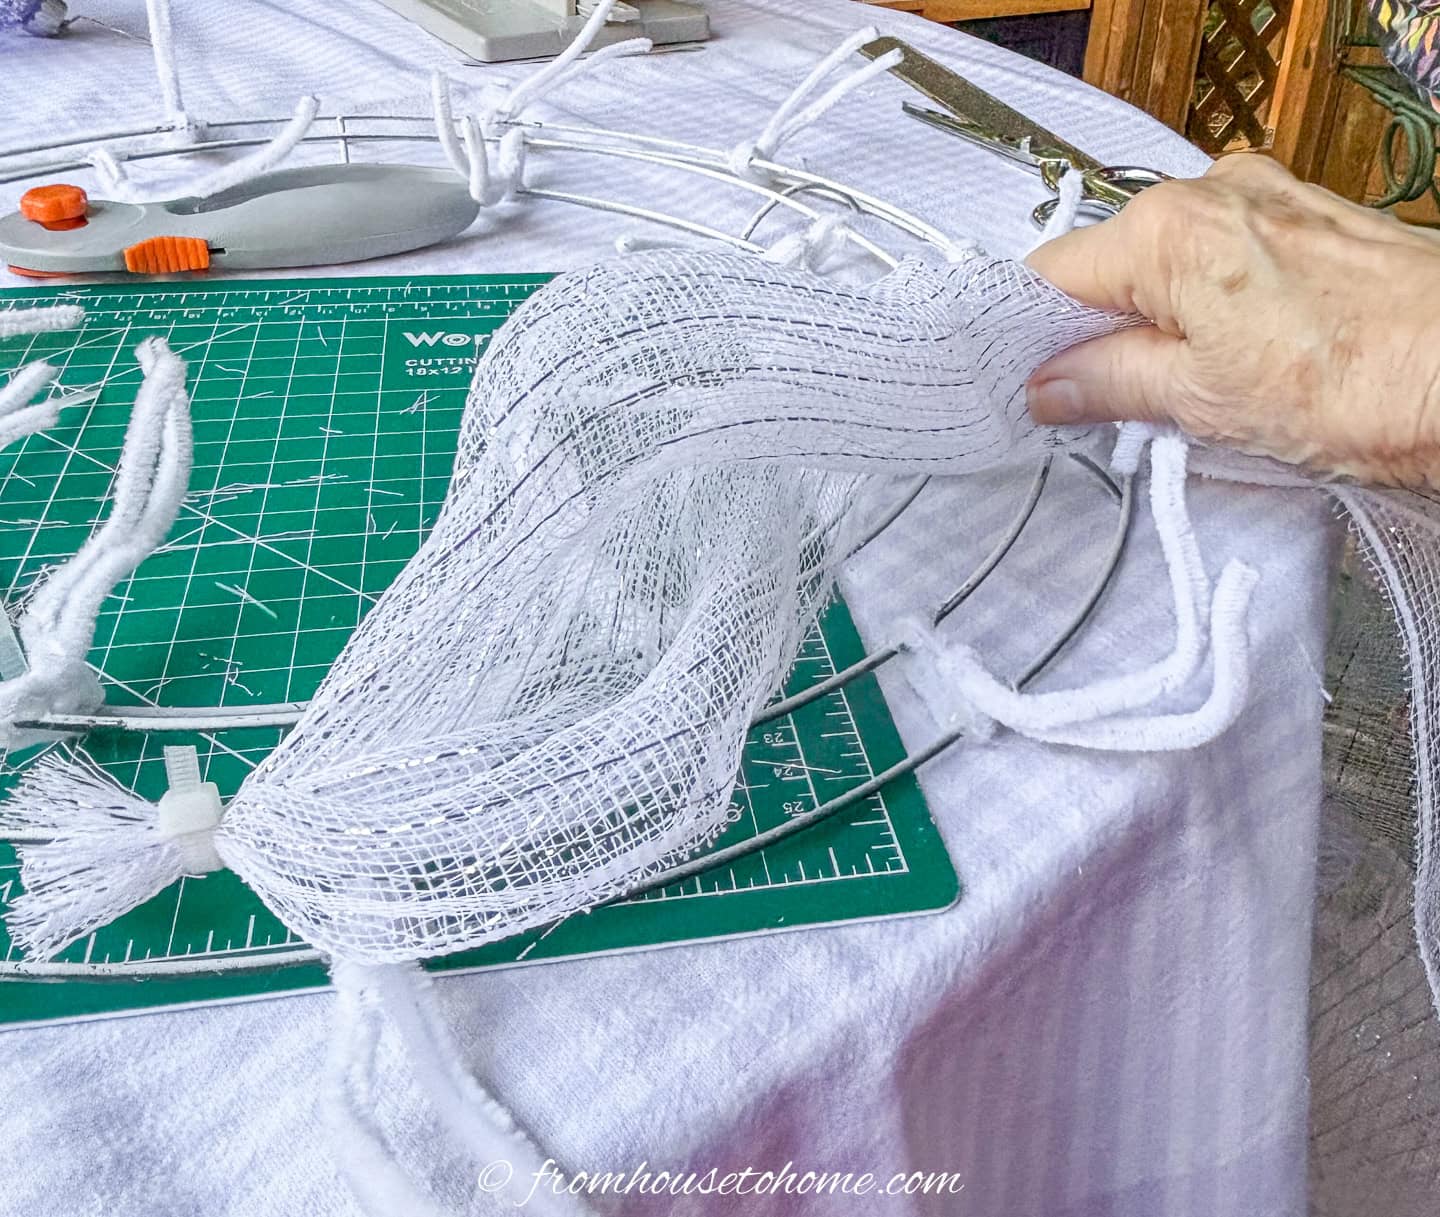
- Lay the mesh out along the outer rim of the wreath form until you reach the third tie (bypassing the second one). This will create about a 10-inch length for your pouf.
- Pinch it together with your fingers at that location.
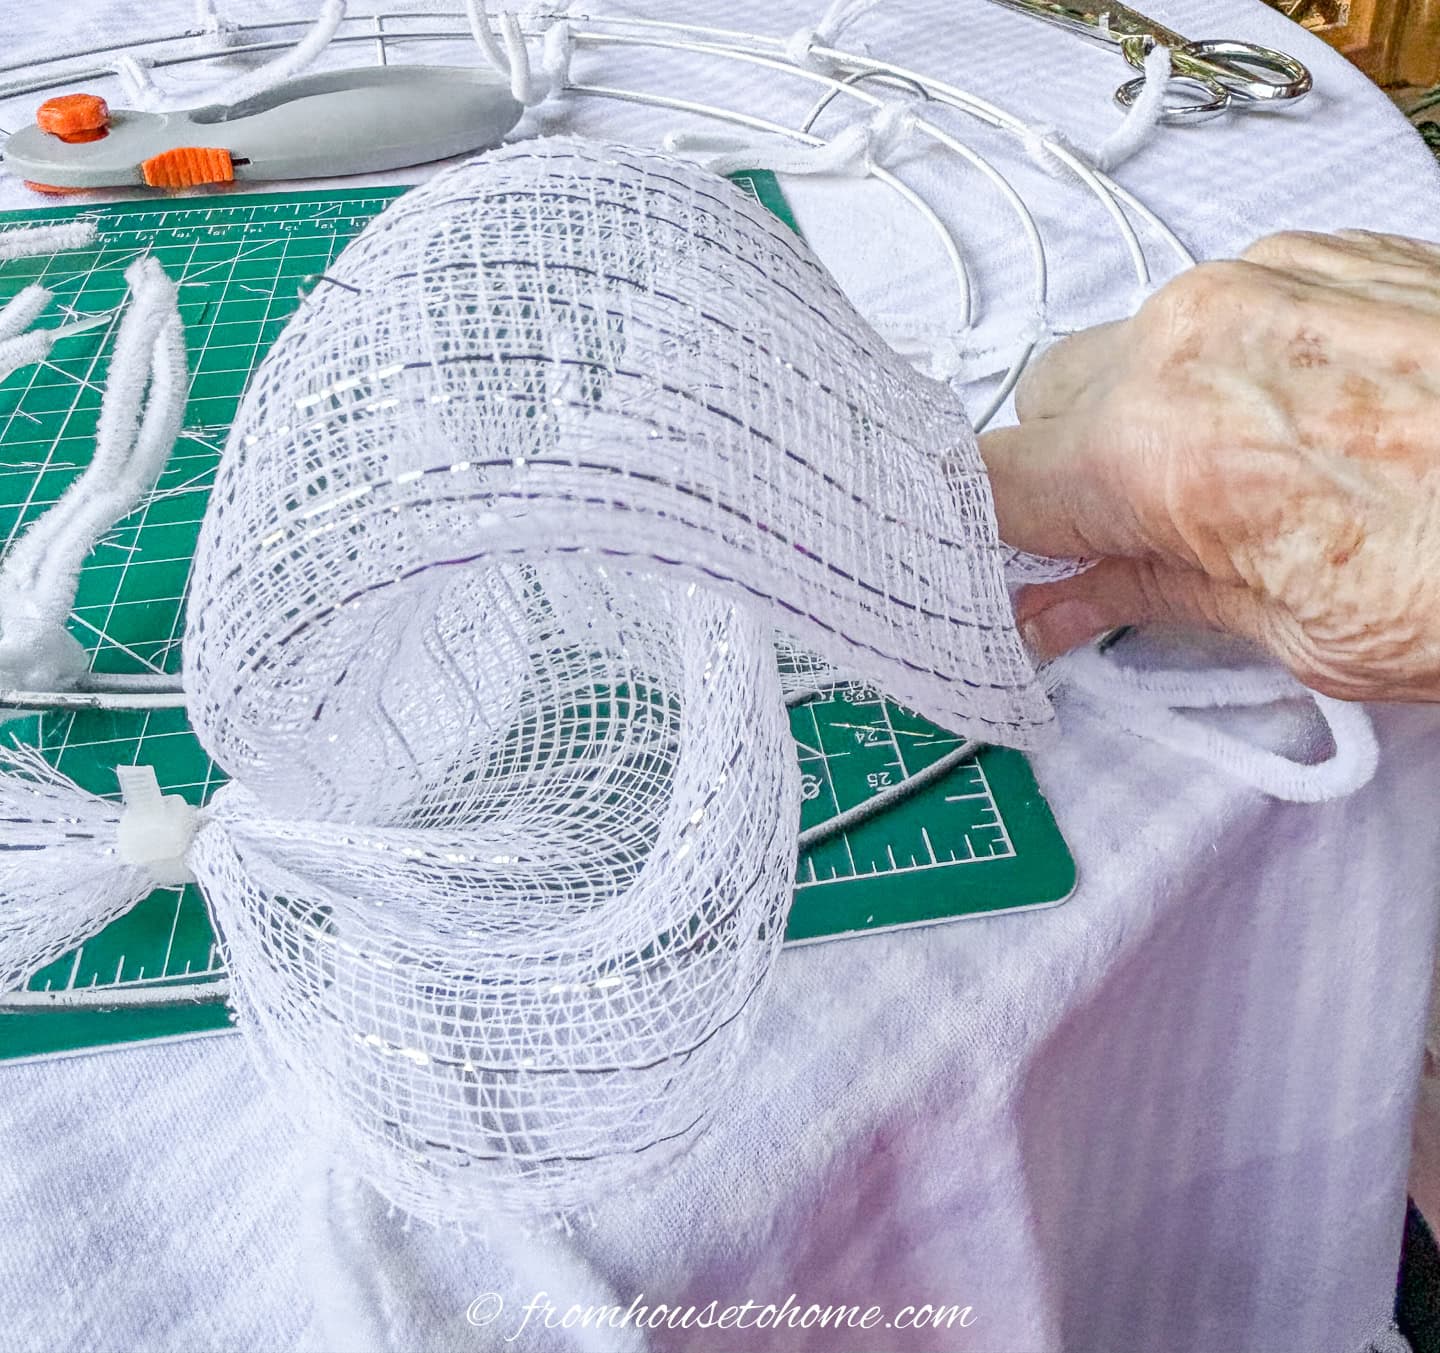
- Move your fingers with the scrunched mesh back to the second tie (the one you skipped).
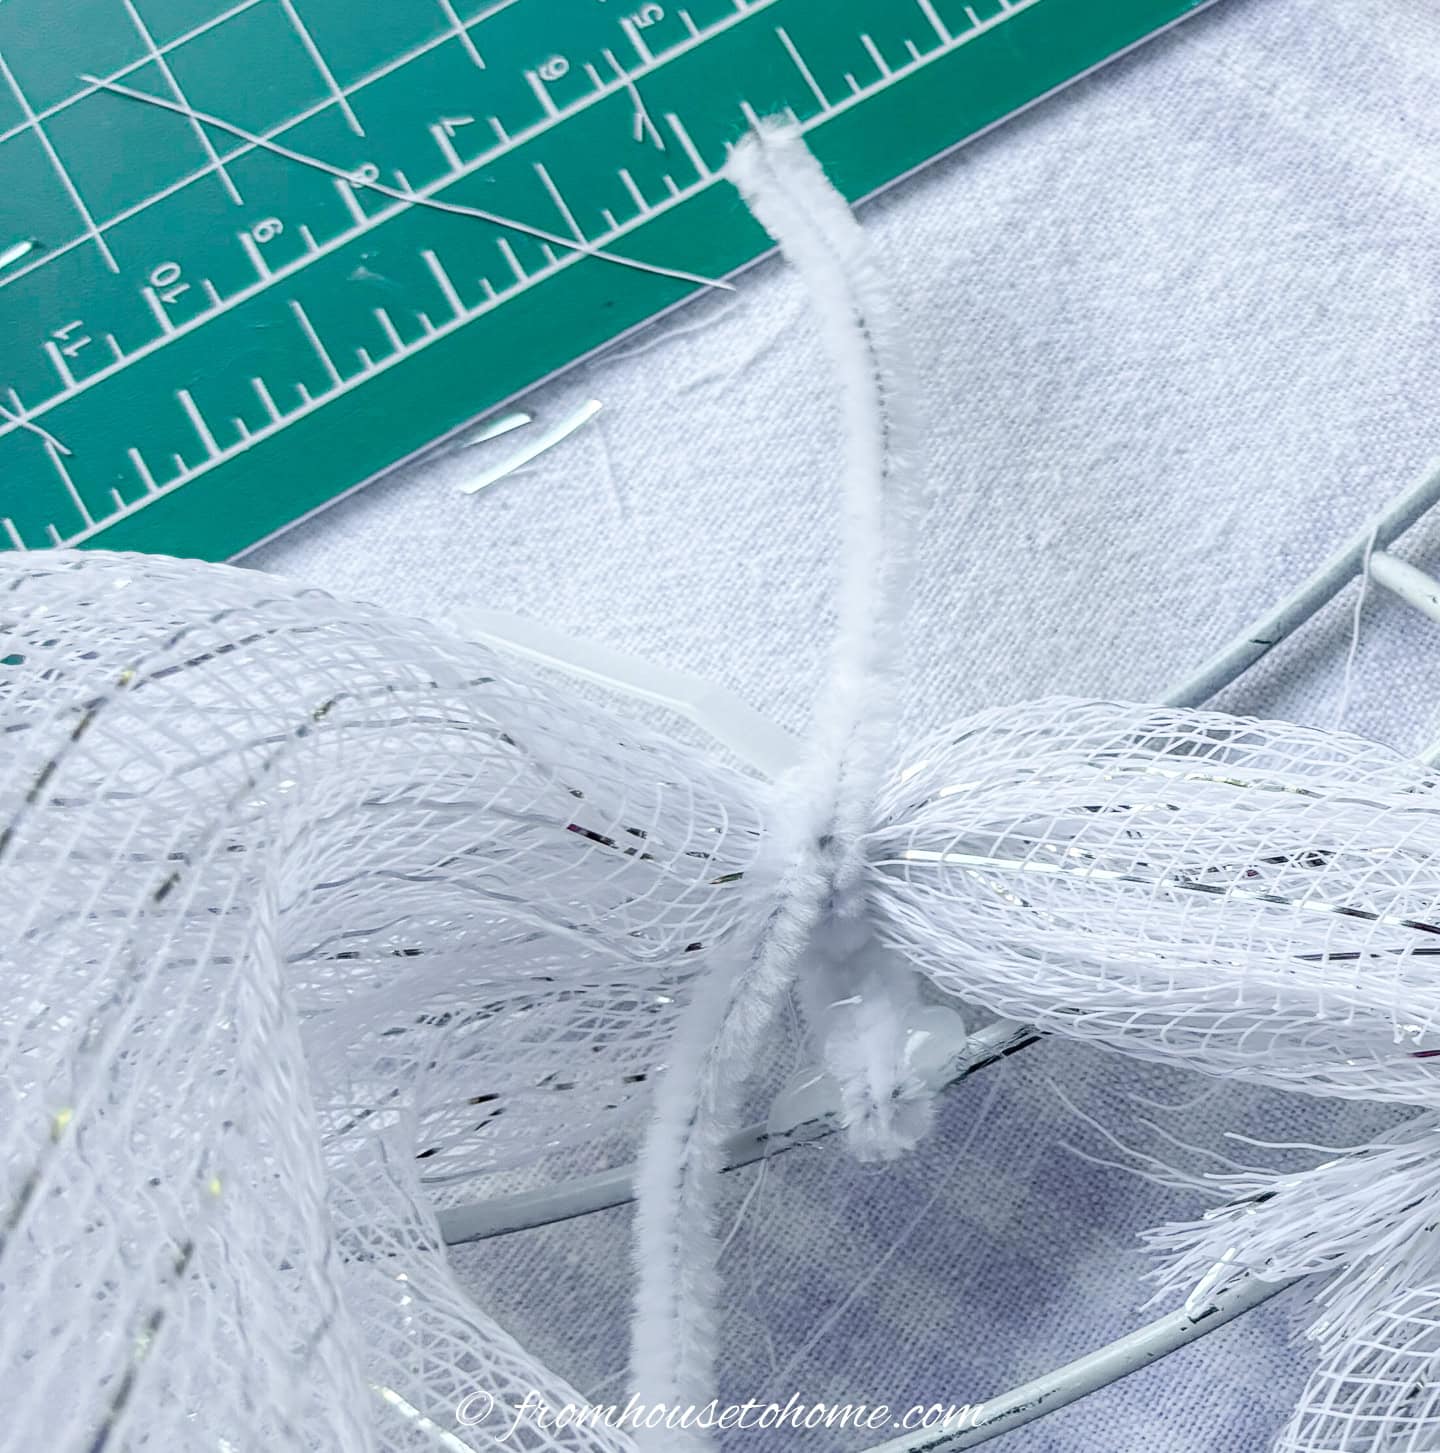
- Tie the mesh in place by twisting the second pipe cleaner around the bunch.
Before proceeding to the next pouf, use your fingers to tuck the long edges of mesh inward and form it into shape.
Continue around the outer ring creating poufs with the same method – measuring out 2 pipe cleaners (or 10 inches), scrunching at the measured spot, and then attaching to the pipe cleaner you skipped.
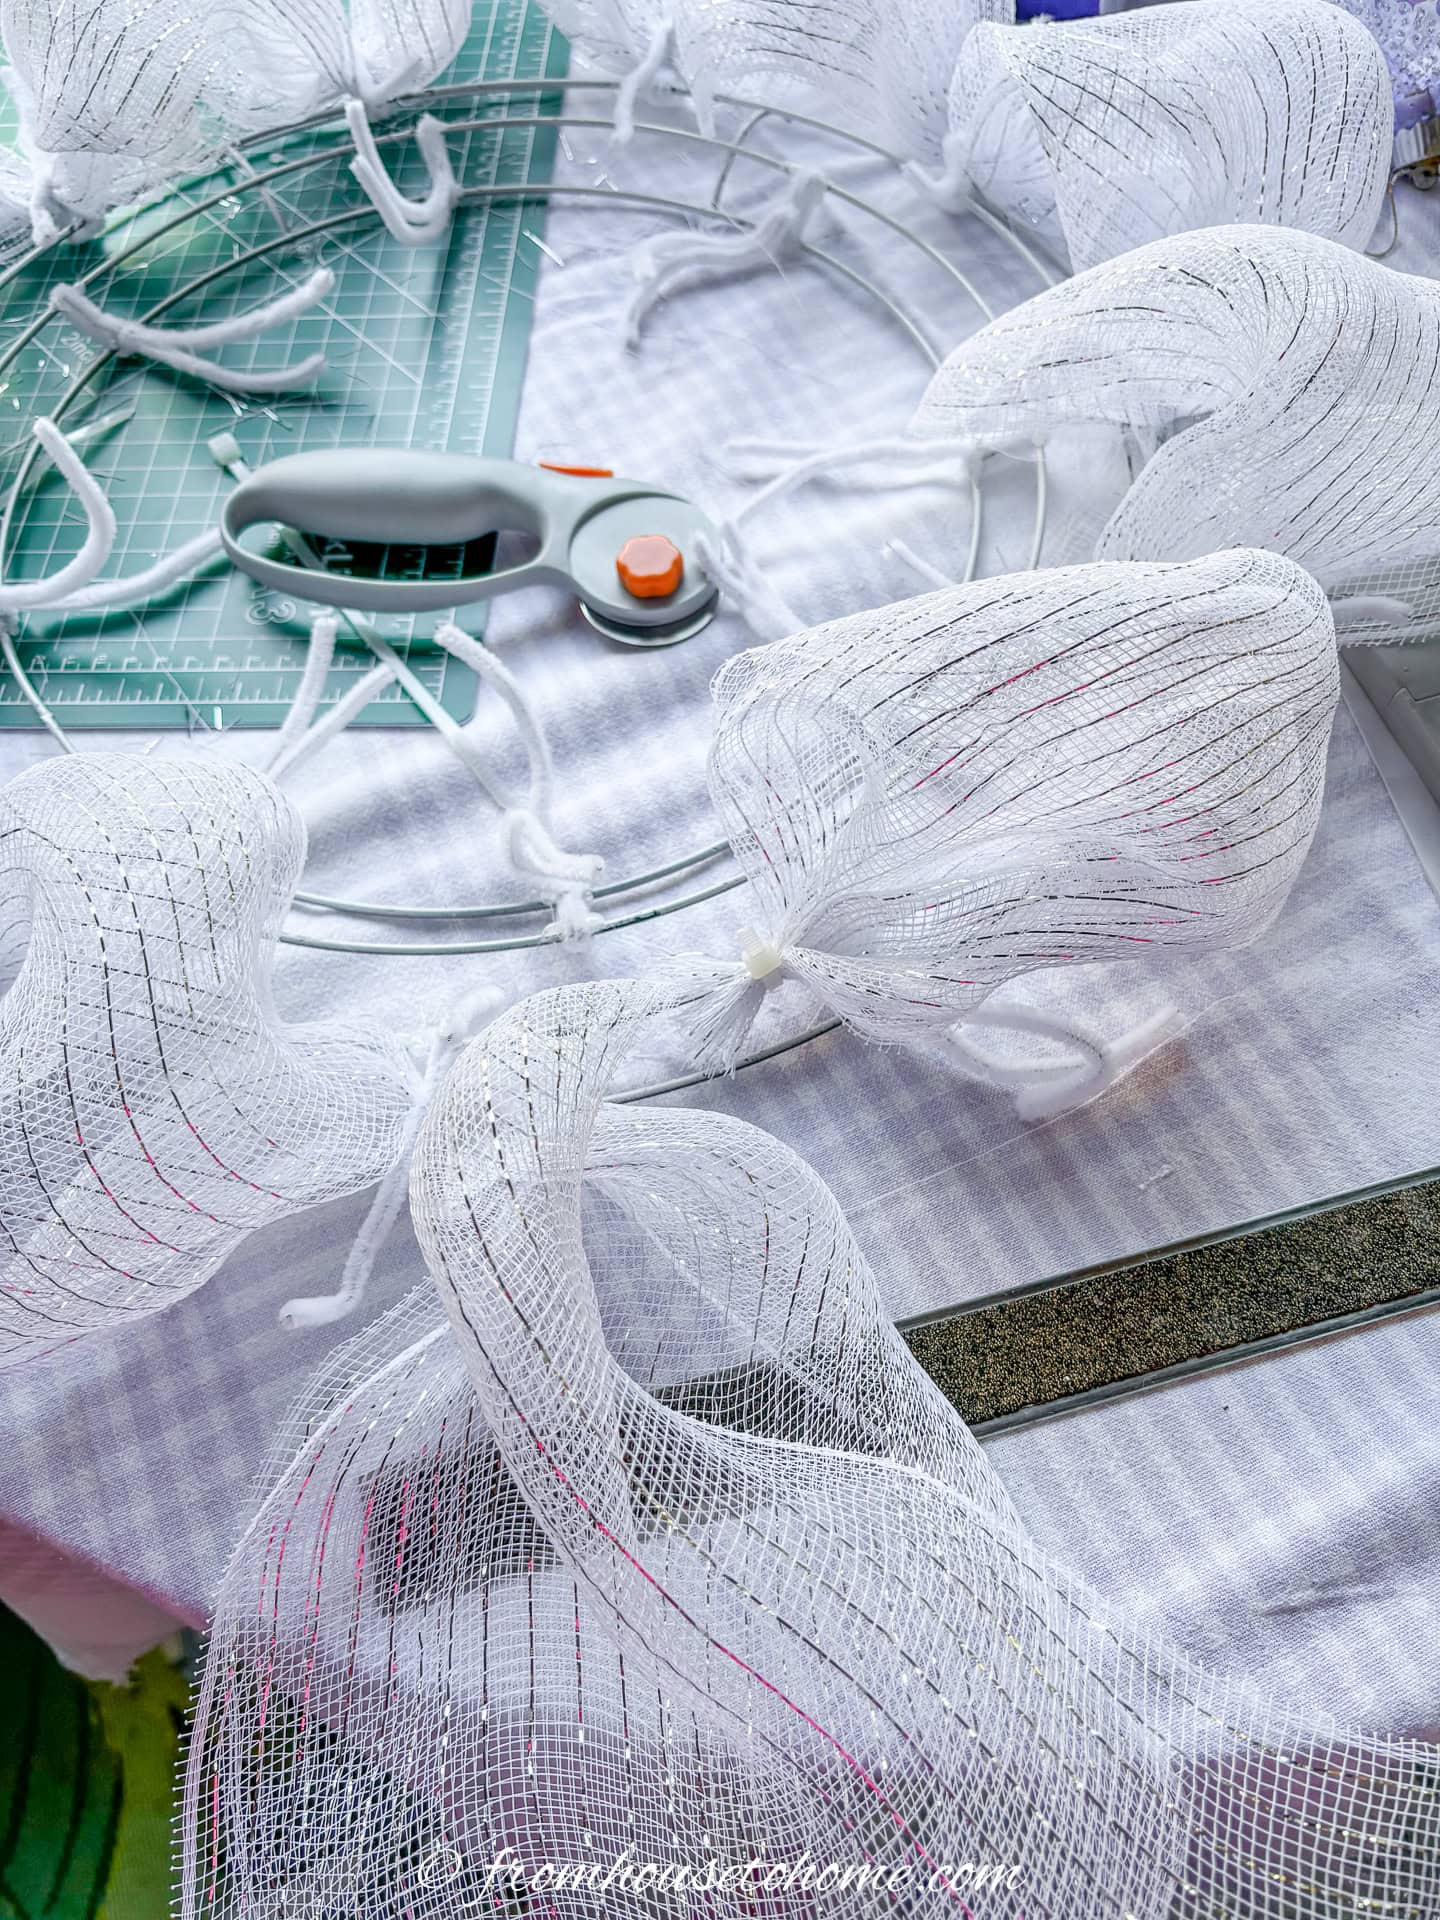
Secure the last outer ring pouf over the starting zip tie using the pipe cleaner tie that is right beside it. (Don’t cut the mesh off. We will be continuing to use the same roll for the inner ring.)
You should now have deco mesh attached to all of the pipe cleaners on the outer row of the wreath form.
2 | Add poufs to the inner edge
Before proceeding, pull the ends of the pipe cleaners on the inner ring apart.
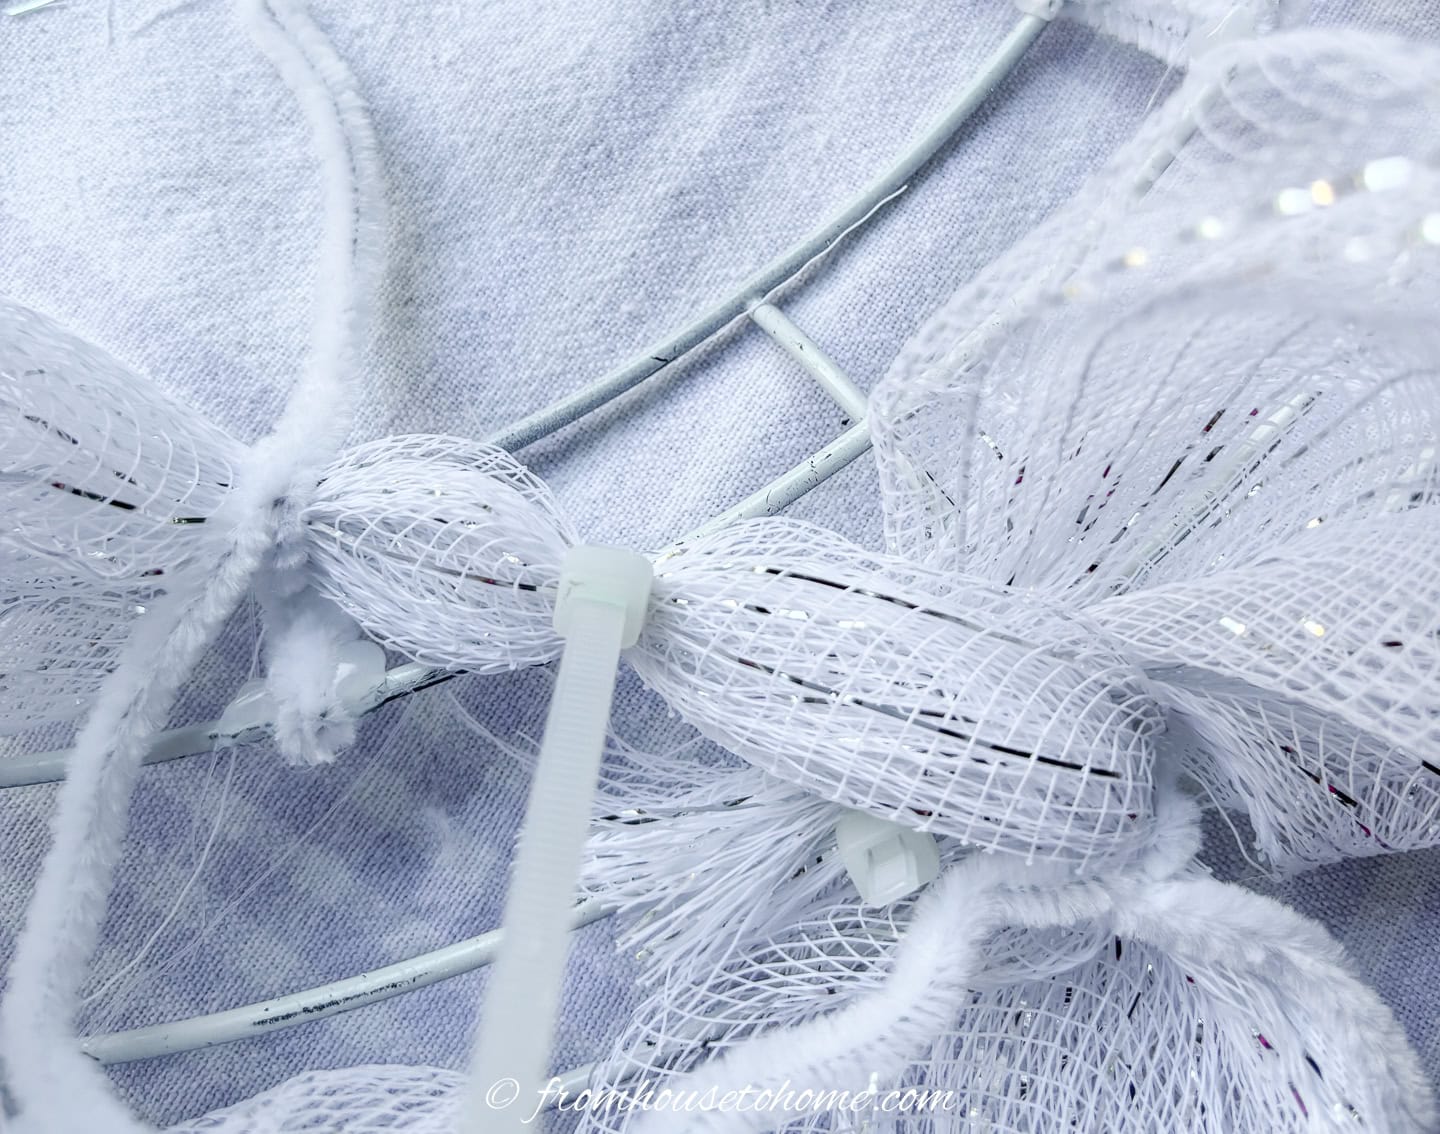
Now take the bunched length of double mesh straight across the wreath form to the closest pipe cleaner on inner ring #1 and twist it in place.
Attach the straight part to wire #2 with a zip tie to keep it from sticking up too much. Cut the end off the zip tie.
Now create poufs all around the inner ring using the same method that we did for the outer ring:
- Measure 10″ away by pulling the mesh over to the third pipe cleaner.
- Scrunching the mesh between your fingers at the point.
- Move the pinched spot back to the pipe cleaner you skipped.
- Twist the pipe cleaner around pinched spot to securely attach the deco mesh to the inner wire.
When you get to the last pouf, attach it onto the same pipe cleaner where the first pouf is attached.
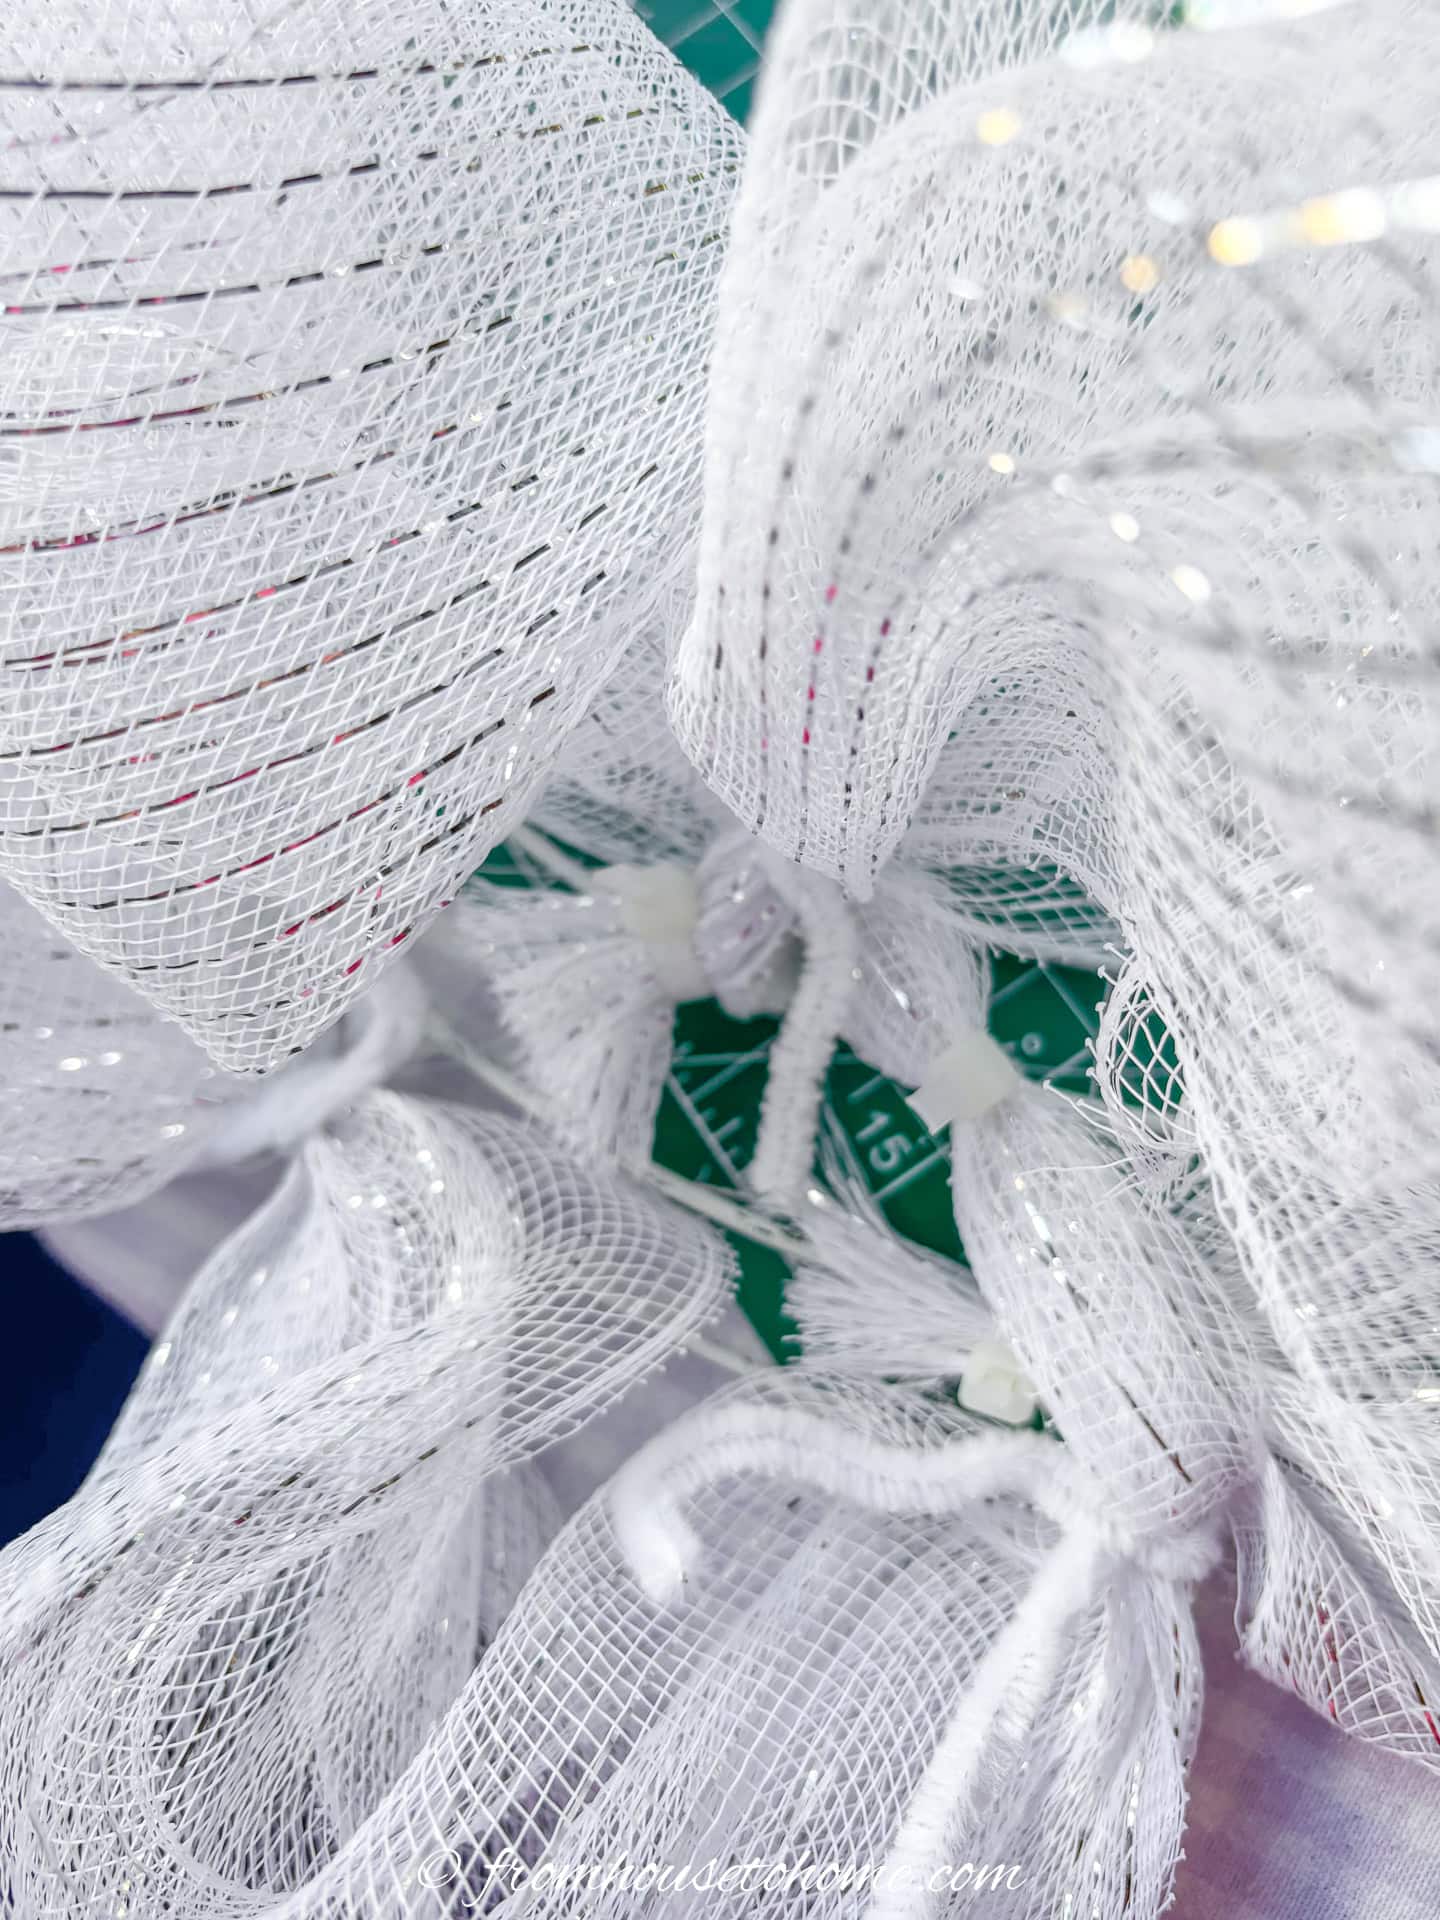
Pull the deco mesh to the 2nd wire about 1″ from the pipe cleaner and tie it off firmly with a zip tie. Cut off the ends of mesh and zip tie with scissors.
3 | Add the middle row
For the middle row, I used purple metallic mesh over the same white mesh used for the other rows. The purple mesh was on the top so that it would provide a contrast between the white rows.
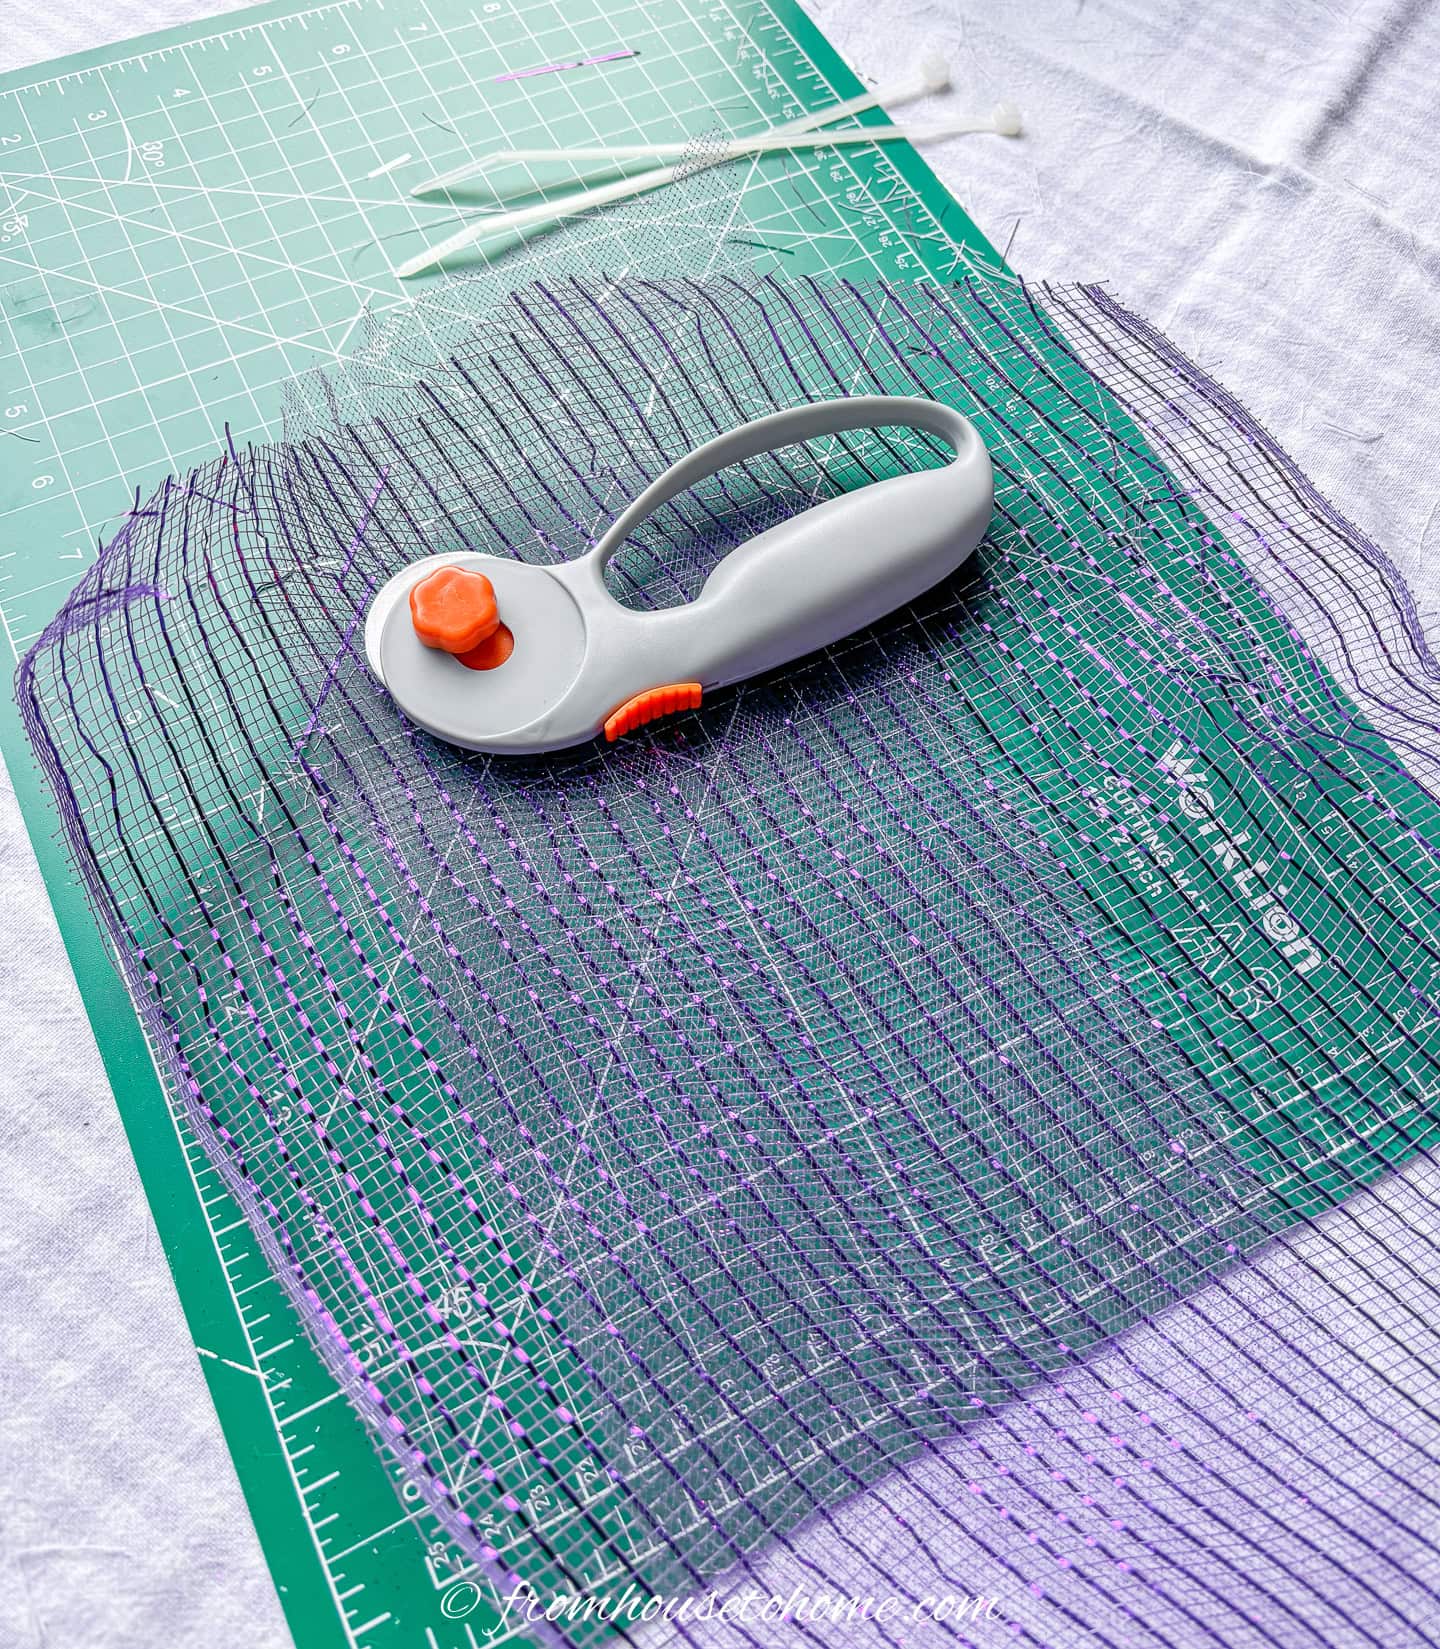
Place the width ends of the stacked mesh on the cutting board and use the fabric wheel to cut a straight edge across both meshes.
This row of deco mesh will be attached to the inner wires.
Choose a starting point near a pipe cleaner that is 5 or more inches from the ending of the inner row of white poufs.
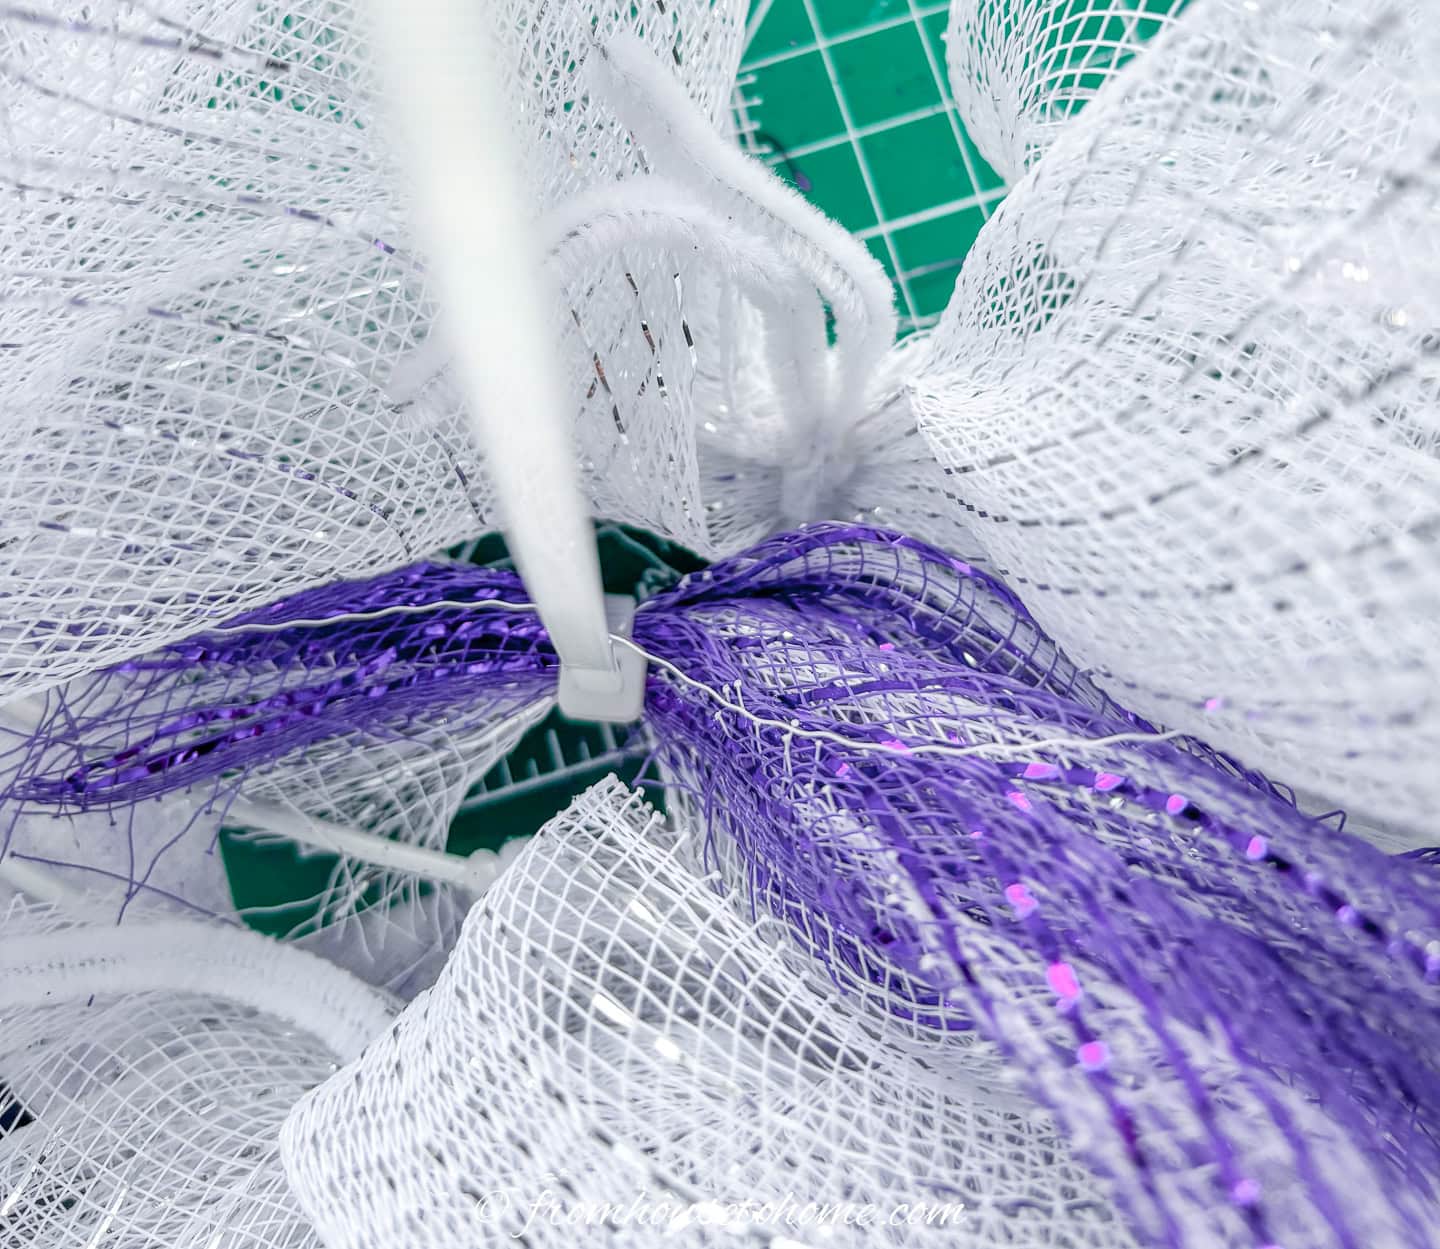
Similar to what we did with the the other rows, scrunch the ends, and zip tie them onto wire #2 about 1″ away from a tie on row #1. Cut the zip tie off about ½ inch from where it is fastened.
Continue as before. Measure out 2 pipe cleaners (10″), tie securely to the one you skipped.
Repeat until you have a center row of poufs attached to each of the pipe cleaners on the inner row.
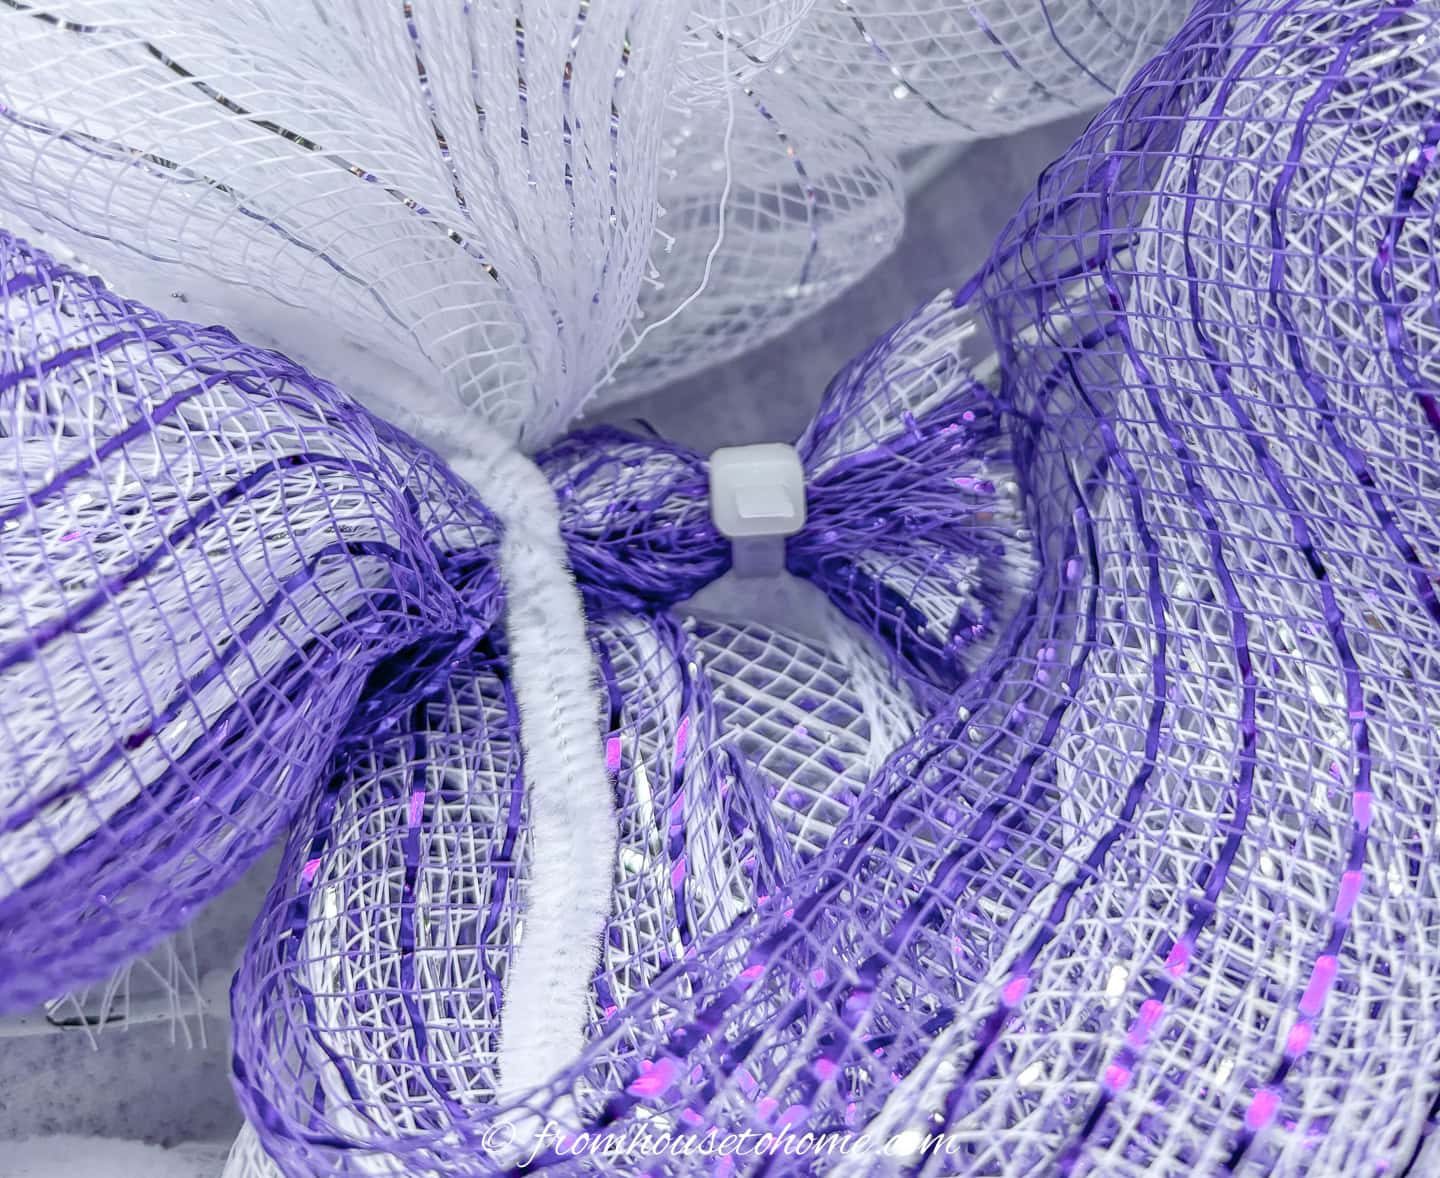
When you get to the last one, twist it onto the same tie as the first one. Secure the bunched ends of deco mesh onto the second wire with a zip tie.
Cut off the protruding end of the zip tie and the remaining mesh.
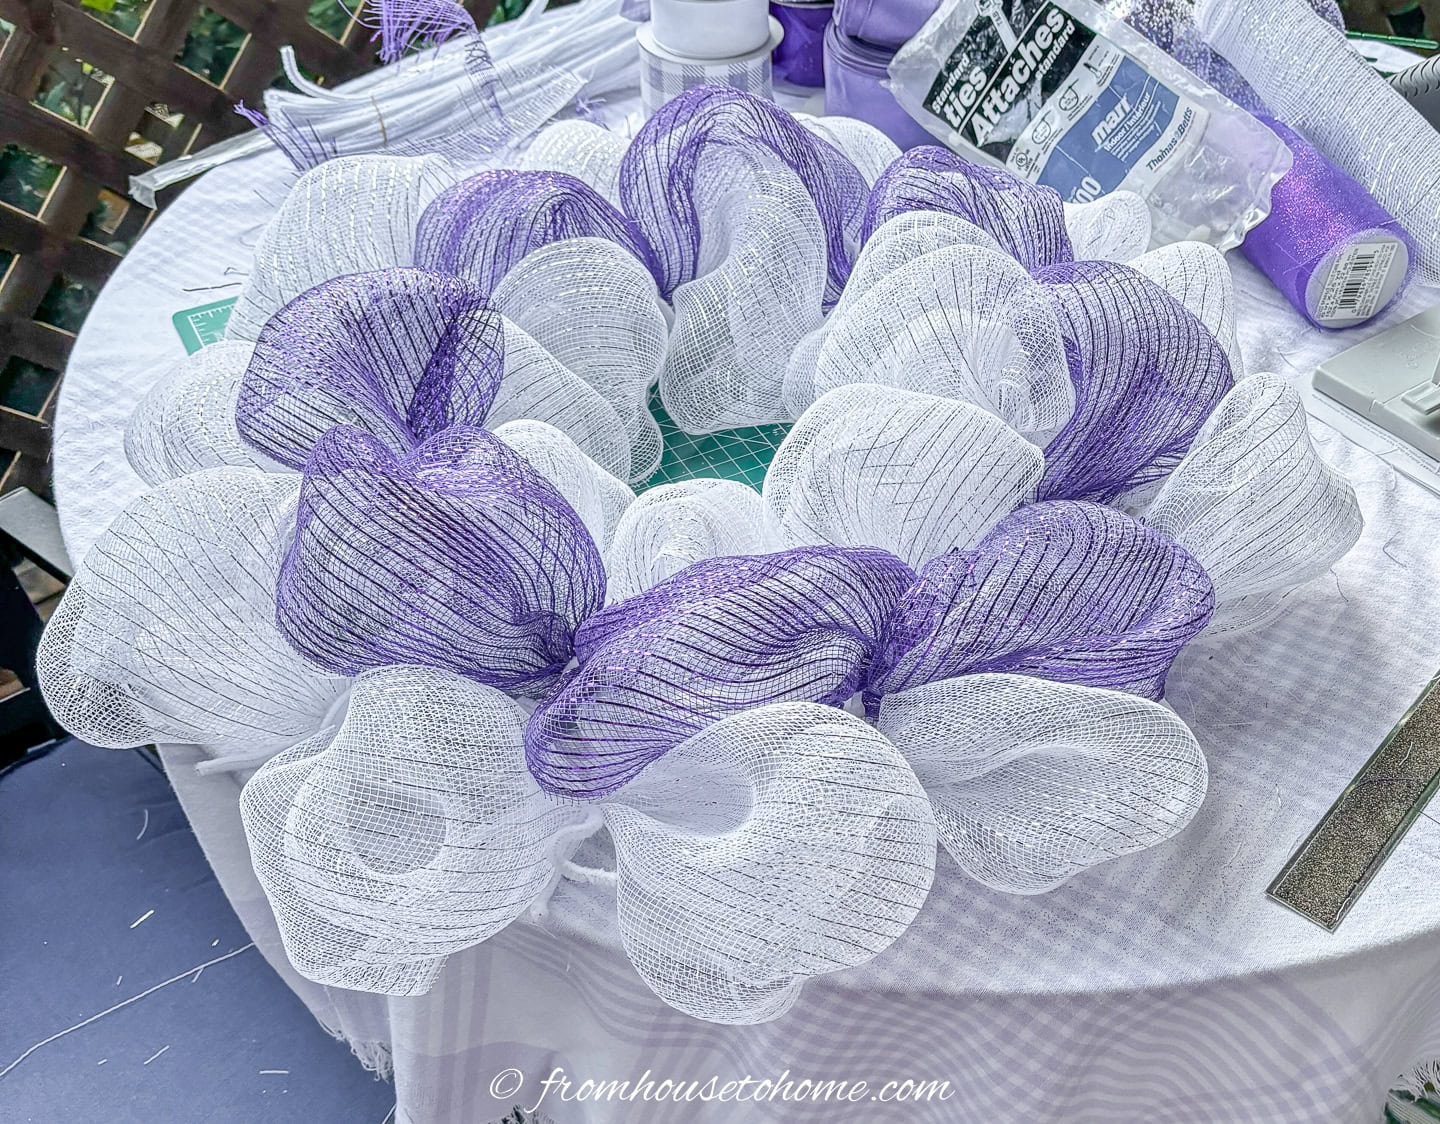
Adjust the poufs so that no cut ends are visible, the edges are tucked inward, and the poufs are even.
4 | Attach ribbons
Now it’s time to add the ribbons.
I chose 6 coordinating ribbons 2.5″ wide or narrower, preferable but not necessarily wired. I tied two pieces of ribbon to each pipe cleaner tie which meant I needed 2 x 18 = 36 ribbon pieces.
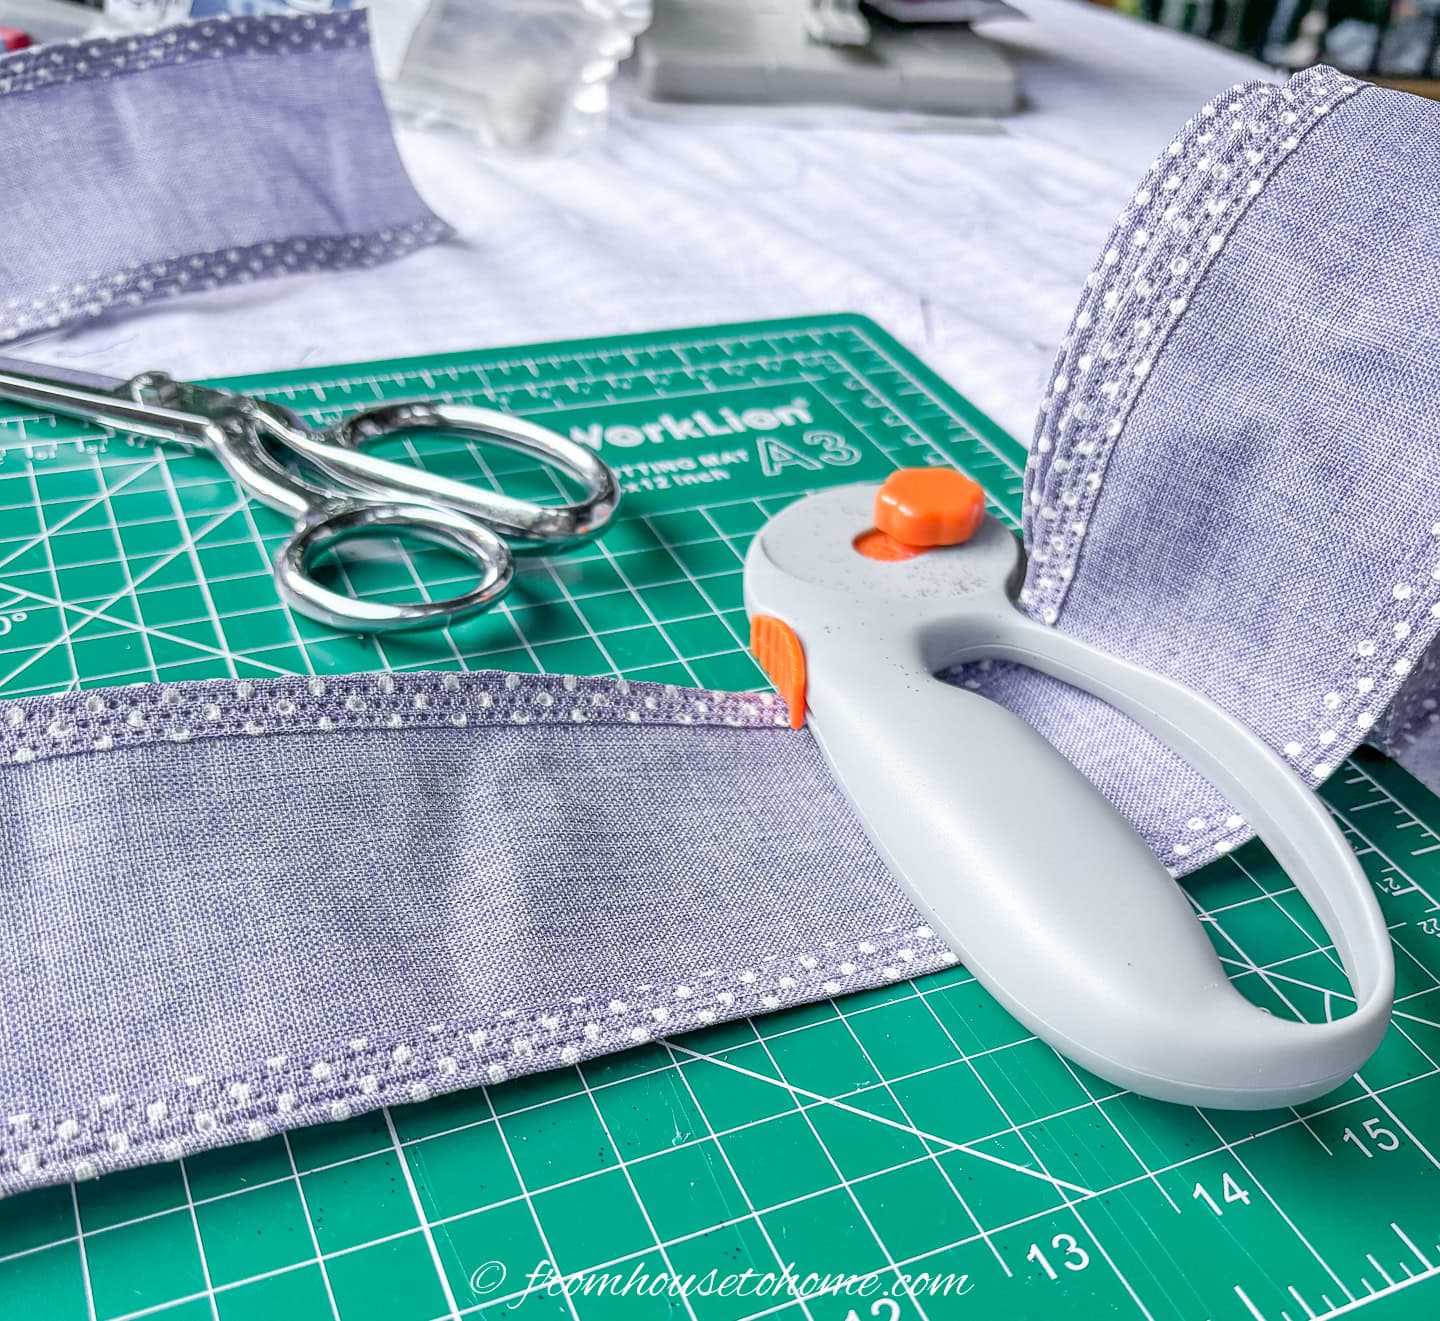
Cut 6 pieces of each ribbon that are 12″ long.
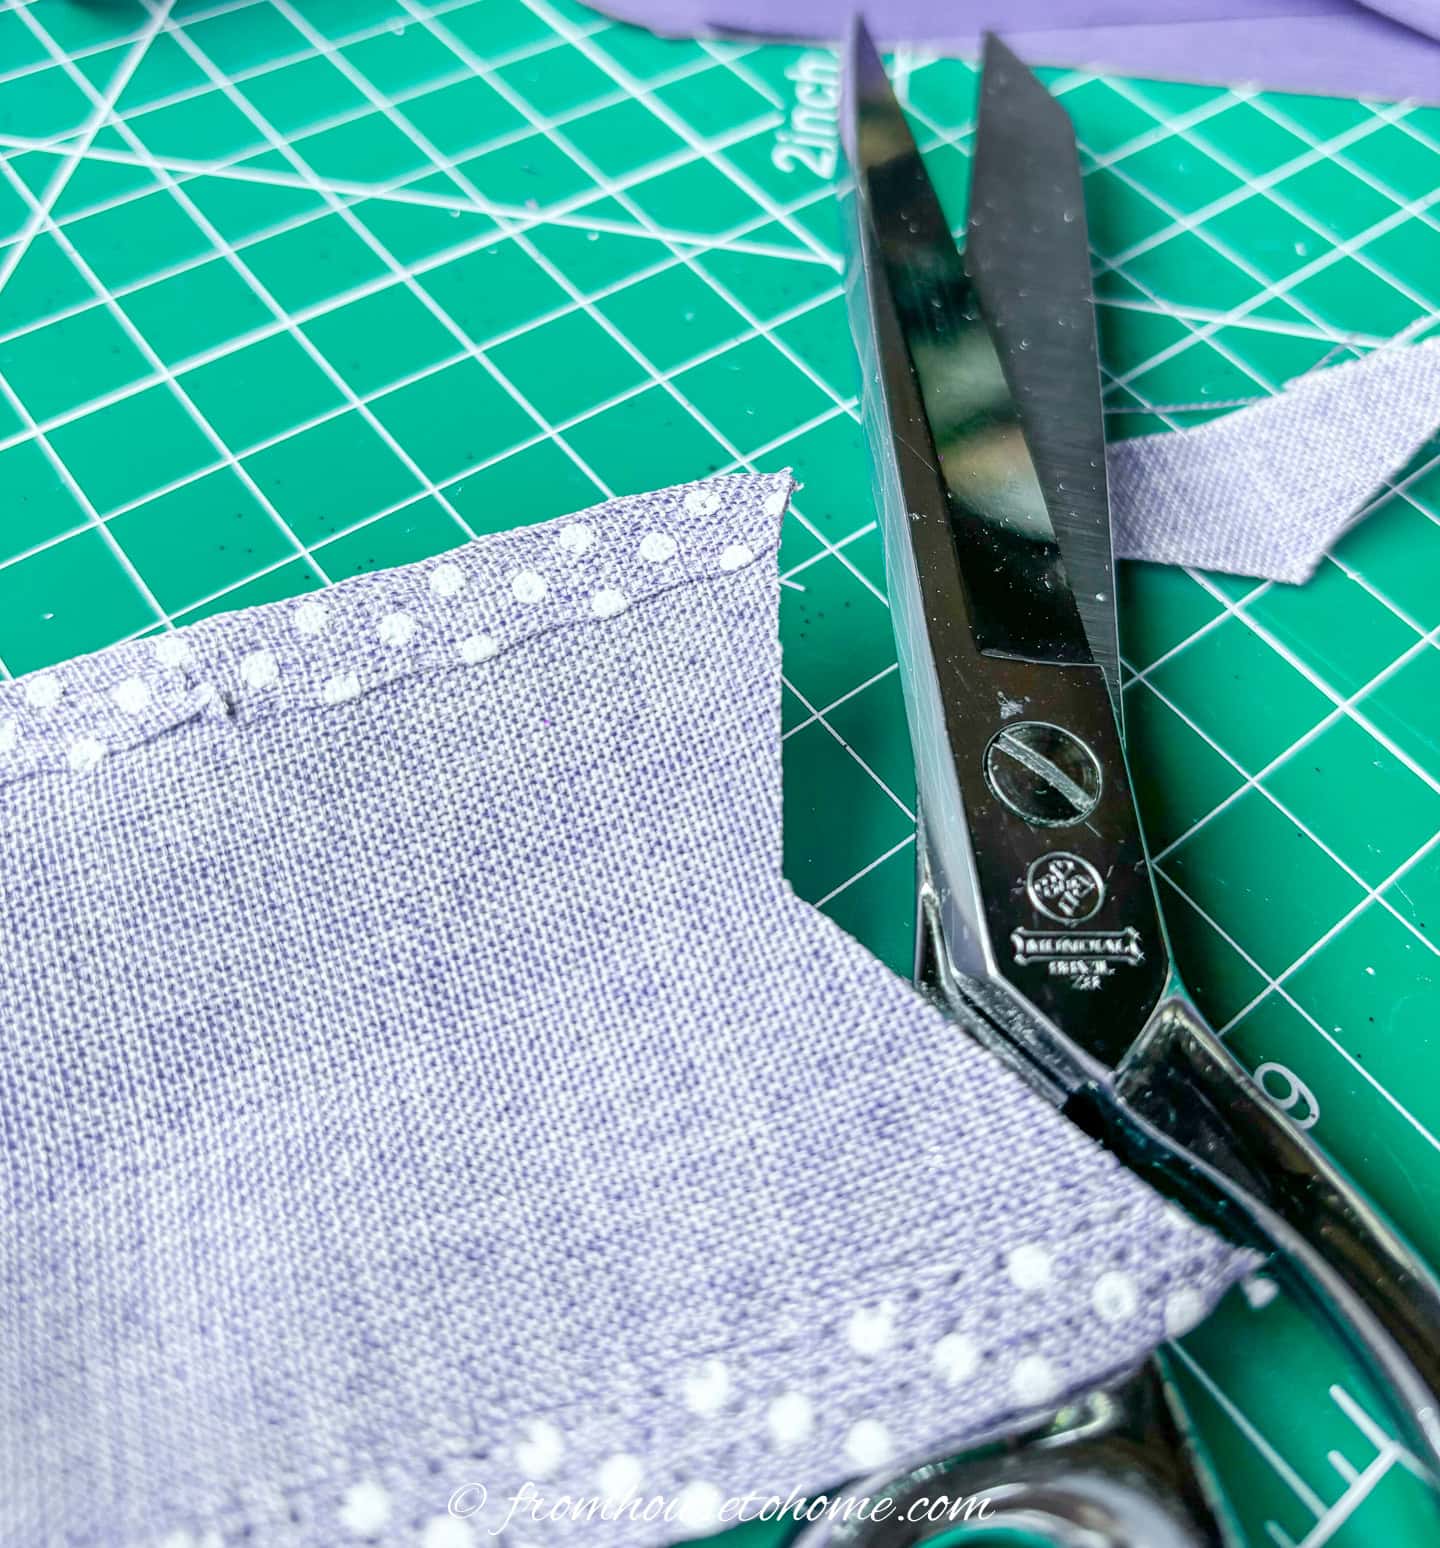
Then dove tail both ends of each ribbon piece.
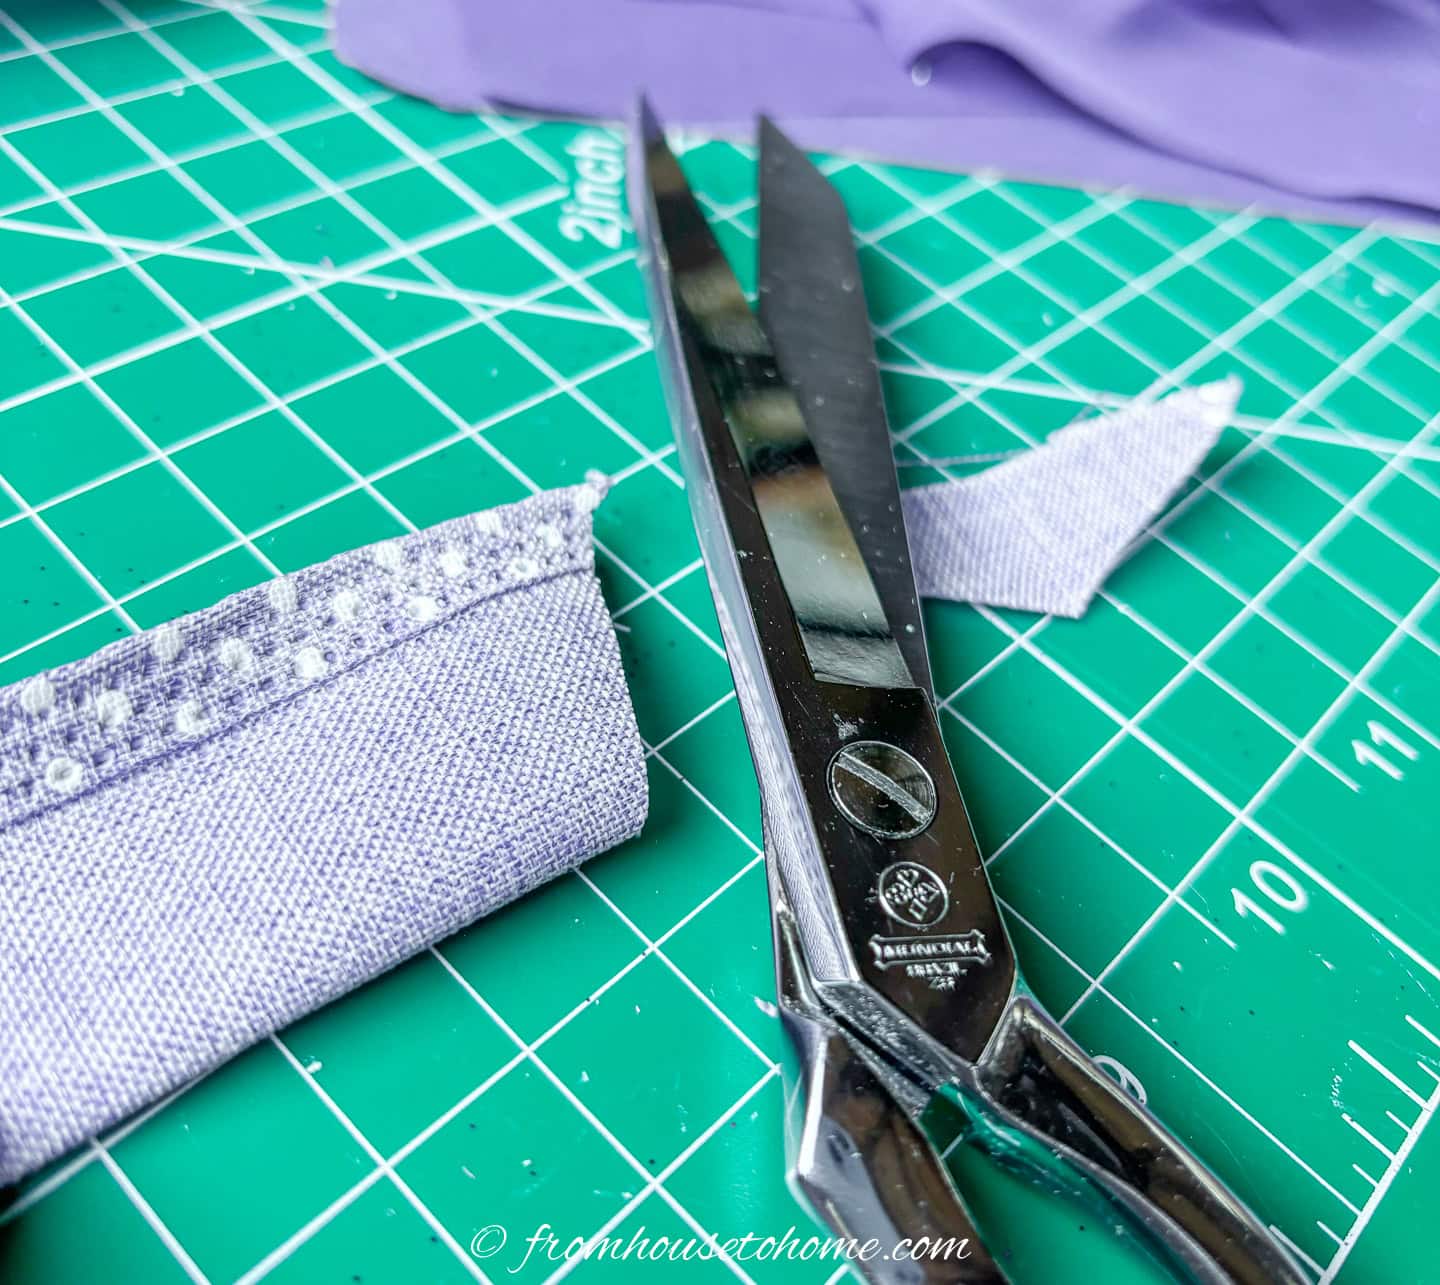
The easiest way to do this is to fold the ribbon in half and cut from the folded side to the opposite corner at a 45 degree angle. (See the illustration above.)
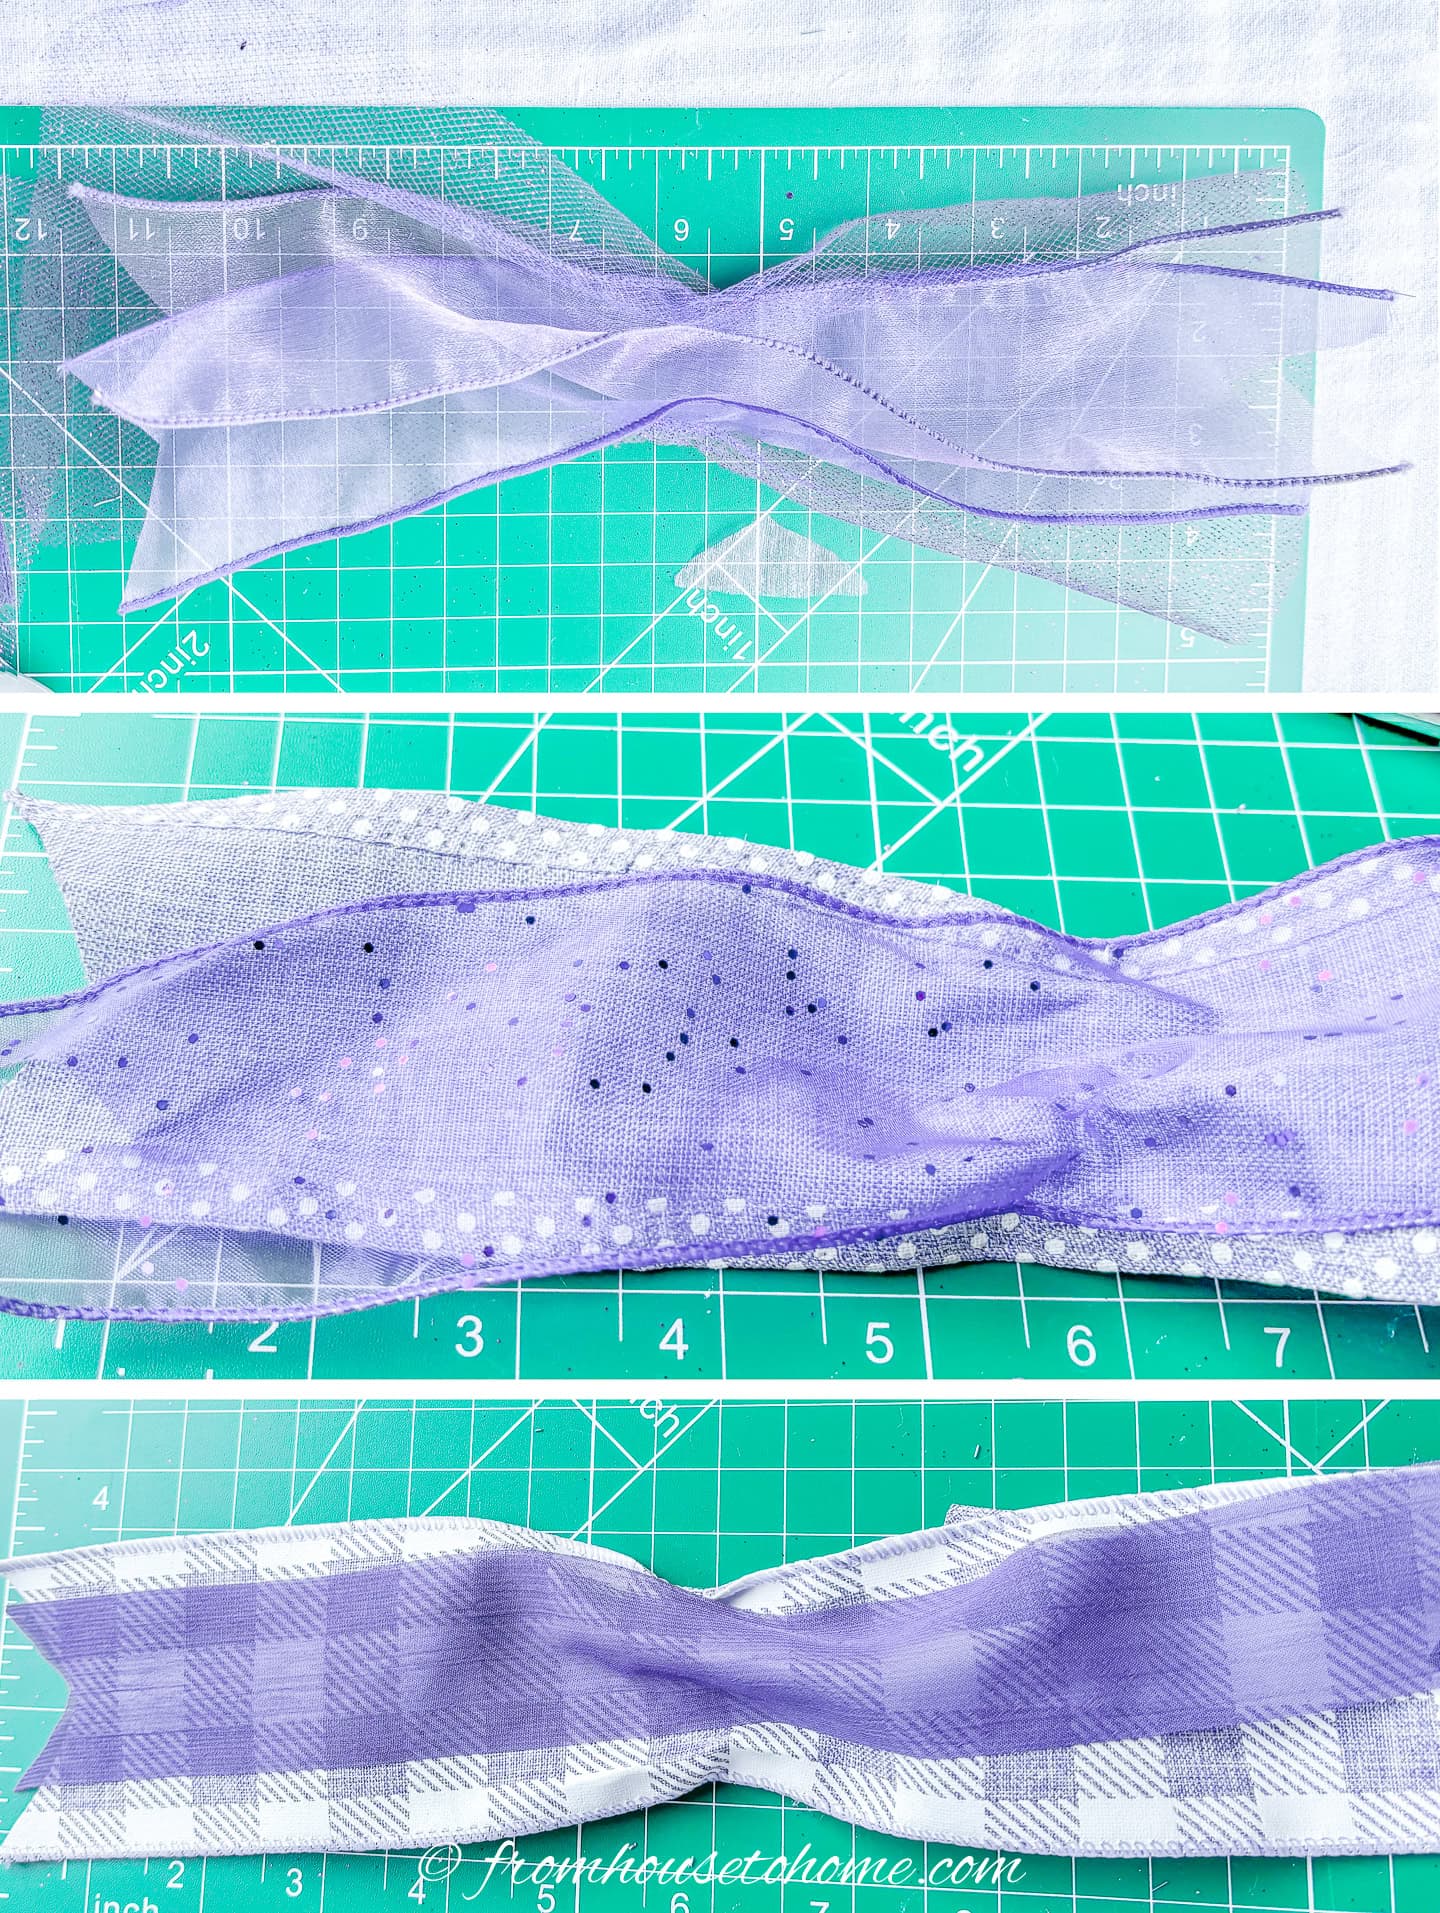
Layer 2 ribbons one on top of the other. This works best by putting a thinner ribbon over a wider one. To add interest, I used a variety of ribbon combinations.
Then find the center either by folding the pair in half or by measuring on the craft mat.
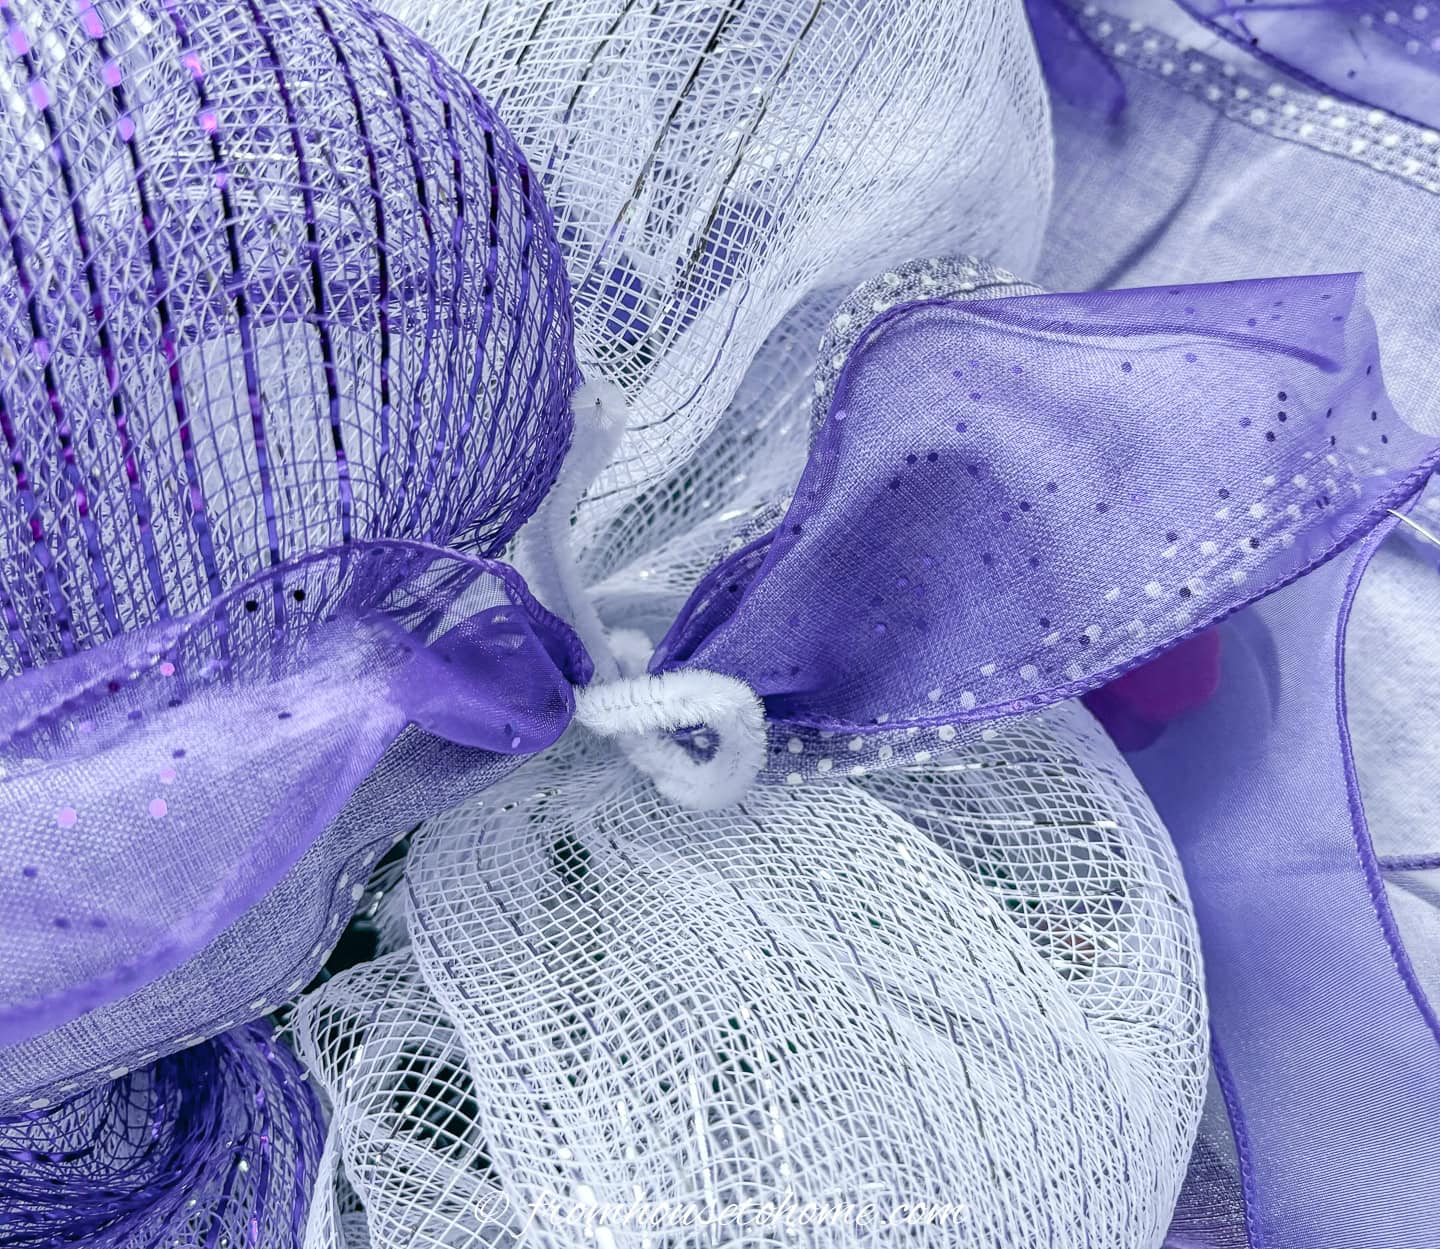
Scrunch the center of both ribbons together and tie into one of the pipe cleaner ties on the wreath form.
I continued around the inner and outer rims of the form twist tying paired ribbons onto each pipe cleaner. Since I had 3 different ribbon pairs, I alternated them in sequence around the wreath.
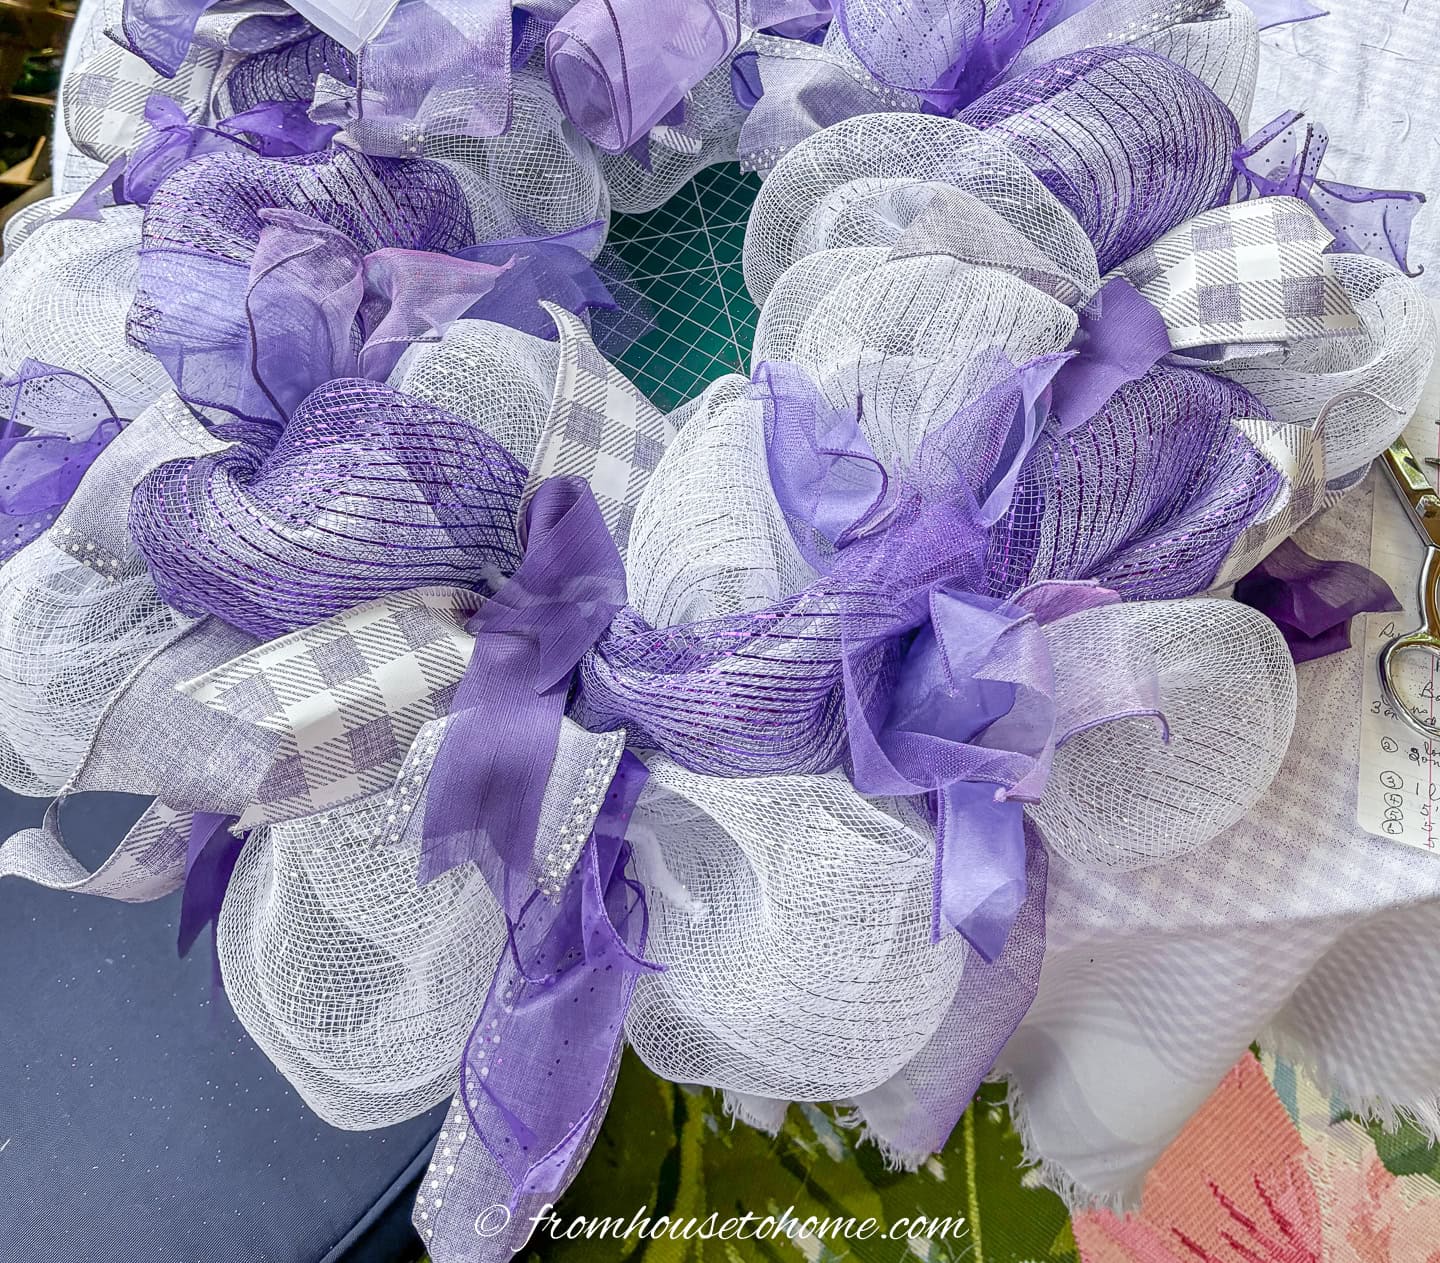
When all the ribbons were tightly secured, I pulled each end apart so that all bare spots among the poufs were covered.
If you can still see the pipe cleaners, twist the ends together at each tie for about 1″ of twists. Cut off the excess pipe cleaner bits and push the twisted ends to the back of the wreath form. (I didn’t have to do this step because the white pipe cleaners were not visible among the white deco mesh poufs.)
5 | Make a bow
I like to add a big bow to the top side of my wreaths.
Here is my favorite way to make them. (It’s so easy!)
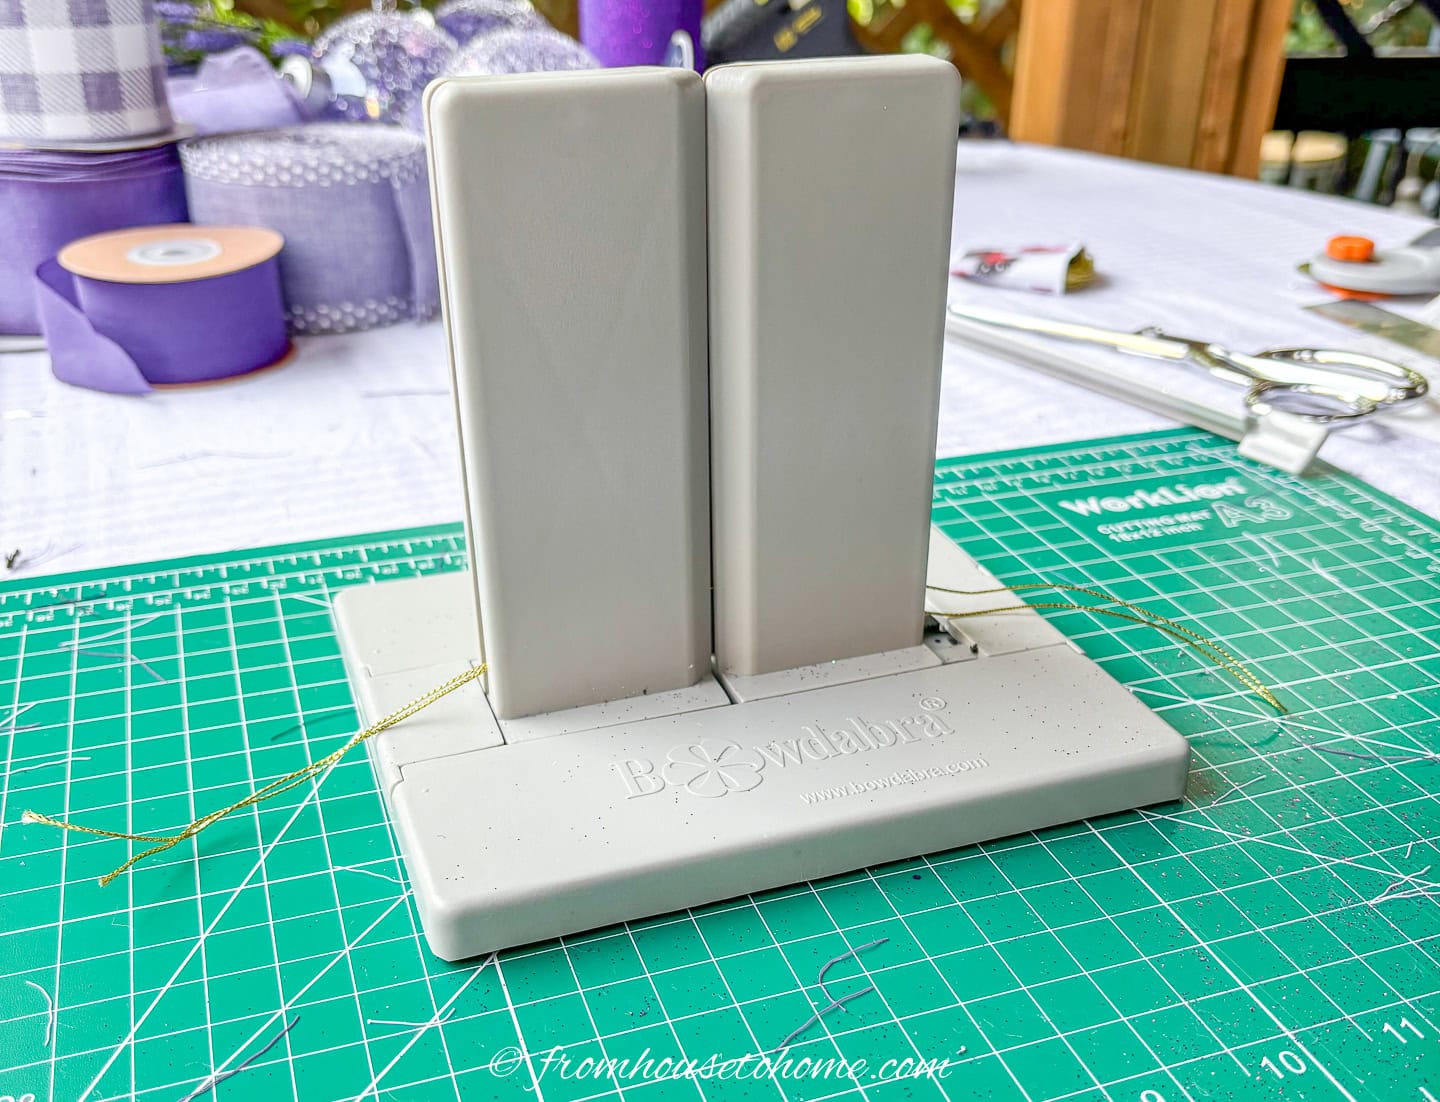
Place the bow maker* so that the center ribbon holder is on the 6″ line of the craft mat.
Cut a 24″ piece of florist wire, fold it in half and slide the length into the bow maker cross-wise from where the ribbons will be held.
You will have a loop sticking out of one side and 2 ends out of the opposite side of the bow maker tool.
For the bow, I used the same 6 ribbons as were used for the wreath plus an organza white one.
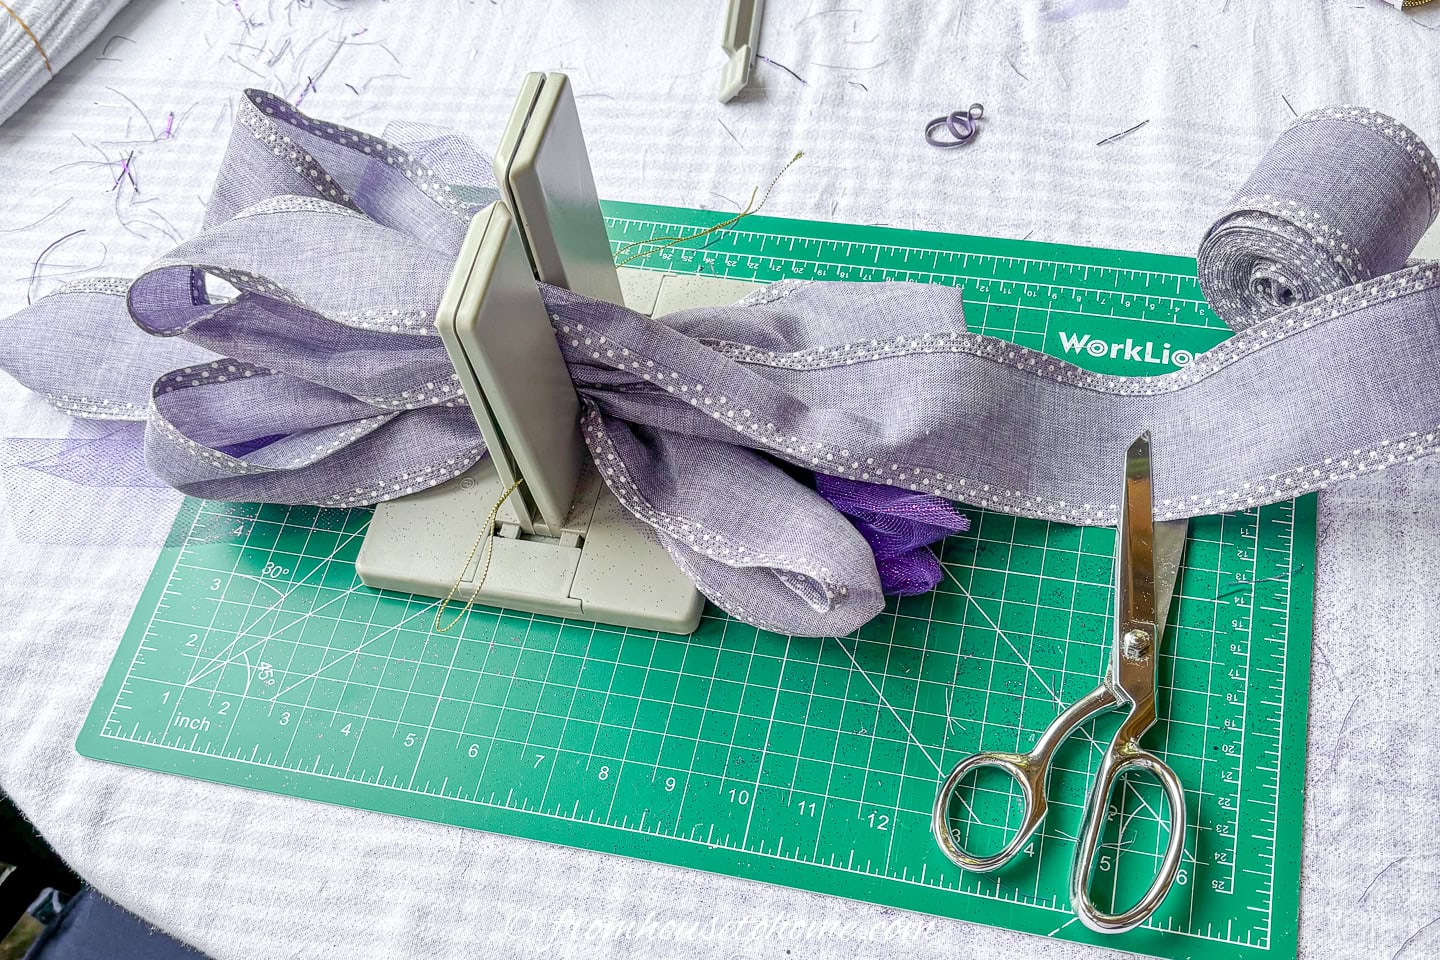
Start with the first widest ribbon and leave a 9″ tail. Then put the ribbon through the slit in the bow maker giving it a twist so that the right side of the ribbon shows on both right and left sides of the center.
Measure 6″ loops and pass the ribbon through the bow maker until there are 3 loops on each side of center, as well as a second 9″ tail sticking out past the loops opposite the 1st one.
Take the second 2.5″ ribbon, leave a 9″ tail, measure a 6″ loop, twist, pass through the bow maker back and forth until you have 2 6″ loops and 2 9″ tails on both sides of the bow holder.
With the third 2.5″ ribbon, make one 6″ loop and one 9″ tie on each side of the bow maker center. Push the ribbons down as necessary.
With the next 3 ribbons repeat steps 3 – 5 making the tails quite a bit (at least 18″) longer and all the loops 5″ long.
The final ribbon (7th) is white organza to echo the white deco mesh poufs. It is a single 5″ loop on either side of the apparatus with long tails and a small center loop to cover the tie.
Grab the loose ends of the wire and pull it across the bow and push them through the looped end. Pull it moderately tight.
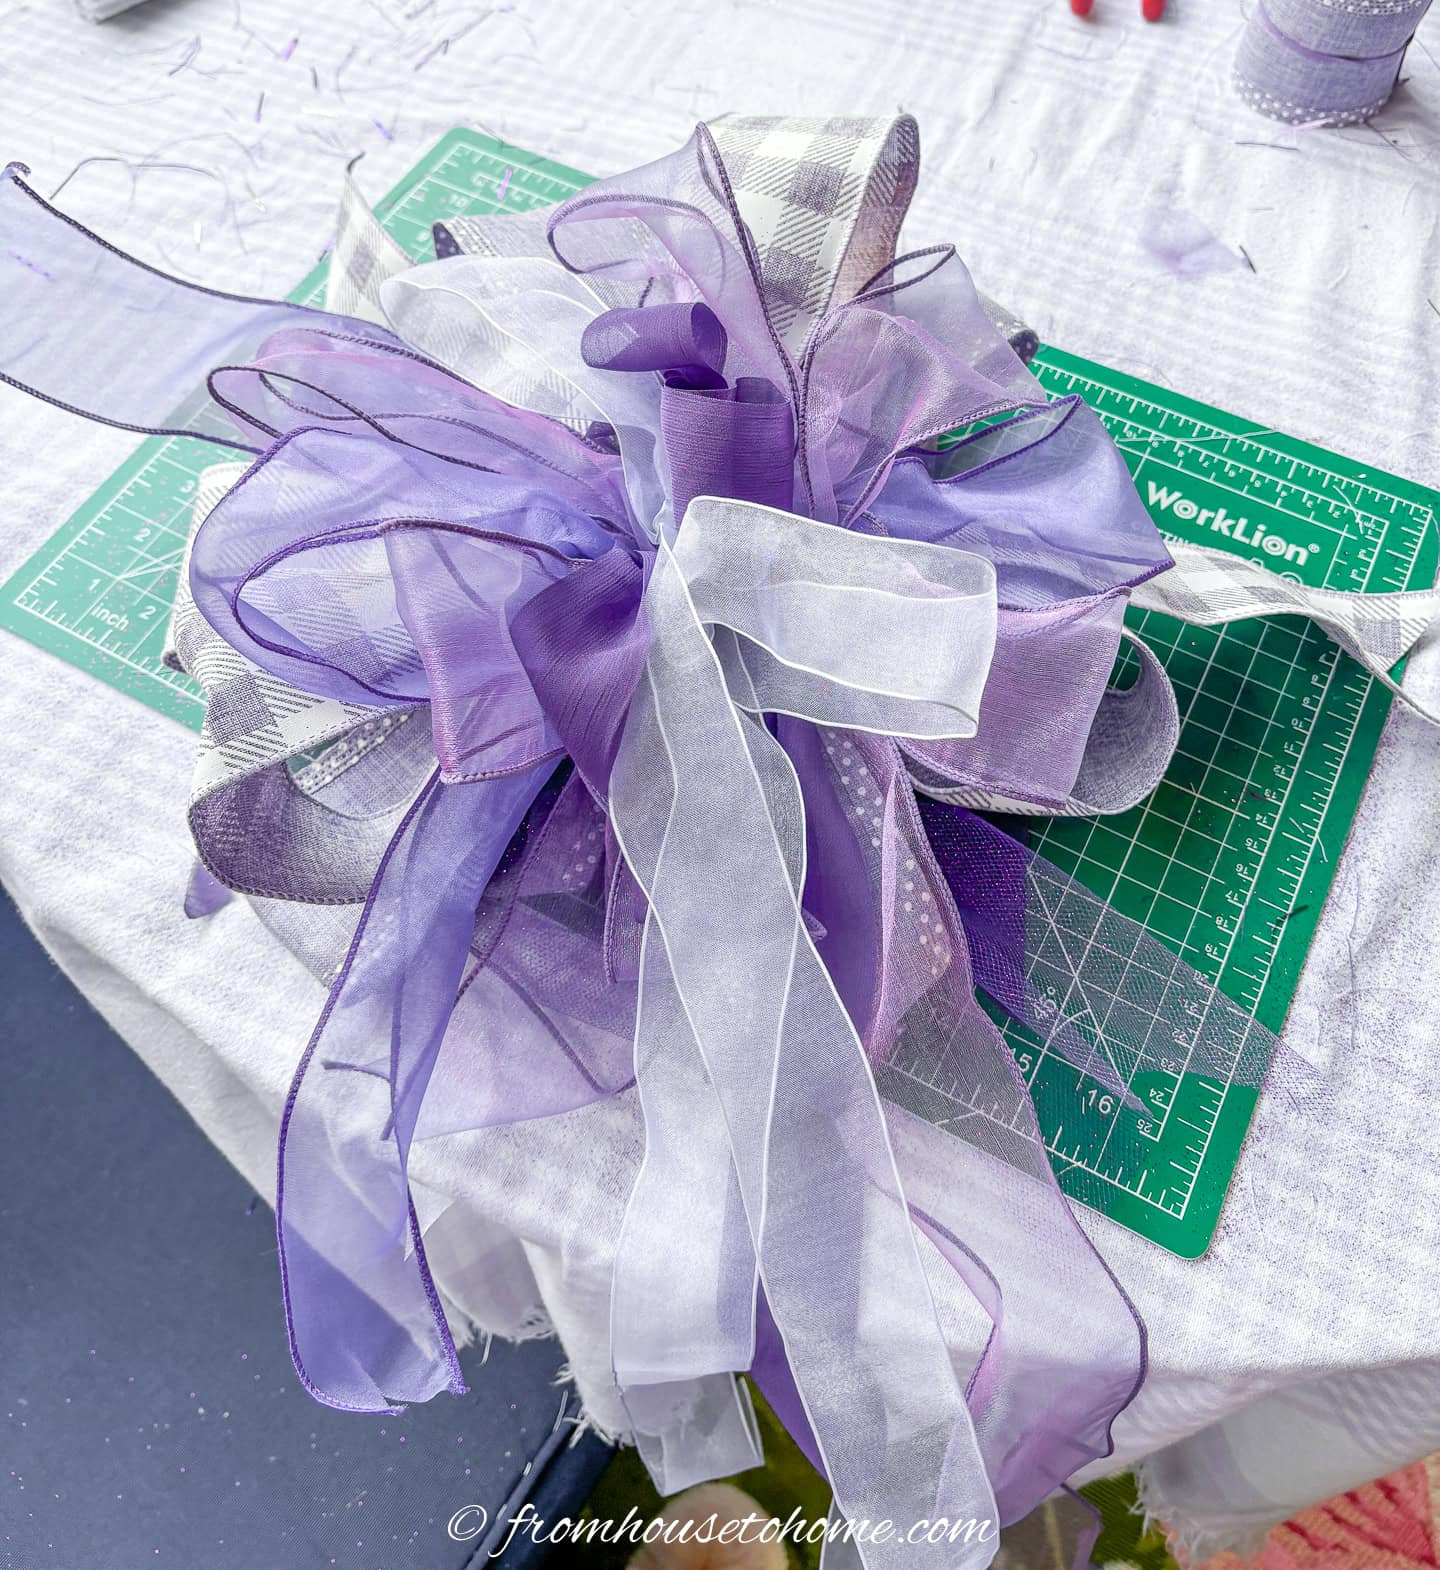
Remove the loosely tied bow from the bow maker holder.
Pull and fluff all the loops to make sure the bow is appealing.
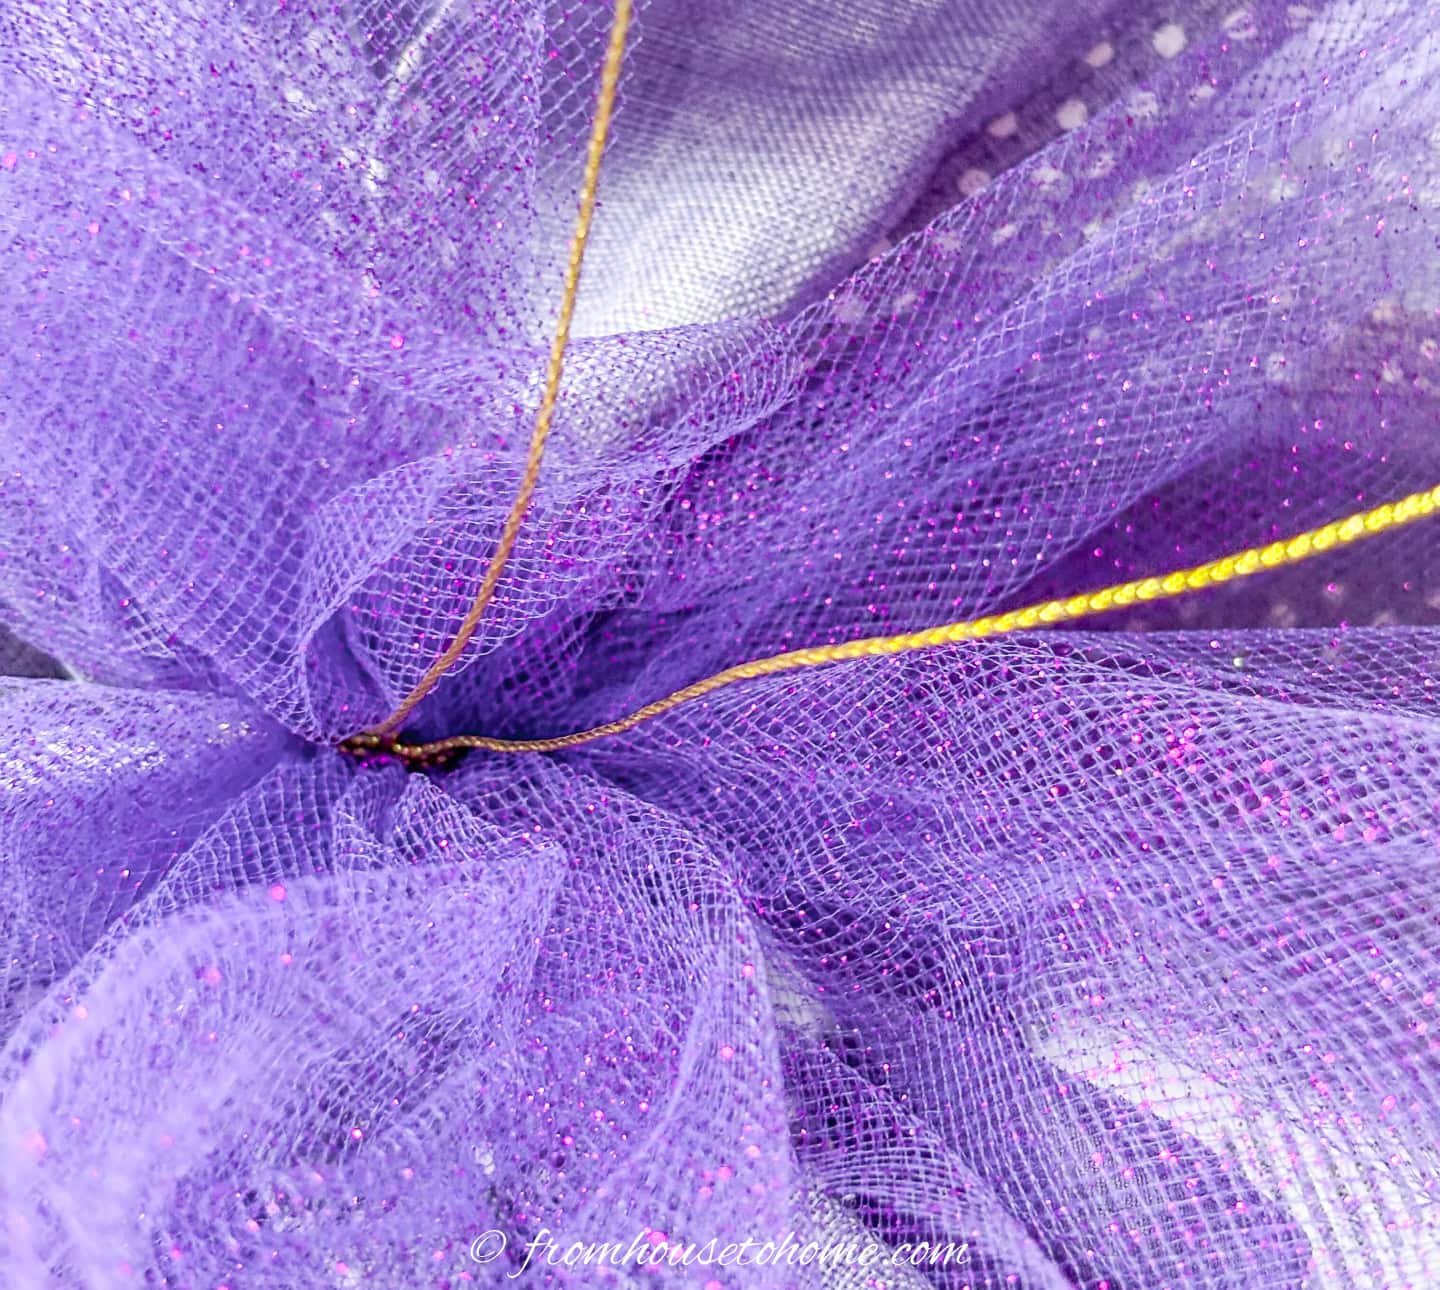
Then tighten the wire completely. Move it to the back of the bow and knot securely.
Pull the tails down in the front.
Dove tail all of the ends for a professional appearance.
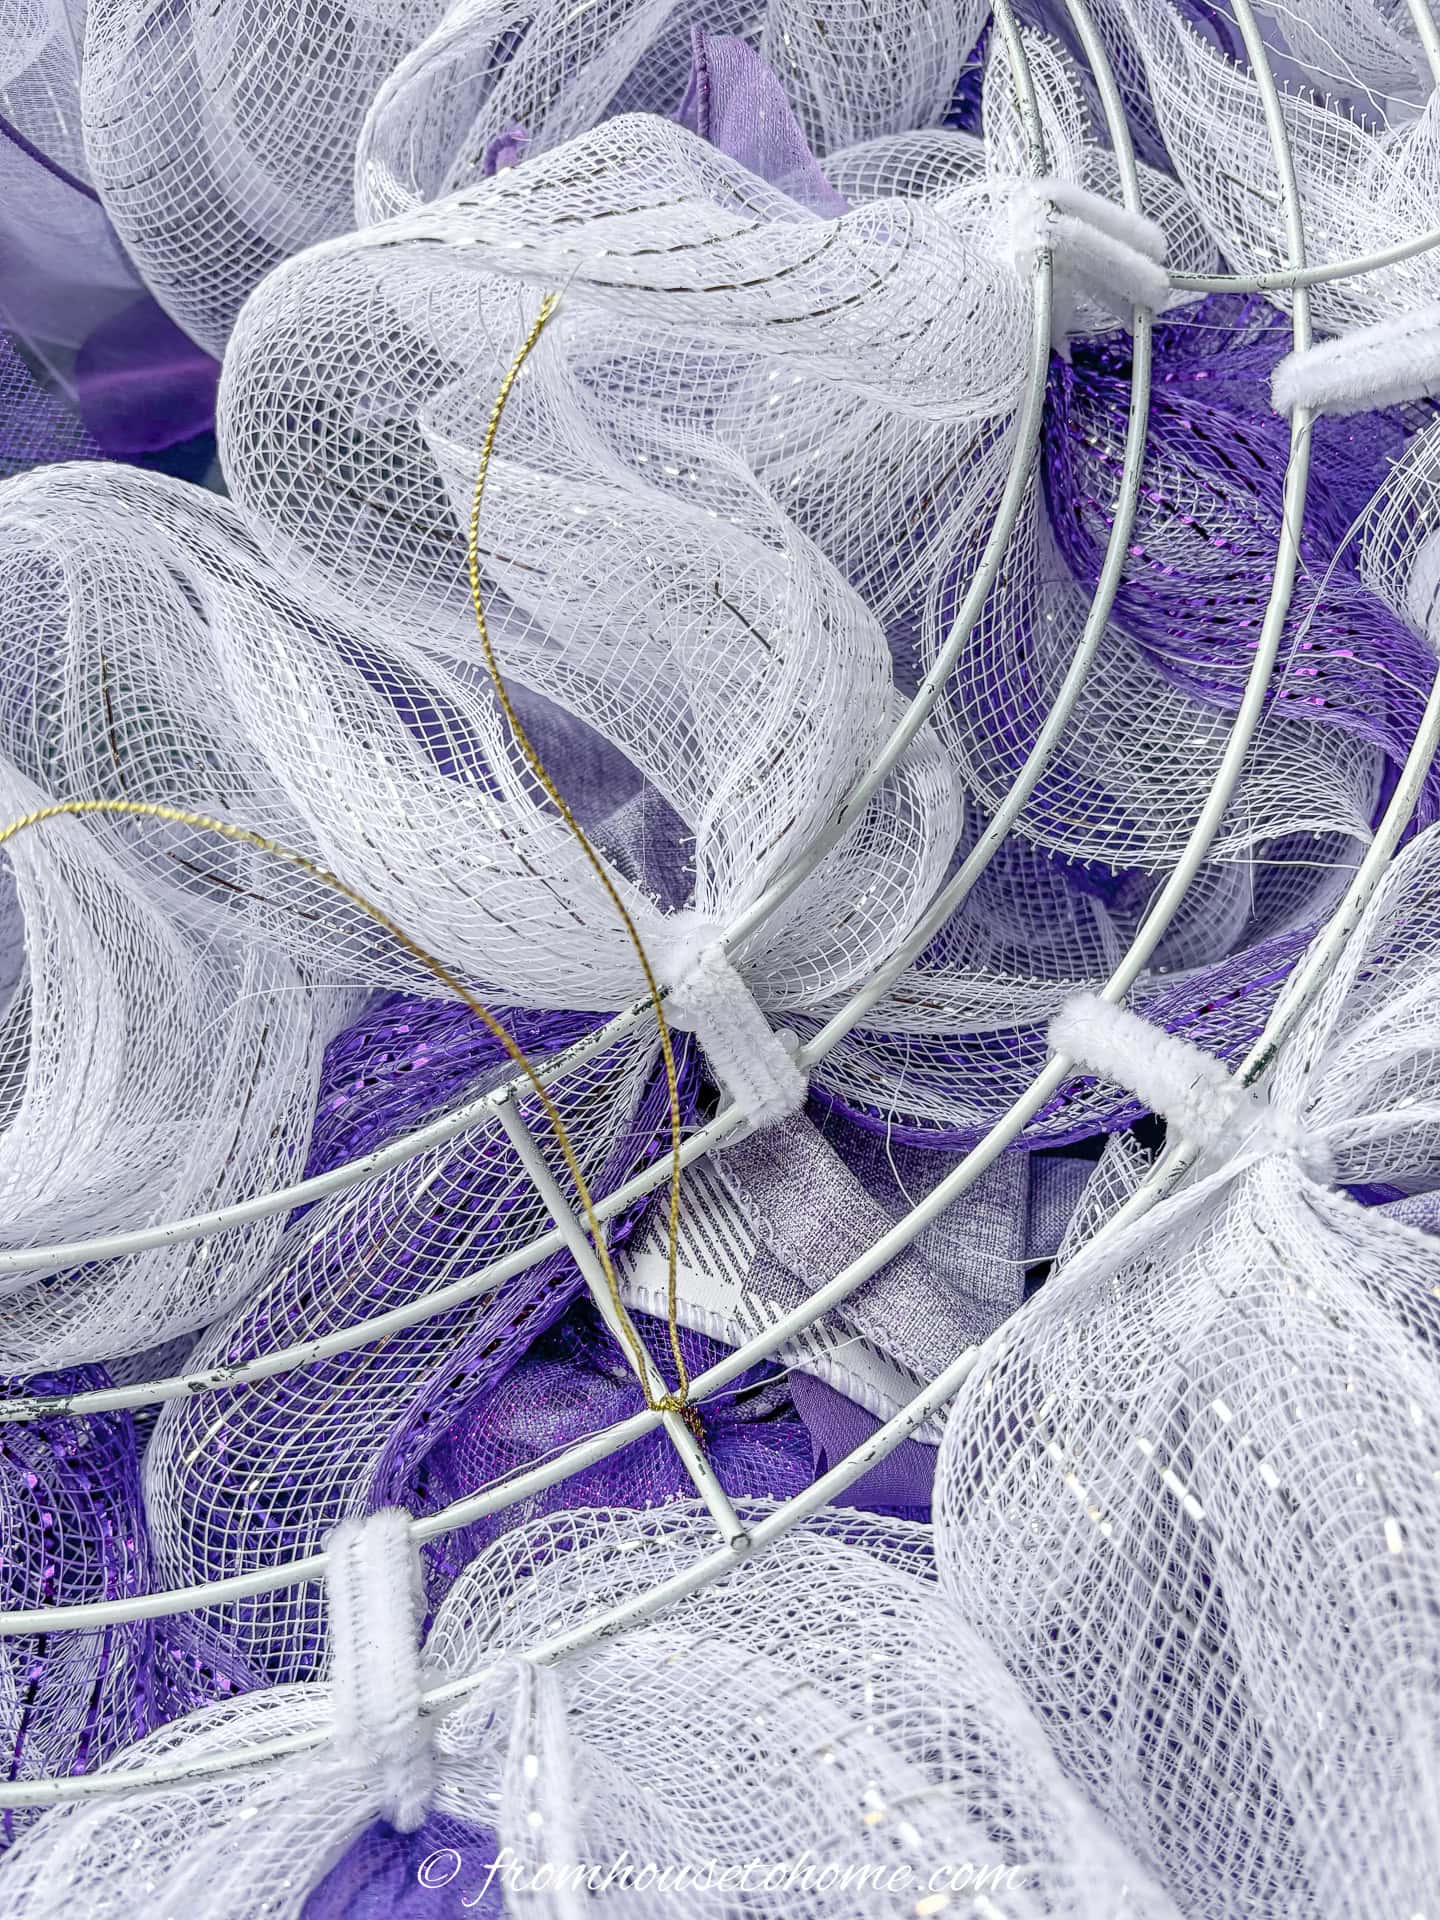
With the front of the wreath facing you, position the bow to one side of the top so that the circumventing tightened wire can be wrapped around rows 1 and 2 of the form and twist it tight. Push a pouf or 2 aside to do this.
Fluff bow and poufs and ribbons as necessary. Curl up or shorten the longer tails.
6 | Add lavender picks
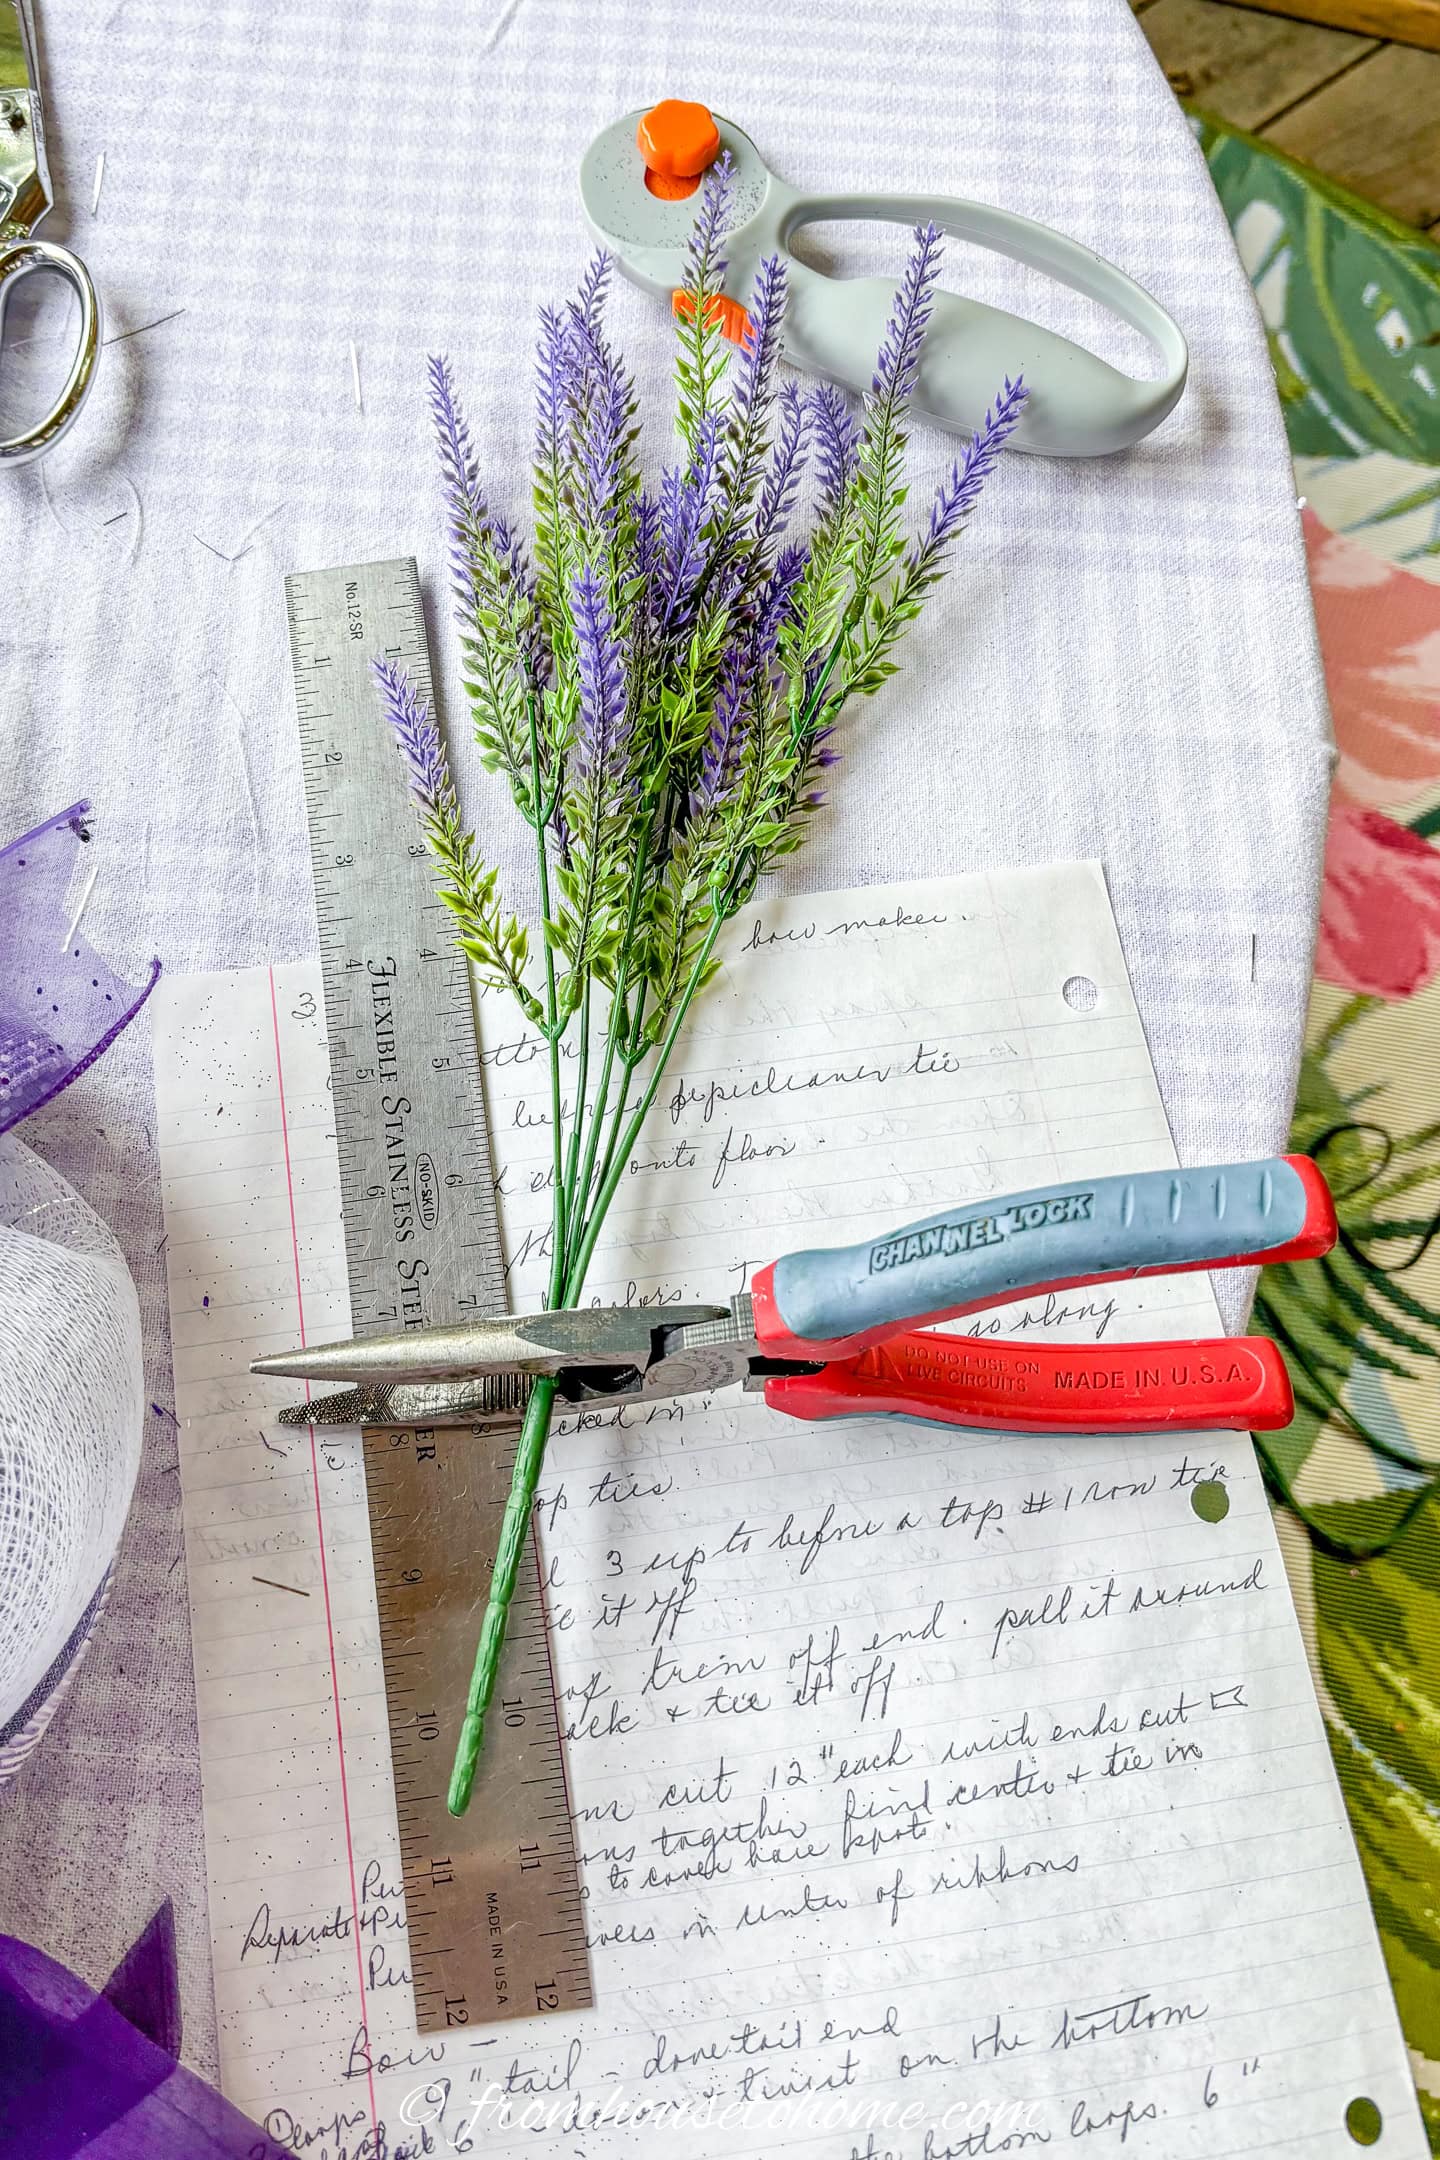
Cut the stems of the picks so that they are less than 12 inches long.
The easiest way to do this is with pliers or wire snips.
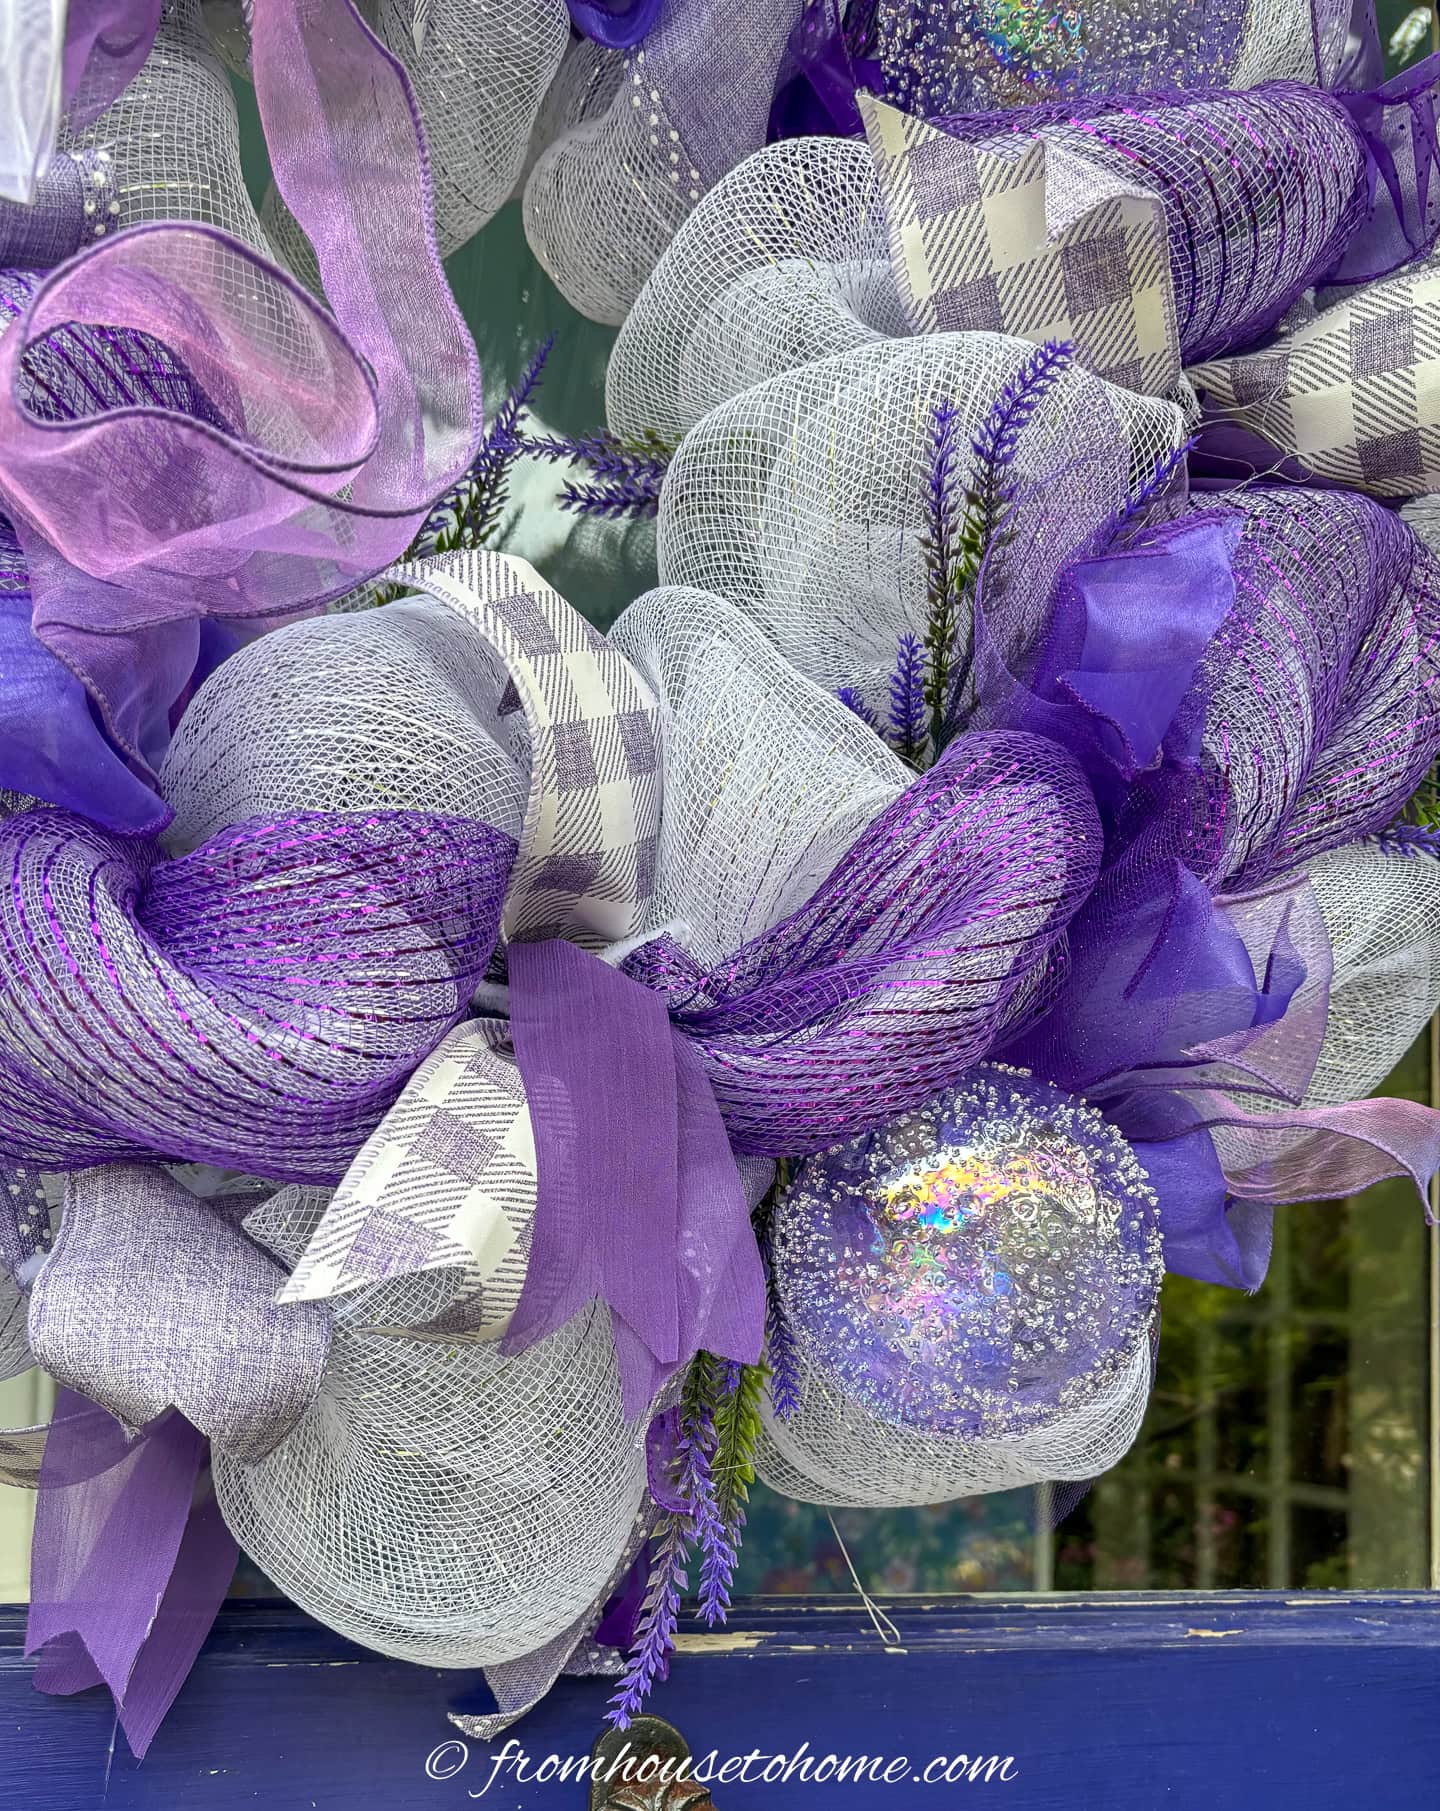
Then randomly stick a sprig here and there into the outside and inside of the wreath.
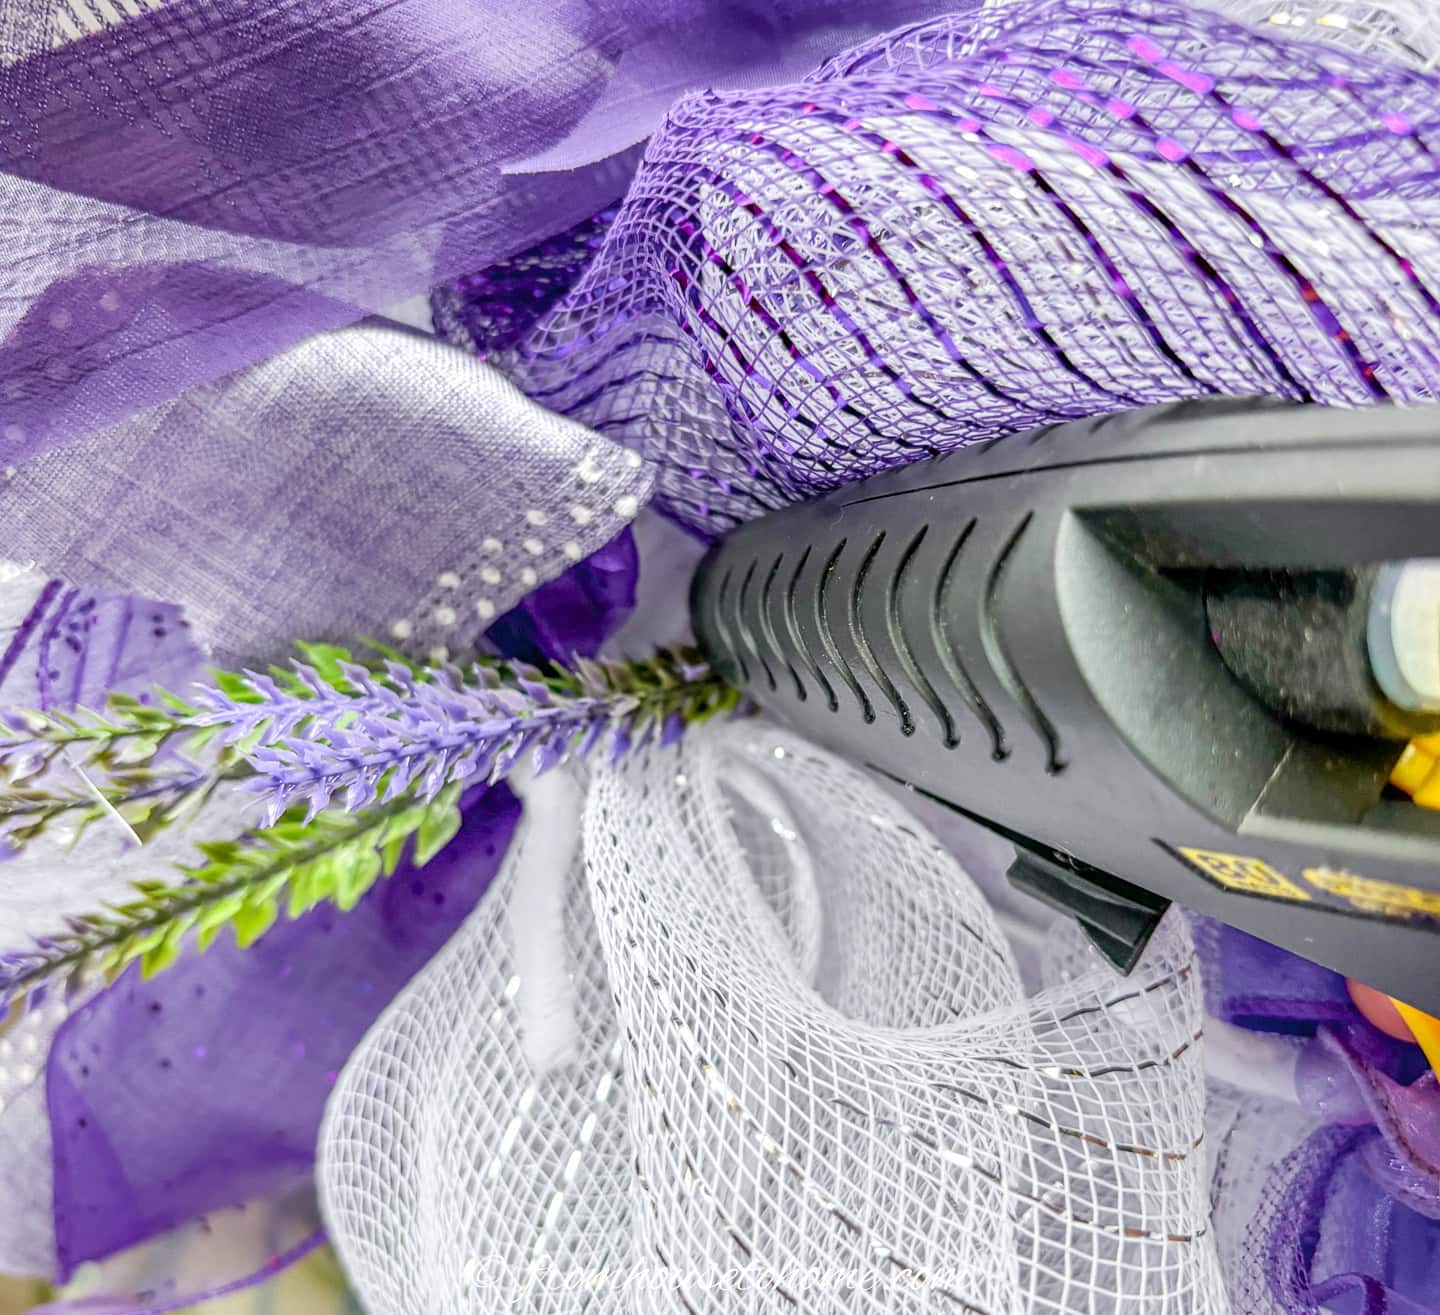
Hold each sprig in place with a blob of hot glue on the sprig wire and the wreath wire.
7 | Attach Christmas ball ornaments
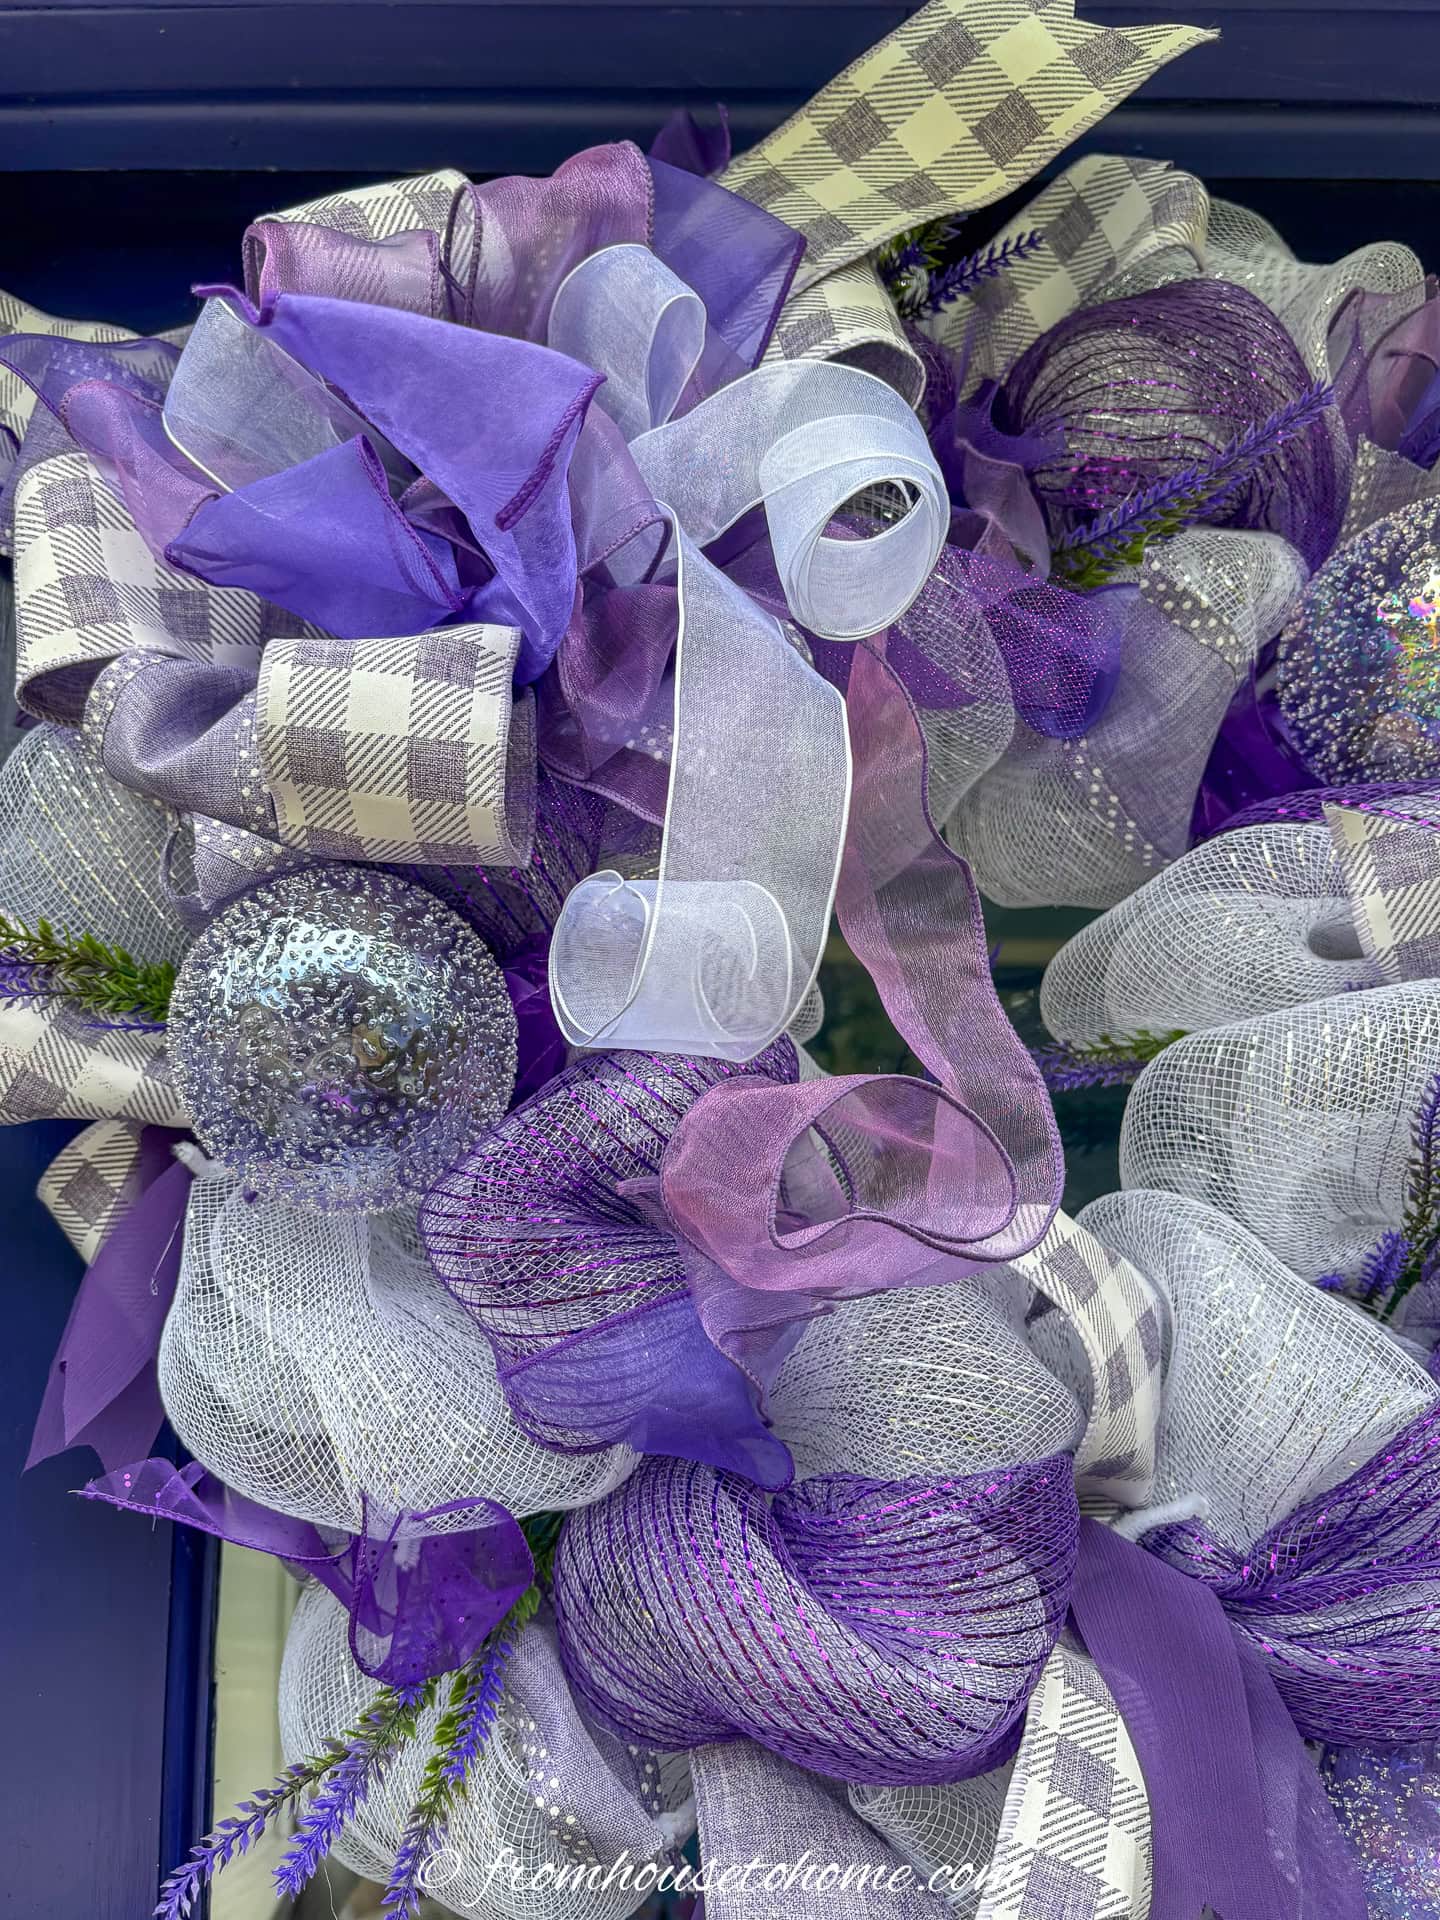
Lastly, add 3 4″ lavender glass balls for sparkle and seasonal identity.
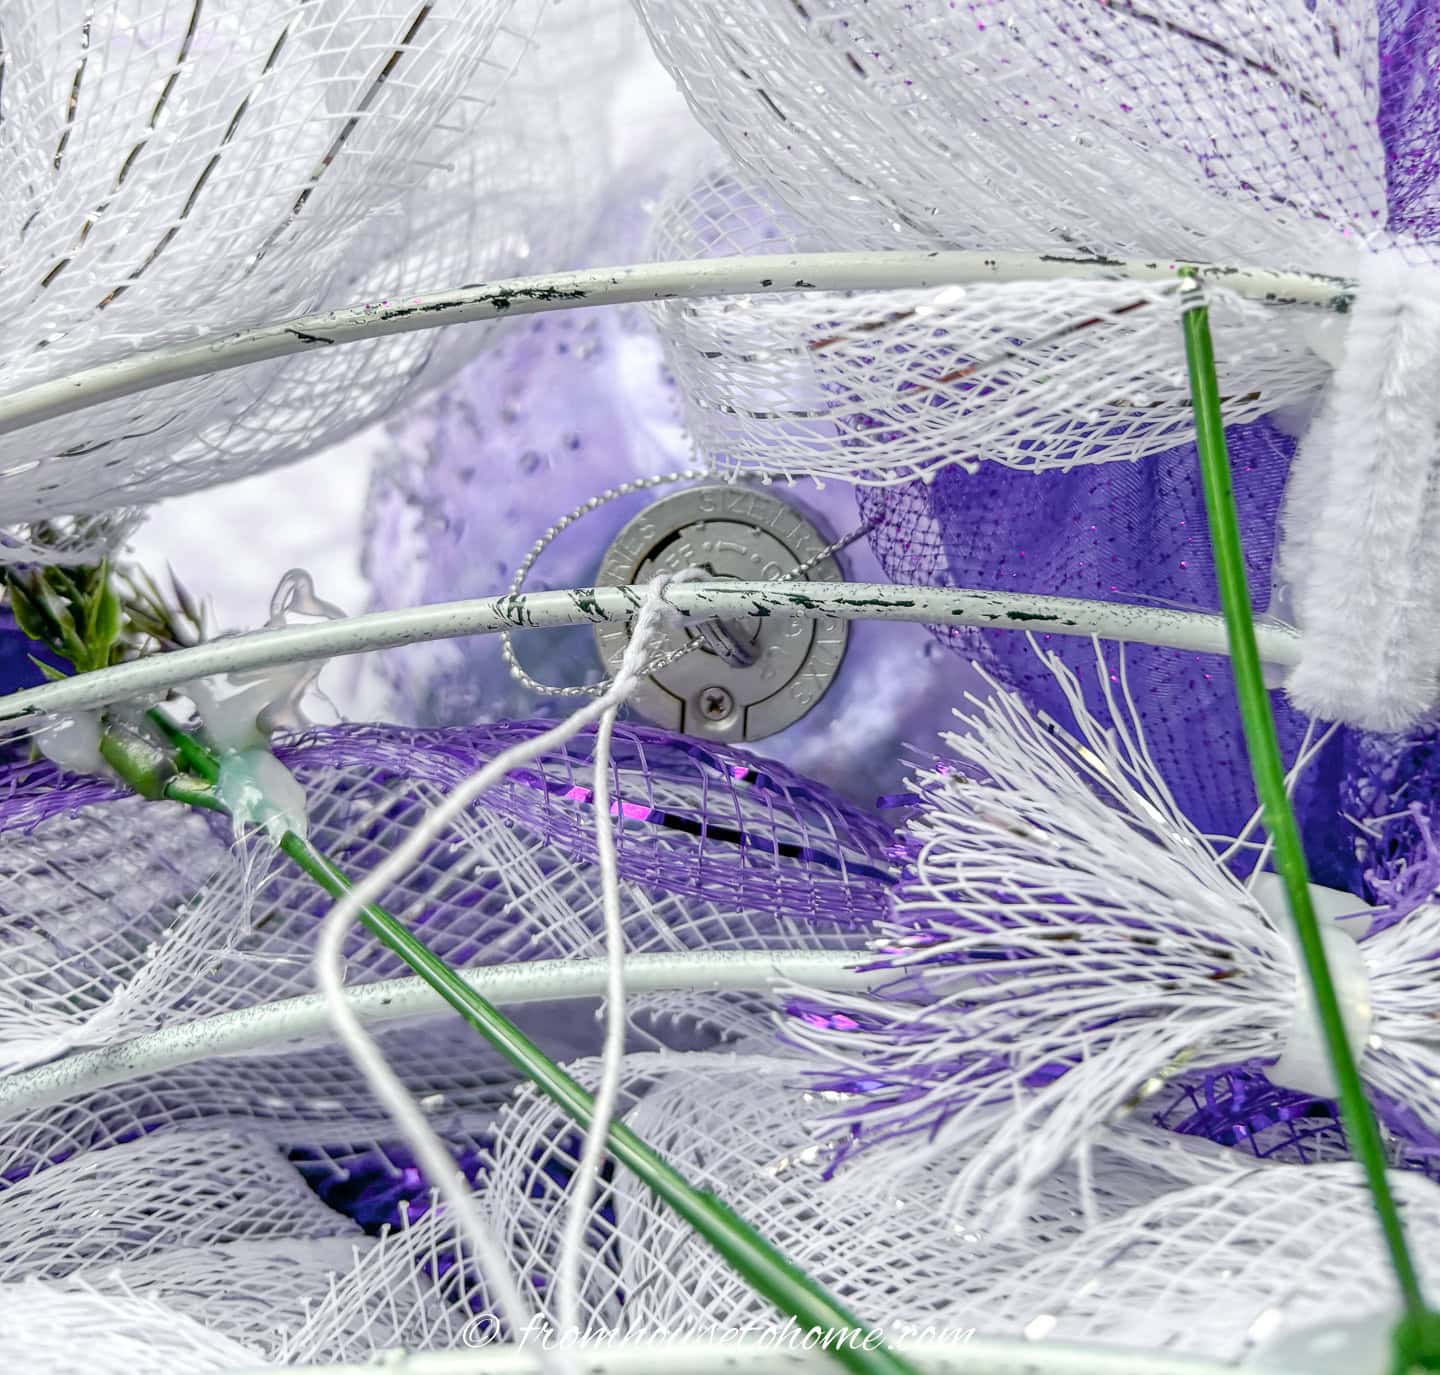
I attached them to the wire wreath form with thin, flexible florists’ wire.
Hang the wreath and enjoy!
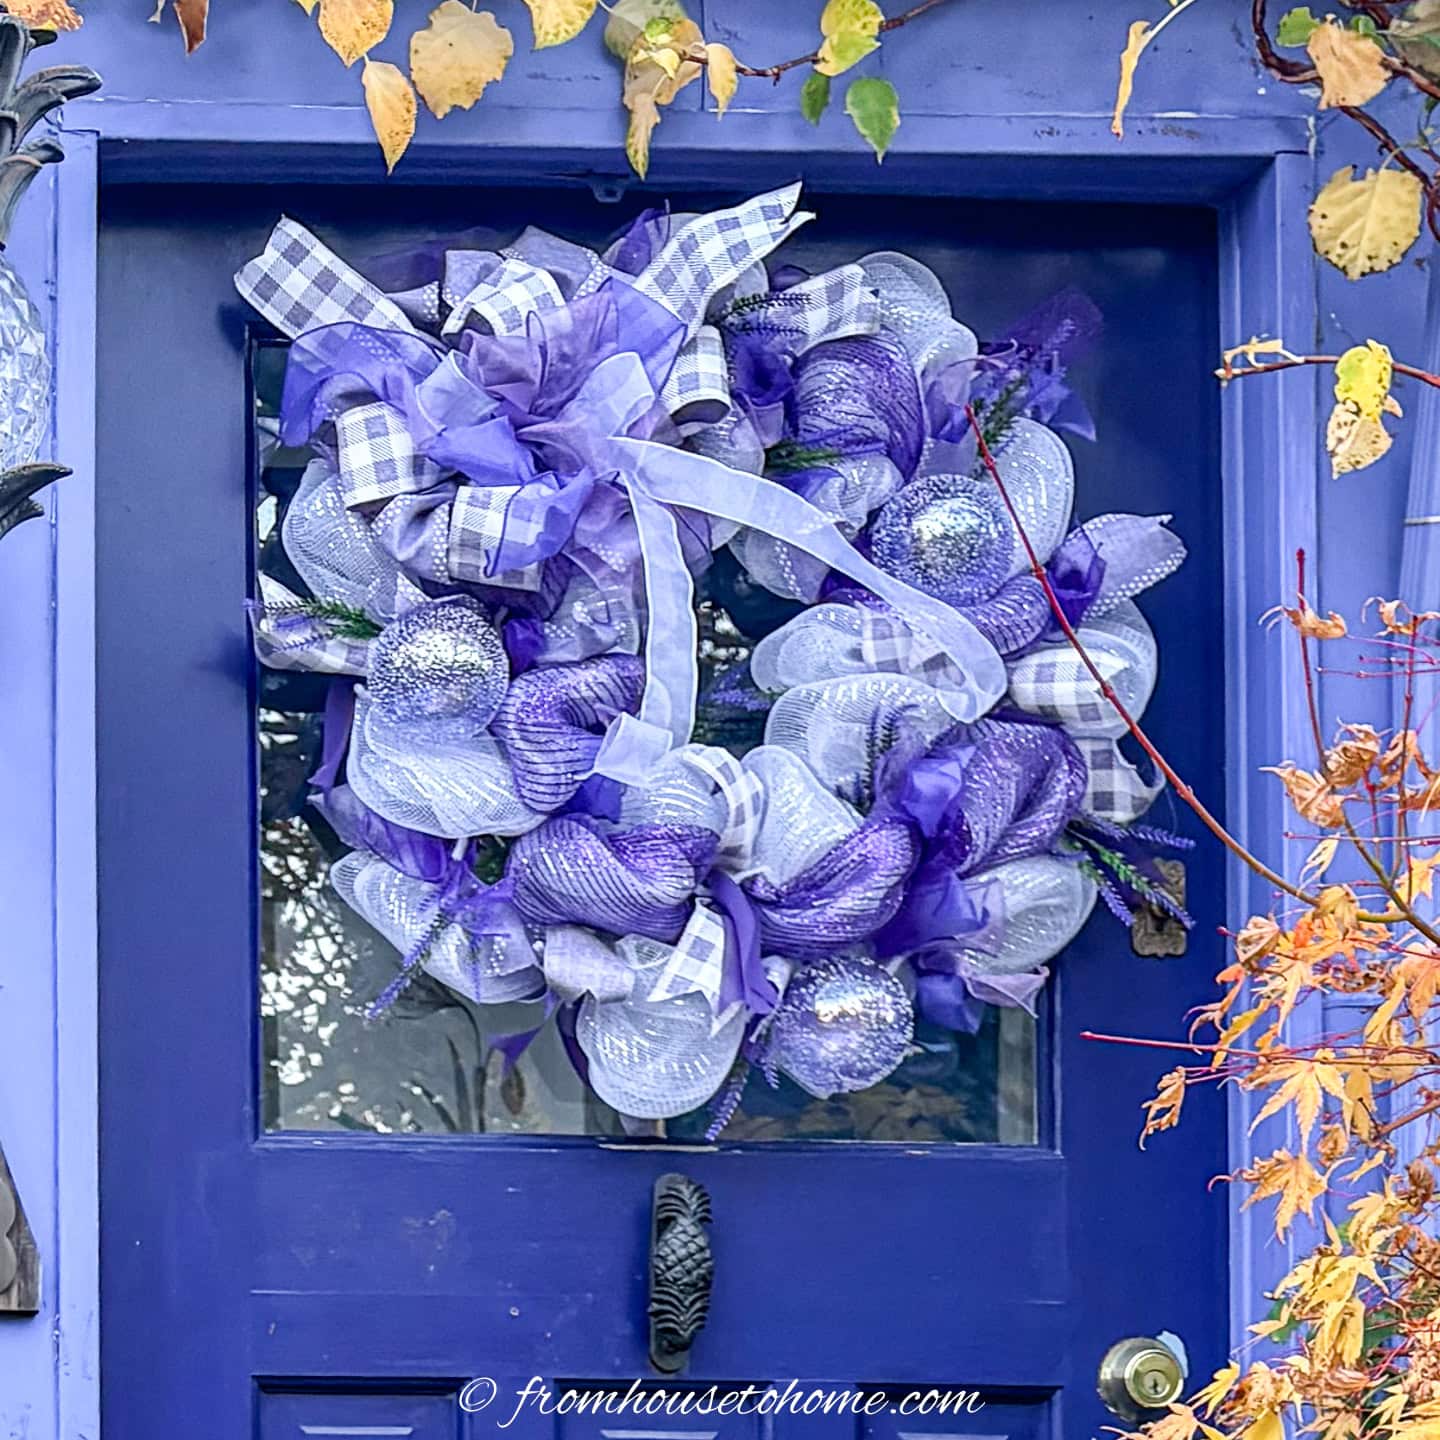
To hang, mount 2 command hooks on the front door at the desired height.
Loop the #4 wire at the back of the wreath frame over the command hooks and you’re done!
I love how the colors co-ordinate with my house.

The yellow Japanese maple beside the door really pops against the purple.
And adding a winter planter using the same lavender picks helps to pull the color into the garden.
The perfect front door accessory for the holidays!
Other DIY Christmas wreaths
Or browse all of our DIY Christmas wreaths.