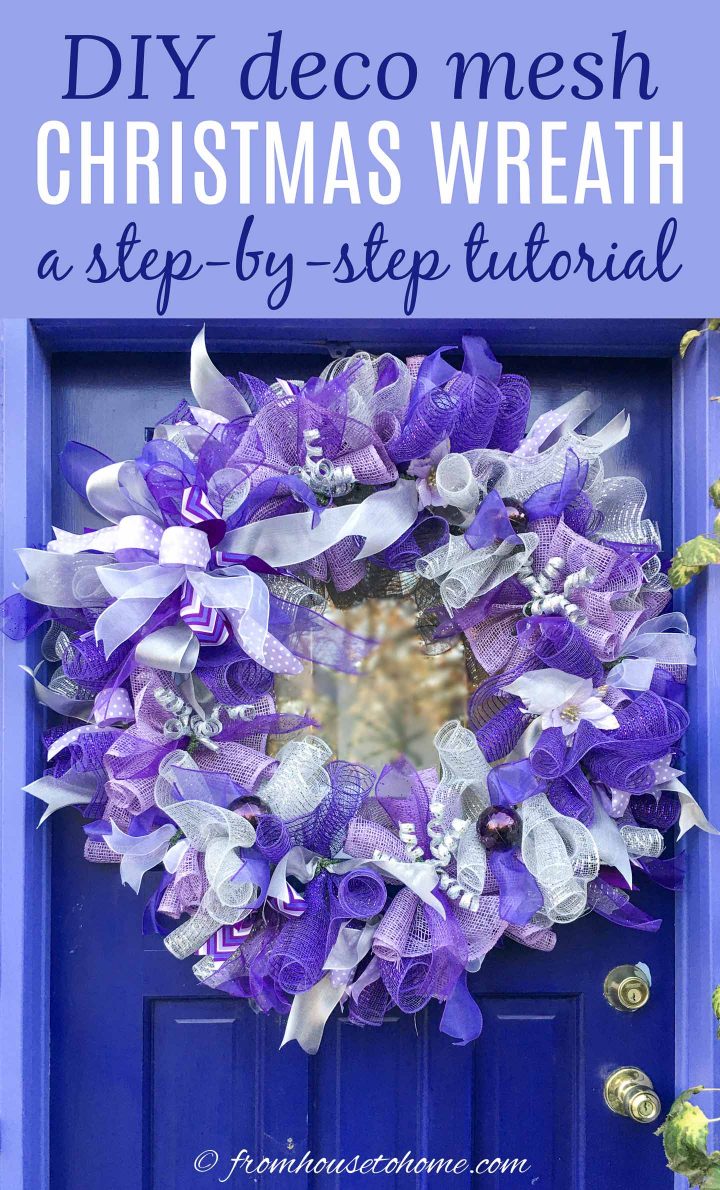
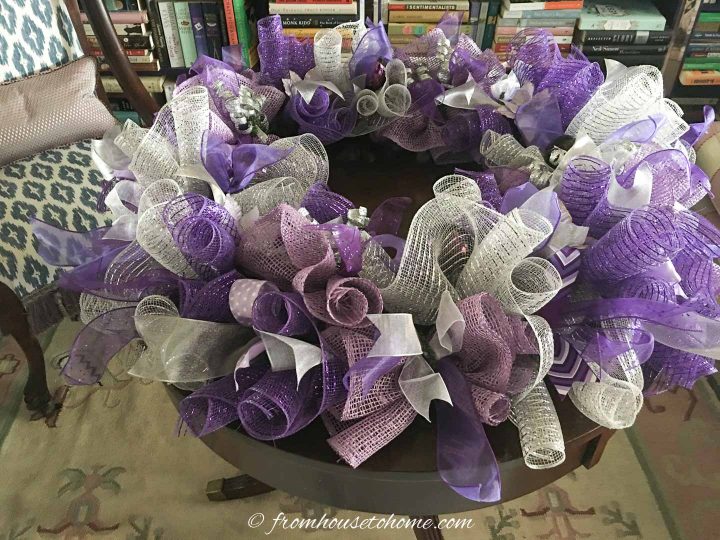
DIY Purple and Silver Deco Mesh Christmas Wreath
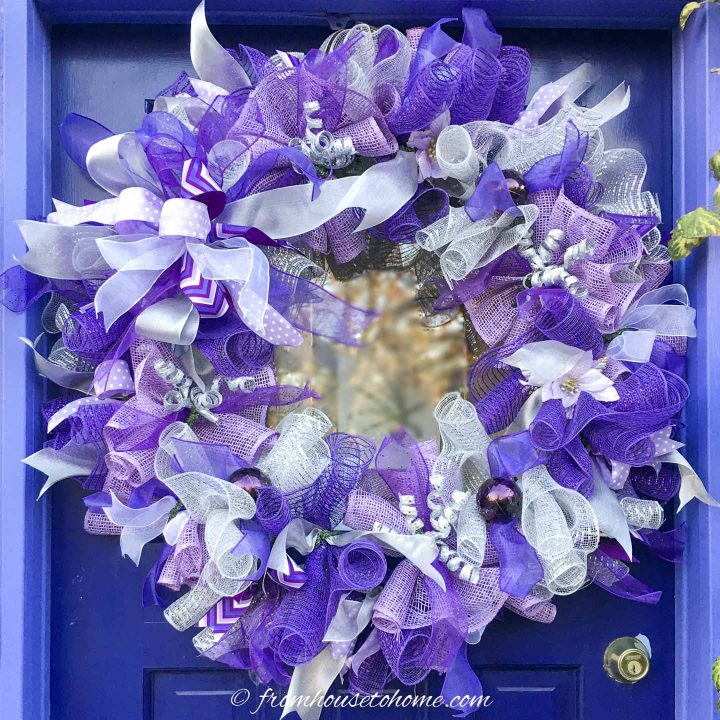

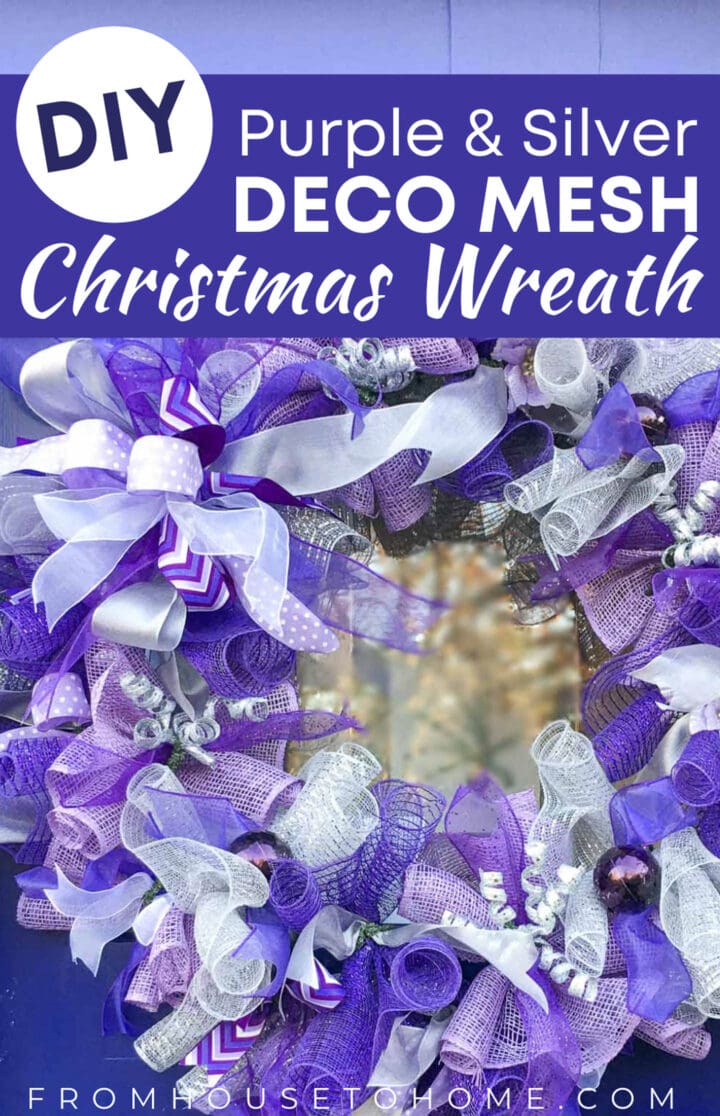
This DIY purple and silver deco mesh Christmas wreath is a non-traditional Christmas door decoration that is absolutely stunning. And this step-by-step tutorial with lots of pictures makes it really easy to do.
I have been searching for a purple wreath to compliment the Christmas decorations on the blue spruce tree in my front yard.
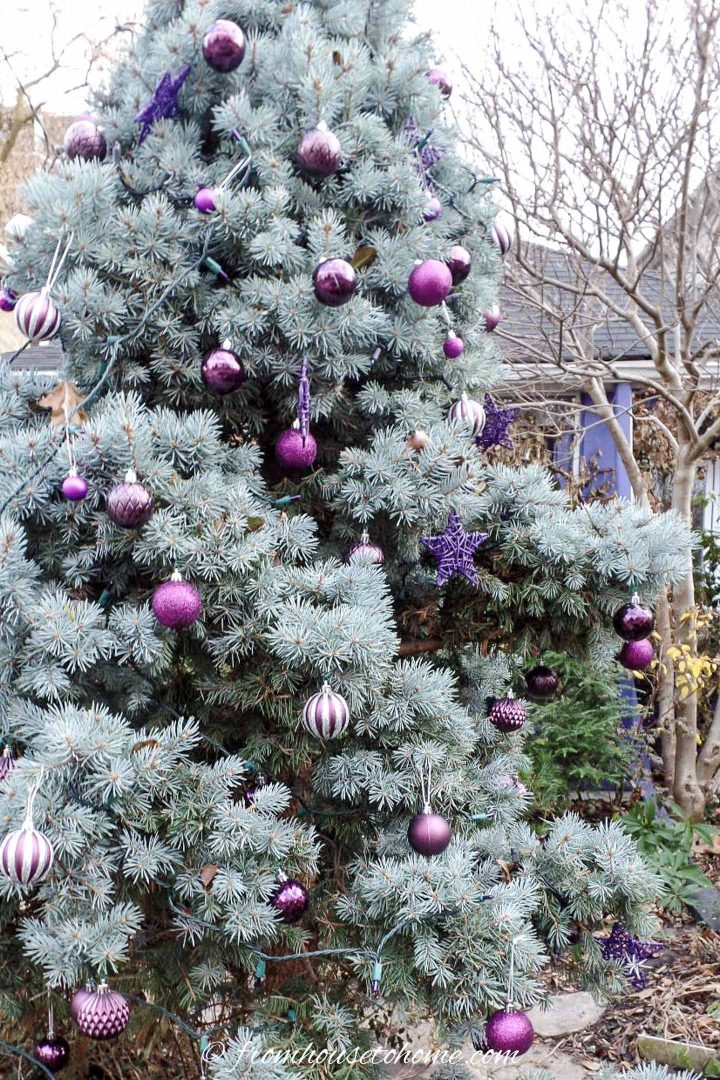
It has a monochromatic color scheme with purple lights and purple balls.
So I wanted the wreath to make a matching statement on the front door.
After searching all over Pinterest, I finally found this video for a wreath that I absolutely love.
Her non-traditional Christmas wreath became my inspiration.
Read on to learn how I made it.
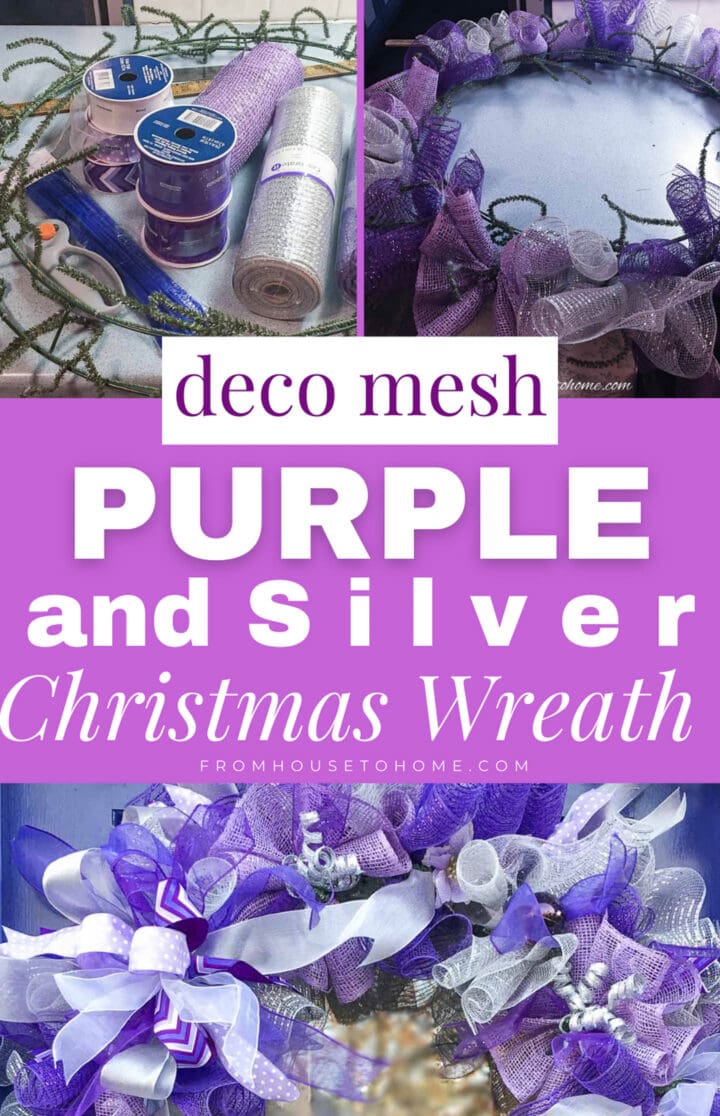
Supplies
Materials
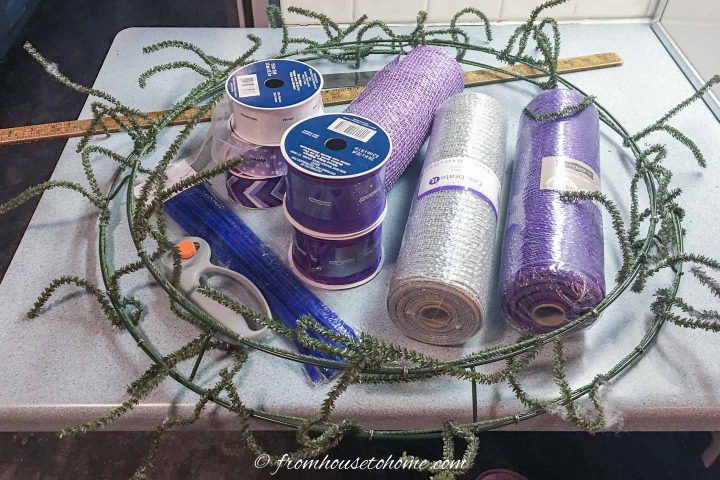
- 18″ 2 ring wire wreath form with ties attached (or use 14″ size if preferred)
- 10 “or 12” metallic laser foil deco-mesh in 3 colors – I used purple*, mauve*, and silver*.
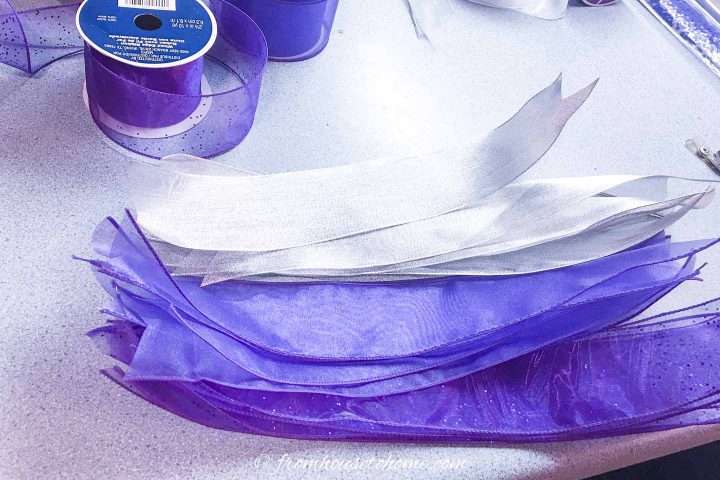
- 2 1/2″ wired ribbon in 3 coordinating colors – I chose silver, and 2 shades of purple from Michael’s*.
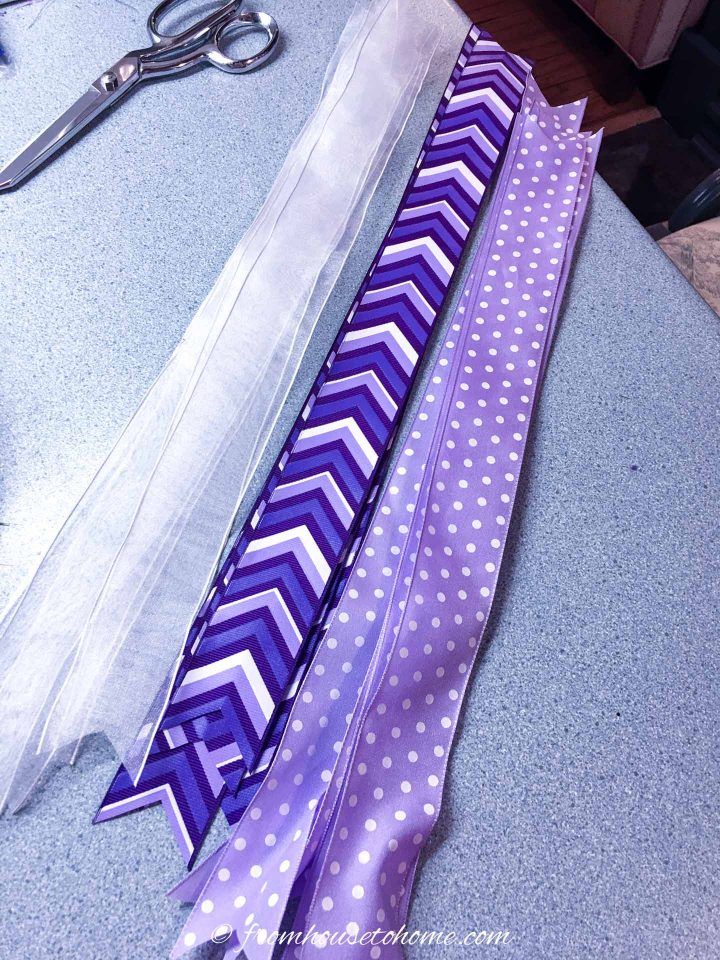
- 1 1/2″ wired ribbon in 3 coordinating colors – I chose a mauve with white dot, a white sheer, and a wavy pattern in shades of purple and mauve, also from Michael’s*.
- assorted picks for embellishing – I used 4 purple Christmas balls, 4 silver foil picks*, and 4 mauve faux poinsettias*.
- purple pipe cleaners
Equipment
- a clip
- rotary cutter* or scissors – the rotary cutter cuts the deco mesh without causing it to unravel. But you can use scissors if you prefer.
- bow maker* – this isn’t absolutely necessary if you are good at making bows but it makes the wreath go together a lot faster.
- scissors
- pliers
- ruler and yard stick
- white glue
How To Make The DIY Purple and Silver Deco Mesh Christmas Wreath
Now on to the tutorial…
1 | Cut The Mesh
Count the number of tinsel ties on each wire ring of the wreath form. Mine had 15 on the outer ring and 12 on the inner ring.
Divide those numbers by 3 to determine how many mesh sections to make of each color. i.e. 15/3=5 and 12/3=4 Then add the 2 numbers together, 5+4= 9 pieces of each color.
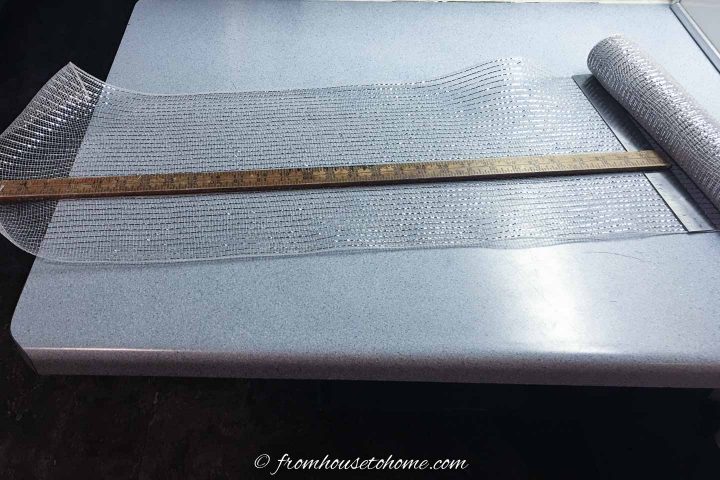
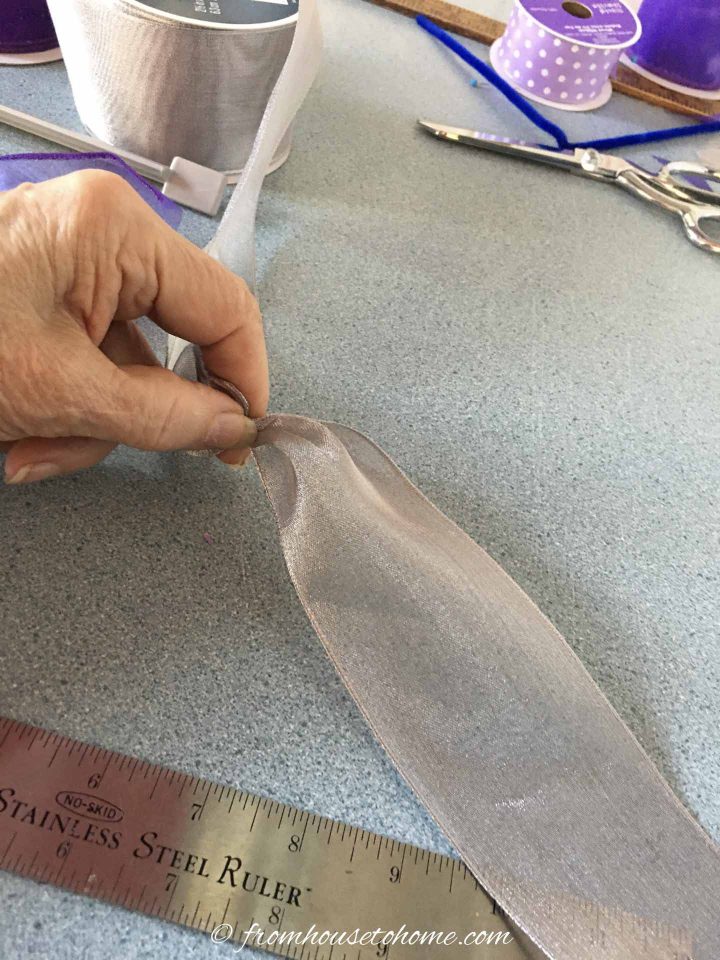
Use the rotary cutter (or scissors) to cut 9 pieces of each of the 3 colors of deco-mesh to 30 inches long. Hold a metal ruler firmly against the mesh as a cutting guide.
2 | Make The Bottom Mesh Layer
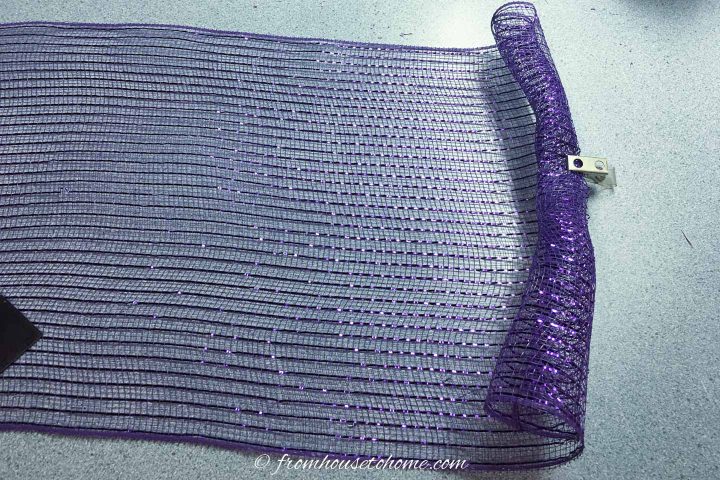
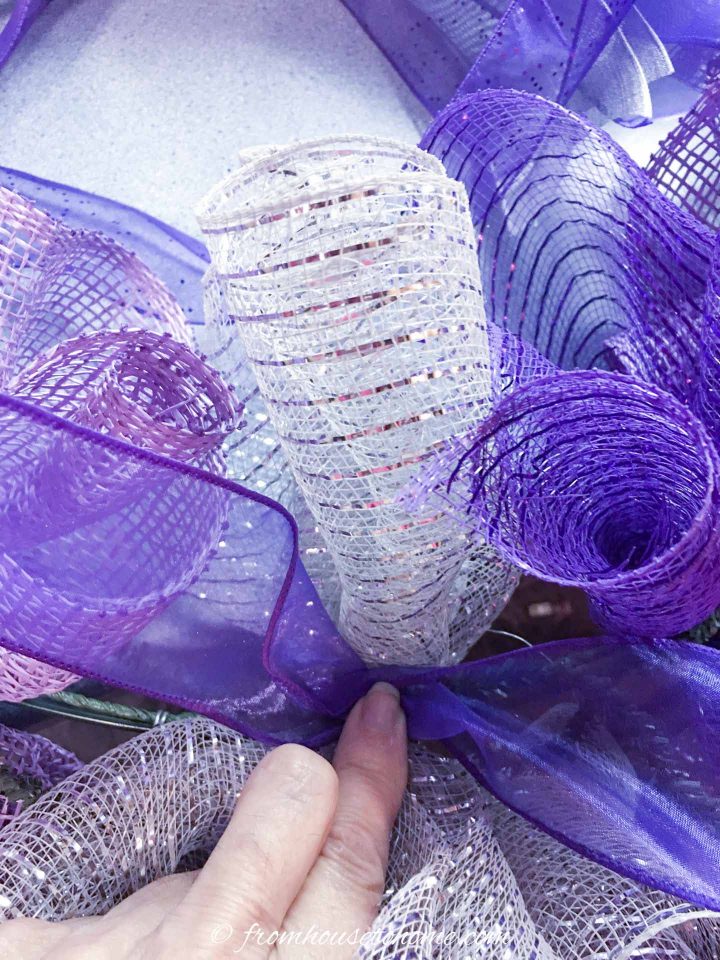
Make a poof by folding one end of mesh over about an inch then roll it over for 6 rolls. Place the clip on the roll to hold it.
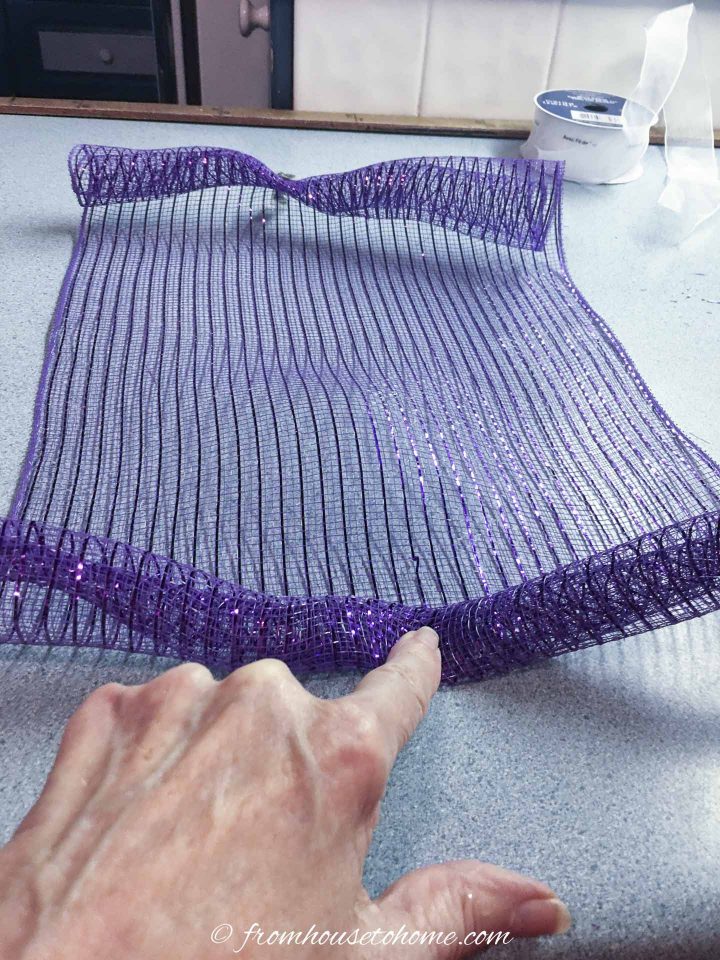
Turn the mesh around so that the raw end is facing you. Repeat the roll on the other end. Note: Doing this prevents the mesh from fraying when it is on the wreath form.
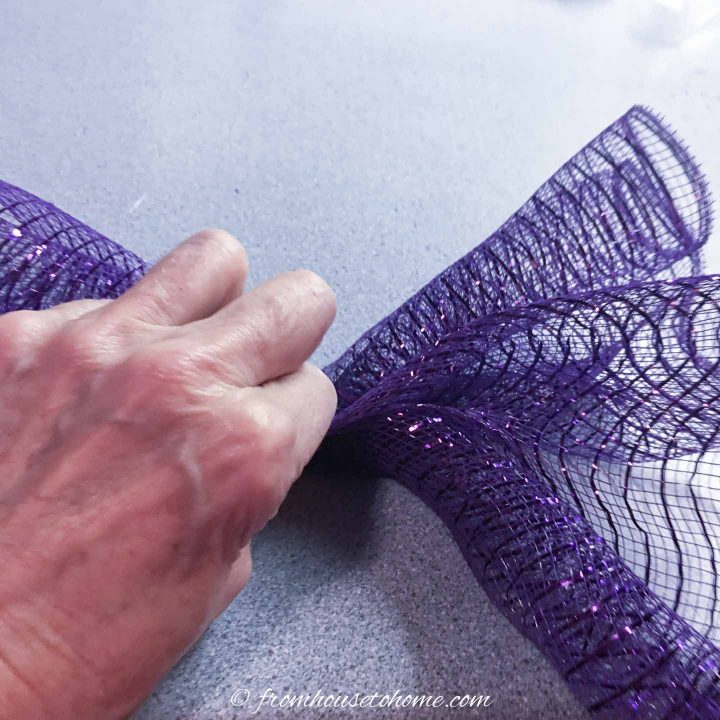
Hold the second roll and gather the center of the mesh until the first clipped roll is reached.
Do this by scrunching the material with your fingers, pulling the mesh toward you.
Hold the gathered mesh and rolls in the center and remove the clip.
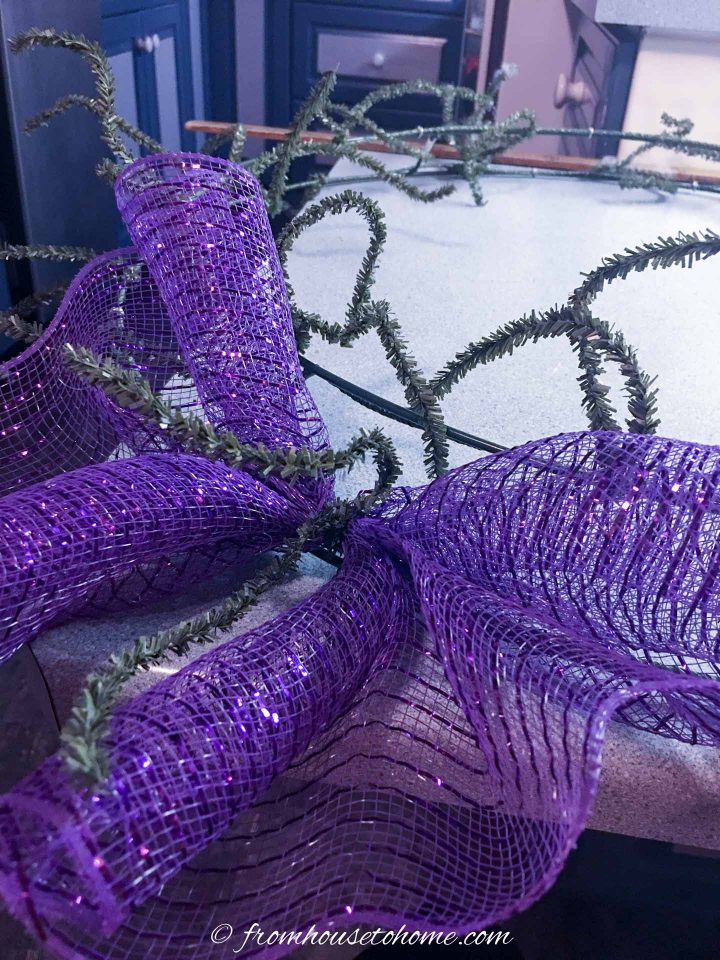
Place the center over a tie on the outer ring of the wreath form, twisting it tight.
The mesh poof should be placed along the wire lengthwise.
If your wreath form does not have tinsel ties, you can twist a pipe cleaner around the wreath wire and then attach the mesh.
Repeat this process with all the mesh pieces, alternating the colors evenly around the lower ring.
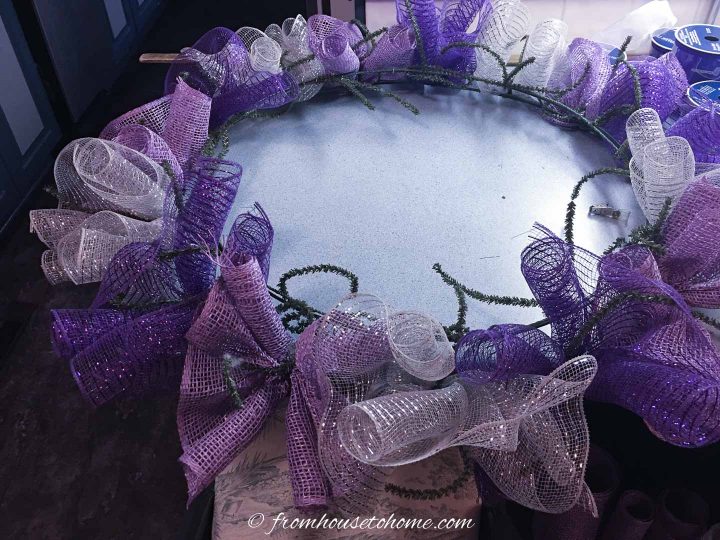
3 | Add the Top Mesh Layer
Do the same with the poofs for the top ring, but place each one across the wire (at a 90° angle) when tying them on.
Rotate the colors so that the top row does not line up with the same color as on the bottom. For example, if you have silver on the bottom, put purple or mauve on the top.
Keep the same sequence of colors on the top as on the bottom. In my case, I used silver, then mauve, then purple.
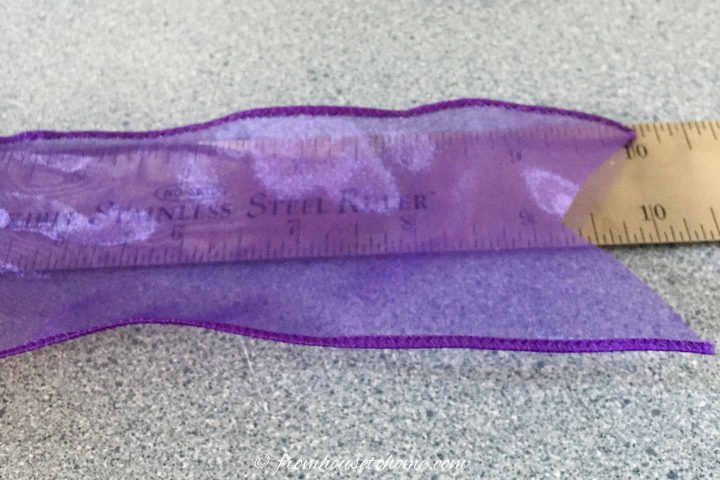
4 | Cut The Ribbons
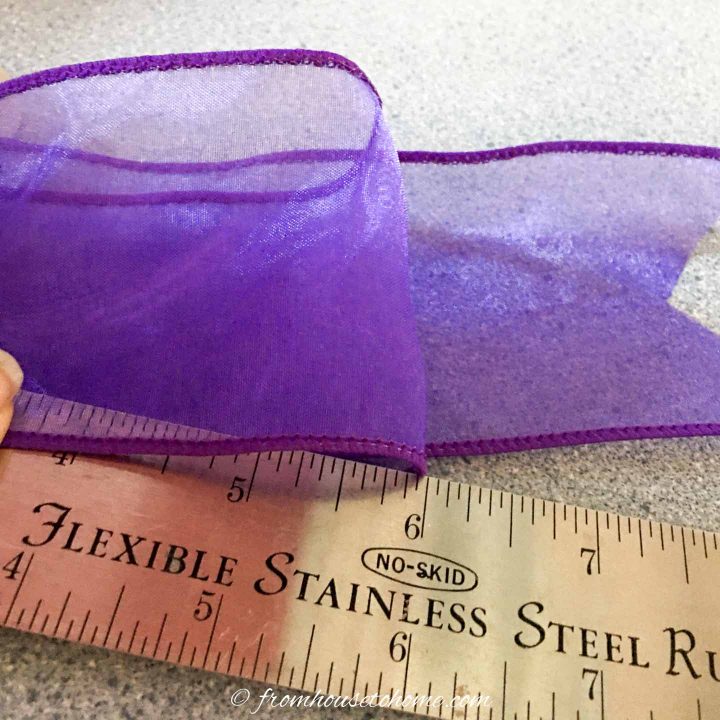
Cut 5 pieces of each of the 2 1/2″ wired ribbon to 16″ lengths, for a total of 15 ribbons.
Make 4 pieces of each of the 2 1/2″ wired ribbon 14″ long, for a total of 12 ribbons.
Cut 5 pieces of each of the 1 1/2 “wired ribbon to 18” lengths, for a total of 15 ribbons.
Cut the ends of each ribbon in a v shape.
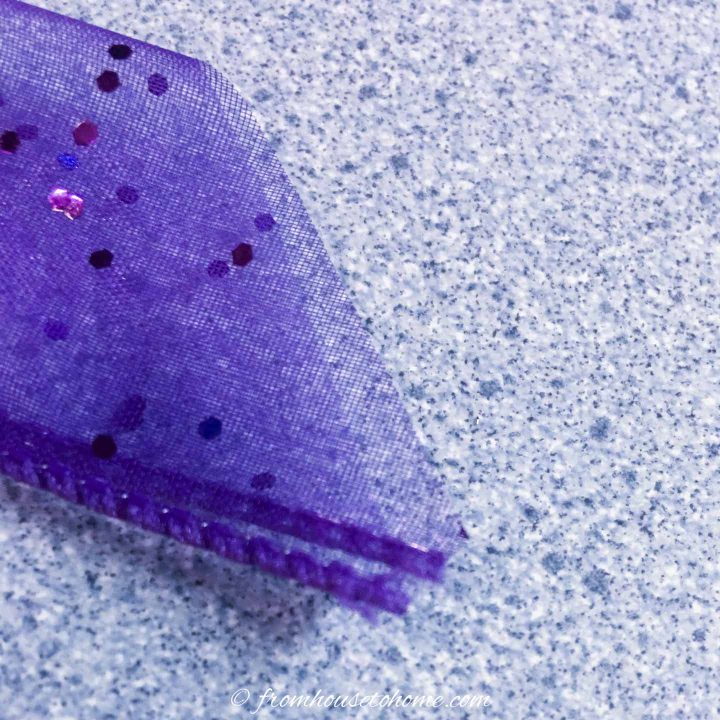
To do this fold the end of the ribbon in half and cut off the folded corner at a 45 degree angle.
5 | Tie Ribbons To The Wreath
Use the 16″ pieces of ribbon to add tails to each poof on the lower ring.
To do this, pinch a ribbon in the center, lay it cross wise over the poof and tighten the tinsel tie.
Do this to place a ribbon on each of the poofs.
Pay attention to the color combinations by placing a contrasting color ribbon on the poofs. For example, I placed the silver ribbon on the purple mesh poofs, the sparkly purple ribbon on the mauve and the plain purple ribbon on the silver.
You now have a ribbon on each mesh poof around the lower ring of the wreath.
With the 14″ long ribbons, repeat the same steps for each poof on the inner ring, using the same color combinations.
6 | Attach Half Bows

Fold an 18″ long, 1 1/2 inch ribbon in half and pinch the middle to make a half bow.
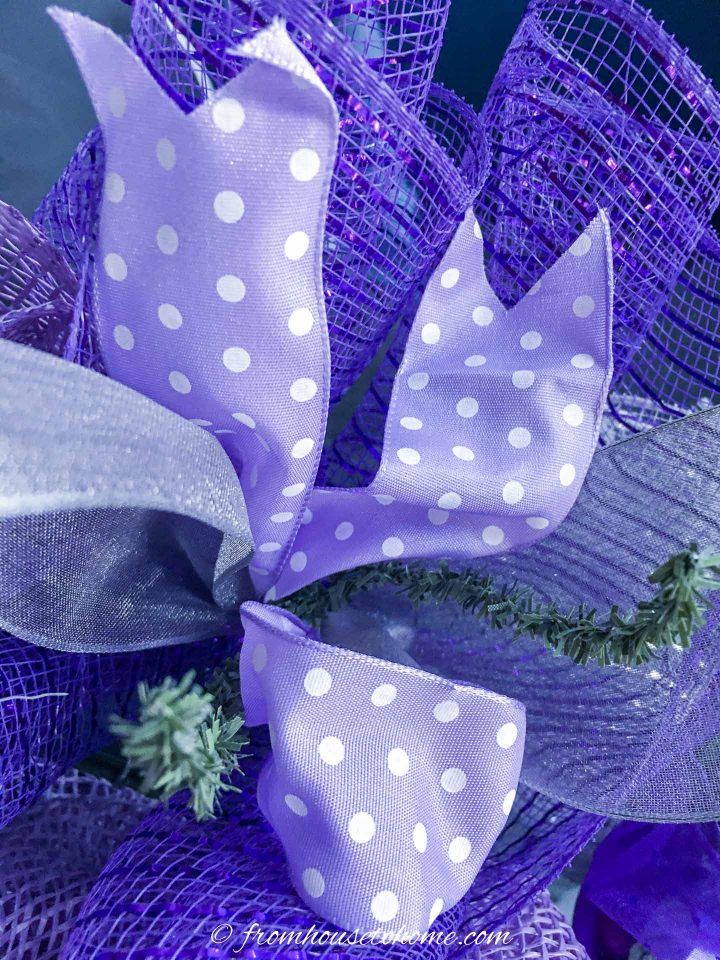
Decide your color sequence, then put a half bow over a ribbon tail/poof on the lower ring and tie it securely with the tinsel tie, twisting it firmly.
Adjust the half bow by pulling its tails apart and puffing out the loop.
Do this for each poof on the outer ring.
You should have a very full wreath at this point!
7 | How To Use The Bowdabra Bow Maker To Make A Large Bow
Use the Bowdabra bow maker to make a large bow for the wreath.
The bow is made up of 6 sections – one from each color of ribbon. So we’ll be cutting one length of each of the 2½ inch ribbons and one length of each of the 1½ inch ribbons.
The First Ribbon
With the ribbon still attached to the roll, cut a v into the end of the first ribbon.
Measure 10 inches for the first tail.
Twist at the 10-inch spot and place the twist into the Bowdabra slot.
Then use the ruler to make a 6 inch loop: twist it and slide into the bow maker.
Measure 6 inches out for the second loop and twist again.
Now make the second tail by measuring the ribbon 10″ from the Bowdabra and cut it. Cut a v in the end.
The Second Ribbon
Use the same process with slightly different measurements to add the second 2½” ribbon to the bow:
- Make an inverted v in the end of the ribbon.
- Measure 9½ inches for the tail, twist and insert into the bow maker above the first ribbon.
- Make 2 loops that are 6 inches long and the second tail 9½ inches. Cut an inverted v in the end of the second tail.
- Pull these tails to the sides in opposite directions.
The Third Ribbon
Use the third 2½ inch ribbon to make a tail 9 inches long, twist, put into the Bowdabra. The loops for this section are 5 inches, while the second tail is cut to 9 ” with an inverted v at the end.
The Fourth Ribbon
Use the same method to add the 4th ribbon but use one of the 1 1/2″ ribbons to make tails 8½ inches long with 5 inch loops. Cut inverted vs into each tail end.
The Fifth Ribbon
The next section is made the same, except the tails are 8 inches long with 5 inch loops.
The Last Ribbon
The last section has 7½ inch tails and 5 inch loops.
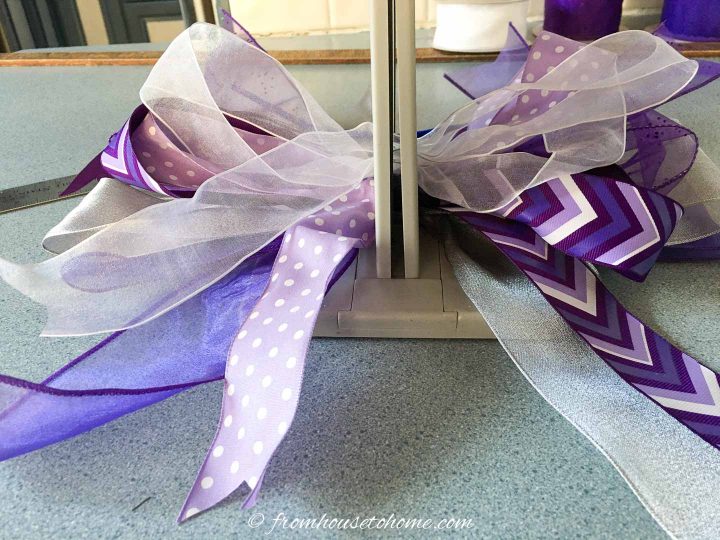
You should end up with a stack of ribbons in the Bowdabra that look something like this.
8 | Attach The Large Bow
Remove the ribbons from the Bowdabra by grasping through all thicknesses close to the center.

Tie the center with a pipe cleaner, twisting it tightly.
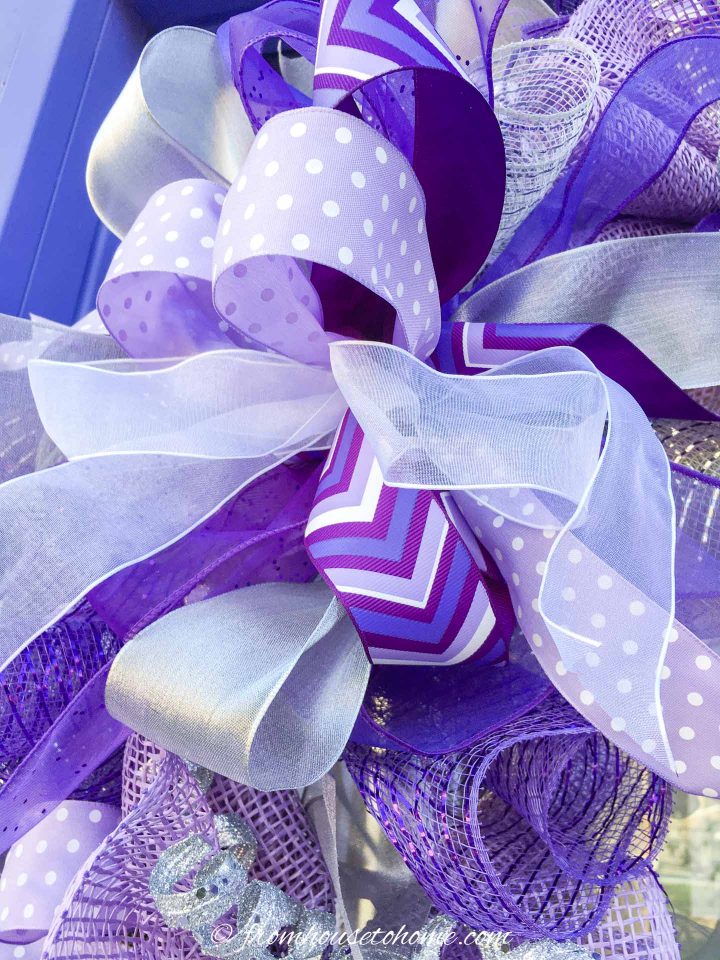
Adjust the tails by pulling them out to the sides and across from each other.
Pull the loops straight across from its mate.
Work one section at a time, starting at the bottom and adjusting each consecutive bow part upward.
Find a bare spot on the wreath, position the bow over this spot.
Tie it to the top ring with the pipe cleaner, leaving a 4″ gap between the wire ring and the bow (so that the mesh poofs in the area of the bow do not get crushed).
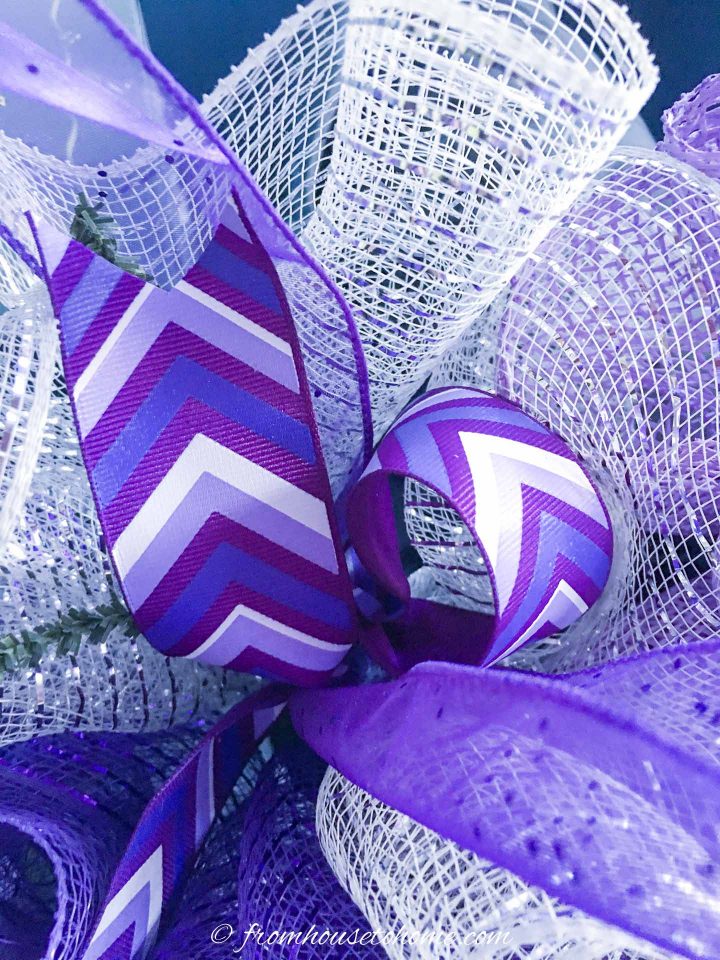
9 | Add the Embellishments
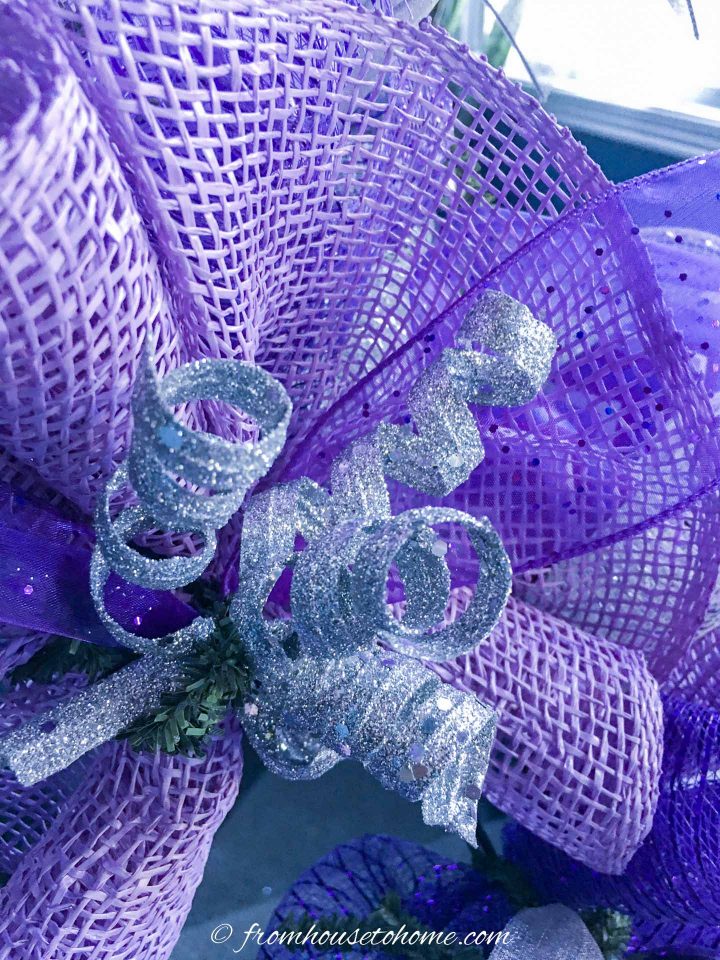
I placed a silver foil pick at the center of each mauve poof on the top ring and tied it in place with the tinsel tie.
Then cut off the wire end of the pick with the pliers.
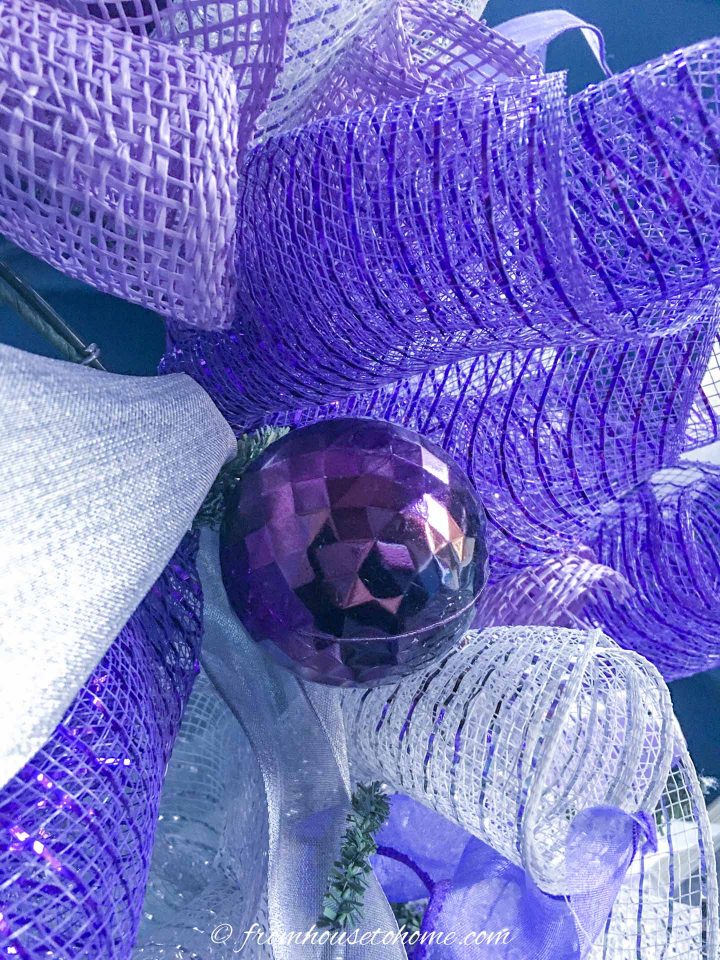
Next, I threaded a purple ball on to each tinsel tie at the silver mesh poofs on the inner ring of the wreath and tightened it.
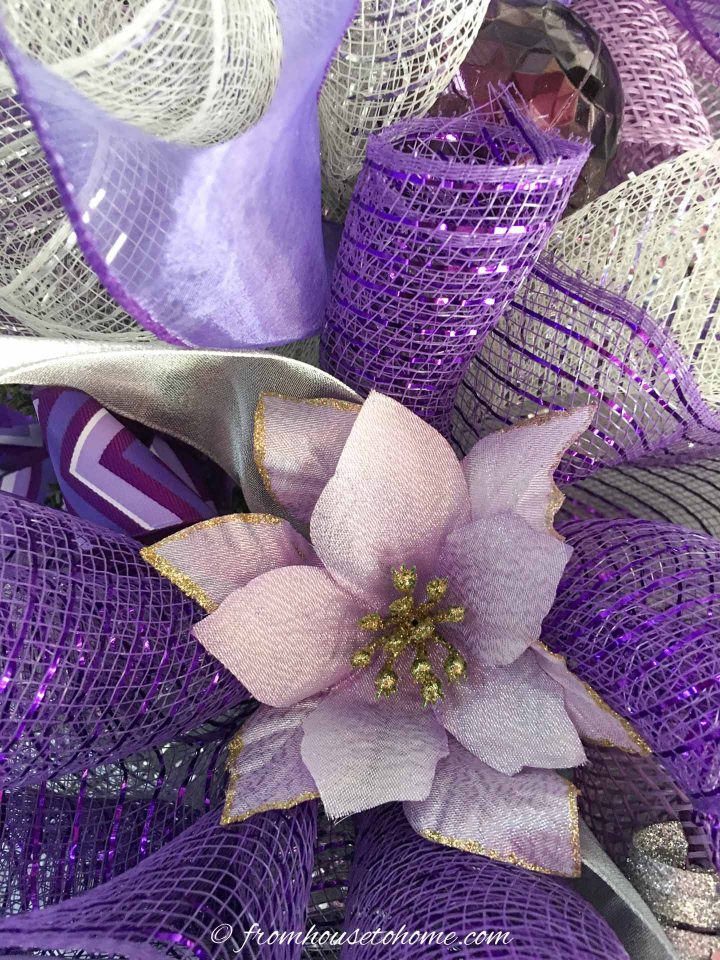
Finally, I glued mauve poinsettias to the center of the purple mesh poofs on the top ring.
10 | The Finishing Touches
Now all that’s left is to get rid of any unwanted ends and fluff the wreath:
- Cut off the tinsel ties or tuck them into the back of the wreath so that they are not visible.
- Cut off the pipe cleaners.
- Adjust and fluff the poofs and ribbons so that they are facing the front and look the way you want them to.
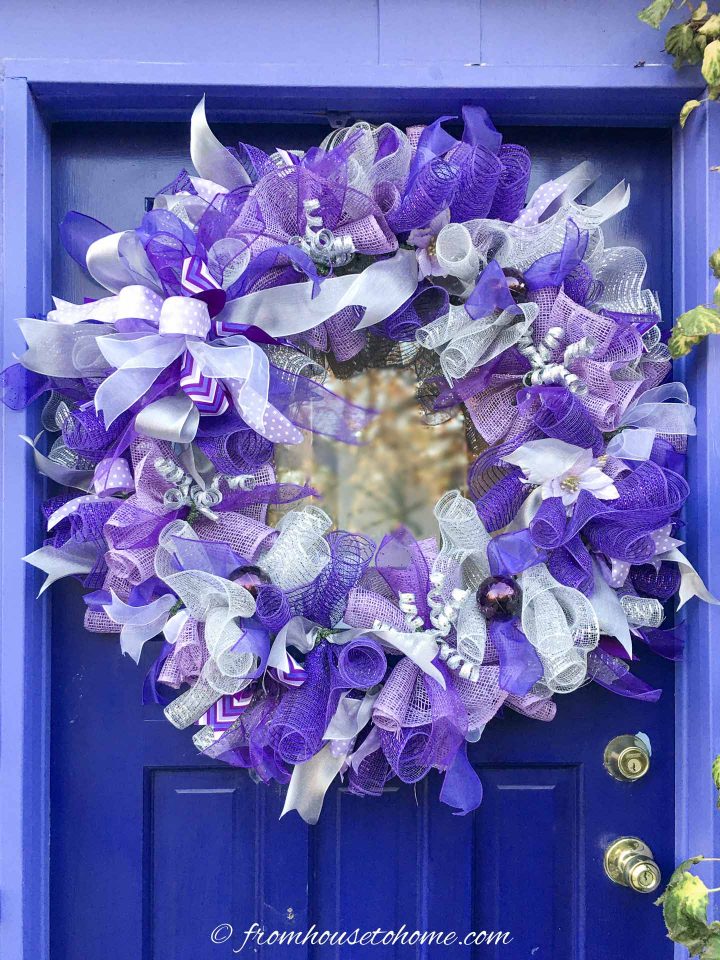
Hang the wreath on the front door from 2 Command hooks. And enjoy your beautiful holiday wreath!
Hope you like the finished product as much as I do!
Other DIY Christmas Wreaths You Might Like
Have comments about our DIY purple and silver deco mesh Christmas wreath? Tell us in the section below.
This post was originally published on November 24, 2020 but was updated with new content on July 25, 2023.
Wanda, your purple wreath is just spectacular. As purple is my favourite colour, I’ll be looking for the supplies asap. Thank you for the easy to follow instructions. Pauline
Your mum’s wreath is stunning! Happy thanksgiving and Merry Christmas. Home you can get home for the holidays.
Thanks, Aunt Elaine! I love her wreath, too 🙂 Merry Christmas to you and your family, too! Unfortunately, I’m not going to make it home this year. I think a Zoom Christmas is in our future 🙂