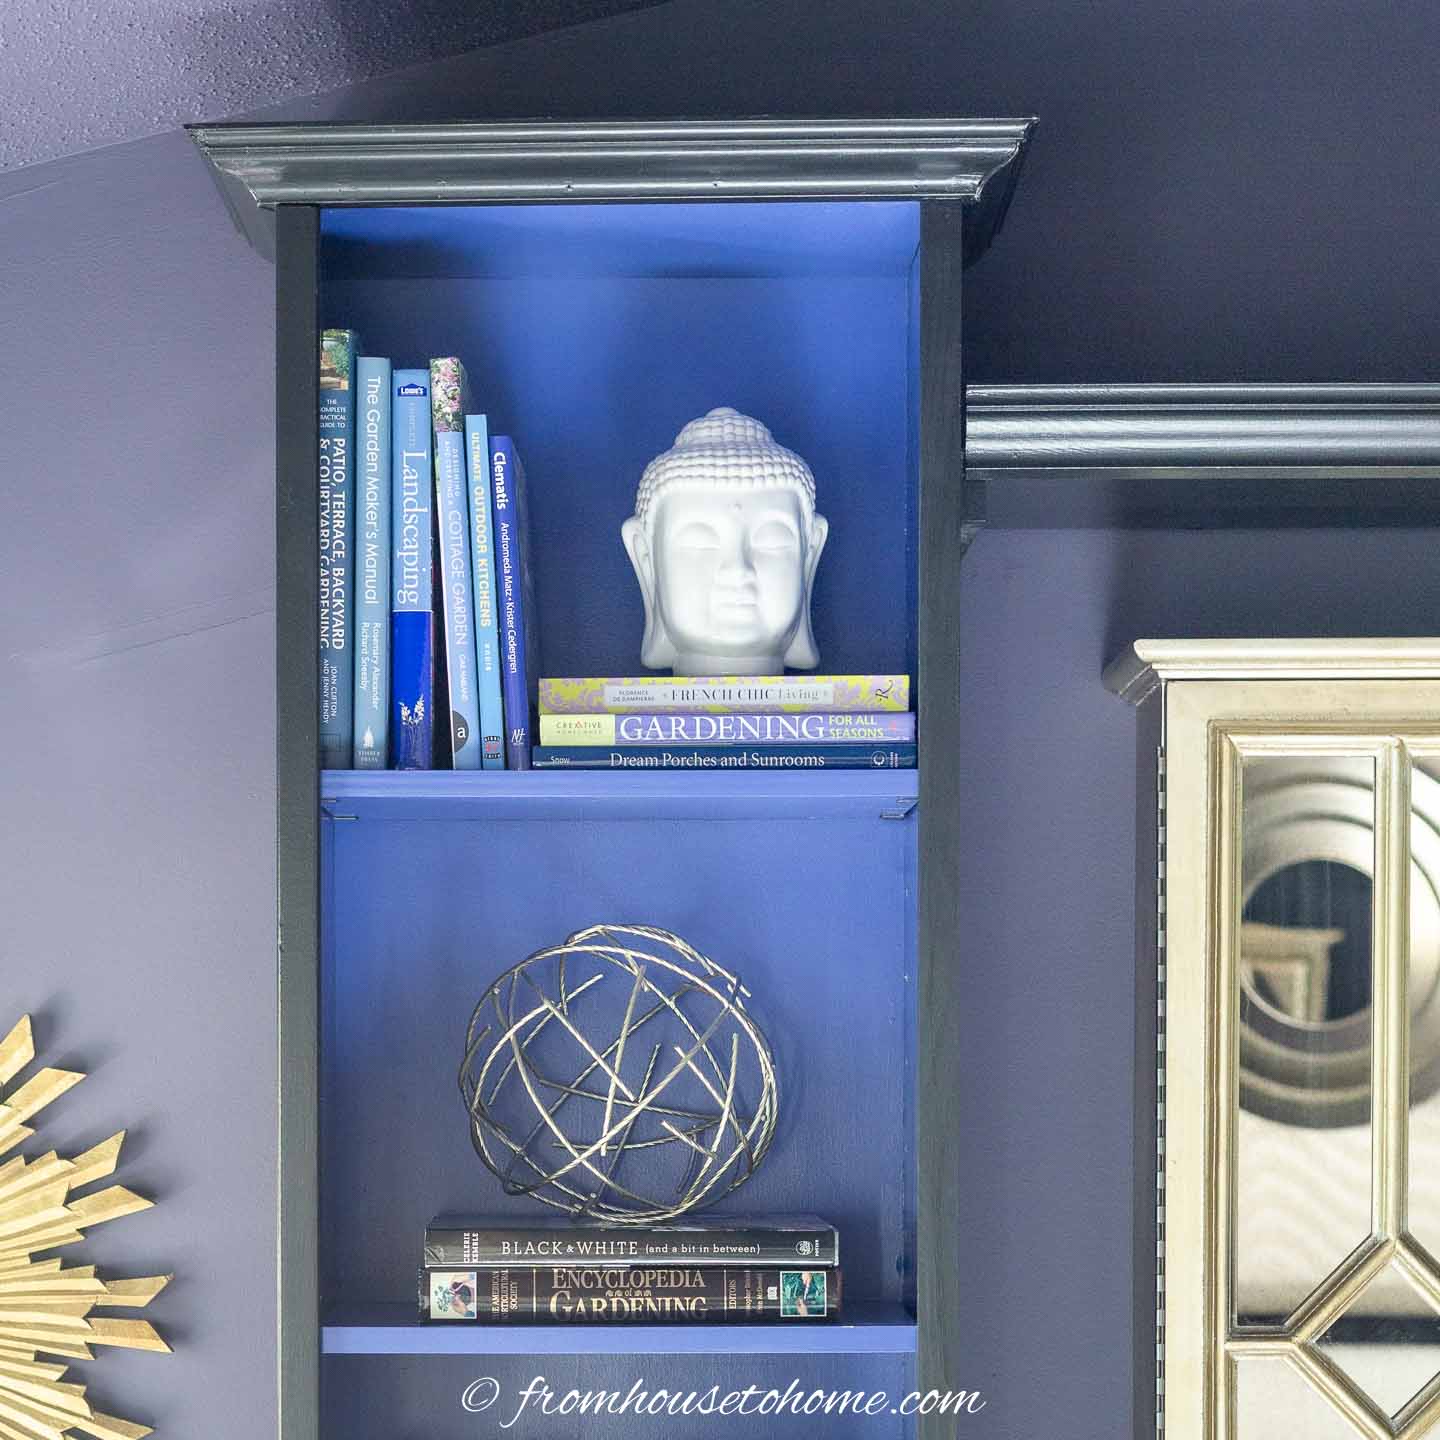
DIY Navy Blue Painted Bookshelves
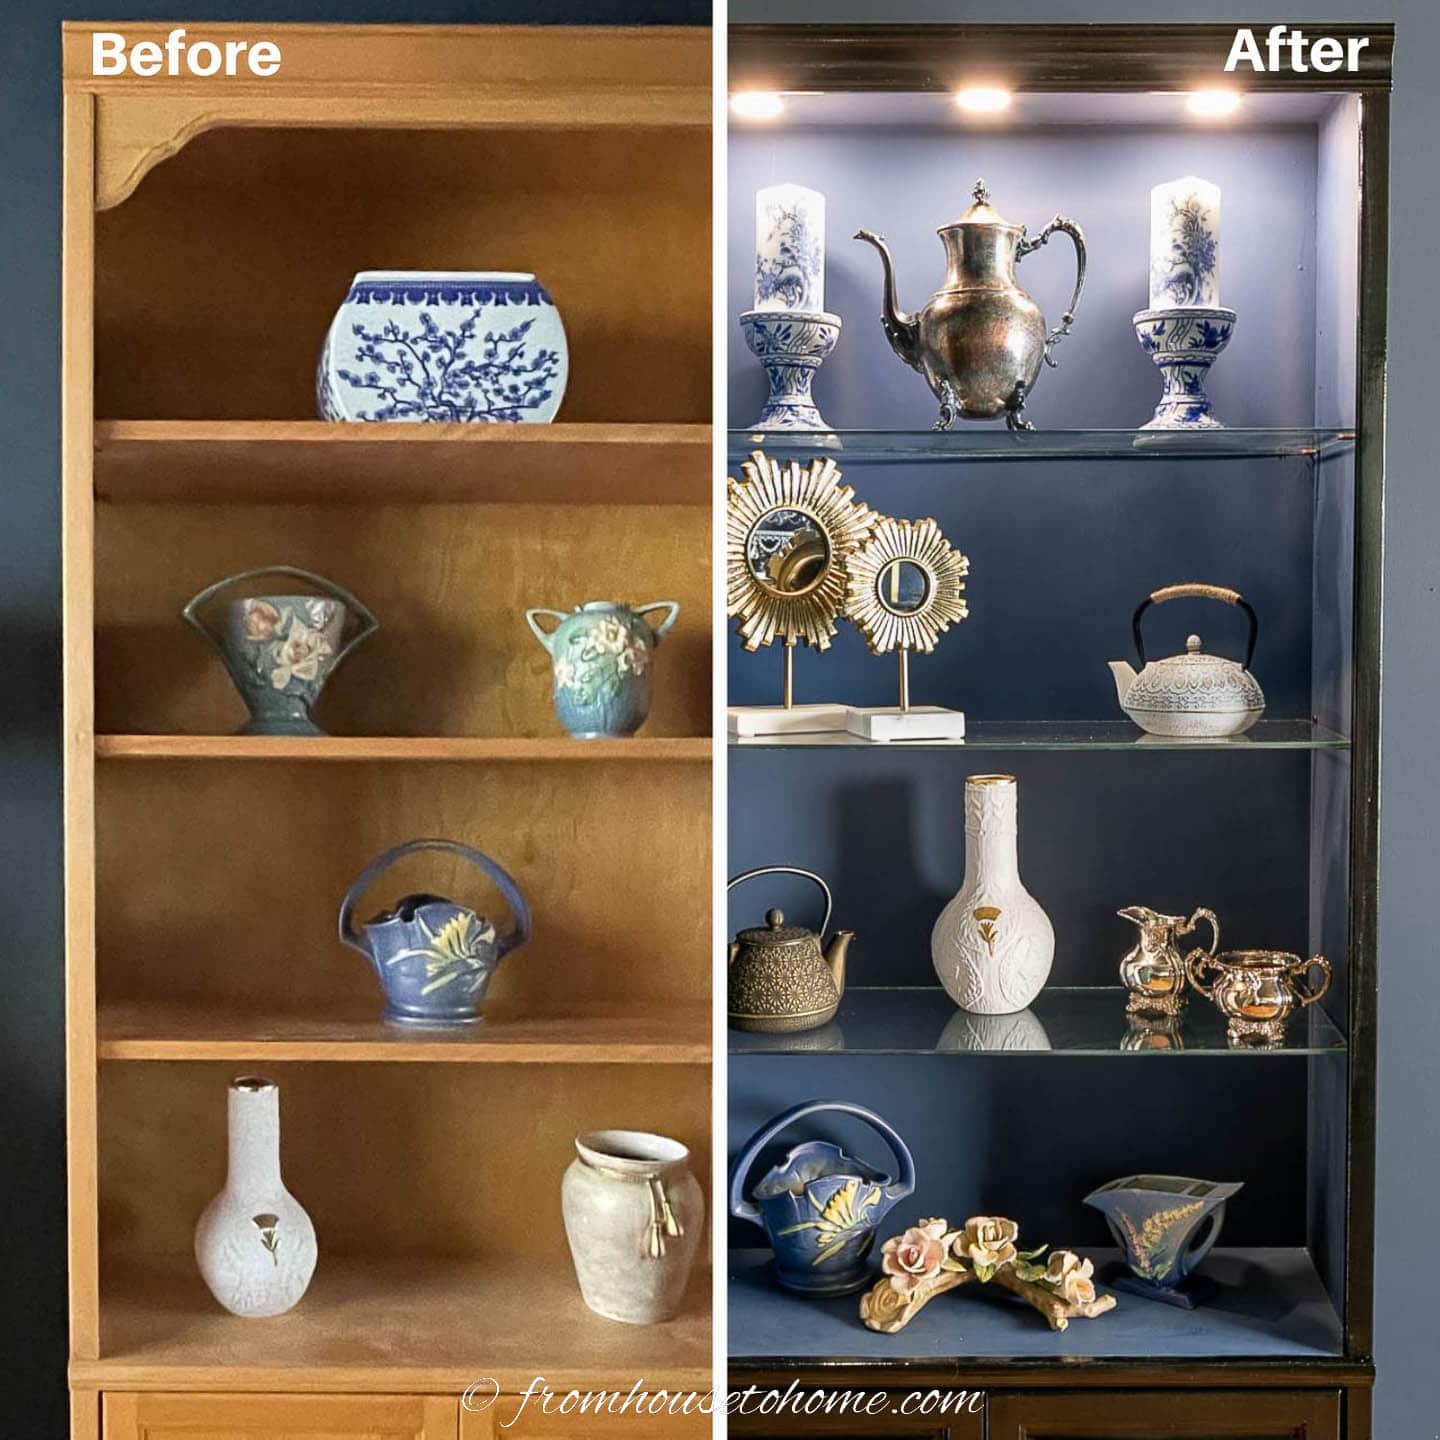
I’ve had this old mahogany-veneer bookshelf for years, but the dark finish always made it feel dated. A coat of navy blue paint and some gold spray paint completely changed the look, giving it a fresh, custom feel that fits my decor so much better.
The single wall unit in one of my rooms was functional but very dated and not very attractive (think old Bombay Company mahogany veneer).
The unit itself is not valuable but because it contains the TV and music components and has drawers for storage, it is very useful.

So I decided to give it a face lift with paint.
Since I did not want the unit to stand out in the room, I chose to paint it the same color as the walls (only in a different finish) to help it blend into the background.
Which is a navy blue (Farrow & Ball’s “Drawing Room Blue” to be exact).
And I absolutely love the way it turned out!
Keep reading to find out how to transform an old bookcase with this DIY navy blue painted bookshelves tutorial.
More bookshelf makeover ideas
Get a FREE Room Makeover Workbook by signing up for our newsletter
You’ll also get access to our members-only resource library with all of our other printables.
We won’t send you spam. Unsubscribe at any time.
Supplies
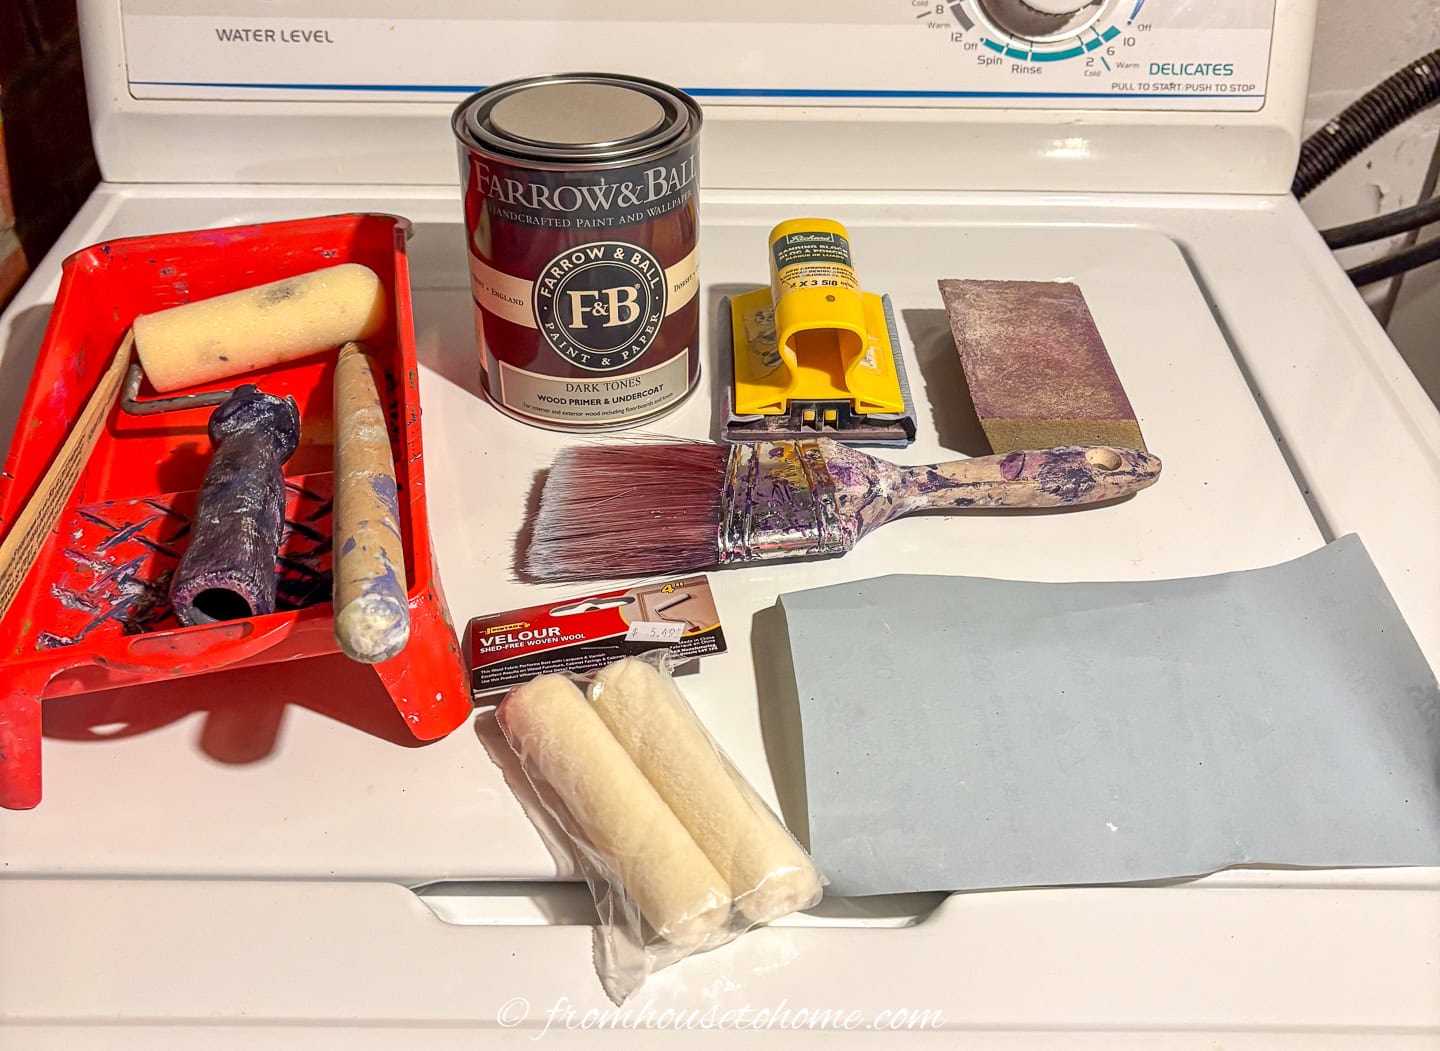
Materials
- TSP* – used to thoroughly clean the shelf before painting.
- Paintable wood filler* – to fill any gauges or nicks
- 1 quart primer – I used the Farrow & Ball primer that is recommended for dark colored paint.
- 1 quart high gloss paint – I used Farrow and Ball ‘Drawing room blue’ to match the color of my walls.
- Gold spray paint* – For the hardware.
Equipment
- Power screw driver – for removing the hardware.
- Sander
- Sanding block with fine grit sandpaper
- Vacuum
- Damp cloth
- Small roller and tray
- 4″ foam roller
- 4″ low pile wool roller
- 2 1/2″ bristle paint brush – I like to use the highest quality brush I can find since they tend to leave fewer brush marks.
- Wire brush or toothbrush – for cleaning the hardware.
Prep work
I urge you not to skip this first initial preparation of the cabinet’s surface.
It is very important that the old surface be roughed up and all grease and oil and dust removed.
The new paint will adhere better, which prevents chipping and peeling later on.
1 | Take the unit apart
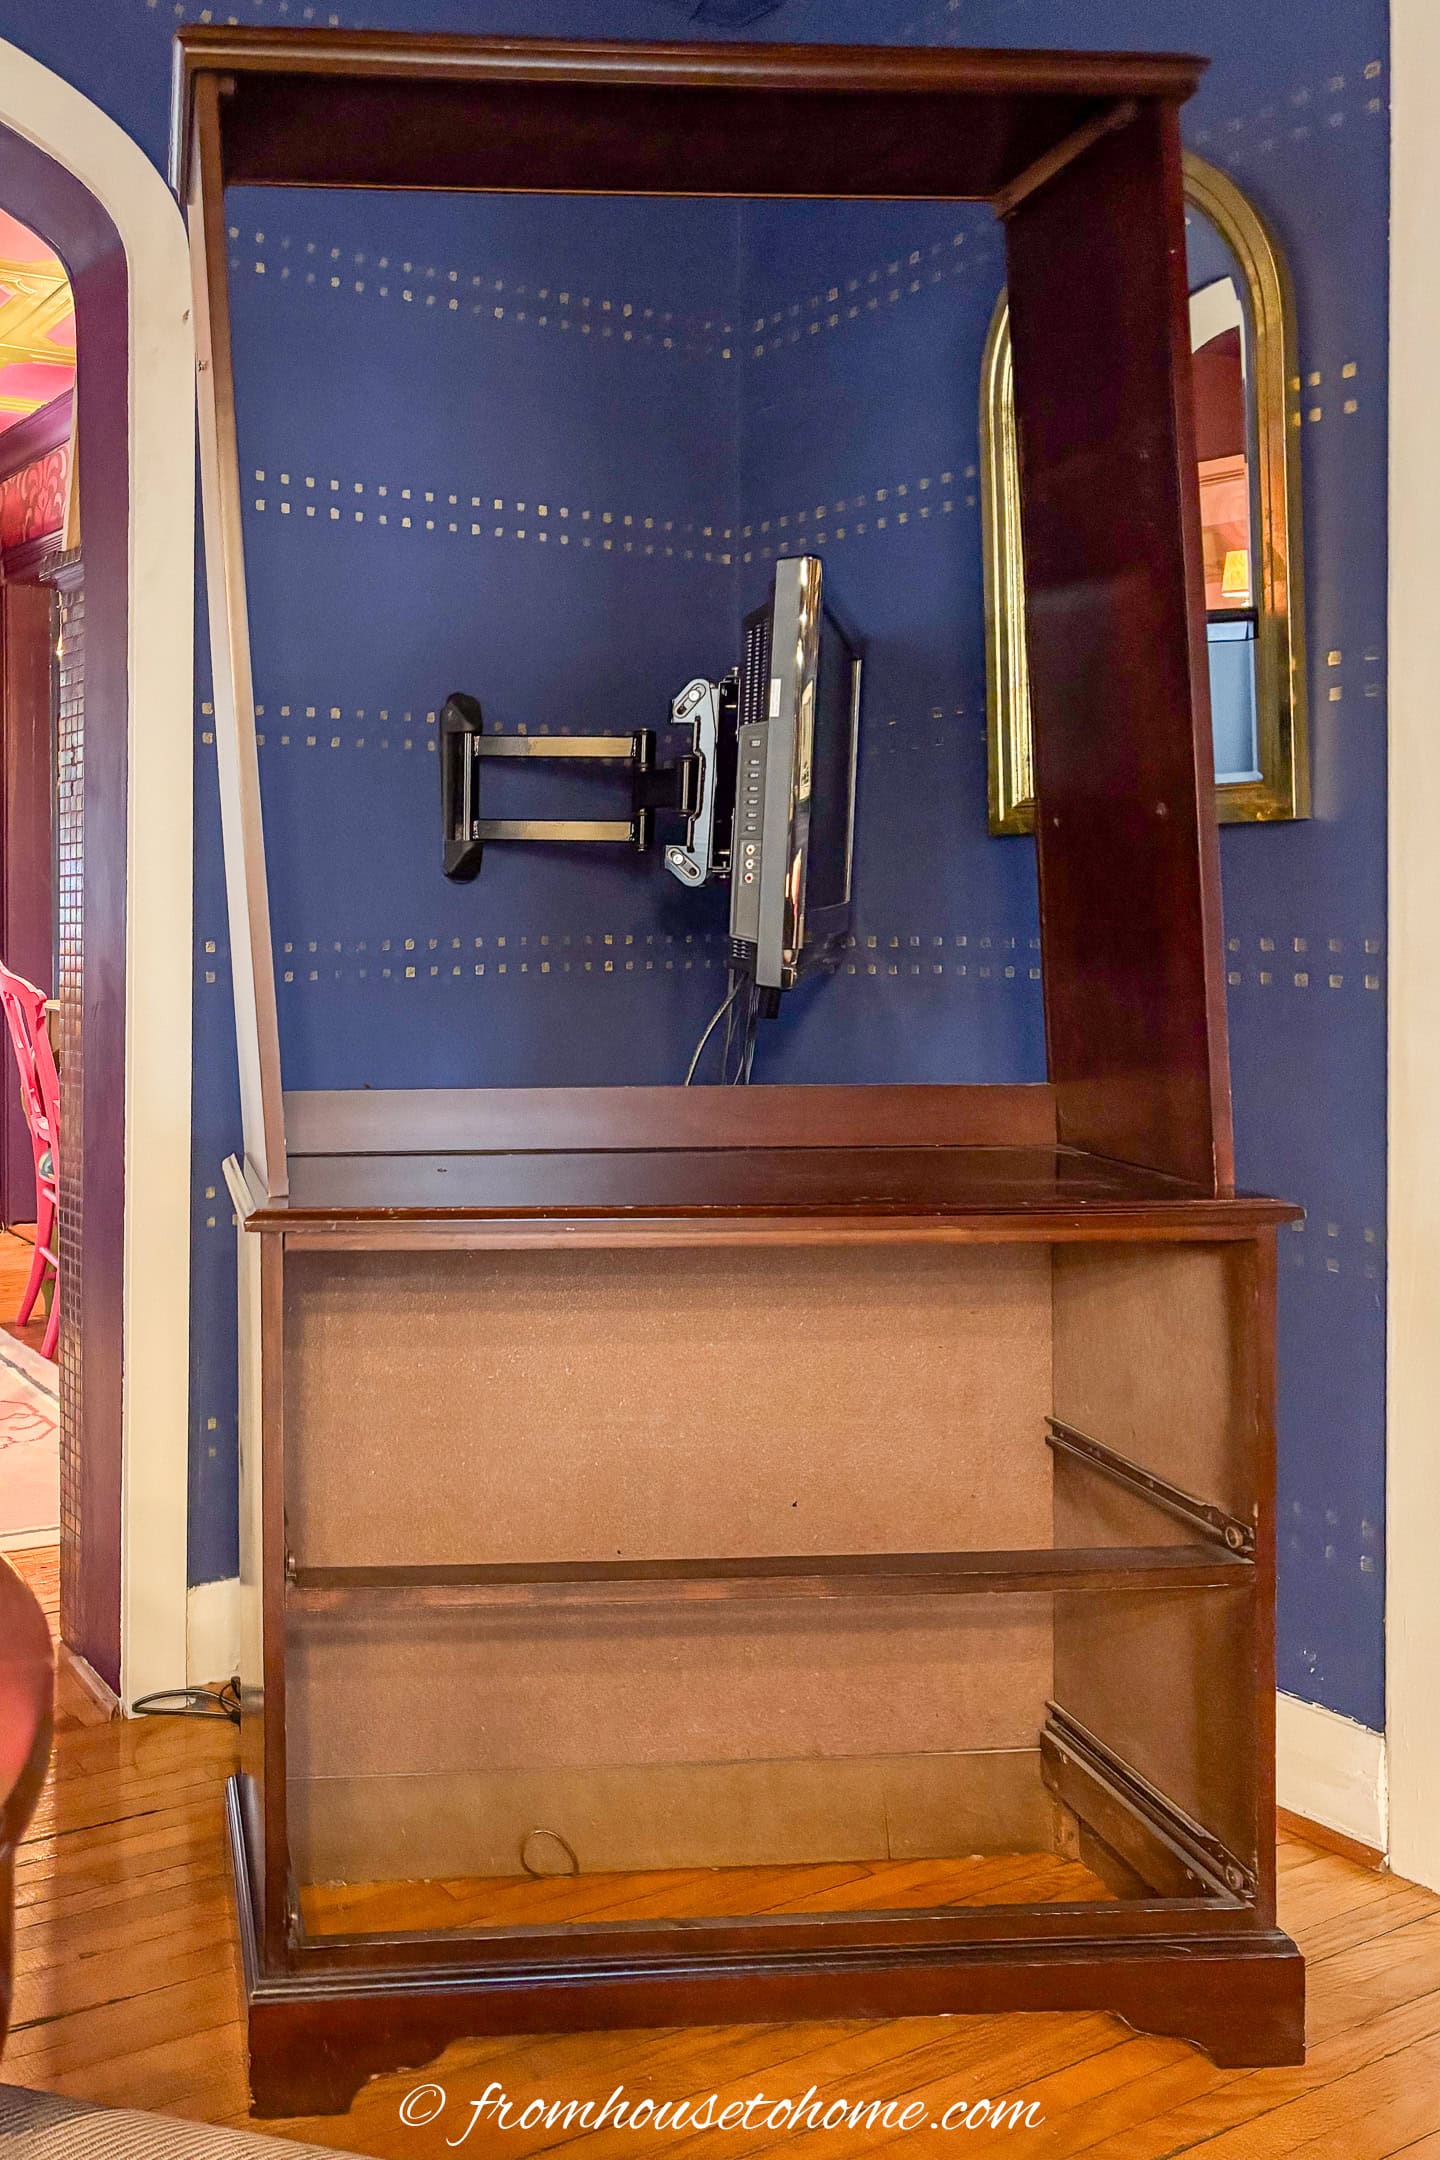
Empty the unit of all stored and displayed items.
Take the unit apart as much as possible. Remove any drawers, shelves and the back.
Use a screw driver to remove the hardware from the drawers.
2 | Protect the floor
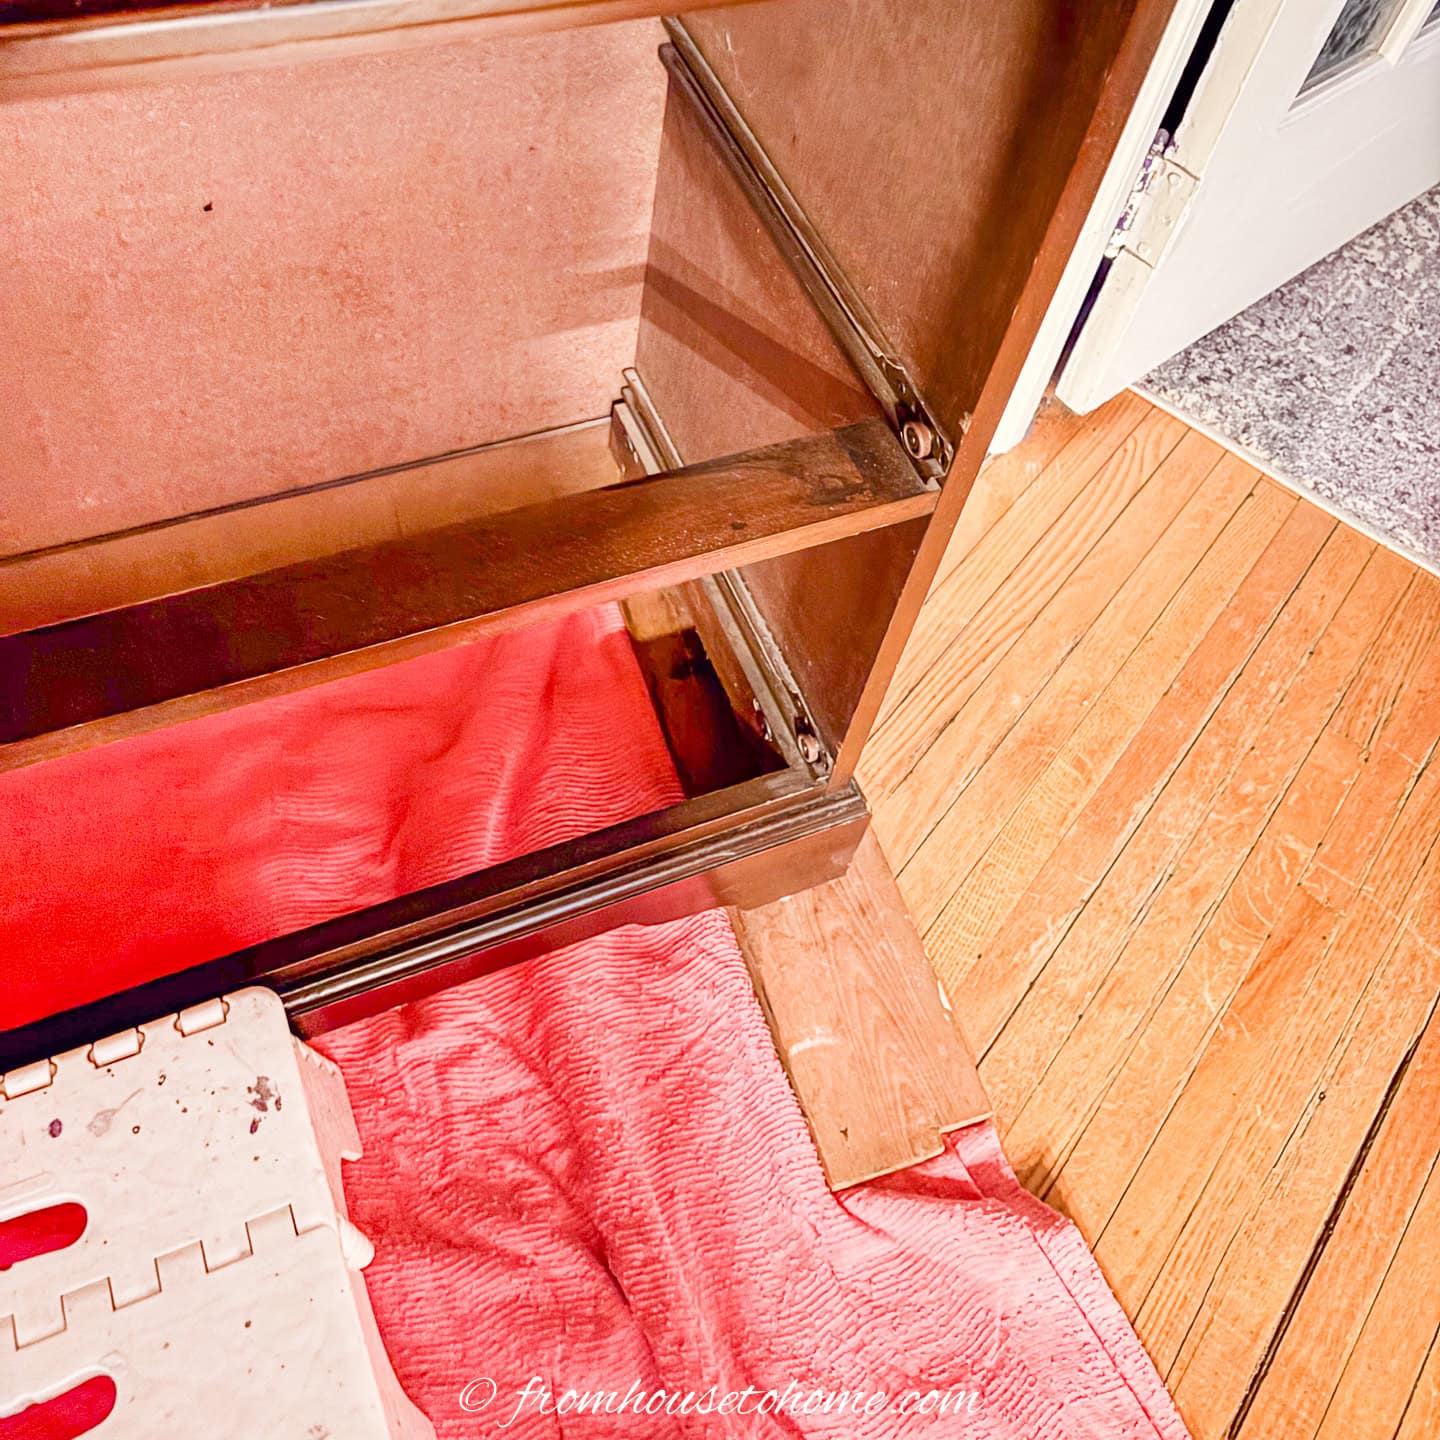
Since my shelf is pretty big and heavy, I didn’t want to move it out of the living room. So I decided to paint it in place. (You can skip this step if you’re moving it to the garage or a workshop to paint it).
Protect the floors by putting a drop-cloth under and around the unit.
Then place a board under each side to elevate the unit up off of the floor. This will make it easier to sand and paint right to the bottom edges.
3 | Sand
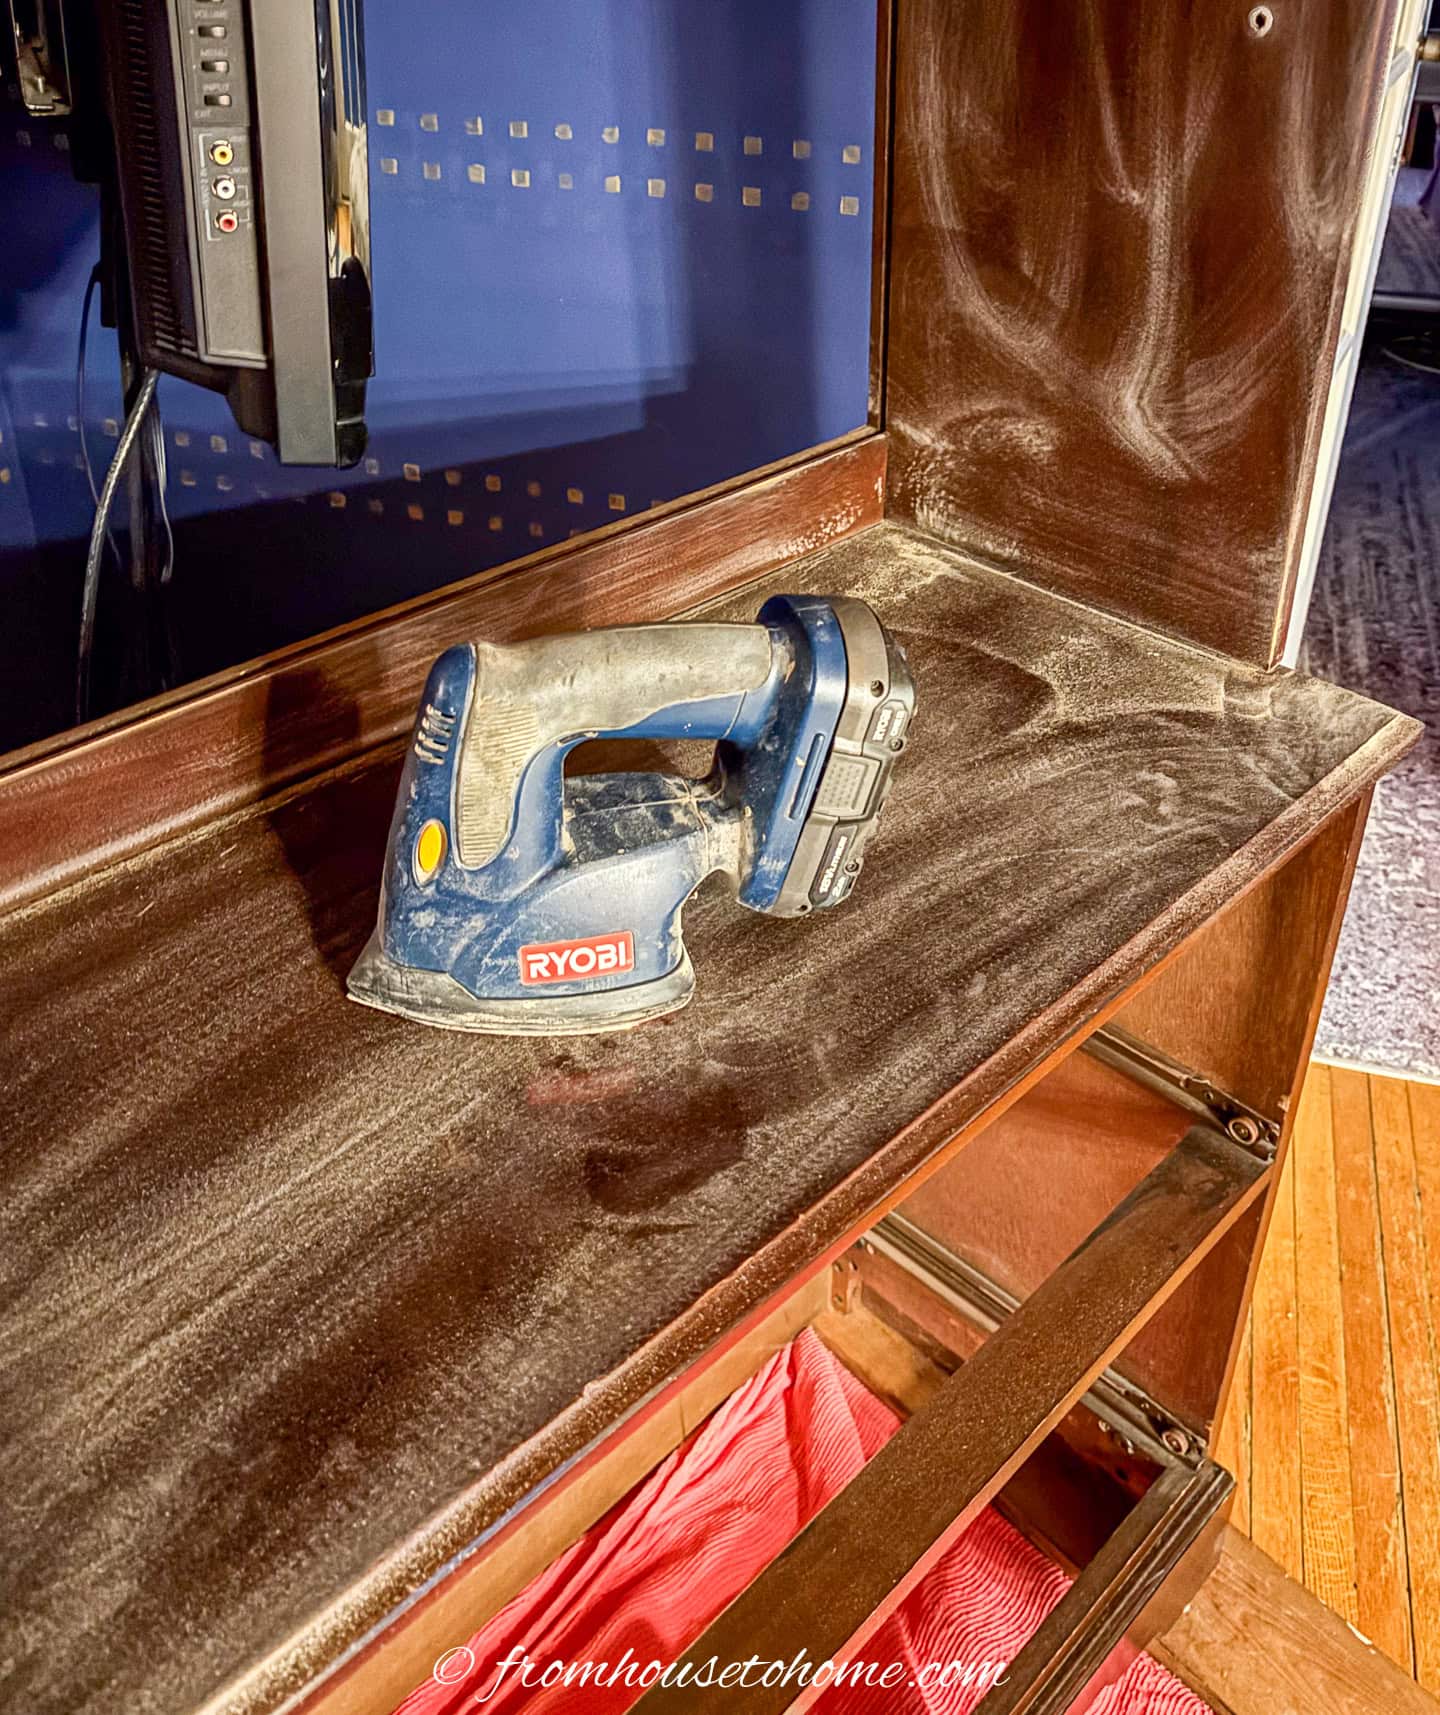
Sand the entire unit, drawer fronts and shelves (both sides) with the power sander loaded with medium grit sandpaper.
If you do not have a power sander, you can achieve the same results with a sanding block.
The sanding block is also helpful for sanding moldings or other areas that the power sander cannot get into.
The objective is to remove the gloss from the existing surfaces.
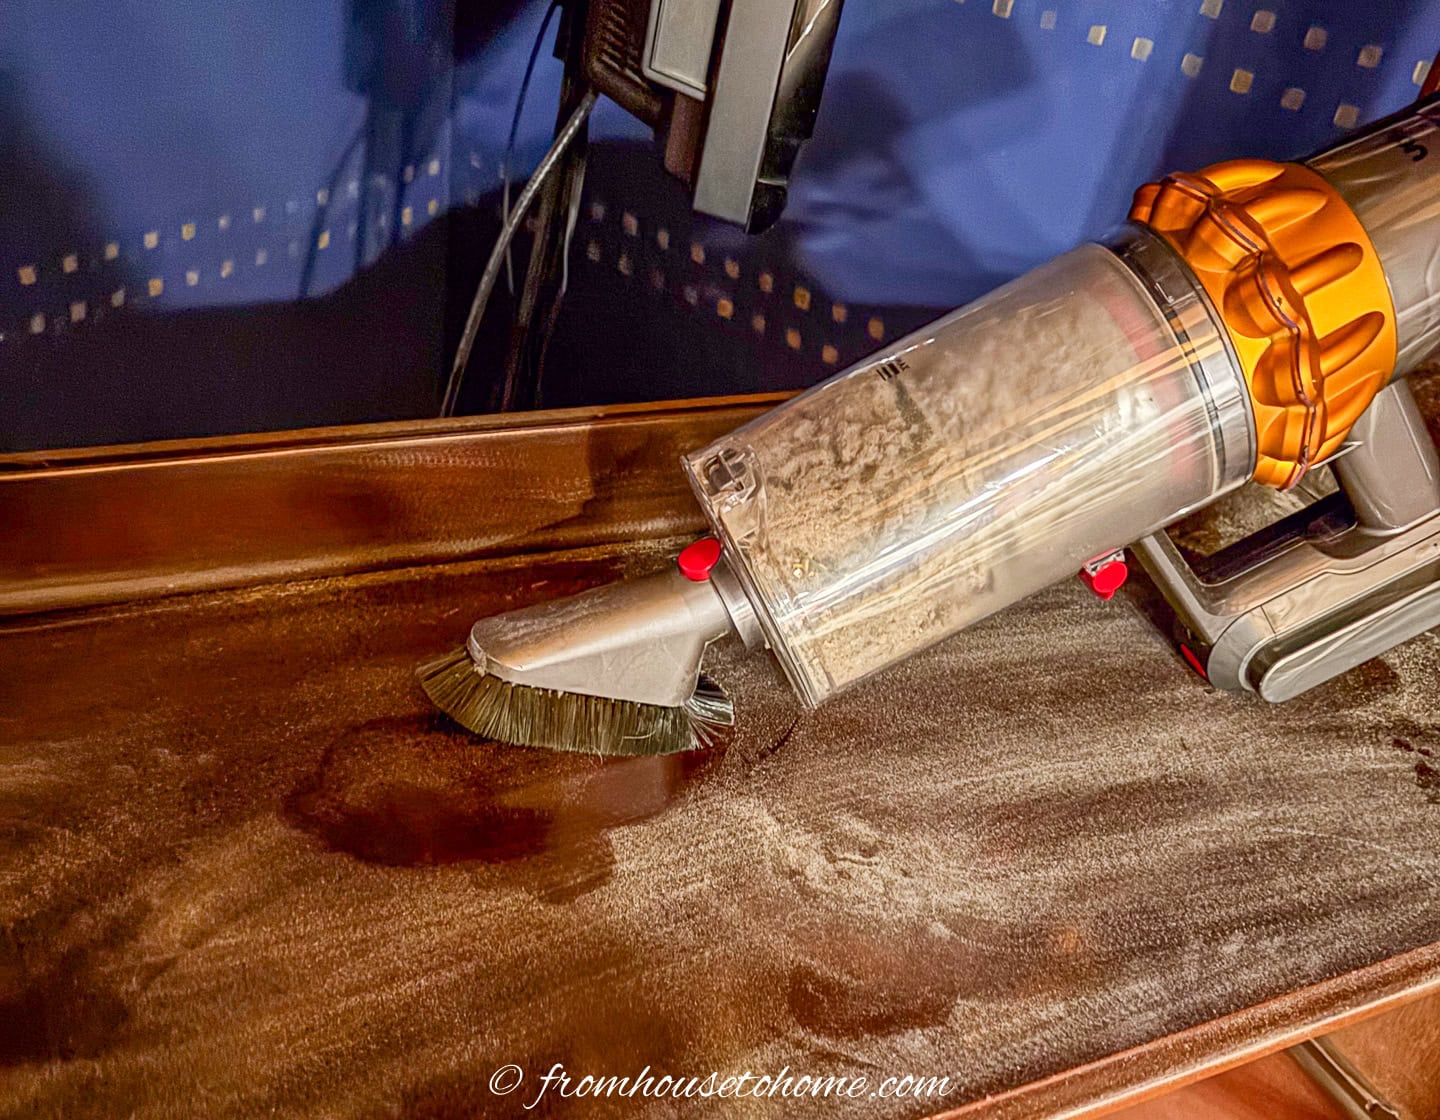
I used a vacuum and a damp cloth to get rid of the sanding dust.
4 | Repair damaged areas
Now, inspect all of the surfaces for gouges and nicks.
If there are any, repair the damaged areas by filling them with liquid wood, letting it dry and re-sanding those areas smooth and level.
5 | Clean thoroughly
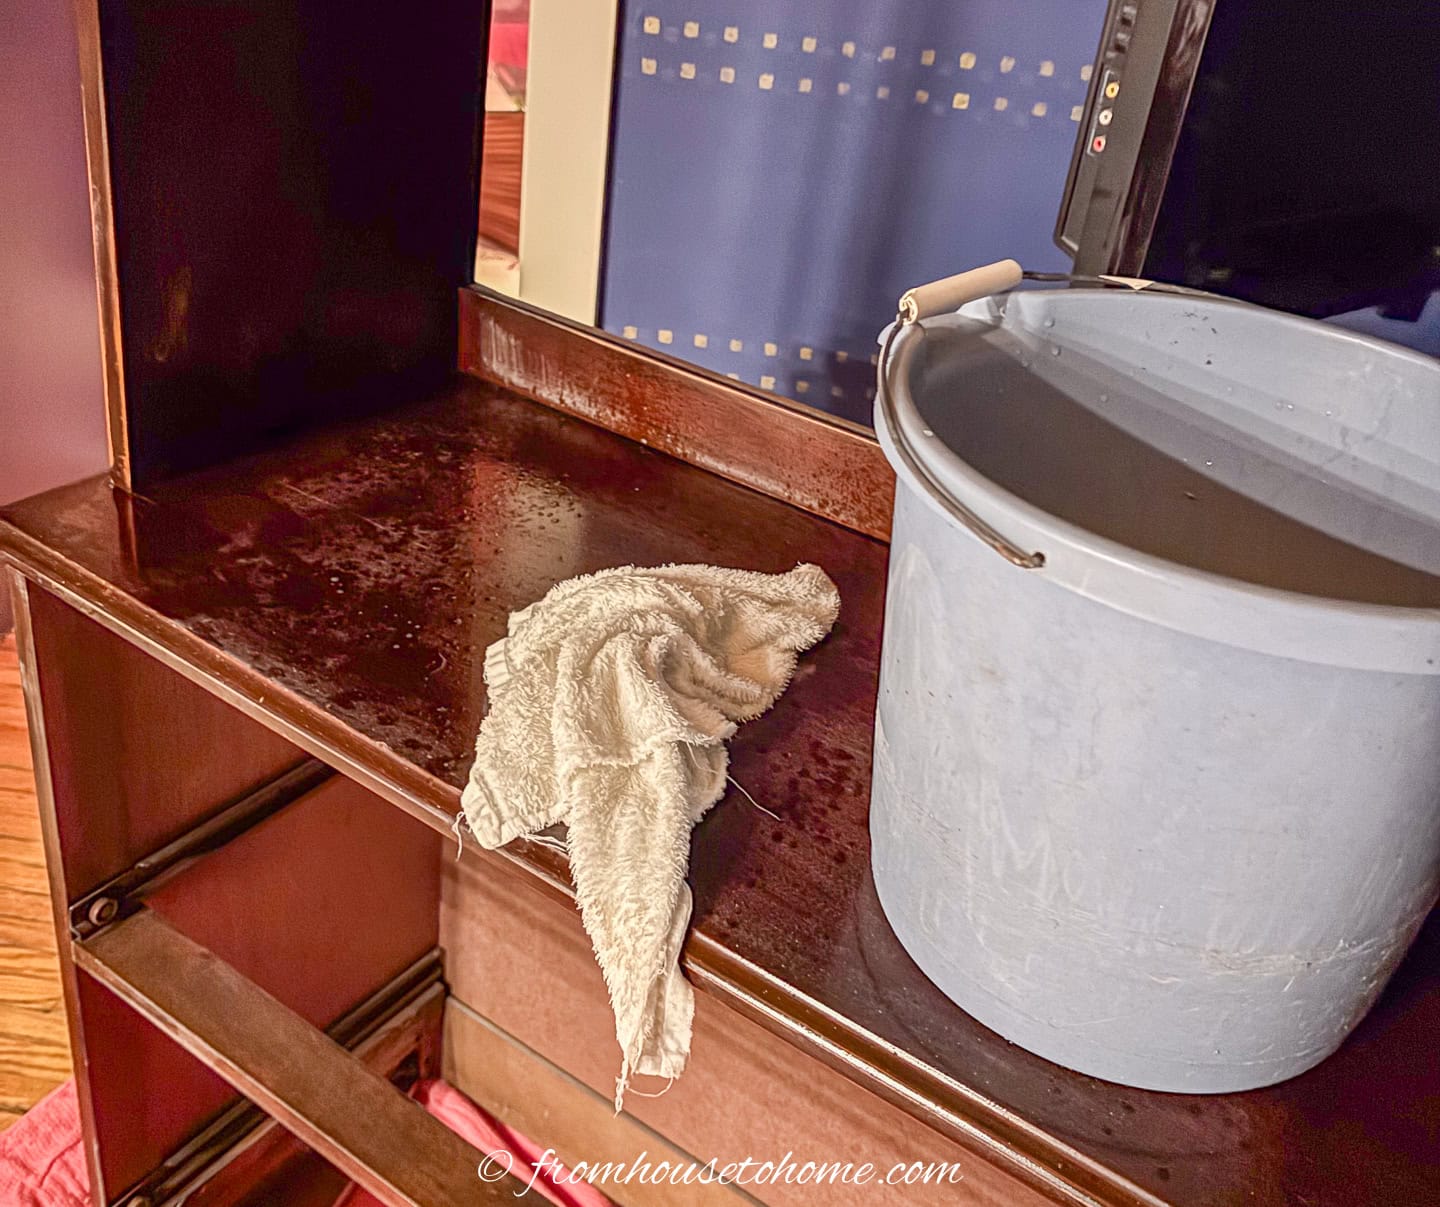
Spray the unit and all of its parts with TSP.
Then wash every surface with warm water and soap.
Follow with a clear water rinse to remove any soap residue.
Let the surface dry thoroughly (preferably over night.)
The wall unit it now ready to be painted.
Paint the bookshelves
I think both the primer and more importantly the top coats should be allowed to dry much longer than the manufacturer recommends.
This leads to a very hard, non-sticky, chip resistant finish that remains more durable as it ages.
New paint also needs to cure for several weeks before it gets completely hard. After that, it will be tough, hard, and virtually indestructible.
For this reason I let the top coats dry for 2 days between reapplications. And subsequently, treat the newly painted finish very gently for at least a month or two.
1 | Prime
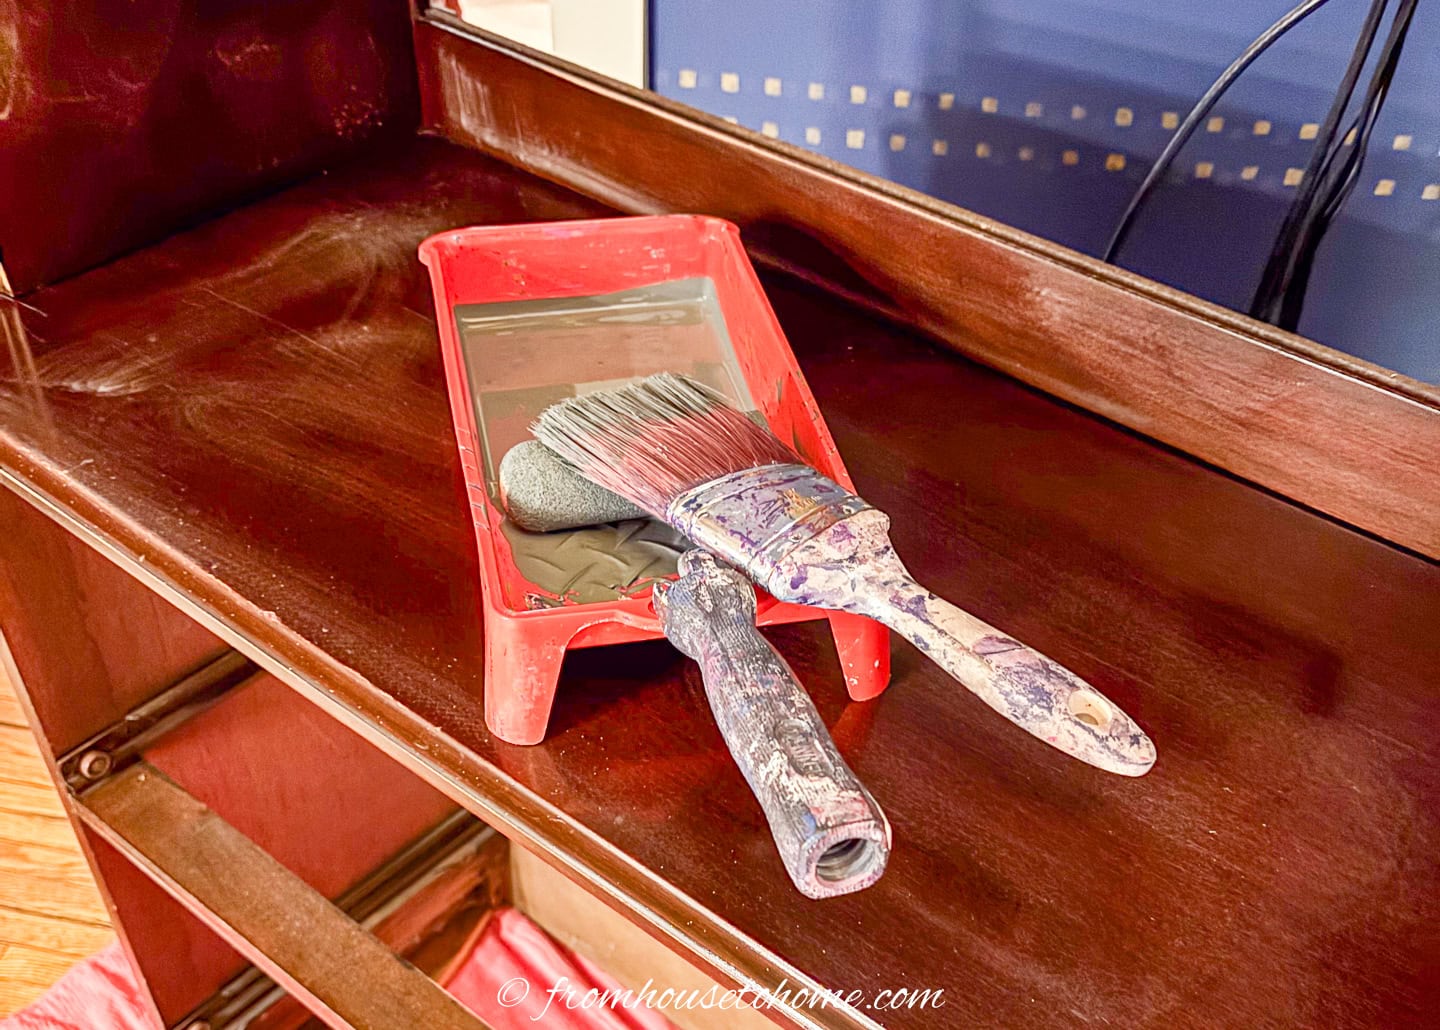
After the unit is completely clean, free from dust and totally dry, it is ready for the first coat, a good quality primer. I like to use the primer that is recommended by the paint manufacturer for the type of paint I am using.
Stir the primer well.
Use the small 4″ foam roller to apply an even layer to the flat surfaces.
Then prime the edges, corners and any molding using a 2 1/2″ brush.
Let the prime coat dry according to the manufacturers instructions (or longer, especially if you have high humidity or cooler temperatures).
In my case, the humidity in the house was low, so I allowed 4 hours drying time for the under-coat.
2 | Sand lightly
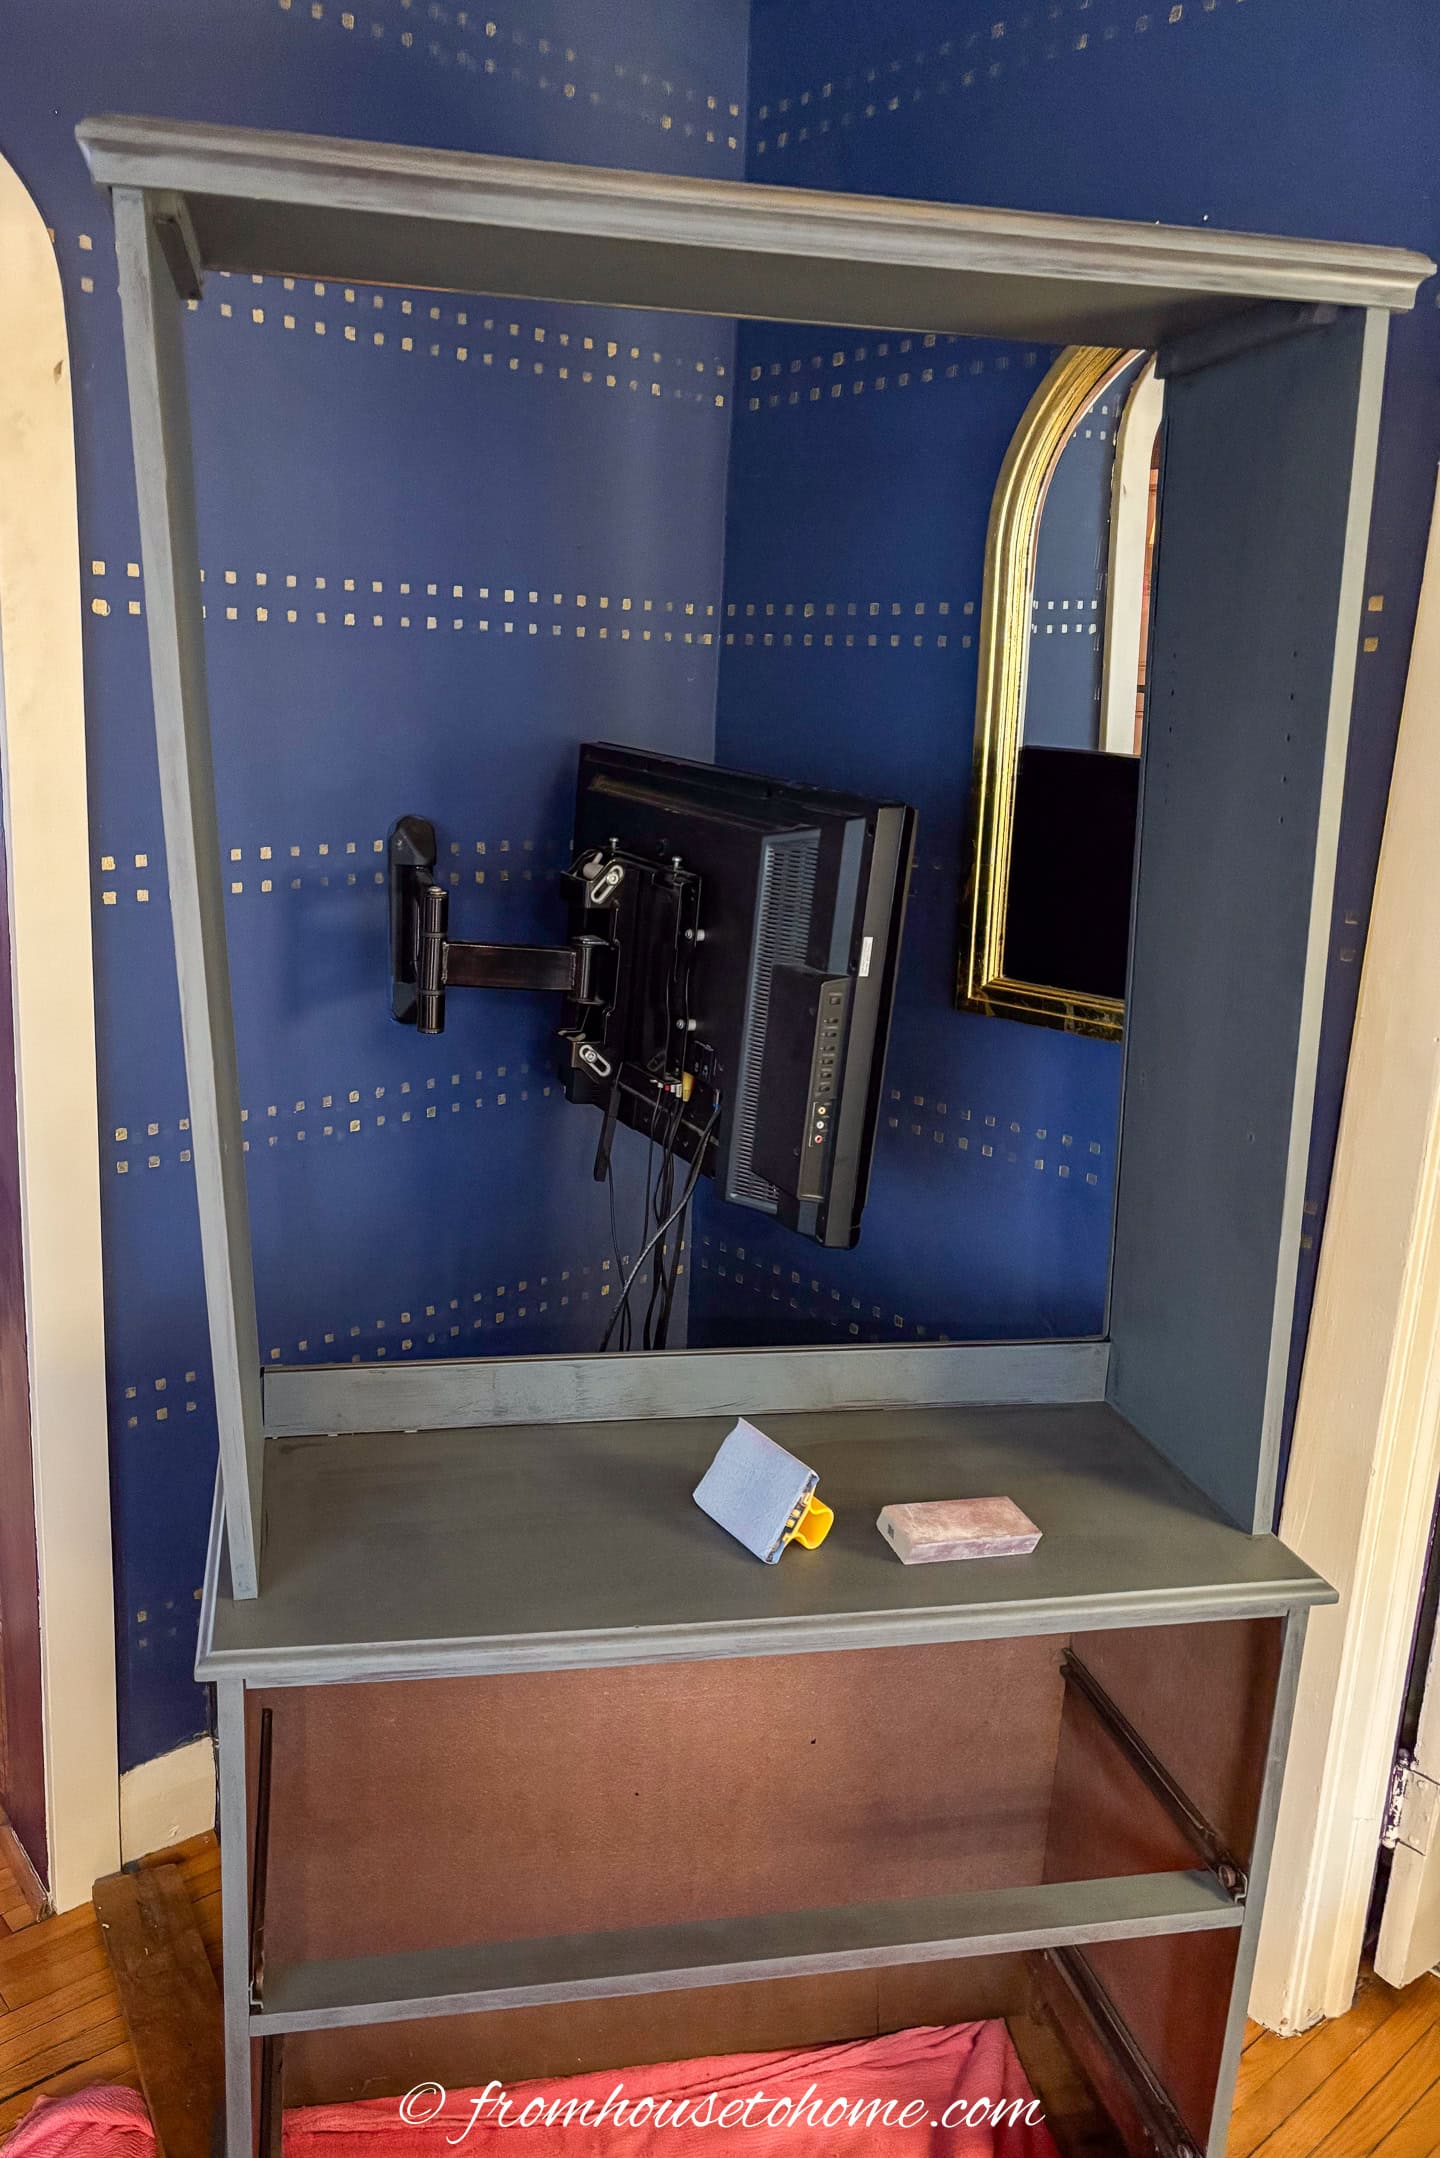
Use the hand sanding block and a very fine sandpaper to lightly go over the surfaces. This removes any small bumps that can affect the final finish.
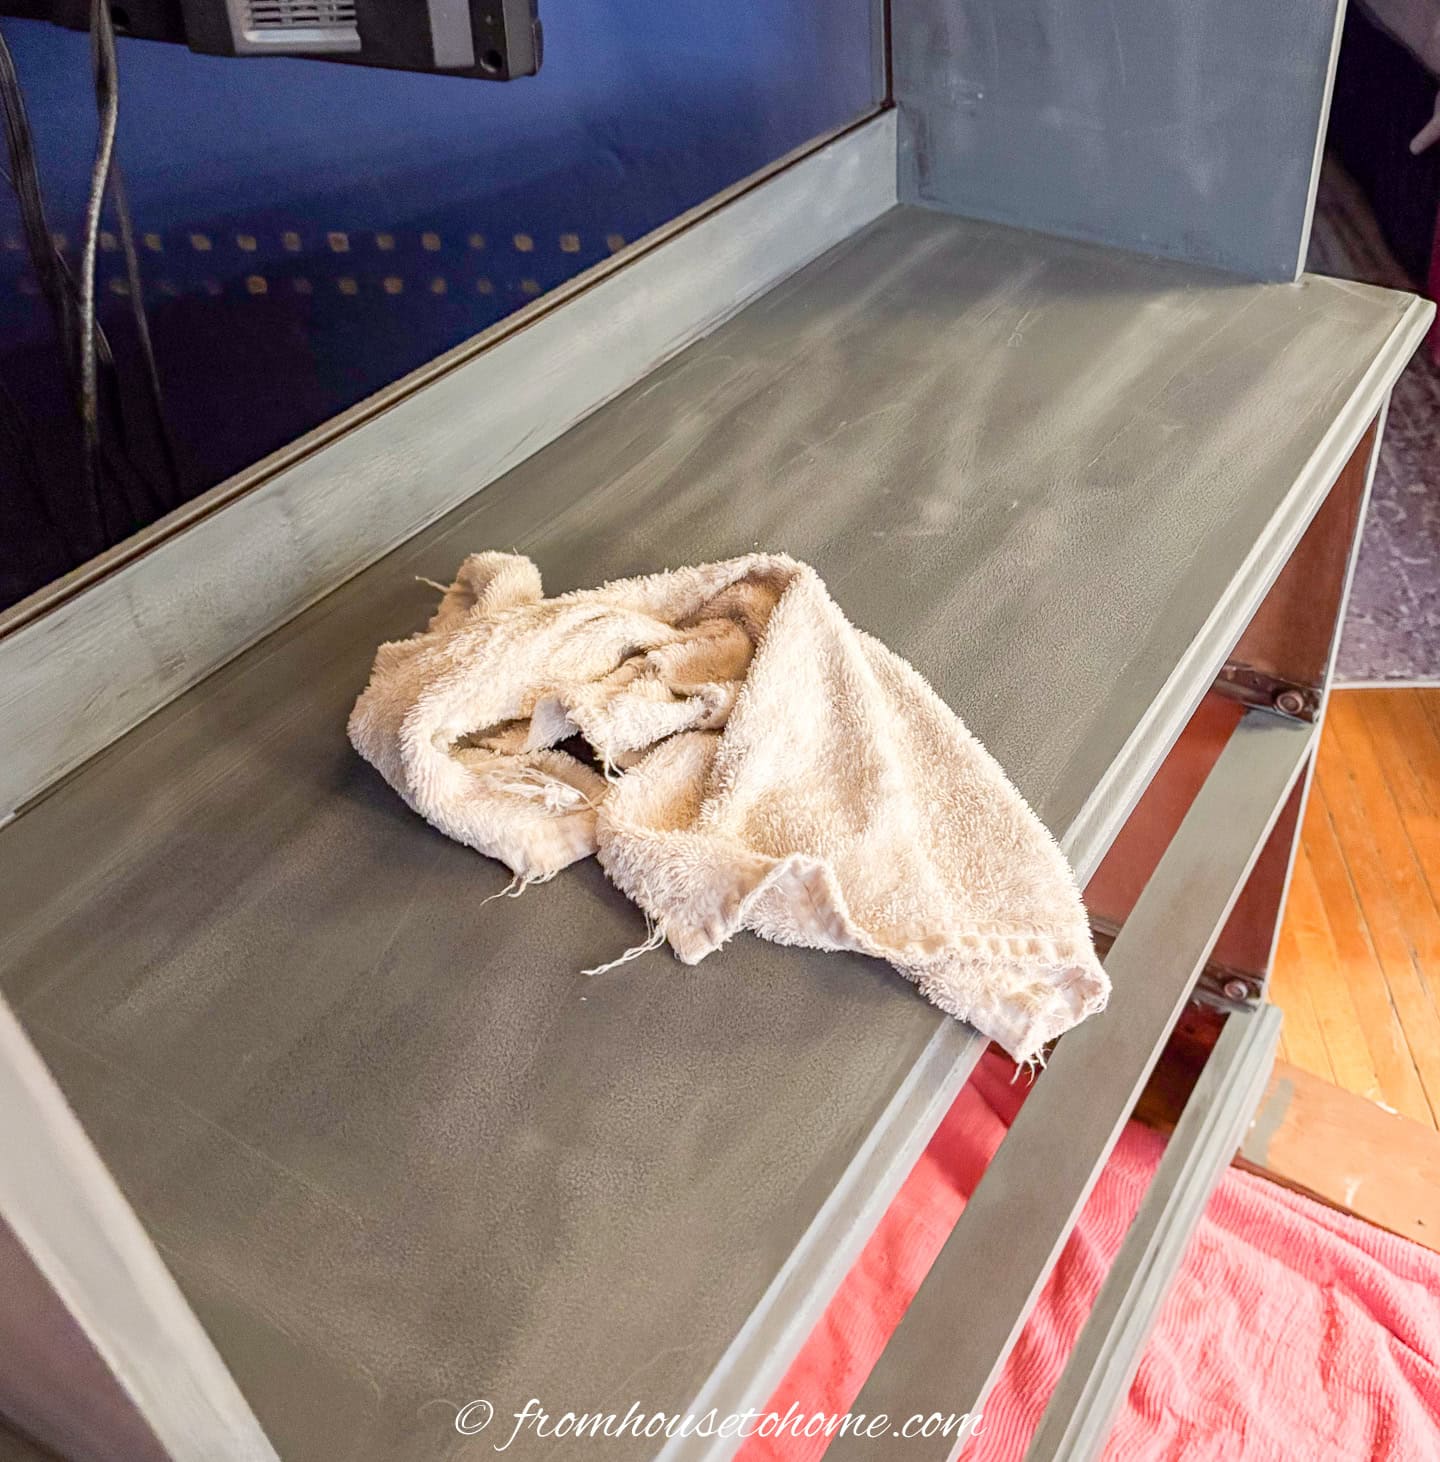
Dust and wipe with a damp cloth, making sure the surface is totally dust free and smooth.
3 | Paint the first top coat
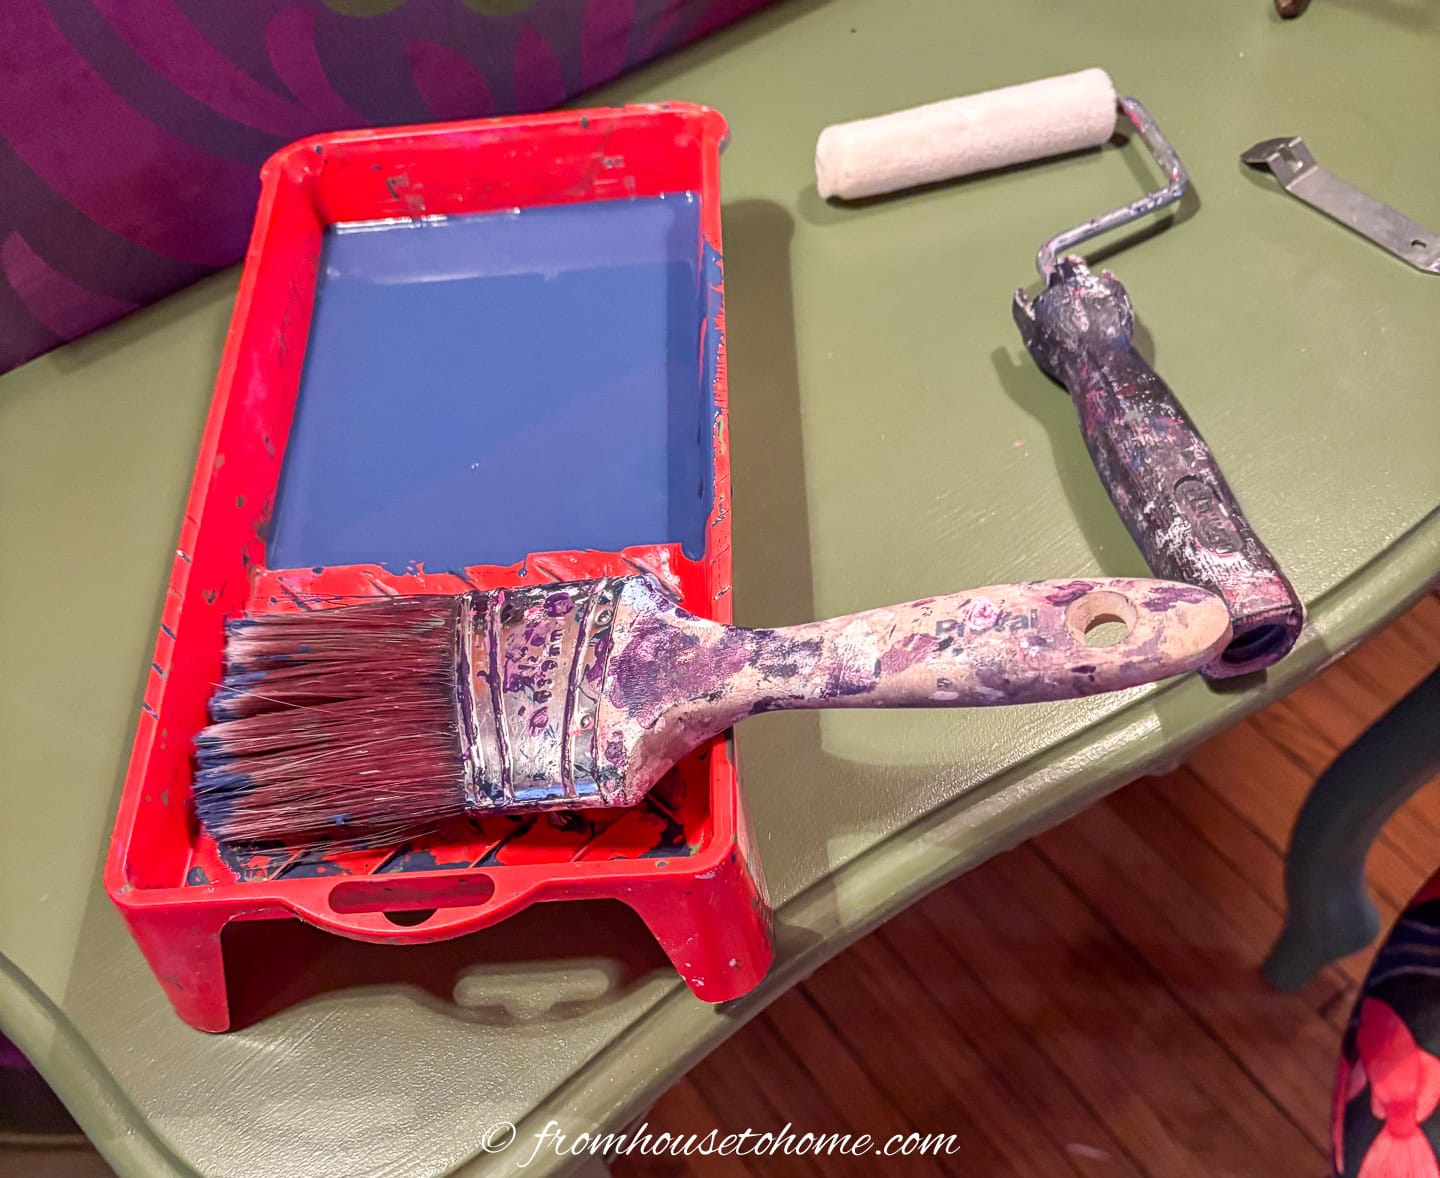
Apply the first coat of paint to the flat surfaces with a 4″ low pile wool roller.
Use the 2 1/2″ brush to finish the corners, moldings and edges.
After the paint has been applied to each surface, roll over it again always going in the same direction (top to bottom or bottom to top).
This final pass assure it dries with an even-looking gloss.
I let this first coat dry for 2 days.
4 | Sand lightly again
Lightly sand the surface again with the hand sanding block and very fine sandpaper.
Remove the dust with a clean, damp, lint free cloth.
5 | Apply the second coat of paint
Paint the second coat using the same method as the first:
- Apply the paint to the flat surfaces with a 4″ low pile wool roller.
- Paint the corners, edges and moldings with a 2 1/2″ brush.
- Then roll over the surface again going in one direction.
Again, allow the pieces to dry for 2 days.
Note: Do NOT sand after the last coat, to avoid scratching the glossy surface.
Update the hardware
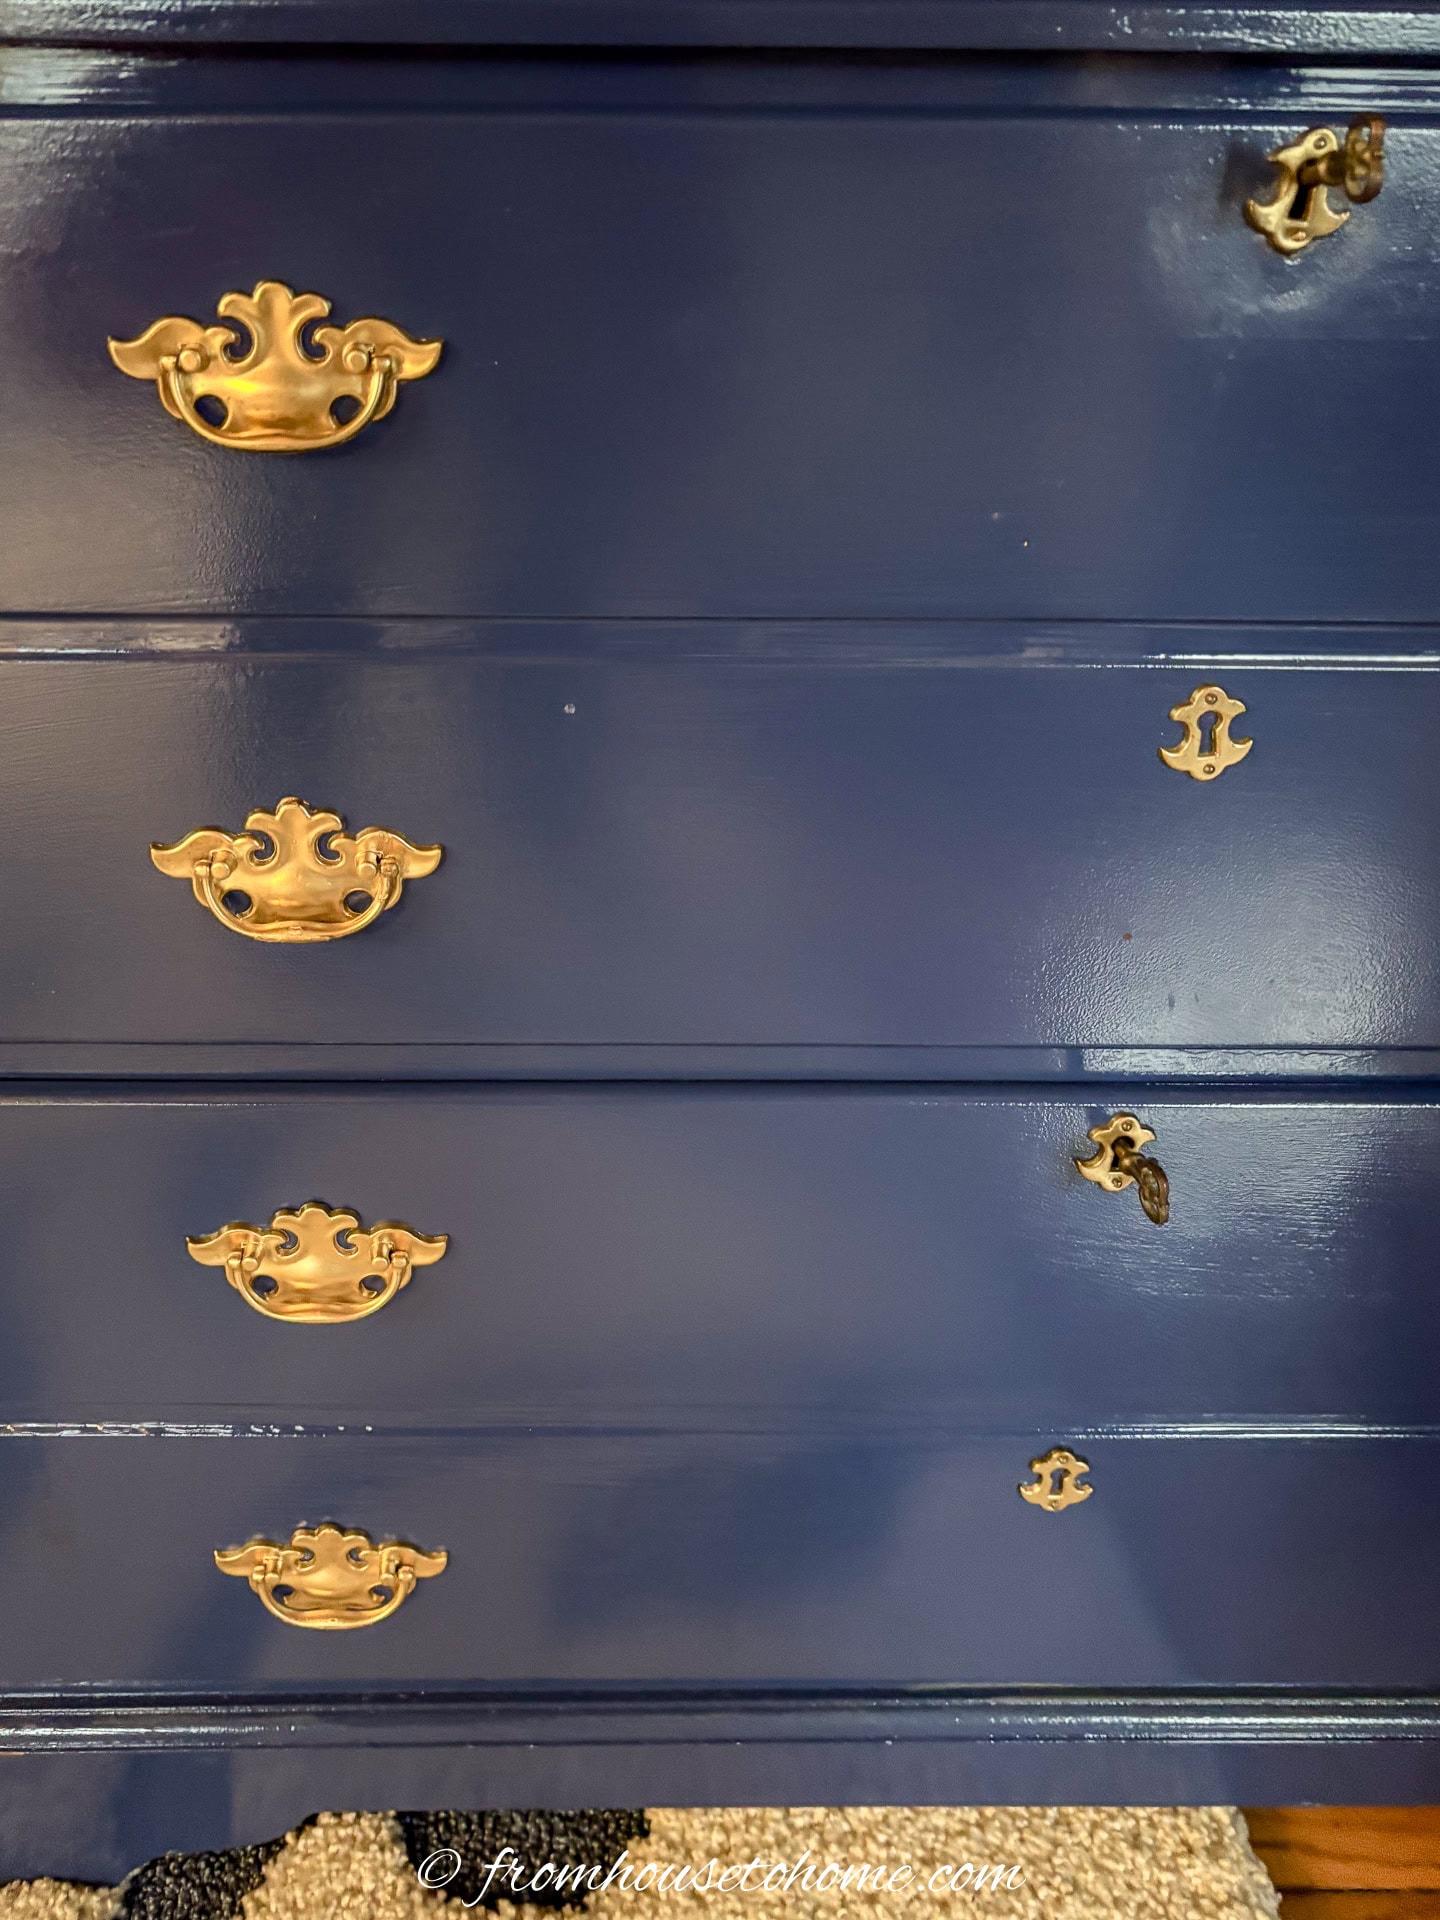
The existing hardware on my bookshelf looked like dull old brass and I thought I would be able to polish it to a nice patina with Brasso.
However, it turned out to be a metal that would not clean up.
So I scrubbed the handles with TSP and a wire brush to make sure they were clean.
Then rinsed them thoroughly and let them dry.
Finally, I spray painted all of the handles gold.
And when they were completed dry, I reattached them to the drawers.
Note: It is much easier to put the handles back on if the drawers have not been put back in the shelving unit.
Put the shelf in place
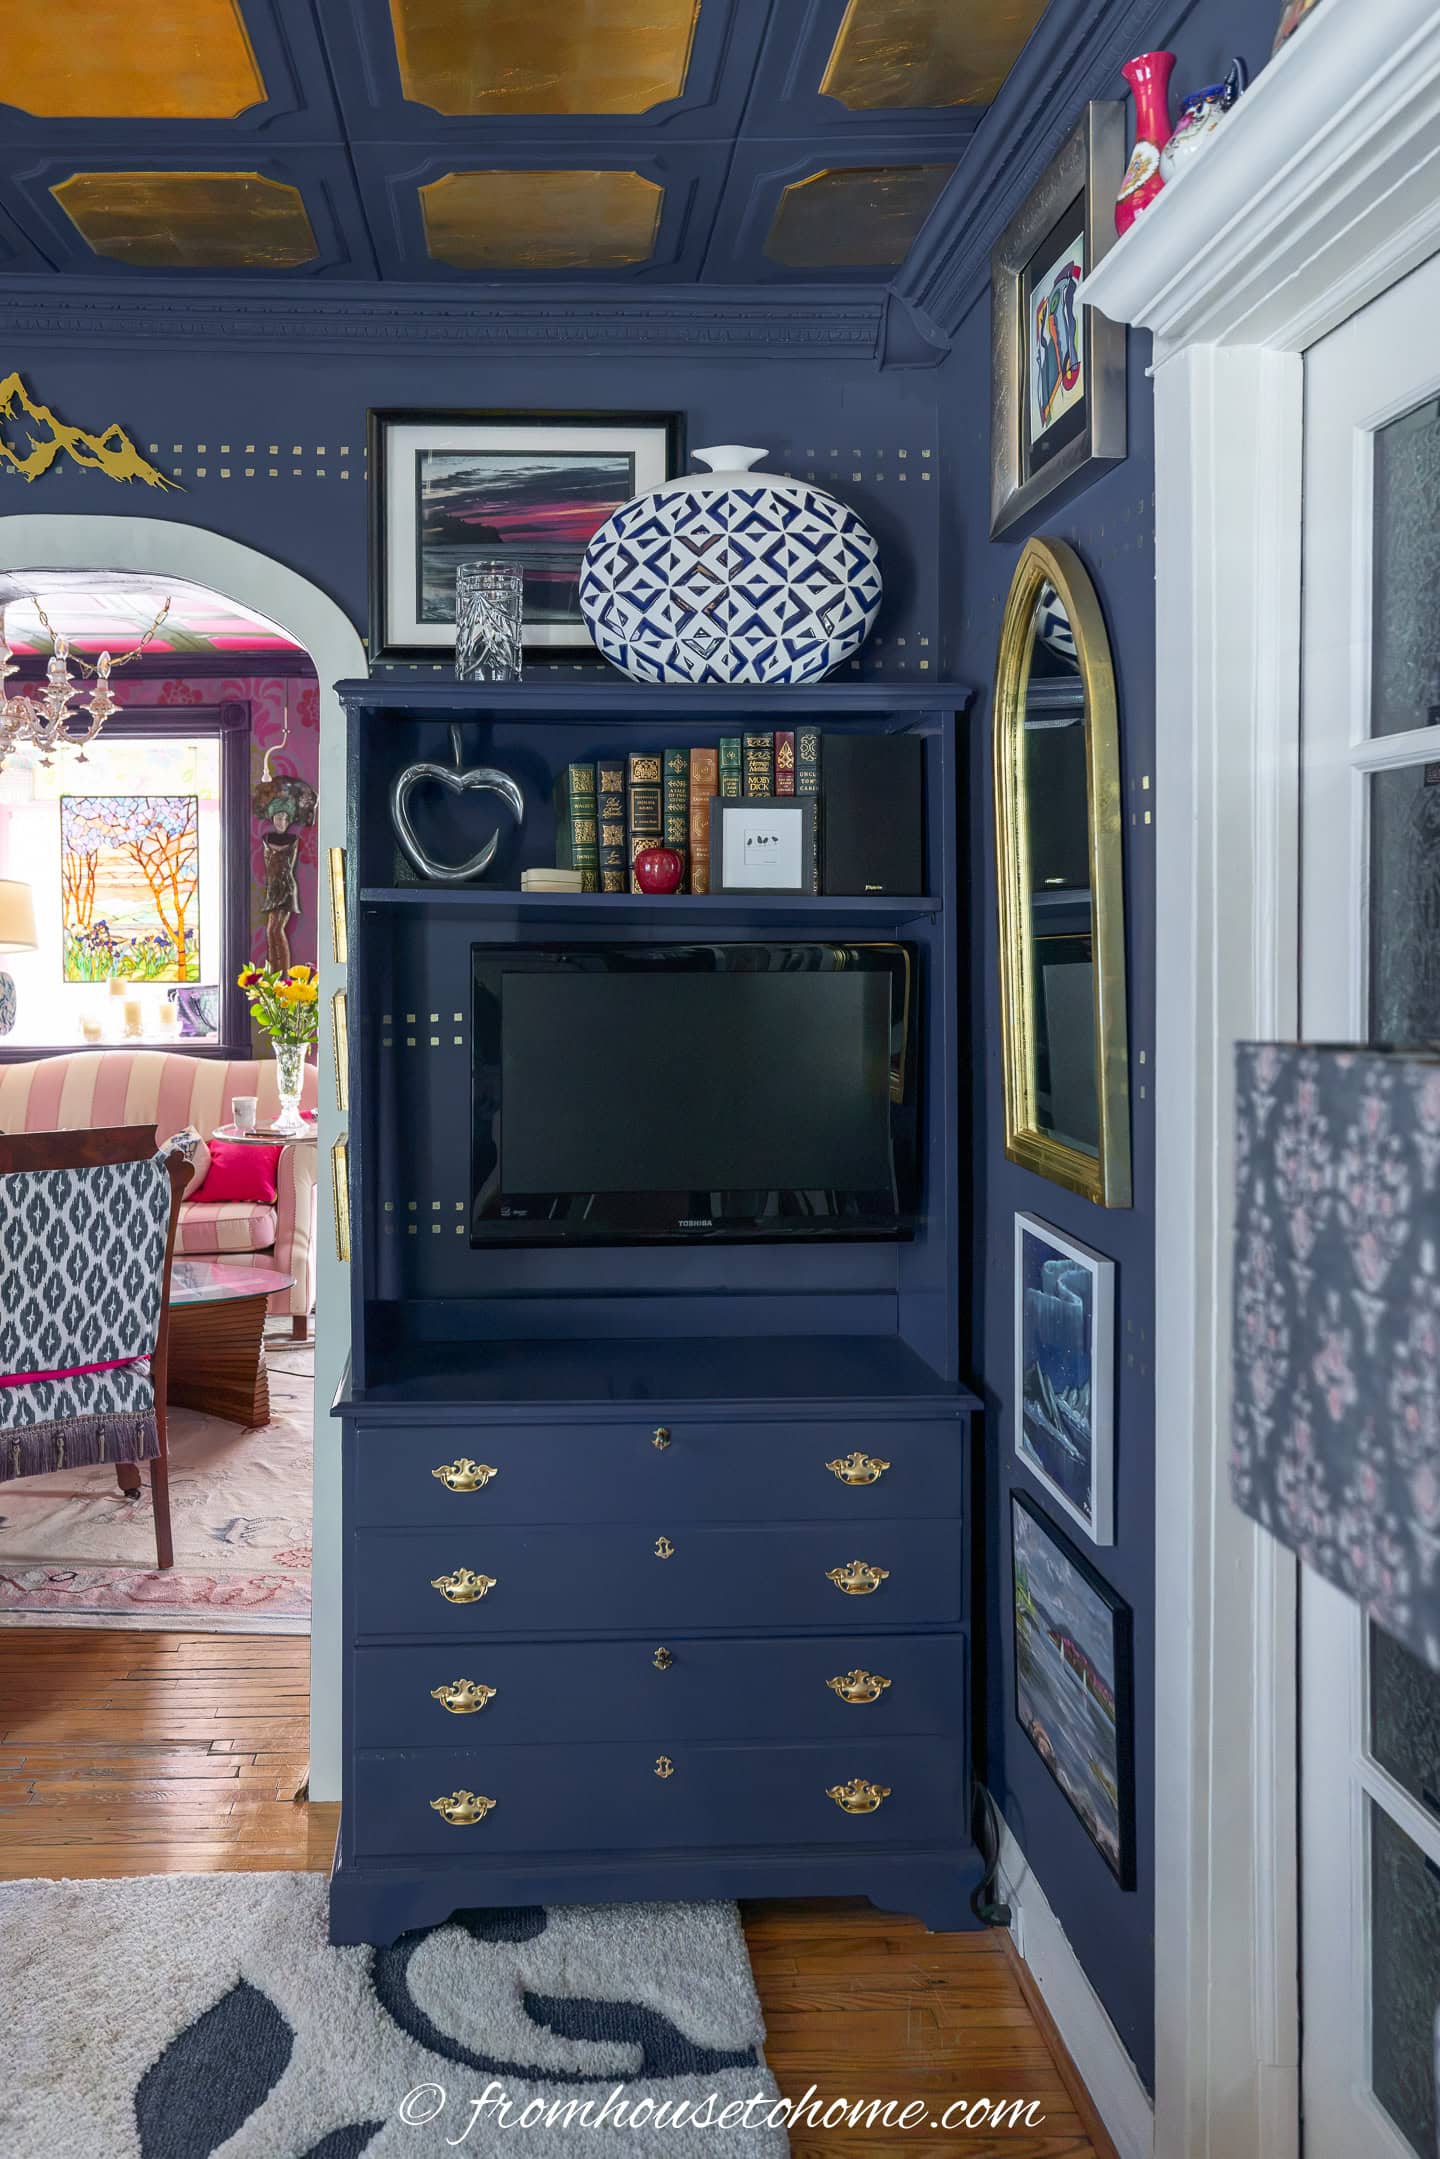
Now you’re ready to put the shelf back.
Remove the floor covering and wood blocks under the bottom of it.
Replace the back (if you took it off).
Move the shelf into place.
Then carefully put up the shelves and replace the drawers (trying not to scratch the paint in the process).
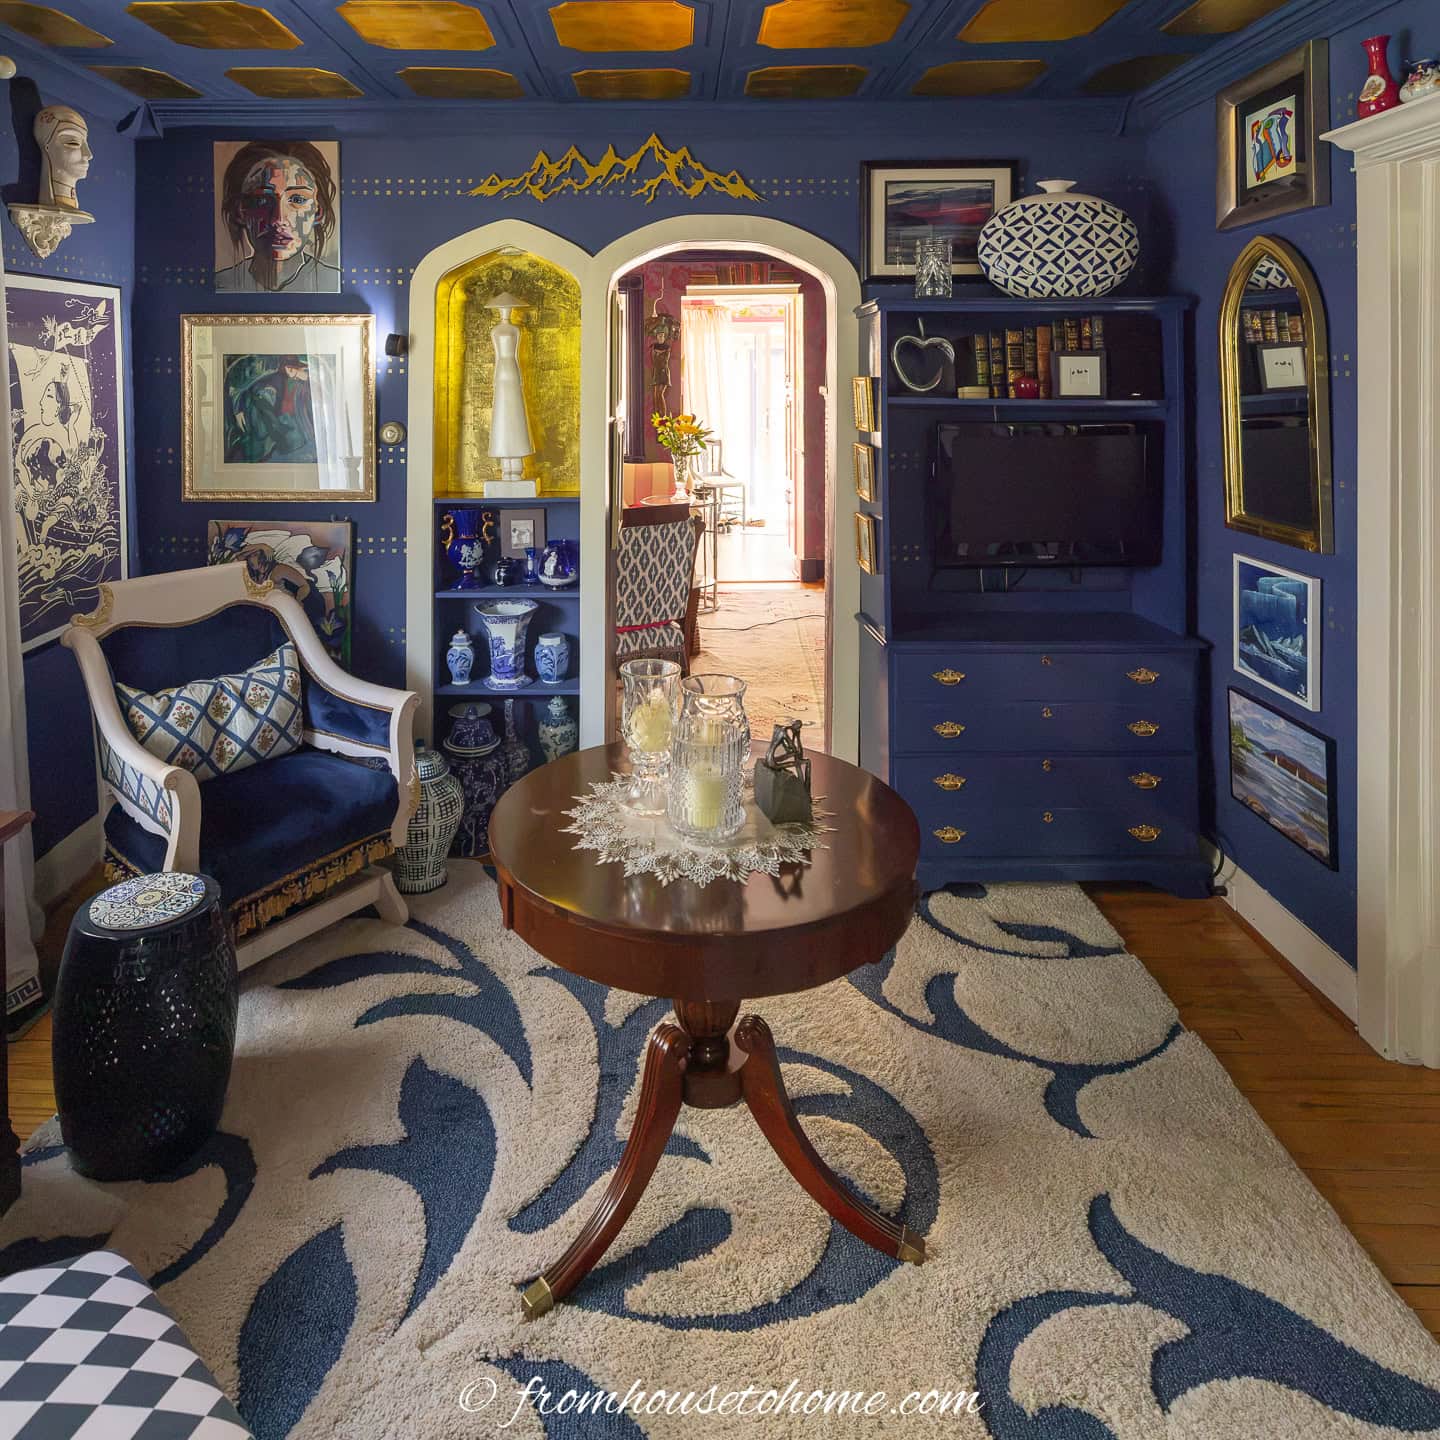
I let the paint cure for a few more days before I staged it.
Even then, I stuck felt pads to the bottom of anything heavy, like a ceramic bowl, as a precaution against possible marks.