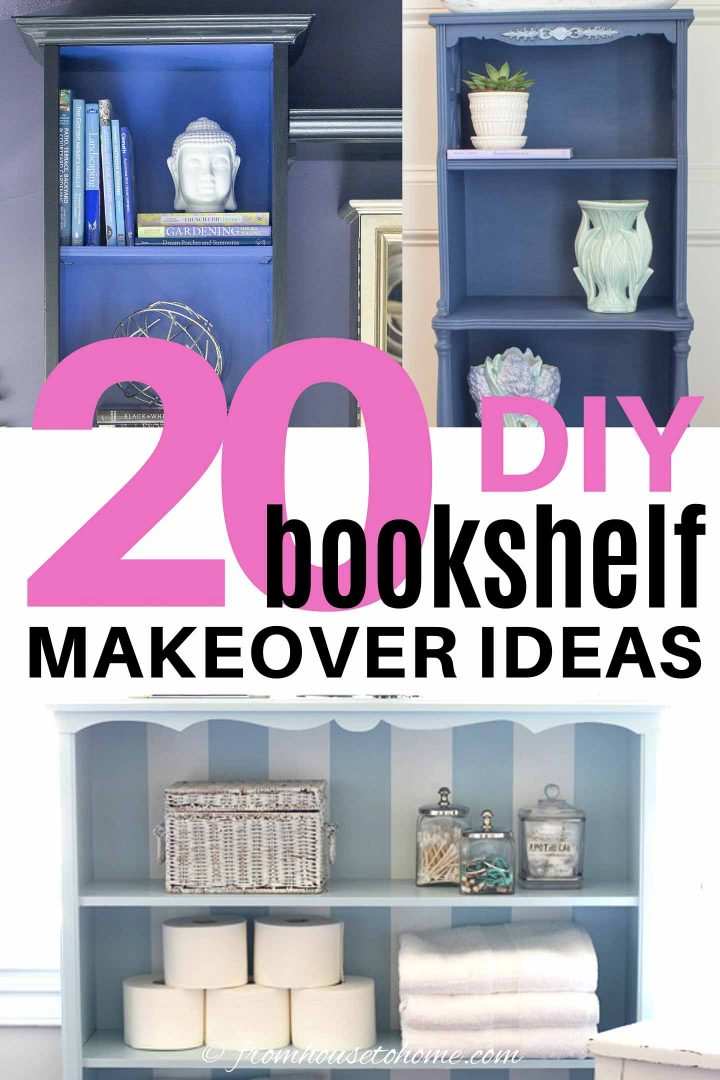
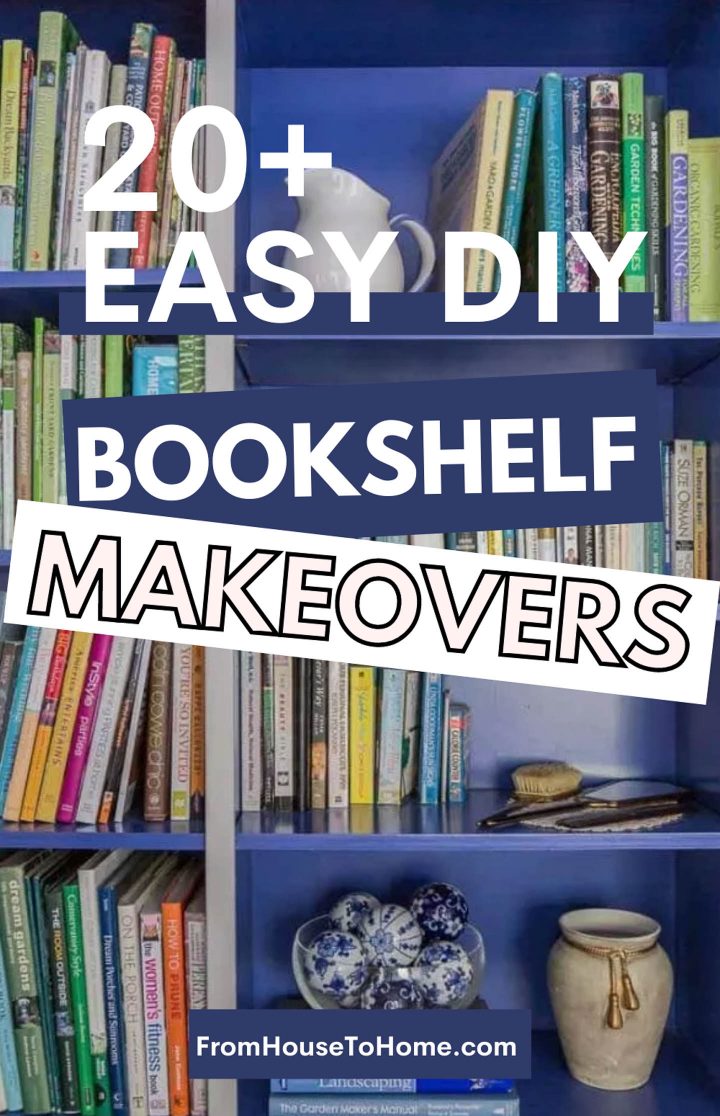
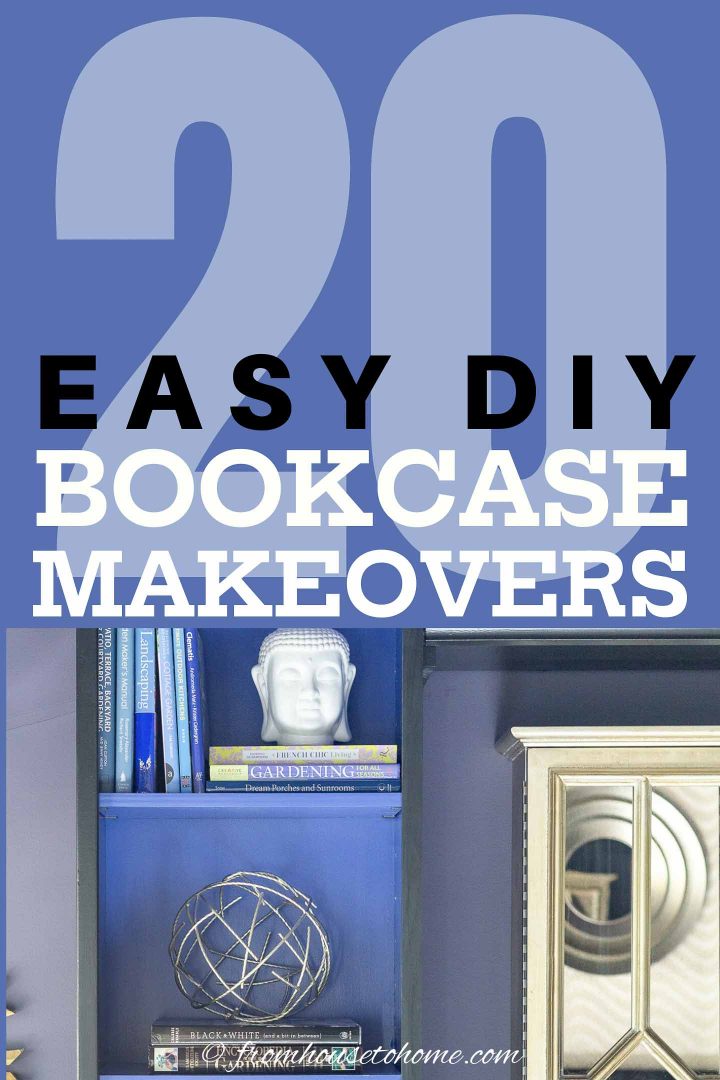
DIY Bookshelf Makeovers (20+ Easy and Beautiful Ways To Beautify A Bookcase)
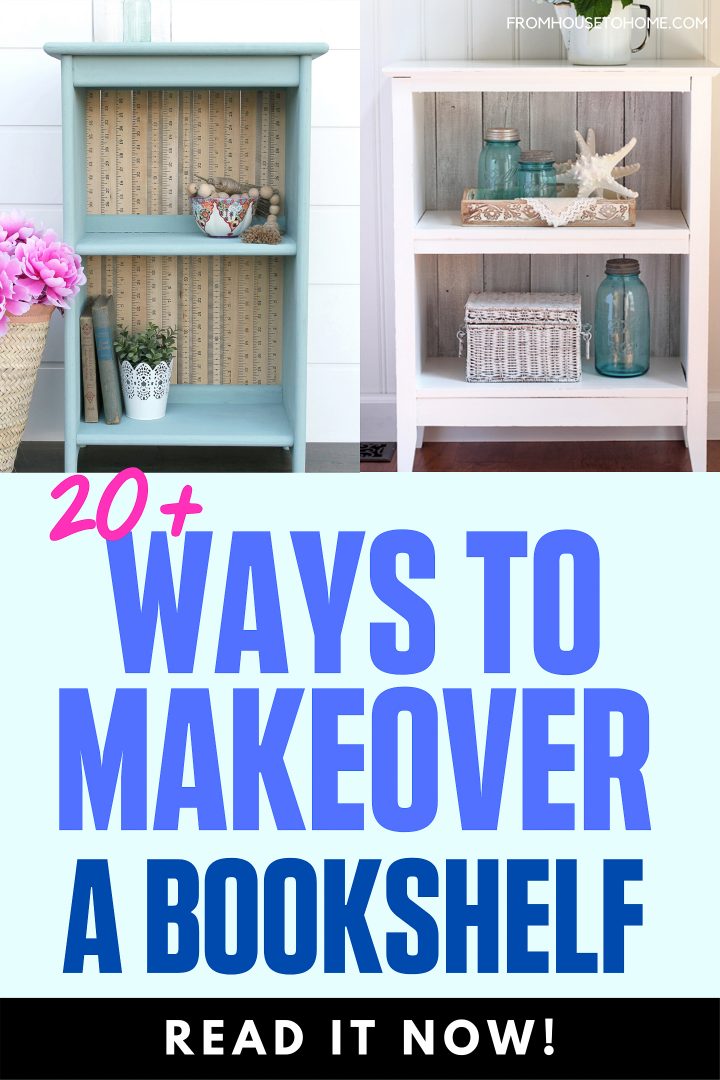
Bookcases are one of the most functional pieces of furniture you can have in your home. These DIY bookshelf makeovers will help you make them look as good as they function.
Bookshelves are a very versatile and functional piece of furniture.
Whether you use them for books, to display collections and accessories or as extra storage, they provide a lot of space without taking up a lot of your room.
The only problem?
As furniture goes, they can be a little boring to look at.
And some of them are down right ugly! (Yes, old brown bookcase with the scratches all over…I’m talking about you).
Fortunately, there are a lot of easy DIY bookshelf makeovers you can do that will add some pizzazz to your bookcase without requiring a ton of work.
A Note On Pinning
Many of the projects in this list are not mine so I do not own the images. These pictures cannot be pinned from this page. If you want to pin them, please click the link below the image to go to the original website.
Ideas for Painting Bookshelves
Whether you want to upgrade a standalone bookcase or need to modernize built-in bookshelves, the easiest way to update it is with paint.
Here are a few different ideas for painting bookshelves that will help them look more interesting.
1 | Paint It A Pretty Color

This bookcase was definitely in the “ugly” category before it got makeover by Amy from Atta Girl Says.
Since I’m a color fanatic (and blue is my favorite), you know I’m totally in love with the gorgeous indigo color she chose.
Get all her project details HERE.
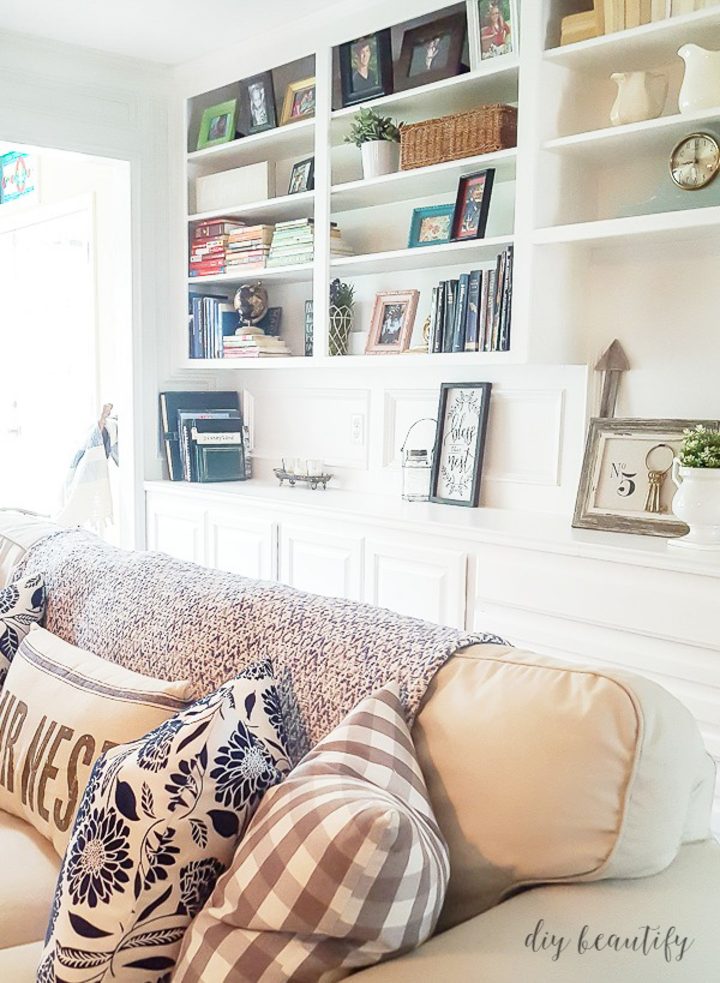
Cindy from DIY Beautify painted her shelves, too.
And while she kept them white, she did discover what kinds of paint you can use to keep the books from sticking to the shelves afterwards. (If you’ve ever tried to paint bookcases with latex paint, you might have run into this problem, too).
To find out her tips on the best paint to use, click HERE.
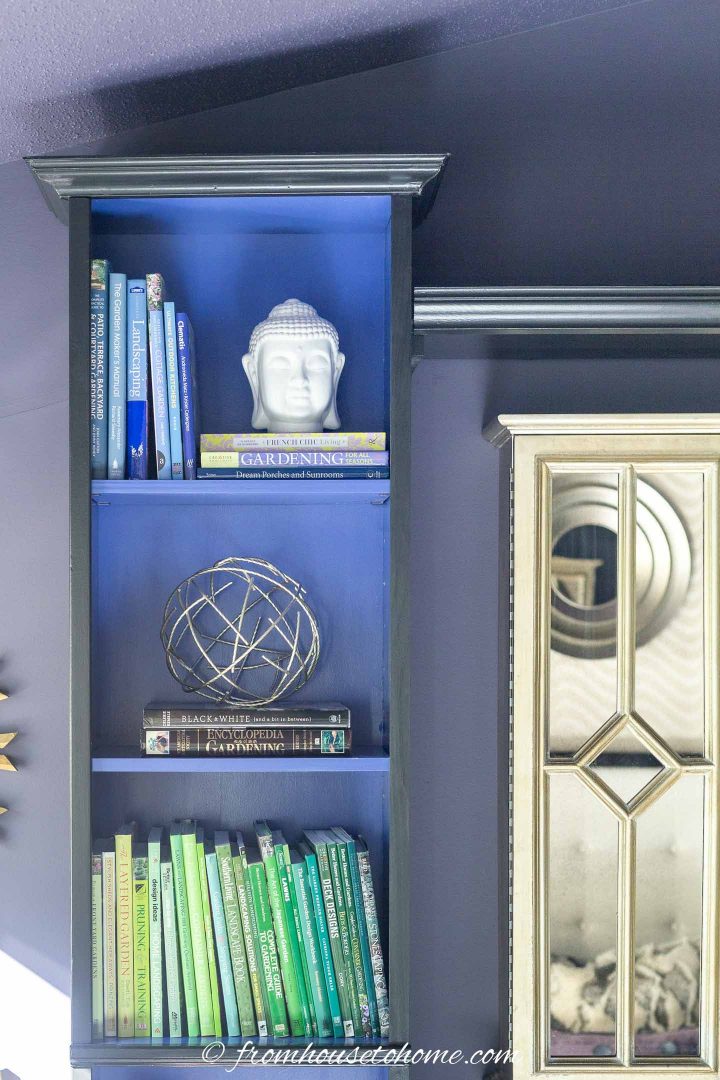
2 | Paint the Inside A Different Color
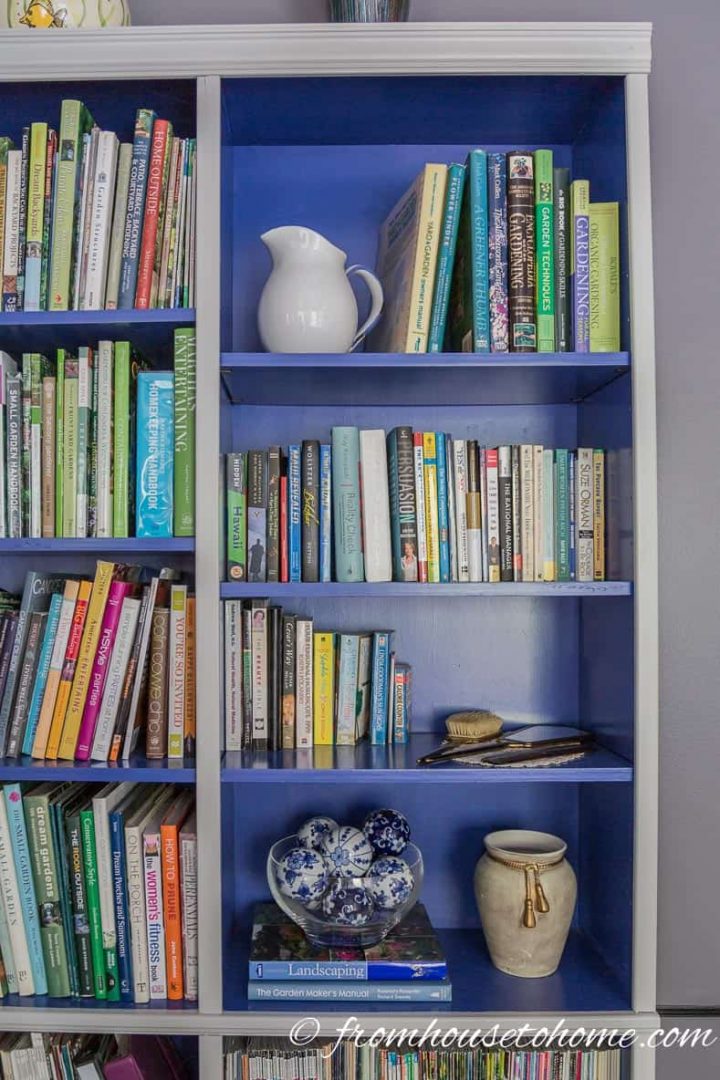
I like to paint the insides of my shelves a different color from the outside.
The contrast makes whatever you have on the shelves stand out a little more.
In this case, I painted the outside of the bookshelf a grey color that co-ordinates with the wall color which makes the blue on the inside of the bookshelf really stand out.
3 | Create a Rainbow
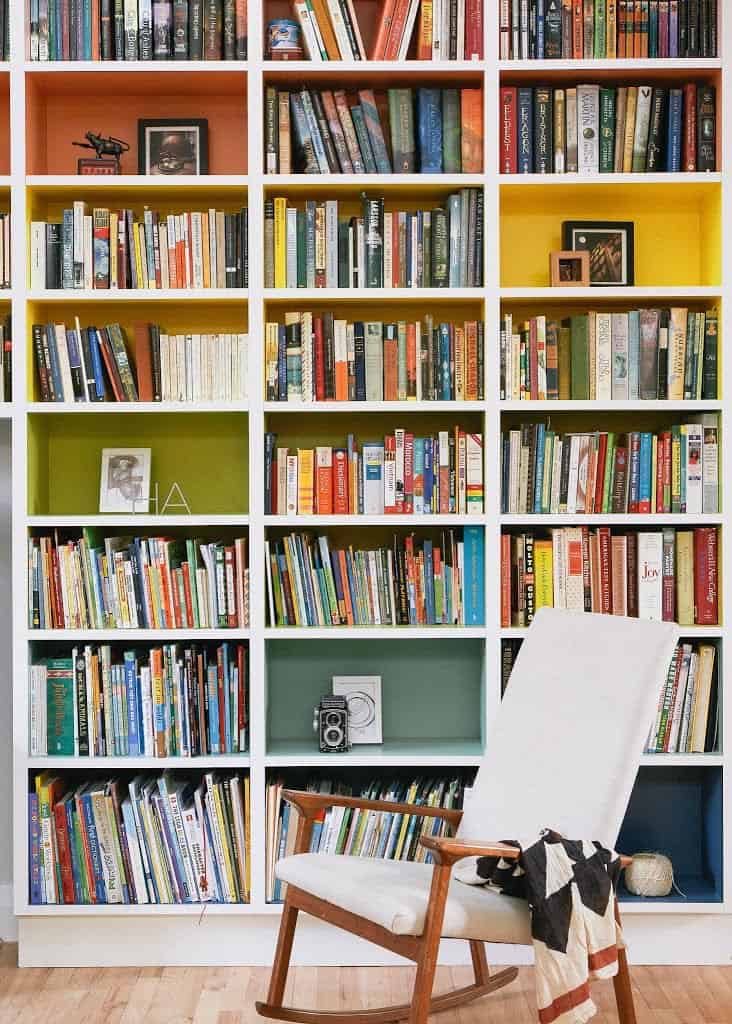
If you want to take the paint treatment to another level, check out the bookshelf in this New York City apartment.
They have painted the inside of each shelf a different color in the rainbow, which definitely makes a statement in the room!
You could do something similar with different shades of the same color to create an ombre effect.
4 | Add Some Stripes
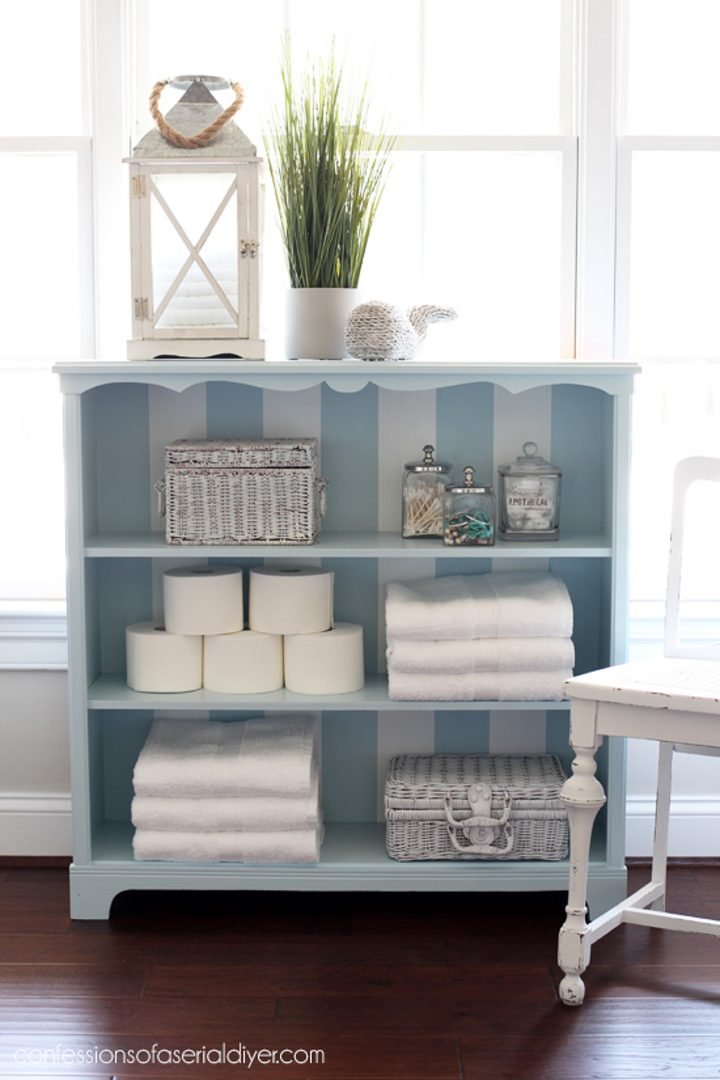
Christy from confessionsofaserialdiyer.com updated this $15 yard sale bookcase with a light blue paint color and some stripes in the back.
Not only do the stripes add extra interest to the bookshelf, but they also help to make the bookcase look taller.
See the whole transformation HERE.
5 | Use A Paint Treatment
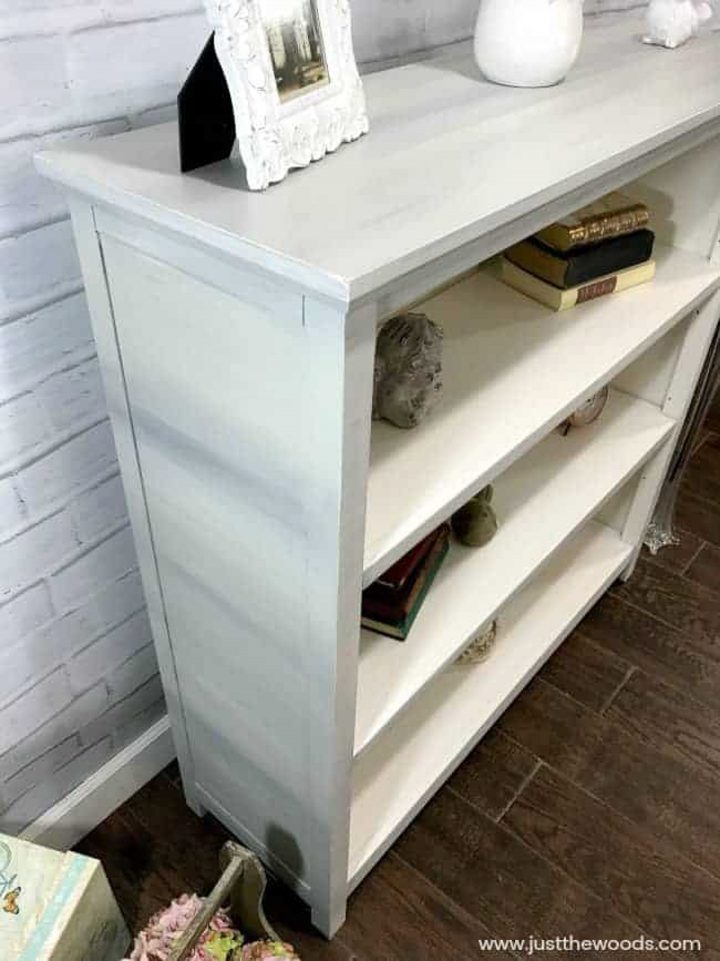
To make the outsides of your shelving look more interesting, try a layered painting technique like the one Kandice from Just The Woods did on hers.
It takes a little time to get the right mix of colors, but it adds a depth to the finish that you can’t get with regular paint.
She also gives some great tips for painting laminate shelves, so you’ll definitely want to read her article HERE if that’s something you plan to do.
6 | White Wash It
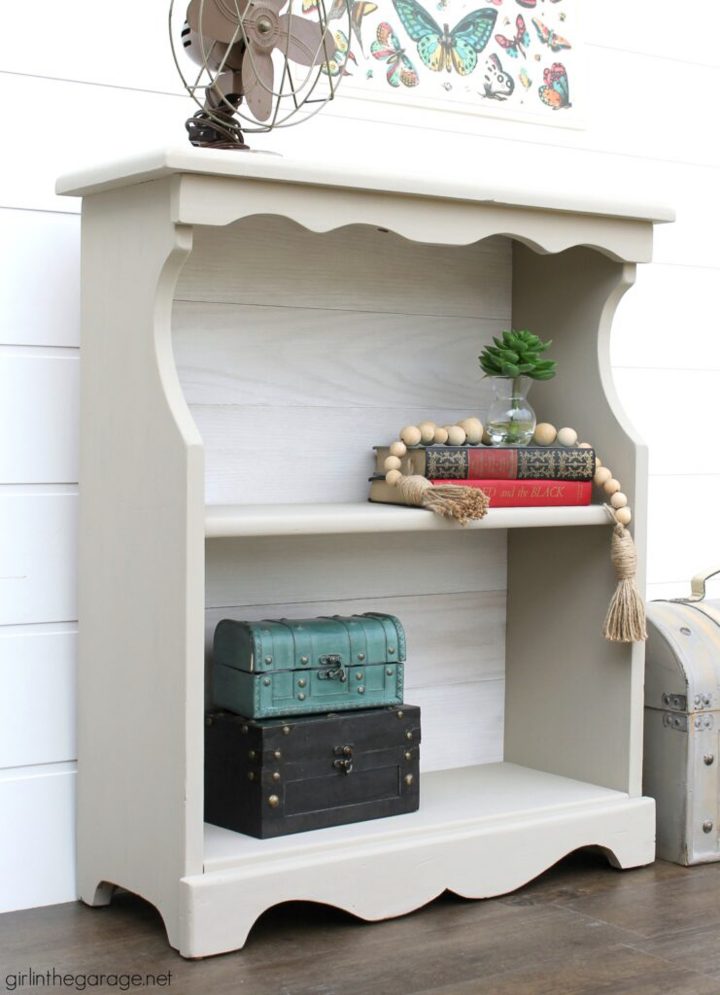
If you like the summery, beachy look, white-washing your bookshelves is a great way to create that vibe.
Jen from Girl In The Garage did that with this old bookcase and totally transformed it from dark and outdated to bright and airy.
See her white-washing tutorial HERE.
Cover The Back Of The Bookcase
These next few bookshelf makeovers all use something to cover the back of the bookcase.
This is a great way to decorate bookcases that don’t have many books on them since more of the back is visible.
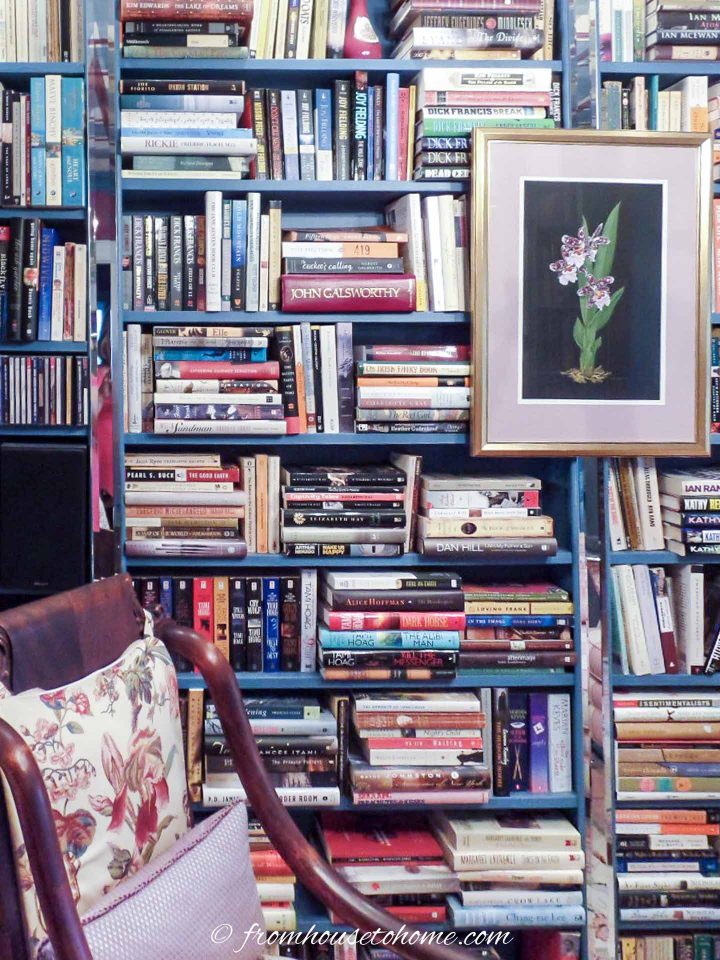
7 | Line the Back in Fabric
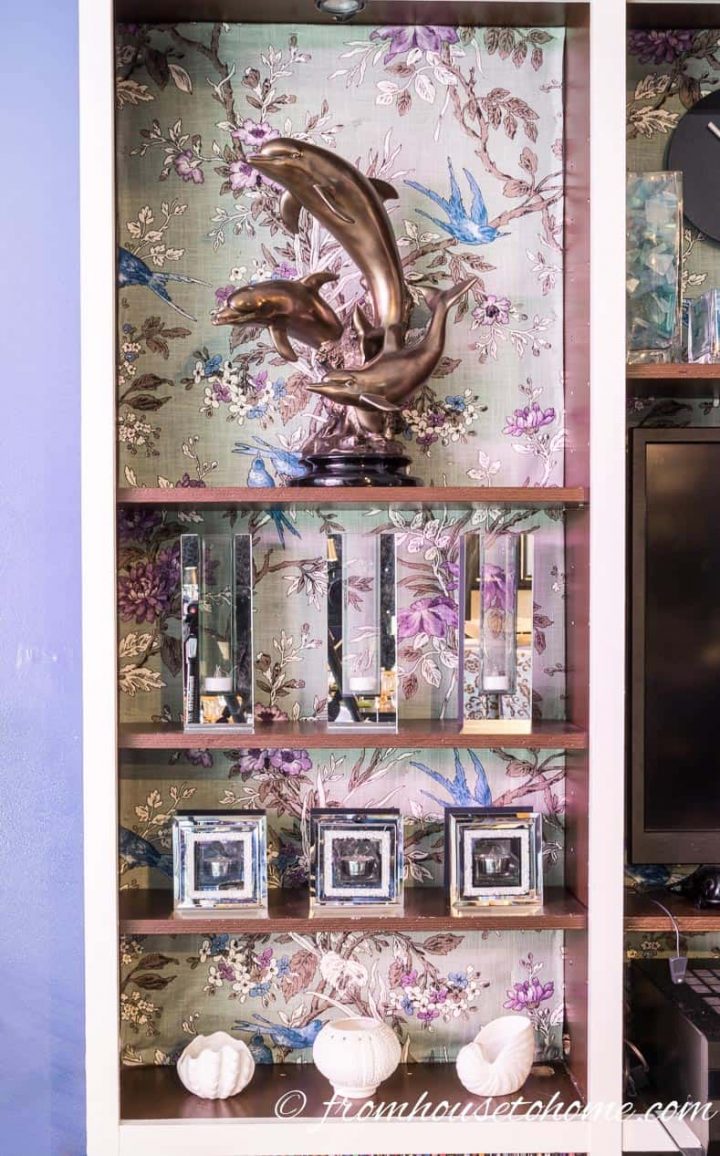
If you want more pattern on your bookshelves, try covering the back with fabric, like I did with this built-in bookcase in my living room.
I just cut pieces of fabric that were slightly larger than the shelf opening, folded over the edges and stapled it up there.
Then I painted the rest of the bookcase with coordinating colors.
This bookshelf makeover has the added advantage that you can hide cords behind the fabric.
Which is great if you have electronics like a TV or stereo equipment on the bookcase.
How To Hide The Cords
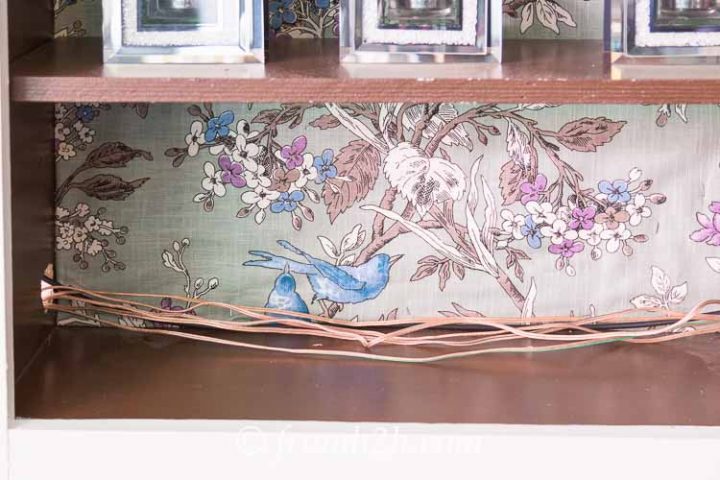
1. Cut a piece of fabric that is few inches wider and longer than the back of the shelf.
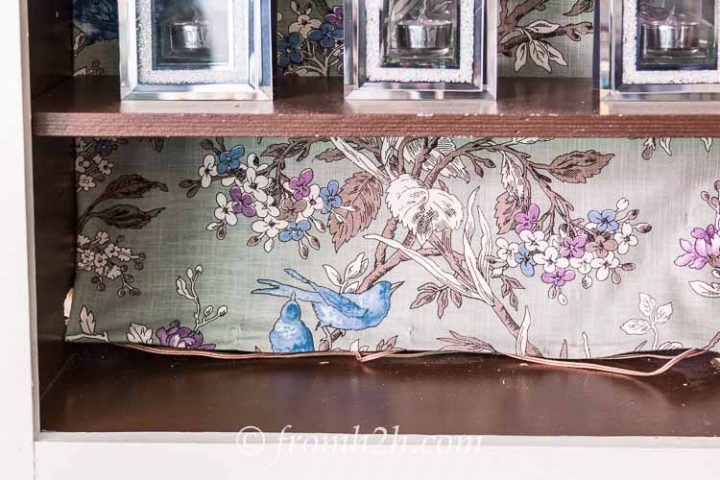
2. Turn the edges under and line it up with the edge of the shelf. Make sure any wires are pushed up behind the fabric.
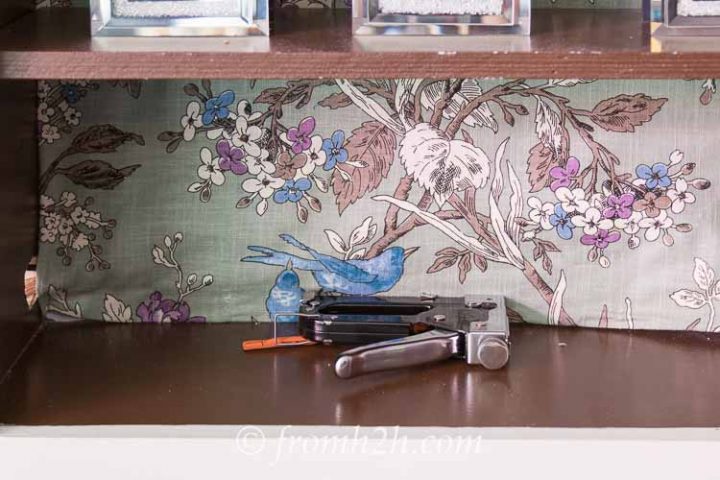
3. Staple the edges in place.
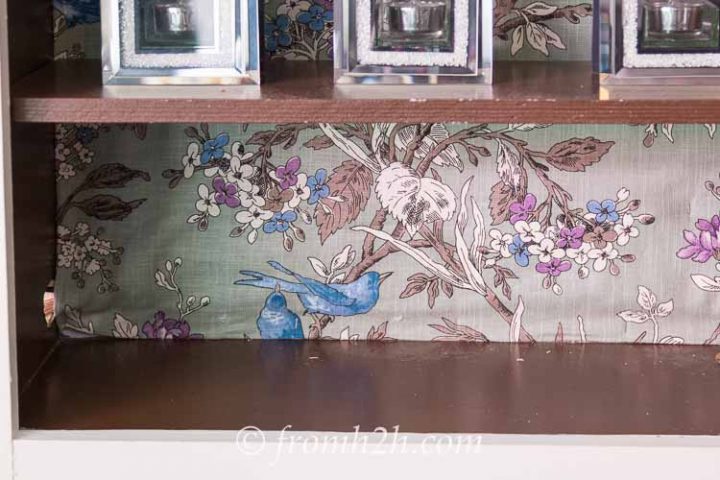
And voila! You have a shelf with no wires showing.
8 | Hang Wallpaper
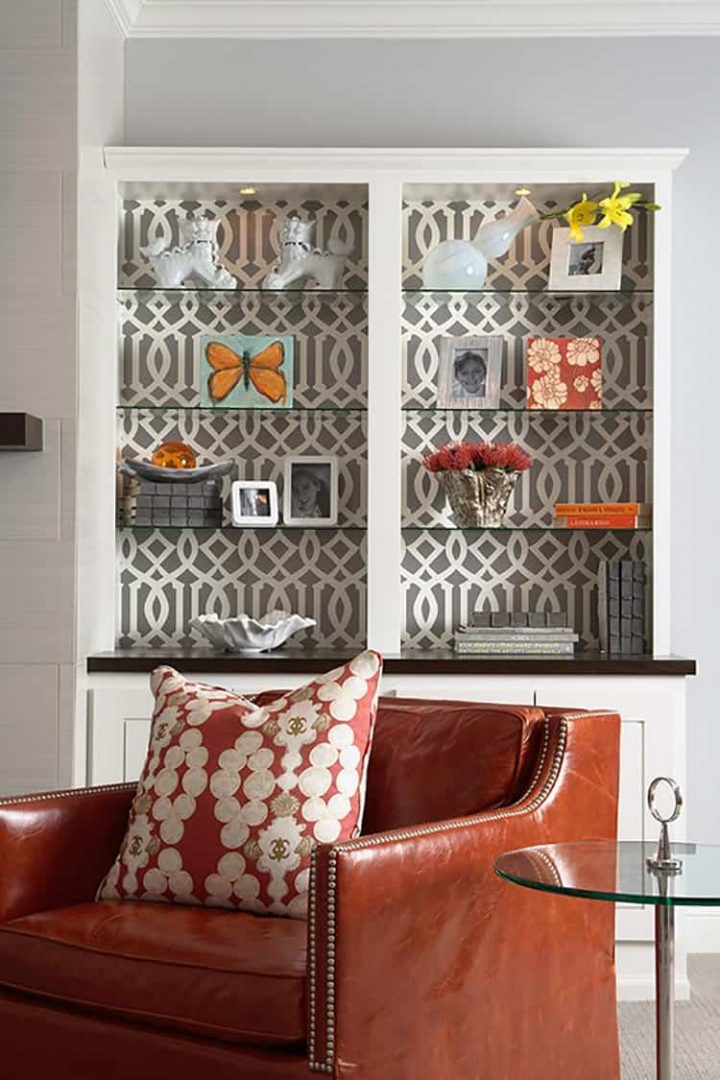
Wallpaper is another great way to add some pattern to the back of your bookshelf.
A bold geometric pattern can really make your bookcase stand out.
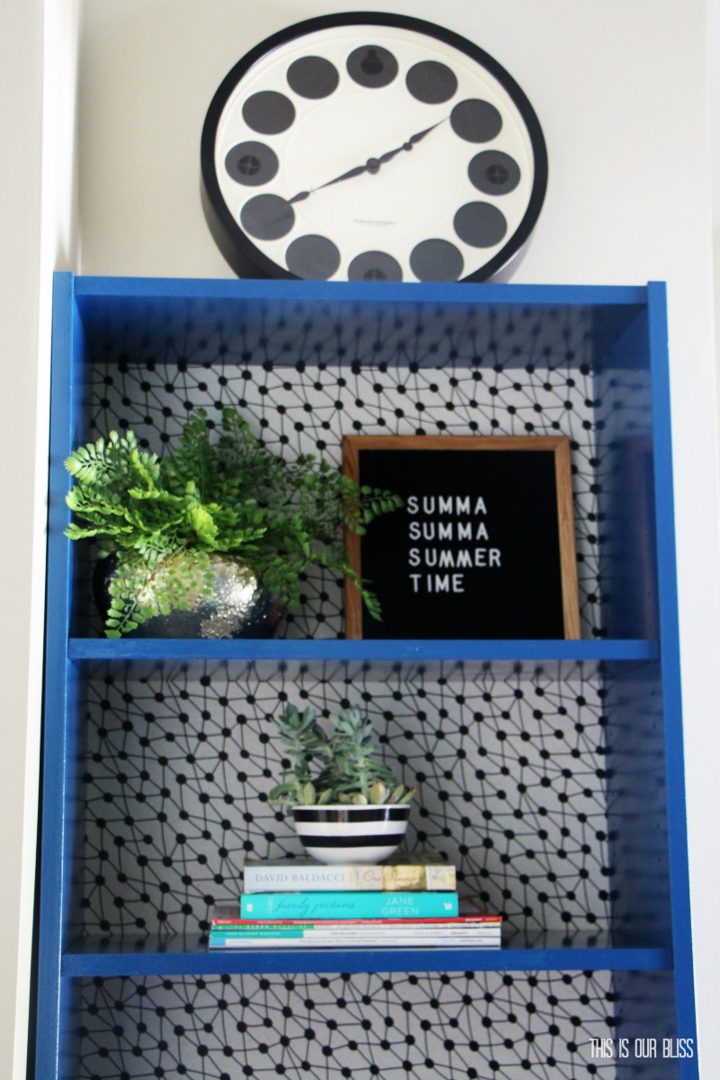
This upcycled bookshelf with wallpaper by Rachael from This Is Our Bliss used to be a plain IKEA bookcase.
With its bright blue paint and bold wallpaper pattern, it’s not plain any more!
Get all the details for this project HERE.
9 | Put Up Wrapping Paper
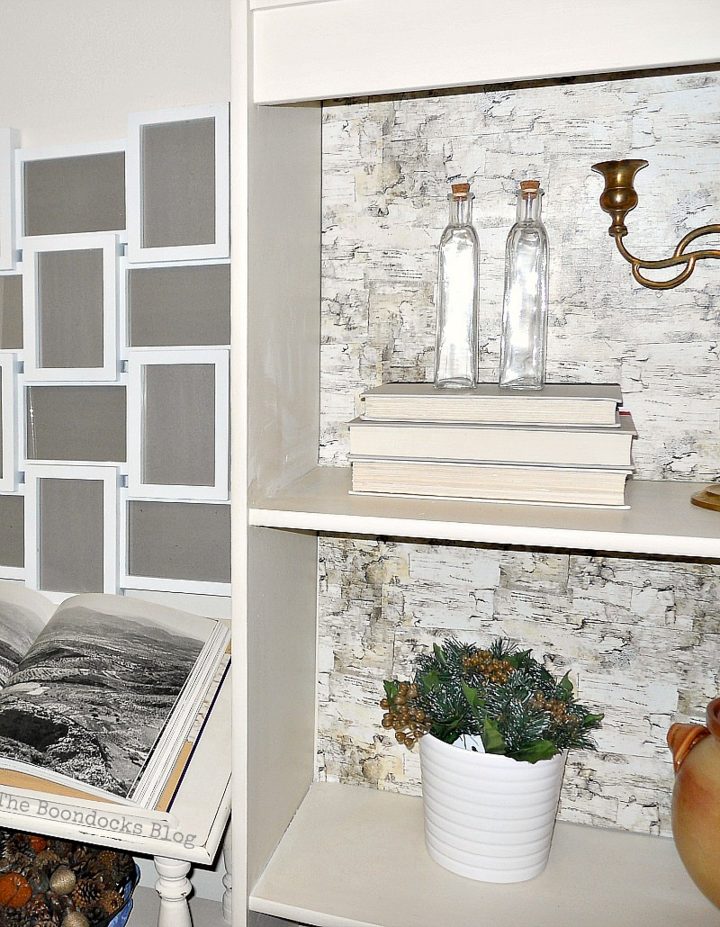
Mary from The Boondocks Blog did something similar except she covered the back of her bookcase with wrapping paper instead of wallpaper.
I think this is brilliant! Wrapping paper comes in so many colors and patterns. And it’s so inexpensive! You could put a new one up for every season if you wanted to.
Get the details of her project HERE.
Replace The Back of the Bookshelf
10 | Put Up Beadboard
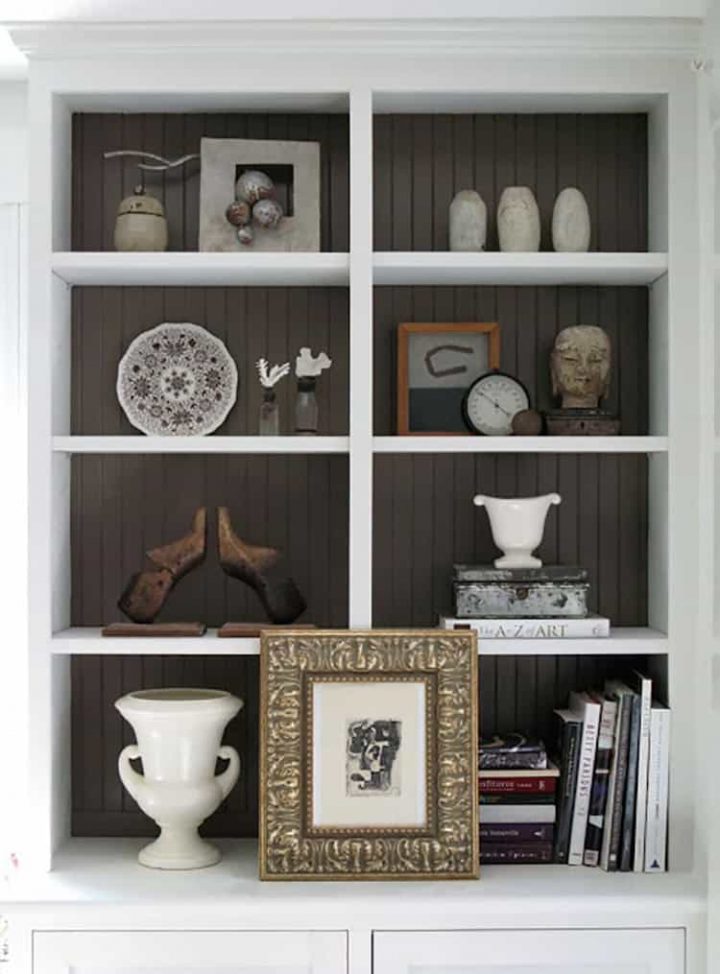
To add some texture to your shelves, install beadboard behind them.
Painting it before you nail (or glue it) up there will make the installation job much easier.
11 | Add Reclaimed Wood
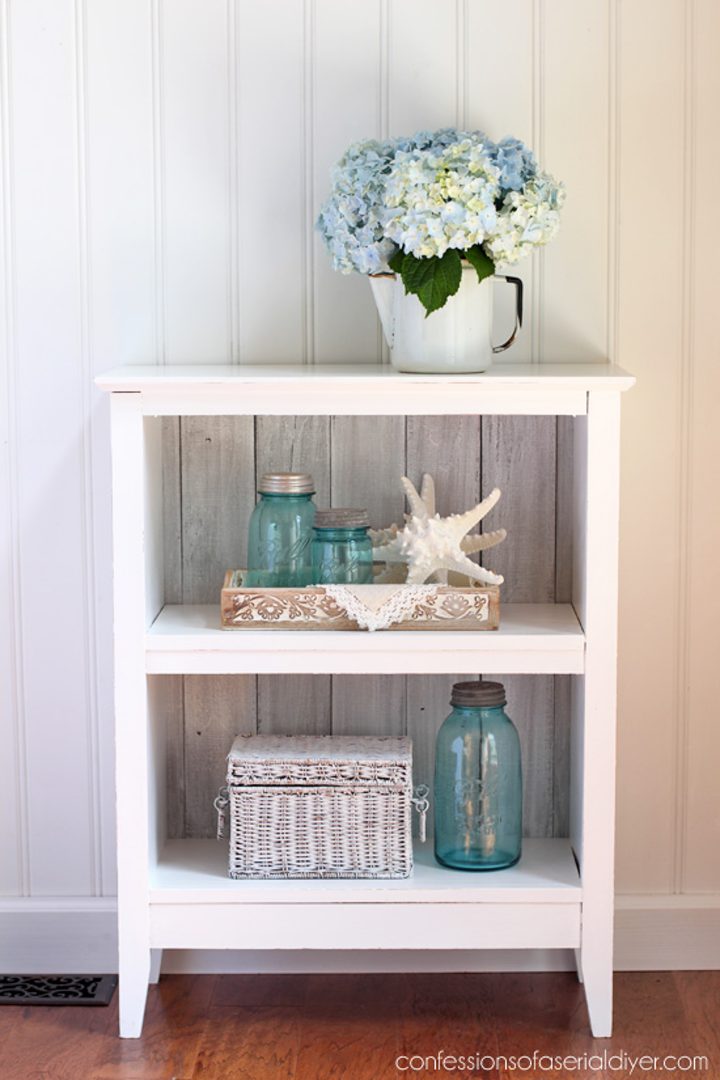
If you like a more rustic look and happen to have some reclaimed wood hanging around, you can use it as the back of your bookshelf, like Christy from Confessions of a Serial DIYer did with this one.
White-washing the wood gives it a beachy, summery look.
12 | Attach Yardsticks
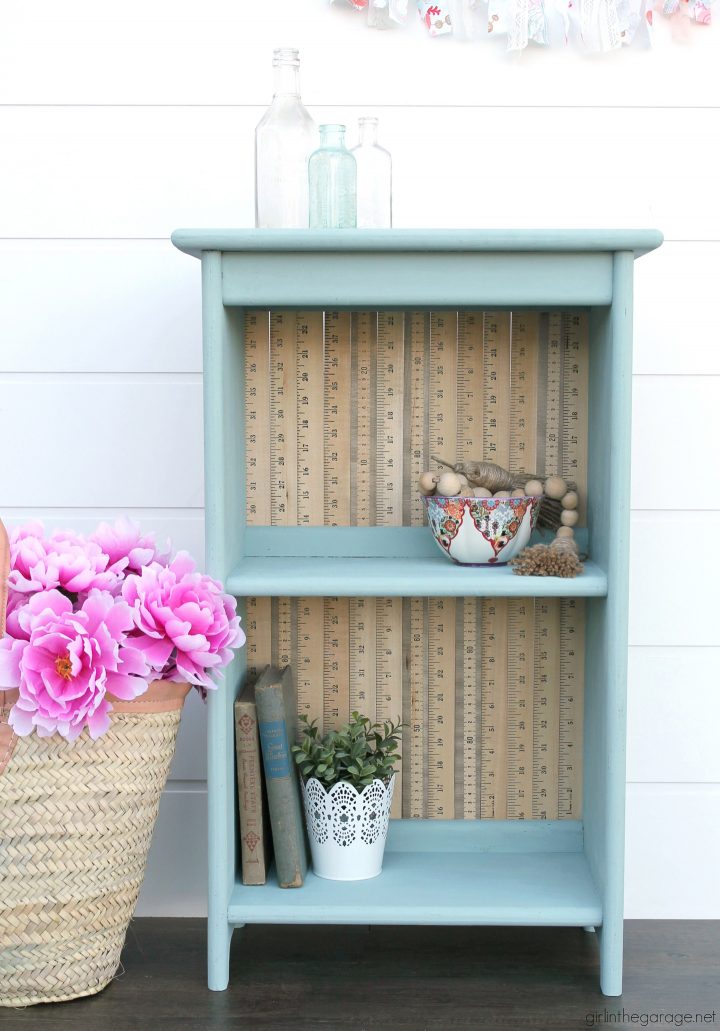
For a totally unique way of replacing the back of a bookcase, repurpose some old yardsticks, like Jen did from Girl In The Garage.
Talk about an inexpensive and creative way to add some interest to your room!
Glam It Up
13 | Cover The Back In Mirrors
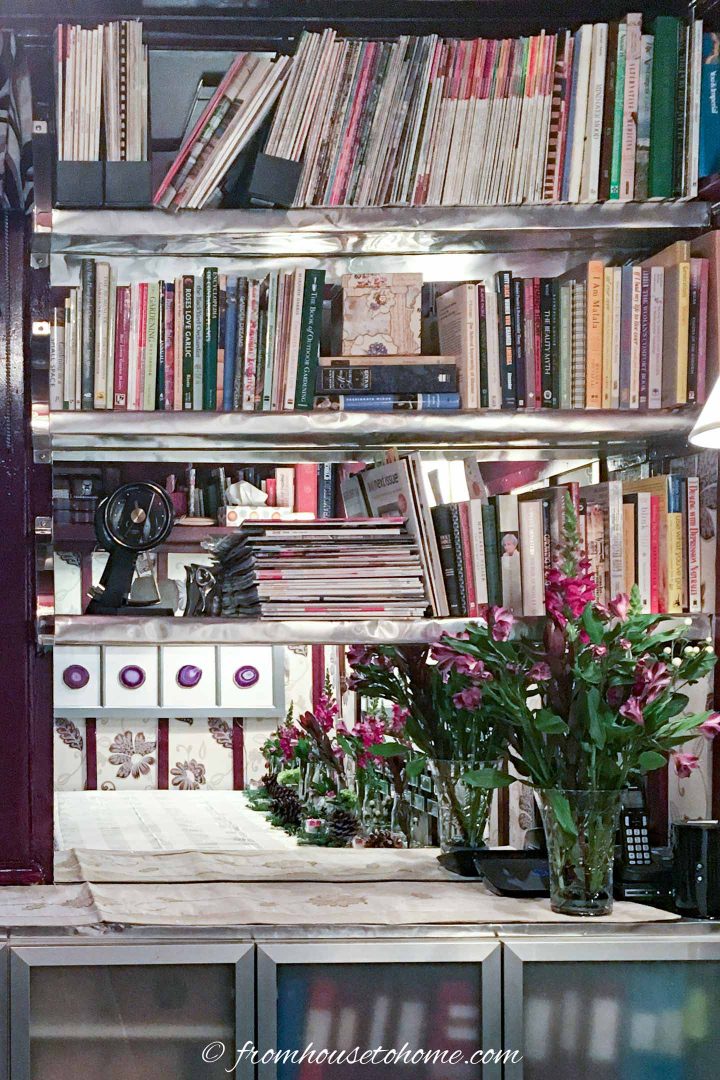
If you want to add some sparkle and reflection to your bookshelf, try lining the back with mirror.
You can get it cut to size at a local glass and mirror company.
Then glue it up with mirror adhesive.
In this wall unit, my mother also covered the shelves with aluminum flashing which gives them a shiny finish and adds some more glamour.
14 | Add Mirror Strips to the Front
If you want a more subtle effect that still adds some interest to your shelves, glue strips of mirror to the front supports.
Unlike mirror backs, you can still see them if your shelves are full of books!

Again, a local glass and mirror company should be able to cut them to size for you.
Or order these acrylic mirror strips*.
 .
.They look like real mirror but you can cut them with tin snips and they don’t break.
15 | Use Glass Shelves
If you want to showcase some of your collectibles, replace the shelves with glass.
Then add some lights under the top shelf that highlight your collection.
With all of these really easy options, you can stop looking at your boring bookshelves once and for all!
Add Custom Details
Another option for a bookshelf makeover is to add some custom details to it.
This can make it look like a completely different piece of furniture!
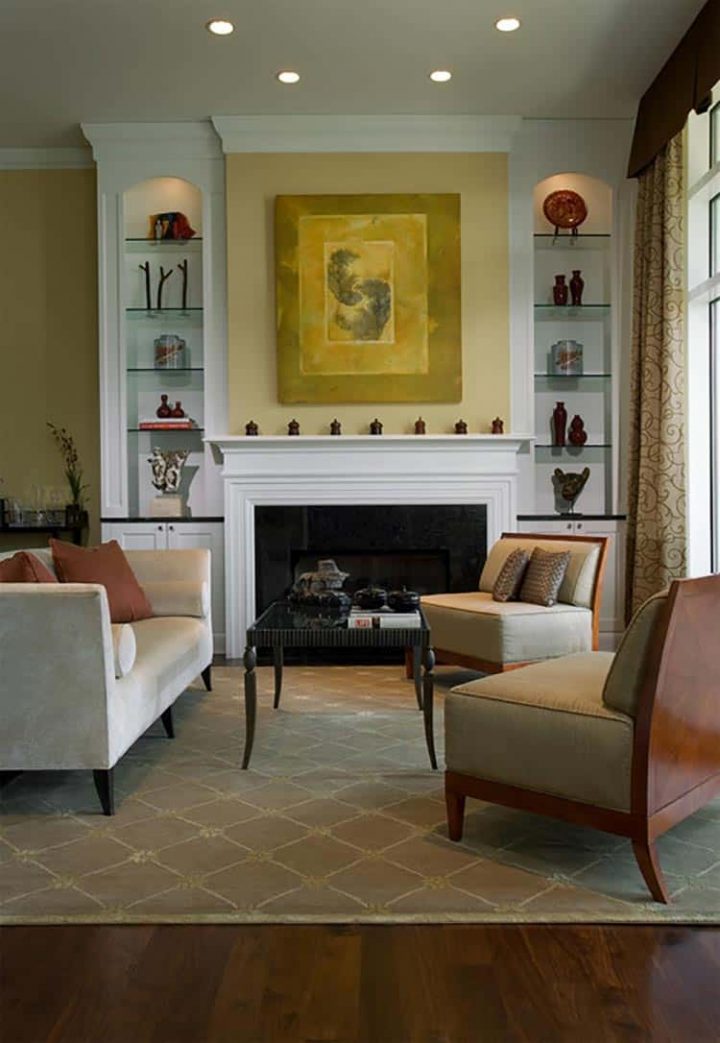
16 | Install Moldings
To make a shelving unit look more expensive than it really is, add some custom details like crown molding across the top.
Installing wider pieces of wood on the front of the side boards will make them look thicker. Which makes the whole bookcase look more substantial.
17 | Add A Custom Design
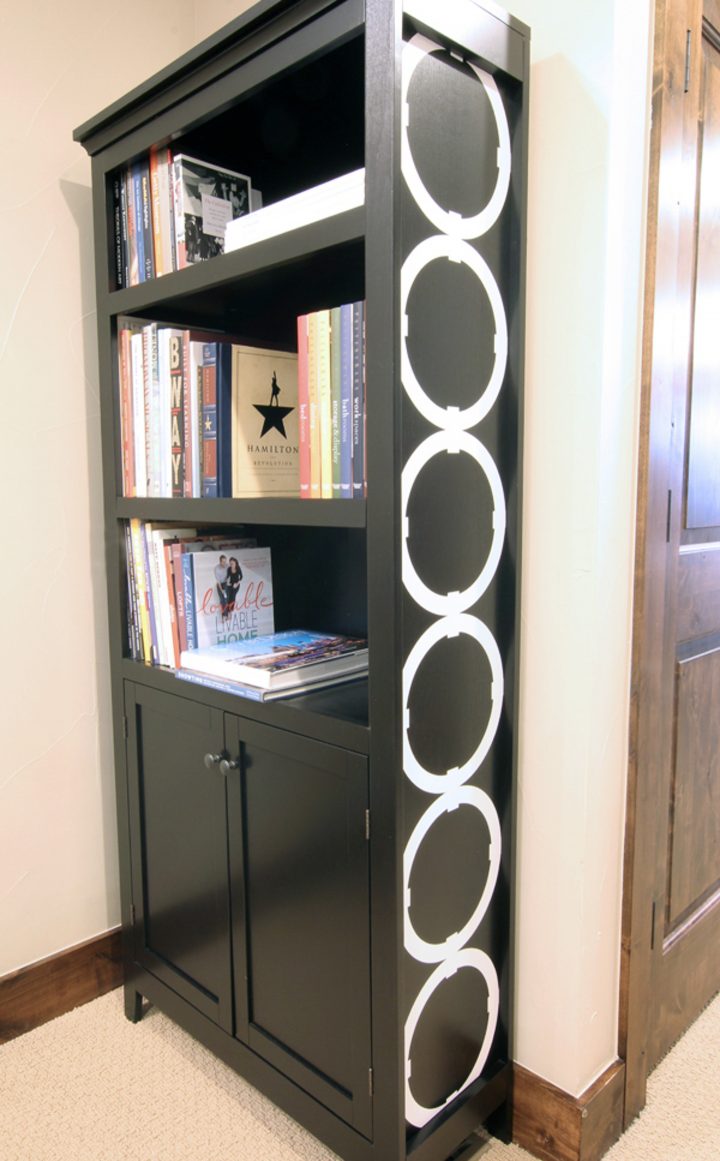
Angela from Blue I Style updated her shelves by using her Cricut to create a custom design.
The white circular pattern turns the side of her bookcase from an empty black space to a graphic piece of art.
Enclose The Space
Enclosing part of your bookcase is a great way to get more out-of-sight storage…and less clutter!
18 | Add Doors
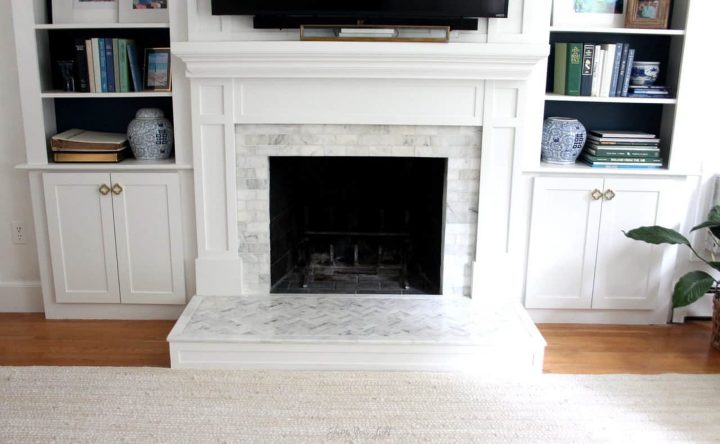
If you’re looking to add more enclosed storage to your room, try adding some doors to your bookcase like Lisa from Shine Your Light did.
Installing pretty knobs gives you a chance to give extra personality to the space.
19 | Install A Sliding Door
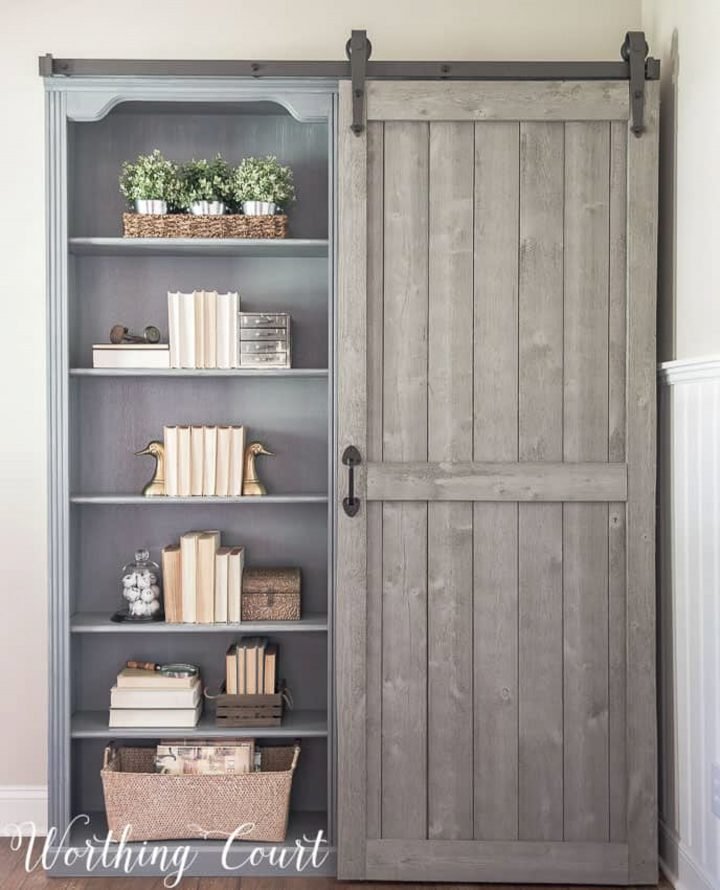
For even more enclosed space, Suzy from Worthing Court installed a barn door that covers one half of her bookcase.
What a great way to have easy access to lots of storage and always have it looking neat!
20 | Create Built-ins From Kitchen Cabinets
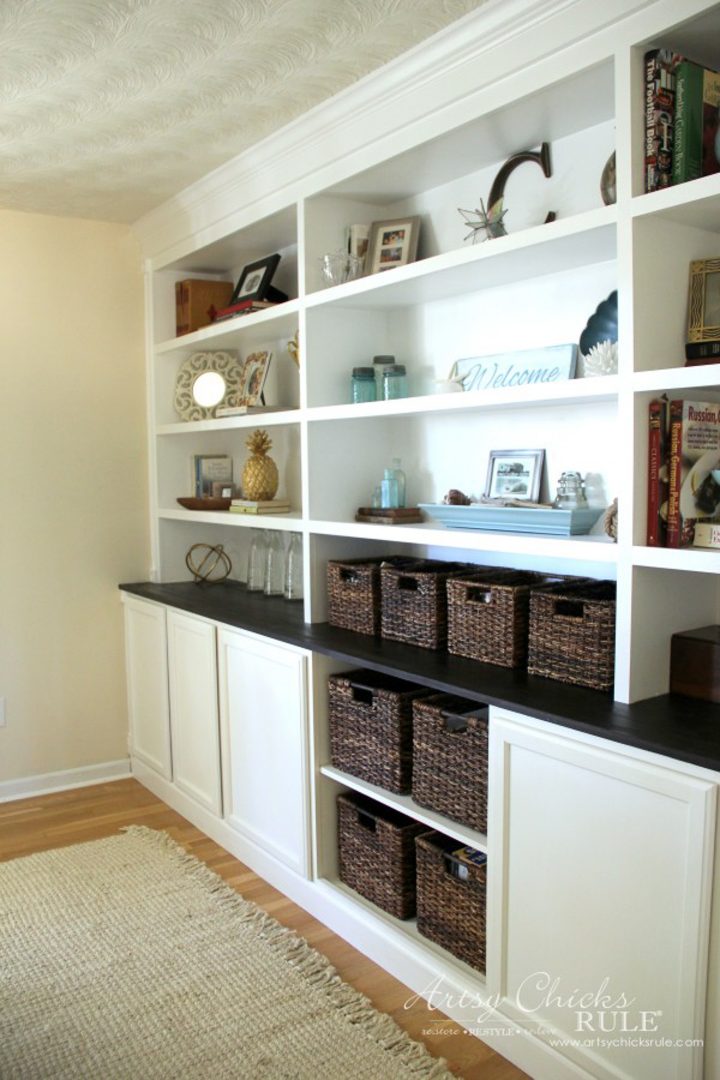
Finally, if you’re willing to put in a little more work, you can build your own shelves on top of big box store kitchen cabinets.
This bookshelf by Nancy from Artsy Chicks Rule looks like an expensive custom built-in but they did it all themselves.
Click HERE to get the step-by-step tutorial.
Well, that’s it for my list of DIY bookshelf makeovers. Hopefully, you’ve found some inspiration for upgrading your own bookcases.
Other DIY Projects You Might Like
Have comments or questions on these DIY bookshelf makeovers? Tell us in the section below.
Pin It So You Don't Forget It!
This post was originally published on May 21, 2020 but was updated with new content on April 22, 2022.