
How To Keep Perennials In Pots Over Winter
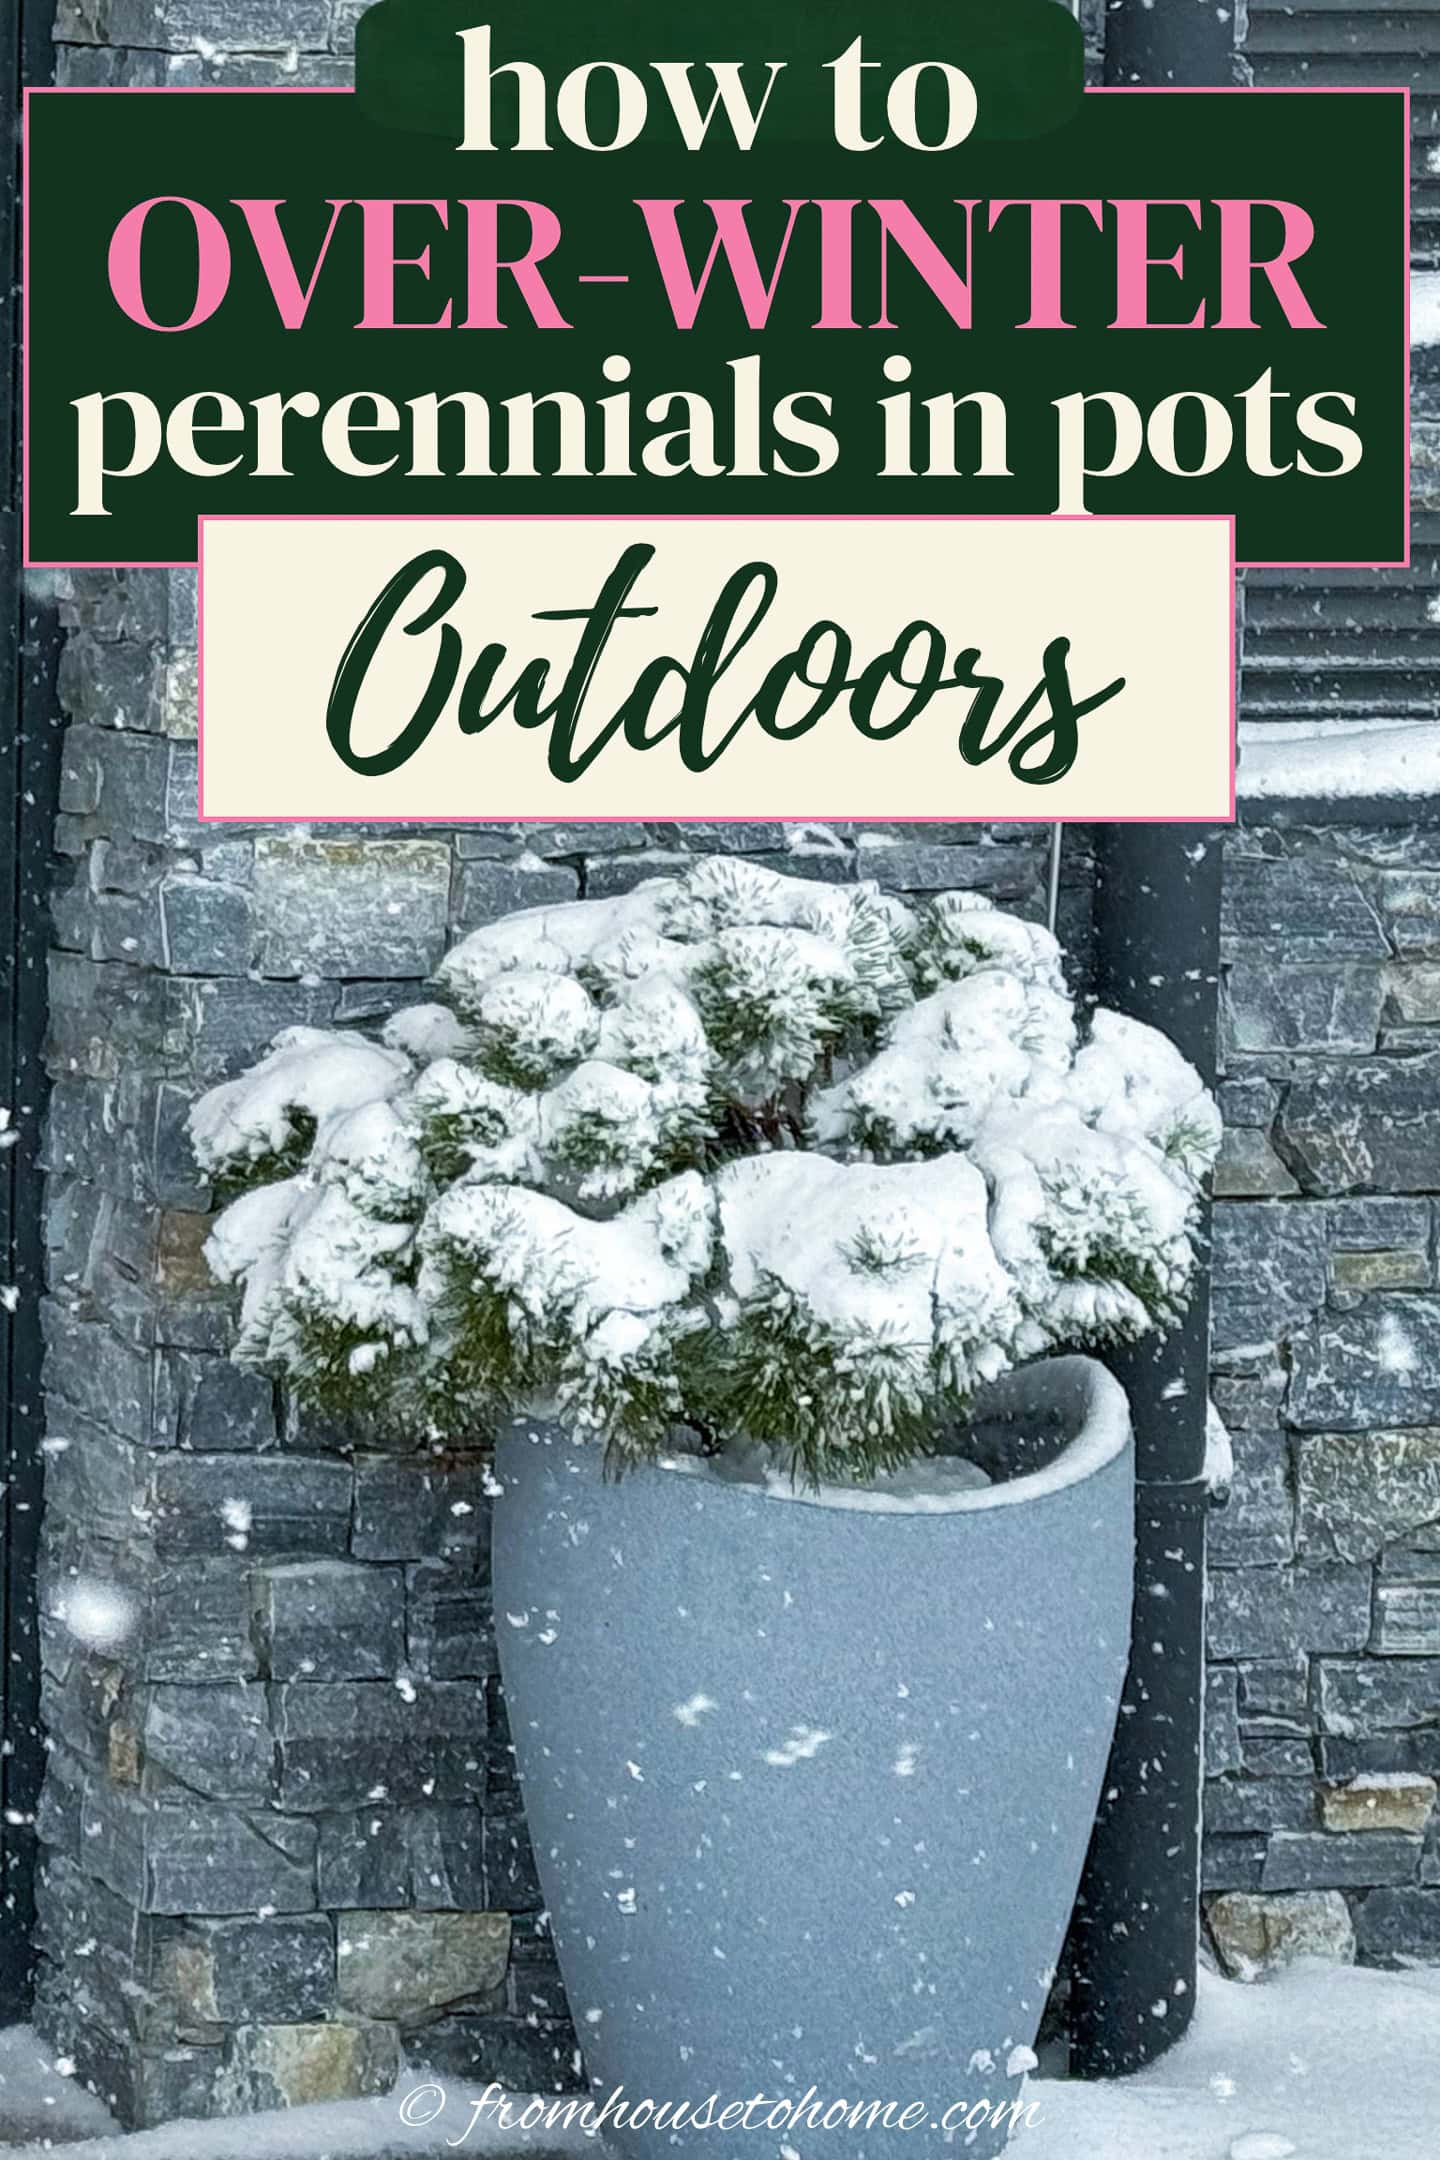
Perennials can live in containers for years, but getting them safely through the winter takes a little extra care. These tips will show you how to overwinter your potted perennials so they’re still healthy and ready to grow again in the spring.
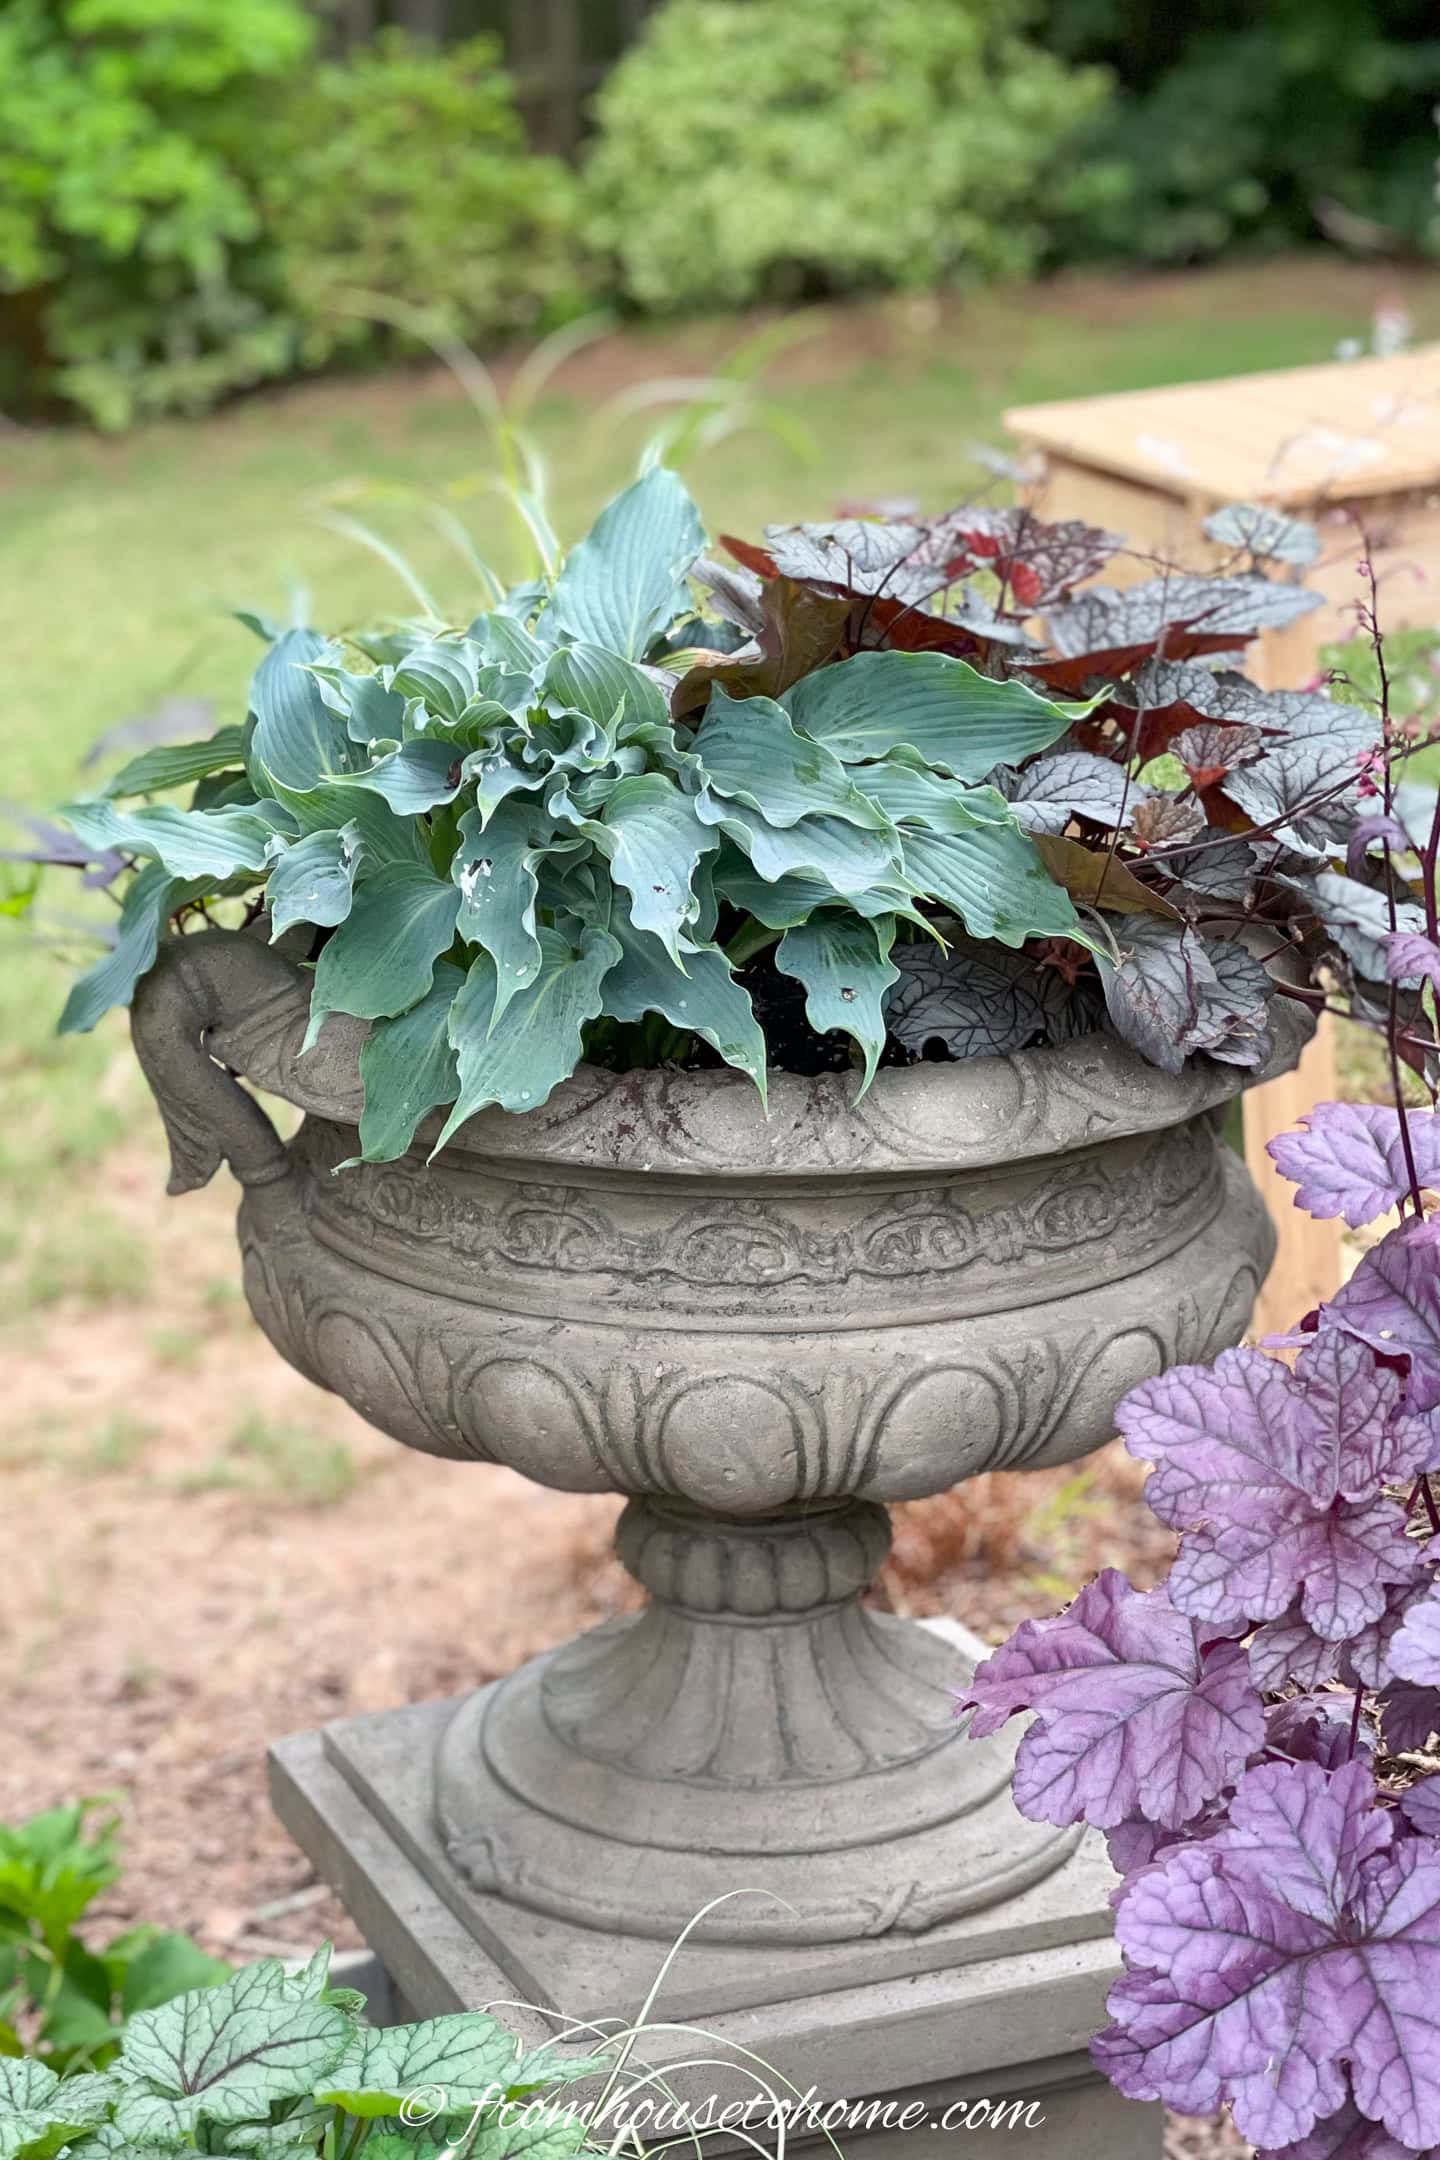
Container gardens don’t have to be something you completely replant every year.
Using perennials means some of the plants can stay in their pots for years, which is one of the reasons I like growing them in planters.
Of course, you still have to get those plants through the winter.
You can move the pots somewhere more protected, like a garage.
Or take the plants out and transplant them into the garden.
But I prefer to just keep the perennials in pots over winter.
It’s less work in the fall, and when spring arrives, the containers are already planted and ready to start growing again.
After overwintering quite a few perennials this way, these are the things I’ve found make the biggest difference in getting them through the cold weather successfully.
1 | Choose perennials that are hardy enough for your growing zone

The most important part of successfully overwintering perennials in containers is choosing plants that can tolerate the winter temperatures in your area.
A perennial that survives winter in a garden bed may not survive the same temperatures when it’s growing in a pot.
That’s because the surrounding ground provides insulation that helps protect plant roots from extreme temperature changes.
In an above-ground container, the roots are exposed to cold air on all sides, allowing the potting mix to freeze much more quickly.
Even if the above-ground parts of a perennial can tolerate very cold temperatures, its roots may not be quite as hardy.
A commonly used guideline is to choose perennials that are rated for at least two USDA hardiness zones colder than your own when growing them in containers that will remain outdoors all winter.
For example, if you live in Zone 7, you’ll want to plant perennials that are hard to Zone 5 or lower.
This gives the roots an additional margin of protection against freezing temperatures.
Some of the perennials I have successfully overwintered in containers are: Hostas, heucheras, hellebores, lamb’s ear, verbena, sedum, dianthus, hardy ferns, creeping phlox, and compact ornamental grasses.
2 | Use frost-resistant containers
Even if your perennials are hardy enough to survive winter outdoors, the containers they’re growing in may not be.
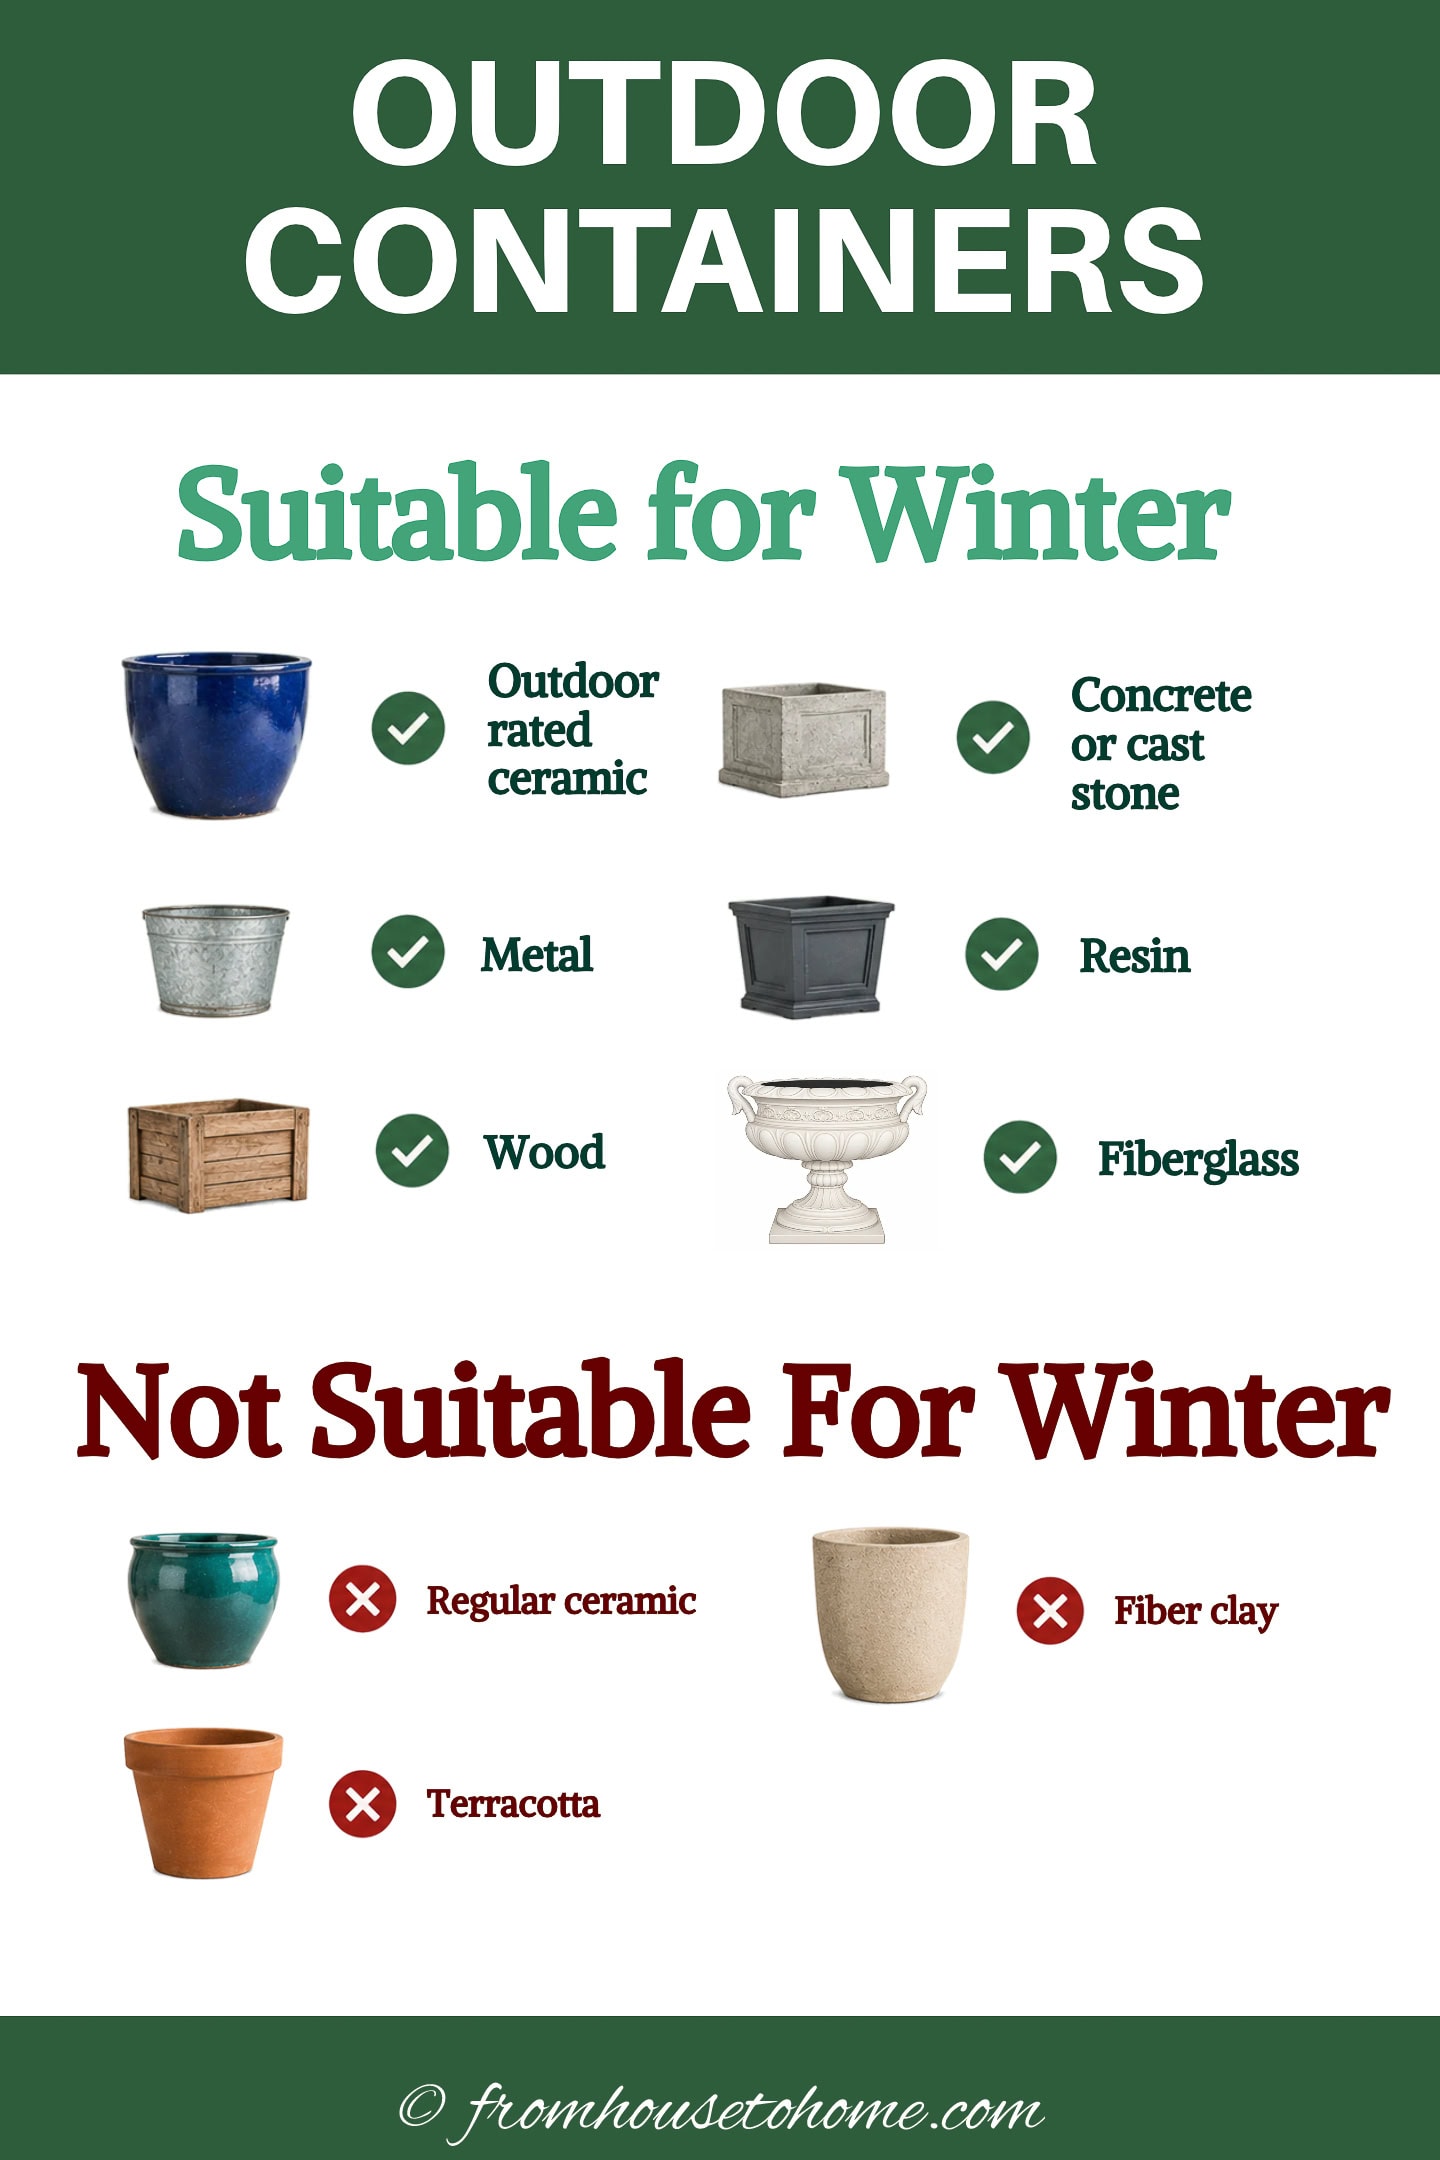
Some flower pots can crack or break when moisture trapped inside the material freezes and expands.
This is particularly common with ordinary terracotta and decorative ceramic containers that aren’t designed for outdoor winter use.
If you want to grow perennials in pots year after year, choose containers that are rated for year-round outdoor use in your climate.
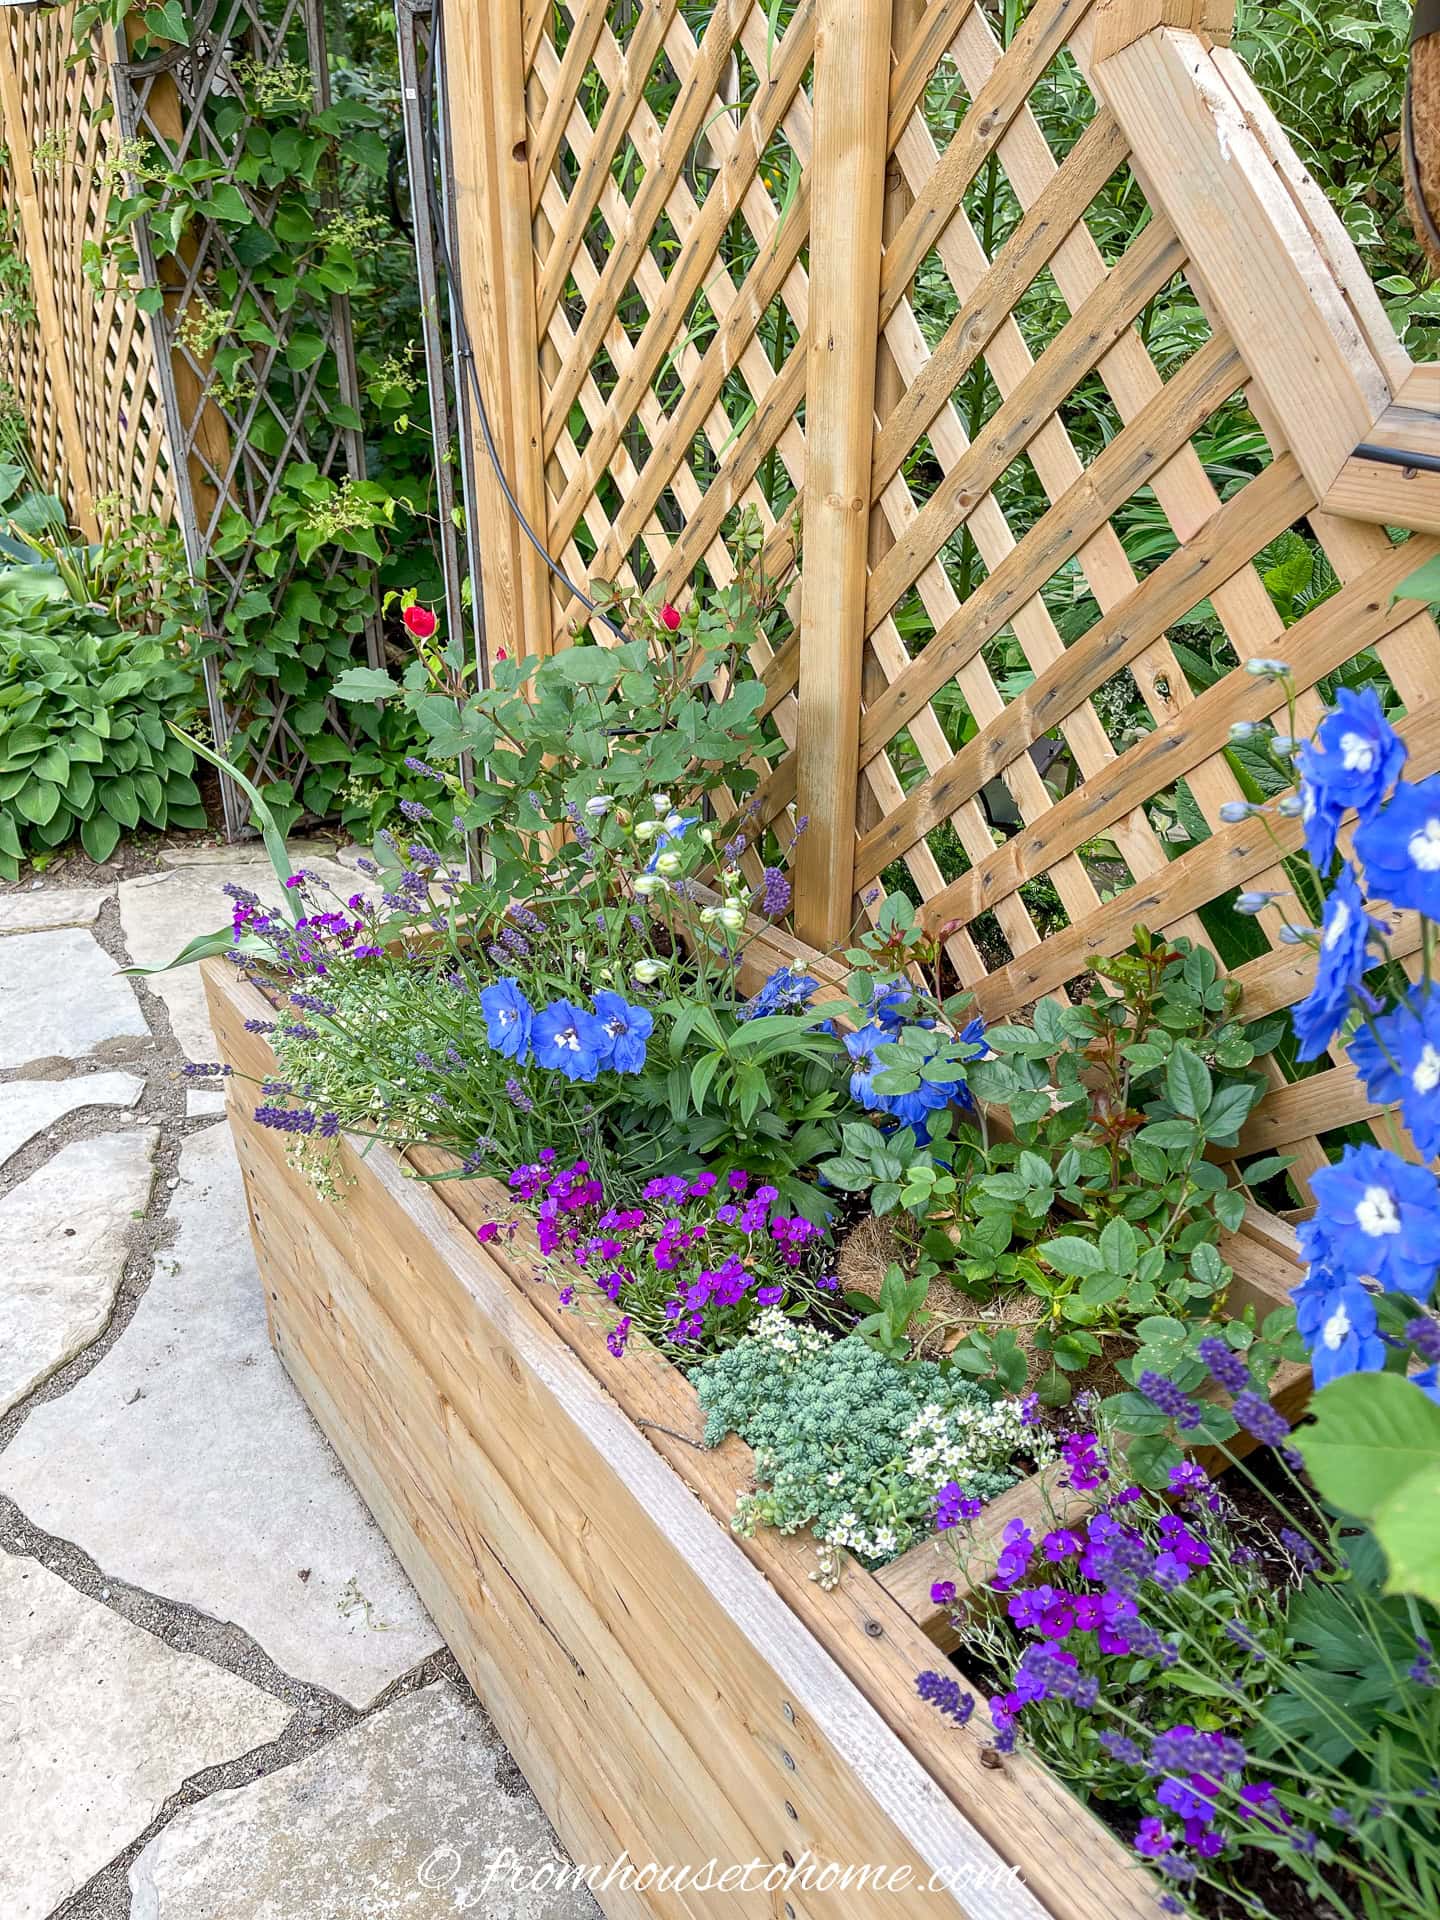
Wood, metal, outdoor-rated concrete planters, durable resin containers, and frost-resistant ceramic pots are all suitable choices for year-round outdoor use.
My absolute favorite containers are these cast stone fiberglass pots*. They look just like stone, but are much lighter so you can actually move them around. And they look just as good now as they did when I bought them a few years ago. They are more expensive than I would normally pay, but I think they are totally worth it.
3 | Choose large planters

Large containers are better for overwintering perennials than small flower pots because they help protect the roots from rapid temperature changes.
In the ground, the surrounding soil acts as insulation, so temperatures around the roots change slowly.
So when it freezes, it usually stays frozen through extended periods of cold weather rather than thawing every time the air temperature rises.
Containers are different because they’re exposed to the air on all sides.
The potting mix thaws if you have a few mild days and then freezes again when temperatures drop.
These repeated temperature swings can damage the roots, even in perennials that are hardy enough to survive winter in completely frozen ground.
Larger pots hold more potting mix, which takes longer to warm up and cool down. That helps keep temperatures around the roots more stable throughout winter.
I look for pots that are at least 16 inches across and 20 inches deep. And bigger than that is even better (like the large DIY planter my mother made for the side of her fence).
I don’t recommend trying to overwinter perennials in hanging baskets. They are even more exposed to the elements than regular pots so it’s very difficult to reliably keep plants alive in them.
4 | Stop fertilizing as the growing season ends
As the days get shorter and temperatures begin to drop, most perennials naturally slow their growth and begin preparing for winter dormancy.
During this time, they go through a process called _cold acclimation_, which helps them survive freezing temperatures.
As part of this process, the plants accumulate sugars and other compounds in their cells that help protect them from freezing damage.
They also stop putting energy into producing new leaves and stems, allowing their existing growth to mature before winter arrives.
Continuing to fertilize, particularly with a high-nitrogen fertilizer, encourages a flush of tender new growth just when the plant should be preparing for winter.
That new growth may not have enough time to go through the cold acclimation process before freezing weather arrives, making it more susceptible to damage.
To prevent this, stop feeding them in late summer or early fall.
Once your plants begin actively growing again in spring, you can resume fertilizing as needed.
5 | Remove dead and diseased foliage
Before winter arrives, take a look at the perennials growing in your containers and remove any diseased foliage or fallen plant debris.
This helps to reduce the chances of pests and plant diseases carrying over into the next growing season.
However, you don’t need to cut back every perennial in fall.
Leaving healthy stems and foliage provides winter interest, offers shelter for beneficial insects, and helps to protect the plant’s crown.
For perennials that naturally die down to the ground, such as hostas, you can remove the dead foliage after it has died back or wait until spring, whichever you prefer.
6 | Make sure your containers have good drainage
Good drainage is especially important for container-grown perennials during winter.
When potting mix remains excessively wet for long periods, the roots suffer from a lack of oxygen and may rot.
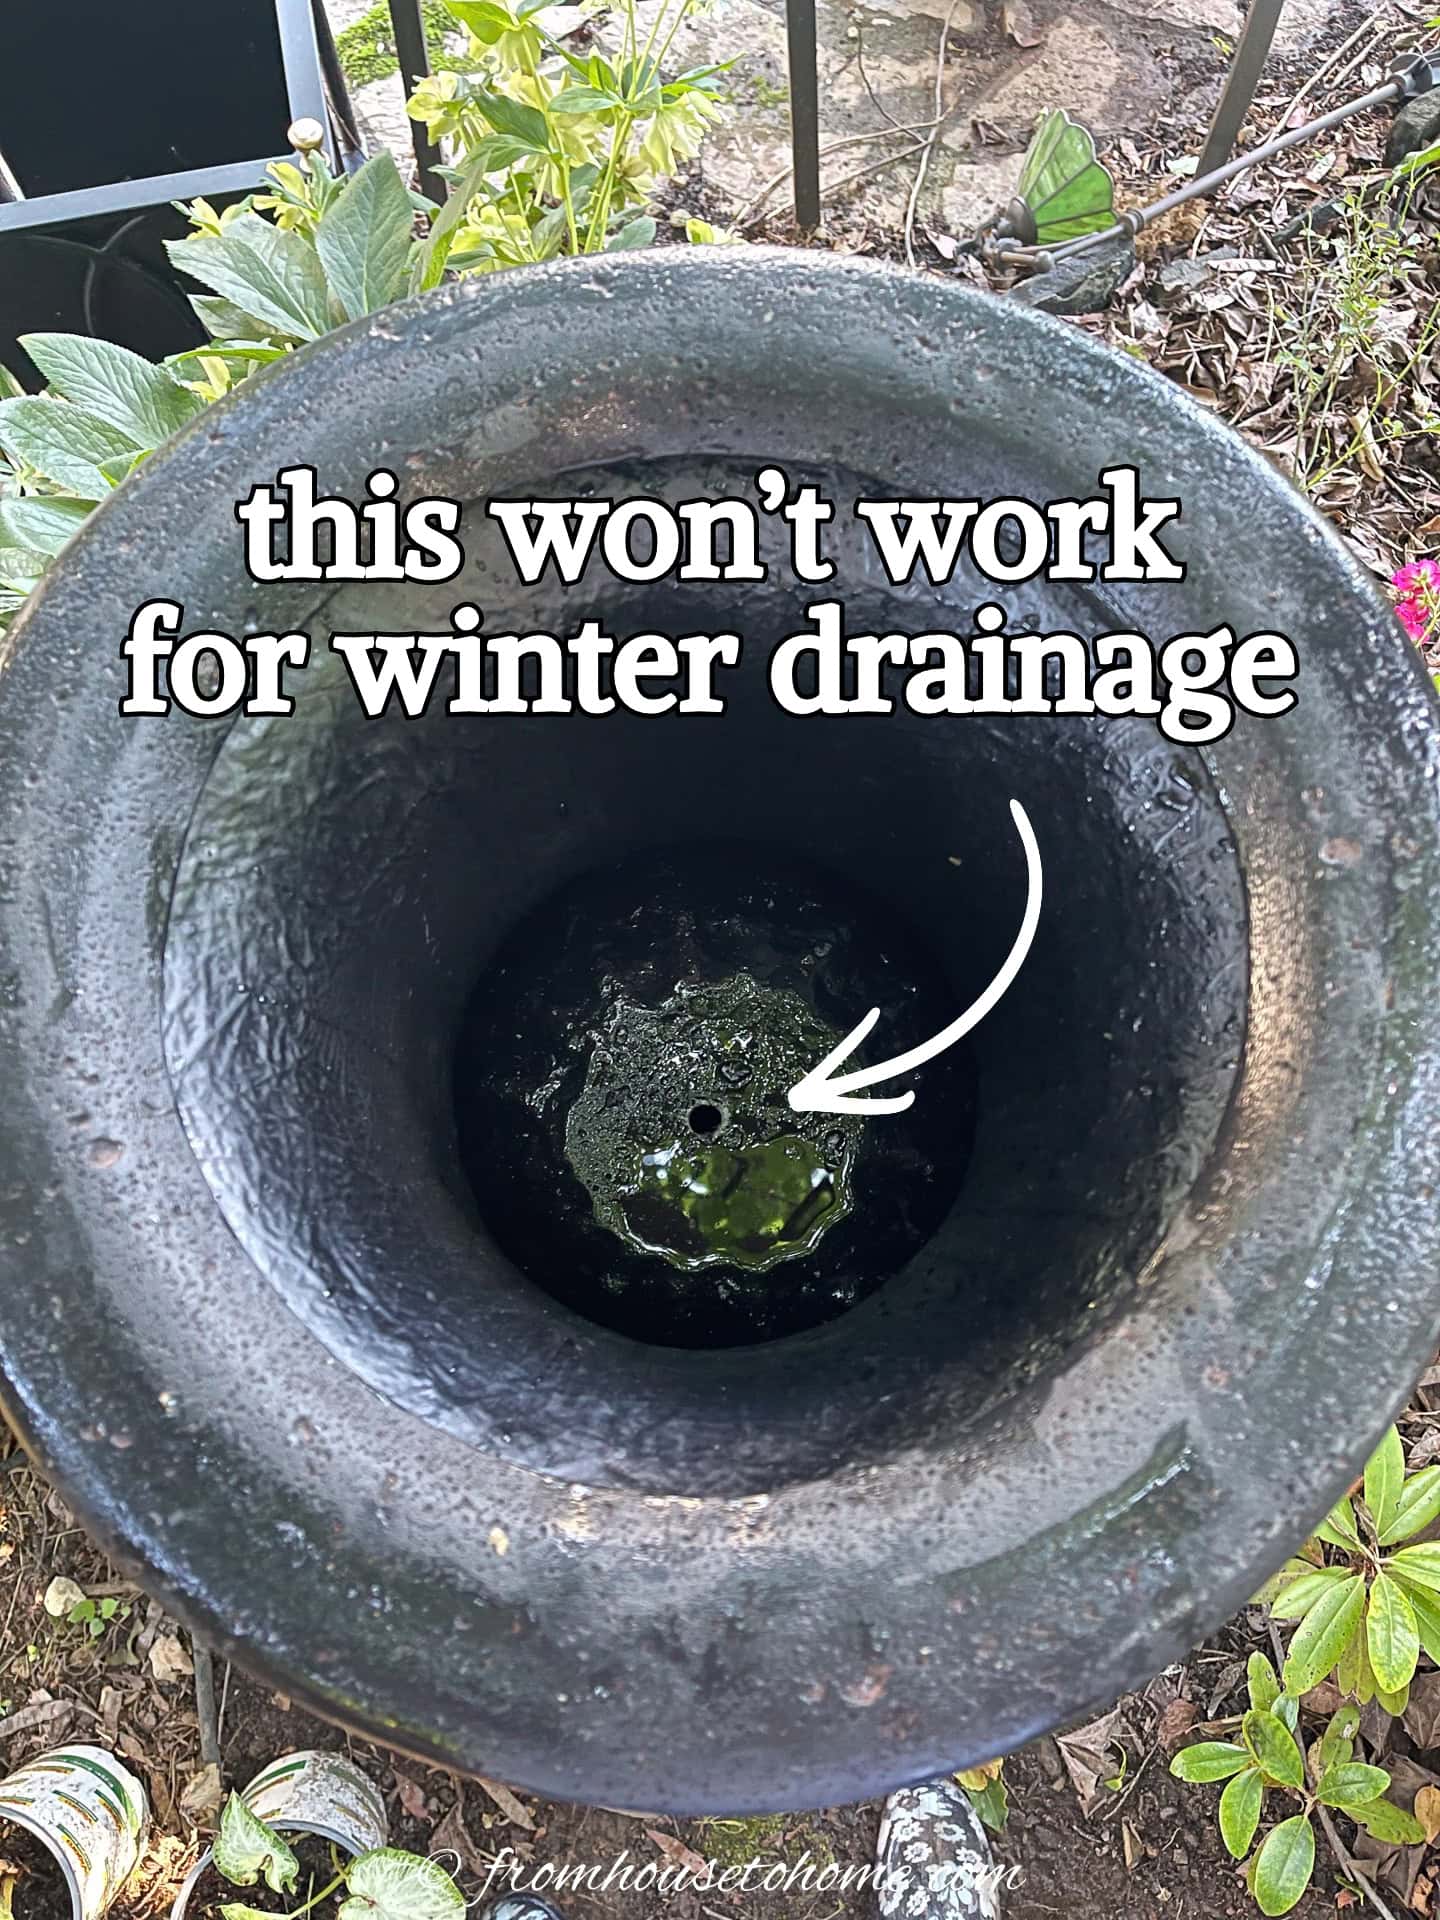
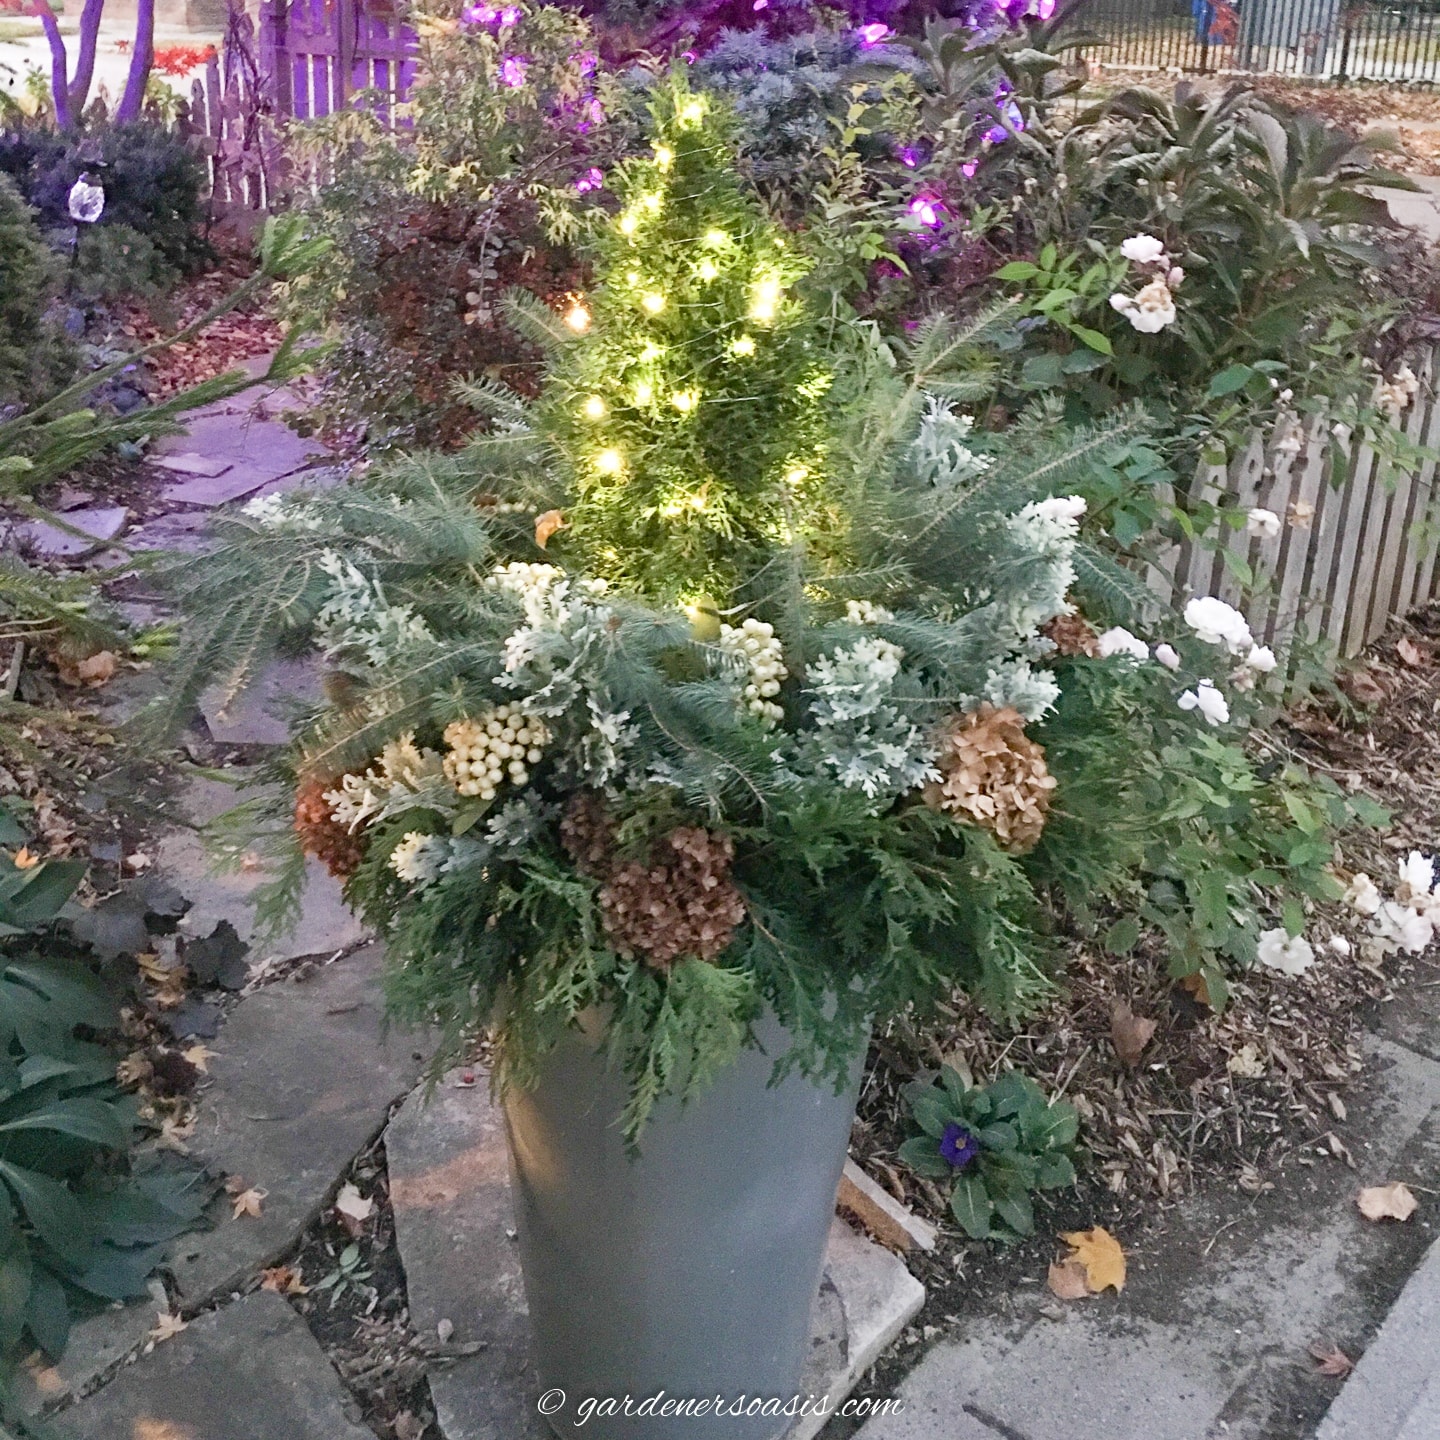
Before winter arrives, check that the drainage holes in your pots aren’t blocked by roots, compacted soil, or other debris. (And if the drainage holes are really small, like the one in my urn above, you may need to drill some more.)
Remove any saucers that could collect water beneath the containers. If the water freezes, it can block the drainage holes or potentially damage the pot.
If necessary, raise your containers slightly on pot feet to allow excess water to drain freely.
Make sure the pots aren’t sitting in low areas of the garden where water tends to accumulate.
And if you have large containers that remain in the same location year-round, check that water can still drain away from underneath them.
7 | Add a layer of mulch
One of the simplest ways to provide additional winter protection for your container-grown perennials is to add a layer of mulch over the potting mix.
Mulch helps moderate temperature changes around the upper roots and reduces moisture loss from the soil surface.
Shredded leaves, pine needles, and fine bark mulch are all suitable options for perennial container gardens.
Apply approximately 2 to 3 inches of mulch over the potting mix, adjusting the depth to suit the size of the container and the plants growing in it.
Leave a little space around the crowns of plants so they don’t rot.
8 | Insulate the outside of your containers
Wrapping the outside of your containers with insulating material helps to slow temperature changes around the roots.
You can use bubble wrap, foam insulation, or other weather-resistant insulating materials around the sides of the container.
Secure the insulation so it won’t blow away, but make sure it doesn’t block the drainage holes.
If you don’t like the appearance of the insulation, you can cover it with burlap or another decorative material.
Keep the insulation around the container rather than wrapping the entire plant in plastic.
The foliage needs air circulation, and trapping moisture around the leaves can encourage disease or cause additional damage.
The goal isn’t necessarily to prevent the potting mix from freezing completely. Many hardy perennials can tolerate frozen soil while they’re dormant.
Instead, you’re trying to reduce exposure to extreme temperatures and rapid freezing and thawing that could damage the roots.
9 | Water your perennials throughout winter
Perennials need less water as their growth slows, but their roots can still be damaged if the potting mix dries out completely.
This is especially important for evergreen perennials, which continue losing moisture through their leaves during winter.
If fall has been dry, check your containers and water them as needed before prolonged freezing weather arrives.
You want the roots to be adequately hydrated, but the potting mix shouldn’t be saturated.
Continue checking the moisture level periodically throughout winter, particularly during extended dry spells. Containers beneath roof overhangs may need extra attention because they don’t receive as much rain or snow.
When the potting mix feels dry a few inches below the surface, water on a day when temperatures are above freezing and the mix has thawed enough to absorb moisture. Avoid watering when the potting mix is frozen.
There’s no need to follow a fixed winter watering schedule. The goal is simply to keep the roots from drying out without leaving them sitting in wet soil.
10 | Protect the plants during extreme cold

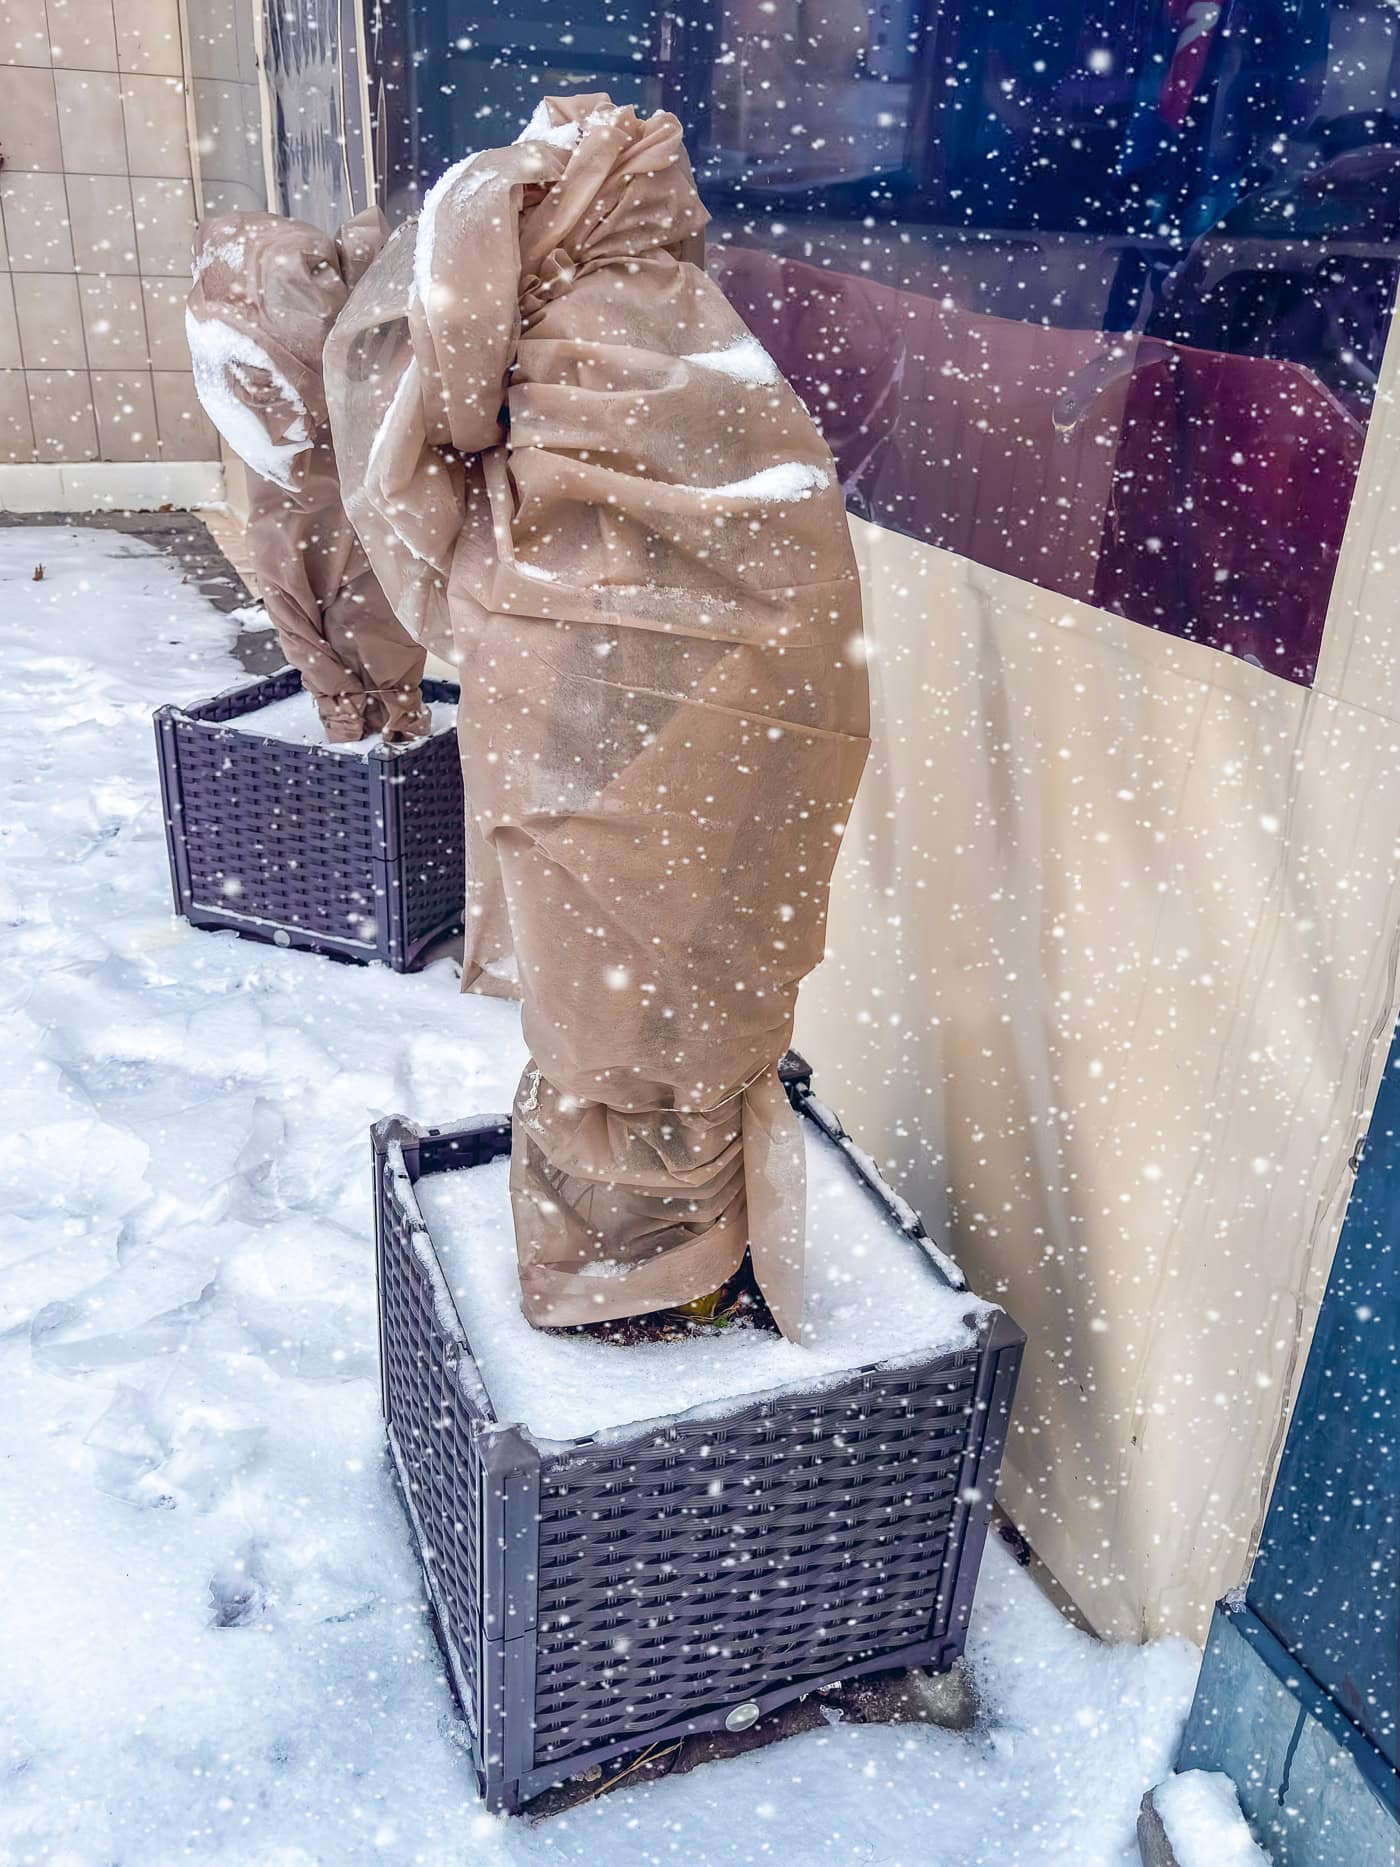
© Lana Pietukhova – stock.adobe.com Even cold-hardy perennials can benefit from a little extra protection when unusually cold weather is expected, especially if they’re growing in an exposed part of the garden.
You can cover the plants with breathable materials such as burlap, frost cloth, or an old blanket to help protect the foliage and crowns from cold winds and sudden temperature drops.
If you’re using burlap or a blanket, secure it so it won’t blow away. For plants with delicate evergreen foliage, use stakes or another support to keep a heavy covering from crushing the leaves.
Pine straw is another option. You can loosely pile it around and over the plants.
Avoid wrapping the plants in plastic. It can trap moisture against the foliage, and plastic that touches the leaves can contribute to cold damage.
Put the coverings in place before temperatures drop, then remove them when the cold spell passes.
11 | Protect evergreen perennials from winter sun and wind

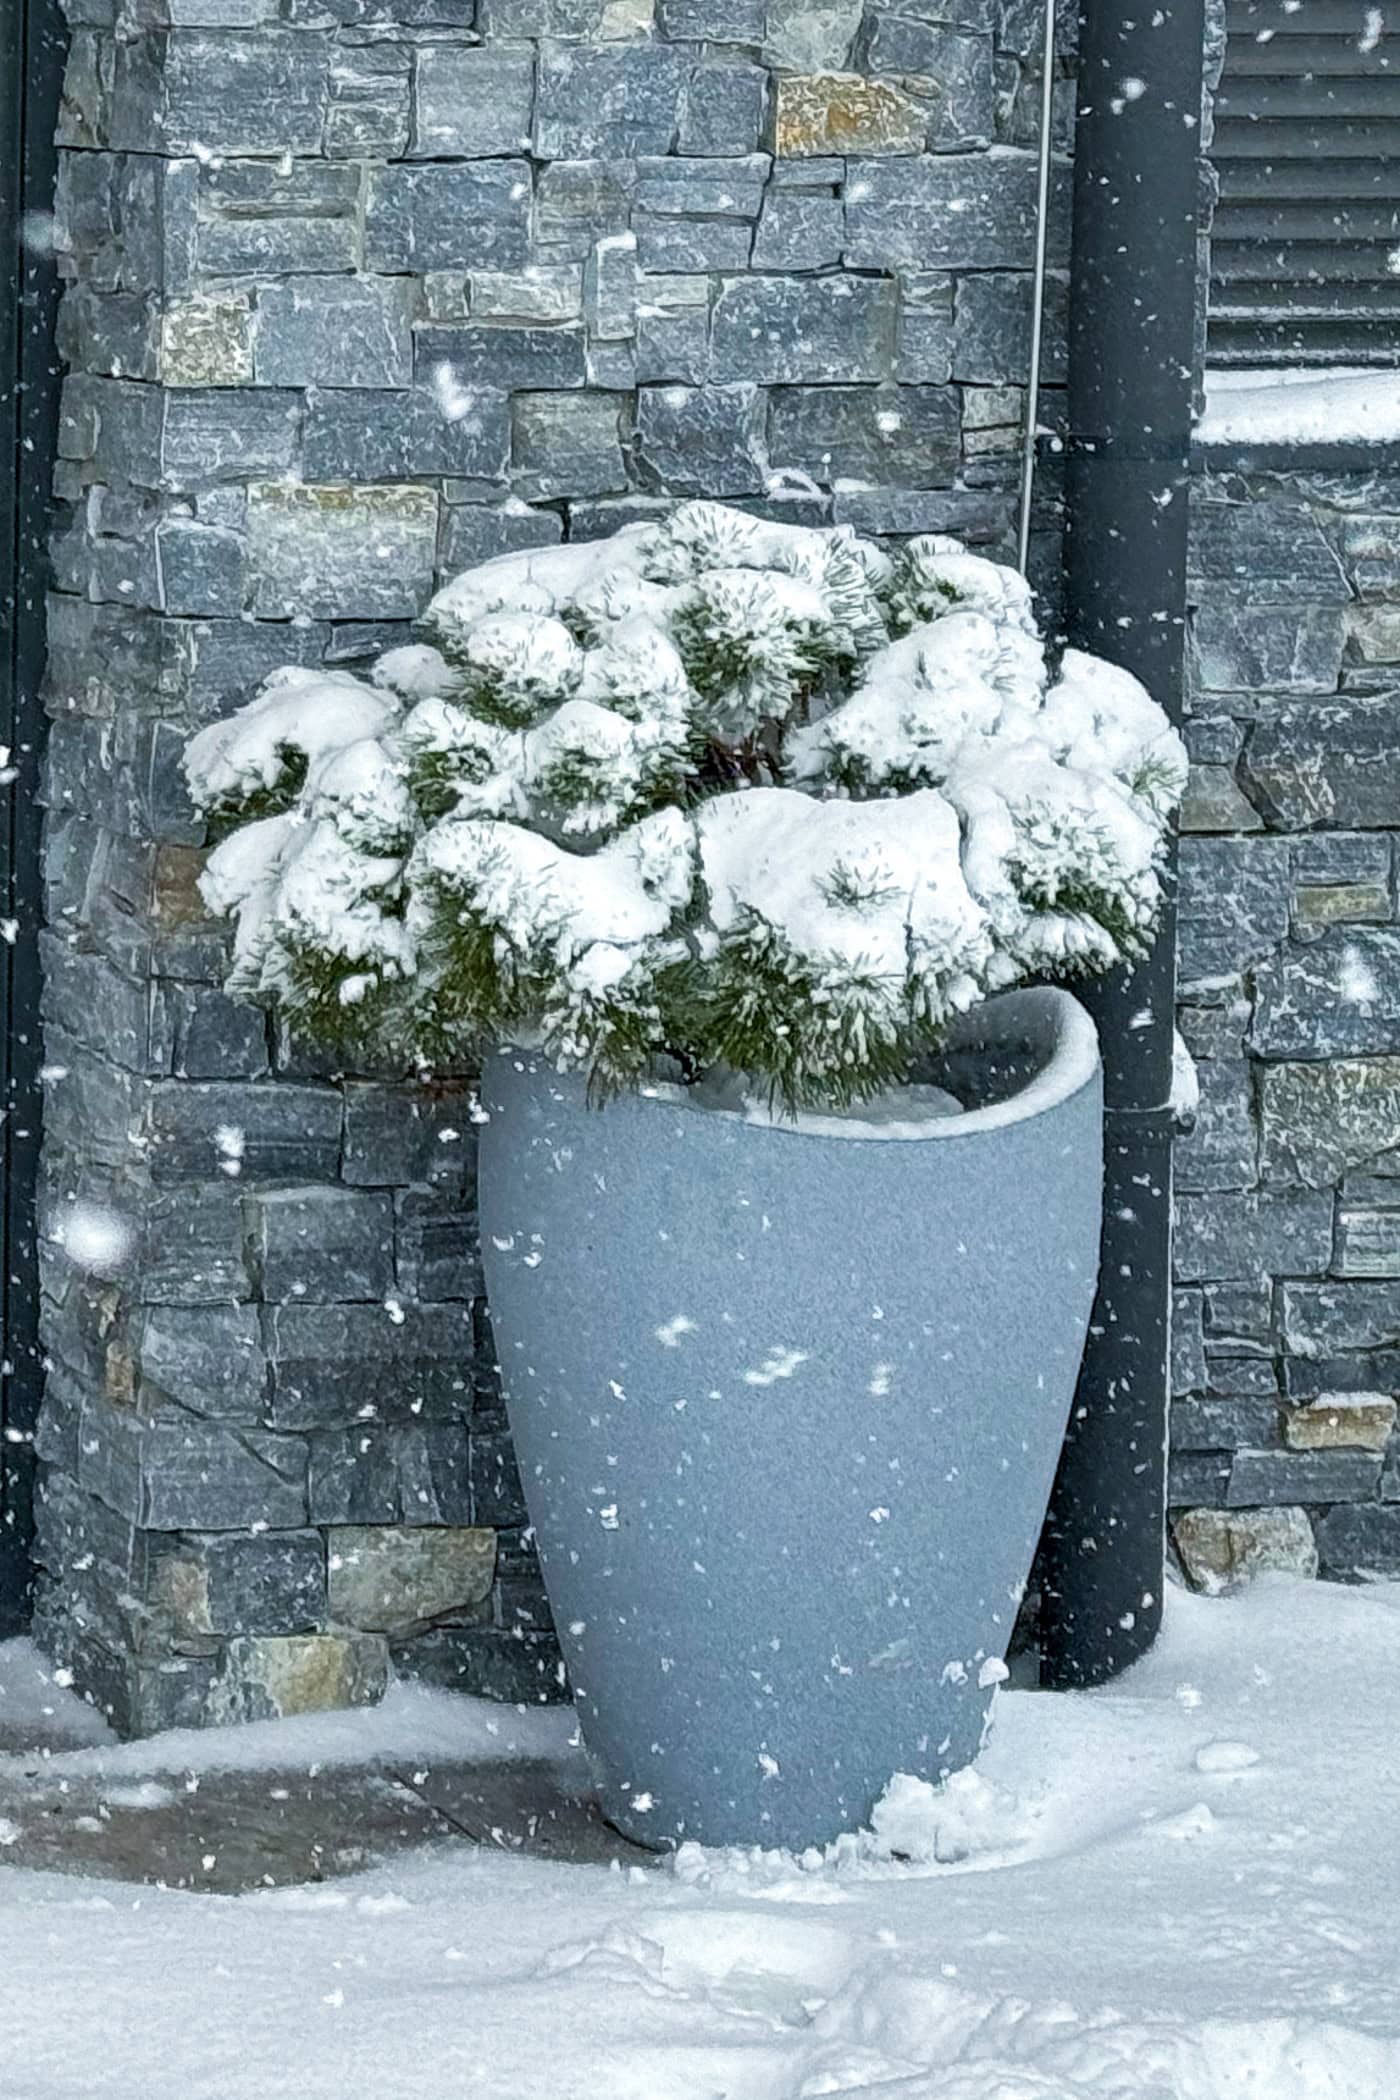
© helivideo – stock.adobe.com Evergreen perennials can be especially attractive in outdoor containers because they provide color and foliage throughout winter.
However, they can also experience a type of winter damage that doesn’t affect fully dormant plants in the same way.
Because evergreen plants retain their leaves, they continue losing moisture even when temperatures are cold.
If the potting mix freezes and the roots can’t absorb enough water to replace that moisture, the foliage may become dry, brown, or damaged.
This is called winter desiccation or winter burn.
Cold, dry winds and strong winter sunlight increase this moisture loss, particularly when the roots are frozen.
If your evergreen perennials are growing in a particularly exposed part of the garden, consider providing a temporary wind barrier during periods of severe weather.
A burlap screen or another breathable barrier can help reduce direct exposure without completely enclosing the plants.
You may also want to provide temporary shade during periods of intense winter sun, particularly if you’ve noticed that your plants regularly develop brown or damaged foliage.
However, don’t place evergreen perennials that require sunlight in permanently dark conditions. The goal is to reduce excessive exposure while still providing the light and air circulation the plants need.
12 | Remove winter protection and clean up in spring
Once the weather begins to warm and your perennials start showing signs of new growth, it’s time to get your containers ready for another growing season.
Start by removing any temporary coverings or insulation that you added to protect your containers during winter.
Wait until the risk of severe cold has passed, particularly if your plants have started producing tender new growth.
You can also remove excess winter mulch if it’s covering emerging shoots or preventing the potting mix from warming.
Leave a suitable layer of mulch in place if it helps retain moisture and suppress weeds during the growing season.
Next, remove dead stems, leaves, and other plant debris that accumulated during winter.
For herbaceous perennials that died back in fall, cut away the previous year’s dead growth before the new shoots become too large.
Evergreen perennials may have some brown or damaged leaves that need to be removed.
Take care not to damage healthy new growth while cleaning up the plants.
And if you’re unsure whether a perennial survived winter, give it some time before removing it.
Some plants, such as hostas, may remain dormant until the weather is consistently warm.
Don’t assume that a plant has died simply because it hasn’t started growing at the same time as the others.
Have comments or questions about keeping perennials in pots over winter? Tell us in the section below.