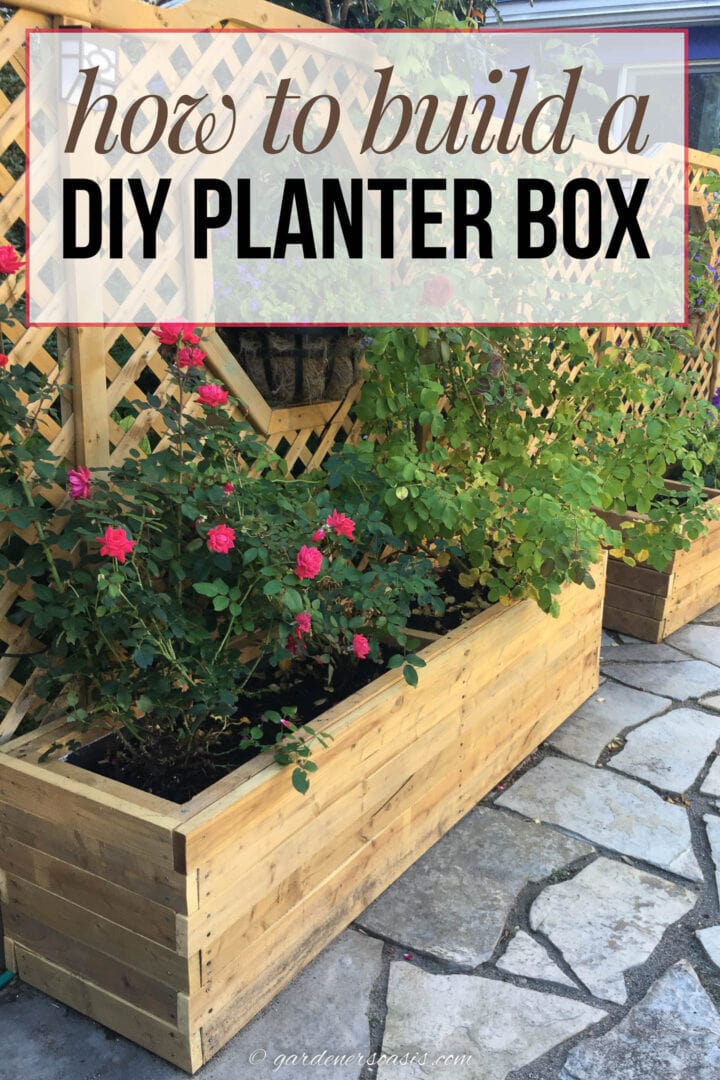
How To Build A Large DIY Planter Box
Looking to add a little bit of extra curb appeal to your house? Or maybe you just want to spruce up your garden without spending too much money? Well, look no further than this easy DIY planter box tutorial! With just a few simple supplies and tools, you can have yourself a large planter box that will make your garden look great.
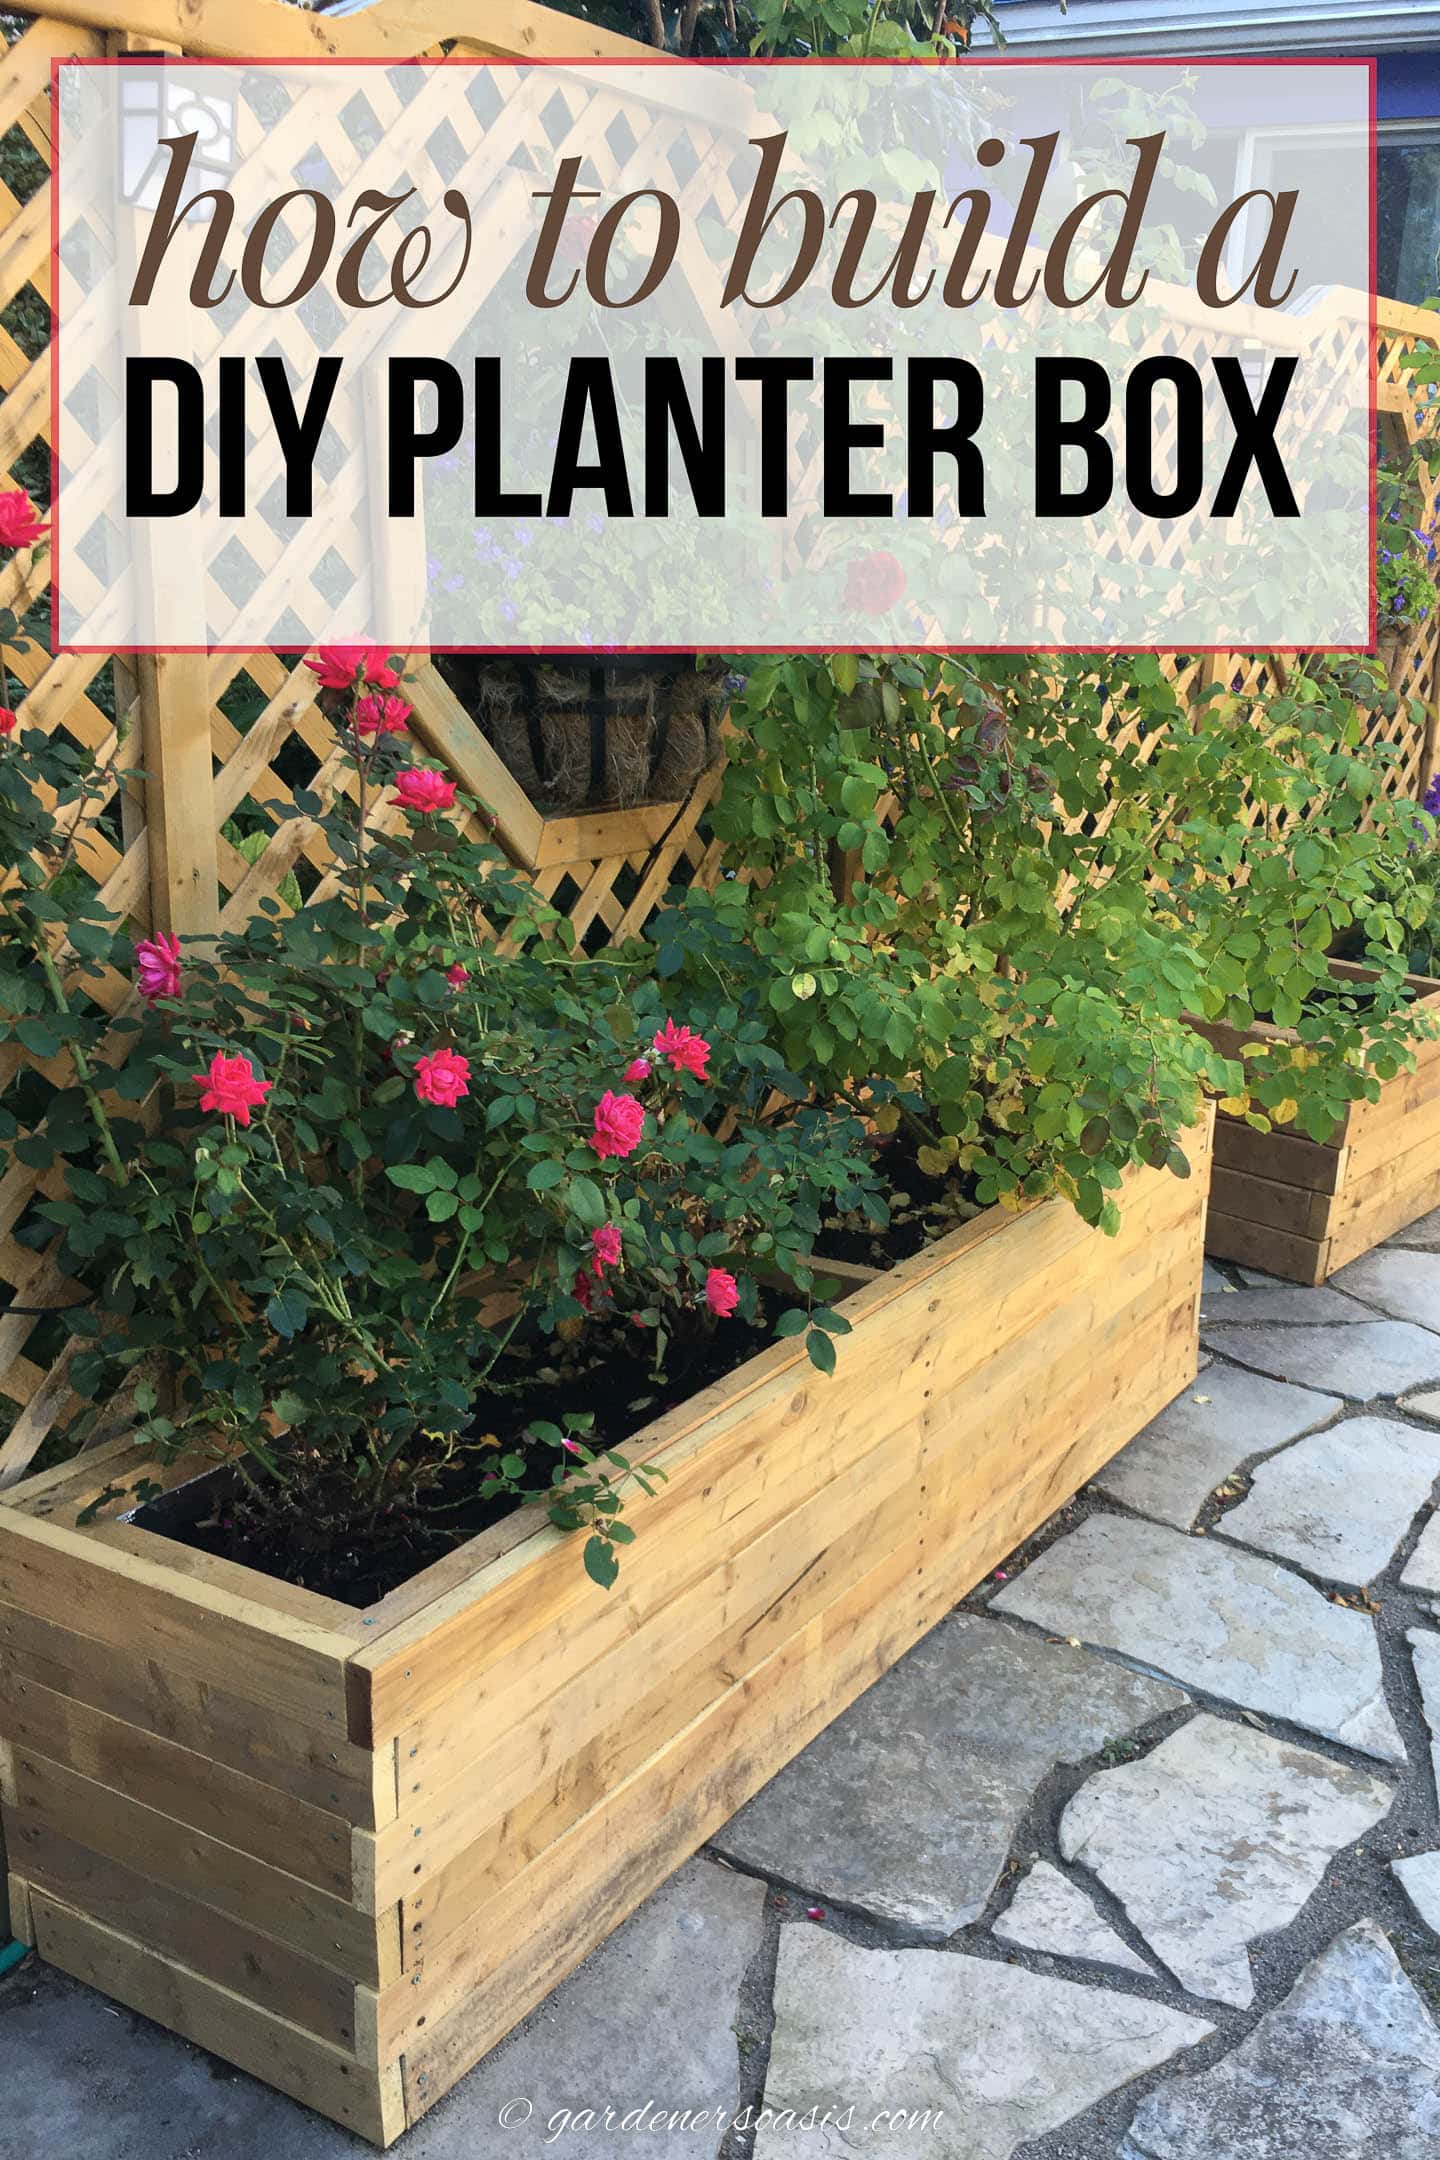
After recently having my fence replaced, I realized that my existing assortment of planters looked really ratty against the new wood.
So when I saw this stunning large pine container* on the Wayfair site, I decided to replace what I had with something similar.
It appealed to me for many reasons:
- It is big enough to allow perennials and shrubs to withstand my harsh Zone 5 winters, yet it is compact and neat.
- This planter would compliment my new fence along the driveway side of my back yard.
- These new lower boxes allow better focus on the fence design and integrate with the whole aesthetic.
- Best of all, it would be easy to duplicate at a quarter of the cost.
Since I live in Toronto (cold winters!), any planter that holds plants to be overwintered outdoors needs to be at least 18 inches wide and deep, to allow for root protection.
To take that into consideration and fit the space, I decided to make my planters 6 feet long by 18 inches wide and high.
I also decided not to put a bottom layer of wood on the planter. It makes the container heavier and usually rots pretty quickly. So it seems like wasted effort, especially since I don’t plan on moving it after it is filled with dirt.
Materials for one planter
This post may contain affiliate links. We make a small commission if you buy the products from these links (at no extra cost to you). As an Amazon Associate, I earn from qualifying purchases. But we only recommend products we would use ourselves. For more information, click here to see our disclosures.
- 10 pressure treated 2″ x 4″ x 8′ boards – These are for the outside of the container. My inspirational planter uses 2″ x 3″s which are not available in Canada but would be my preference if I could have purchased them. If you do decide to go with them, you will need a couple of extra ones to get to the same height.
- 6 pressure treated 2″ x 2″ x 8′ boards – These are for the frame. They don’t necessarily have to be 2″ x 2″ since you won’t see them. So if you happen to have some extra pressure treated boards hanging around, feel free to use them.
- 100 2¼” deck screws
- 20 3″ deck screws
- 1 4′ x 8′ Styrofoam insulation sheet that is 1″ thick – This helps to insulate the plants and keeps the wood from rotting.
Equipment
- tape measure
- pencil
- framing square
- saw ( I used my electric miter saw)
- clamps
- power drill with drill bits and screw driver attachments
How to build the frame
The first step to building your planter is to make the frame that will hold it all together.
1 | Calculate the frame measurements
Calculate the size of the frame by determining the inside measurements of the finished box.
Note that if you are using the same 2″ x 2″ boards for your frame as I did, the thickness of the board is actually 1½”.
- For the width: Calculate the total width minus 2 X the thickness of the outside boards plus 2 X the thickness of the frame side boards. In my case, this measurement was: 18″- (3″ + 3″)= 12″.
- For the length: Calculate the total length minus 2 X the thickness of the outside boards. In my case, the width is: and the length is: 72″ – 3″= 69″.
- For the height: Calculate the total height minus 2 X the thickness of the frame boards. In my case 18″- (1½” X 2″)= 15″.
2 | Cut the wood
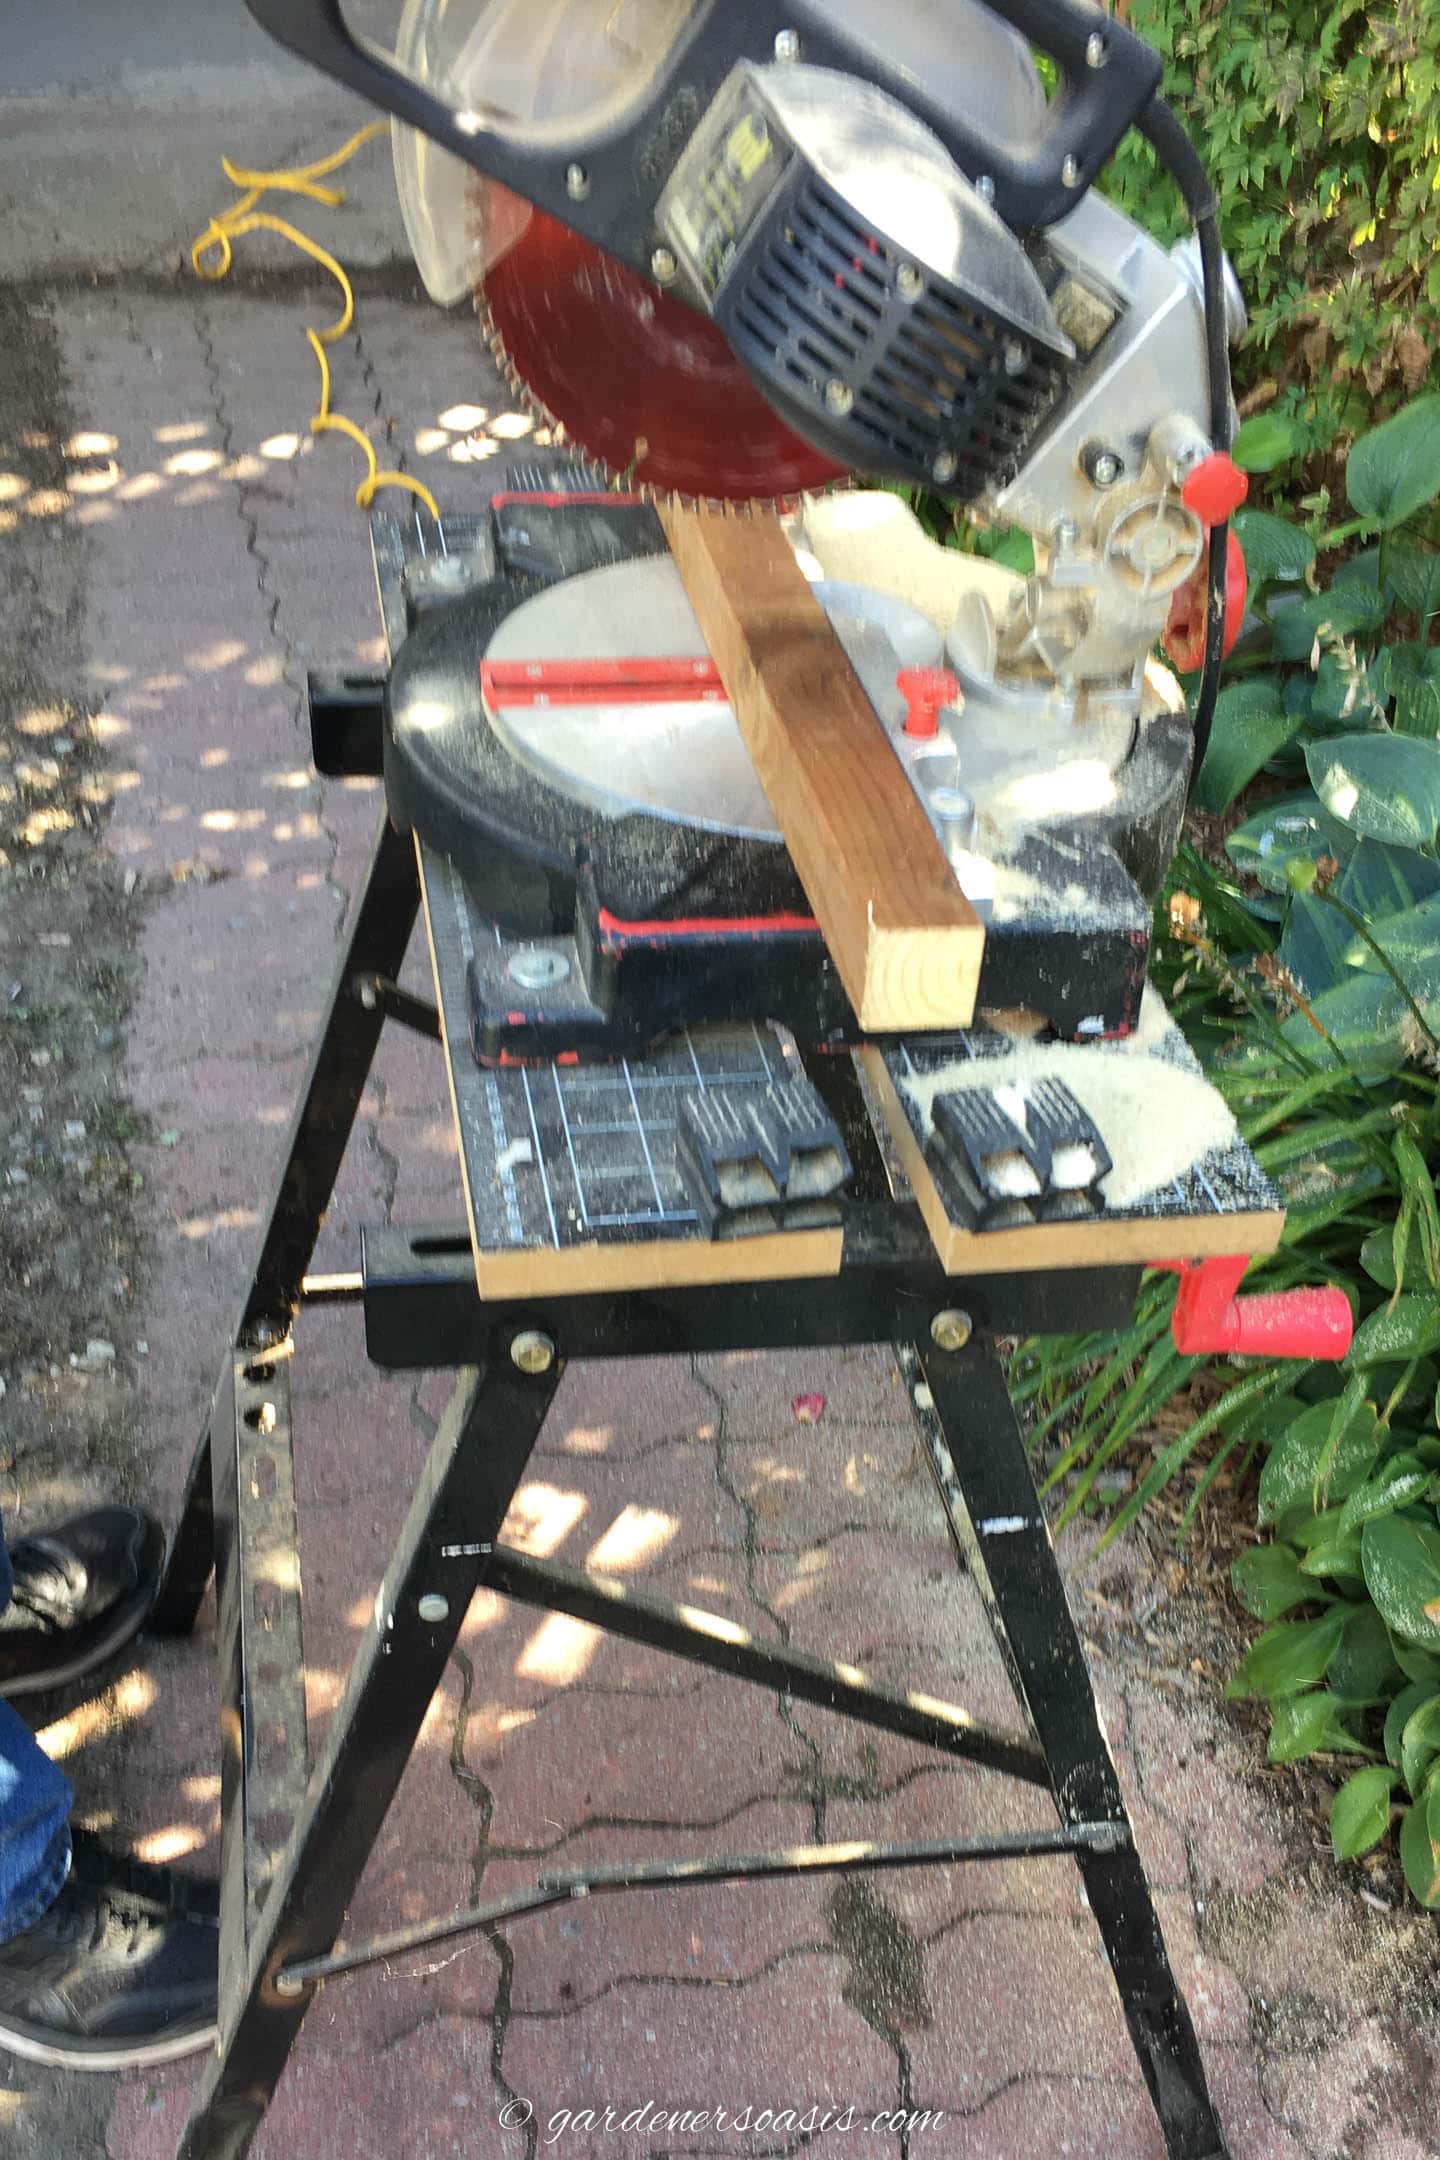
For the short side of the frame, cut 8 pieces of 2″ x 2″s to the width you calculated above (in my case 12″).
For the long side of the frame, cut 4 of the 2″ x 2″s to the length you calculated above (in my case 69″).
For the uprights, cut 6 of the 2″ x 2″s to the height you calculated above (in my case 15″).
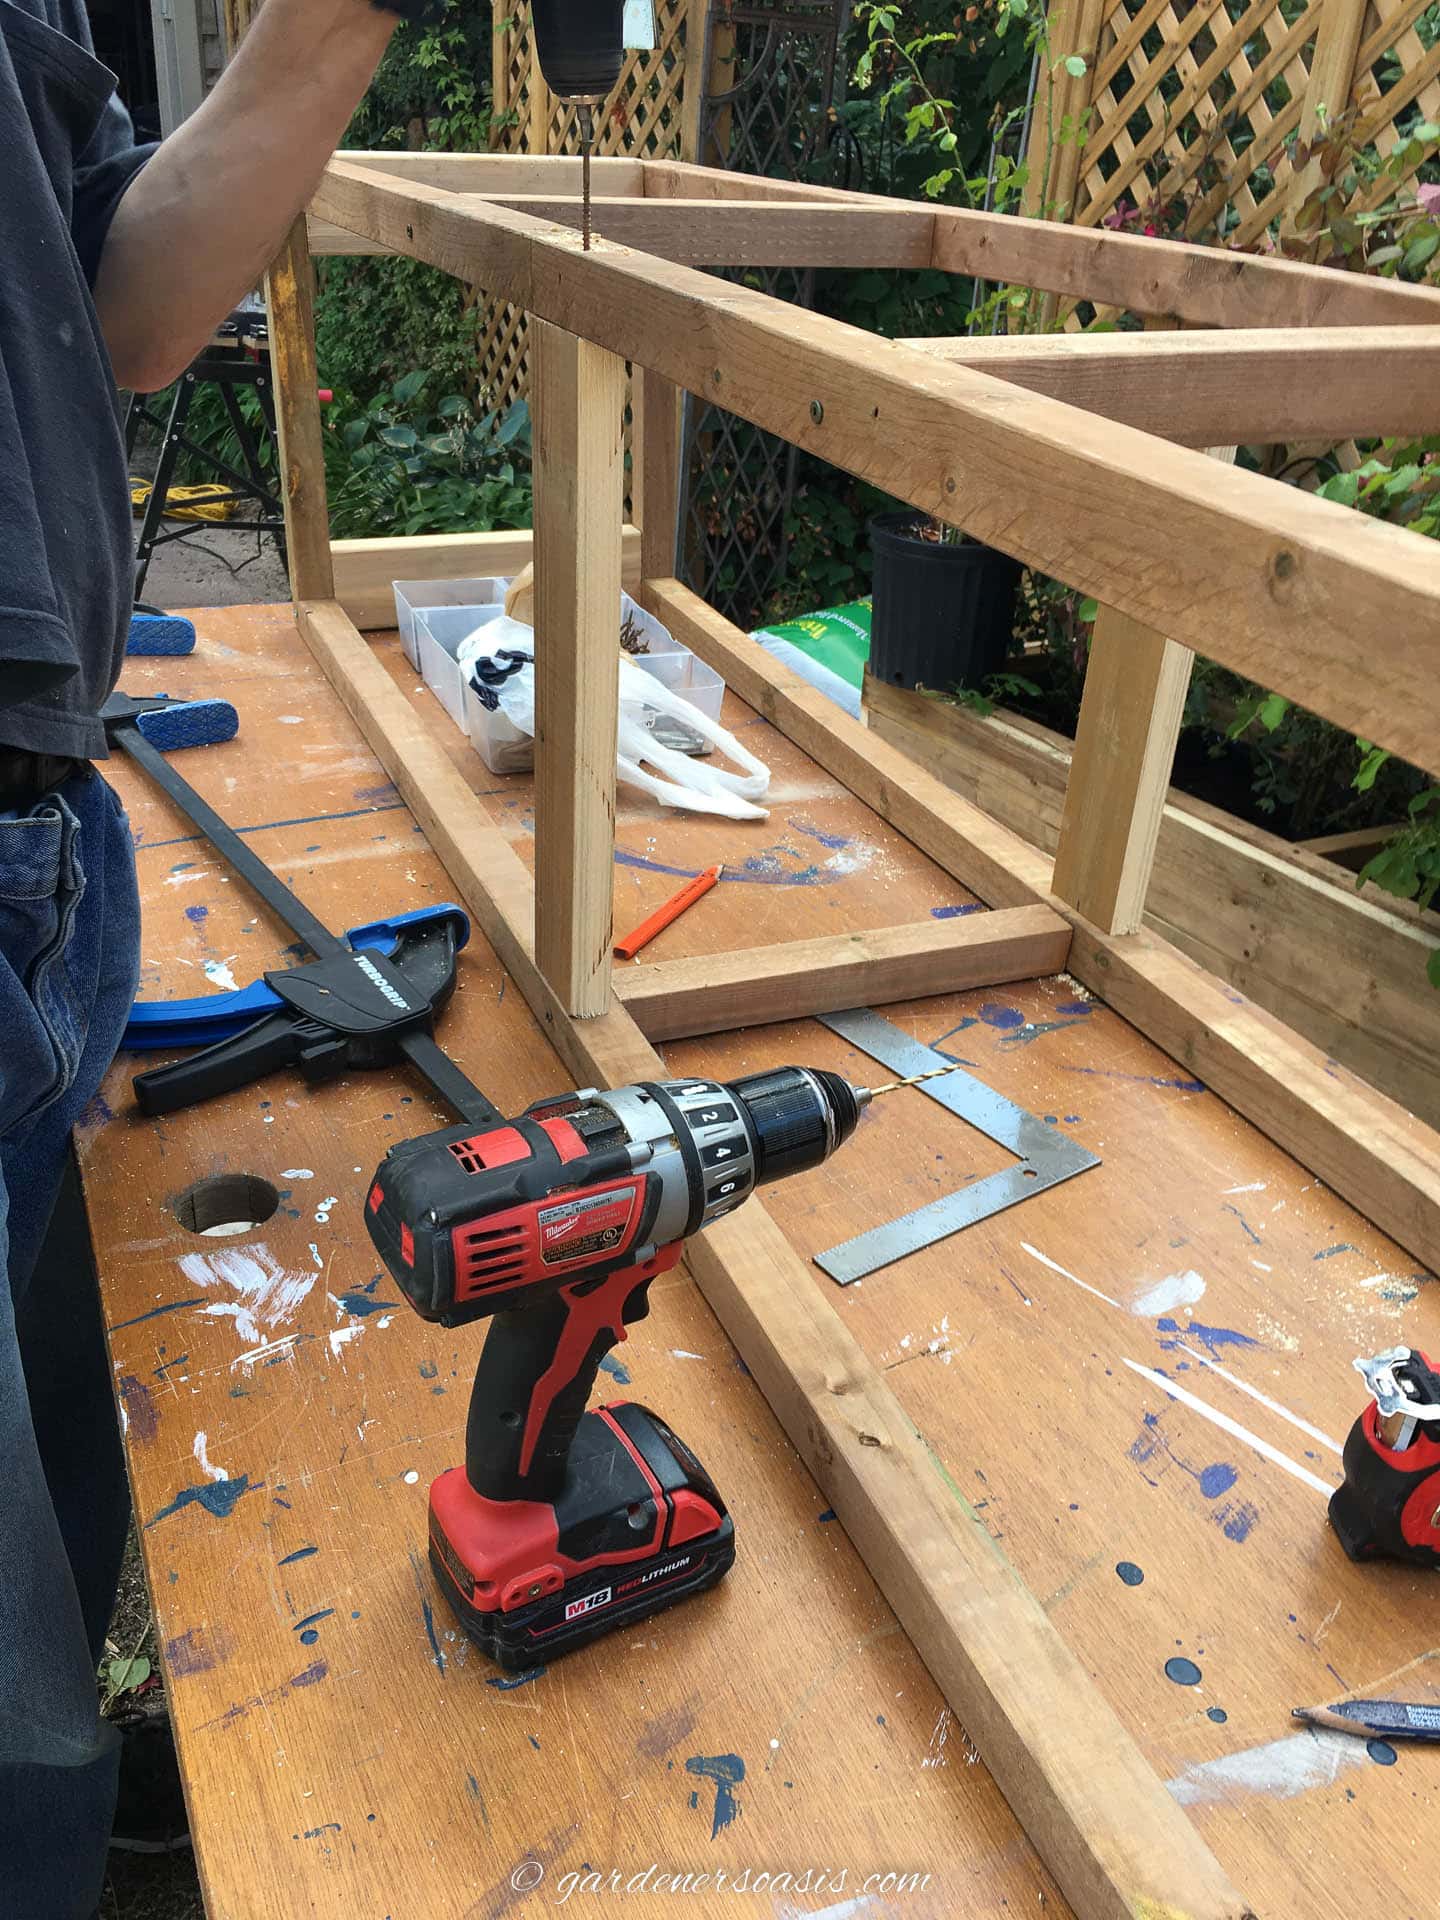
3 | Build the frame
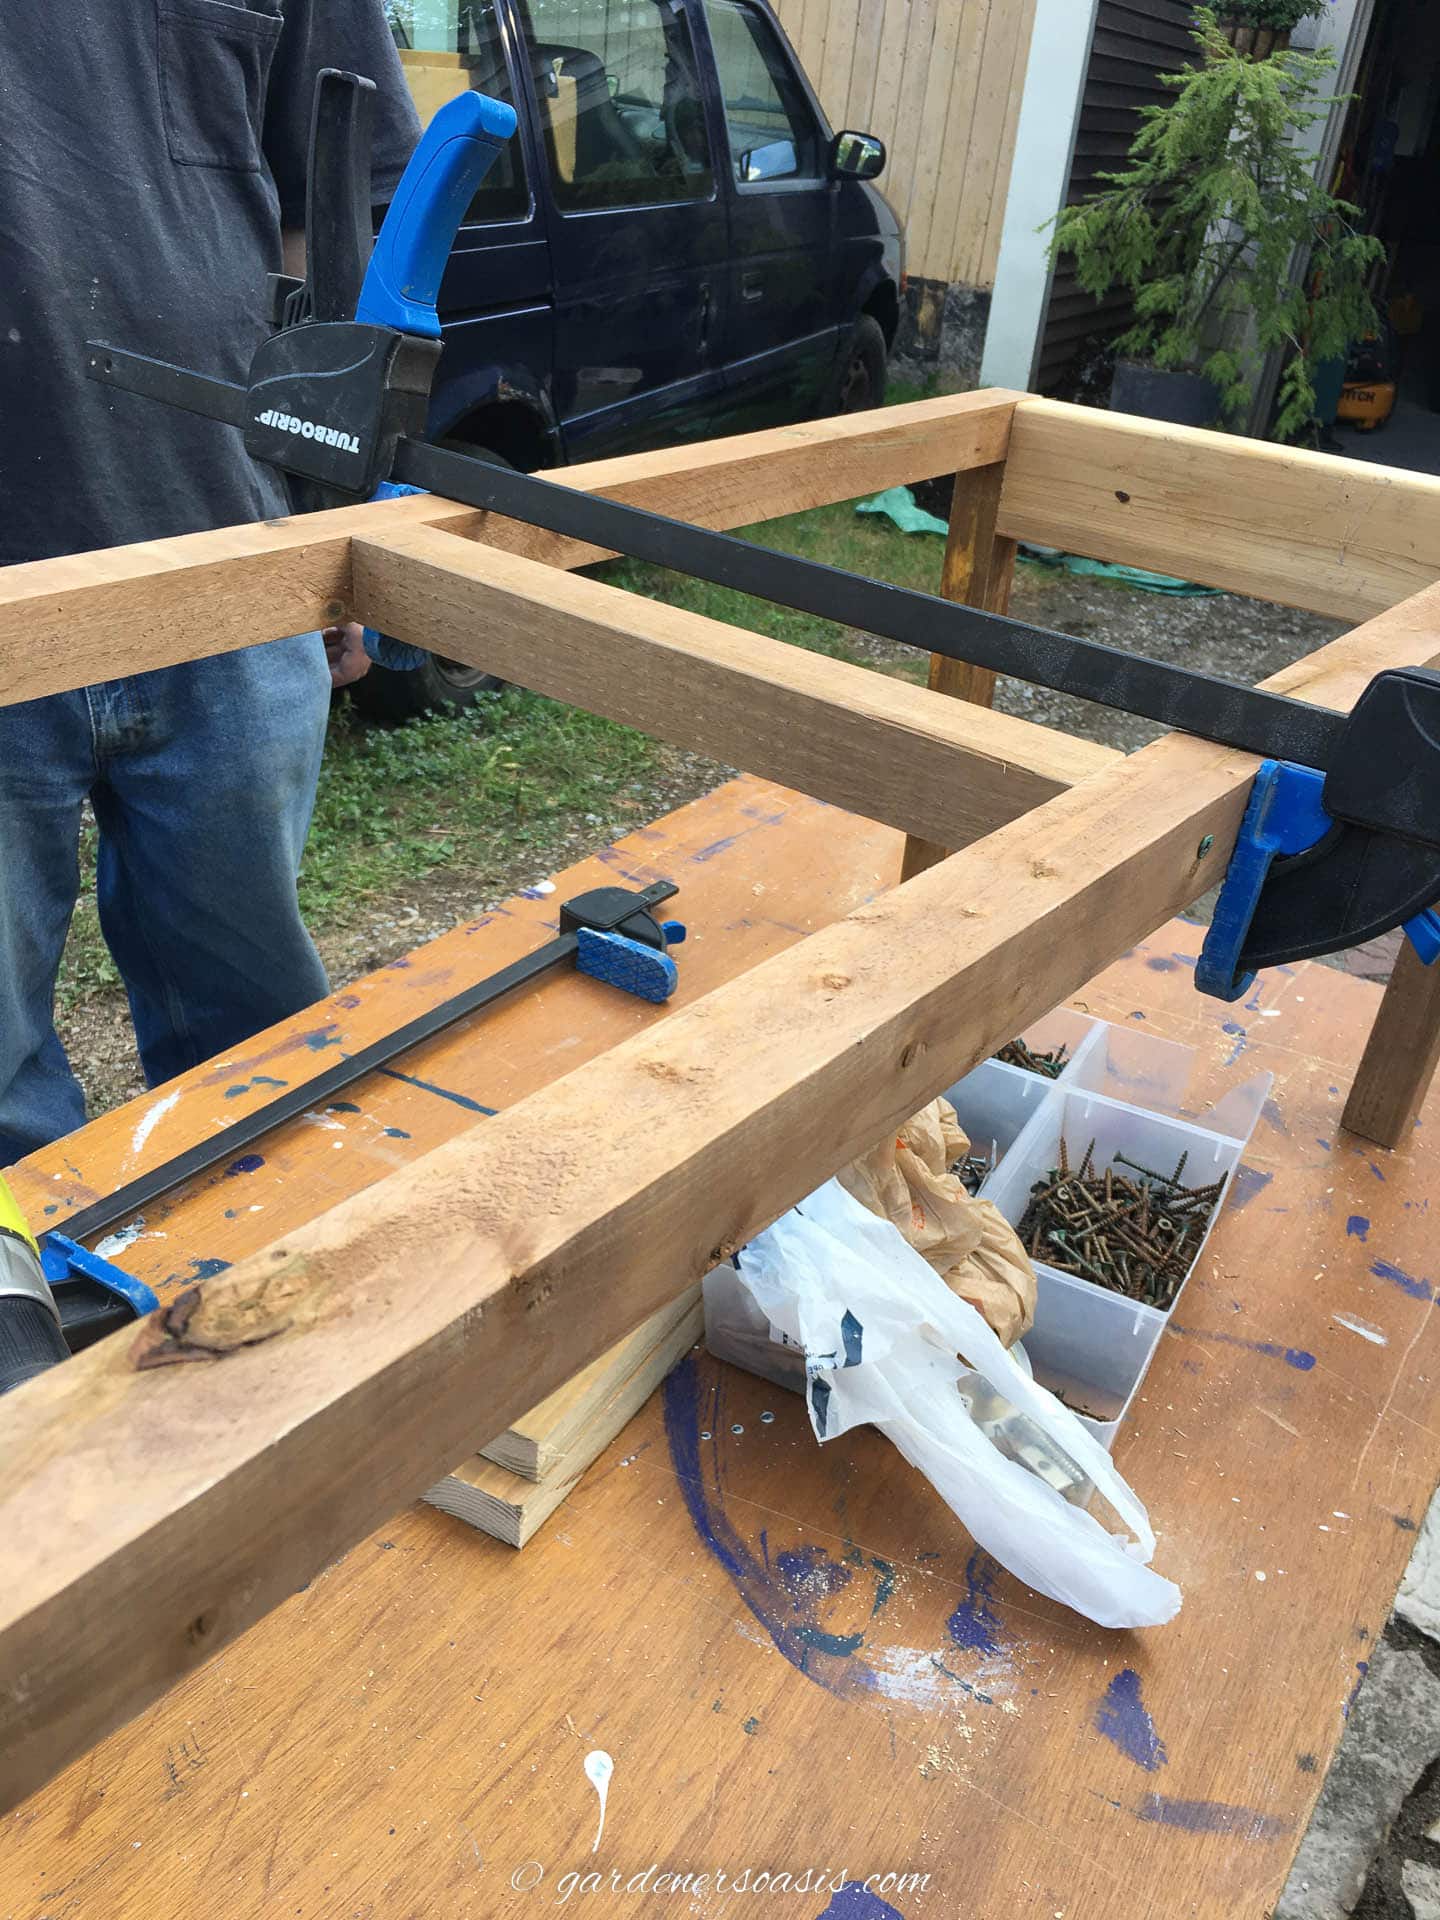
Make 2 rectangles for the top and base of the frame, by using the 3″ deck screws to join one 12″ piece inside the ends of each long 69″ piece. Note: We predrilled all of the holes to prevent splitting any boards.
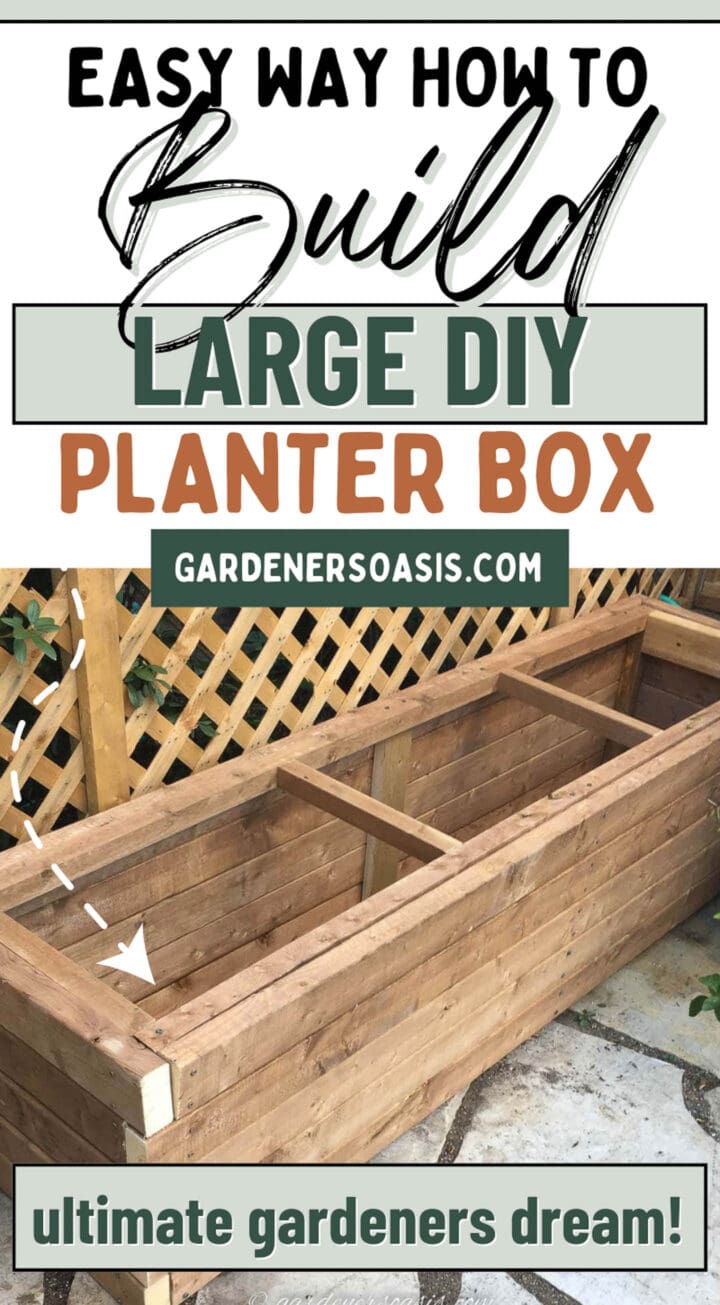
To add strength to the frame, we need to add cross pieces. There should be 2 of them that divide the long edge of the rectangle roughly into thirds.
To figure out where they should go, divide the length measurement you calculated above by 3. (In my case, 69″ divided by 3 = 23″.
Mark this measurement from both ends and center one 12″ board at each mark. Screw it into place from the outside.
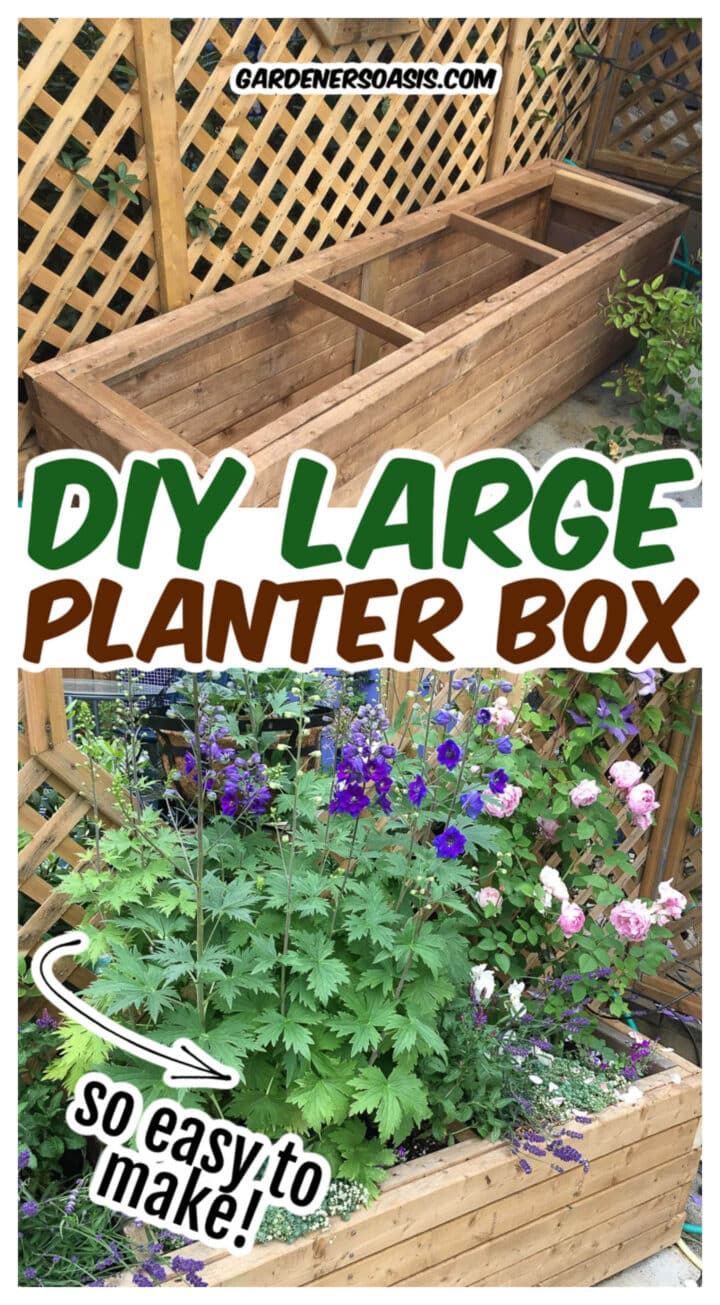
You now have a rectangular grid with 2 crosspieces inside.
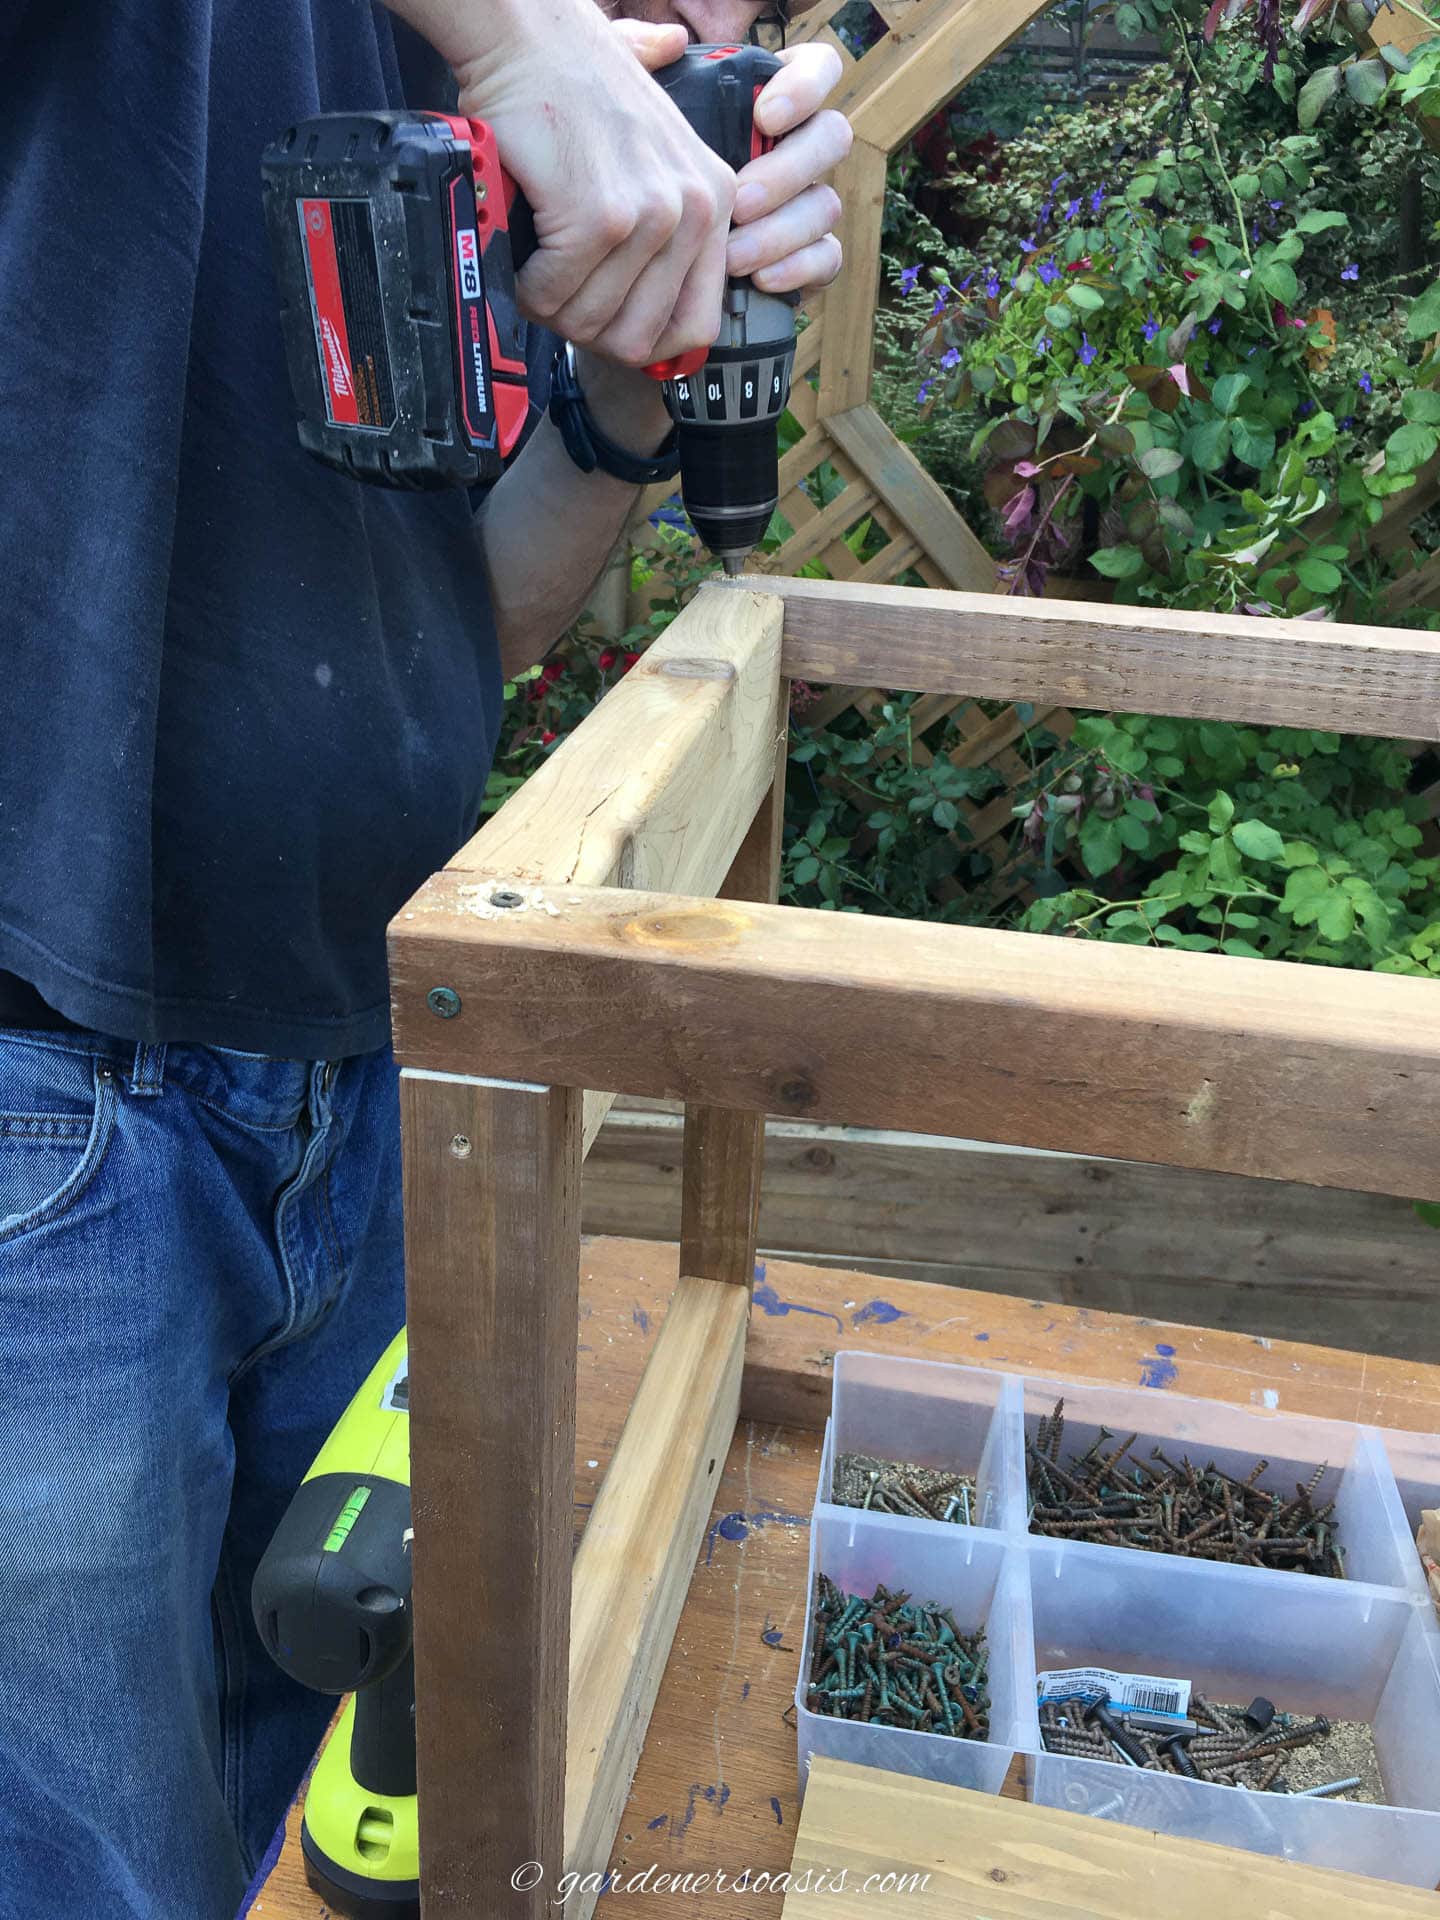
To complete the frame, use the 3 inch screws to attach one 15″ piece in each corner of one of the rectangles.
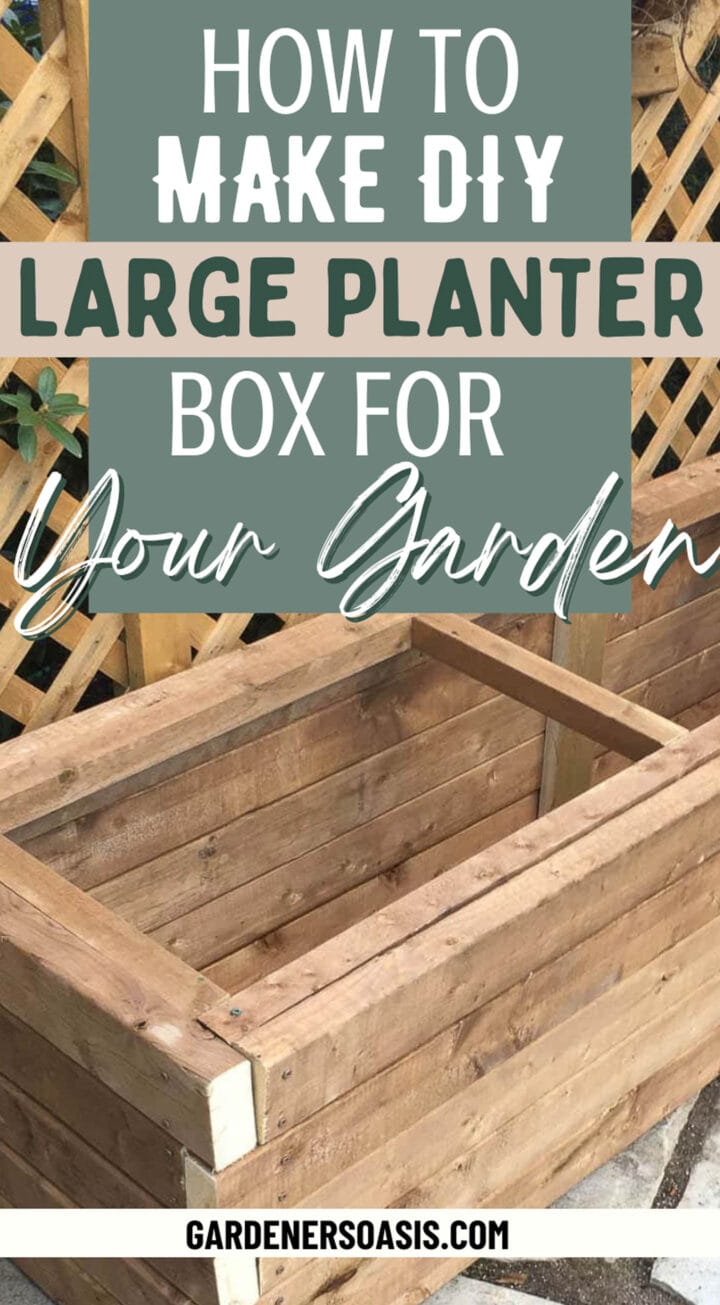
Turn it over, and attach the second rectangle to the other ends to make a three dimensional box-shaped frame.
Finally, we need to add supports to the center of the frame.
Mark the centers of the long sides (at 34½” in my case).
Then screw one 15″ piece between the top and bottom on each side.
How to finish the DIY planter box
Now we’re ready to put the wood on the outside that will finish the planter off.
1 | Calculate the outside wood measurements
For the outside of the box:
- The long side should be your total length minus the thickness of the outside board. In my case, this was 72″ – 1½” = 70½”.
- The short side should be your total planter width minus the thickness of the outside board. In my case, this was 18″ – 1½” = 16½”.
2 | Cut the wood
For the long sides, Cut 10 2″ x 4″ boards the length that you calculated in step 4 (in my case, these were 70½”.
For the ends, cut 10 2″ x 4″ boards the width that you calculated above (in my case, these were 16½”).
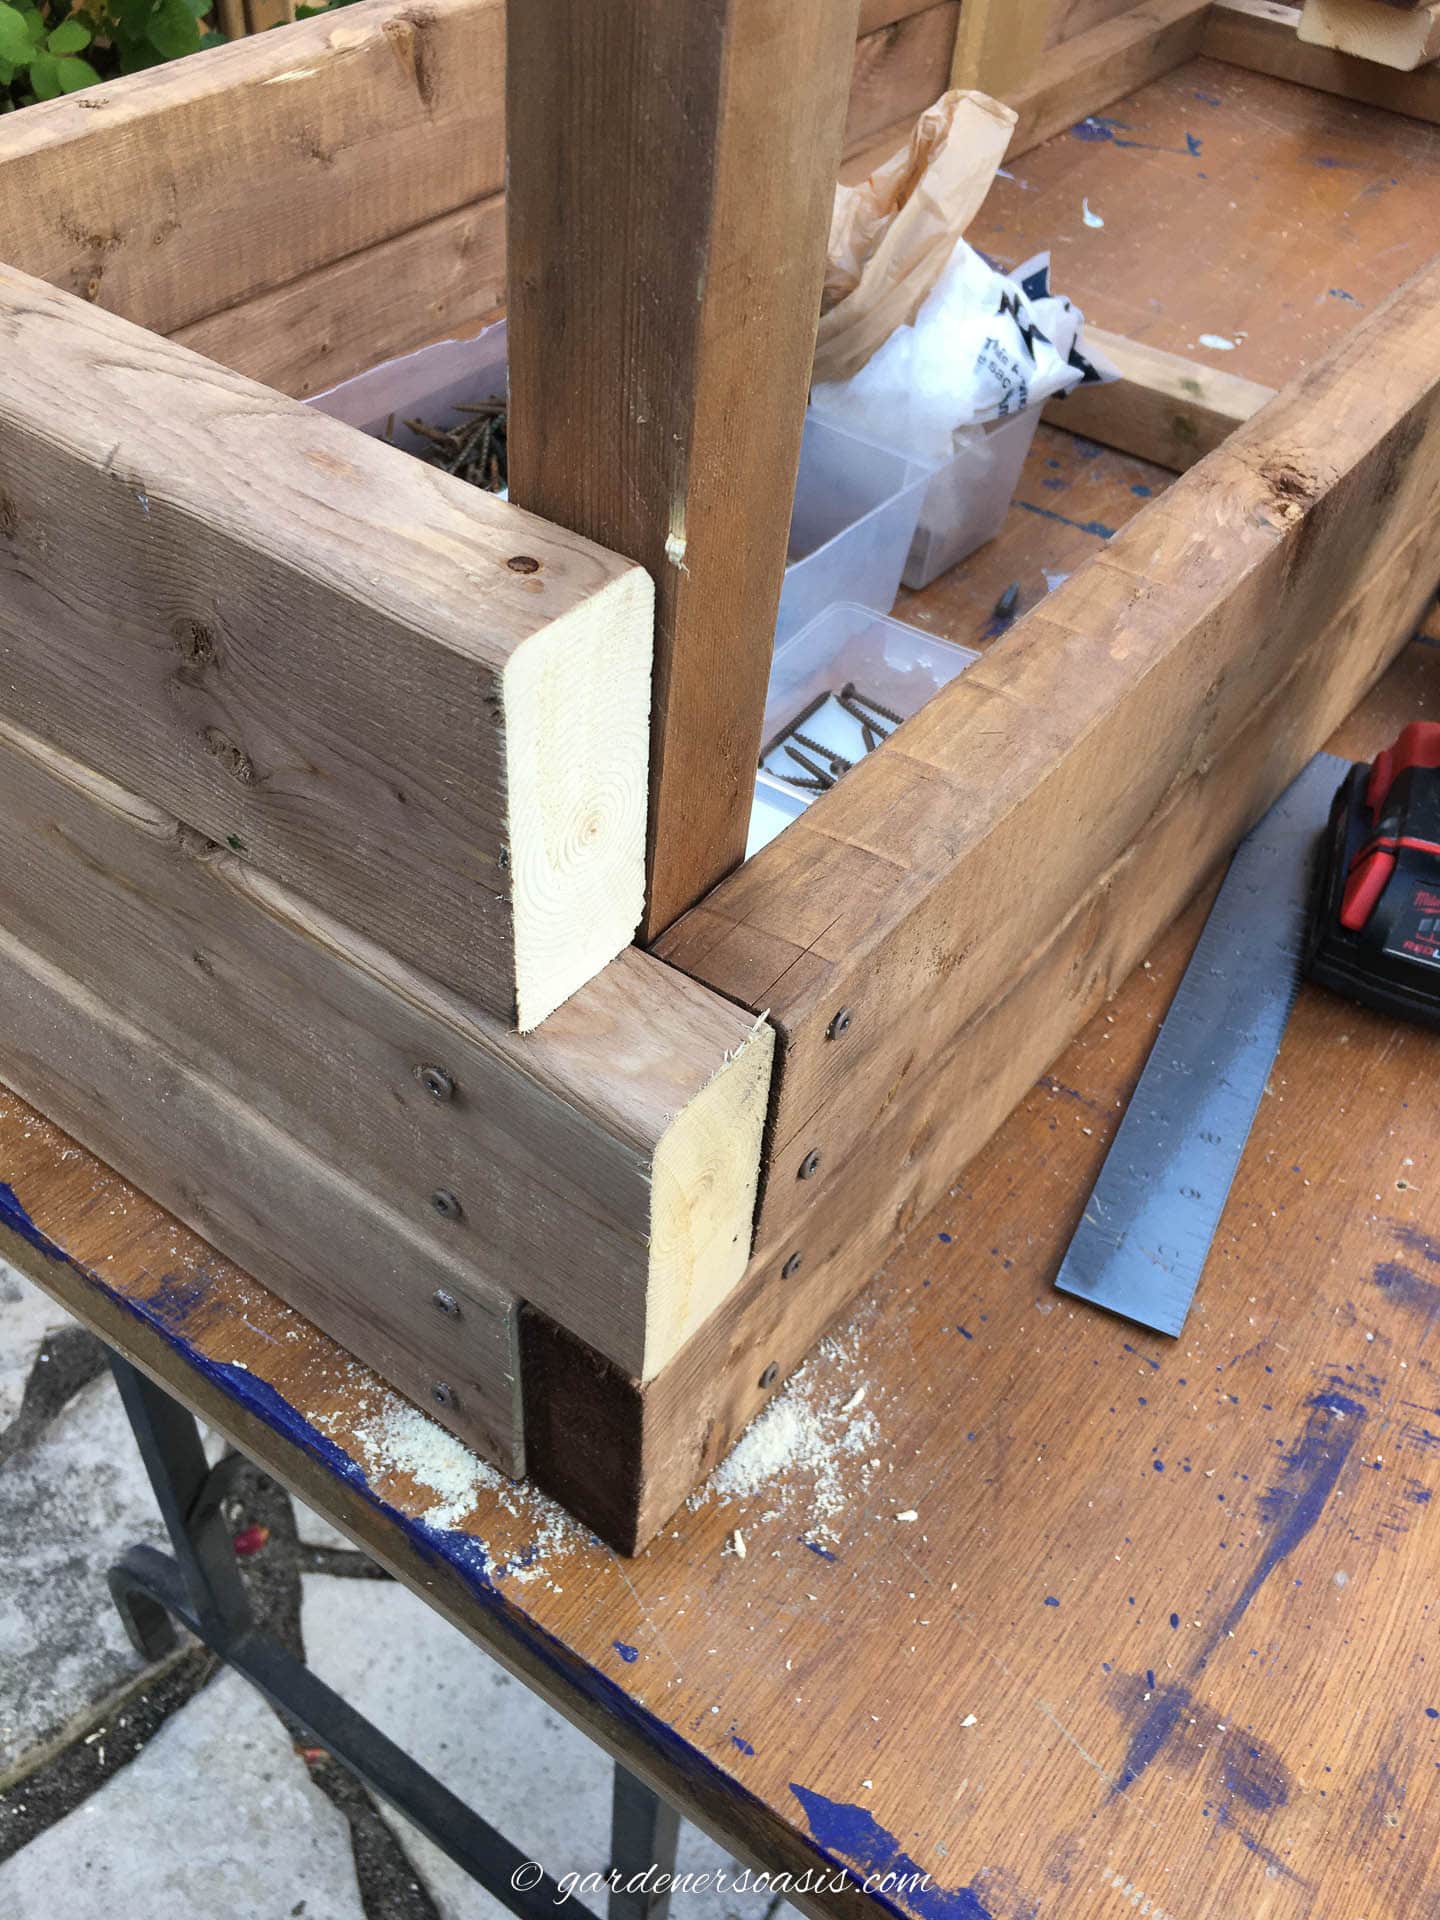
3 | Add the first row of outside wood to the frame
Starting at one long end of the frame, and at the bottom, attach one long board using the 2¼” screws:
- This board is positioned with one end lining up with the frame and the other end extending past the end of the frame by 1½ inches.
- Also, the 3½” side should be facing out and the 1½” side down.
- We used 2 screws to attach the board at each end and onto the middle brace.
- Note: We predrilled all holes as a precaution against having any splitting.
On the end of the planter, butt a short board up to the extended side of the board you just placed and screw it to the frame. The end will extend beyond the frame by 1½ inches.
The second long board can now be added to the other side, again butting it up against the extension and screwing it into place at the ends and in the middle.
To finish the other end, place a short board against the extension of the last board and screw it to the frame. The other end should be even with the outer edge of the first long board.
4 | Attach the rest of the wood
The next rows will be attached in the same manner as the first one, but the ends should be overlapping.
So the long boards of the second row will line up with the edge of the planter (over the end of the short side board) rather than being directly on top of the previous row’s long boards.
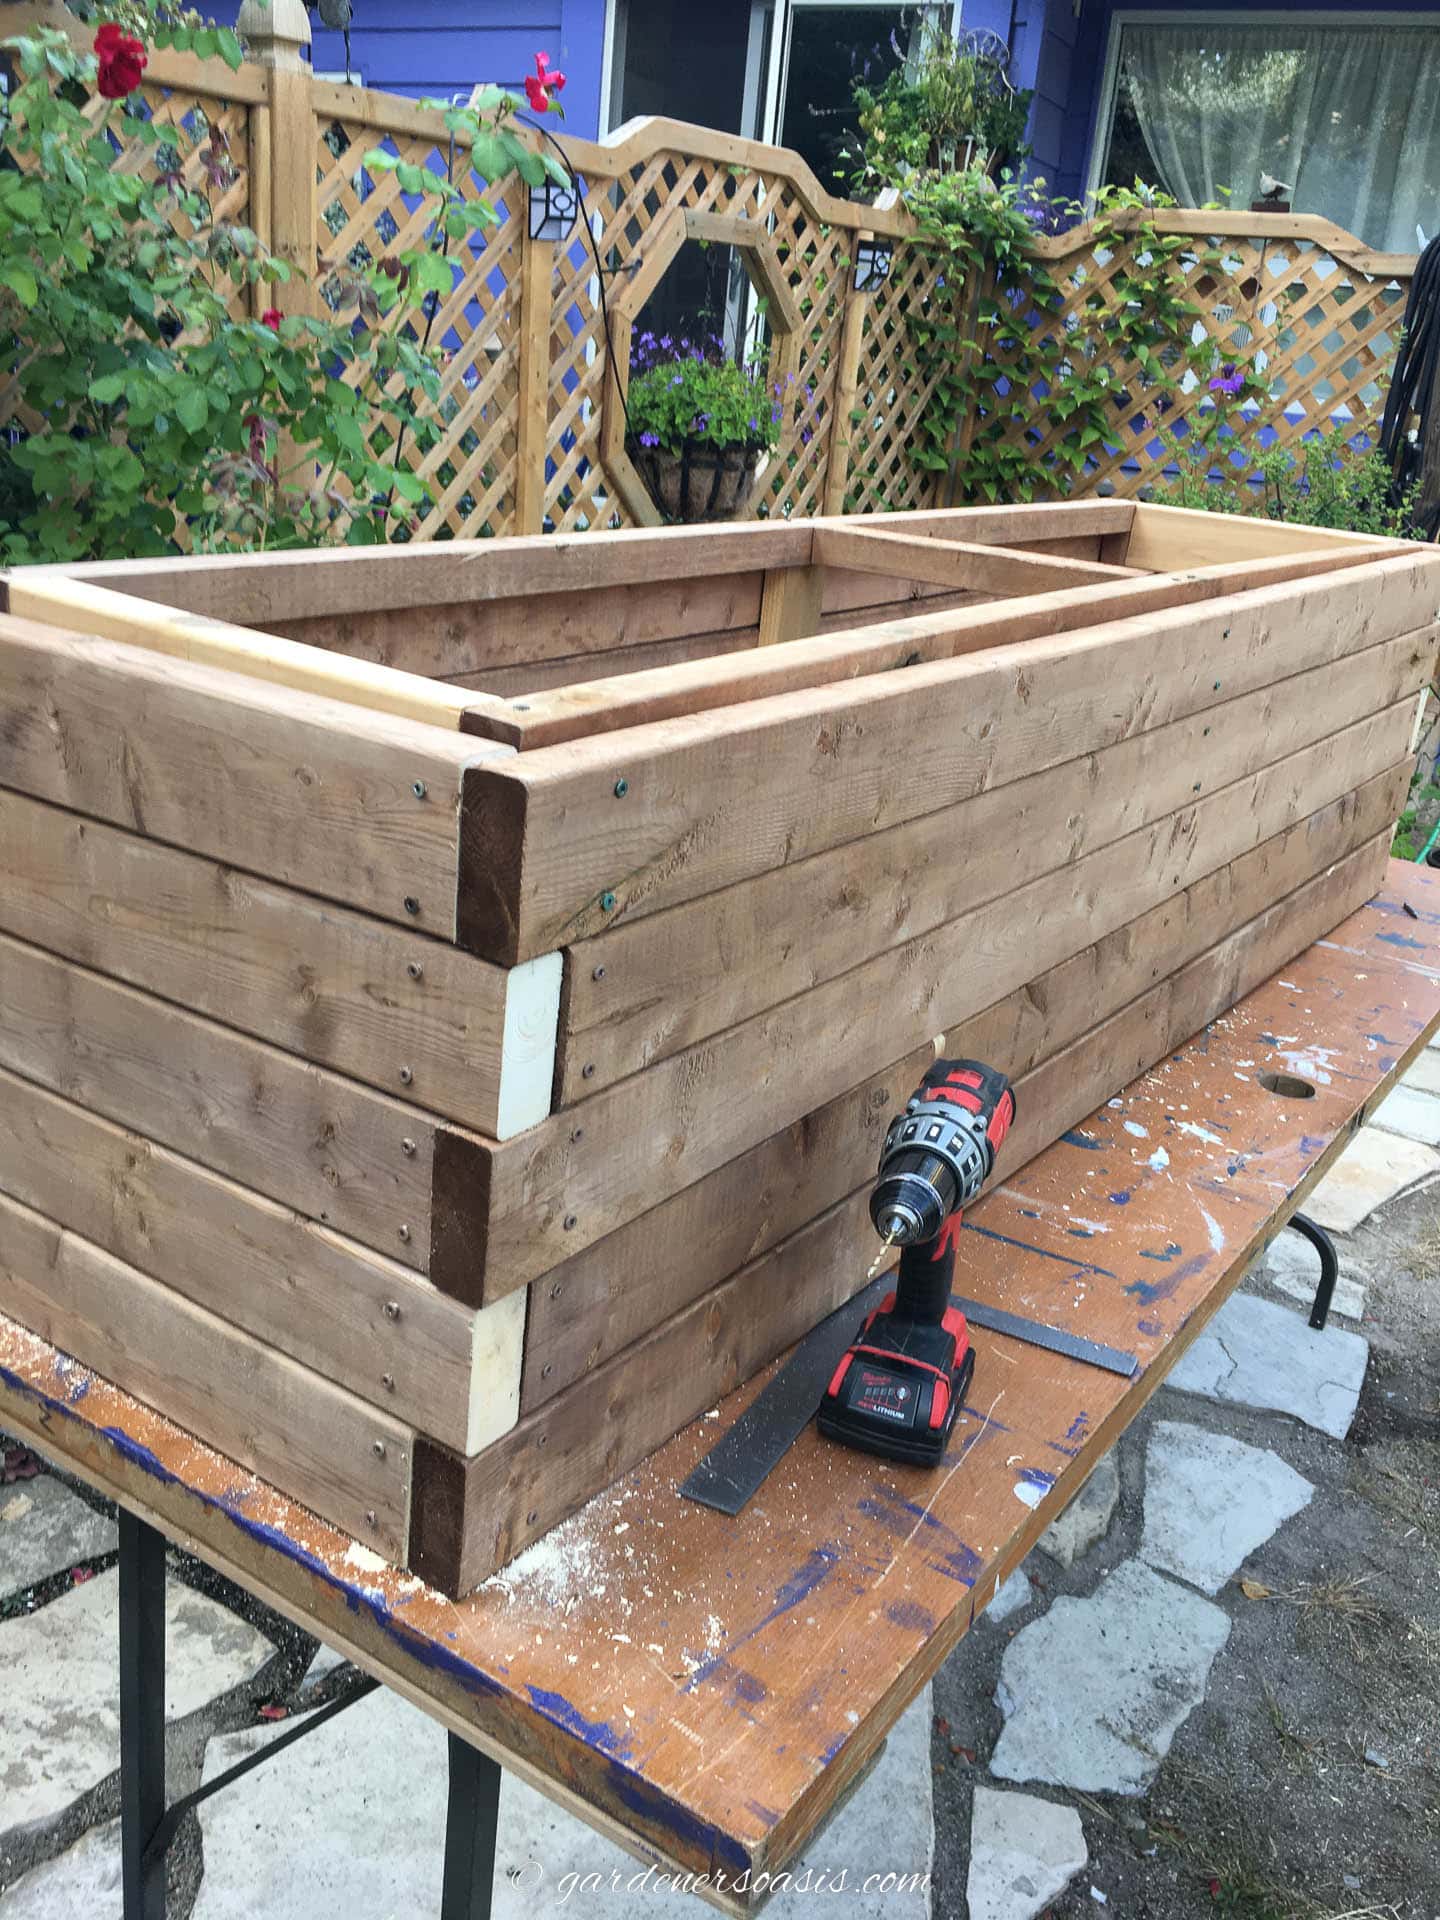
Continue in this fashion around the frame alternating long and short boards until you reach the top.
Note: If any boards are warped, use the clamps to hold them tight to the frame before inserting the screws.
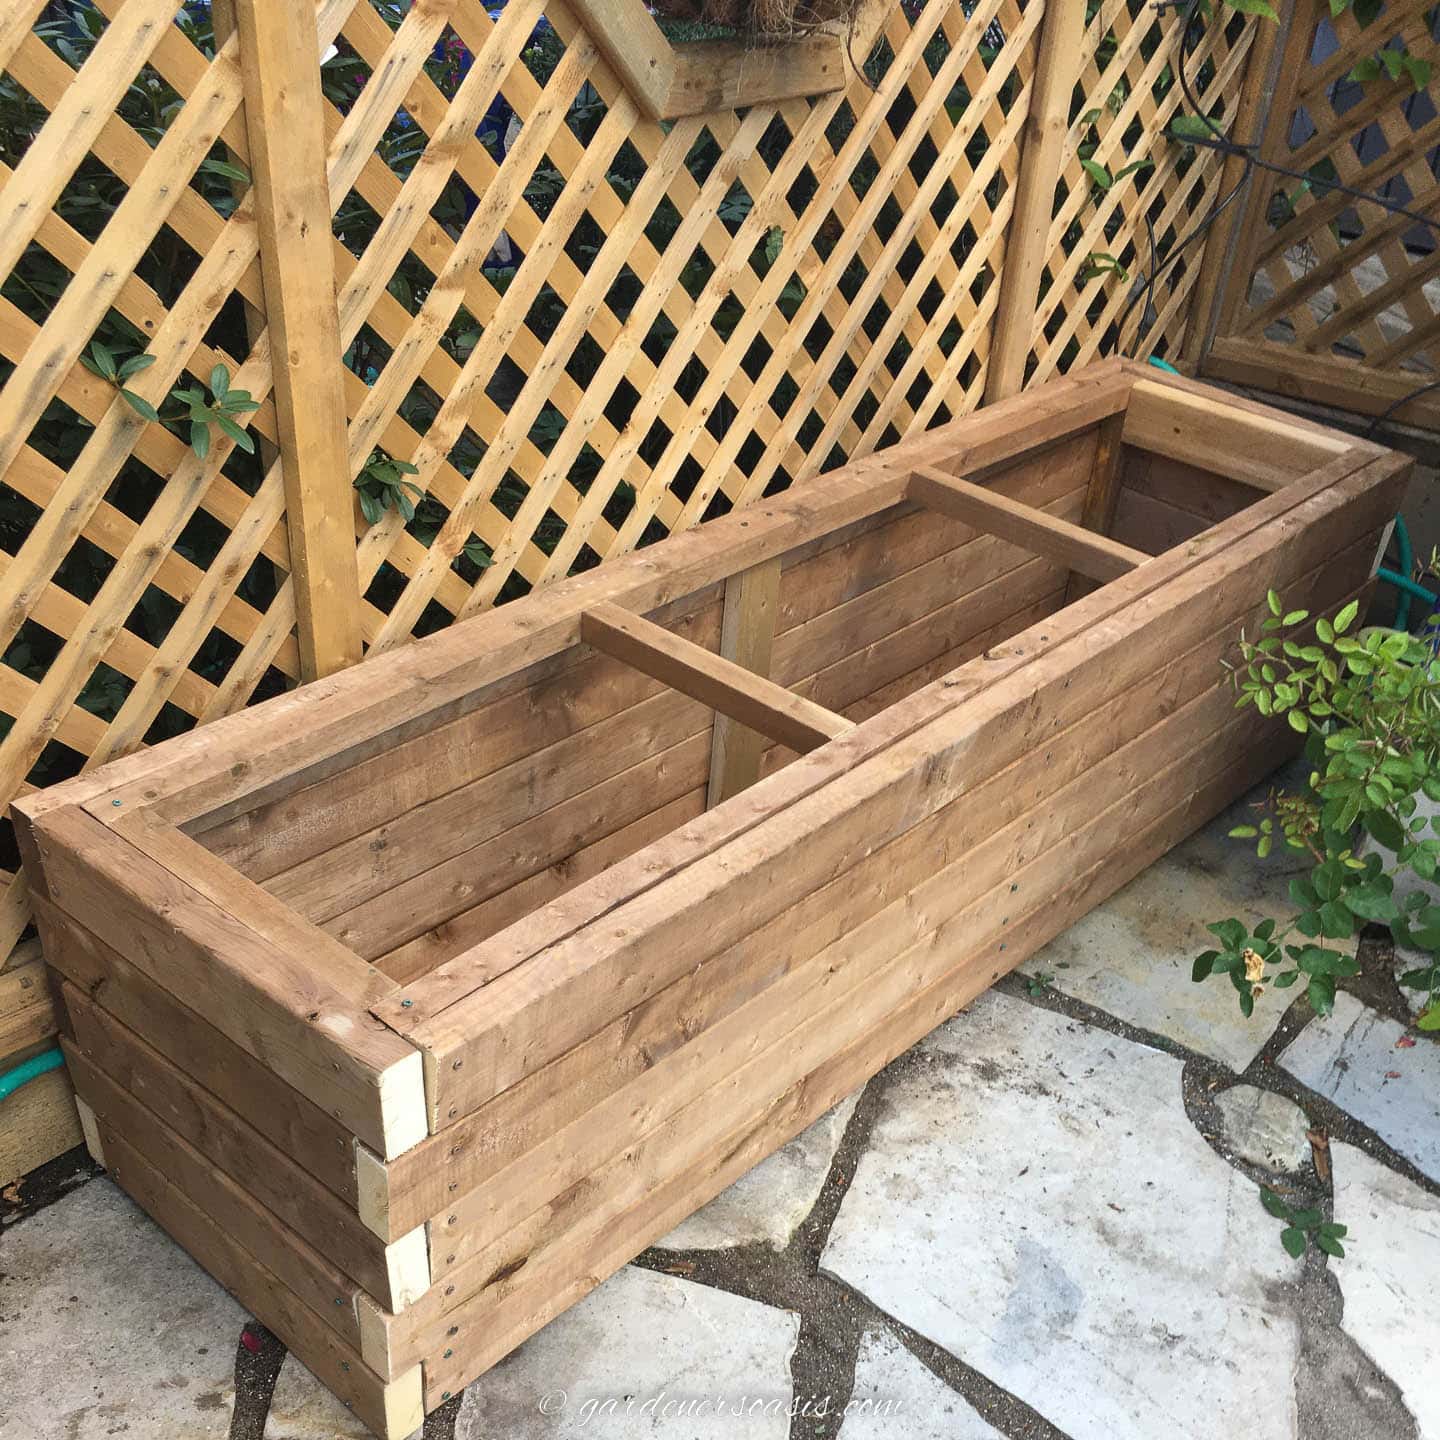
Move the planter into its permanent position in the landscape.
Measure inside the frame sections and cut Styrofoam pieces to fit snuggly. This will keep the plants’ roots from freezing in the winter. We put Styrofoam sections on the bottom and all sides.
Fill with a mixture of triple mix, and compost.
Now, the planter is ready for the plants.
What to plant
Since this planter is big enough for plants to survive over the winter, you can choose any hardy shrubs, perennials or annuals to put in the planter
I chose to have a selection of plants that are roughly mirrored in each planter. Because the location gets at least 6 hours of sun daily, I was able to select plants that do best in full sun.
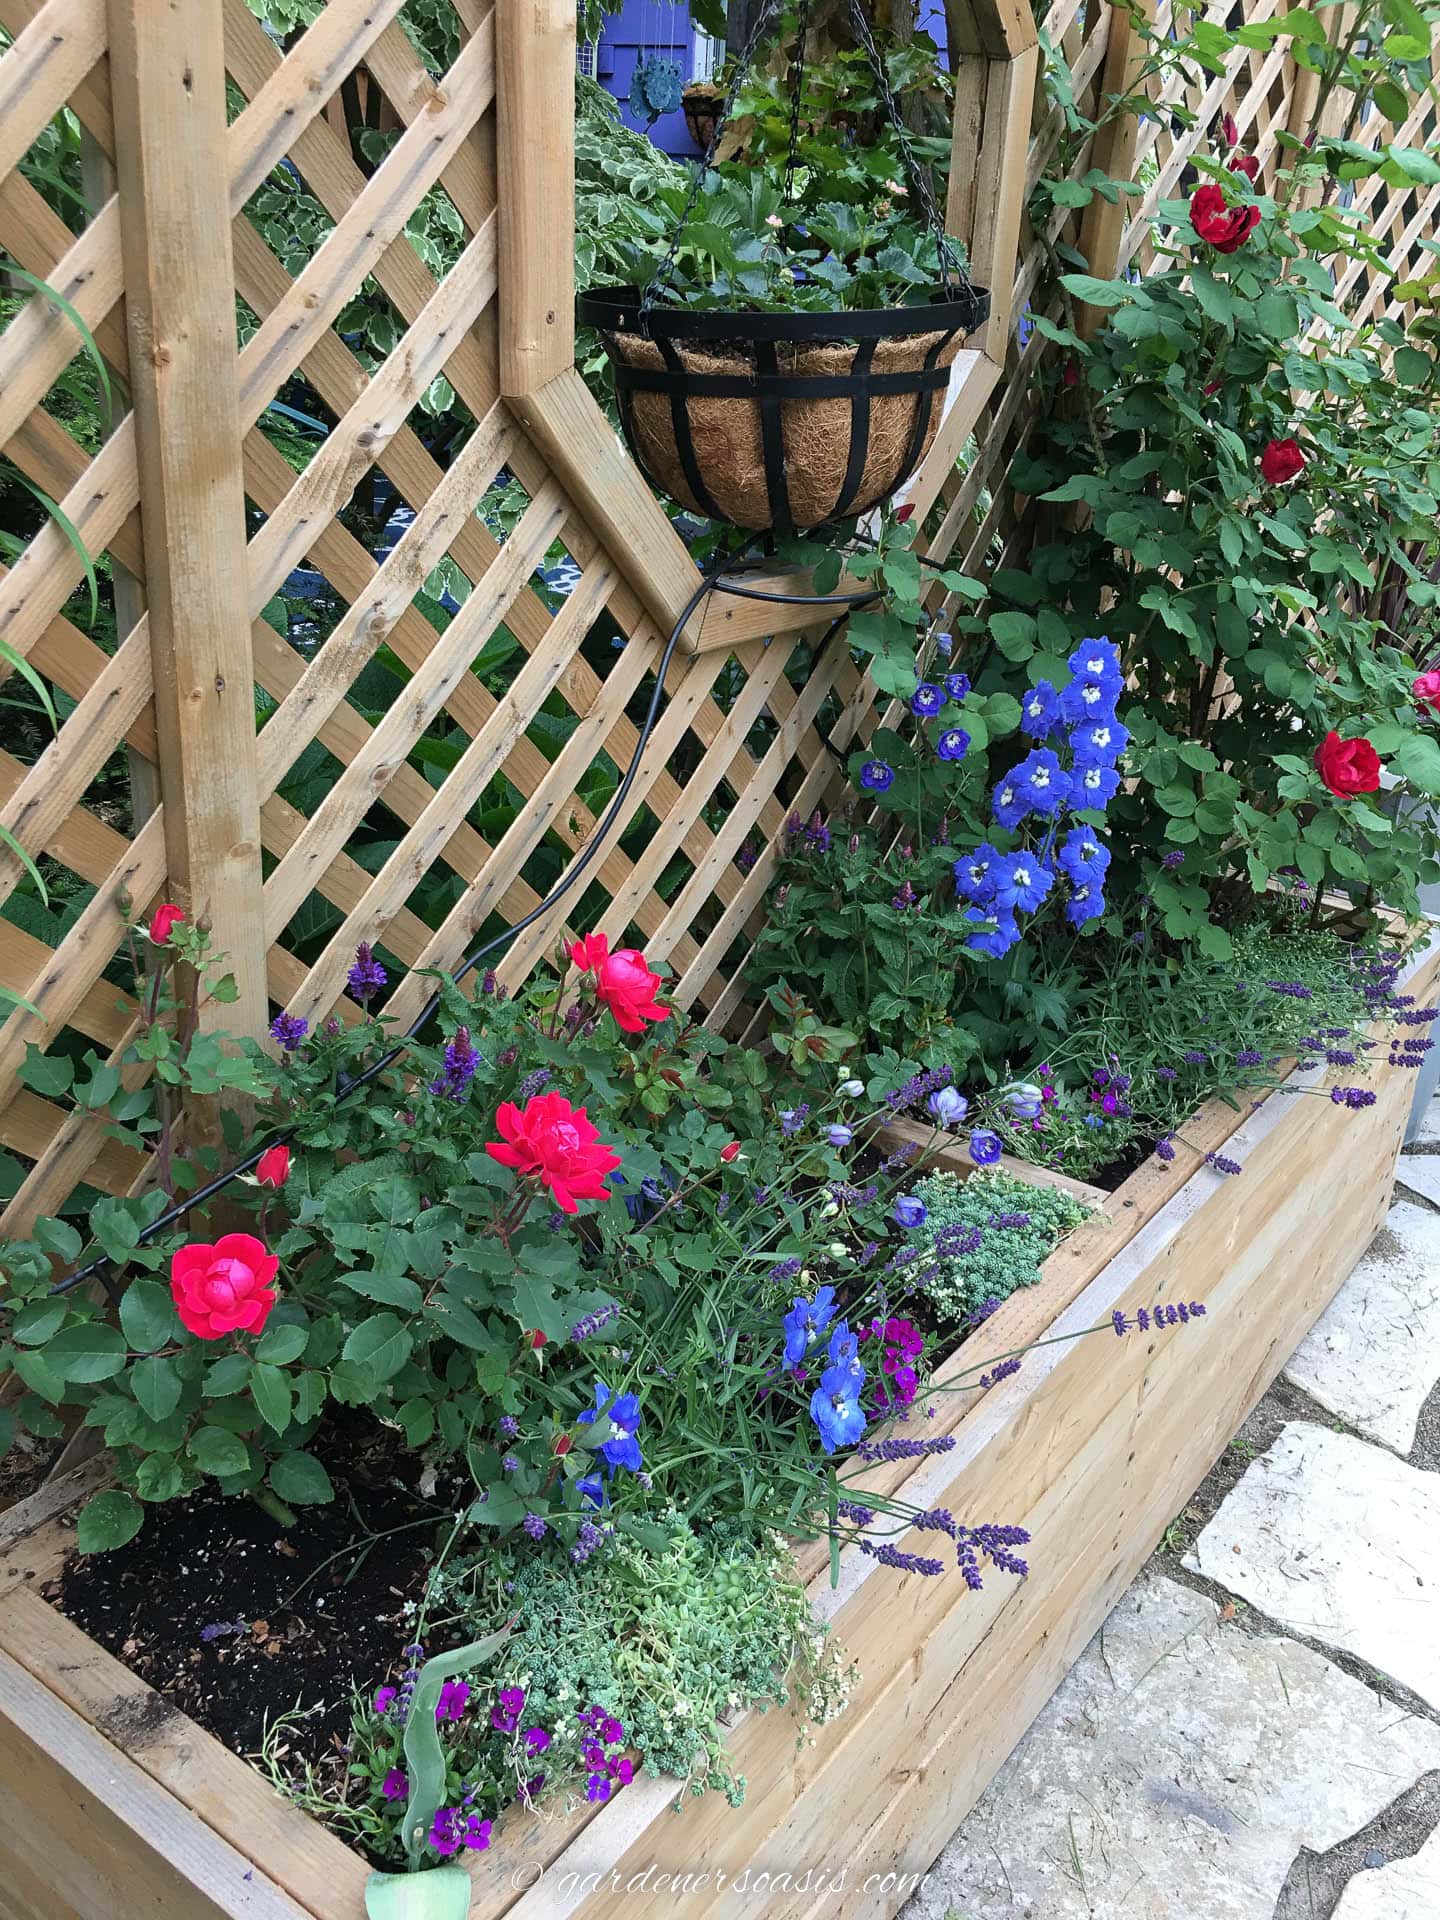
I alternated white stonecrop and purple thrift along the front so that they will drape over the sides of the boxes. Both are low growing creepers.
Behind the sedum, I placed lavender and blue marvel salvia which reach about 12″ in height.
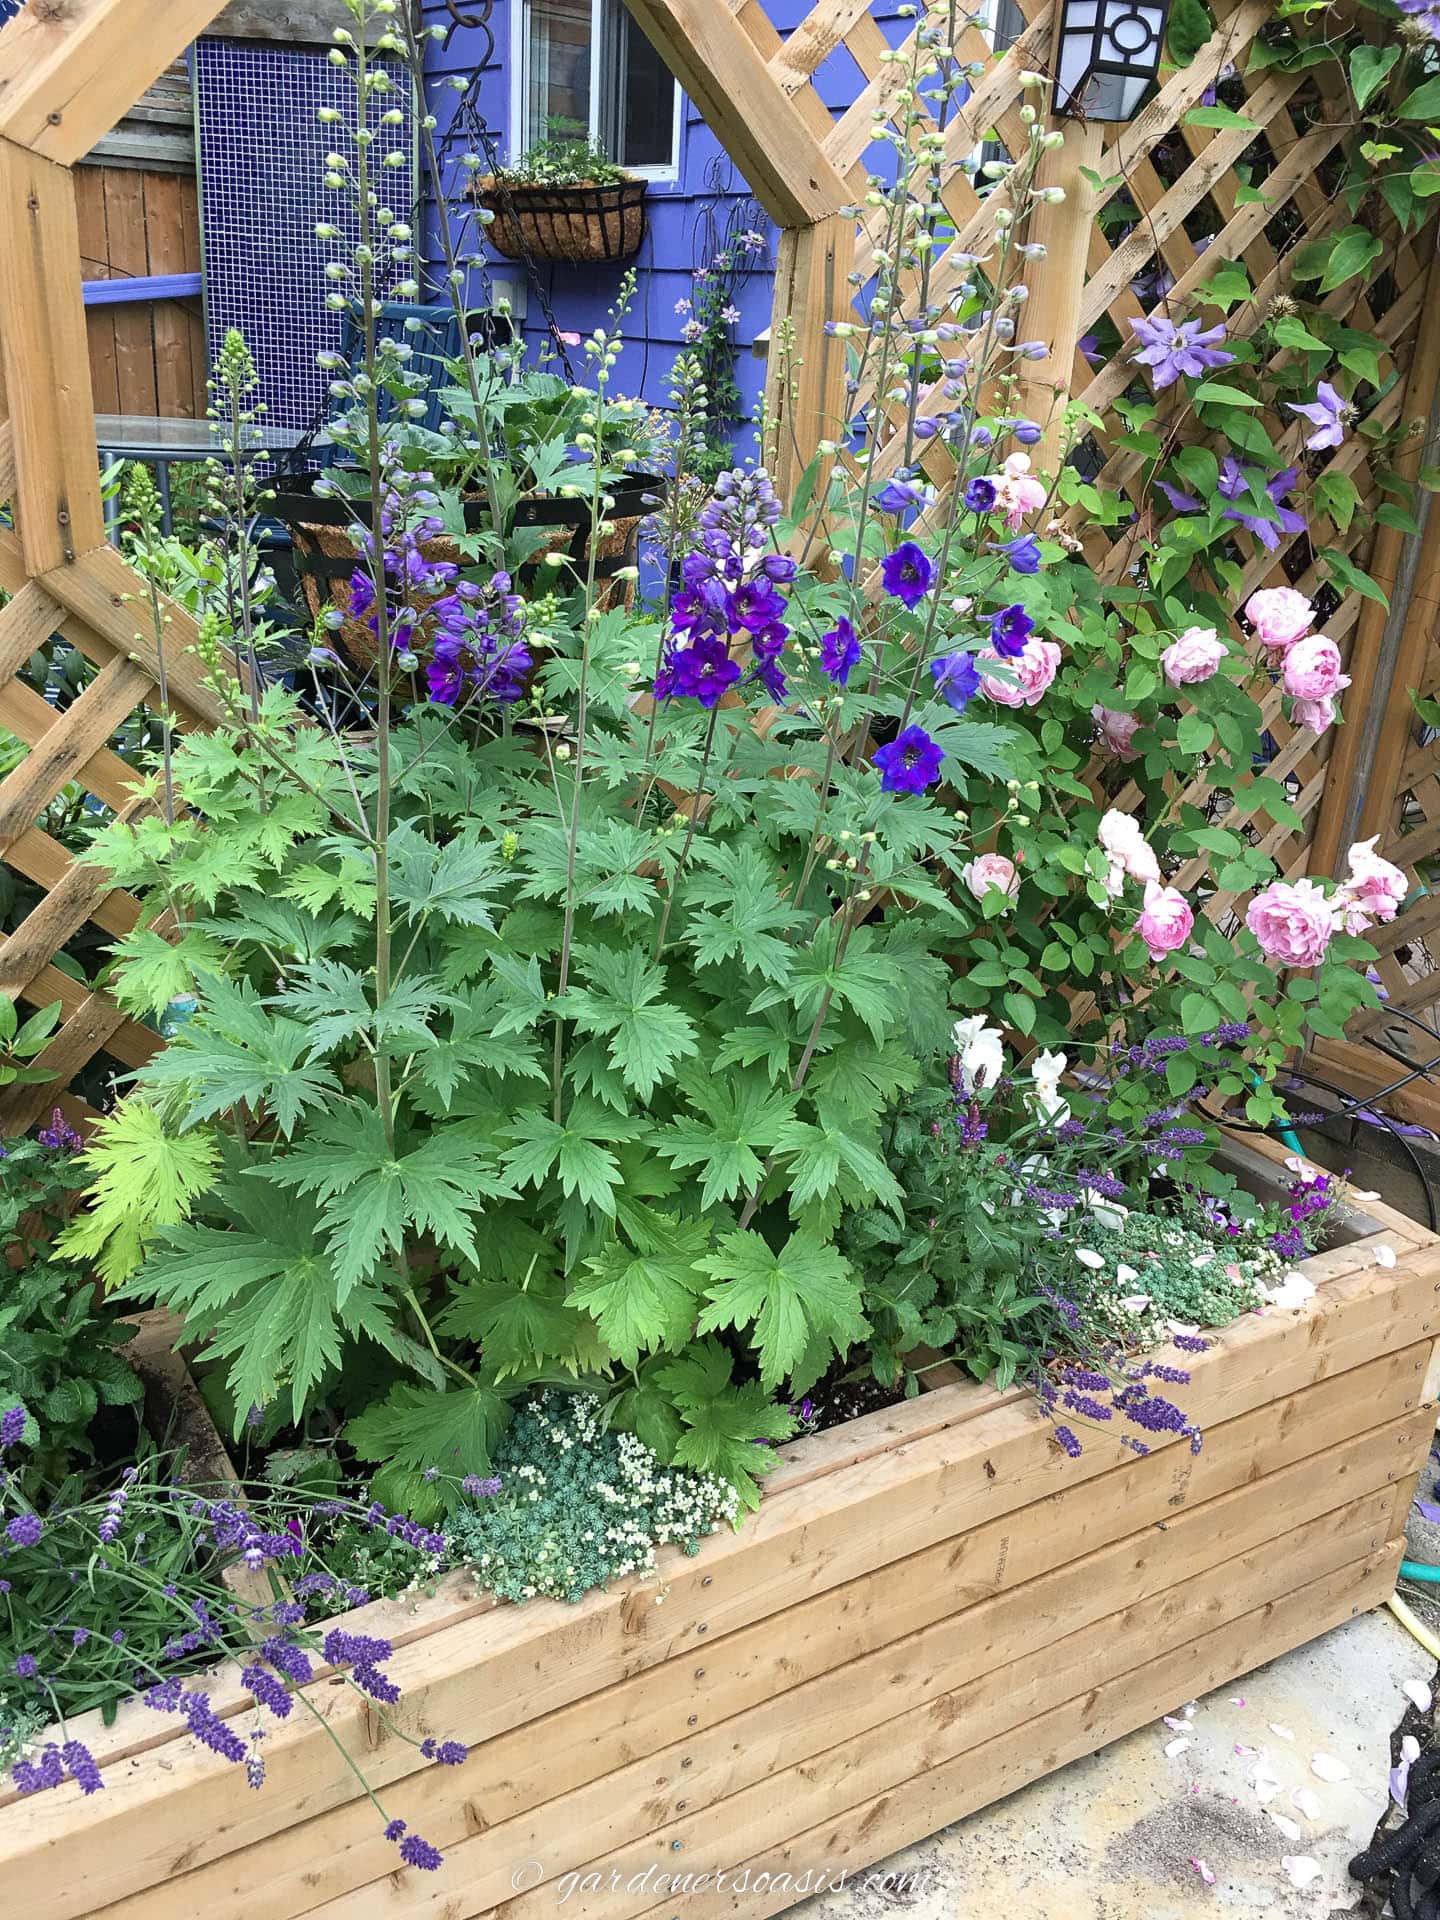
At the back of the planters, I planted red and pink roses and blue delphiniums, which grow tall. It is a cheerful and aromatic display.
There is a drip watering system installed that takes care of the moisture needs.
I dead-head the roses regularly and fertilize with liquid fertilizer about once a month.
Some of the delphiniums grew so prolifically that they needed to be staked to keep them tidy and upright.
That’s it for my large DIY planter! Hopefully you have found some inspiration to create your own.
Other container ideas you might like
- Window box flower combinations
- How to plant a hanging basket
- Best blue annuals for shade
- The no-fail method for planting beautiful containers
Other garden DIY projects you might like
- DIY decorative privacy screen
- How to make a rain chain
- DIY vertical herb garden
- Garden edging ideas
- DIY custom fence design
I plan to build one of these with some repurposed cedar boards that came from a hotel sauna. Mine will be mounted to the side of a storage building/workshop that I just built and used for vegetables in spring/summer. My biggest question is should I still attach the insulation to the inside of the planter bottom and walls or should I use some sort of liner instead since I won’t be needing plants insulated during the winter? Also, do you recommend drainage holes in the bottom or sides? I want the wood to last as long as possible so hoping you can base answers on that. Thank you
Hi Anthony…we used insulation because it helps to keep the plants alive with the cold winters in Toronto. If your climate isn’t that cold, a liner should be fine. We didn’t install a bottom on our planter (mostly because the wood on the bottom tends to rot fast). If you are planning to have a bottom I would definitely drill holes in it. And probably cover the bottom of the planter with a couple of inches of gravel so that the water can drain out easier.