Gold Bird’s Nest DIY Christmas Ornament


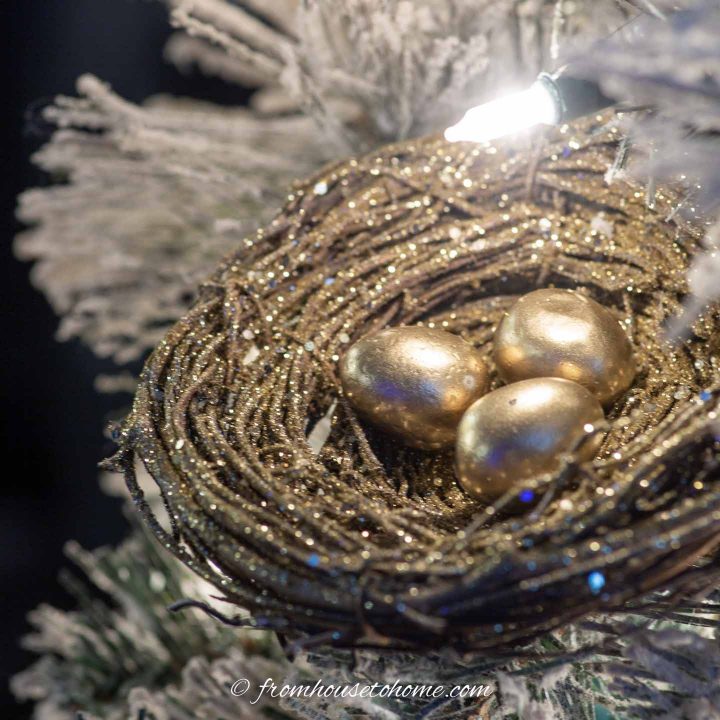
This gold bird’s nest DIY Christmas ornament is a beautiful combination of nature and glam. Like the DIY pine cone ornaments I made last year, these are really easy to make and add lots of the sparkle I like so much in my Christmas tree decor.

One of my favorite types of Christmas decorations are nature-inspired ornaments that have been embellished with a bit of glam (in other words glitter).
So when I saw these glitter bird’s nest ornaments* at Pottery Barn a couple of weekends ago, I was sold! Until I realized how much money I’d have to spend to get as many of them as I wanted.
As usual when I don’t have the budget for what I want, I decided to make something similar instead.
And these gold bird’s nest DIY Christmas ornaments turned out to be really easy to do. Which is even better!
Watch The Video
If you prefer, you can watch the whole tutorial in this video, or read the step-by-step instructions below.
Supplies
Materials
- fine gold glitter*
- stubby gold glitter* – gold glitter made of bigger pieces
- 4″ twig birds nest*
- small eggs* – make sure they aren’t styrofoam
- spray adhesive* – the permanent variety (not re-adjustable adhesive)
- gold spray paint*
- alligator clips*
Tools
- container or jar – to hold the glitter mixture
- spray tent (or cardboard box) – to prevent the spray paint and spray adhesive from getting everywhere
- pins or small skewers – to hold the eggs while spraying. I used upholstery T-pins*.
- floral foam, styrofoam or a cardboard box – to hold the eggs while the paint is drying
- glue gun
How to make the bird’s nest DIY Christmas ornament
1 | Mix The Glitter
The first step of our DIY Christmas ornament project is to make our glitter mix.
For this you’ll need a container or jar with a lid to hold the glitter.
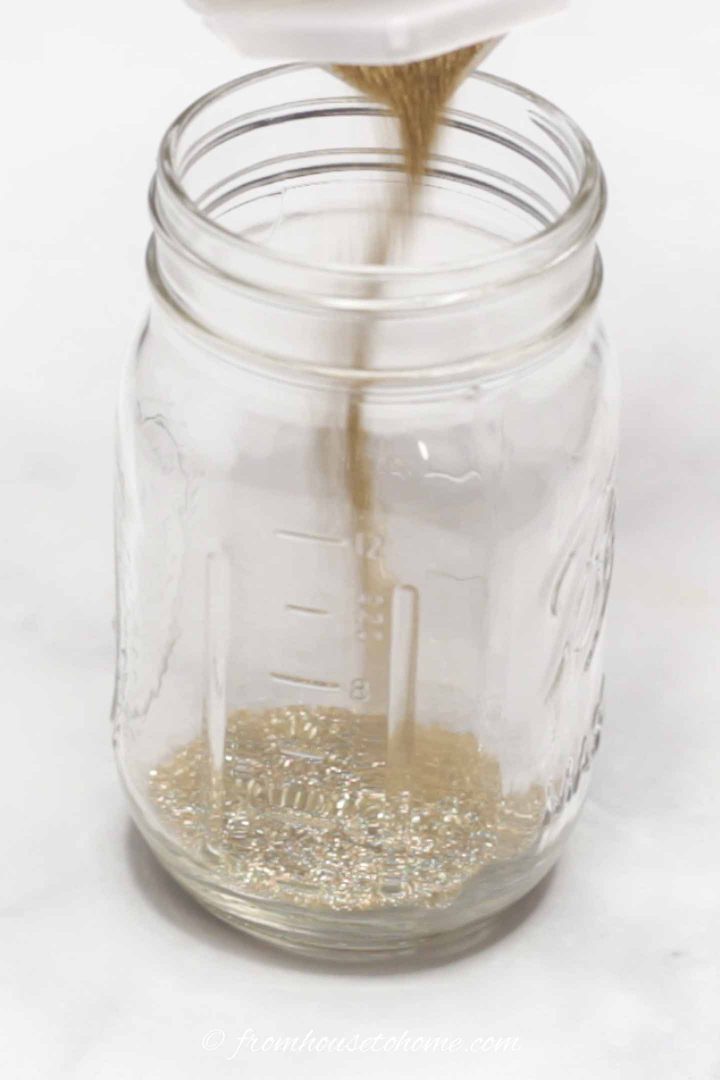
Then pour in some of the fine gold glitter*. I used about 1/4 of the bottle to do 6 nests.
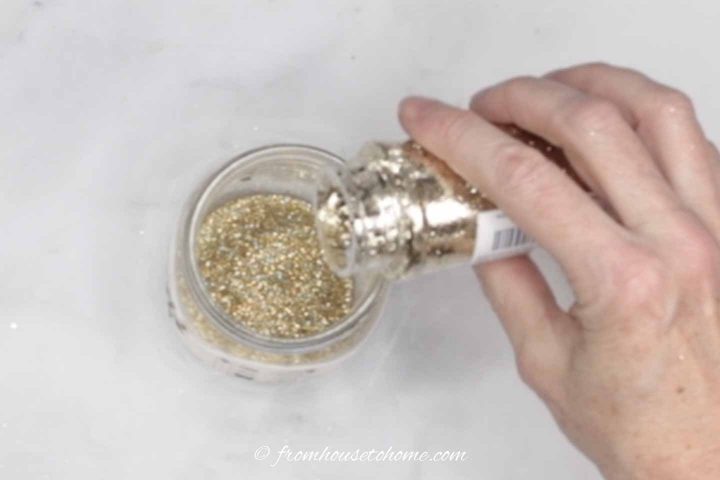
Next add in some of the stubby gold glitter.* I put in about 1/3 as much of this glitter as I did for the fine glitter.
Put the lid on the container and shake it.
2 | Glitter The Bird’s Nest
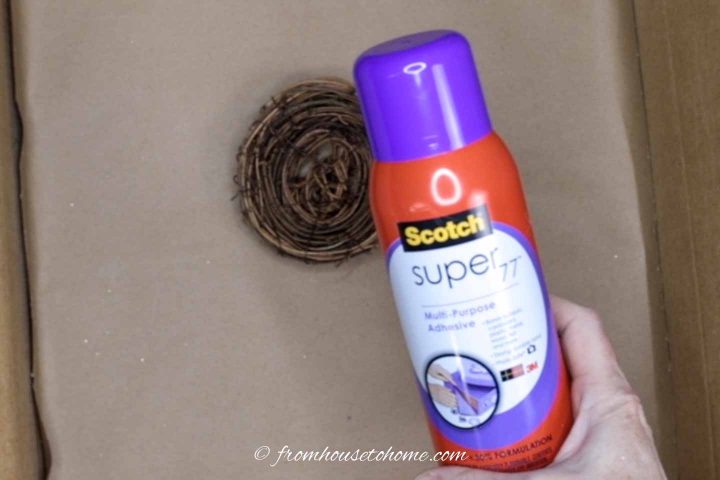
The next step is to use some spray adhesive and the custom glitter combination we just made to coat the bird’s nest.
A cardboard box makes a good spray tent to make sure that the adhesive and glitter doesn’t end up everywhere.

Lay the bird’s nest down inside the box and spray the top side with adhesive.

Then sprinkle with your glitter mixture until all of the twigs are covered.
Turn the bird’s nest over and repeat for the other side.
3 | Spray Paint The Eggs

Now we’re going to spray paint the mini eggs gold.
I re-used the cardboard box to contain the over spray. Just put down a piece of paper over the adhesive and glitter that’s in the box to prevent it from getting all over your eggs.
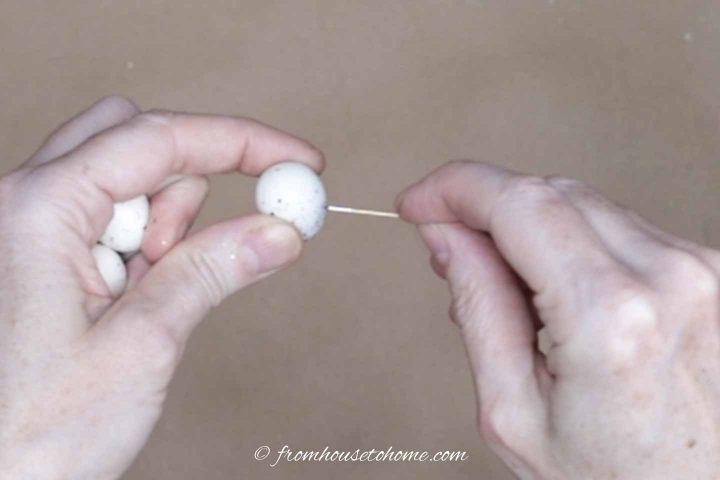
Insert a long pin (an upholstery T-pin in my case) into the side of the egg so you can hold it while you’re painting.
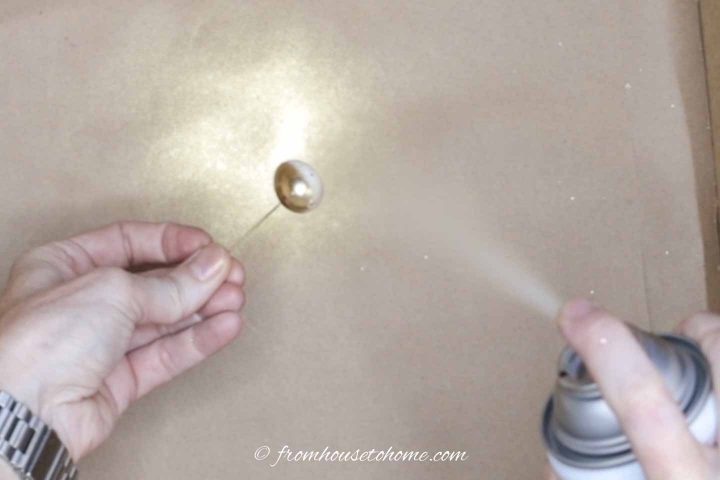
Holding the egg down inside the box, spray paint the egg on all sides. If you’re worried about getting paint on your hands, you might want to wear gloves for this step.
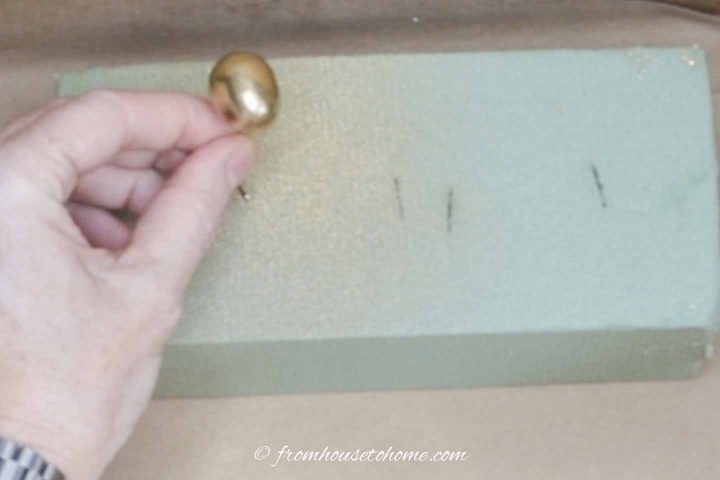
To let the paint dry, push the free end of the pin into the floral foam (styrofoam or cardboard box, depending on what you have).
Paint 2 more eggs using the same process.
Wait for a few minutes for the paint to dry. This shouldn’t take more than 5 or 10 minutes.
4 | Put The DIY Christmas Ornament Together
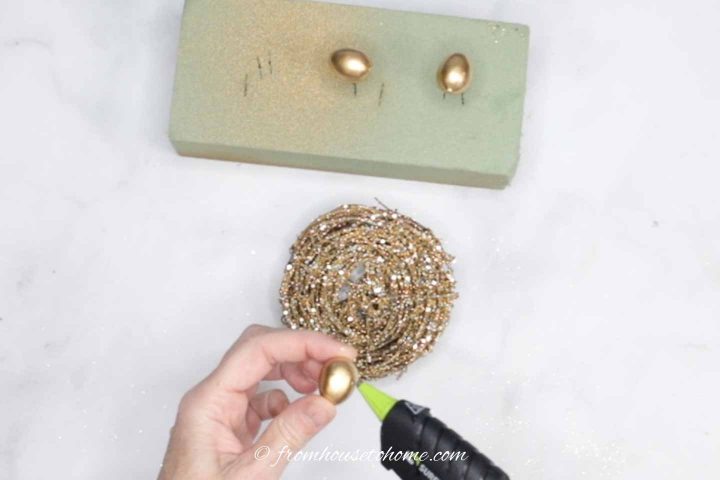
Use the glue gun to put a small dab of glue on one side of the first egg.
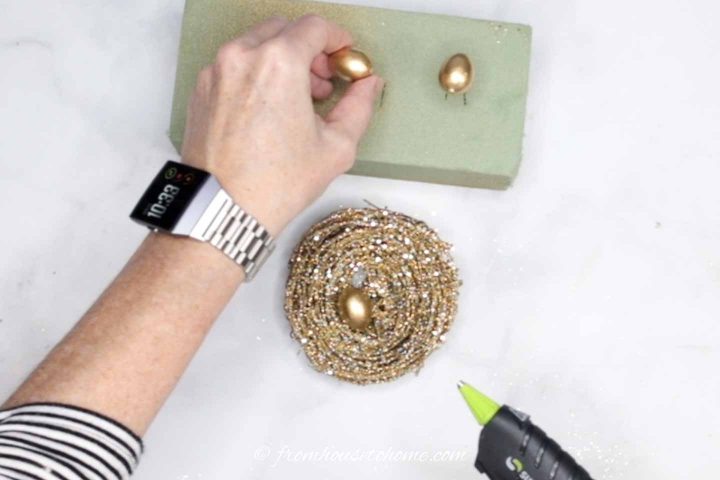
Then place the egg inside your nest.

Do the same with the other two eggs.

When you have all three eggs glued into the nest, turn the nest over.
Put glue along the front end of an alligator clip.
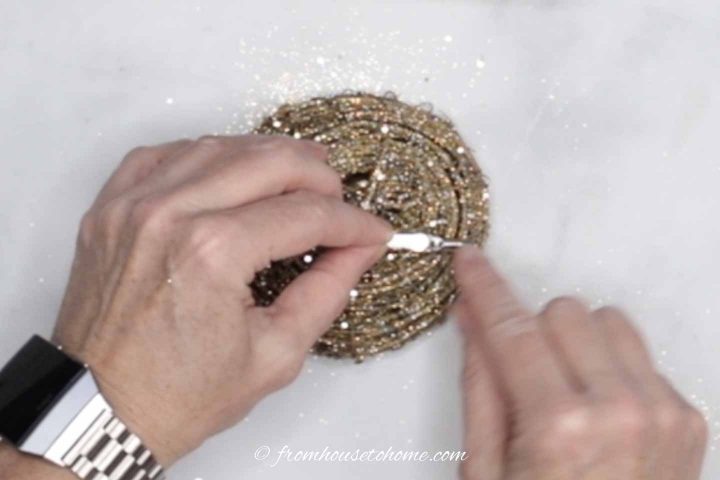
Glue the clip to the bottom of the nest, making sure that the end is sticking out far enough to get your fingers around it. Otherwise, it will be very difficult to open the clip.
Now you’re ready to put it up on the tree!

More DIY Christmas ornaments you might like
But before you go…
This post was part of the 5th annual 12 Days of Holiday Ideas event, hosted by Shirley of Intelligent Domestications and Erlene of My Pinterventures. This is where a bunch of my blogging friends share their Christmas projects.
Go here to see our kick-off collection of Holiday ideas as well as all of this years topics and participating bloggers.
Now, be sure to check out all of the other DIY Christmas ornaments HERE.
Have a comment or question about our gold bird’s nest DIY Christmas ornament? Tell us in the comments below.
Pin It So You Don't Forget It!

This post was originally published on November 25, 2019 but was updated with new content on November 17, 2021.
Your sparkly birds nest is stunning! I love the mixed glitter and how easy they are to create!
Thanks, Jessa! I have a bit of a thing for glitter 🙂
This turned out so pretty!
Thank you, Maria!
Gorgeous nest for your tree. I love recreating things I see in the stores. The glitter is perfect.
Thanks, Jenny! Me, too! Especially when it’s easy like these bird’s nests were 🙂
I love this idea! Yours looks better than the Pottery Barn one.
Thank you! I’m really happy with the way they turned out 🙂
Cute way to add bling to a nest! I could see this used on a tree and tucked into a small teacup:)
Thanks, Rachelle! You’re right…they would be really pretty in a tea cup, too 🙂
I always have a bird’s nest in my Christmas tree because I heard it’s good luck. Your DIY version is beautiful and would make great gifts!
Thanks, Marie! I didn’t know about the good luck part…I guess I’ll be really lucky this year since I will have so many of them on my tree 🙂