How to Apply Privacy Window Film
If your windows have an ugly view, or you need some privacy from the neighbors, a simple and easy way to fix it is to apply a removable privacy window film. It still lets the light in while completely camouflaging the view.
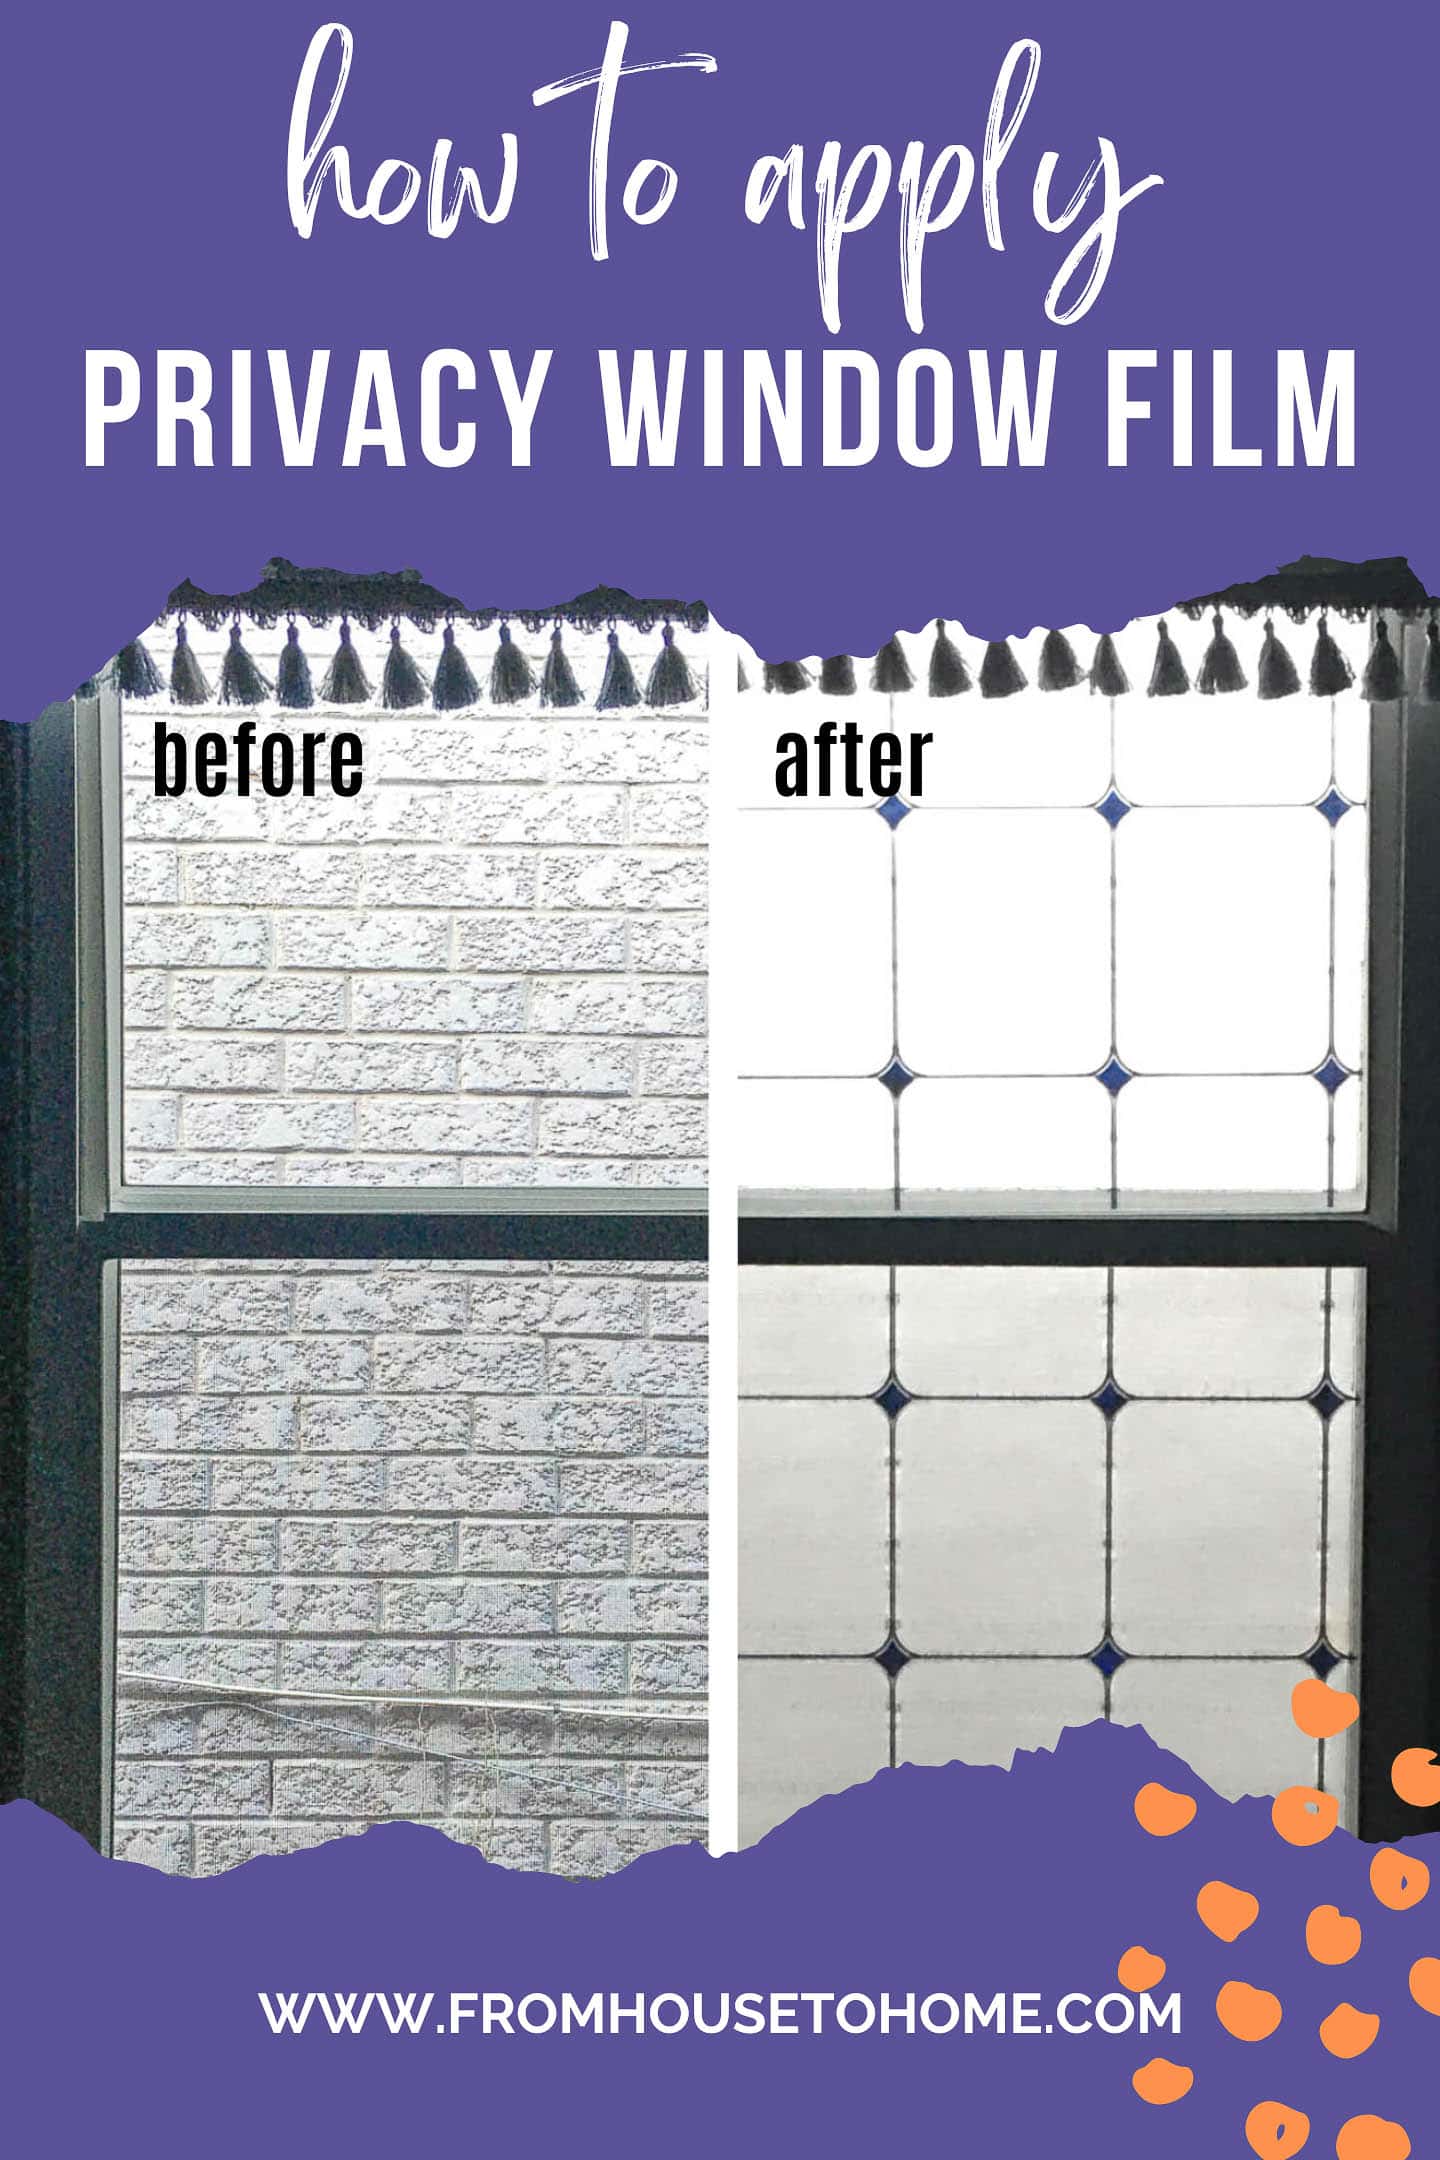
In my home office, the first thing you see when you enter the room is the window that faces the brick wall of the neighbor’s house (which is only a few feet away).
Not exactly an inspiring view!
To cover it up, I installed a vinyl frosted window film with a stained glass pattern.
It allows light to enter the room, looks pretty, and completely obliterates the brick wall. It also comes in a variety of patterns so you can find one to match your decor. The perfect solution.
The film was also super easy to install. (And can be removed if you change your mind later).
Mine has been up for several months and still looks as good now as it did when I installed it.
Now that it is seasoned, it is even possible to clean it with window cleaner as necessary.
Here’s how to install it.
Supplies

Here is what you need to complete this project.
Materials
- vinyl window film* – either plain or in the pattern of your choice. The one I used is similar to this one*.
- liquid soap – Johnson’s baby shampoo is best because it leaves no film but Dawn dish soap will also work.
Equipment
- spray bottle
- squeegee and microfiber or lint free cloths
- metal scraper
- metal straight edge
- snap off utility knife
- plastic smoothing tool
- metal ruler
- measuring tape
- pencil
How to apply window film
One note before we start: Do not do install the window cling when the full sun is blazing through the window. You will have a hard time getting it to go up smoothly.
1 | Clean the window
Making sure the window is clean before you start is the most important step.
The window must be free from grease, dirt, dust, lint, and paint specks because any dirt or specks will show through the vinyl film.
Fill a clean spray bottle with warm water and add a couple of drops of Johnson’s baby shampoo. I did not have any baby shampoo so I substituted Dawn dishwashing liquid soap.
Start with the first pane and spritz the window with the soap solution.
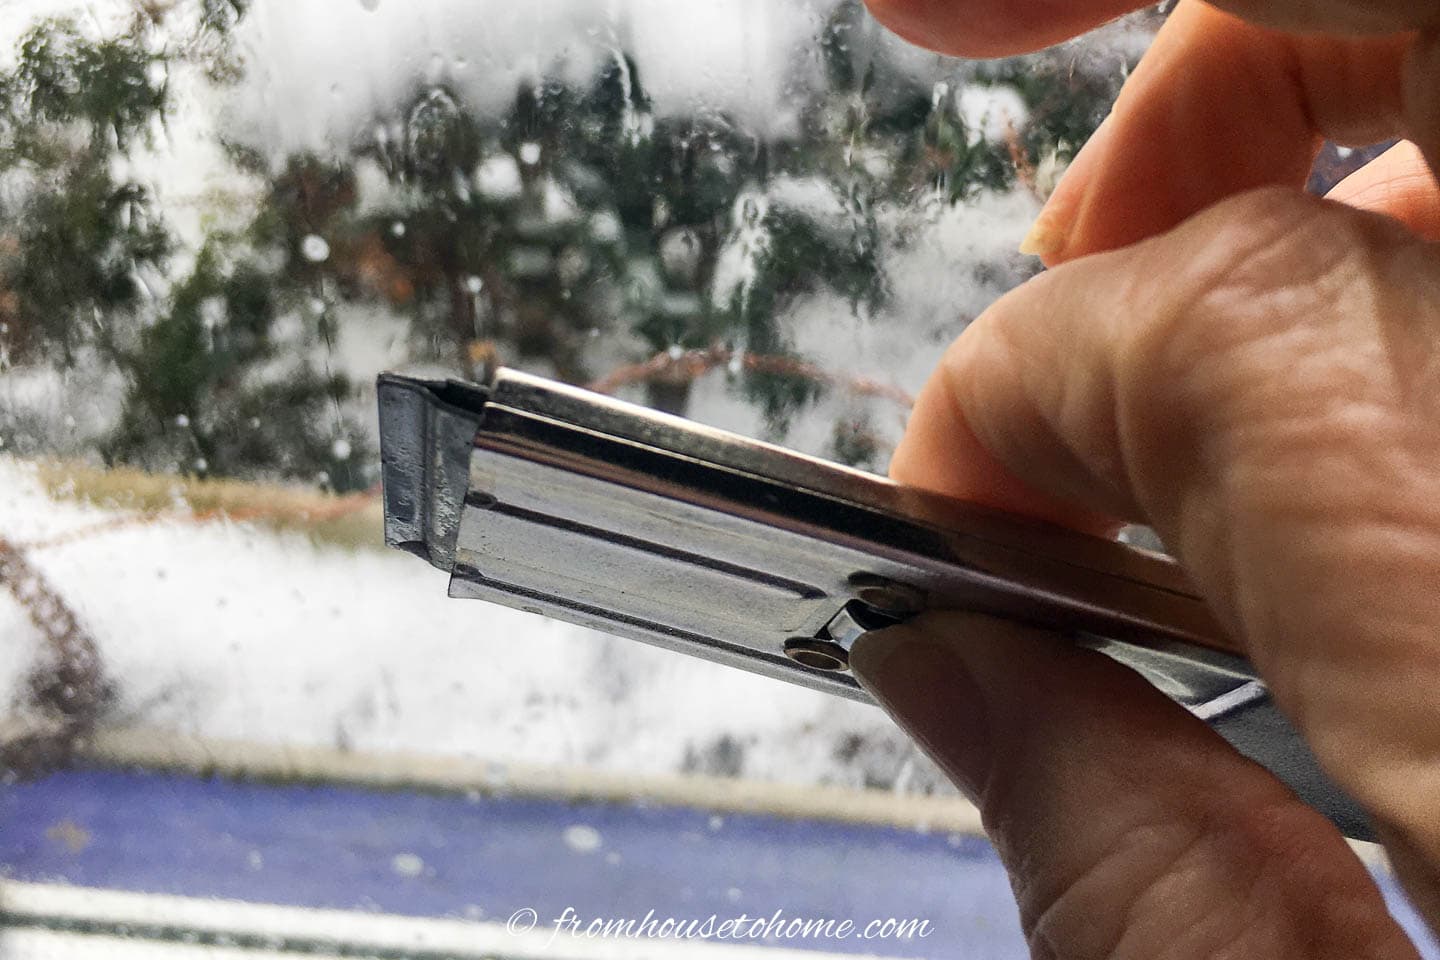
Hold the metal scraper between your thumb and finger of one hand, and go over the entire window pane surface. This will remove any dirt, oil and paint splatters.
Then remove the moisture and grime with a squeegee starting at the top and working down the pane of glass. Alternatively, dry the window pane using a microfiber cloth or a lint free rag.
Do not use paper towels for drying the glass because they will leave lint behind on the surface.

Now mist the pane with the soap solution again and dry as above. Use a clean lint-free cloth to pay particular attention to the window frame edges and the four corners. Any dirt left there will float under the edges of the vinyl.
2 | Measure the window
Measure the length and width of your window.
If your film has a pattern that needs to be centered on the window pane, then make a small pencil mark on both sides of the window frame at the center of the width and length. Use a pencil or a washable marker for this so you can easily remove these marks later.
3 | Cut the film.
Roll out the film on a smooth, flat surface.
For vinyl with an all-over pattern (or no pattern), use sharp scissors or a utility knife to cut it about an inch wider and longer than the window measurements.
If you are working with a pattern that needs to be centered:
- Cut the length first, making it about an inch longer than the window measurement.
- Then determine the center of the pattern and mark this spot top and bottom on the film side of the vinyl.
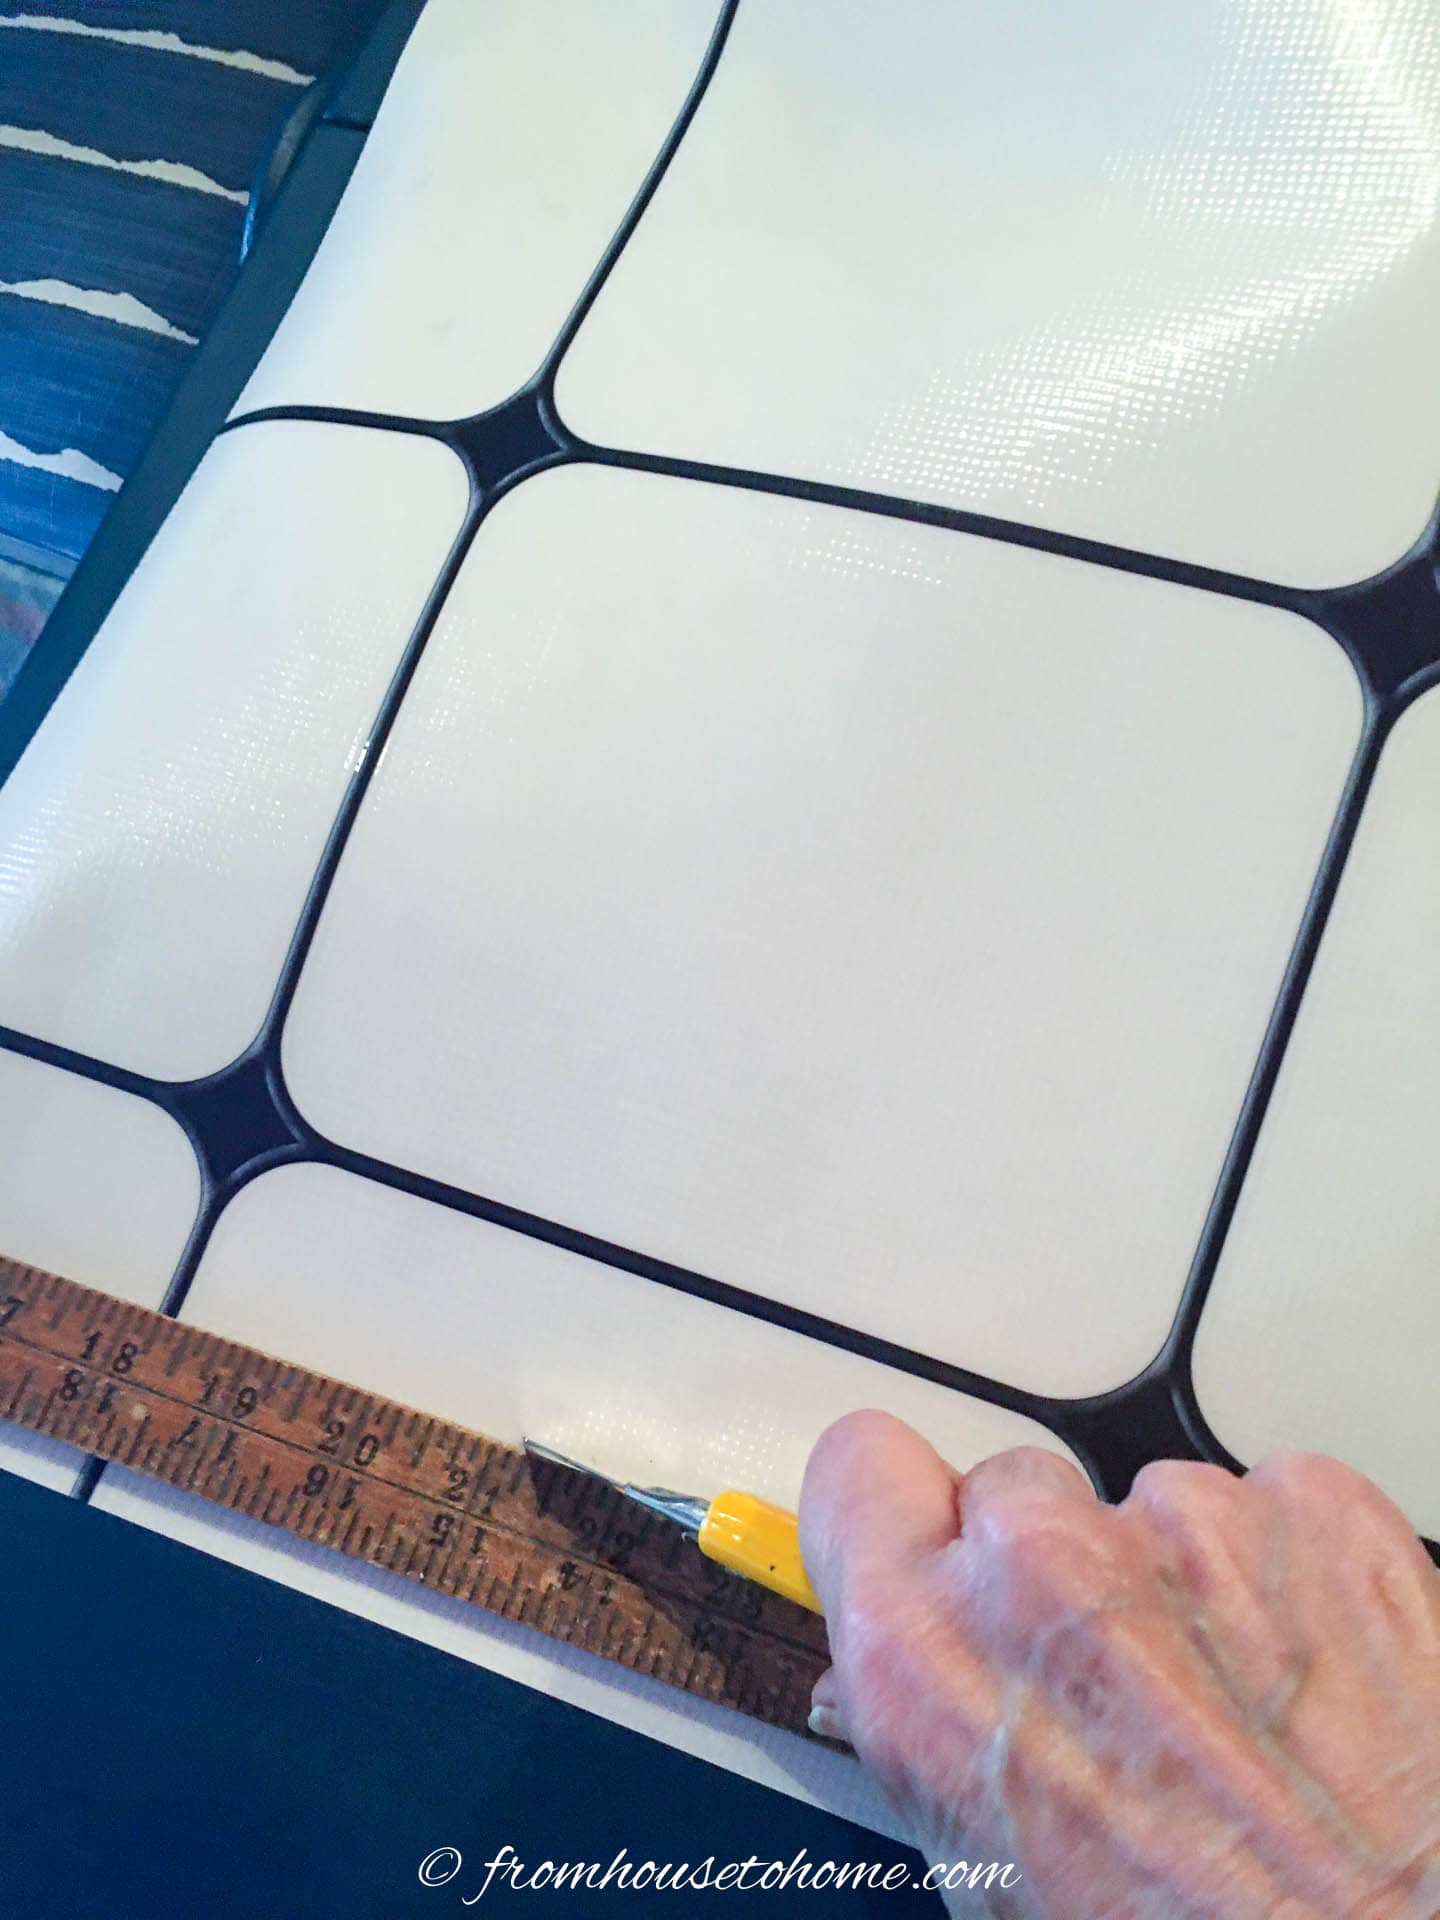
- Now calculate where to trim the sides. Each side should be half an inch bigger than half the width. For example, if the window is 20″ wide, half the width is 20″ ÷ 2 = 10″. Plus half an inch is: 10″ + ½”= 10½”
- Cut each side that distance out from the center mark. To do this, hold a straight metal yard-stick firmly where you need to cut it (making sure it is straight). Then cut the vinyl through the backing by running a utility knife along the edge of the ruler.
4 | Apply the film to the window
Mist the window pane with the soap/water solution.
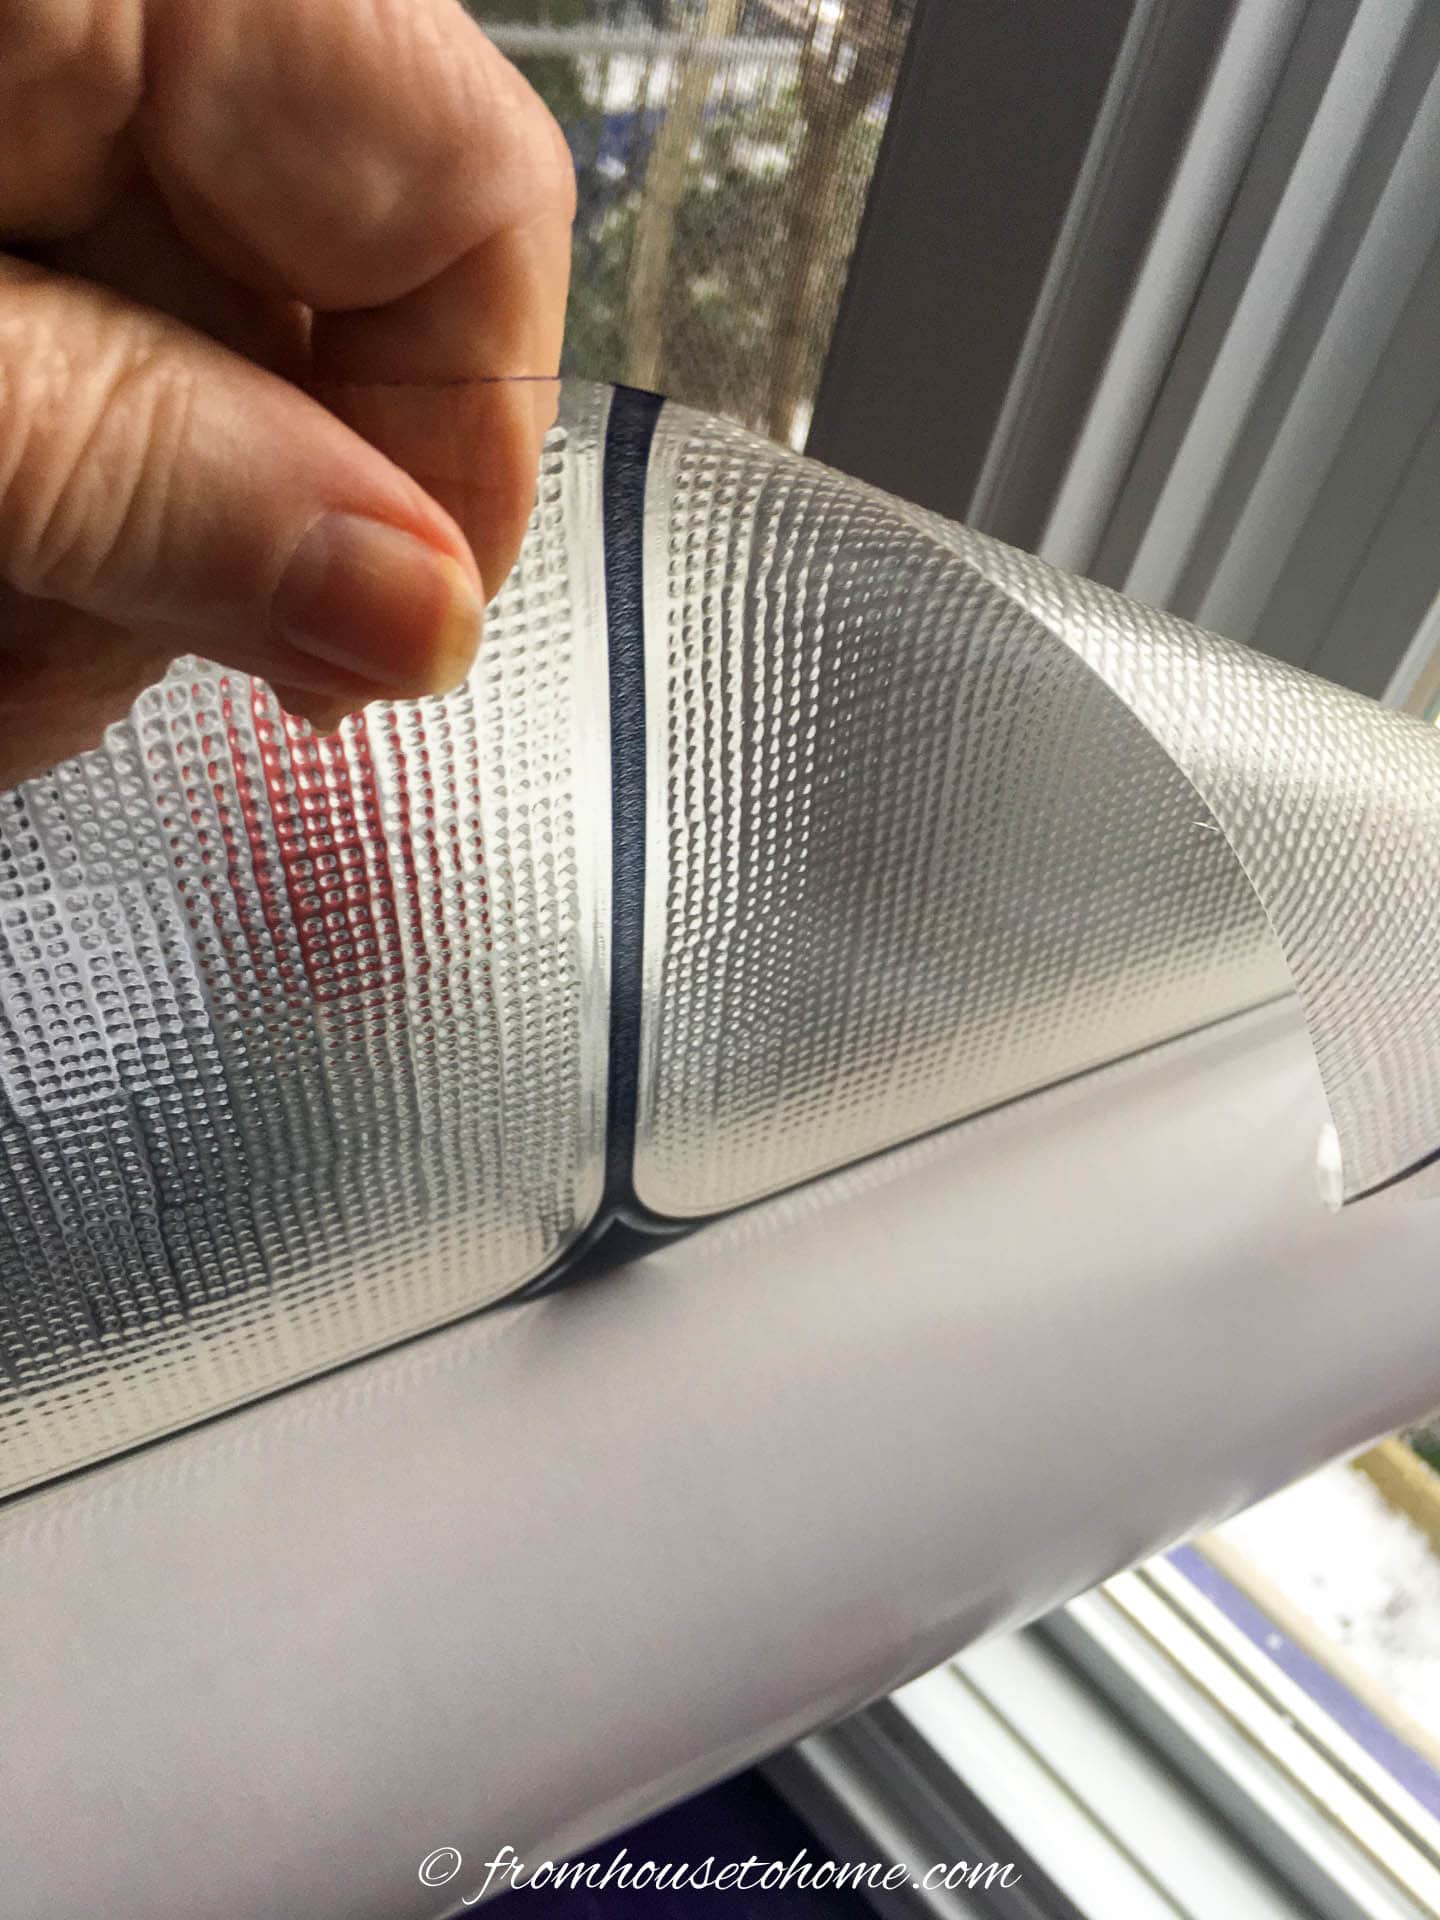
Peel the backing down about 1/3 to 1/2 way.
To differentiate between the backing and the vinyl film, look for the smooth side. That will be the backing. The outside of the film is usually a little bumpy.
Spray the back of that portion of the film.
Then, holding the back of the film toward the window pane position it into place on the pane.
If you are centering the film, line up the center mark on the film with the center marks previously made on the window frame.
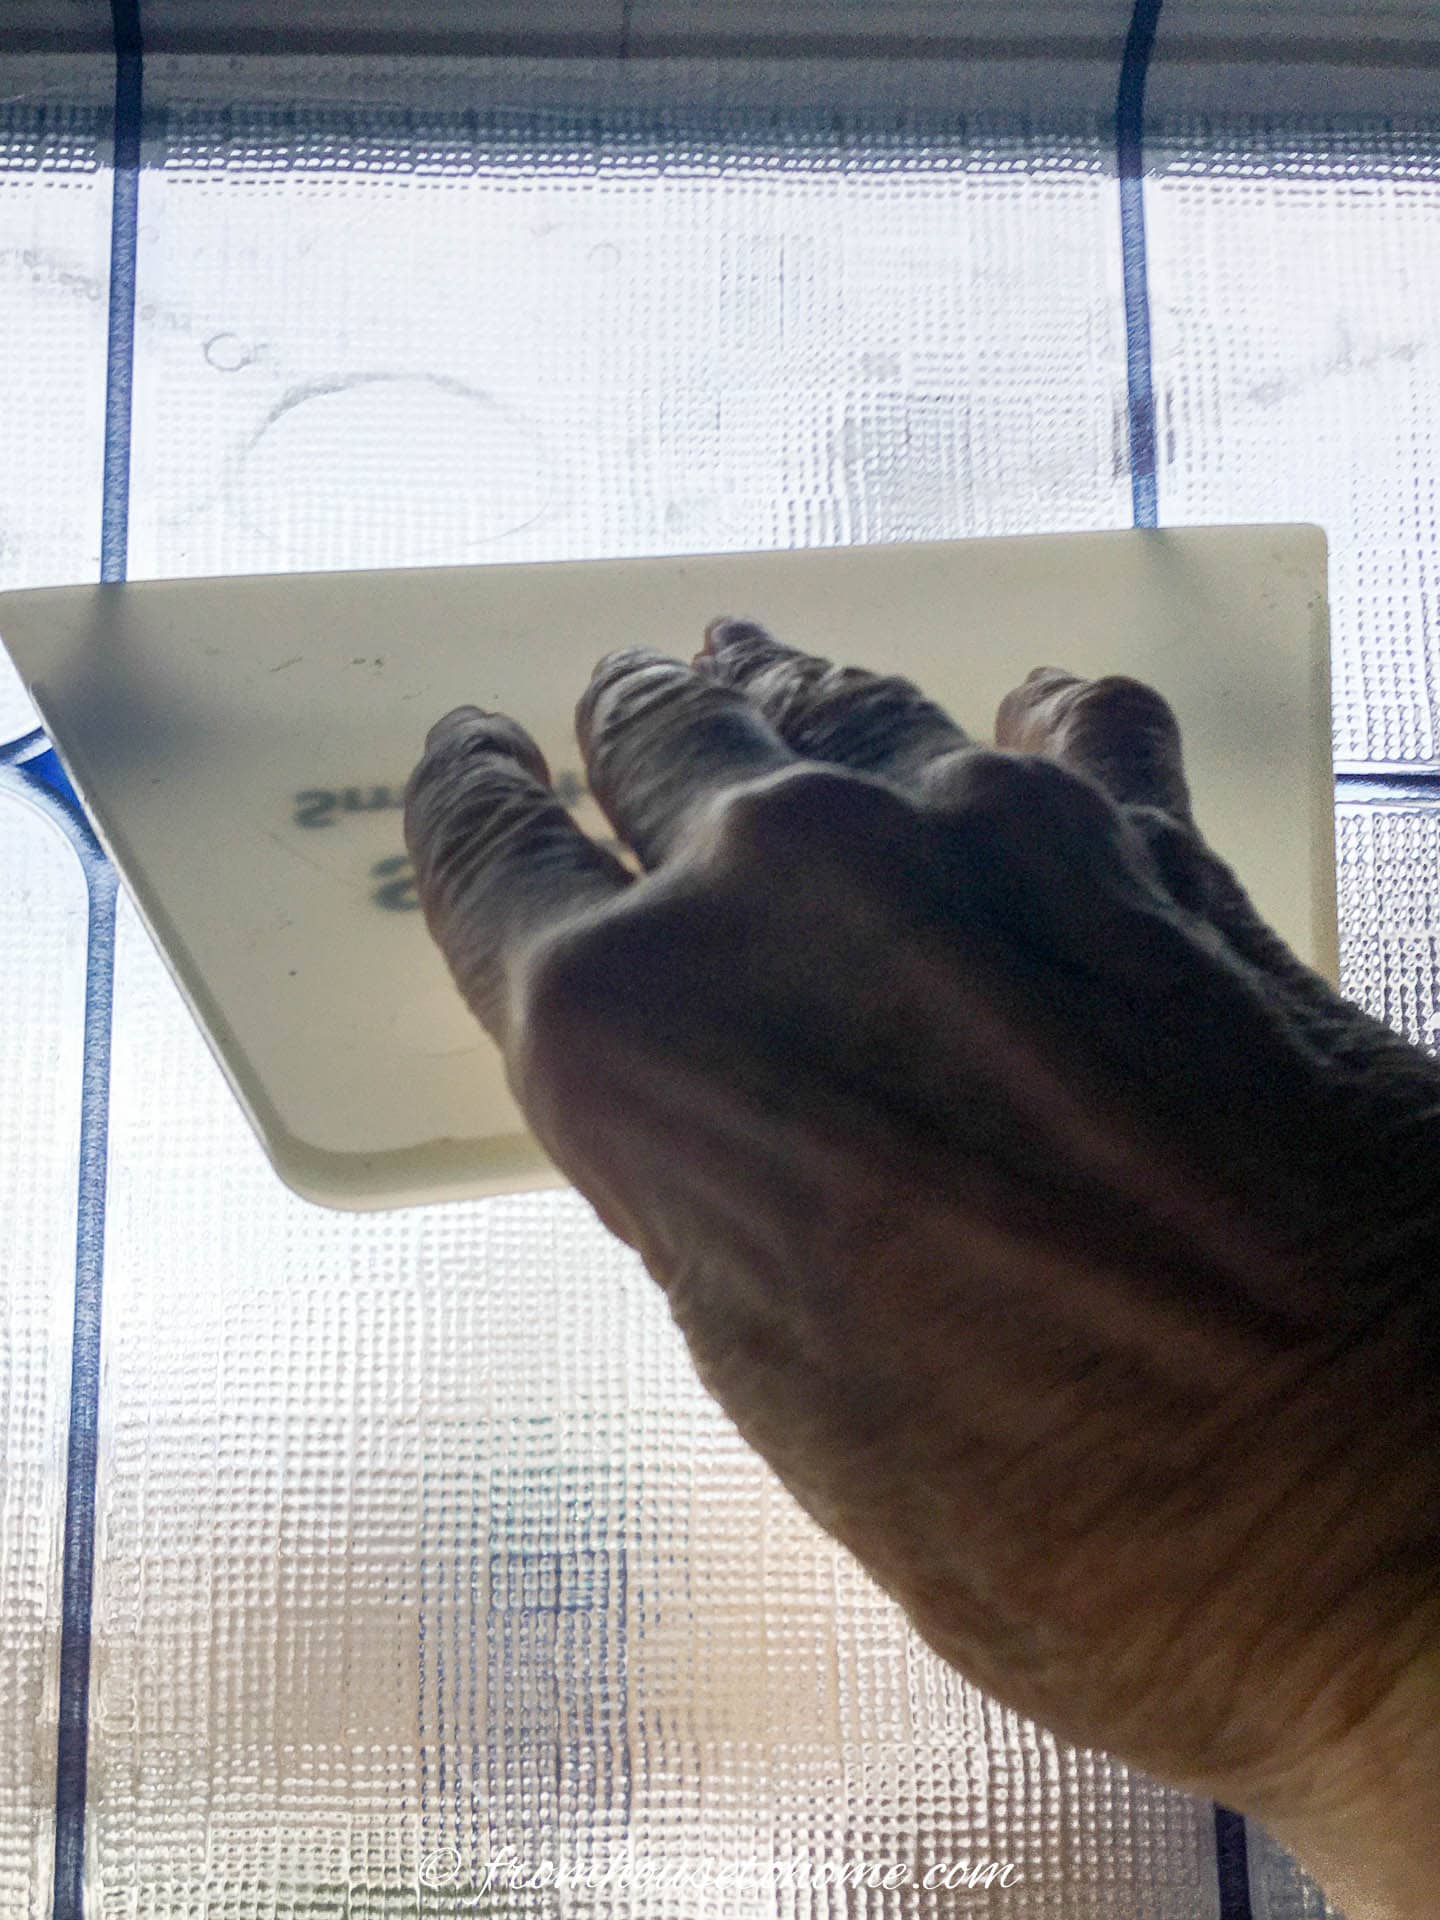
Keep one hand on the film at all times, to keep it from sliding, and use the plastic smoothing tool to smooth the top half onto the glass.
Lift up the bottom of the film and backing, and mist the bottom of the window pane again.
Now, keep one hand on the upper part of the film while you gradually pull down the bottom part of the backing and stick the film to the window.
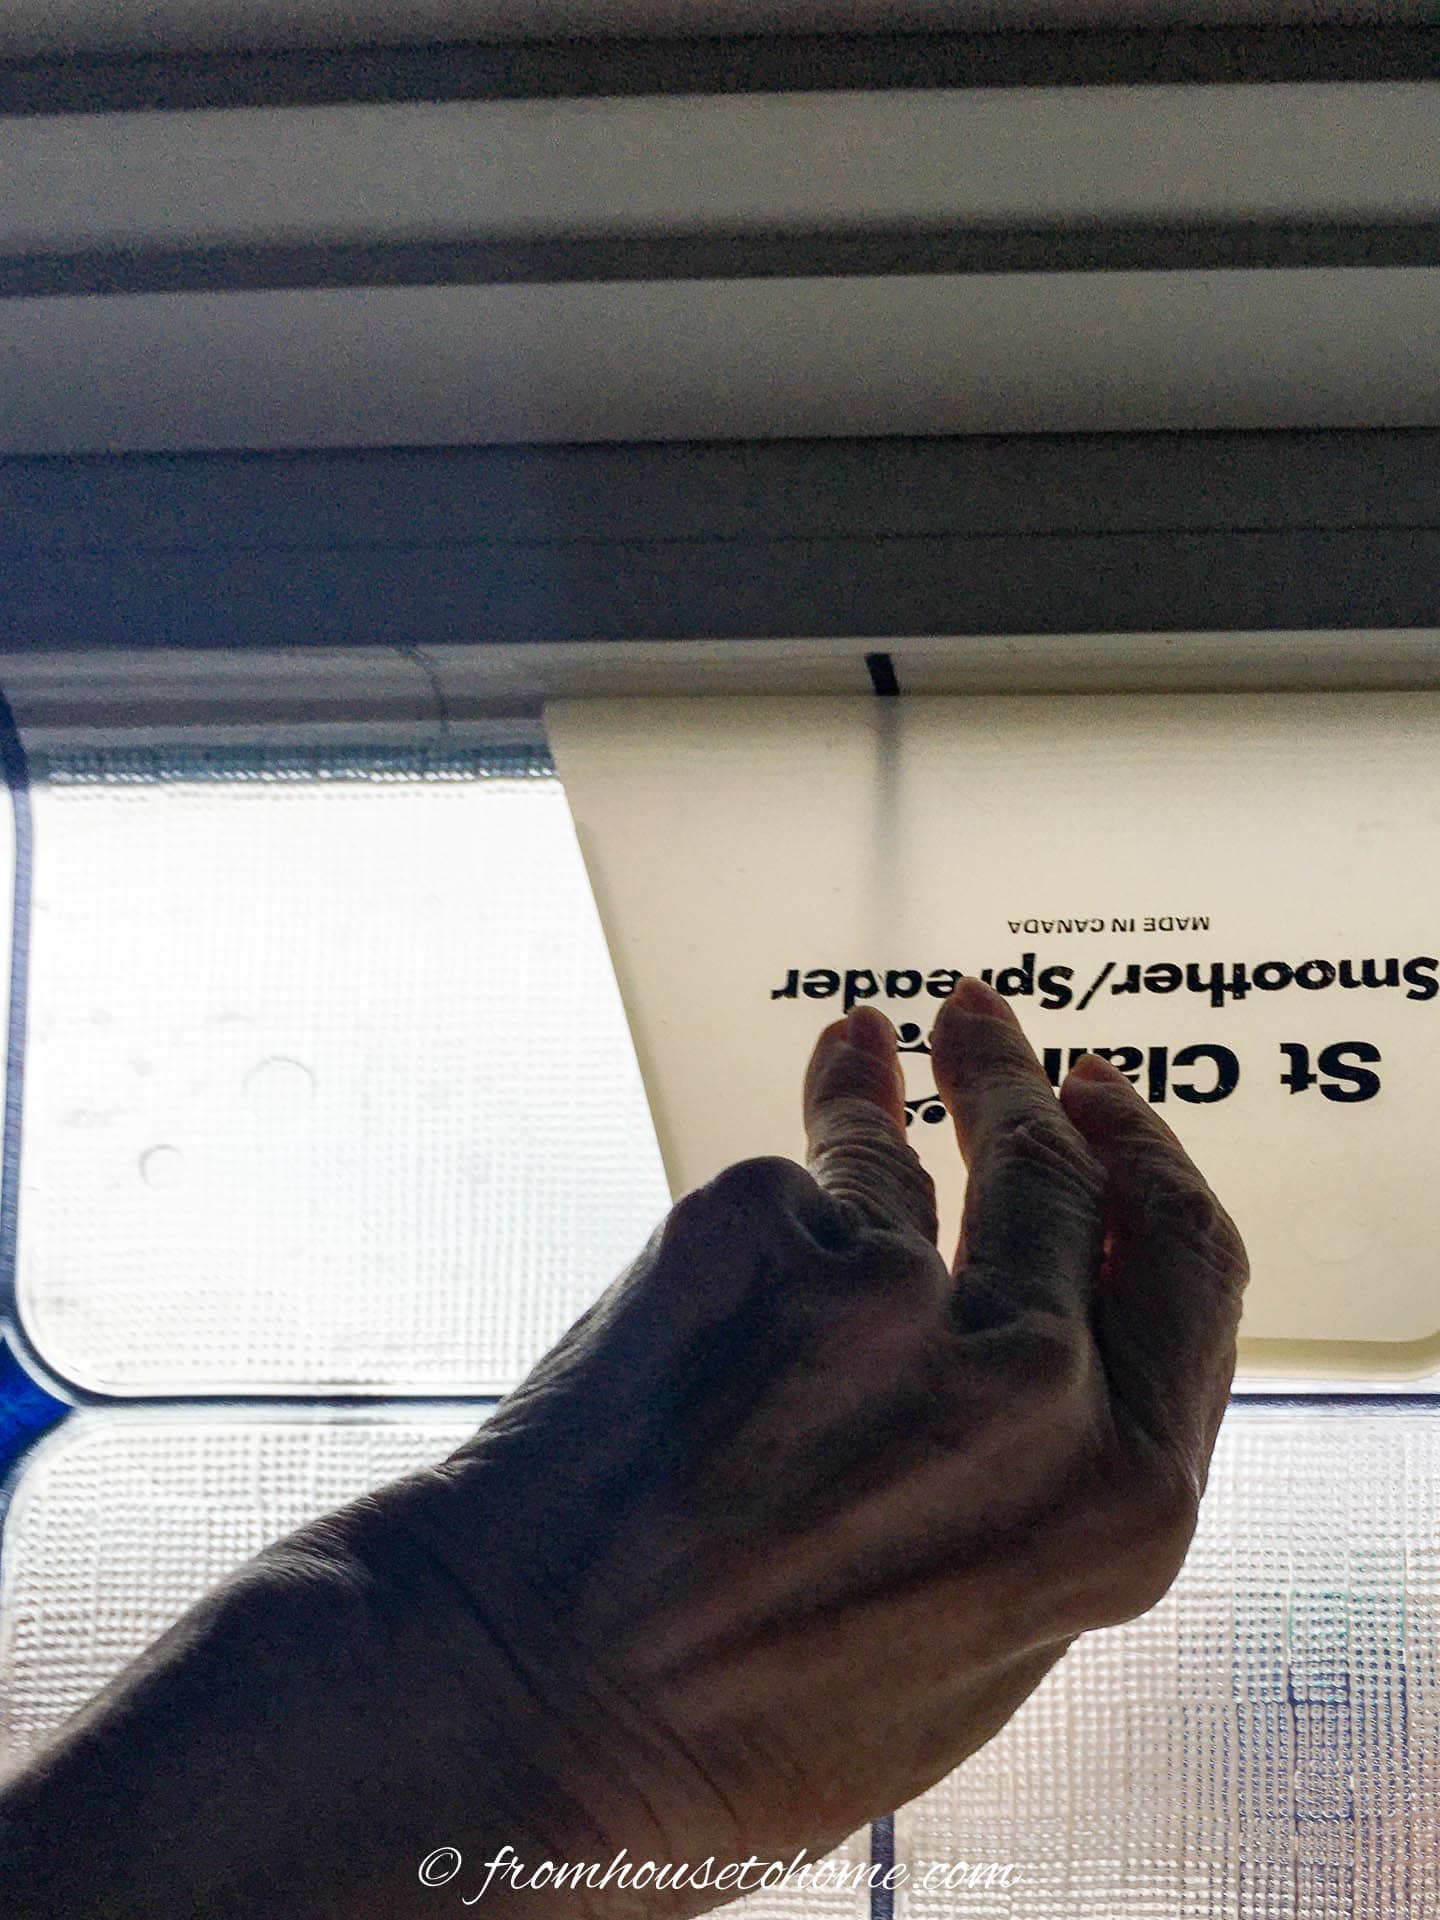
Use the smoothing tool to press out the excess water and air bubbles.
Work from the center out to the sides and down.
Make sure the film is pressed firmly into the edges and corners.
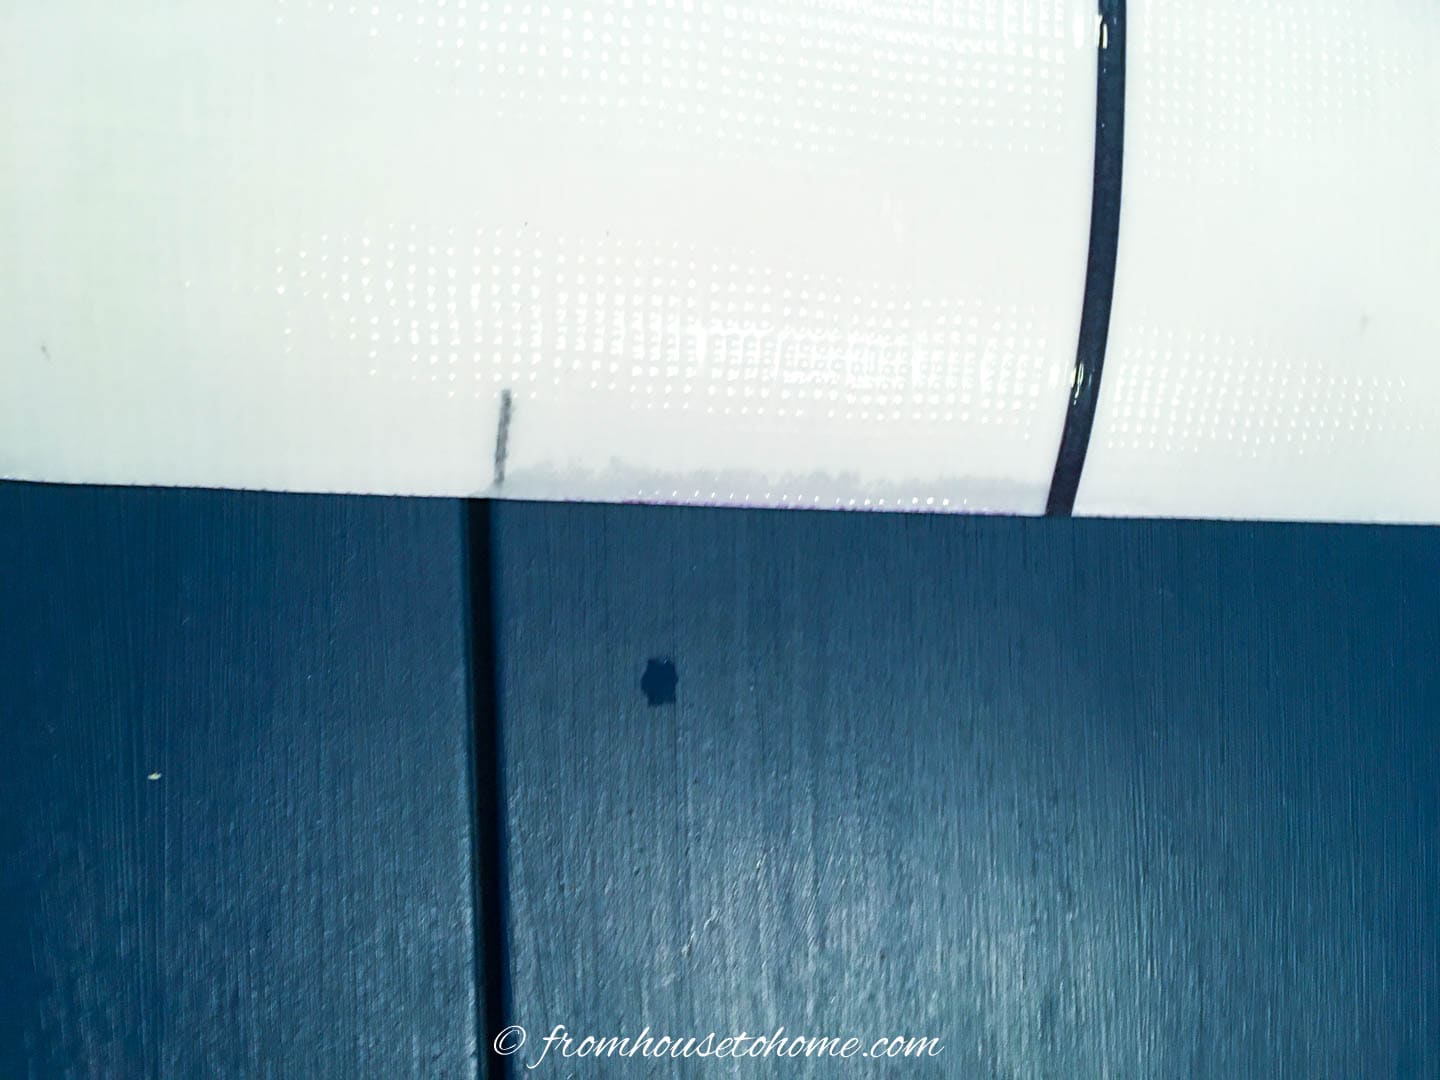
5 | Cut off the excess vinyl
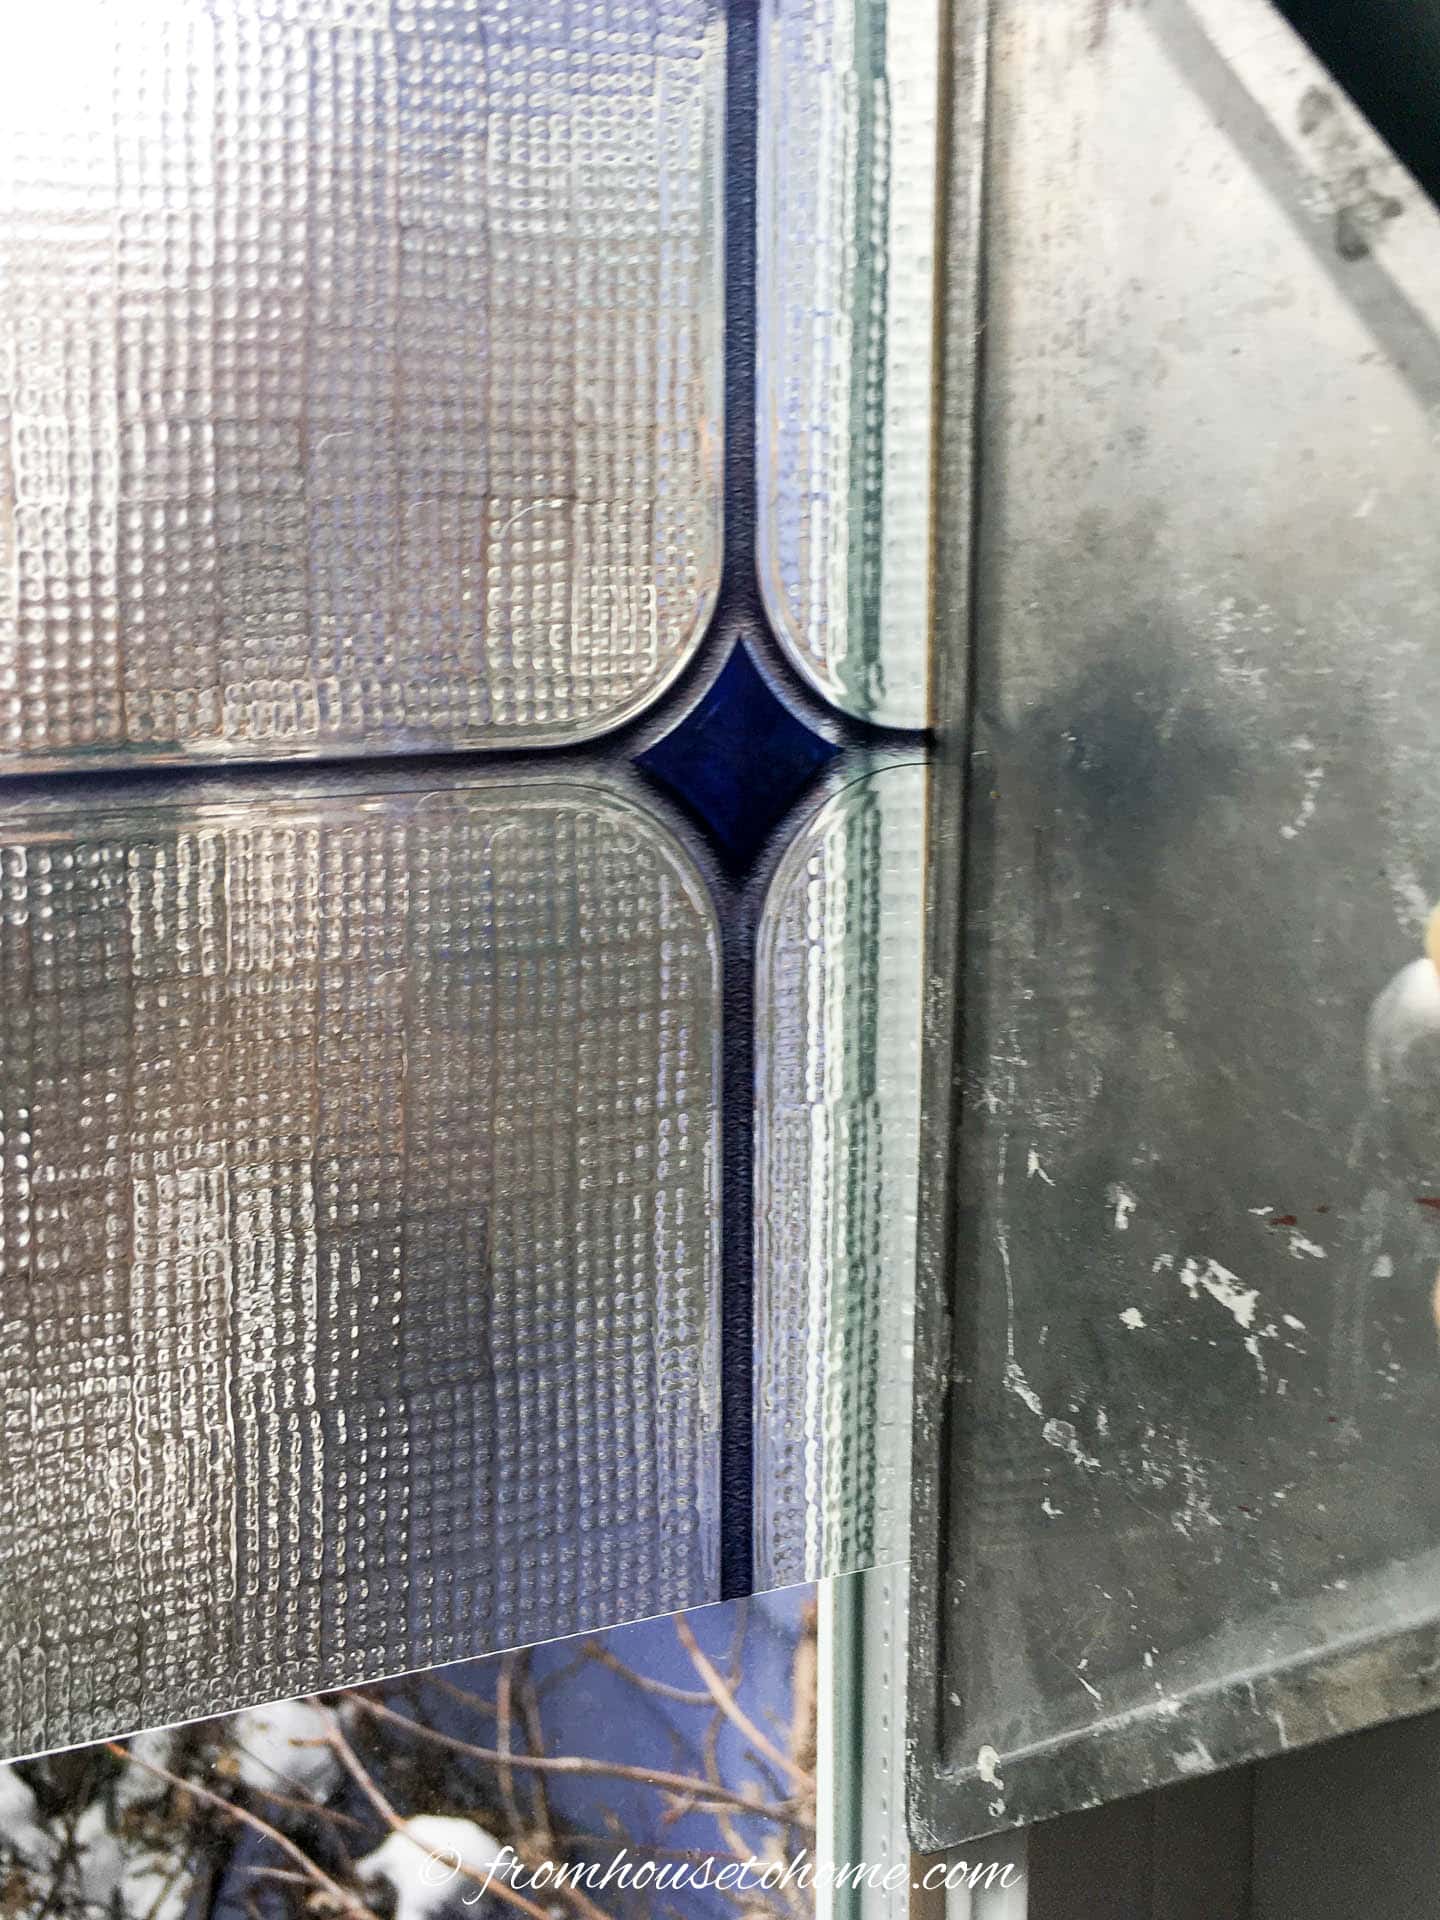
Press into the edges with the metal straight edge and use the sharp utility knife to cut along the frame.
The straight edge should be placed at right angles to the window frame with the knife toward the window.
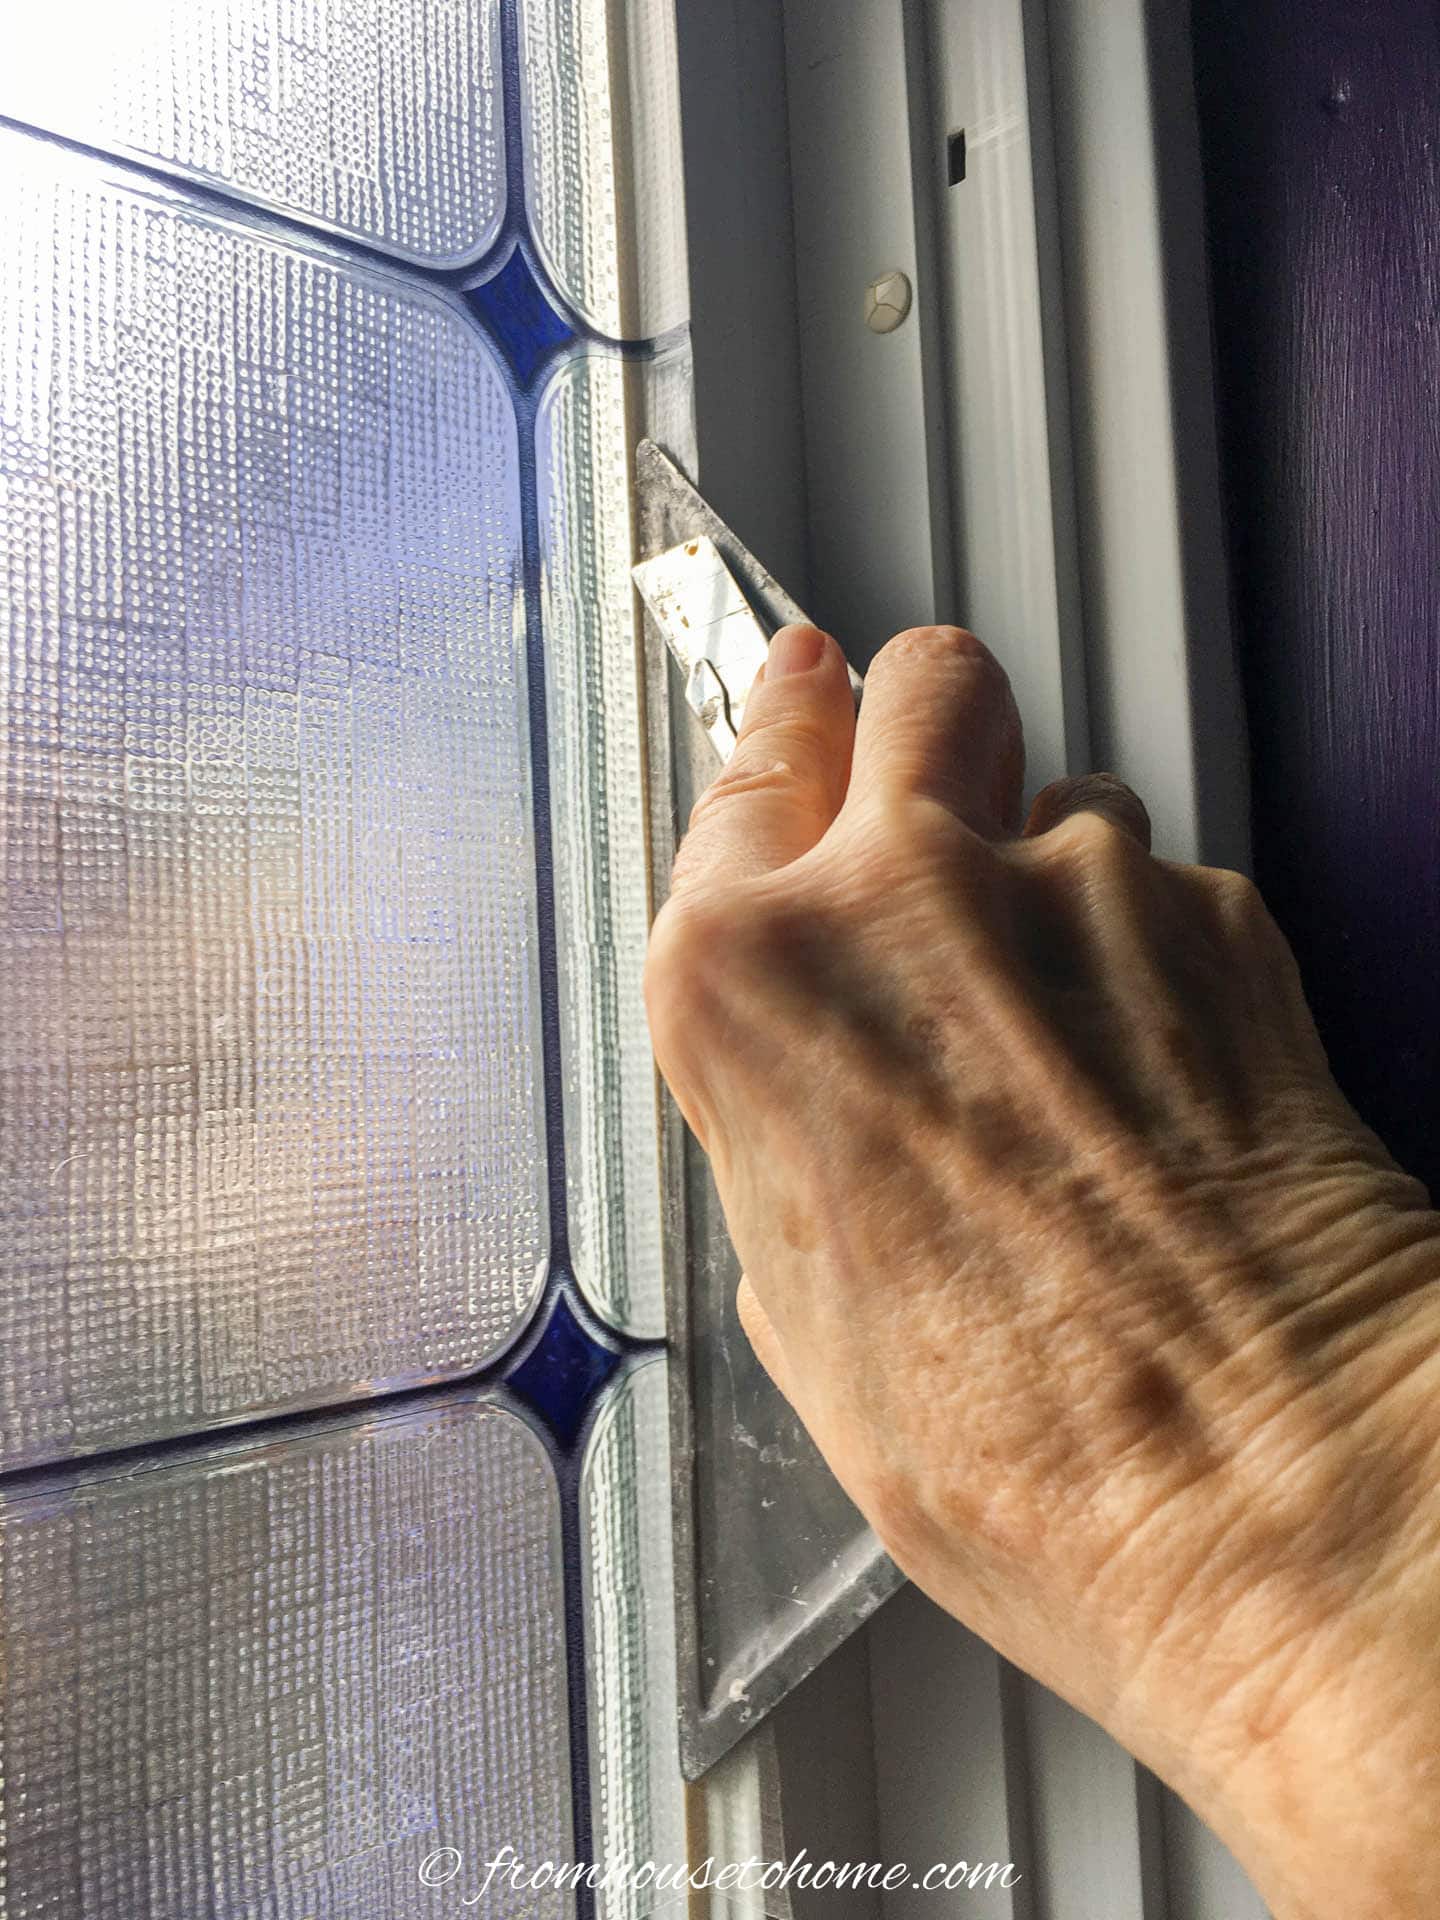
Be careful to cut straight into the corners, then peel away the excess film from around the frame.
There will be a 1/16th” gap between the frame and the film. Don’t worry about it. This will not be noticeable.
6 | Finish the installation
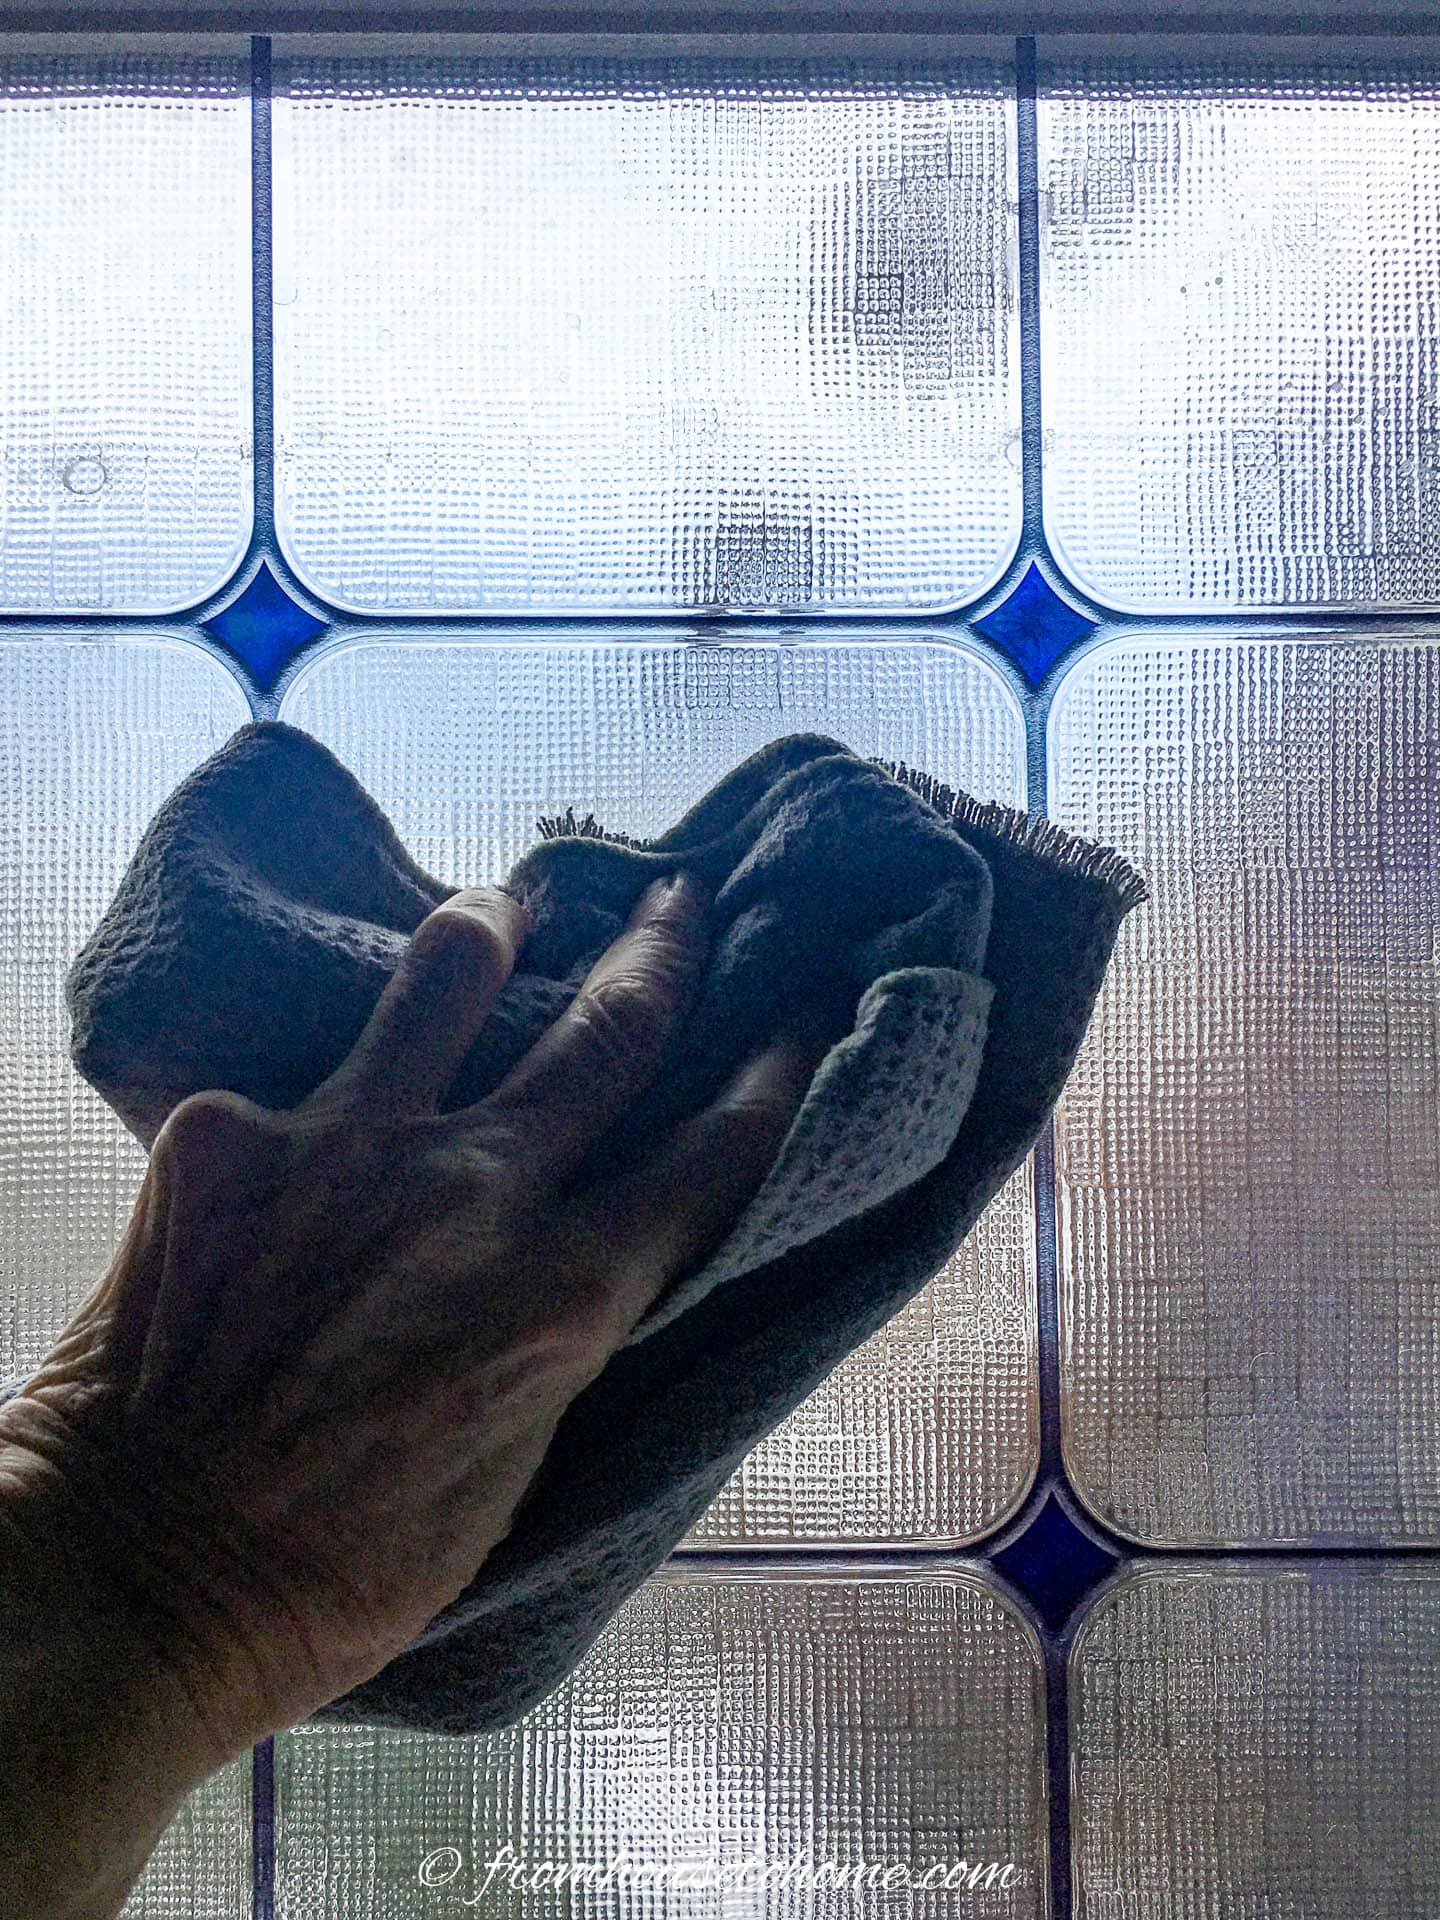
Finish the installation, by lightly misting the vinyl on the window.
Now gently go over the entire surface with a dry cloth to dry the window.
Inspect closely for air and/or water bubbles.
Remove these by running the plastic smoother over them and out to the closest edge.
Dry the edges of the window all around being careful not to disturb or lift the edges or the corners of the film.
If you have more than one window pane, repeat these steps to cover the others. Make sure to align the horizontal middle edges of any pattern so that they match exactly.
Let the installed vinyl cure undisturbed for a few weeks. Then it may be dusted or cleaned as any window pane.
The finished window
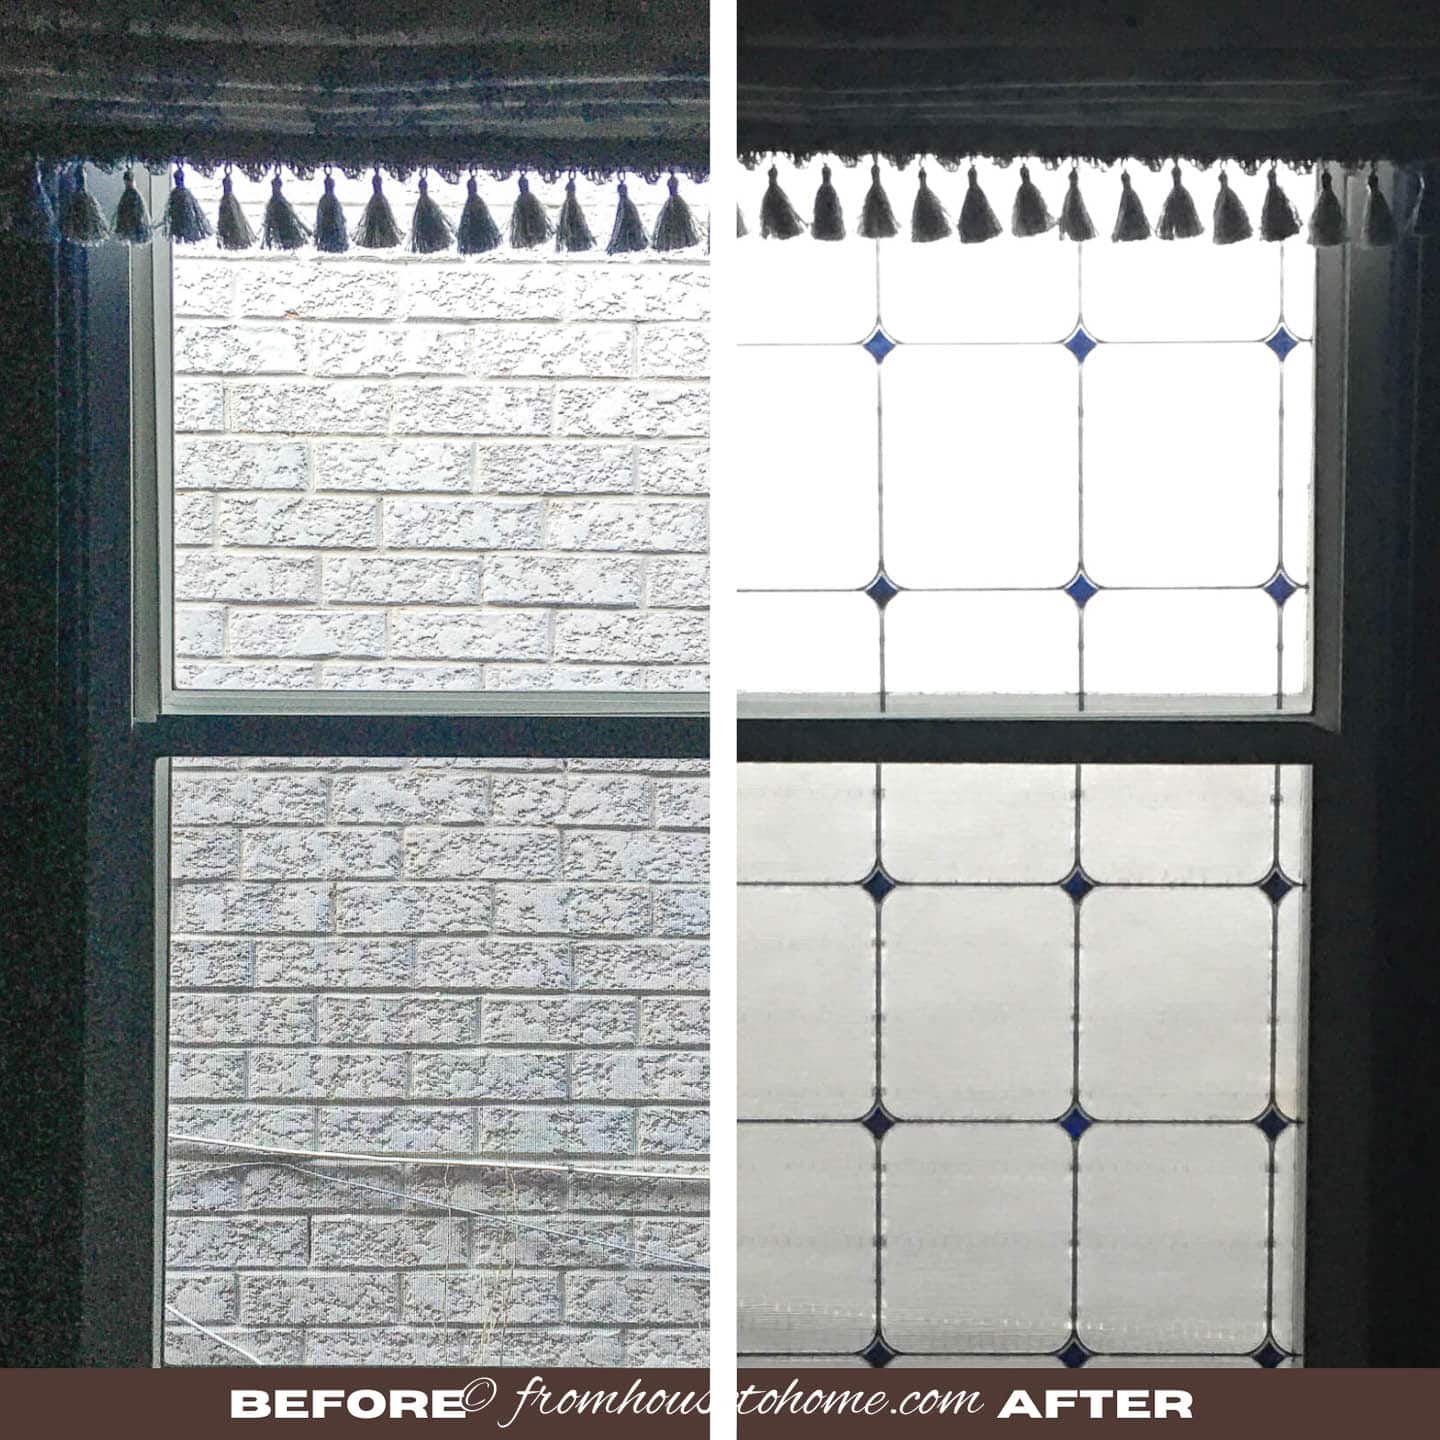
The window definitely looks much better with the vinyl window film.
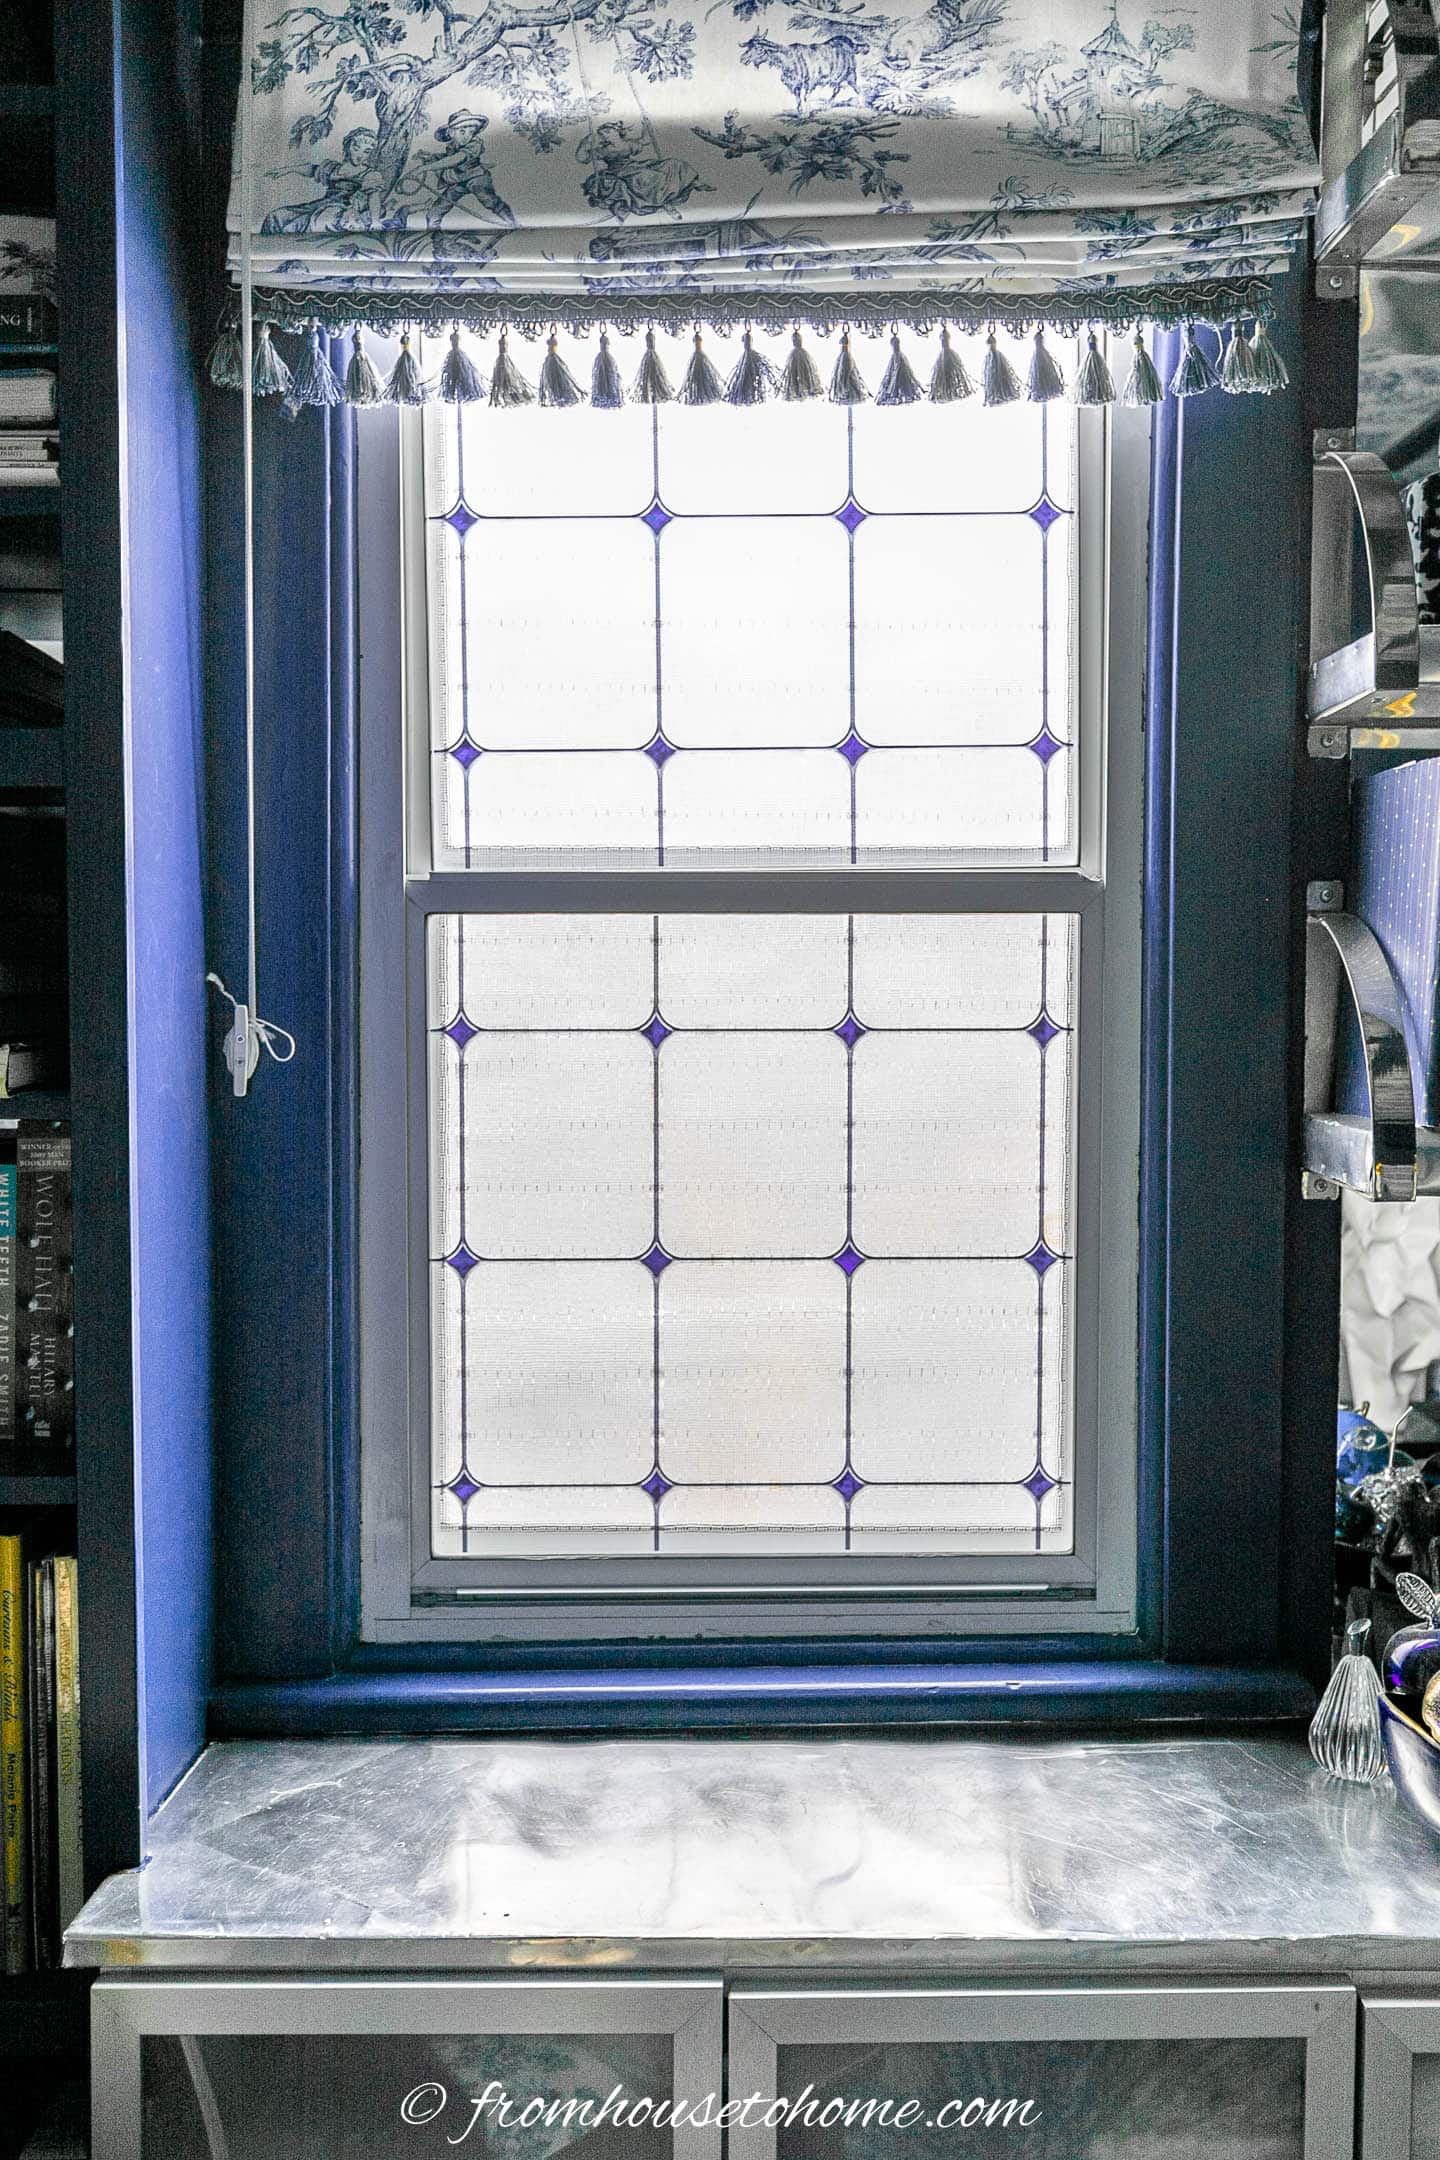
And the blue squares in the film go perfectly with the paint in the room.
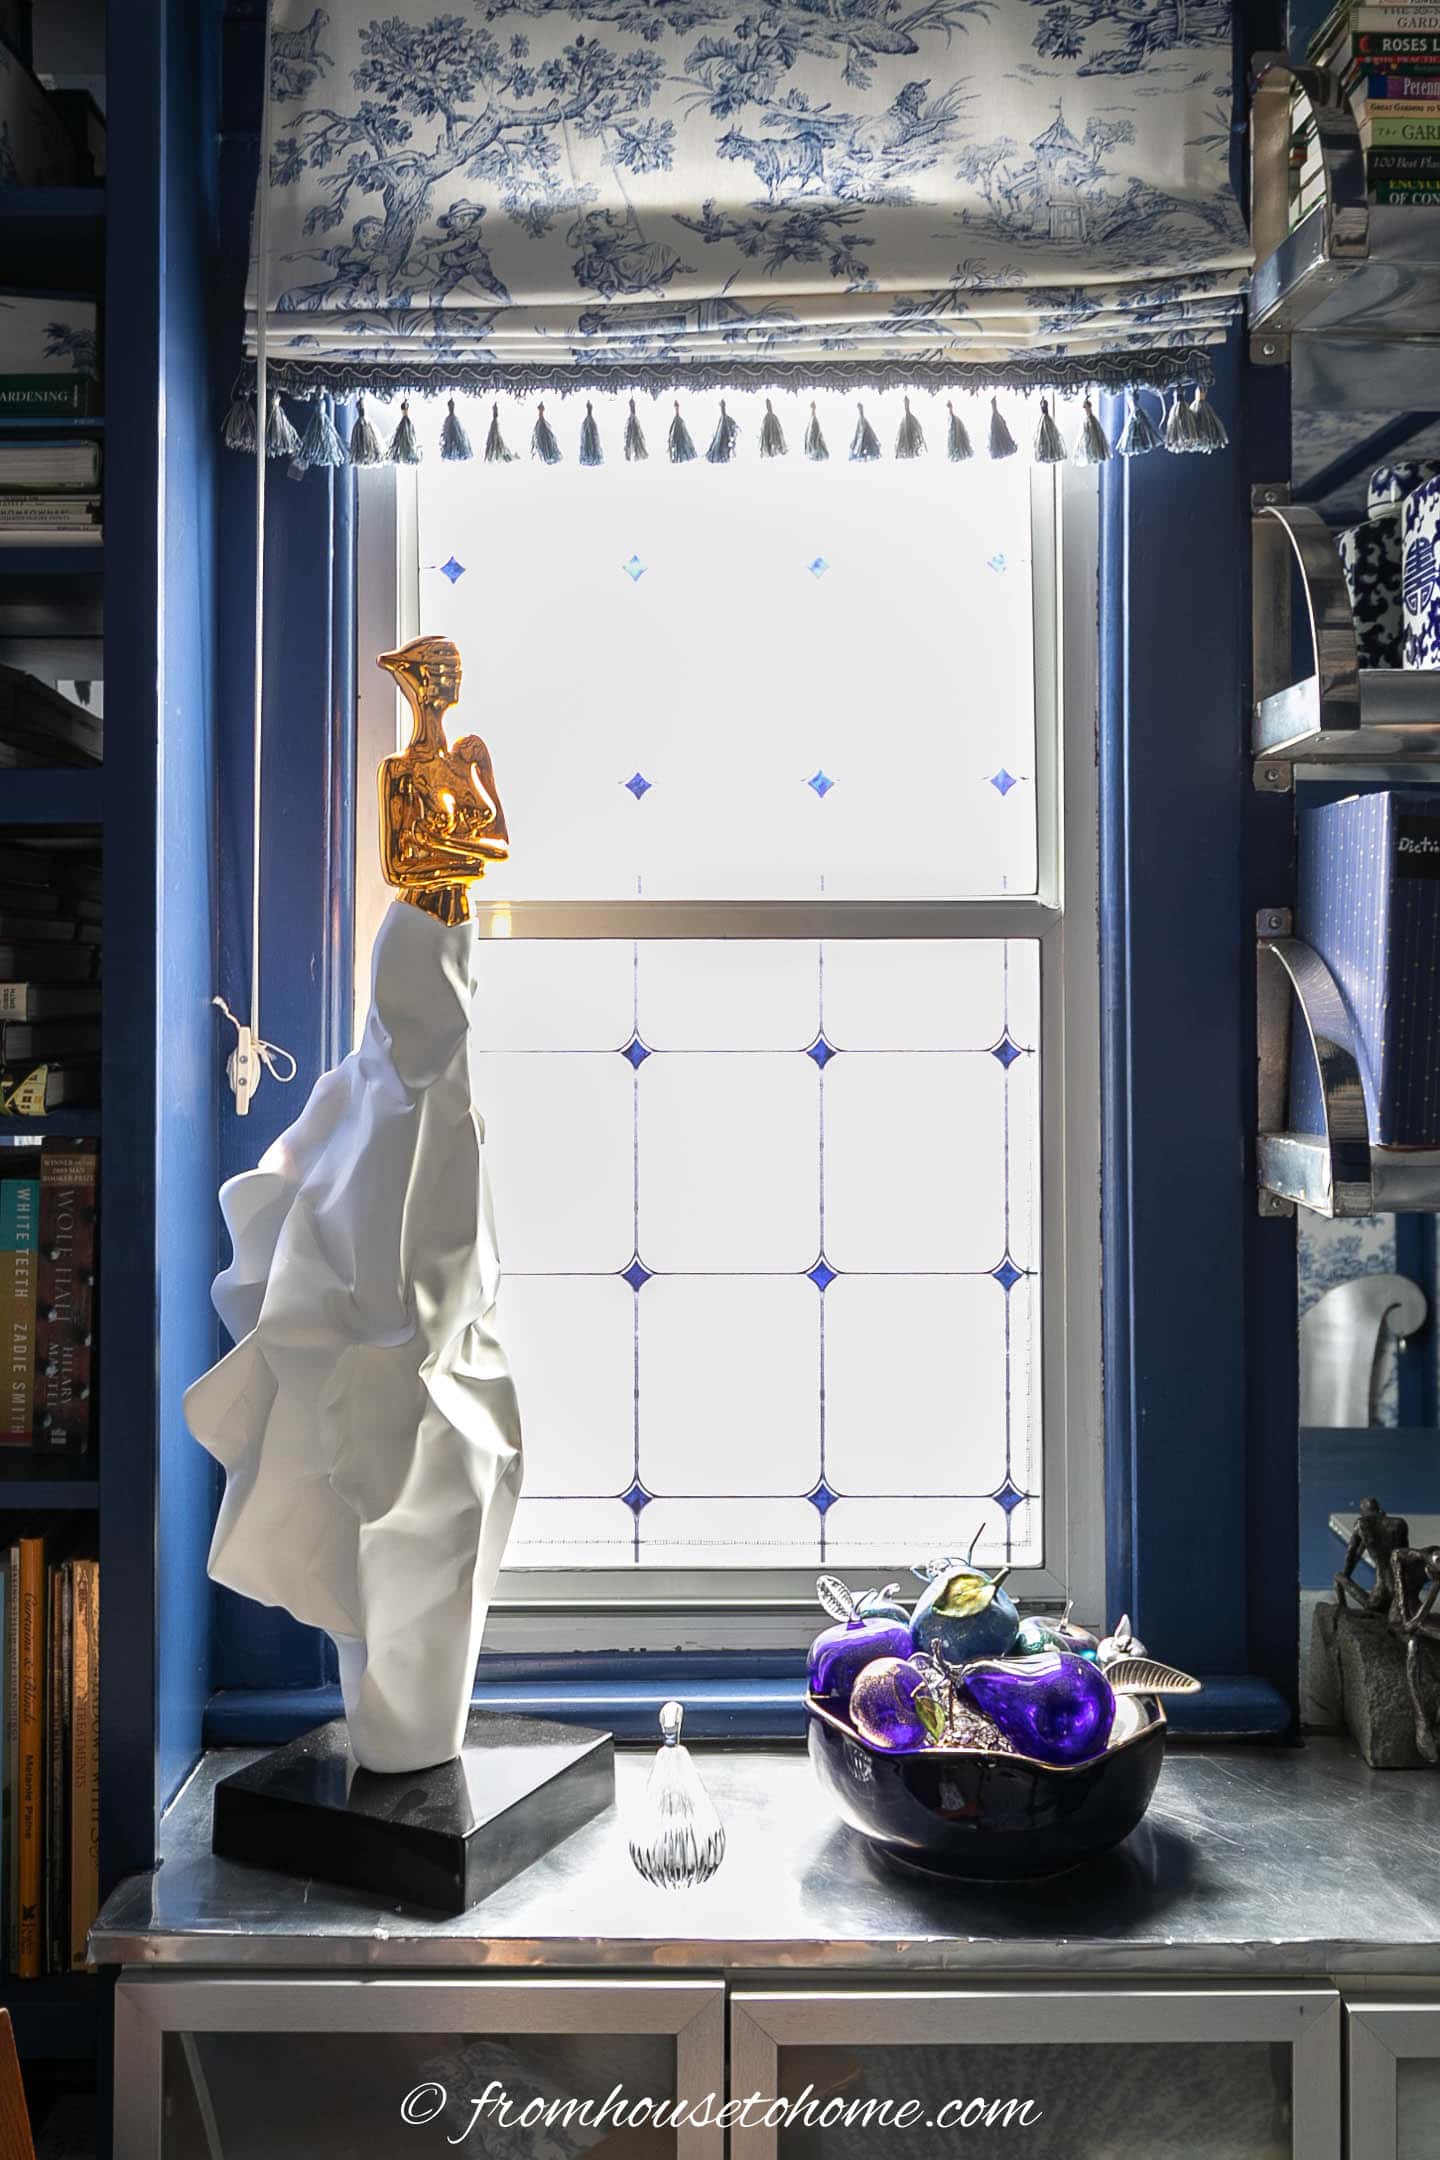
With a few accessories on the cabinet in front of the window, it blends right in with the rest of the decor.