How To Install Floating Engineered Wood Flooring On Concrete
Are you considering installing a floating wood floor in your home but are hesitant because you’re not sure how to do it? Don’t worry, we’re here to help. We’ll walk you through the installation process step-by-step. So read on and learn how to install floating engineered wood flooring on concrete like a pro!
It’s week 5 of the One Room Challenge which means only one week to go before the final reveal of my moody master bedroom makeover (Ack!!)
I spent a lot of this week doing floors.
And between laying the floors, putting up baseboards and attaching quarter round, I think I’ve done the equivalent of 1000 squats. It took my legs 3 days to recover!
Having said that, I think this floating wood floor was the easiest floor installation I have ever done.
1 | The prep work
This post may contain affiliate links. We make a small commission if you buy the products from these links (at no extra cost to you). As an Amazon Associate, I earn from qualifying purchases. But we only recommend products we would use ourselves. For more information, click here to see our disclosures.
I went with 6 1/2″ wide engineered dark wood flooring* with a floating installation (yay, no glue!).
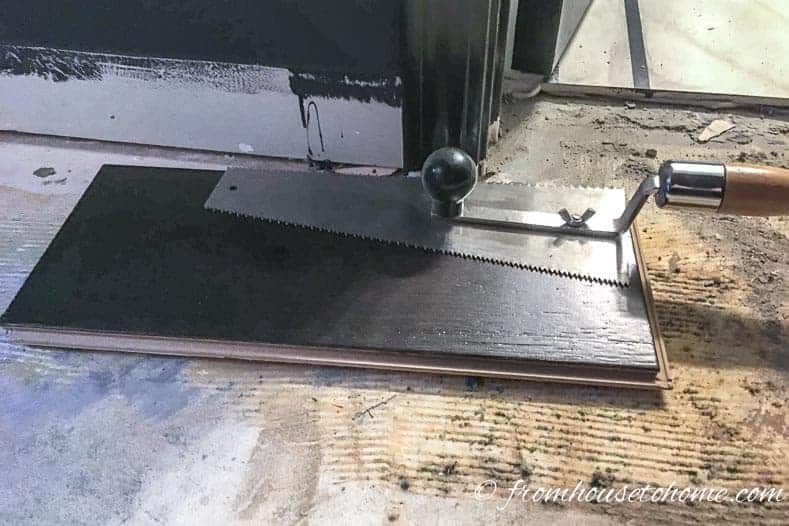
To make sure that the floors fit under the door frame, I cut the bottoms of the door frame using a jamb saw*.
Putting a scrap piece of flooring under the saw will ensure you cut it to the right height. And will also make sure the cut is straight.
Then put down a moisture barrier to keep moisture from seeping up through the concrete.
And put down ½-inch spacers (in other words, scrap pieces of wood) around the walls to make sure the floating floor has some expansion room.
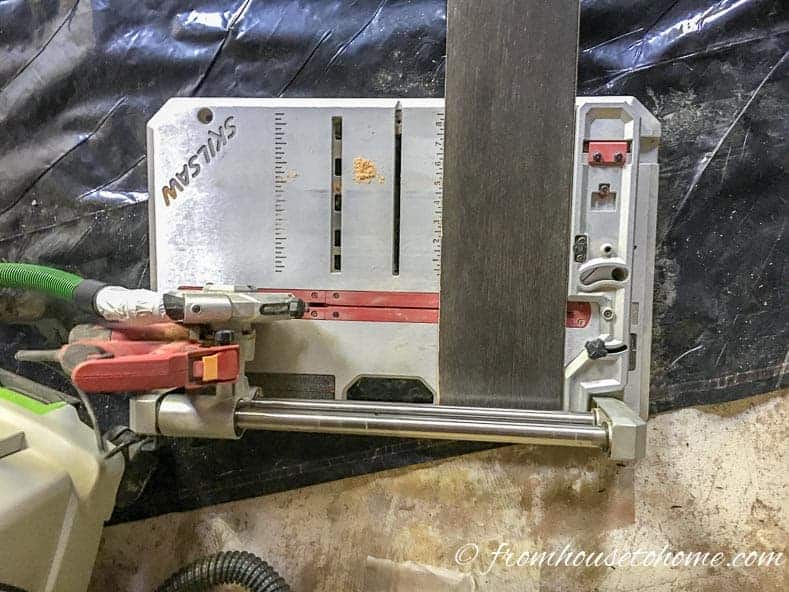
2 | Cut Off The Click Edge
For the first row of boards, you need to cut off the click edge (the bit that would normally click into the next row of boards).
This is the edge that will be facing the wall.
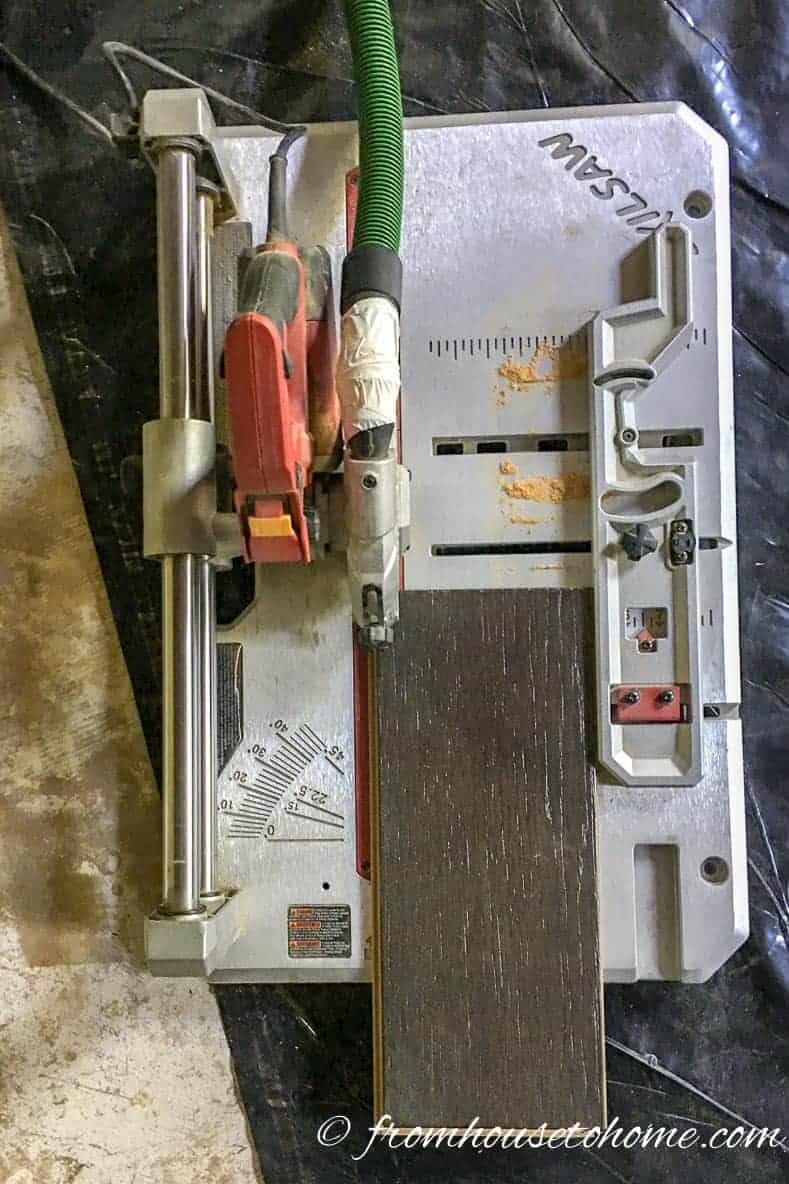
Fortunately, I have a flooring saw* which makes this really easy.
Set the saw up to cut the boards lengthwise at the correct width and run enough floor boards through the saw to cover the full width of your room.

This saw is also very portable so I actually did the cutting right in the room.
Especially since I can hook it up to my favorite dust extractor* which reduces the amount of saw dust in the room. (Although, you always end up with some sawdust on the floor even with the vacuum but it’s a manageable amount.)
3 | Select or cut the first board
You’ll want the first board on each row to be a different length so that the joints are staggered. This will look better and make the floor stronger.
If your flooring is all one length (like mine was), you’ll need to cut the first board of each row to a different length. I made each subsequent row about 6 inches different from the row before.
If your flooring comes in different lengths, you may not actually need to cut the boards. Just select a different length to start each row.
If you are cutting the boards, the same flooring saw can be used for the crosswise cuts as well.
Not having to go to another saw to do that definitely made the project go faster!
4 | Put down the first board in the row
The first board in the row should be installed at least ¼ inch from the walls.
You don’t want it to be touching because wood expands and contracts with the temperature.
So it can cause the floor to buckle if it’s squeezed in too tightly.
5 | Click the boards together
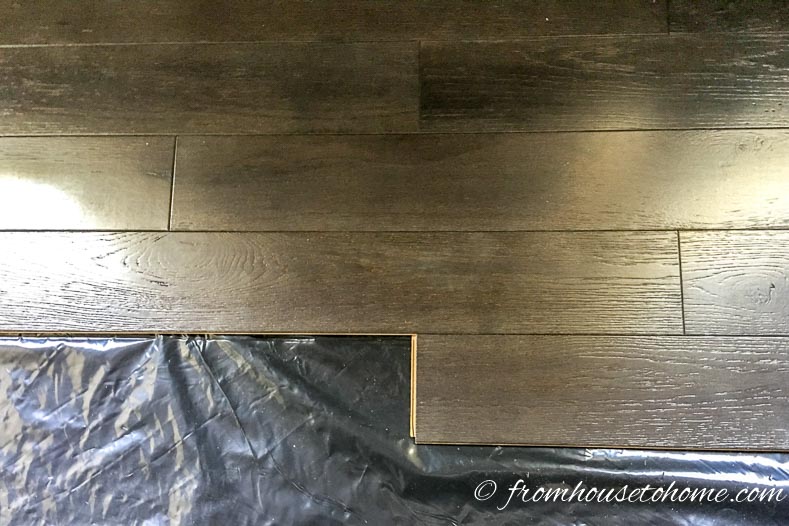
From there floating floors go down really quickly.
Just click the boards together until you get to the end of the row.
If you have different lengths of boards, you’ll need to make sure to pick the right ones so they don’t end at the same spot as the previous row.
Ideally, the joints should be at least 6 inches apart.
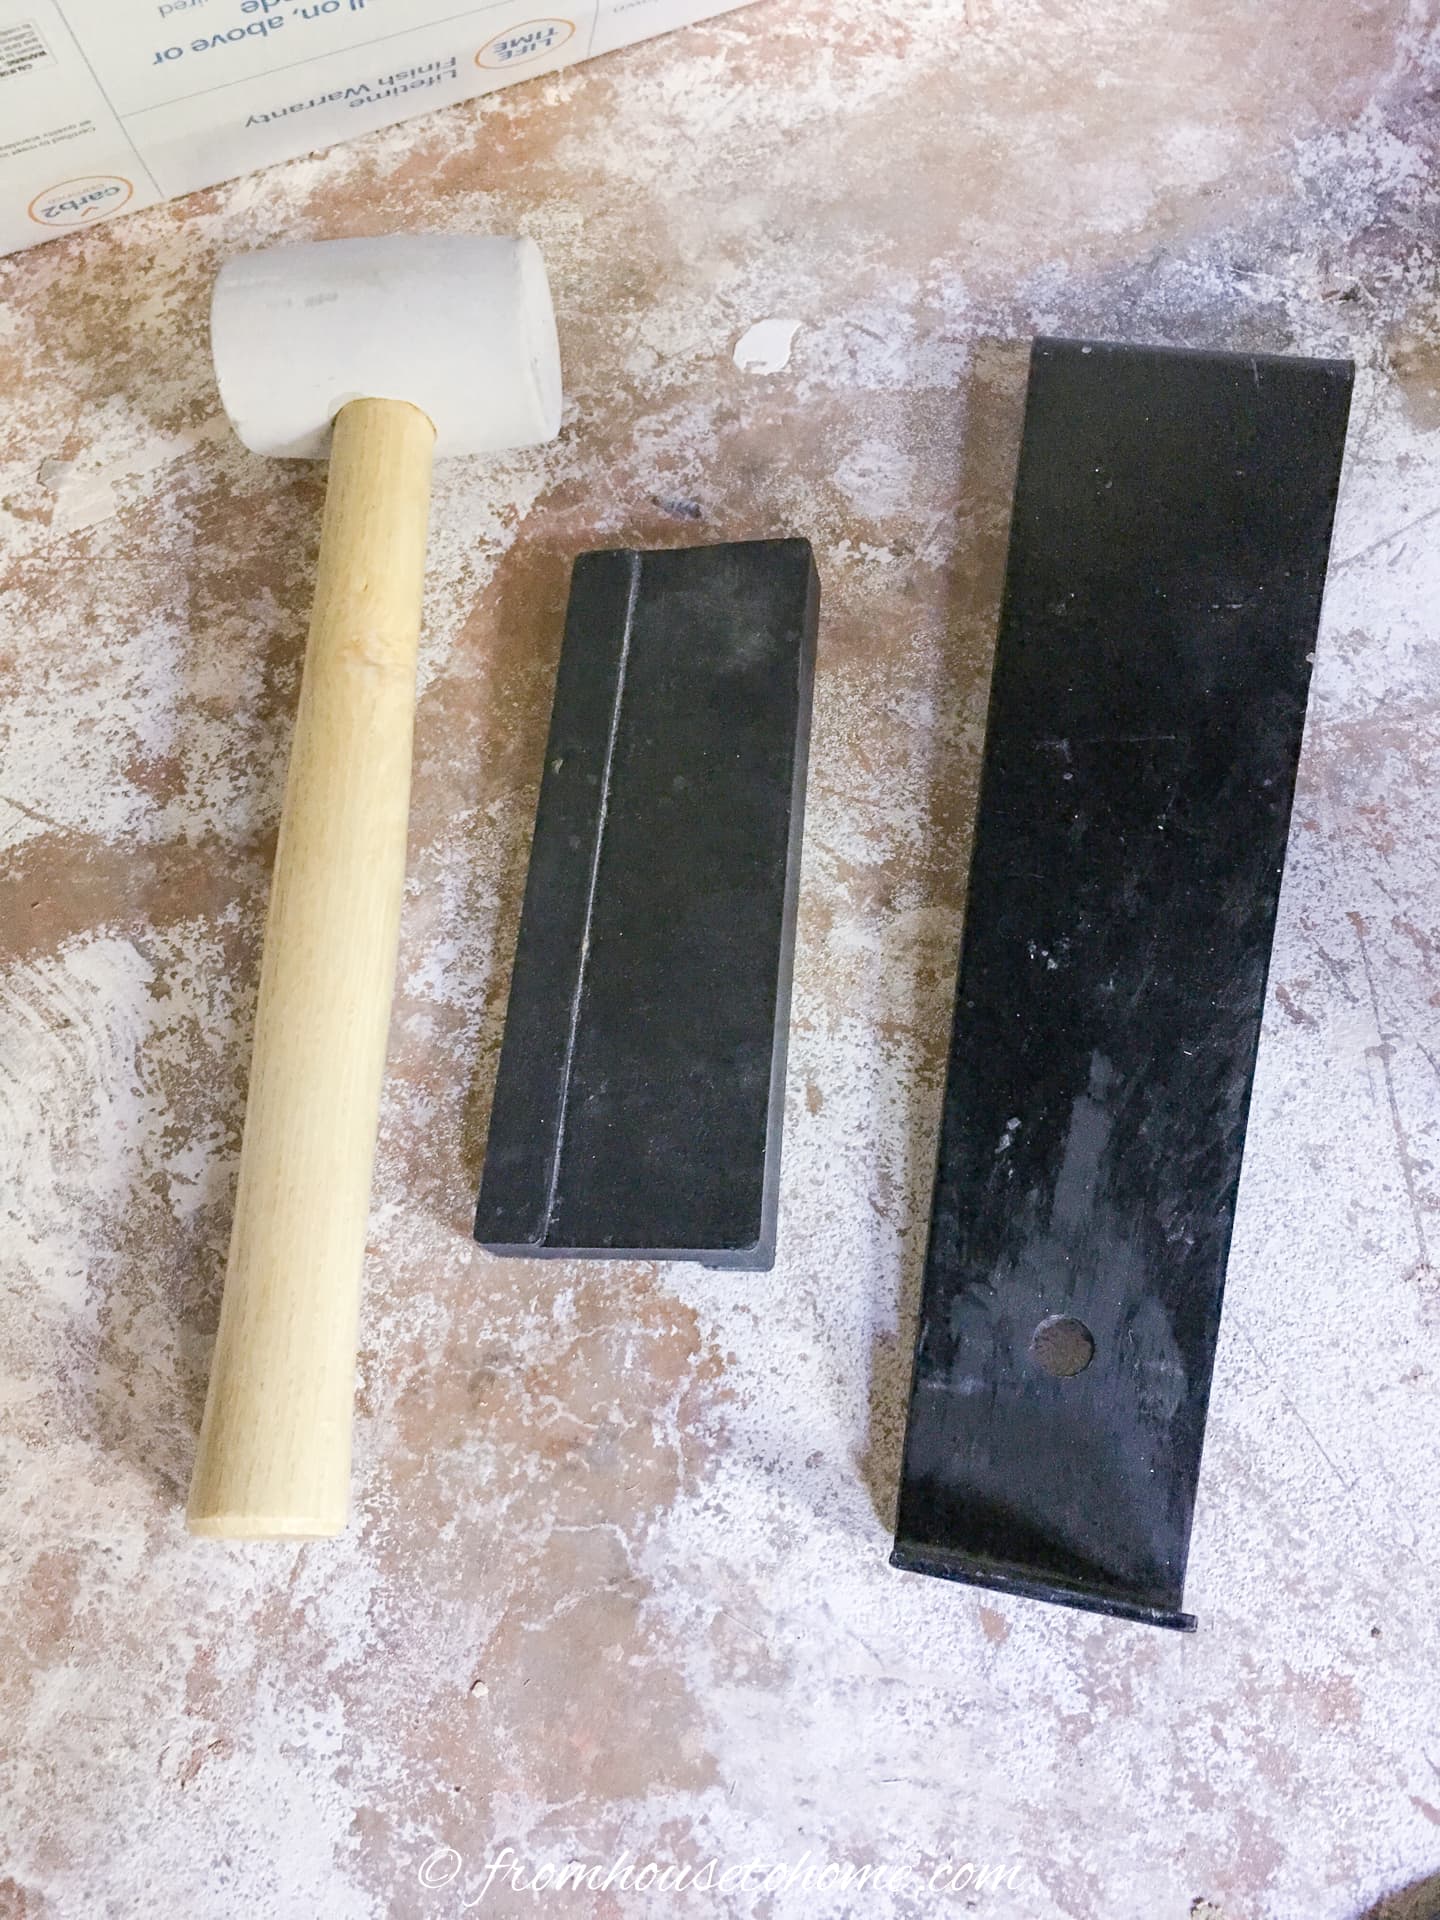
If the boards aren’t tightly lined up, you can use a mallet with a tapping bar and/or a pull bar to nudge them into place.
6 | Cut the end board
It’s likely that you’ll need to cut the last board in the row to fit whatever space is left.
Again, make sure to leave at least 1/4″ between the end of the board and the wall so that it gives the wood room to expand.
7 | Repeat for the rest of the rows
With the first row completed, go back to the other side of the room and repeat steps 3 through 6 until you have the whole room covered.
8 | Cut the last row of boards lengthwise
When you get to the last row of boards, you may find that your flooring boards are too wide to fit in the space.
If so, you’ll need to cut them lengthwise to fit. Remember to leave at least 1/4″ breathing room between the edge of the board and the wall.
Also, make sure to cut off the side of the board that does not have the click edge. Otherwise you won’t be able to connect them to the previous row.
The finished room
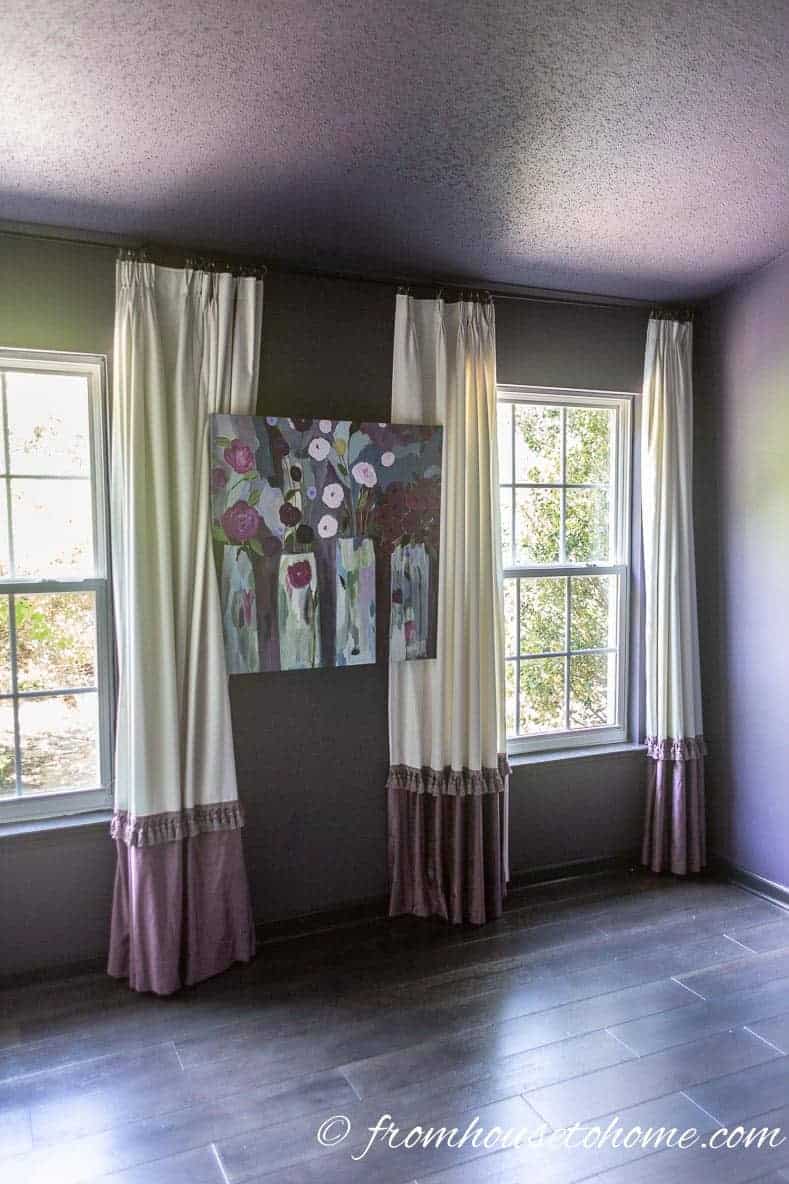
This was my first time using such wide flooring boards (6 1/2″) and I think that really helps make things go faster as well…two rows and you have already covered more than a foot of linear floor space!
The other great thing about floating floors is there is no waiting period after they are installed before you can walk on them, like there is with glued floors. (Since my house is built on a concrete slab, gluing & floating are pretty much the only options I have for the main floor).
Which means I could immediately put the baseboards back up and install the quarter round.
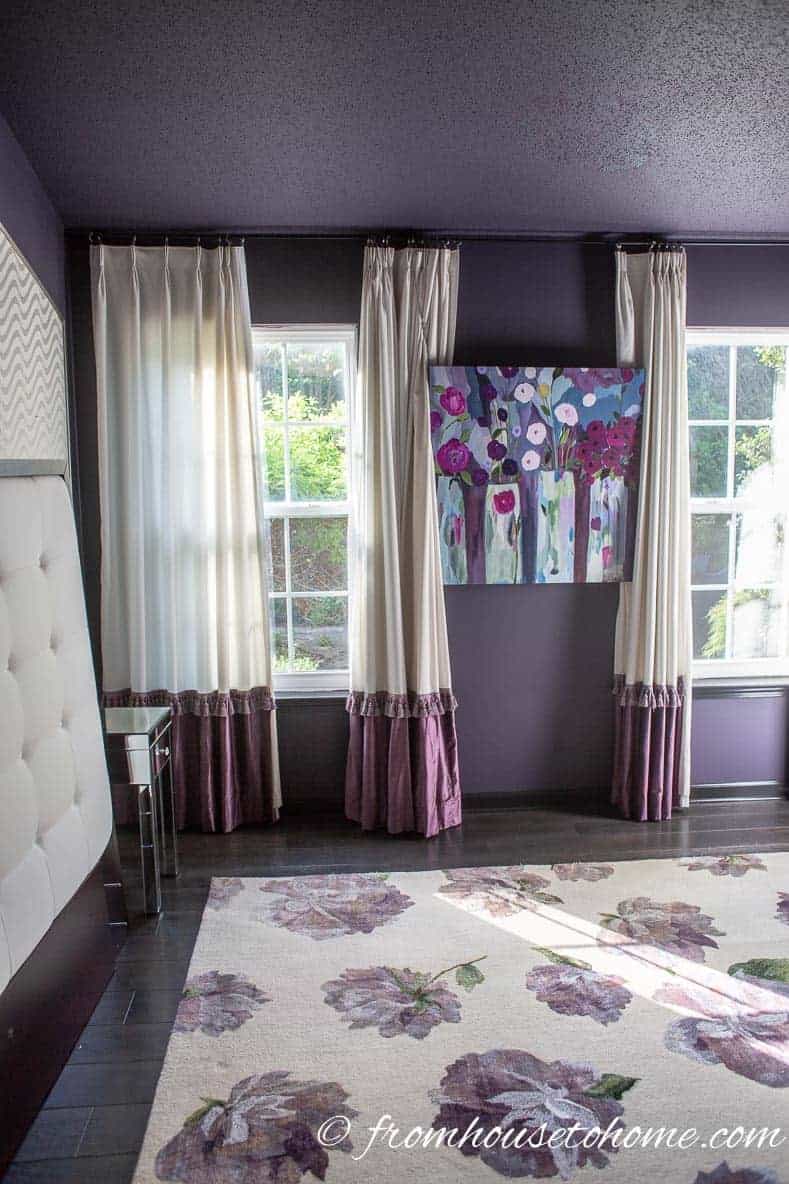
I love the final result! I think the dark floors with the dark walls actually makes the room look bigger.
[columns] [span6]

[/span6][span6]
Be sure to check out the rooms from the One Room Challenge featured participants as well as the makeover inspiration from all of the other guest participants.
[/span6][/columns]
Other flooring tips you might like
- How to remove wall to wall carpet from concrete
- Tiling tips and tricks
- The best way to remove thinset from concrete
Have comments or questions on how to install floating wood floors? Tell me in the section below.
This post was originally published on May 2, 2018 but was updated with new content on April 8, 2024.
You and your mom are amazing! And I totally agree with why pay someone else for what you can do and probably better!
Hi Wanda,
I know I’ve told you before and I’ll say it again, I love your taste! Your ideas and decorating are awesome! You often get inspiration from various sources but then bring it to another level, yours!
Love this room. Purple is my fav color so it isnt a surprise. I do have a couple questions:
1) The drapes; these must be custom. Did you have them made or pull out your sewing machine? They are simple, feminine and very much so out of the ordinary. Love them! I wonder what fabric(s) they are? They really work to tie the room together.
2) You always surprise me in your handy woman skill and abilities? When and how did you learn so much? It isnt limited to any one type of trade and you aren’t afraid to research something if not quite sure how to go about it. I admire that.
Anyway, thought I would applaud your work and eye for design while getting those questions out to you. Looking forward to the Big Reveal!
Thanks, Janie! My mother made the drapes for me. I’m lucky that she’s very good at sewing. It’s much less expensive than having them custom made 🙂 The purple part at the bottom of the drapes is velvet. I’m actually not sure what the white fabric is. It was a remnant I got on clearance at the fabric store.
As for the handy woman skills, I think that came from my mother, too. She grew up on the farm where they did all of their own repairs (mostly because there wasn’t anyone else to do it). So she did a lot of the fix-it work around our house when I was growing up, and we were her helpers. Now it’s just second nature…and I’d rather spend the money I’d pay an installer on something else 🙂
Lookin good
Thanks, Aunt Elaine! Almost there…I can see the light at the end of the tunnel 🙂