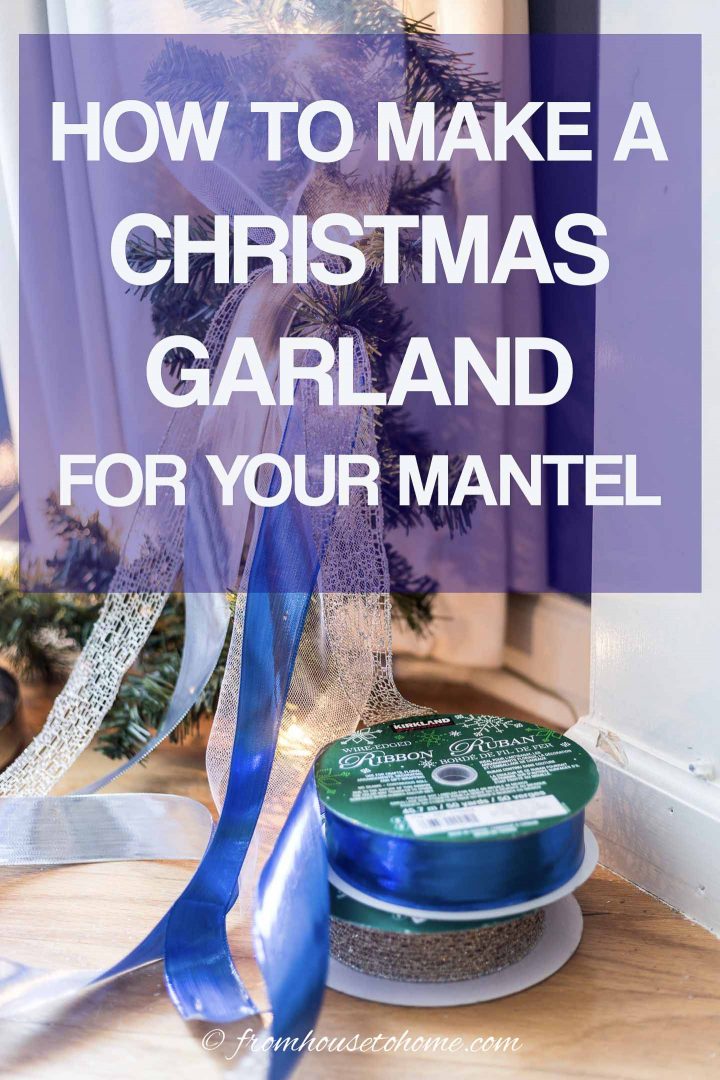
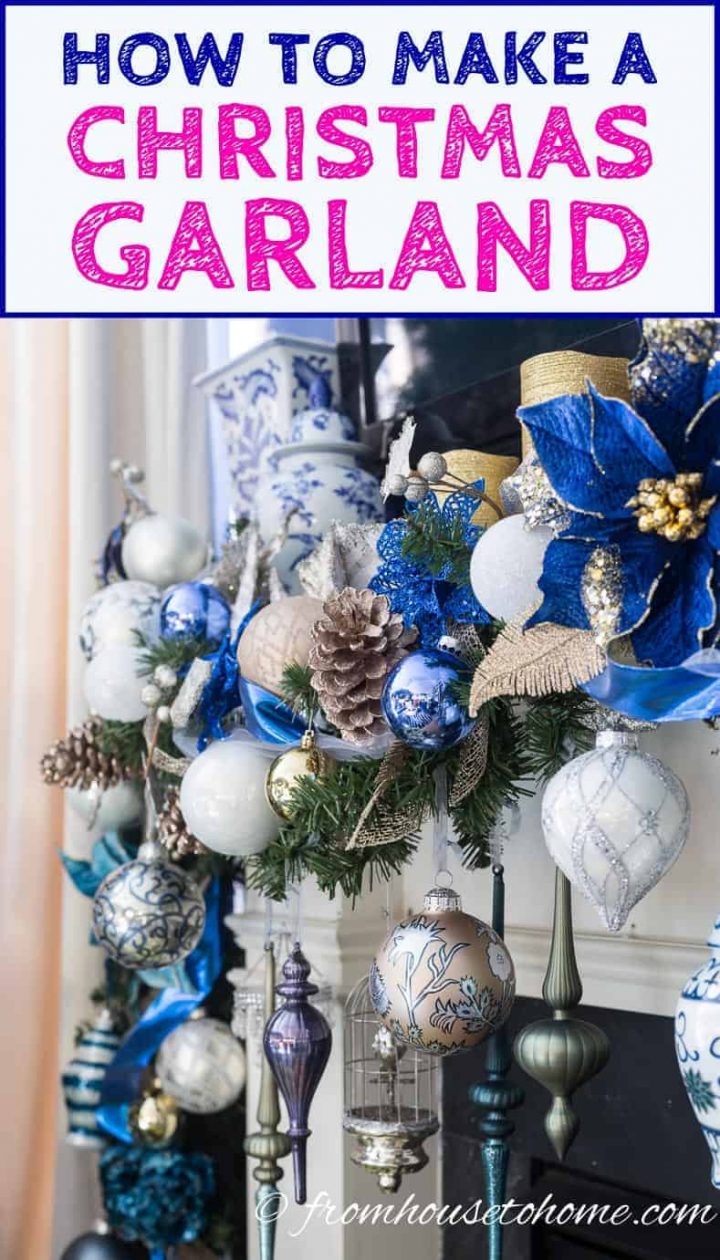
How To Make A Christmas Garland For The Fireplace Mantel


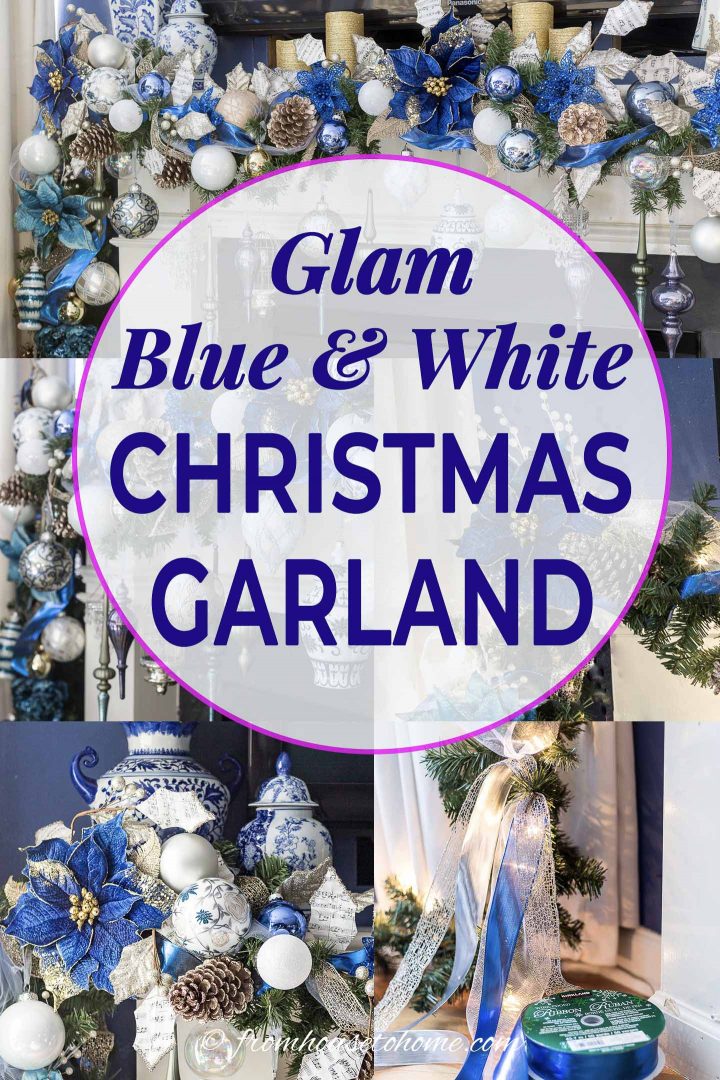
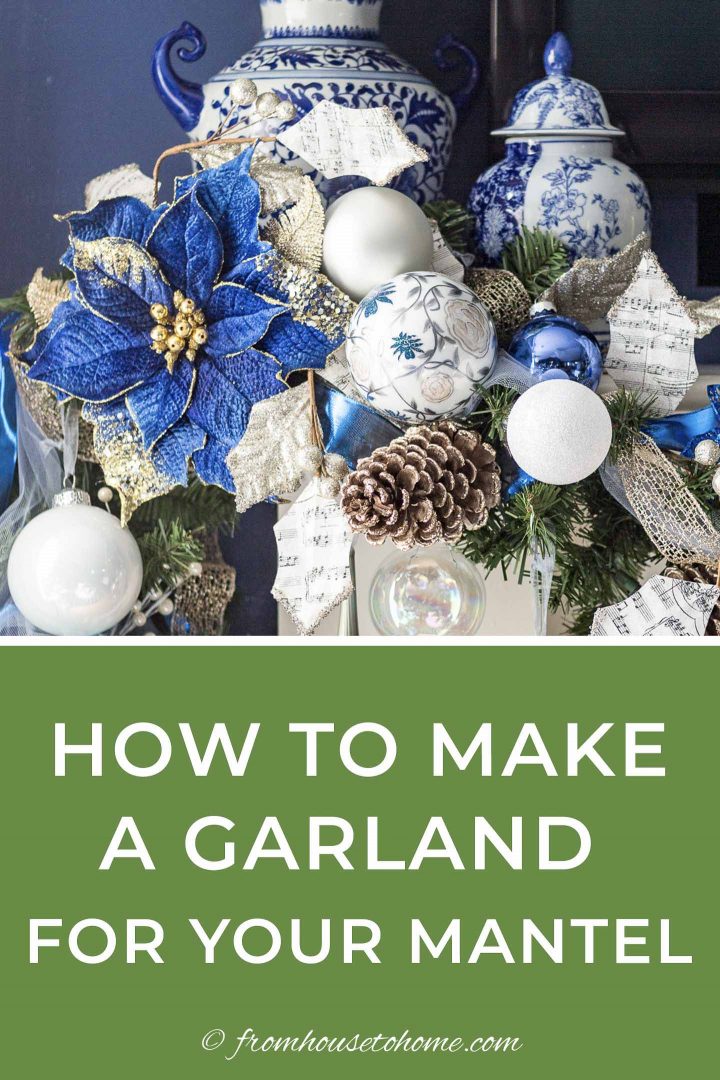

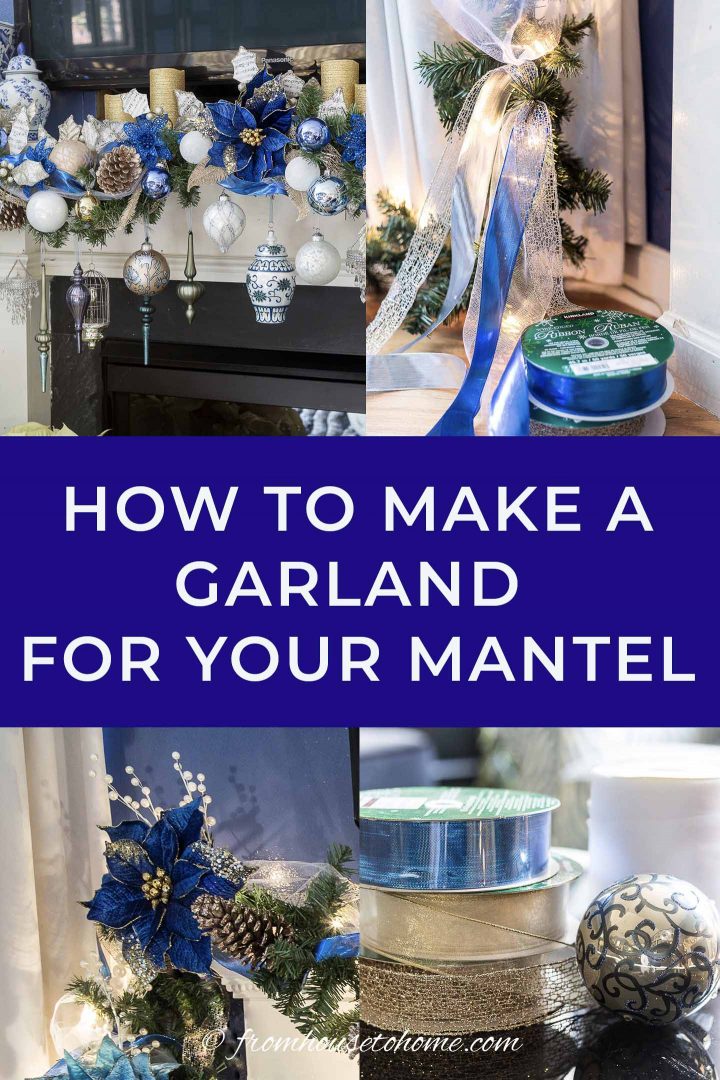
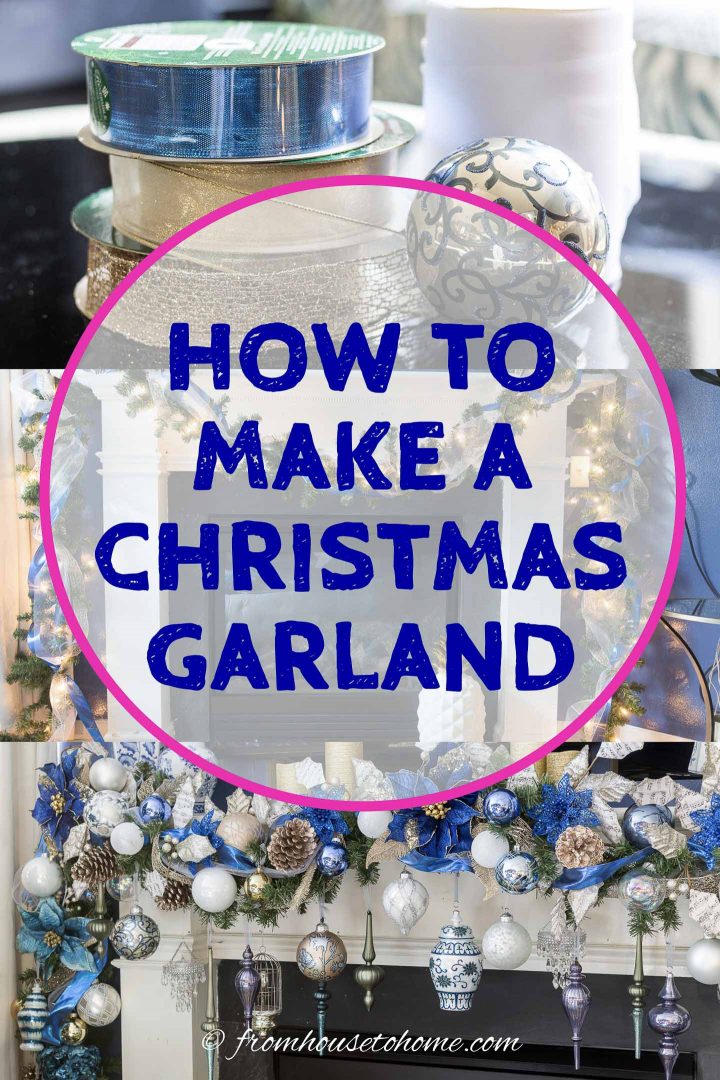
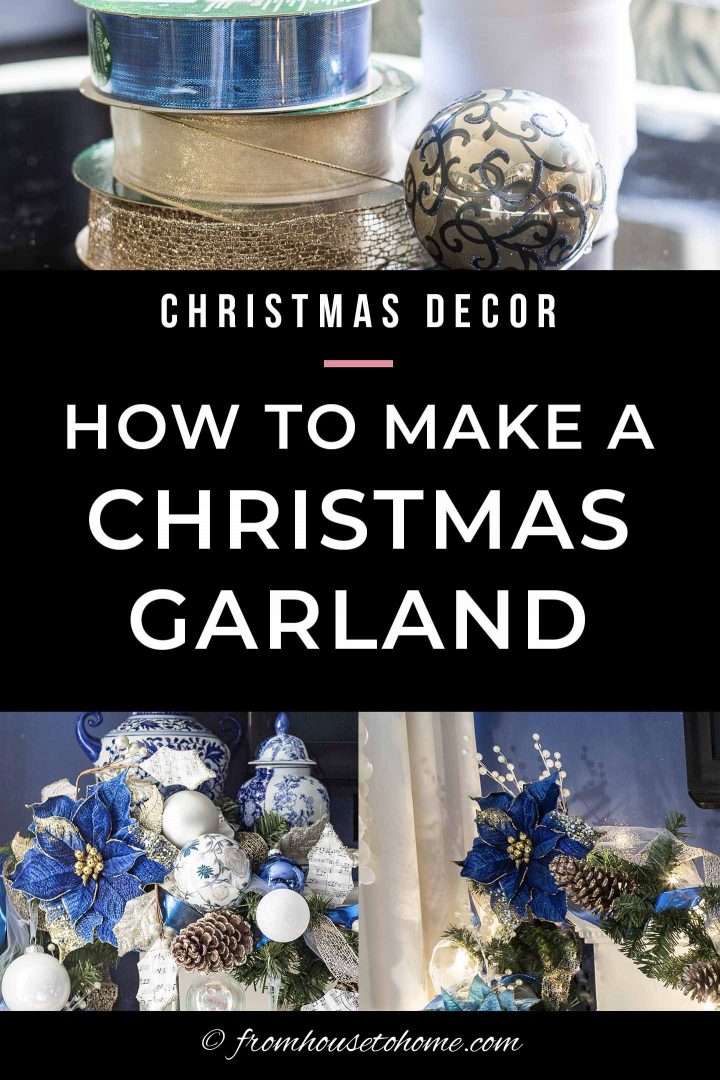
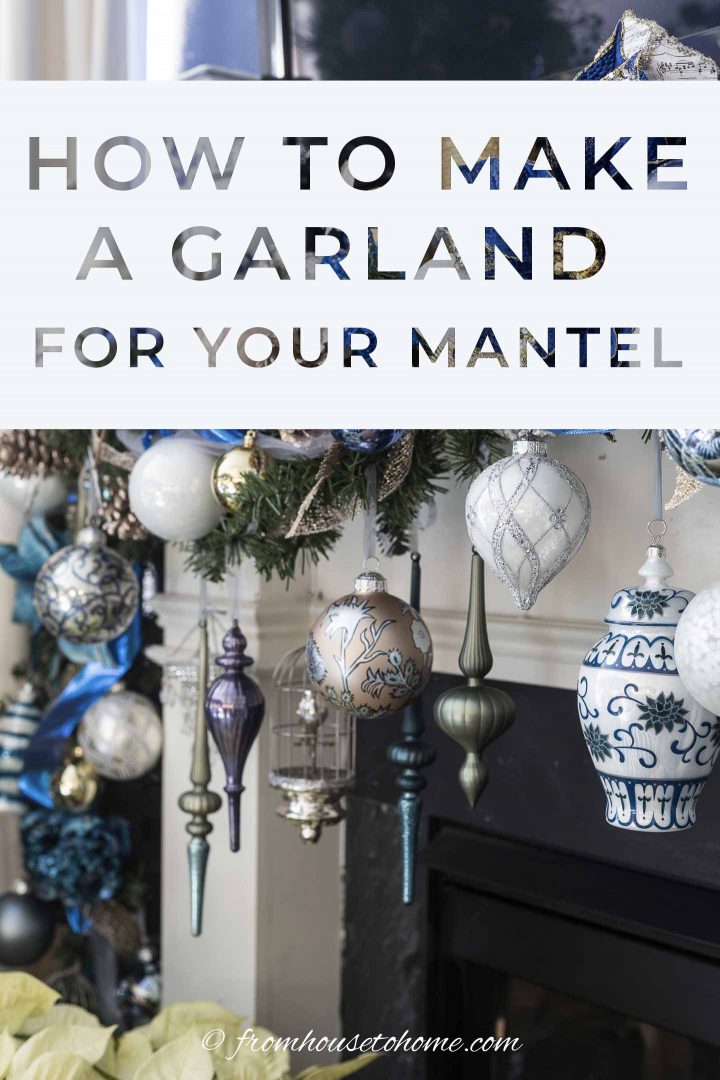
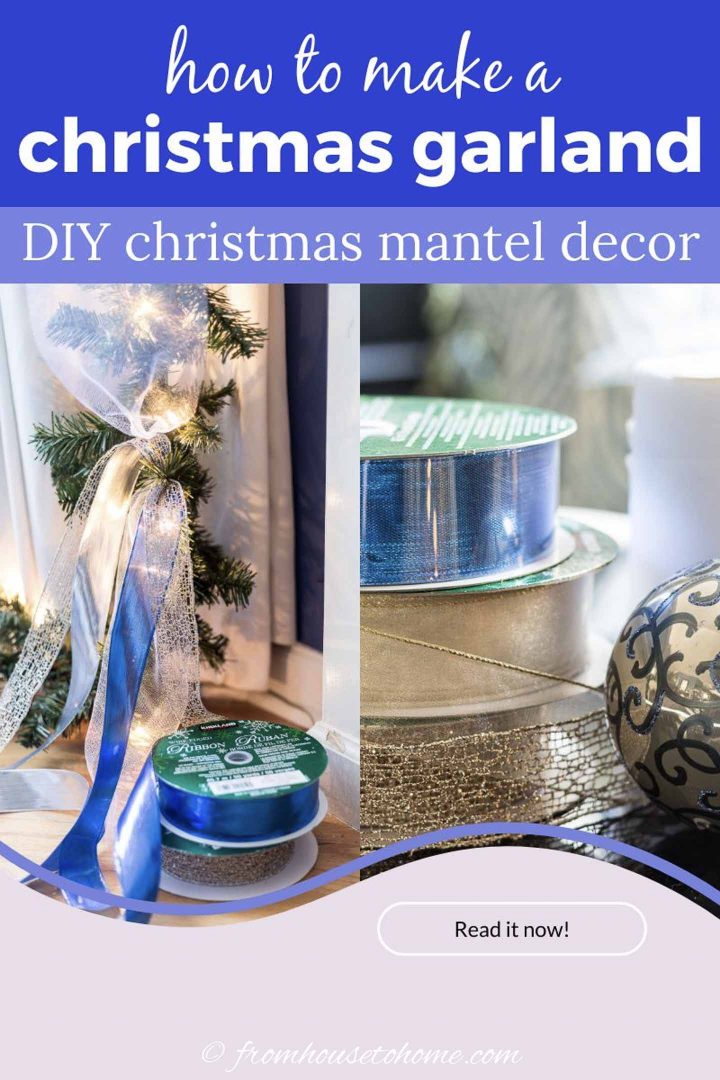
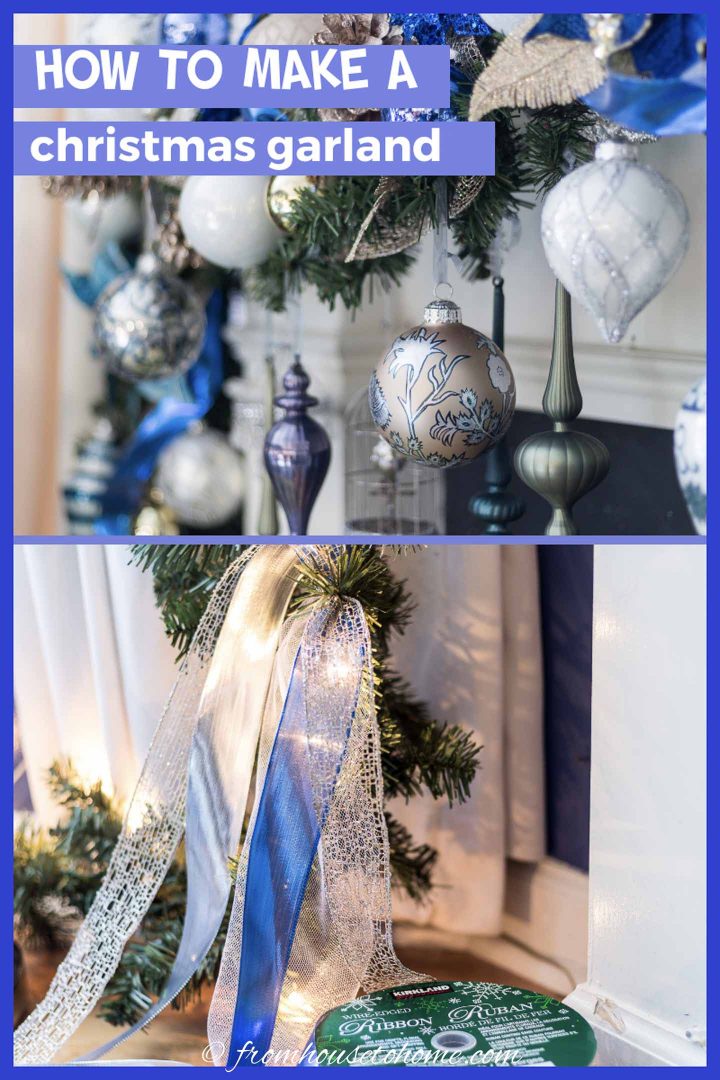
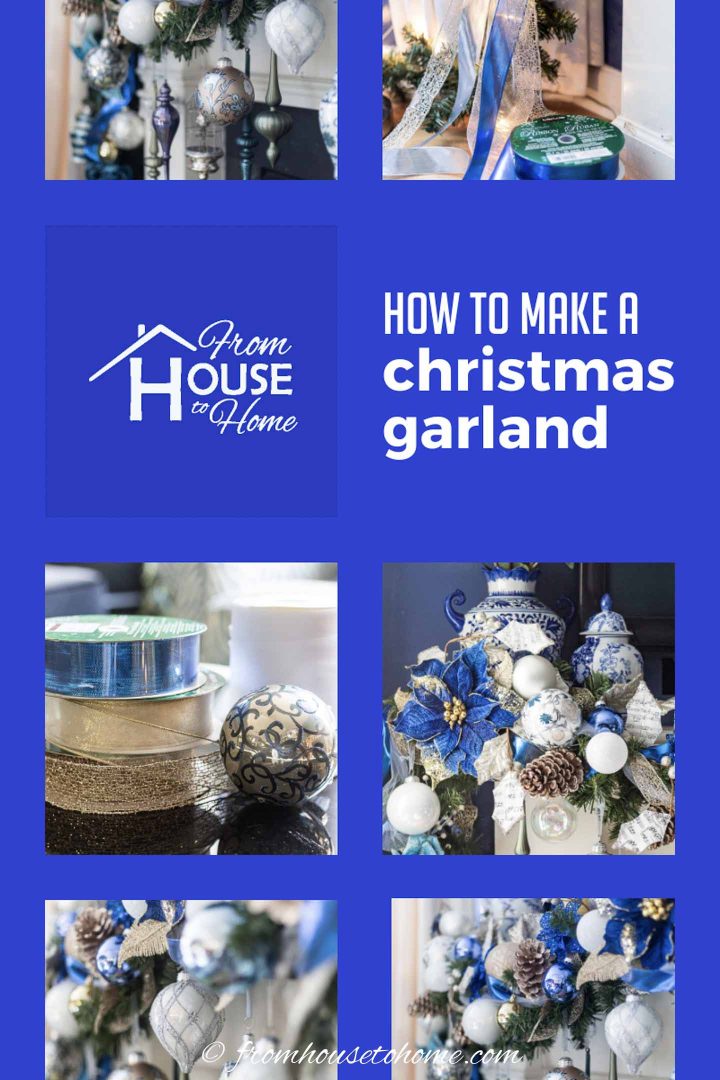
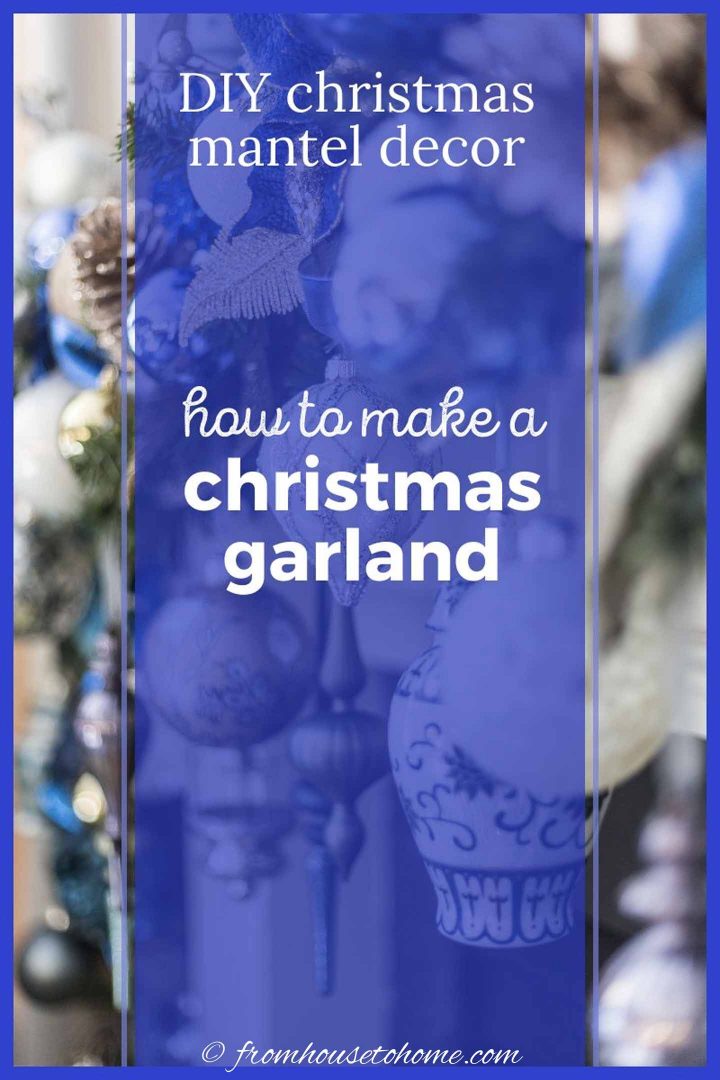
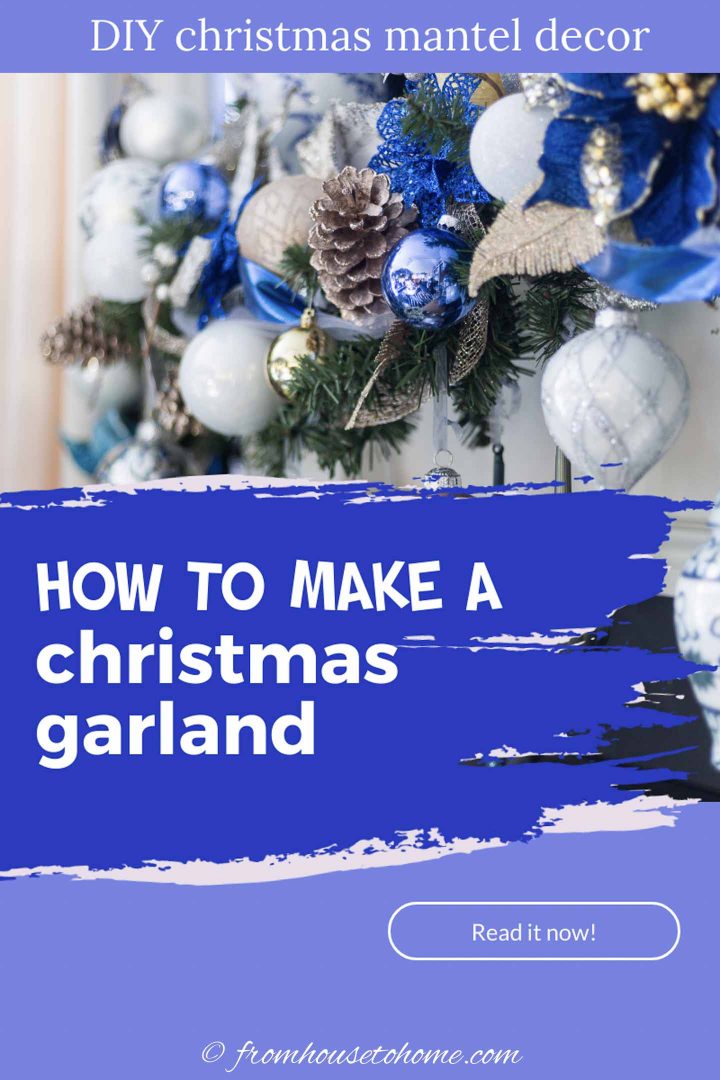
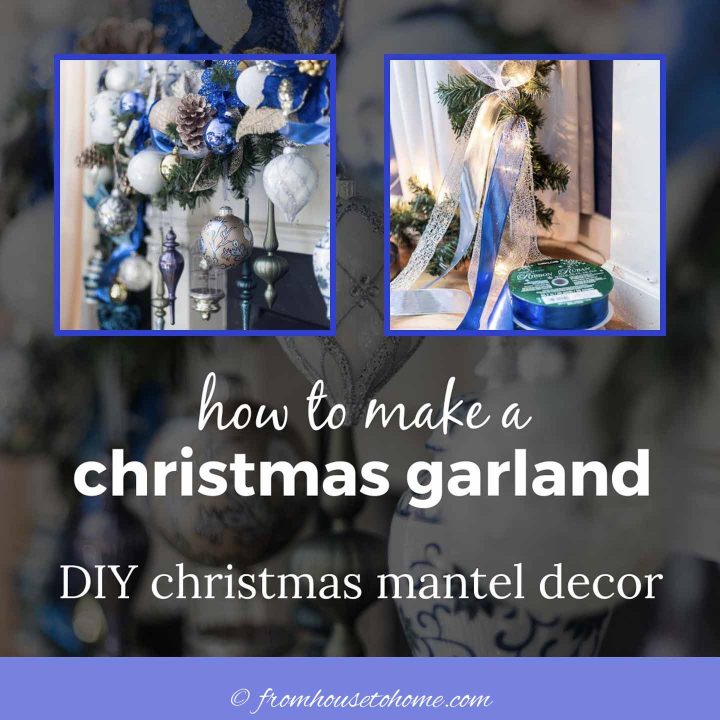

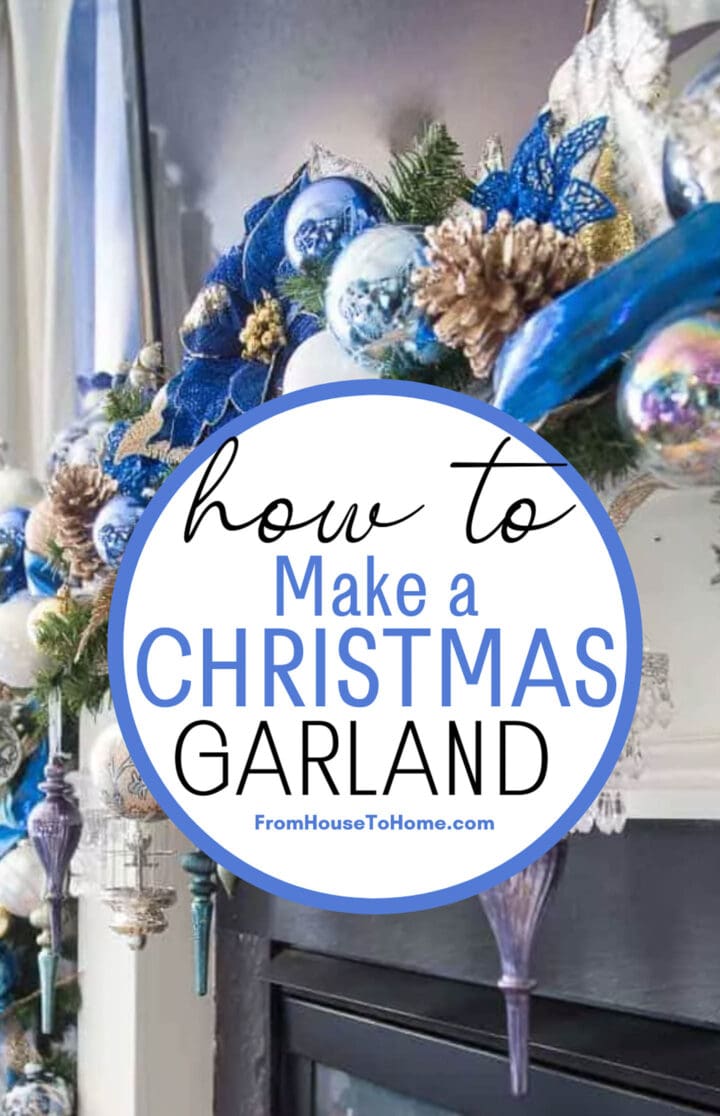
Learn how to make a Christmas garland that will take your Christmas fireplace mantle decor to another level with this step-by-step tutorial.
As promised in last week’s blue and white Christmas home tour, here is the tutorial for making my Christmas garland.
Ever since I wrote last year’s post on decorating a fireplace mantel that has a TV above it, I have been planning to go all out on creating a garland for my mantel this year.
So this tutorial has been a whole year in the making!!
You might be wondering what was so life-changing about that post? While I was looking for garland inspiration, I found Regina Gust’s website with her absolutely gorgeous holiday decor. I decided right then and there that I wanted a garland like one of those to go over my fireplace.
Unfortunately, last year it was a little too close to Christmas when I discovered her amazing website, so I promised myself that I would make one this year…and I did!
Keep reading to find out how to make a Christmas garland to go over your fireplace mantel.
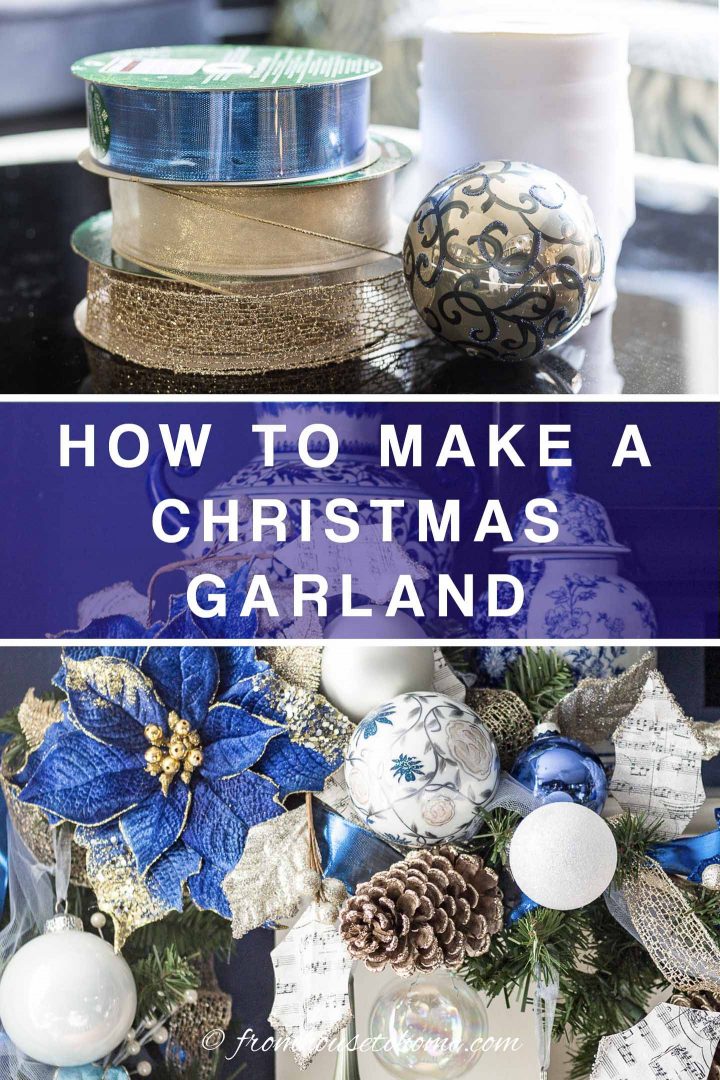
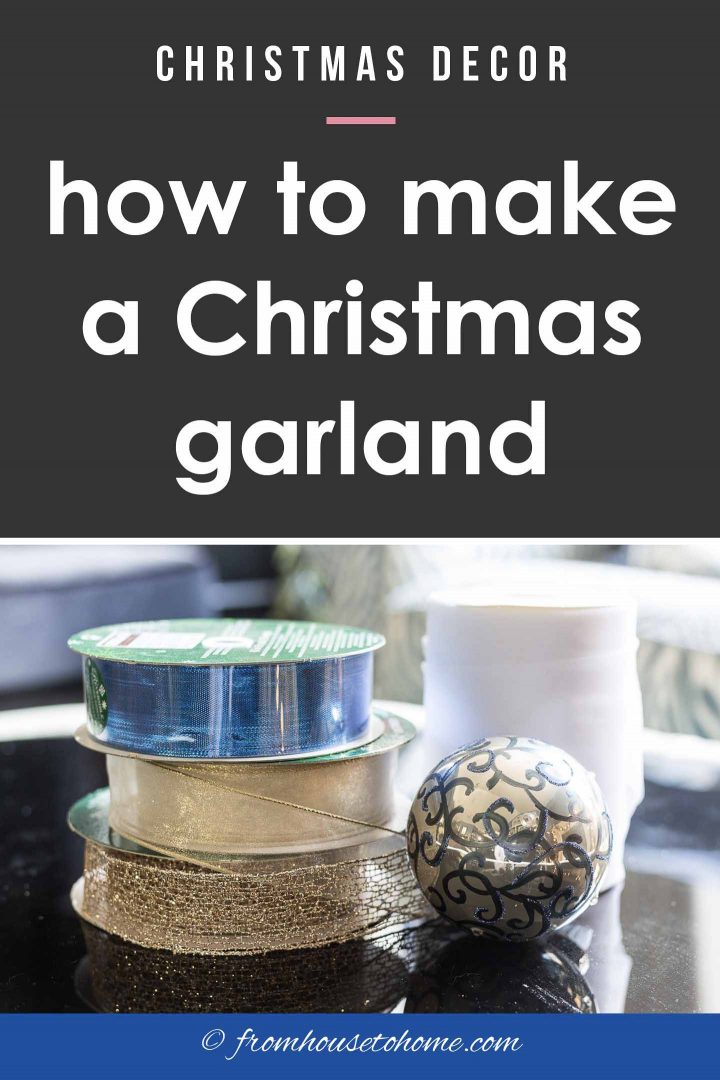
What You Need
This post may contain affiliate links. We make a small commission if you buy the products from these links (at no extra cost to you). As an Amazon Associate, I earn from qualifying purchases. But we only recommend products we would use ourselves. For more information, click here to see our disclosures.
- 18 foot lighted garland* with pose-able branches (or you can get a non-lighted one and add your own lights)
- 3 5-lb Command Hooks*
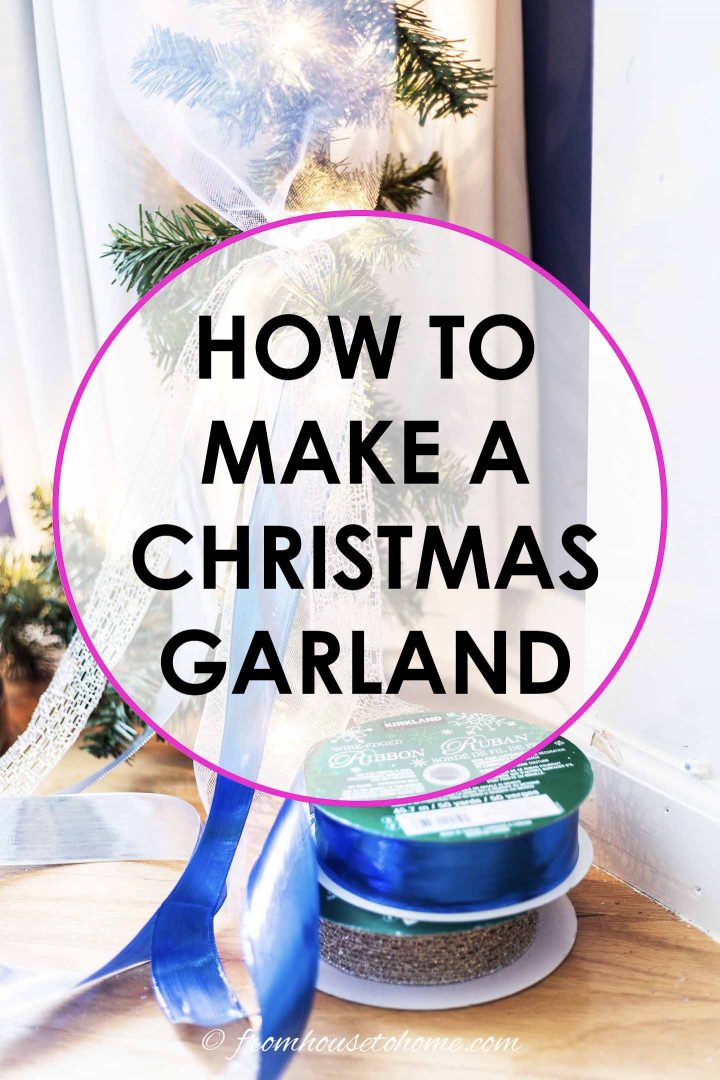
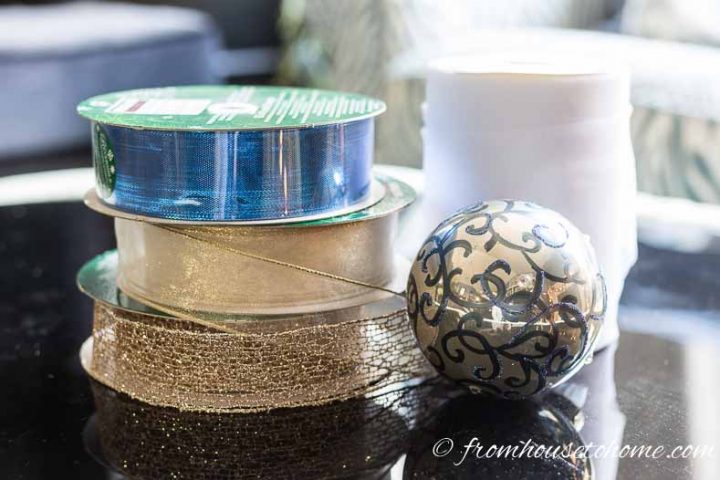
- 6″ wide tulle* (I used white)
- 3 types of ribbon that are at least 2 1/2″ wide. If you can get wired ribbon, it is a little easier to position (but not absolutely necessary). I matched the color of the ribbons to one of my ornaments.
- alligator clips*
- ornament hooks* – the green ones are best since they blend in with the garland
- thread
- wire cutters*
Ornaments for the Garland
Note: This is the list of what I used for my garland, but you can use whatever works with your decor (and whatever you have on hand).
- 9 large blue poinsettia flowers* (similar)
- 7 pinecone picks*
- 3 multi-branch pearl picks* (similar)
- 6 small blue poinsettia picks*
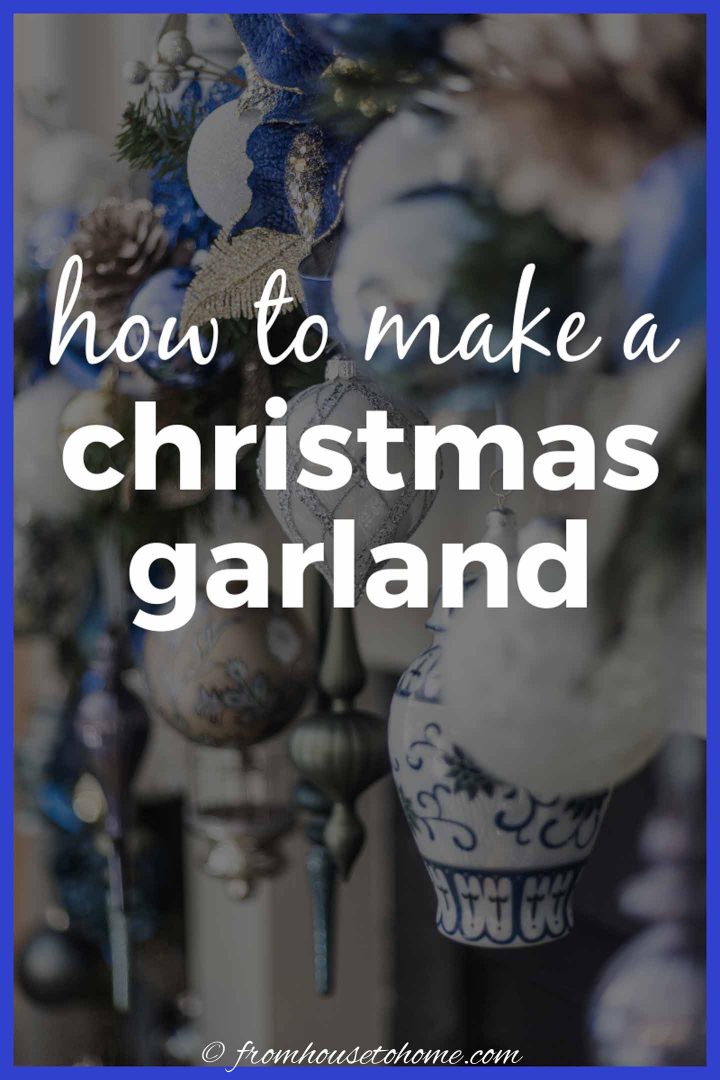
- 5 ginger jar ornaments* (similar)
- 5 bird cage ornaments* (similar)
- 5 chandelier ornaments*
- 20 gold leaf picks*
- 50 round ornaments – I used about 25 4″ ornaments and 25 2 1/2″ ornaments in a mixture of blue, white and gold colors.
- 10 long ornaments of different sizes. These ones* are similar.
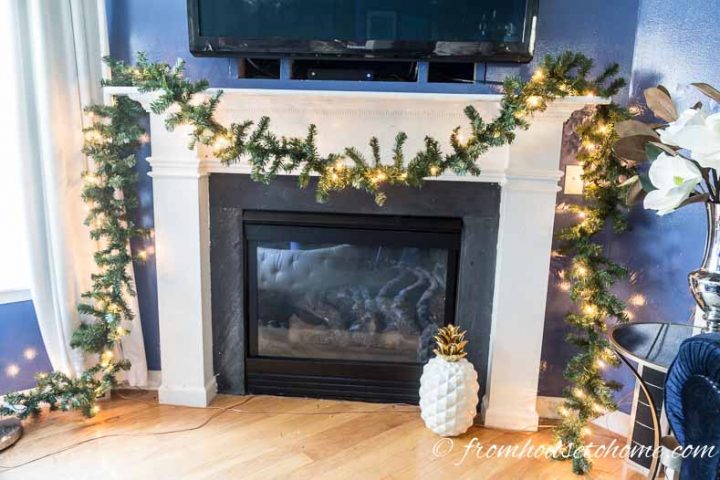
Step 1: Start With a Plain Garland
One of the things I really like about Regina’s garlands is that they go all the way to the ground.
So I was looking for either a long garland or shorter ones that I could join together.

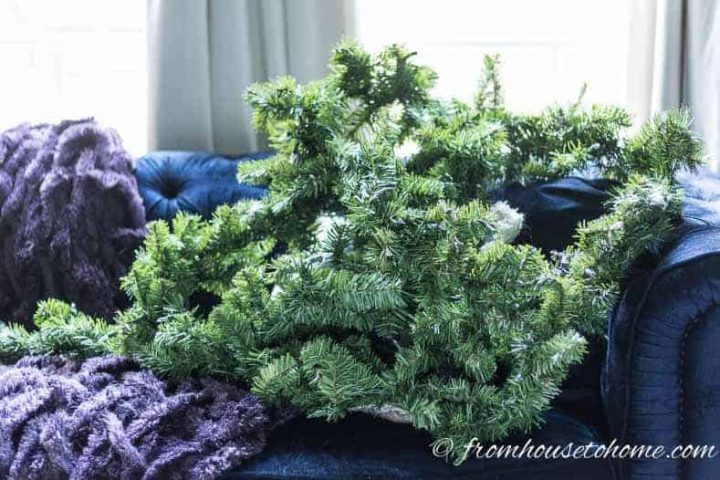
I originally bought these sparkly garlands from Michael’s (everyone knows I like a little sparkle!)
And I do like them, but I realized that the garland needs to have “pose-able” branches in order to move them where you need them. So these ones were out.
After searching through a bunch of different stores, I found exactly what I was looking for – an 18-foot garland with lights*.
Even better, it was the least expensive option I found!
This isn’t the fullest garland you can find. It’s actually pretty scrawny!
But for this project, I wasn’t too worried about that. All of the extra decorations will fill it out!
Step 2: Add String Lights
If your garland didn’t come with lights, you’ll want to add them add this point.
Just thread them in and around the garland branches just like you would with a Christmas tree.
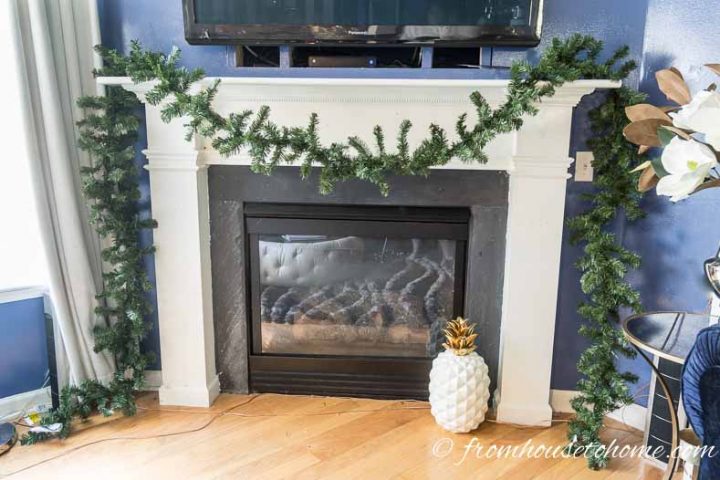
Step 3: Hang The Garland
I know it seems a little backward to hang the garland before you put anything on it, but I think it’s easier this way.
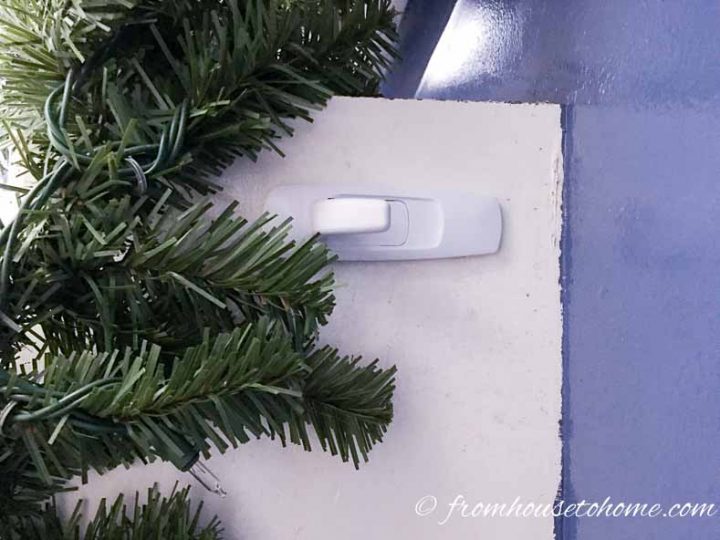
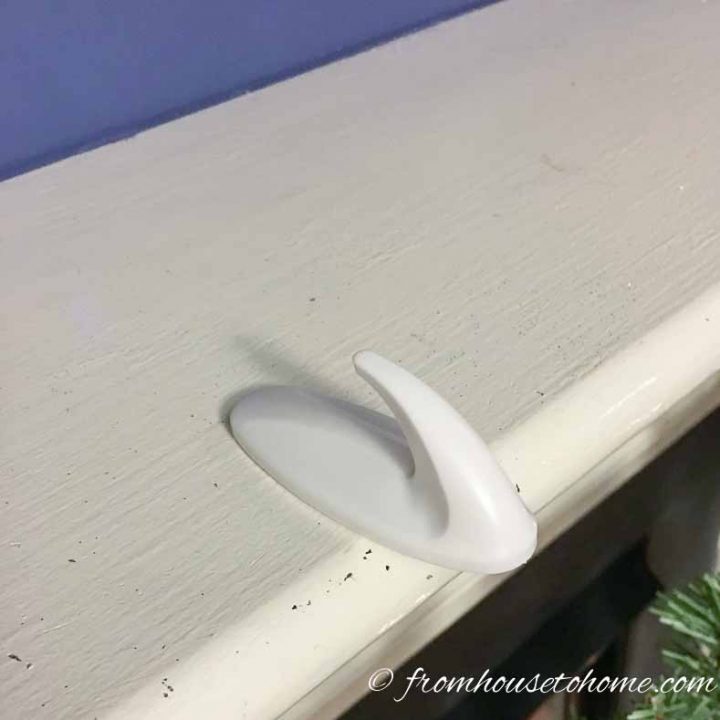
For this, you will need at least 2 (and possibly 3) command hooks. They will hold the garland on your mantel and can be removed later without causing any damage to the finish.
I went for the ones that can hold 5 pounds…this garland will be heavy by the time we’re finished!
Position the first hook close to one end of the mantel, about 1″ from the wall.
Stick it onto the mantel with the hook end closer to the front of the mantel.
Repeat the process on the other end of the mantel.
The third hook will be used to hold the garland up in the middle if you want to do that.
If you’re not sure what you want to do, you can wait to attach this one.
I didn’t decide that I wanted it up in the middle until after I had put most of the ornaments on the garland.
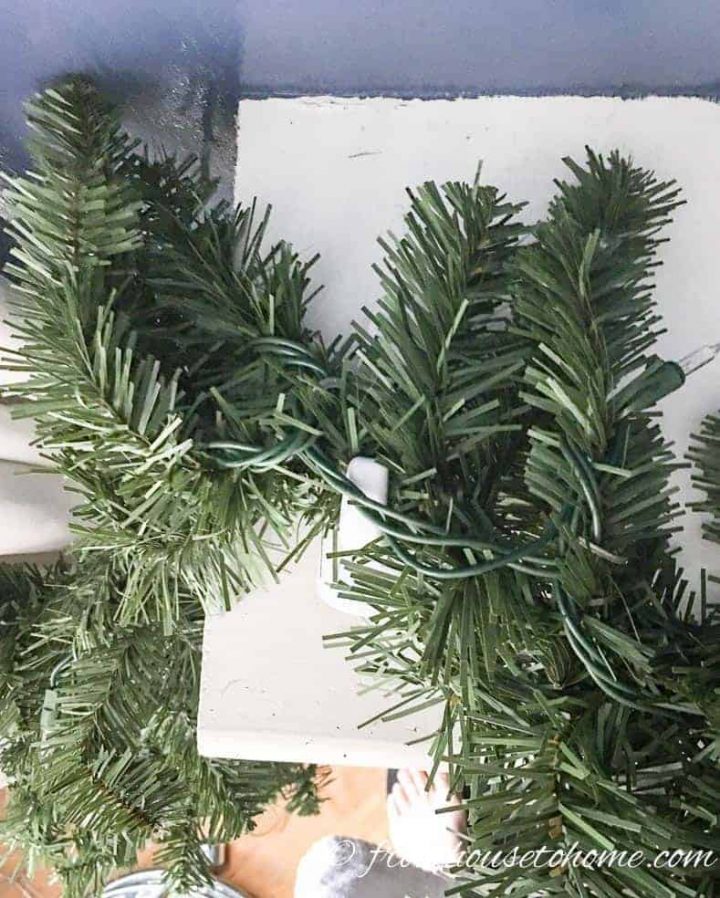
Then hook the garland around the command hook on each side of the mantel.
Make sure that the garland is evenly hung on both sides.
You may need to fiddle with it a bit to get the ends to be even and get it to drape like you want it in the front.
It will get pulled down some by the weight of the ornaments so you don’t want too much of a swag at the front.
Important Note: Make sure that the light plug is at the end closest to the electric socket. I plugged my garland in at this point to make sure I had it right.
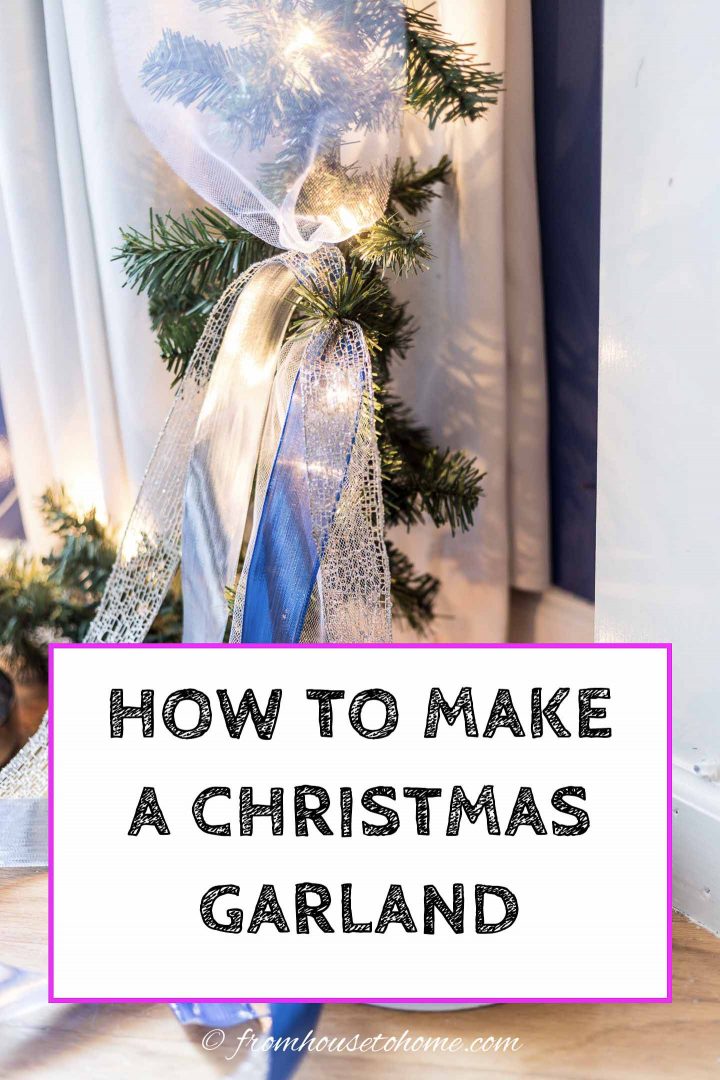
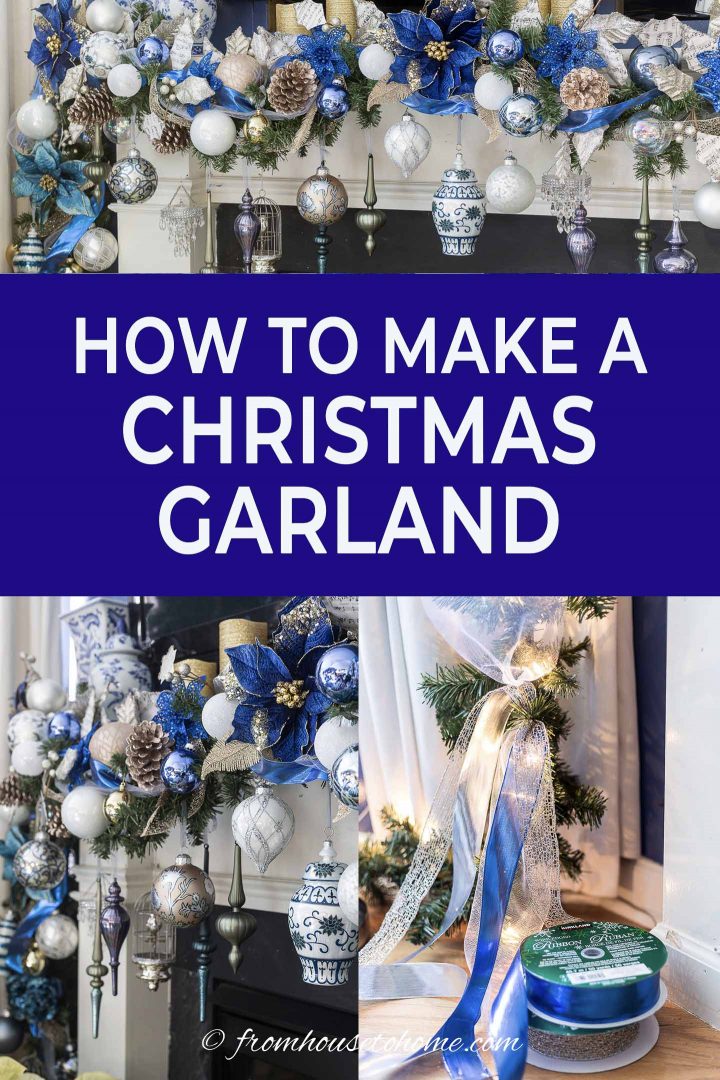
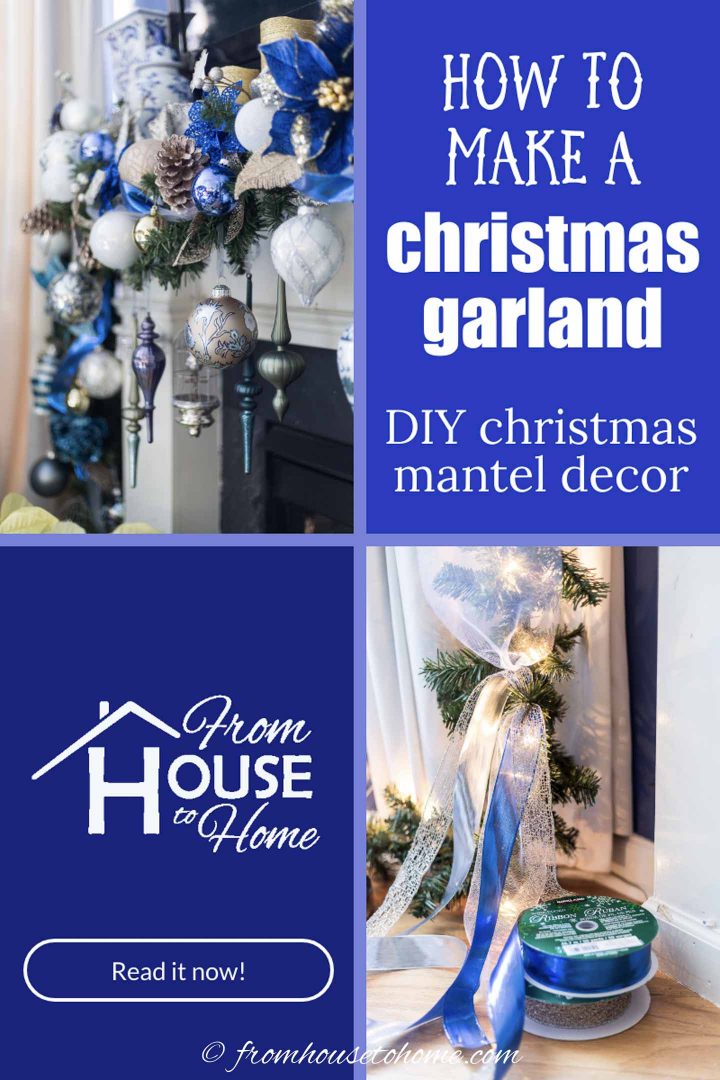
Step 4: Wind In Some Tulle
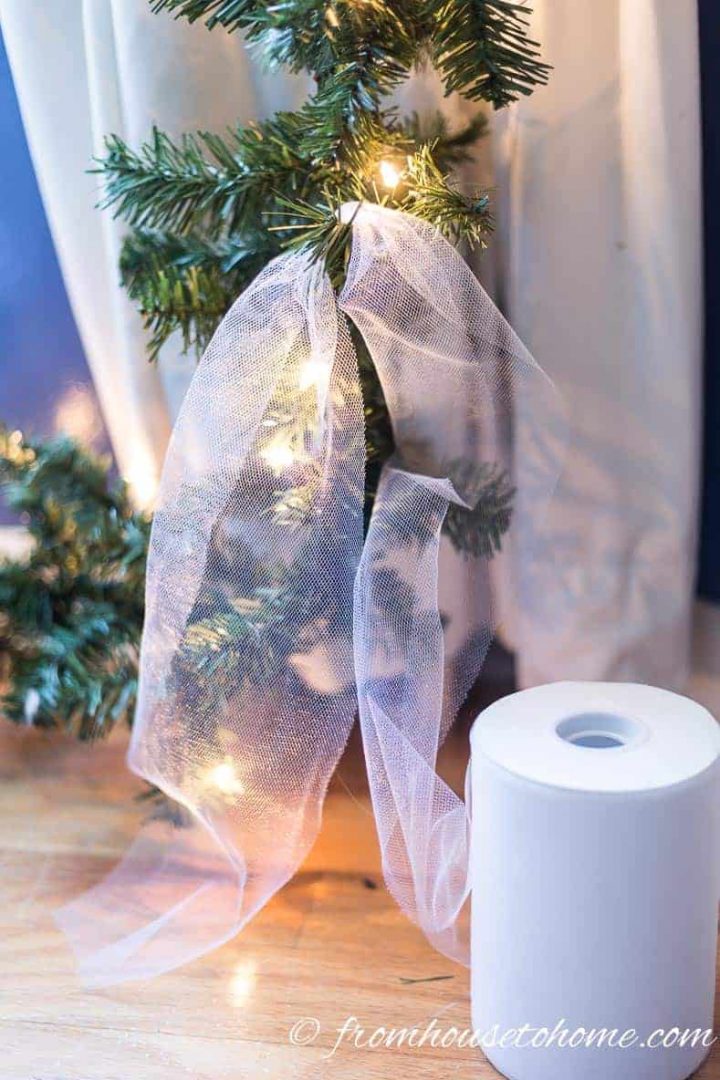
Now that the garland is hung, it’s time to start the fun part! The decorating!
The first thing to put on the garland is the tulle.
To attach the tulle, simply wrap one of the garland branches around the tulle.
Then move up the garland a foot or two and wrap another one of the garland branches around the tulle.
Keep the tulle pretty loose between each tie point.
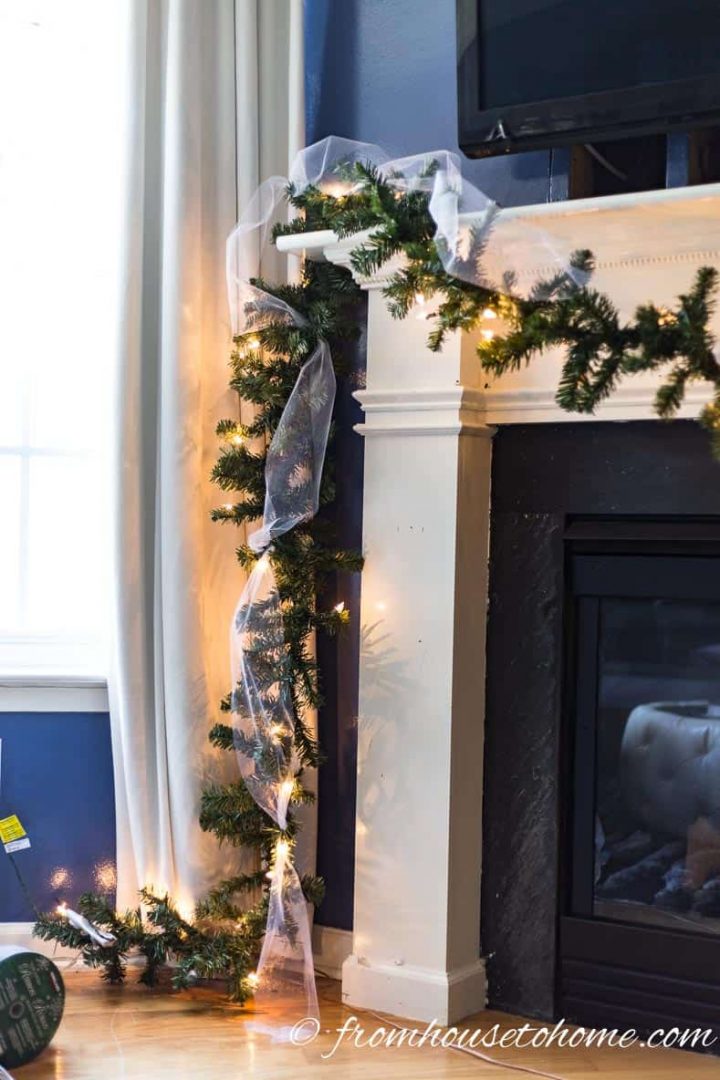
Keep going until you have reached the other end of the garland.
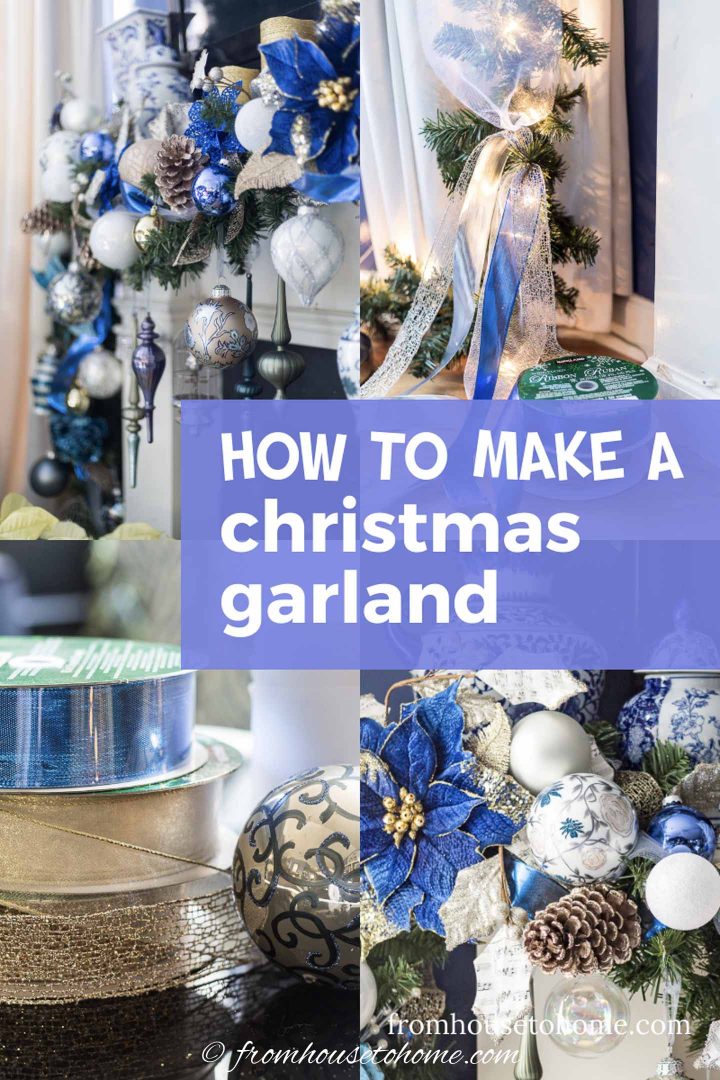
Step 5: Tie On The Ribbon
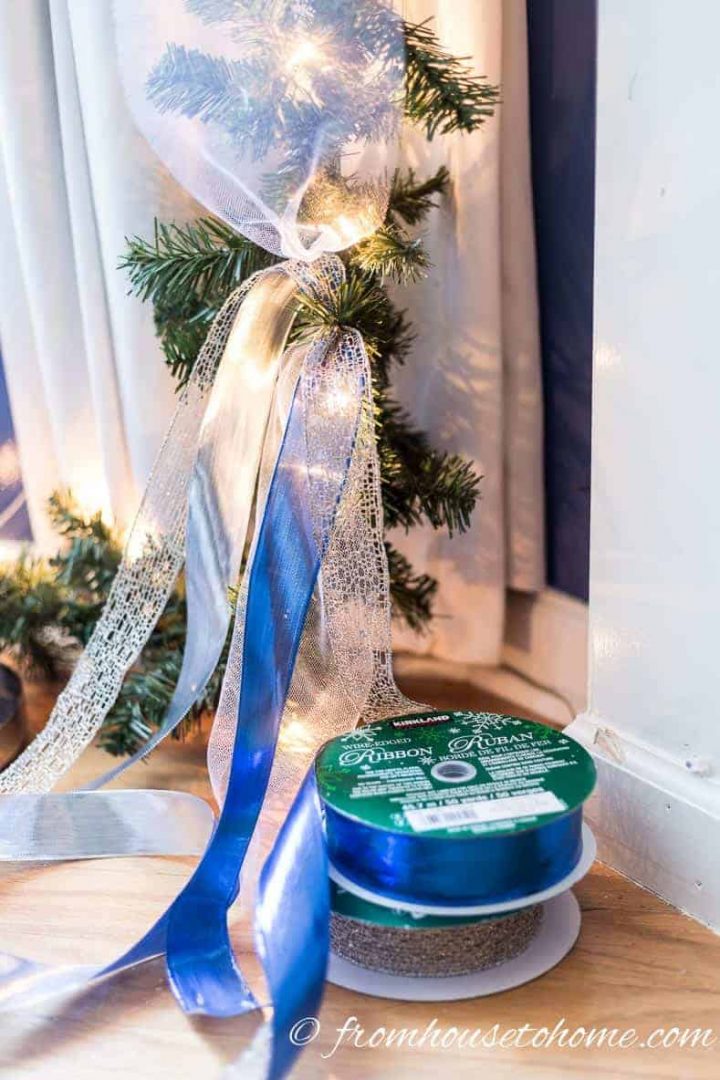
Take the 2 ribbons and wrap a branch around them to tie them on to the garland.
I attached them in the same location as the tulle.
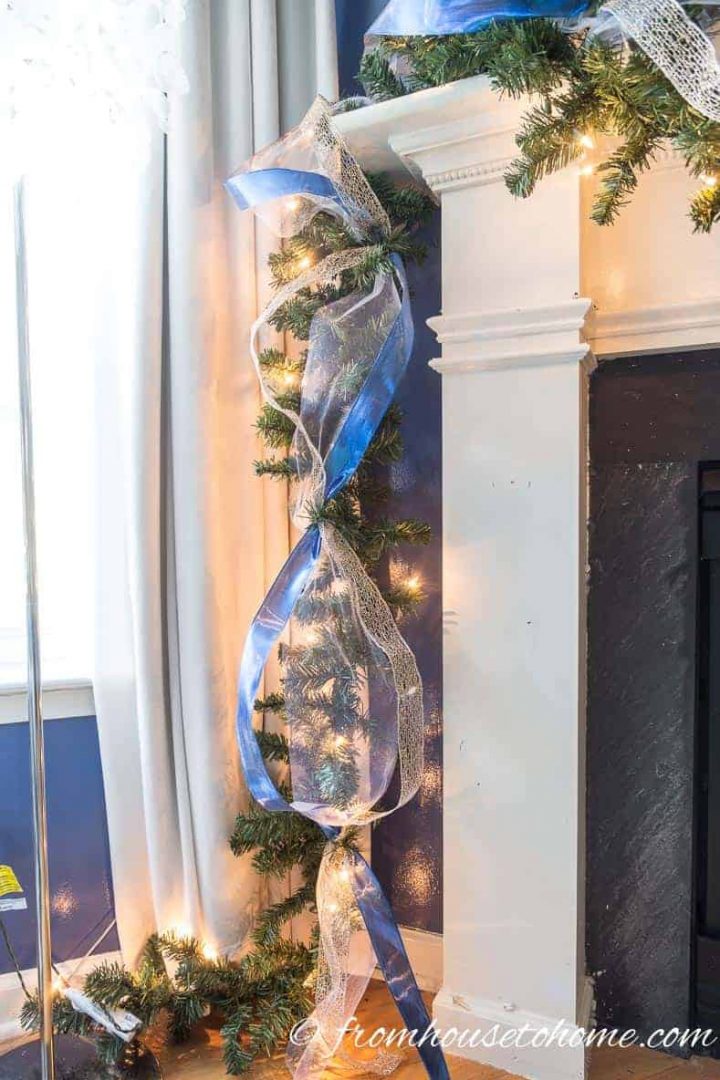
Keep going up and around the garland with the ribbon, the same way that you did with the tulle.
Try to alternate sides with the ribbon…so that the blue ribbon starts on the right side of the garland at the bottom, then is on the left side of the garland for the next section, then goes back to the right side on so on.
The gold ribbon does the same criss-cross pattern in the opposite direction.

Keep going until you reach the other end of the garland.
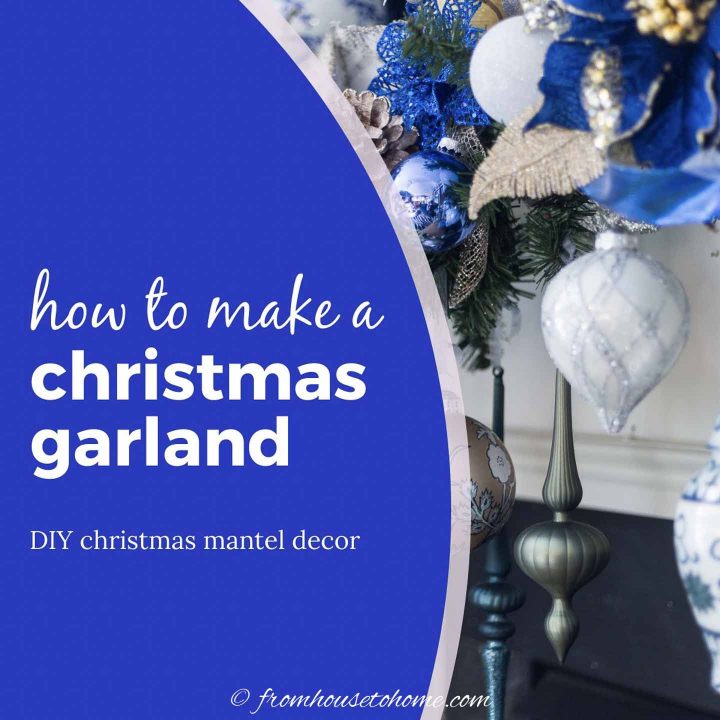
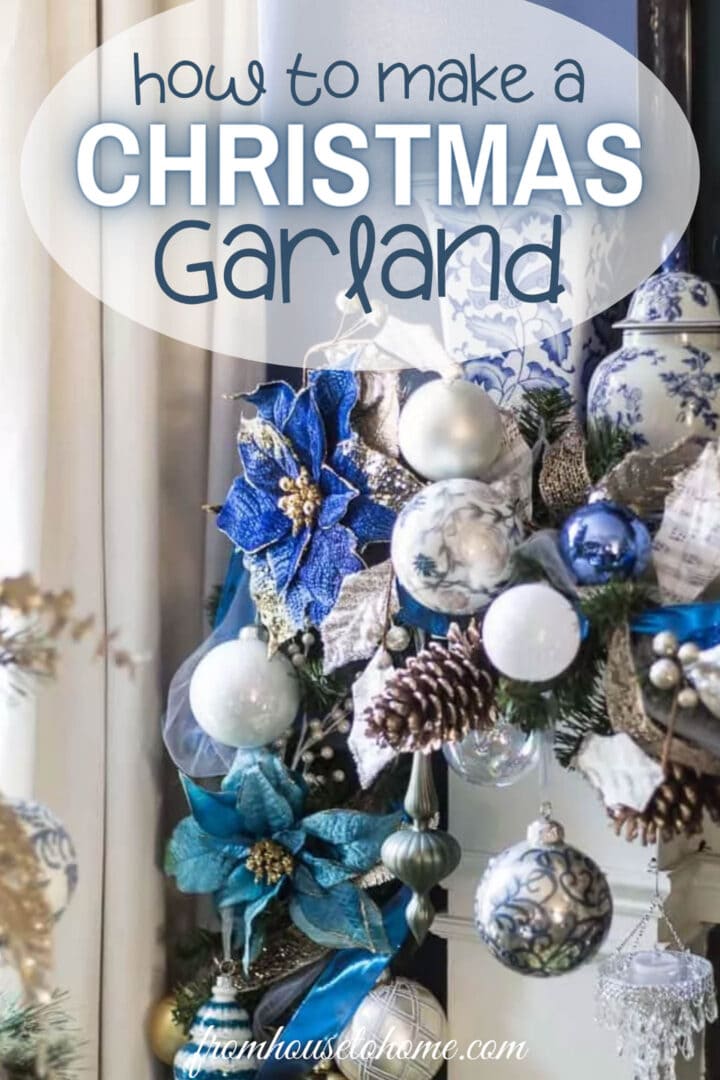
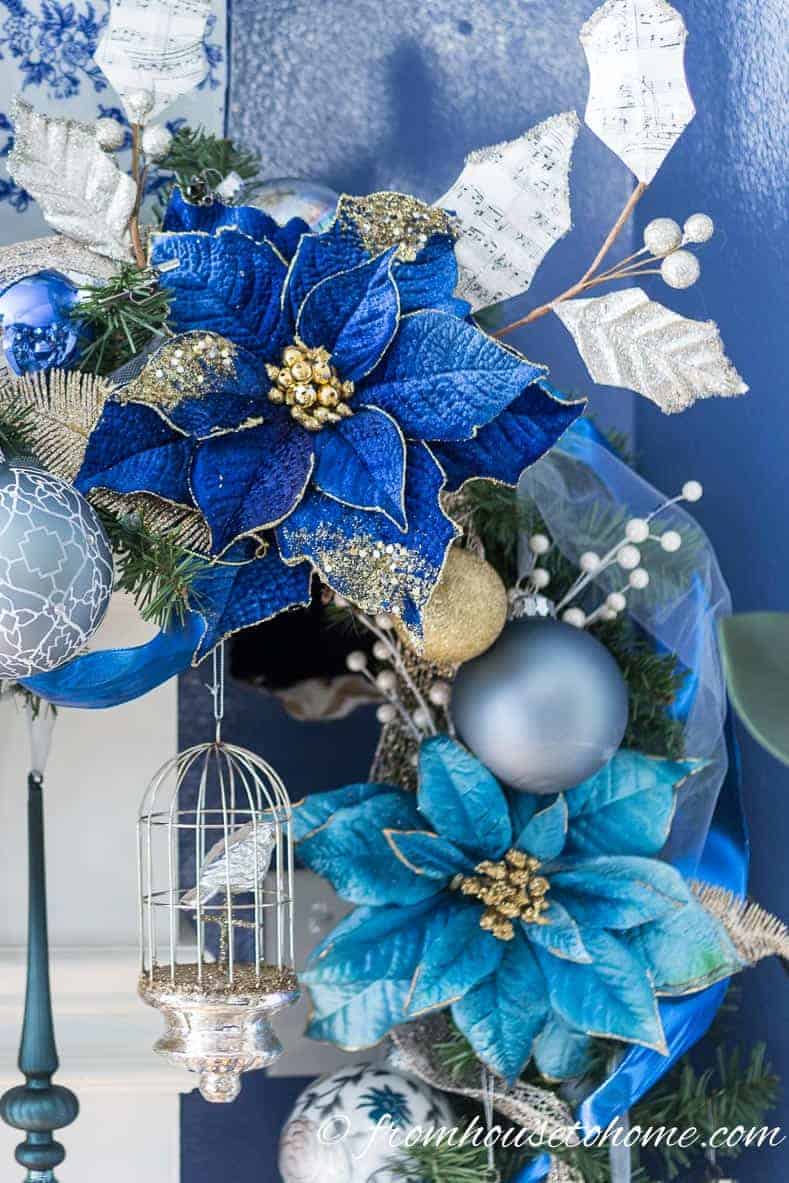
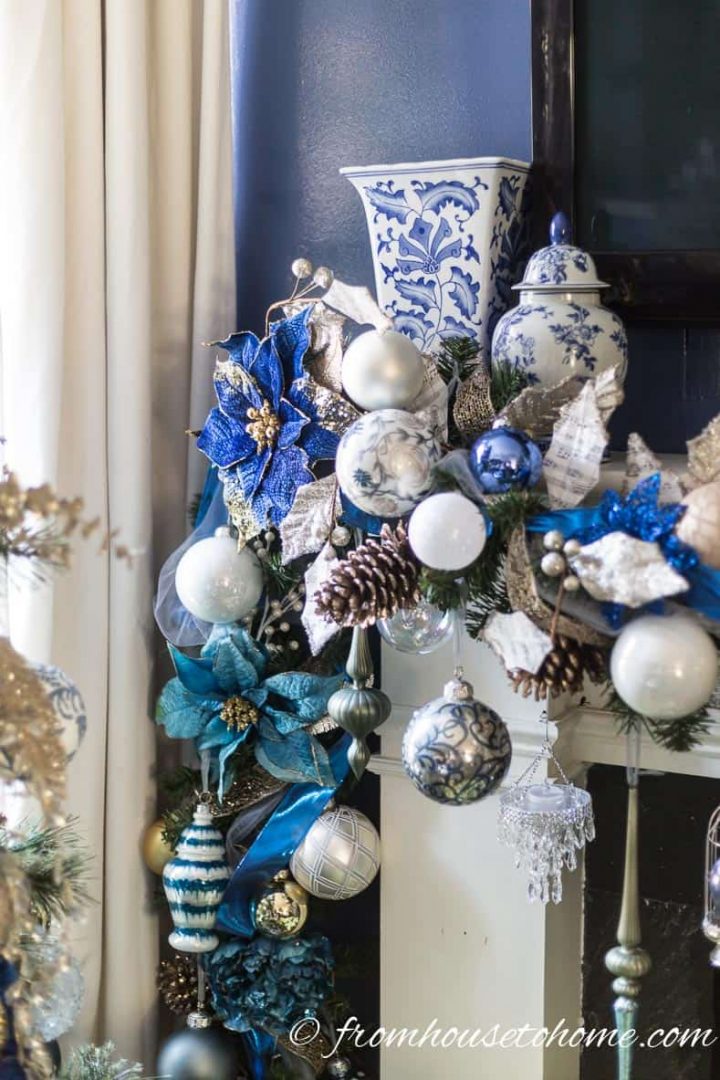
Step 6: Clip On The Poinsettias
Add the clip on poinsettias.
At a minimum, I would put them in the corners of the mantel and the center of the swag.
But I also did 3 of them down each side of the garland.
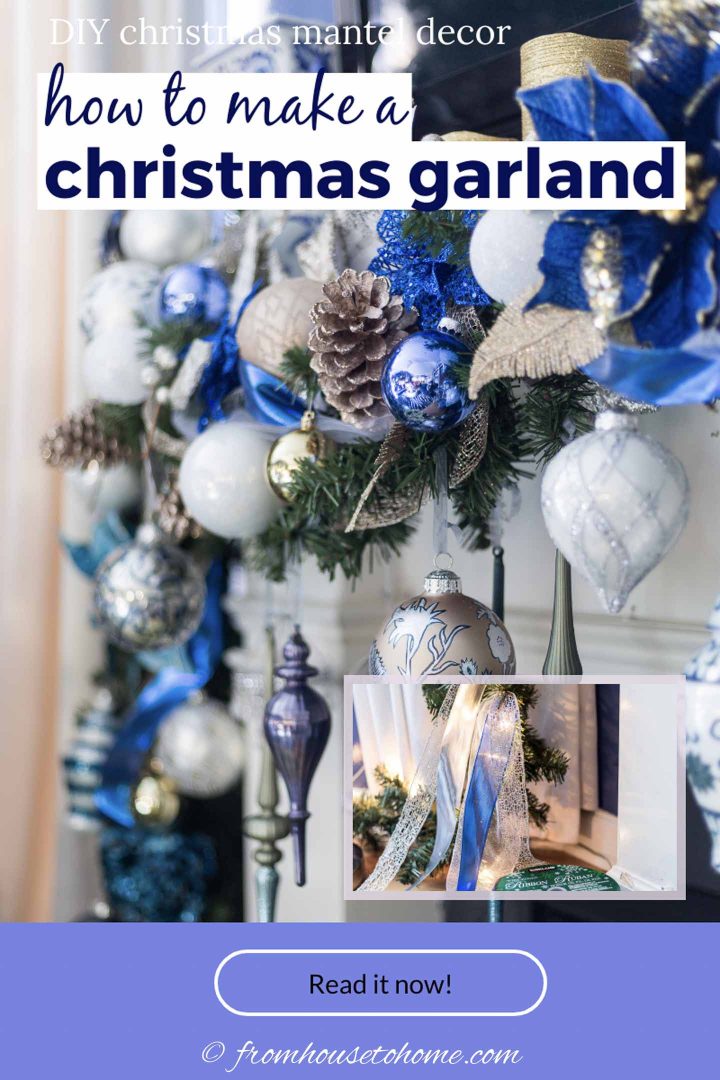
Step 7: Stick In the Pine Cone Picks
Stick the pine cone picks in across the top and down the sides of the garland
Try to have some facing up and some down to give it a random feel.
Step 8. Add the Pearl and Smaller Poinsettia Picks
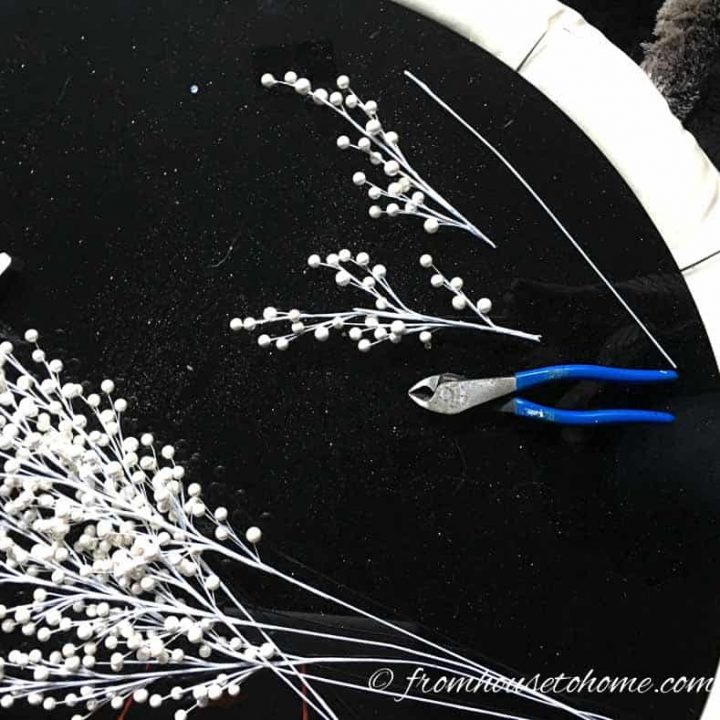
Cut the multi-branch pearl picks into smaller pieces.
Wire cutters are the easiest way to do this.

Stick the picks in behind the poinsettia clips.
I also added some poinsettia flower picks in between the larger flowers.
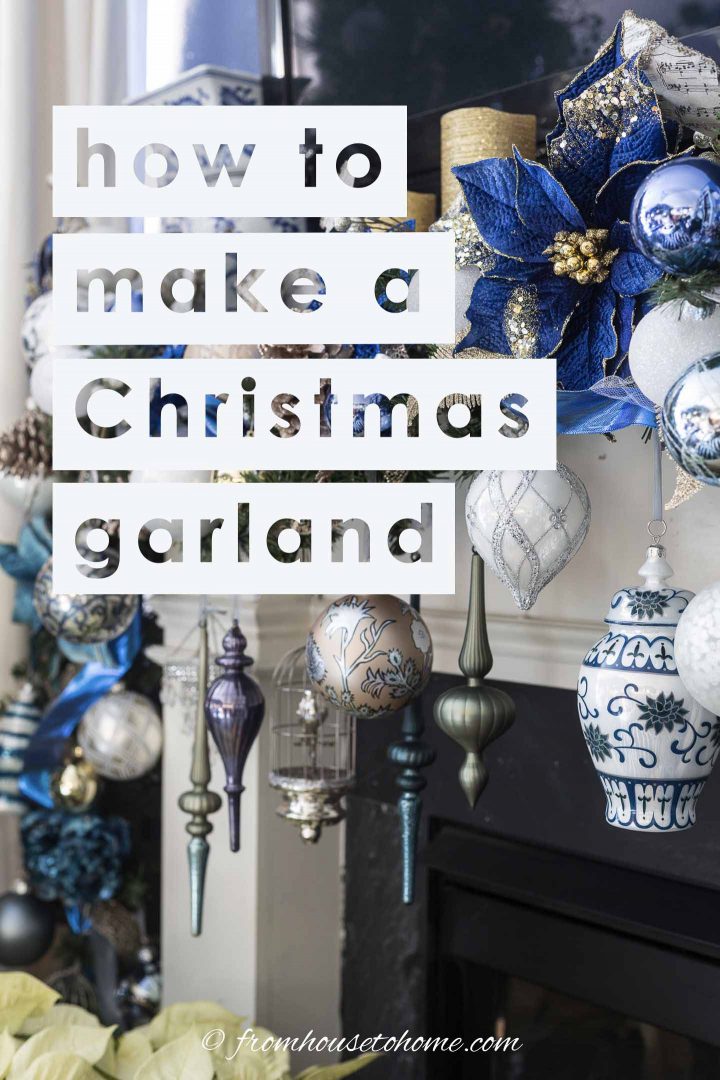
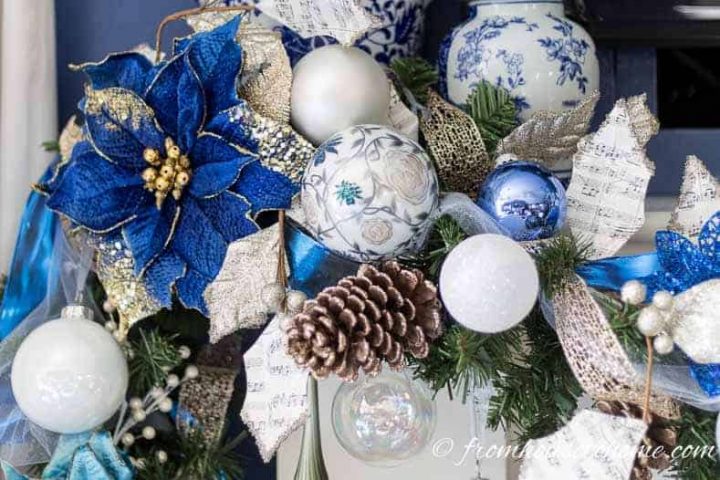
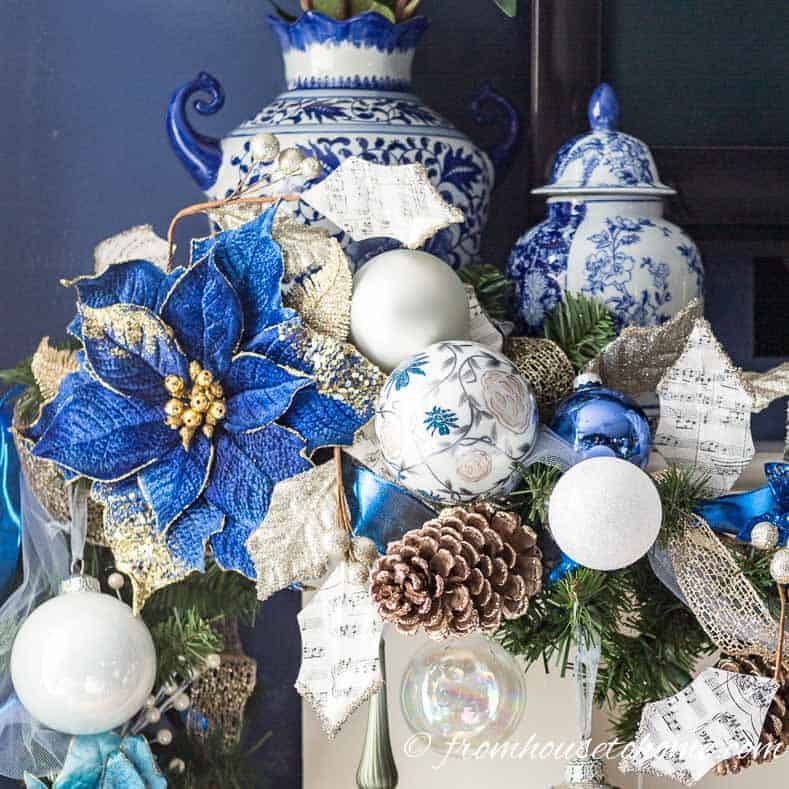
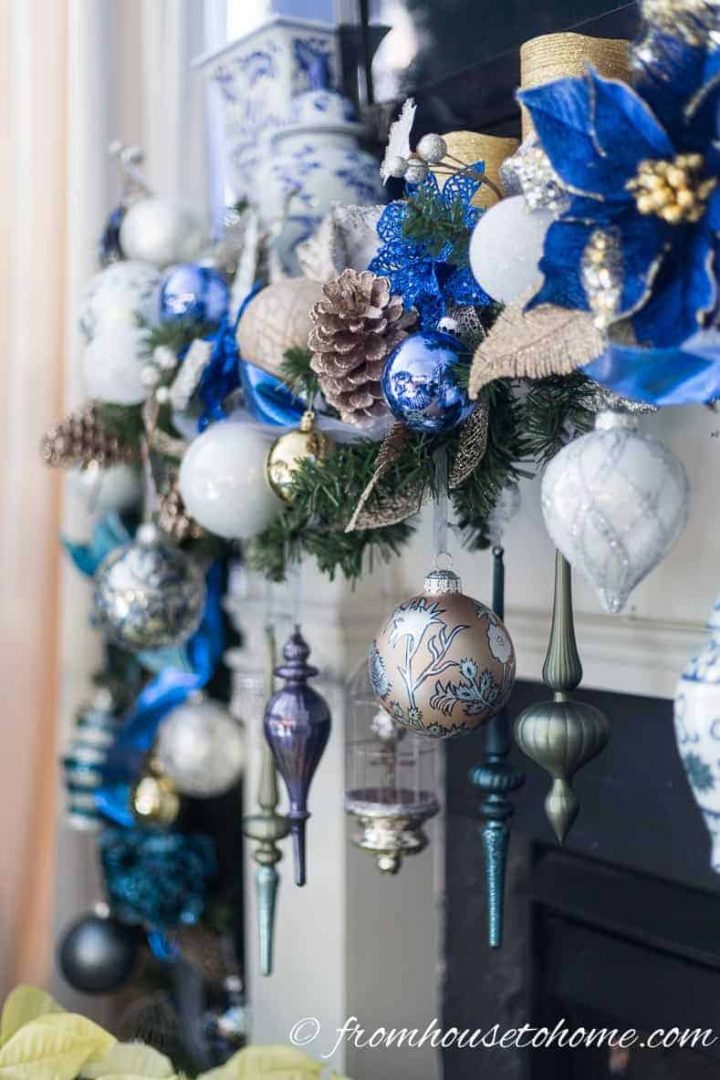
Step 9: Hang the Large Ornaments
Now you get to add all of the 4″ round ornaments, long ornaments and the ginger jars.
These are all hung using thread or ribbon so that they hang down from the garland.
I also decided at this point to bring the middle of the garland up to the mantel instead of having it hang down.
To do this, I attached the third command hook in the center of the middle close to the front edge.
Then the garland hooks around it just like it did on the sides.
Step 10: Fill In With Smaller Ornaments
Use standard ornament hooks to add some of the smaller ornaments to the garland.
I like to use green hooks since they blend in with the garland.
Then add some of the ornaments close into the garland by attaching them with alligator clips.
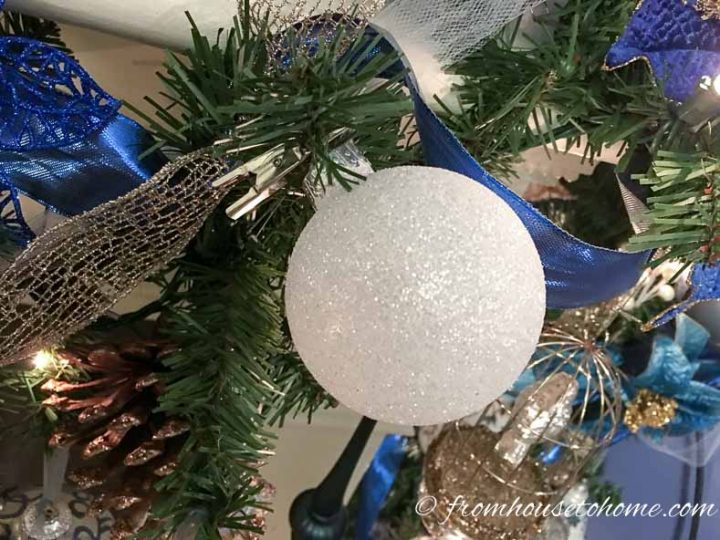
Try to make sure that the clip is hidden behind the ornament when you attach it.
Combining some of the balls in groups of 2 or 3 on the garland adds color to the garland.
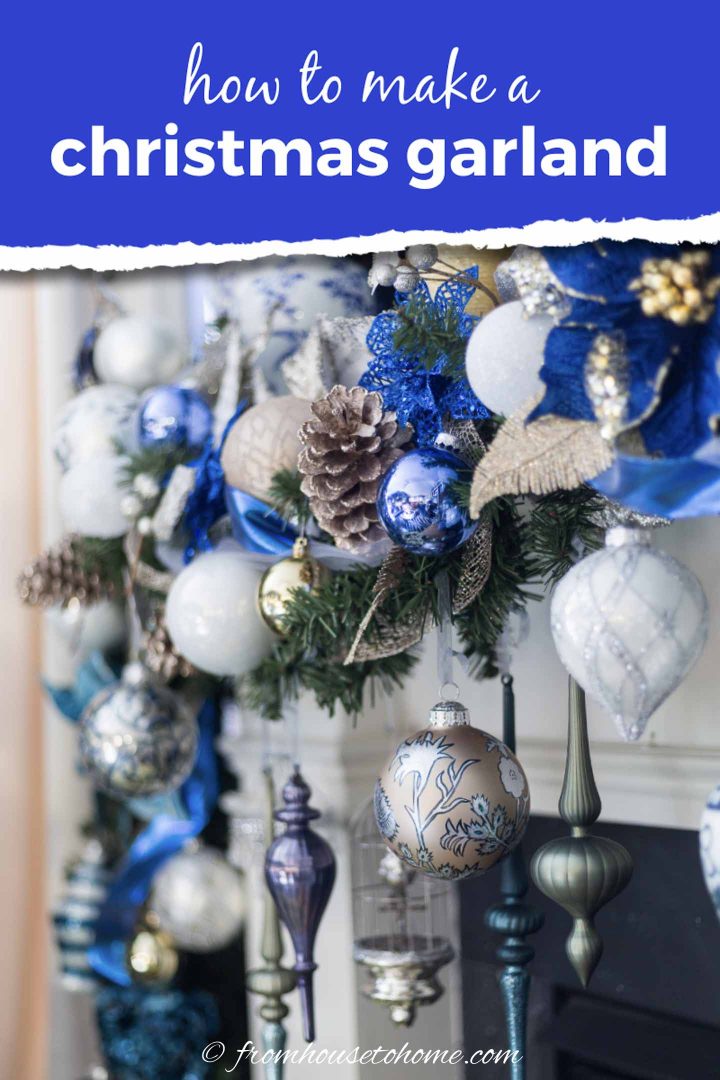
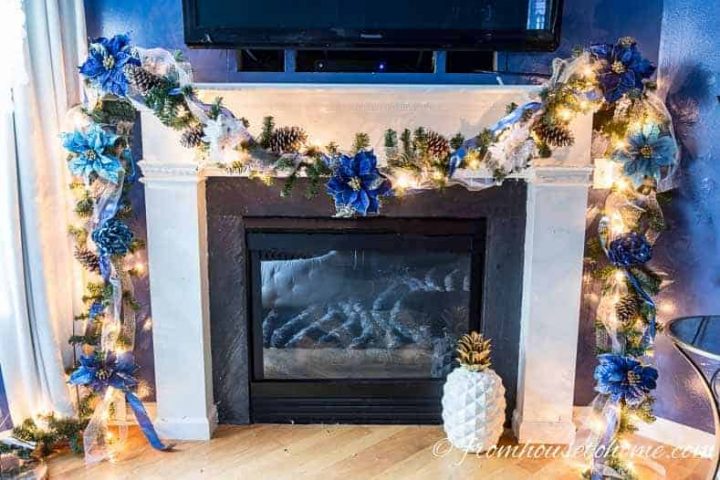
Step 11: The Finishing Touches
Add the leaf picks into the garland to fill in any empty spots.
I added some ginger jars in the corners of the mantel to add some height beside the TV and tie the whole look together.
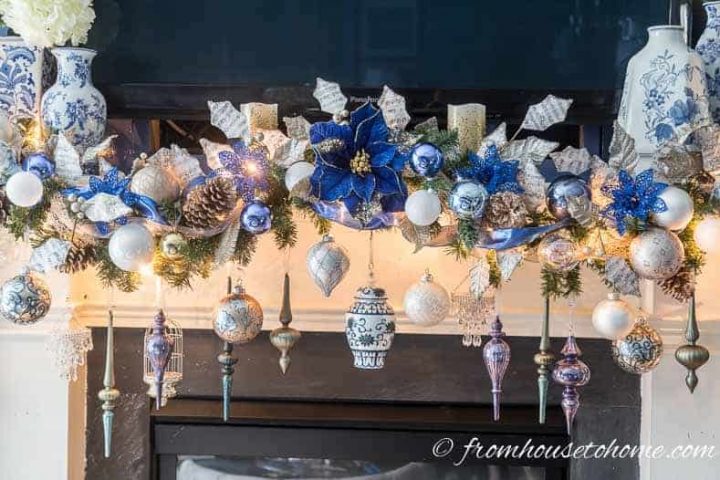
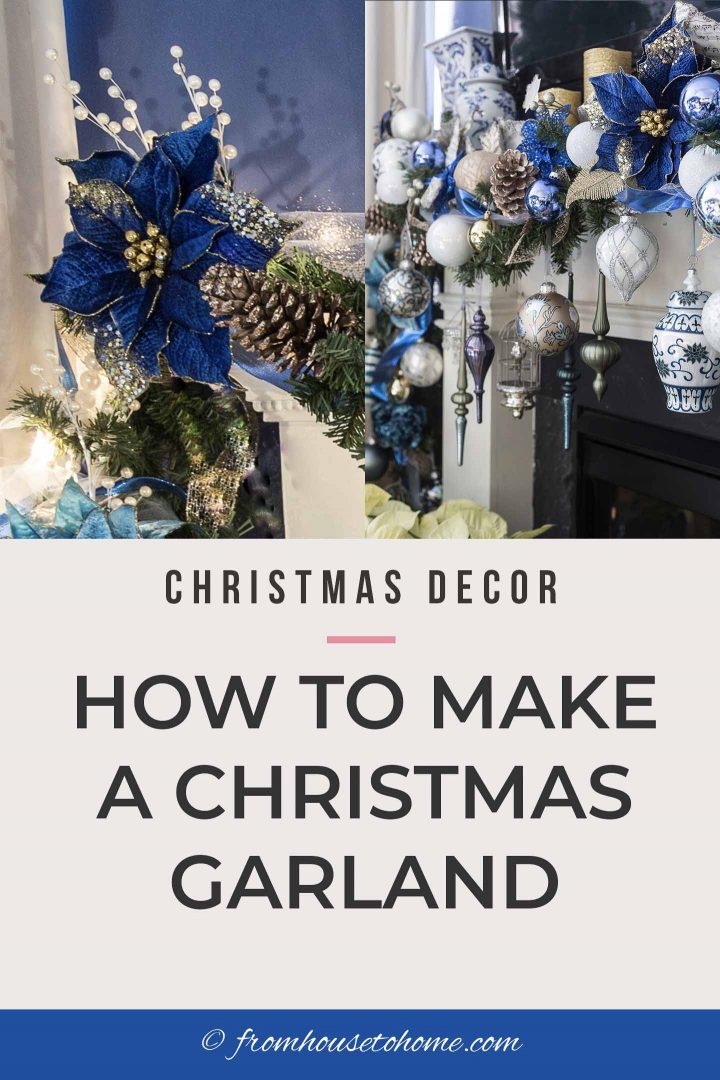
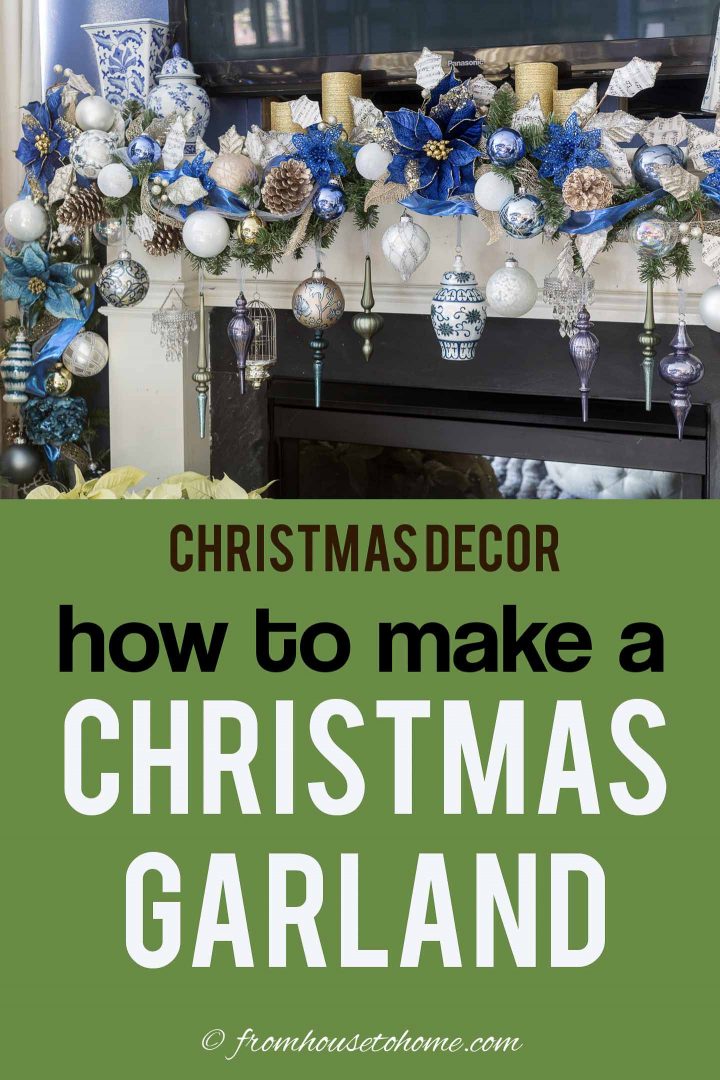
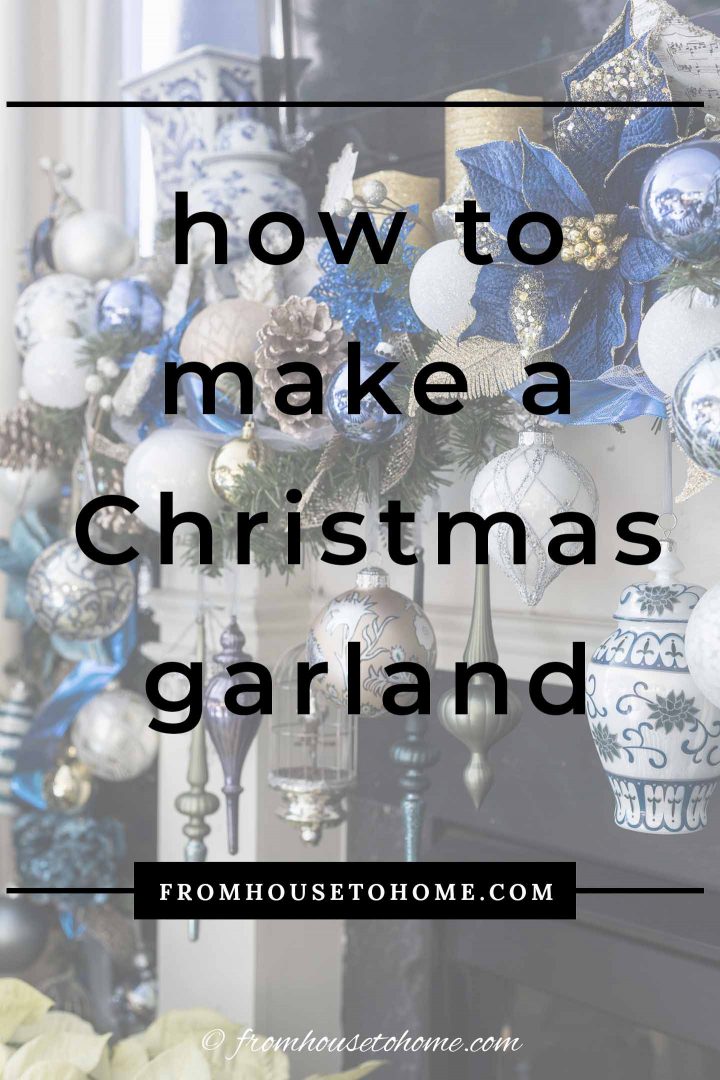
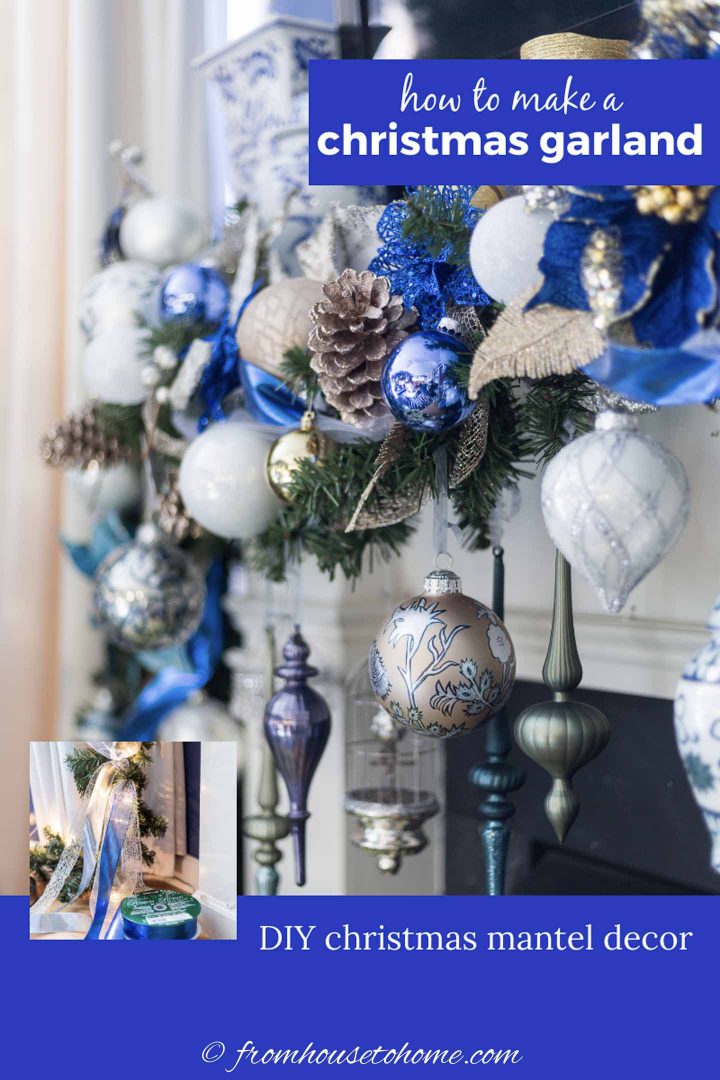
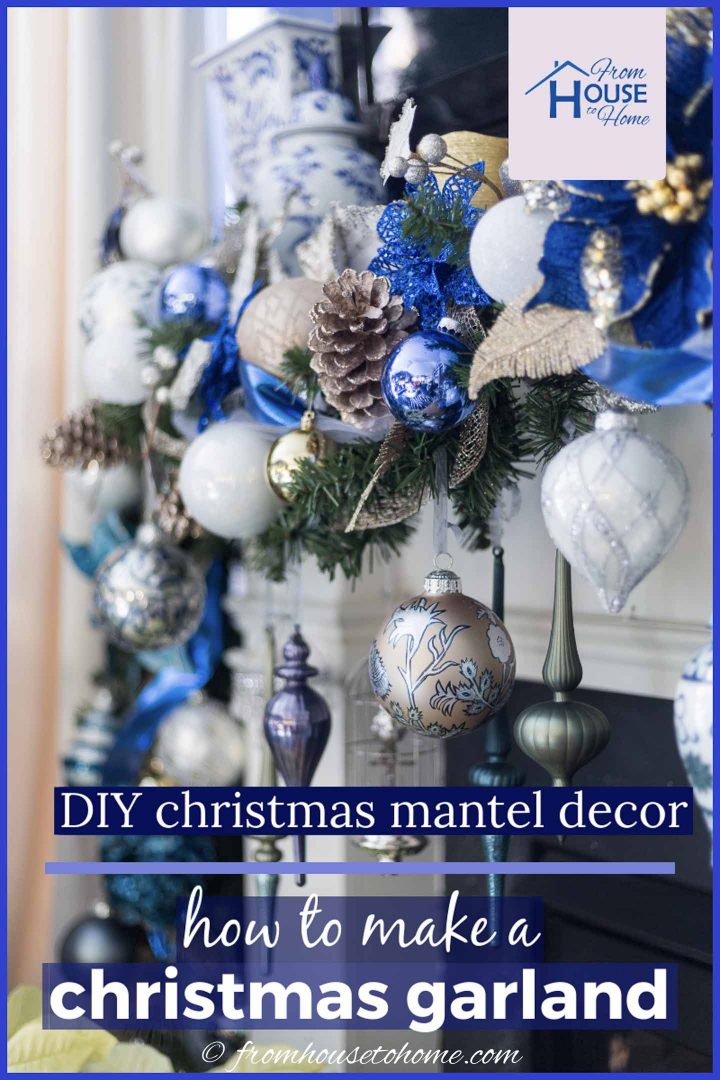
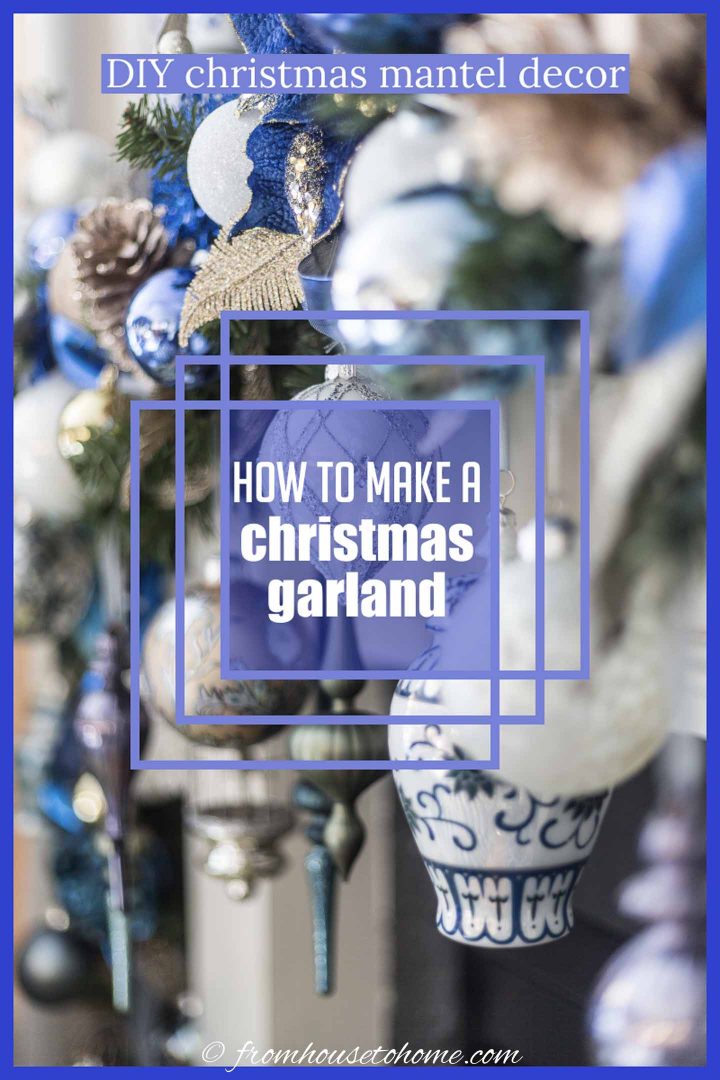
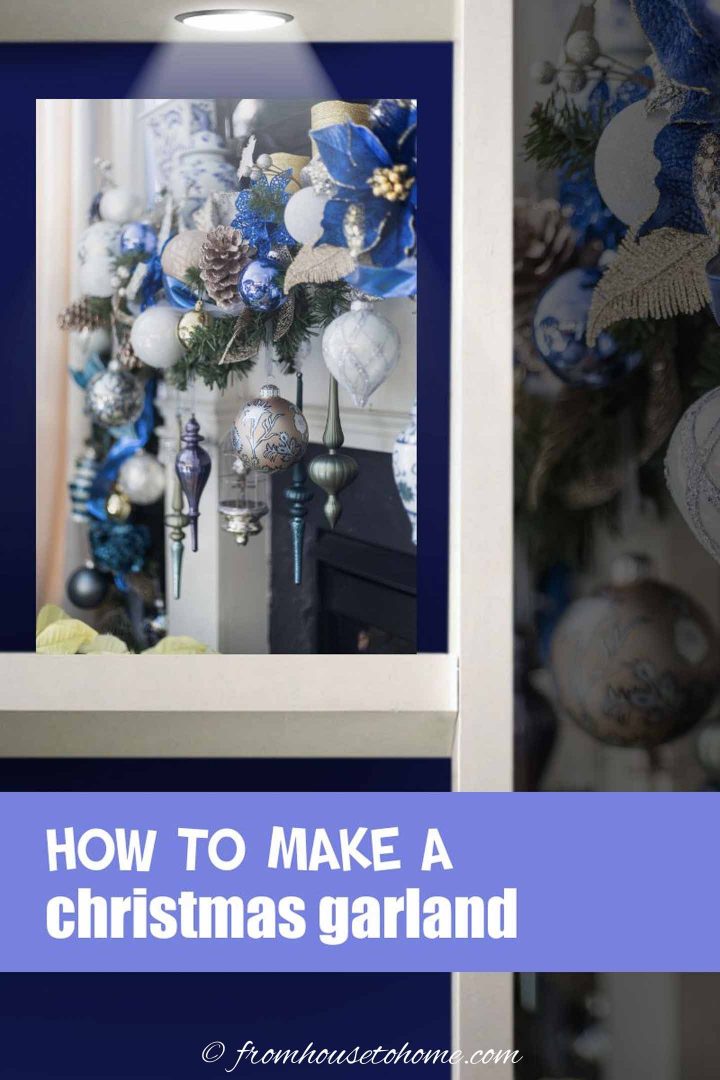
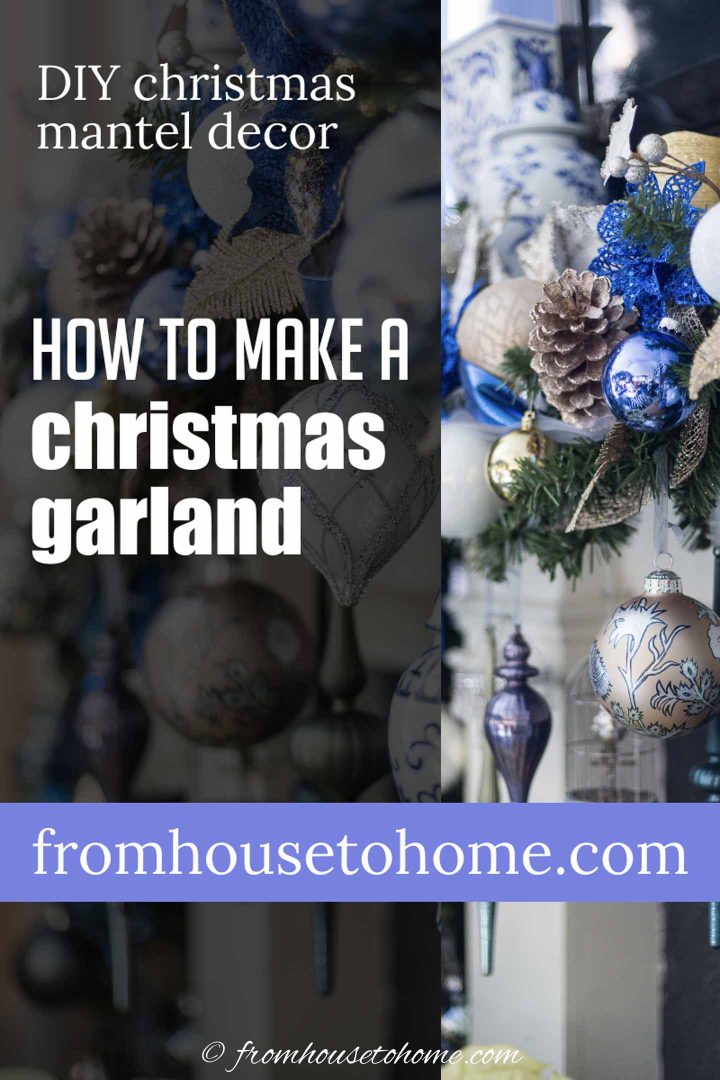
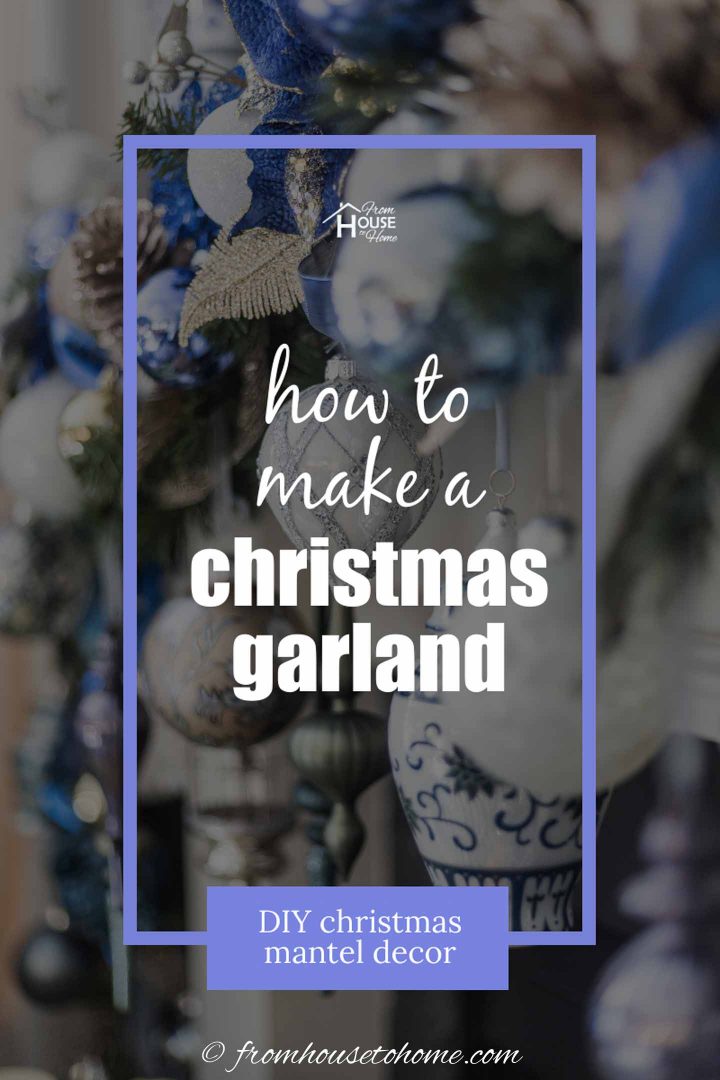
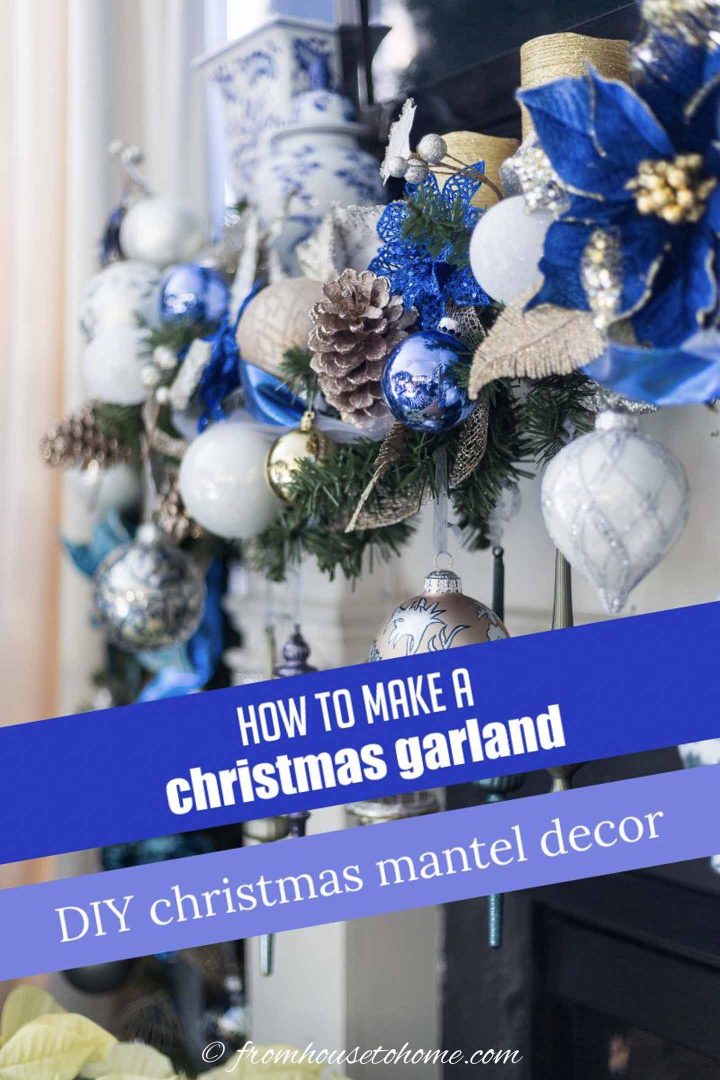
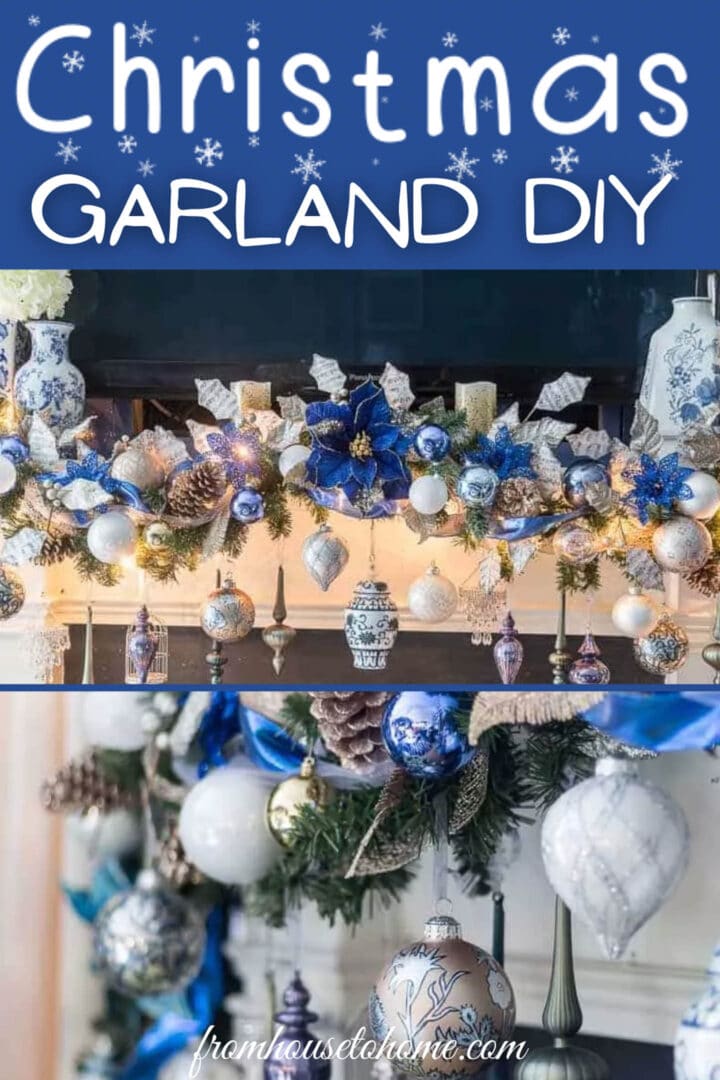
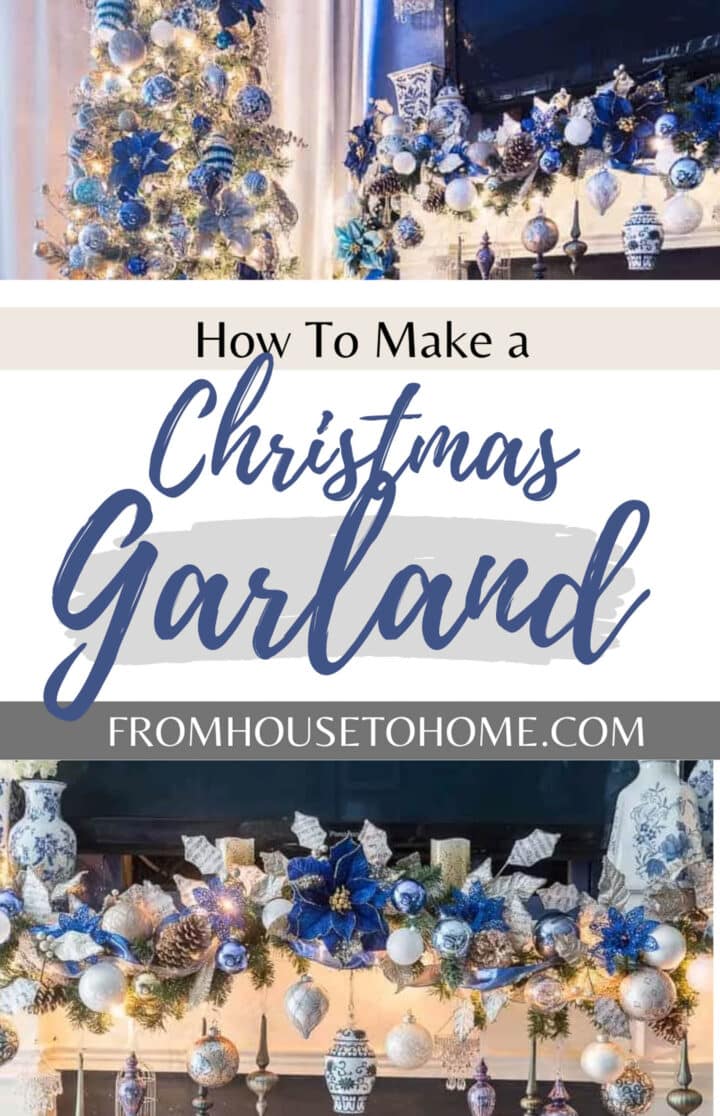
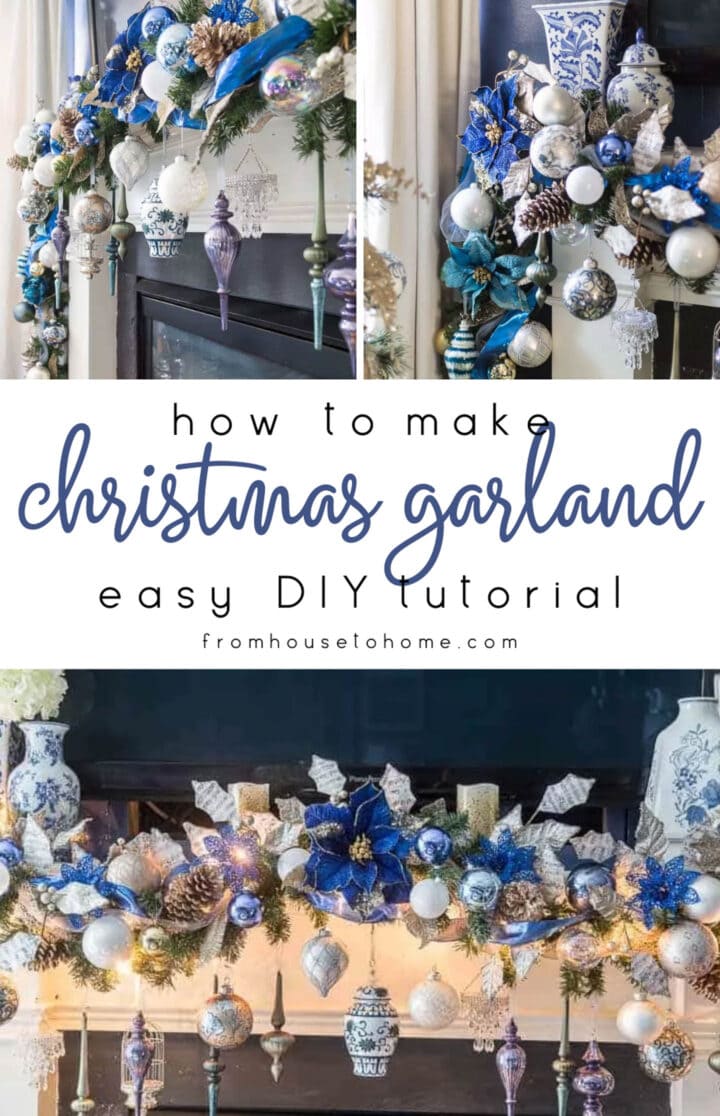
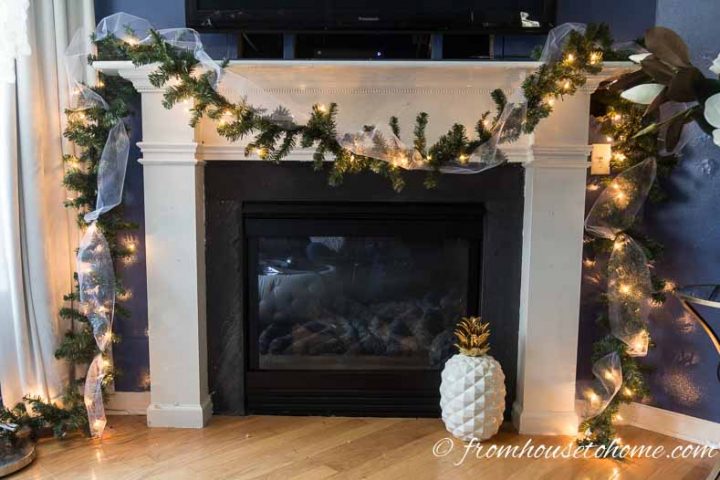
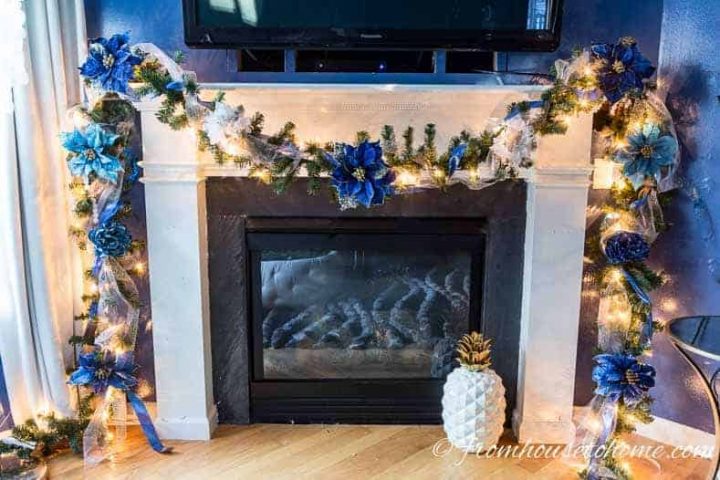
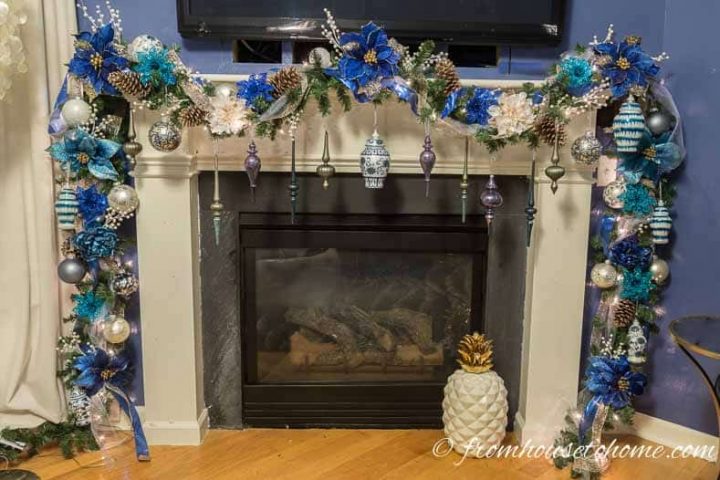
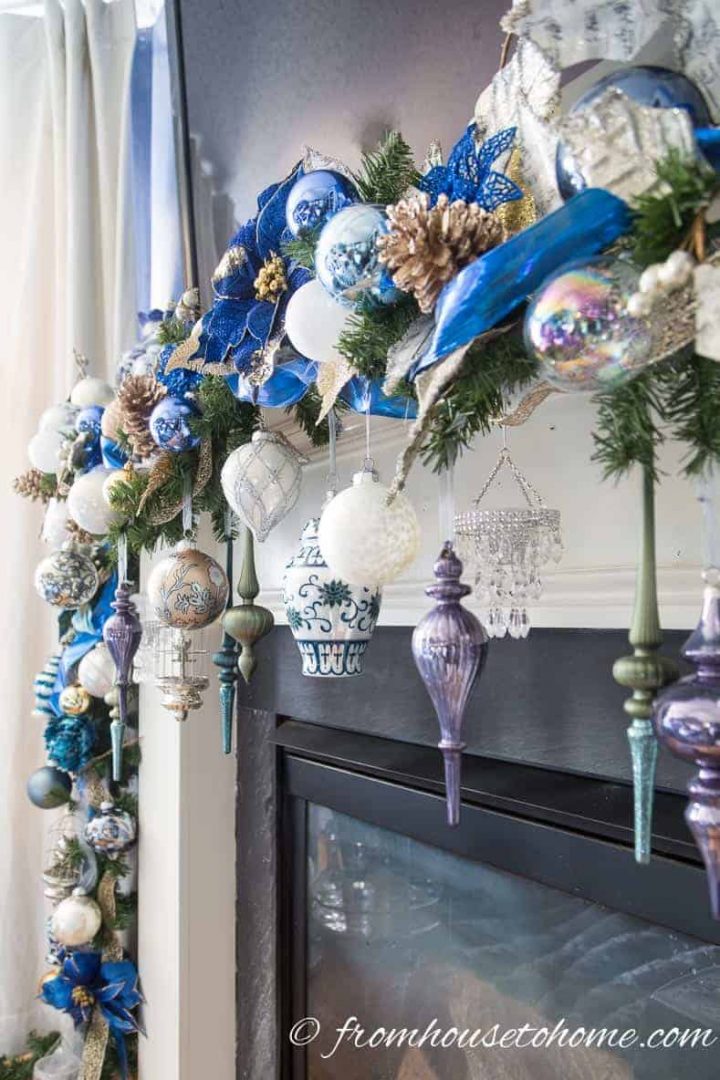
The Finished Garland

With all of the ornaments on the garland, the lights mostly show up behind it…which almost makes it look like it’s floating.
I really like the way the ornaments hang down in front of the fireplace. Which also pulls your eye down and distracts a little from the TV.
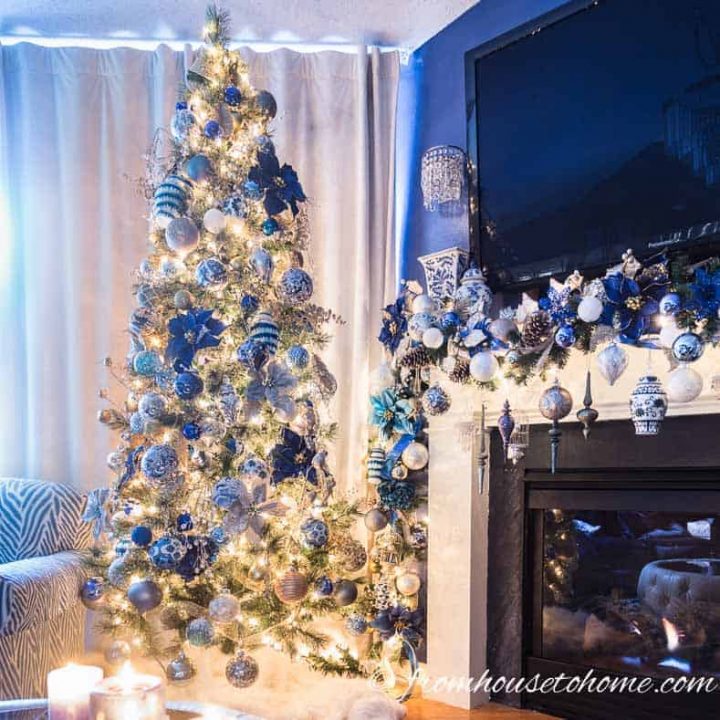
After decorating the tree in the same blue and white colors, it definitely is the focal point of my living room.
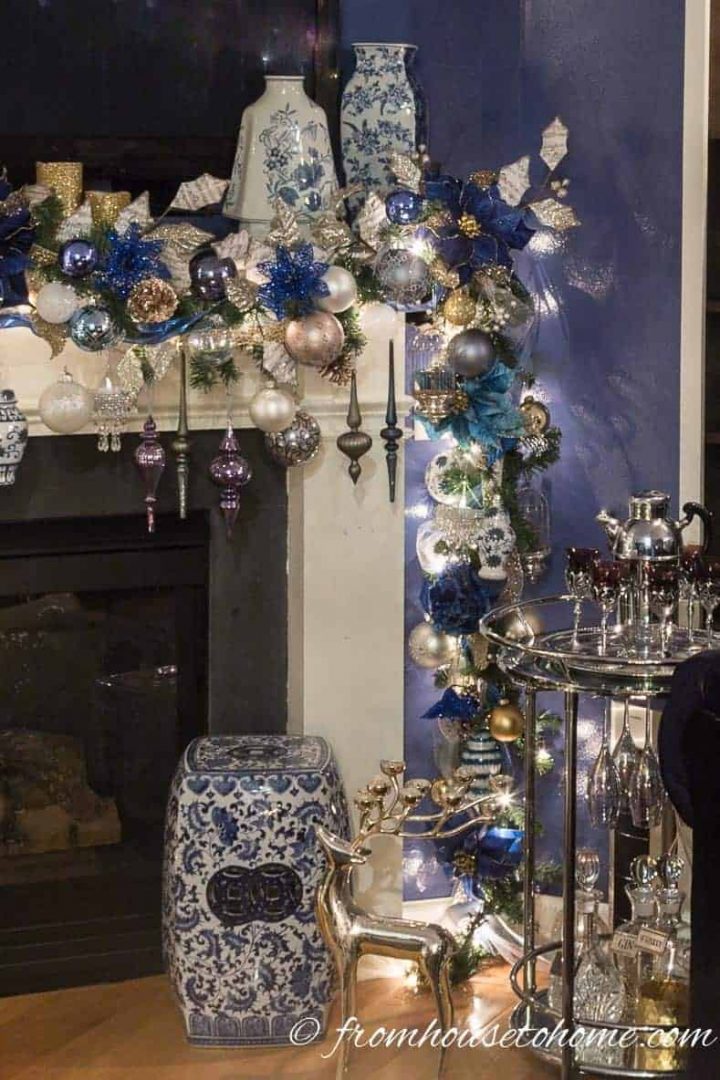
I even have a great spot in front of the fireplace for my blue and white garden seat.
It definitely doesn’t look like the same scrawny garland that I started with!
So there you have it. My steps for making a Christmas garland to go over your fireplace mantel.
Hopefully, you have found some inspiration to create a version that will take your Christmas decor over the top!
Other Christmas Decor Ideas You Might Like
- Easy and inexpensive ways to decorate for Christmas
- Blue and White Christmas Tree Decor (plus 40 Bloggers’ Christmas Trees)
- How To Decorate a Christmas Mantel With a TV Above It
Have comments or questions on how to make a Christmas garland? Tell us in the section below.
This post was originally published on December 8, 2017 but was updated with new content on September 27, 2023.
This looks beautiful! It’s really helped me envision what I want to do around my front door.
Thanks, Claire! Something like this would look beautiful around your door!
Absolutely beautiful! Thank you for the step-by-step instructions!
Thanks, Paula! I’m glad you found it helpful.
Absolutely gorgeous! I want to know where you found so many beautiful ornaments. I know you put links for them, but when I clicked on the links, they didn’t have anything like what you show. I need some of those gorgeous ornaments! 🙂 Thank you!
Thanks, Judy! Unfortunately, the exact ornaments that I used aren’t available any more. You can find this year’s version (which are similar) here: https://www.fromhousetohome.com/french-linen-ornaments. They are a little expensive, but they’re so pretty I think they’re worth it 🙂
You’ve outdone yourself with this grande mantel décor. Way to go and Happy holidays .
Thanks, Victoria! It’s my favorite part of my Christmas decor this year 🙂 Happy holidays!