
How To Spray Paint Faux Pumpkins
A can of spray paint is all it takes to give ordinary pumpkins a whole new look. Learn the simple techniques simple techniques that make the job quick and easy while giving you a smooth, durable finish which looks great all season long.
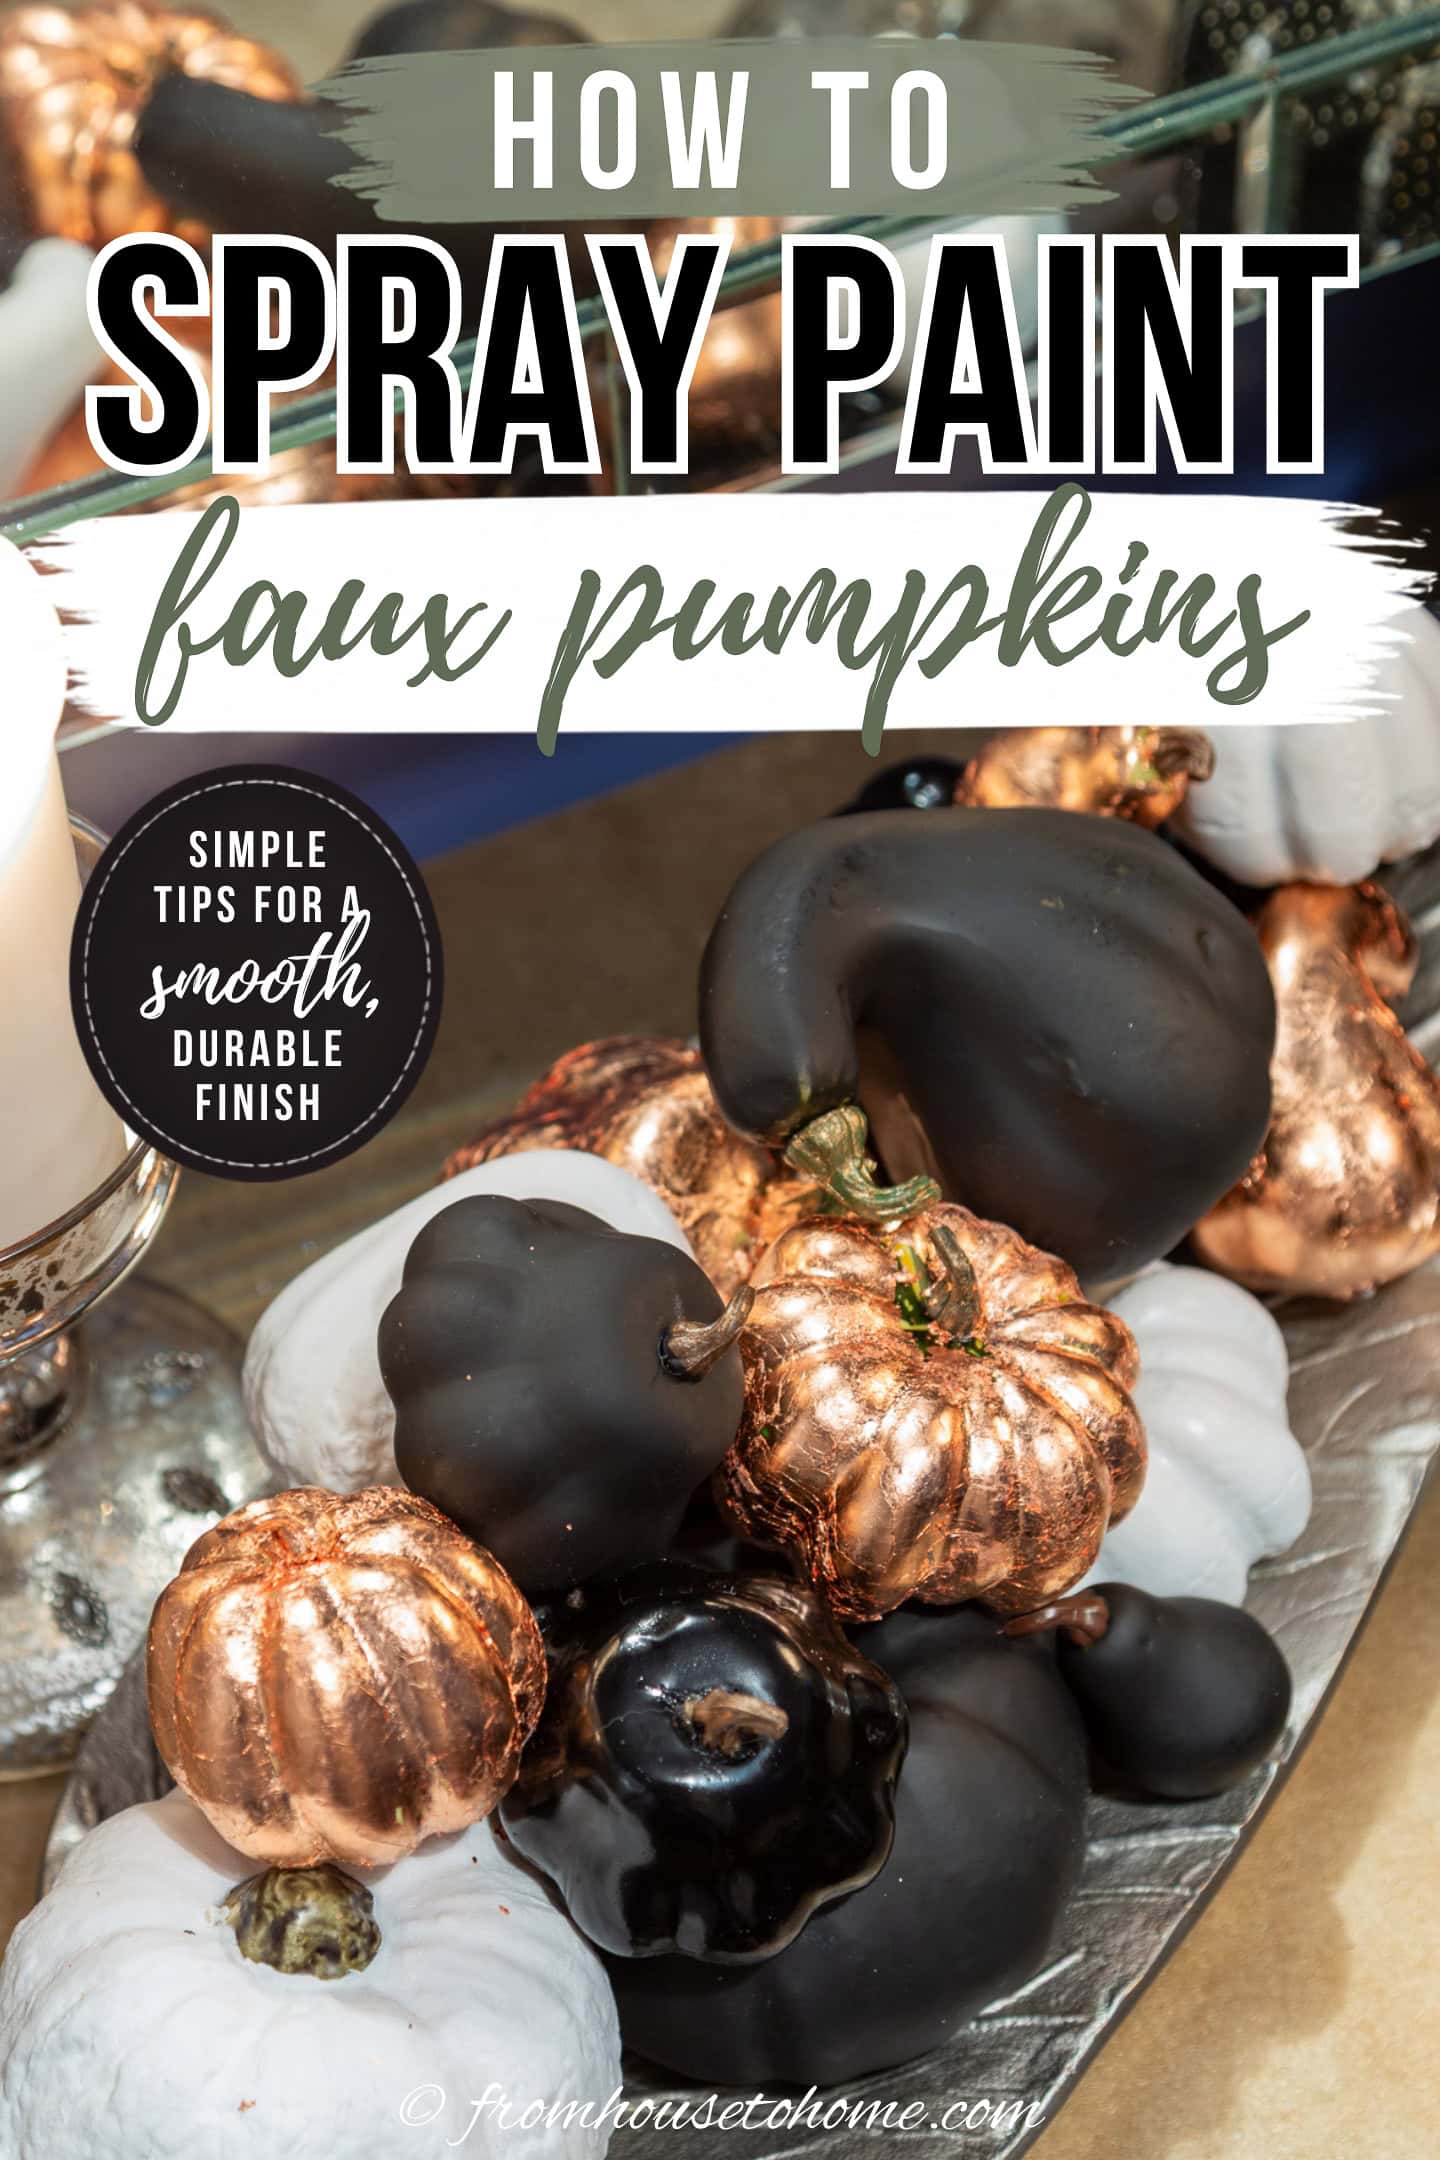
Faux pumpkins are one of my favorite fall decorating staples because you can use them year after year.
But most of them come in the same traditional fall colors.
If orange, yellow, and white don’t work with your fall decor, spray paint is a fast, easy way to get exactly the look you want.
Whether you’re after metallics, rich jewel tones, or a color that coordinates with the rest of your decor, a quick coat of paint can completely change the look without spending a fortune on specialty pumpkins.
With a few simple tips, you can get a smooth, durable finish that looks great all season long.
Looking for more DIY pumpkin projects? You'll love these DIY Copper Pumpkins.
Supplies
Materials:
- Craft pumpkins
- Masking tape or painter’s tape
- A small can of primer paint and a brush (not spray paint) – This is only required if your pumpkins are foam instead of plastic
- Spray paint in the color(s) of your choosing – I used white lacquer*, black lacquer* and chalkboard paint* because I like the contrast between the shiny and matte finishes (and you can write on the chalkboard pumpkins). But of course, you can use whatever colors match your decor.
Tools:
- Garbage bag or cardboard box – To contain the paint spray.
- Disposable gloves – I like to wear gloves while I’m spray painting because it’s very easy to get it on your hands. And it’s hard to get it off. But obviously, this isn’t absolutely necessary.
- Spray paint can grip* – This is optional but really saves your fingers from getting tired.
How to spray paint faux pumpkins
1 | Tape the stems
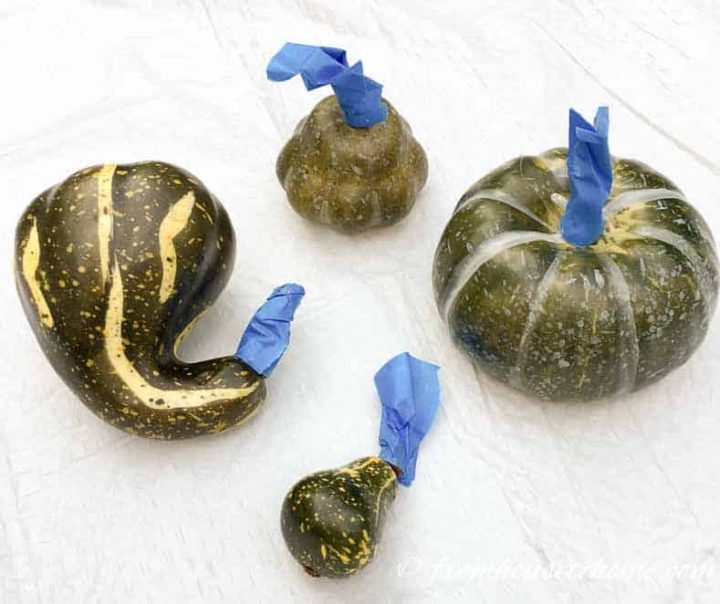
Use masking tape to cover any parts of the pumpkin you want to keep paint-free, such as the stem.
Press the tape down firmly to ensure it sticks well and creates a smooth edge.
2 | Paint on a primer (foam pumpkins only)
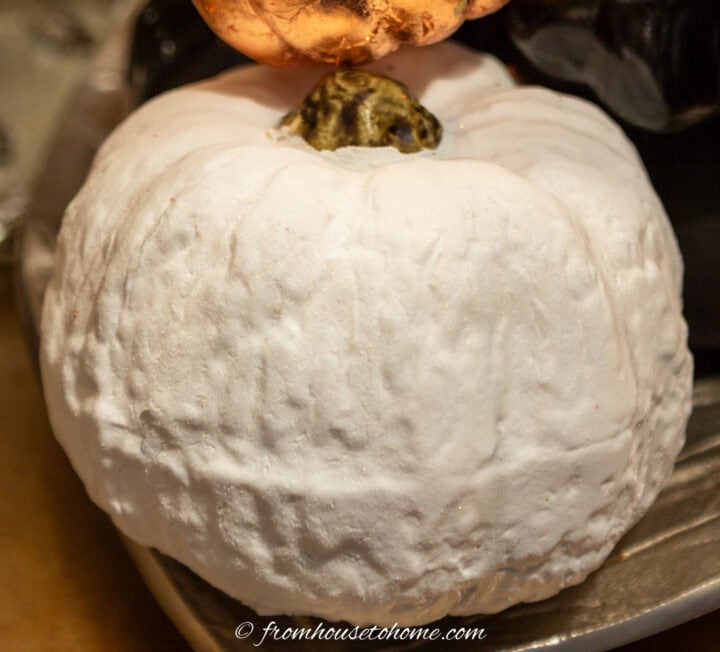
If you have foam pumpkins, you’ll need to apply a coat of regular primer (not spray paint primer) with a brush before spray painting them.
Spray paint causes the foam to dissolve which creates pits in the surface that don’t look great (as you can see in the picture above).
The primer will create a smooth, protective layer that prevents the spray paint from damaging the foam.
3 | Protect the surface
Arrange the pumpkins in a cardboard box to keep the spray paint contained and prevent it from spreading to unwanted areas.
If you are working outdoors, you can use a garbage bag or large piece of scrap paper directly under the pumpkins (rather than using a box).
Make sure to leave enough space between the pumpkins so you can easily spray all sides of them.
4 | Attach a spray can grip
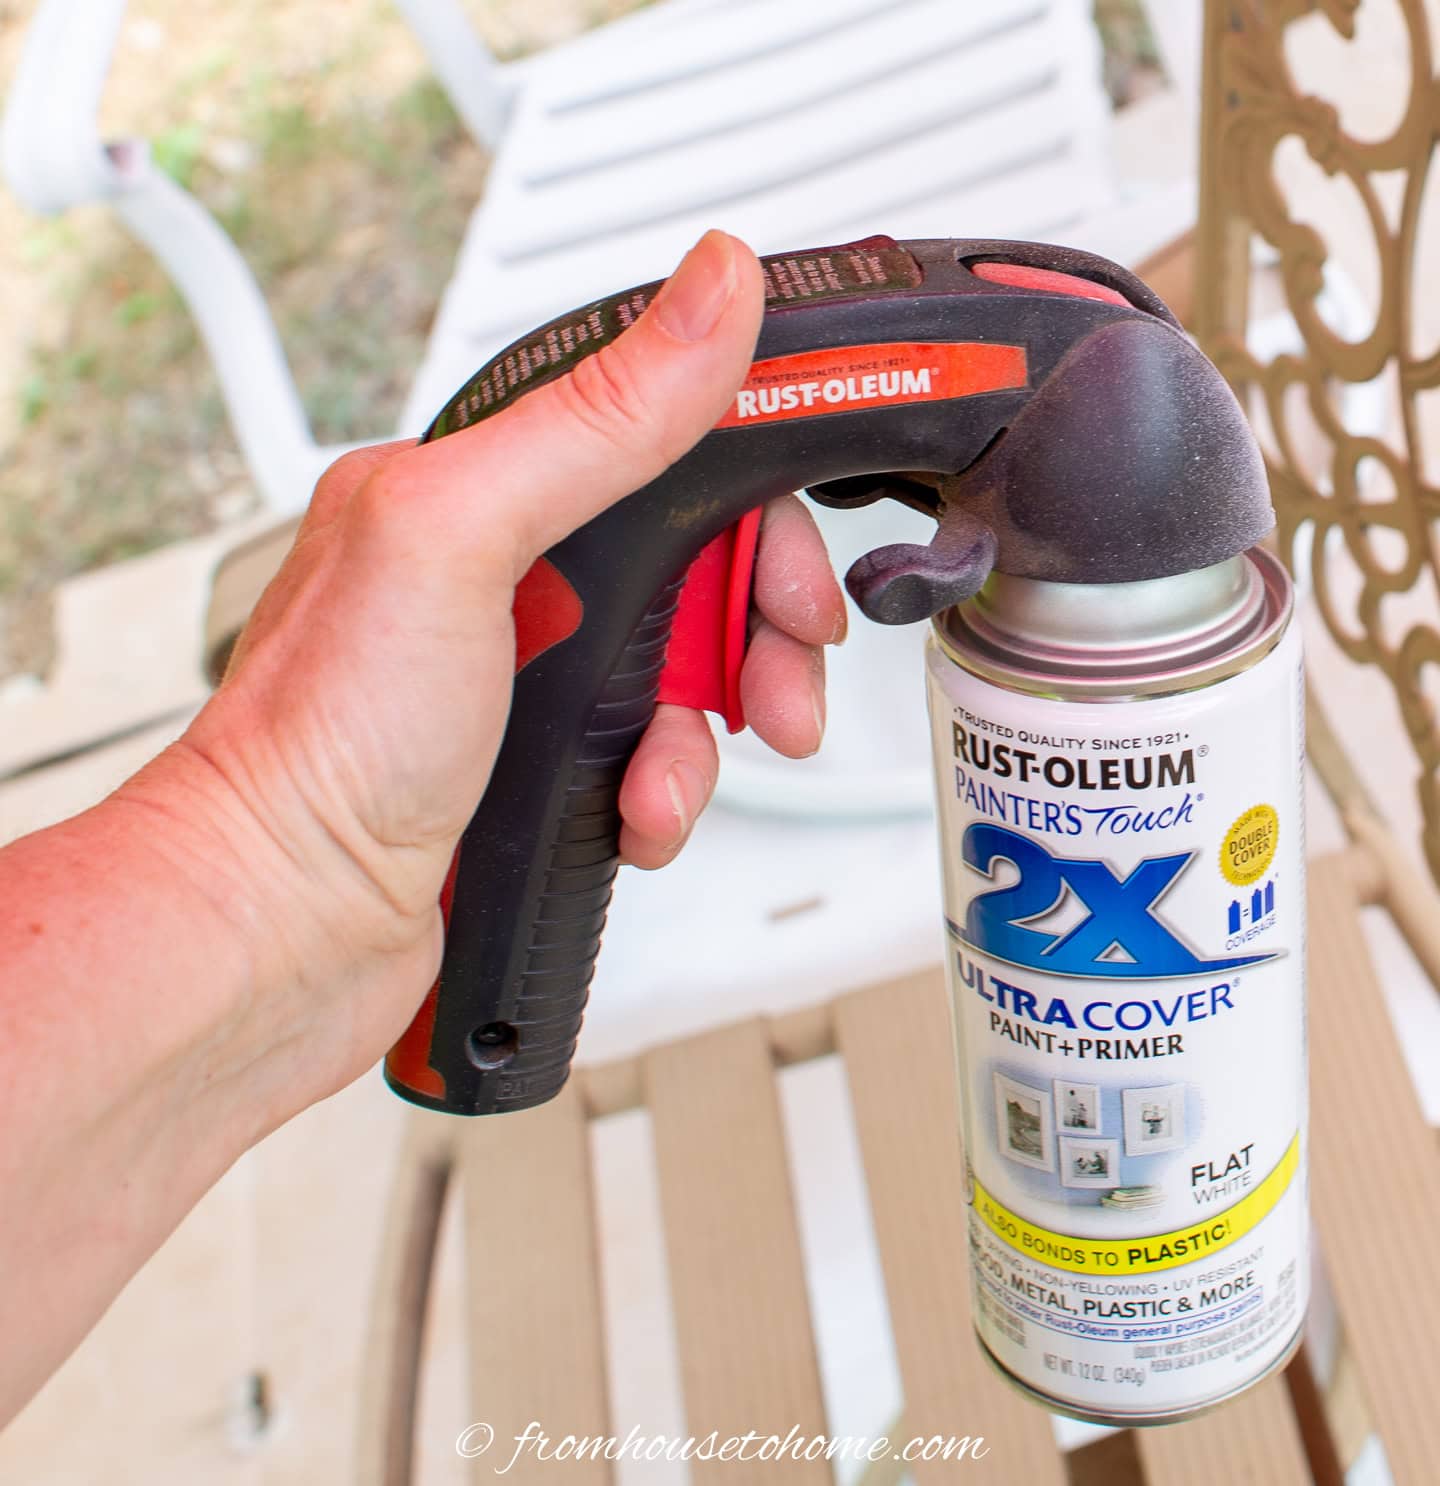
I always use a spray can grip* when I’m spray painting.
While it isn’t completely necessary, it saves your spray finger from getting tired. And it’s amazing how quickly that happens!
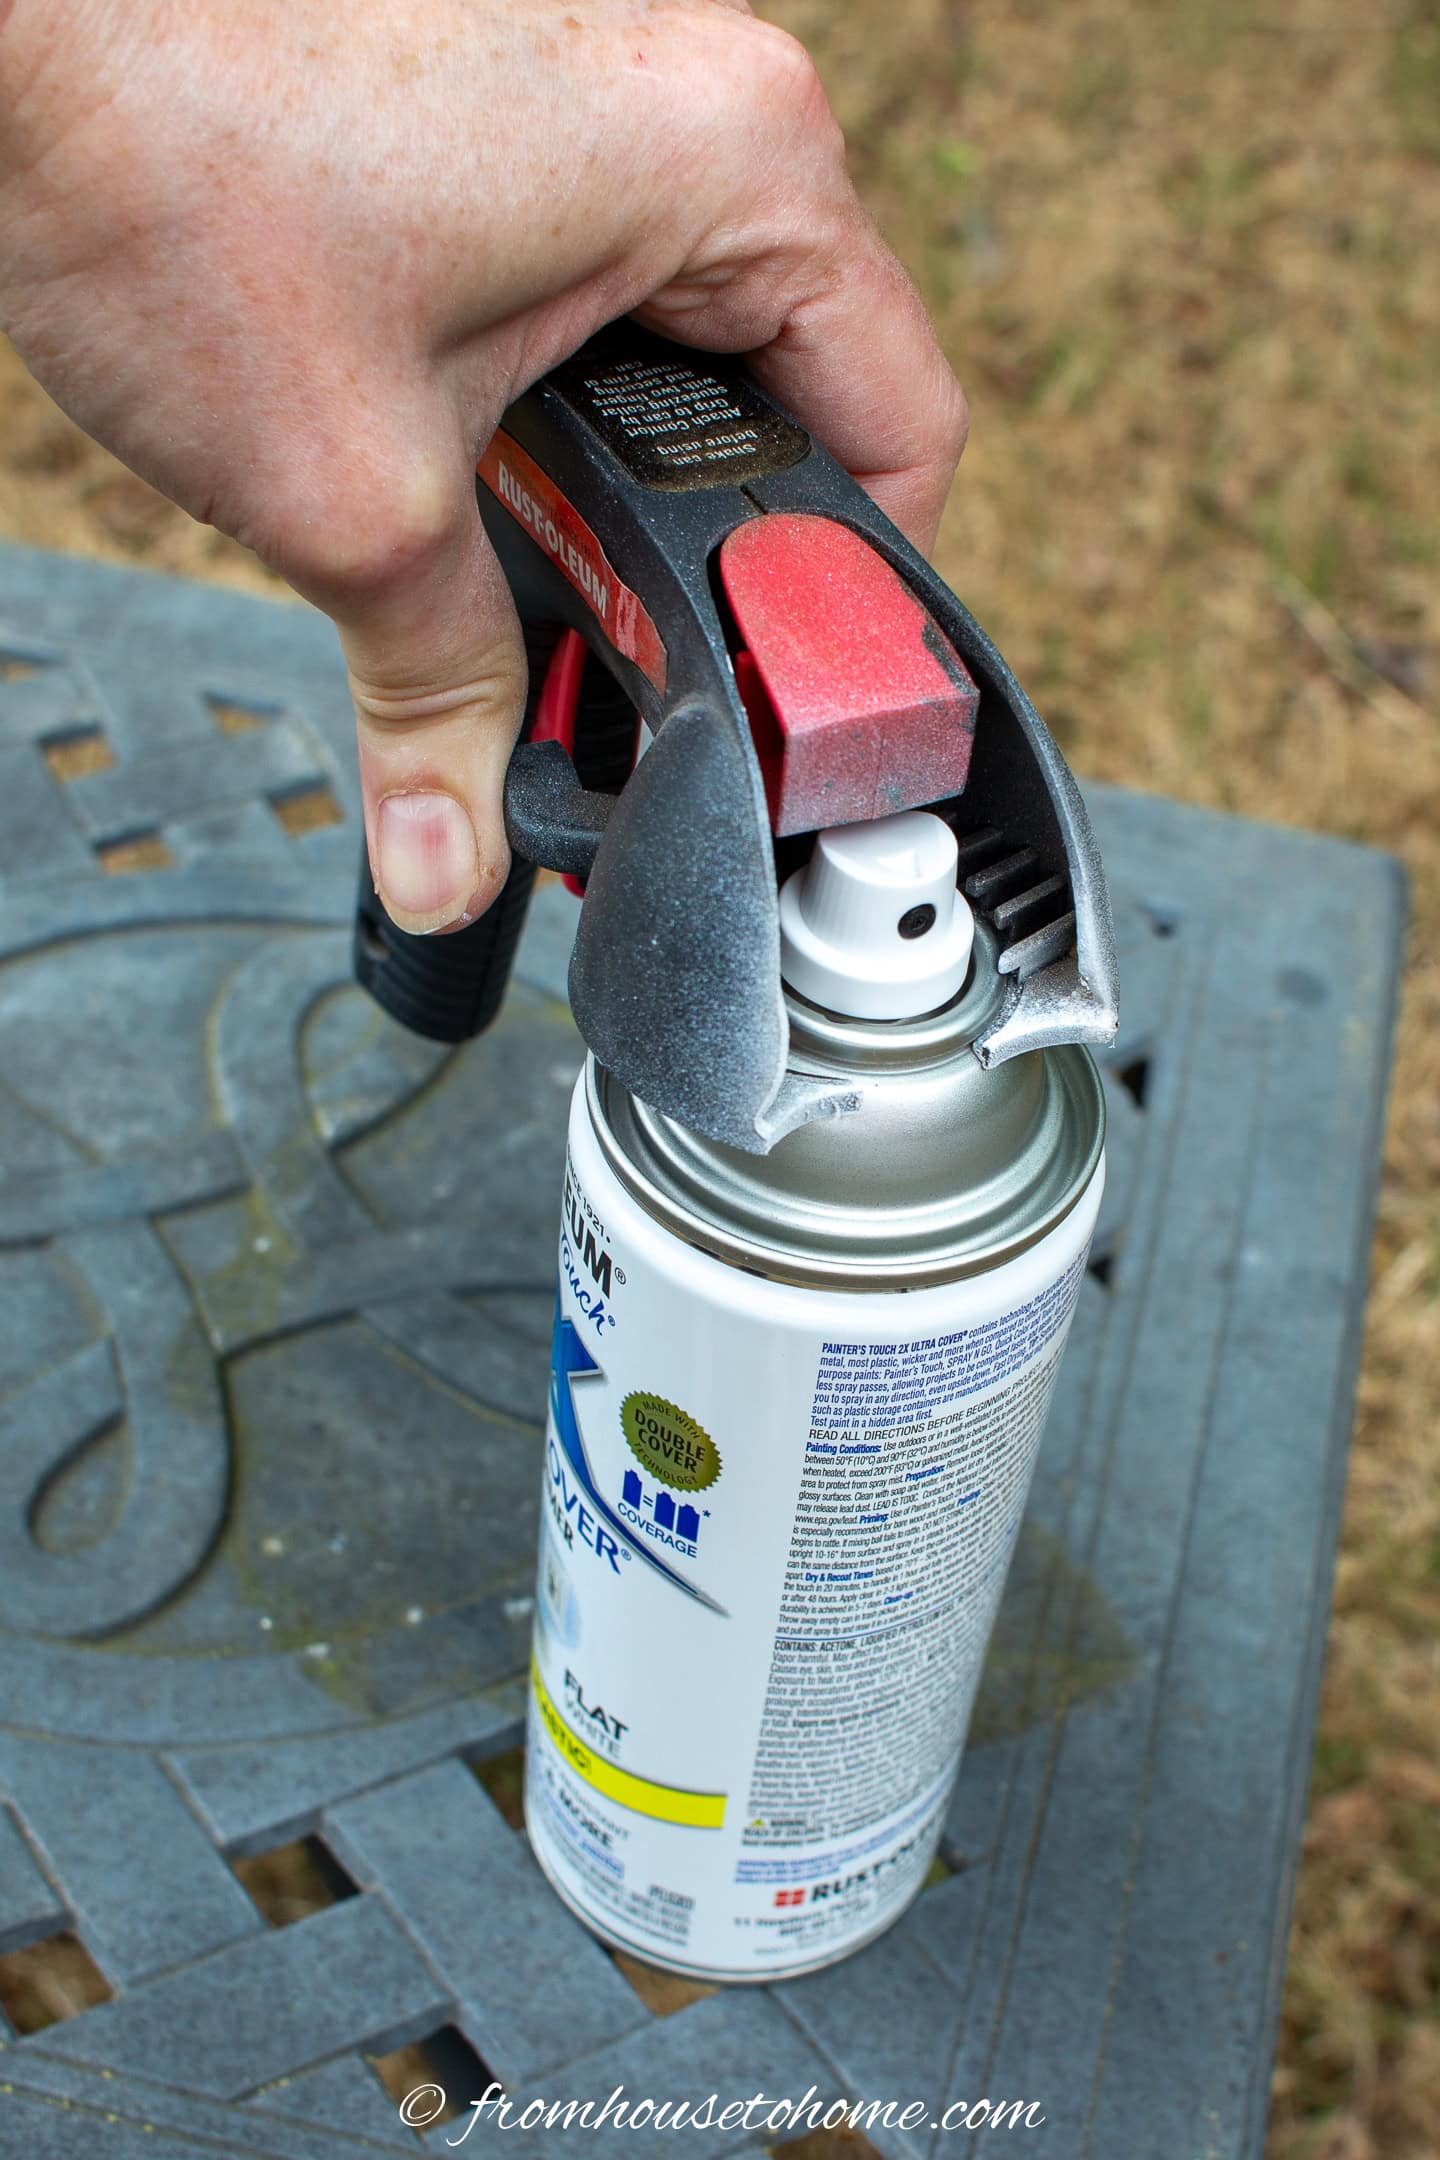
To attach it, just press the clips on the sides in and slide it over the top rim of the spray bottle. Then let the clips go and it is attached.
5 | Shake the can
Shake the spray paint can up and down vigorously for at least one minute to make sure the color mixes evenly inside.
Do not skip this step! Otherwise, you may end up with streaks on your pumpkins.
You should hear the ball in the spray paint rattling while you are doing this. If you don’t, the paint probably isn’t good anymore.
For more tips like this, read how to get a smooth spray paint finish every time.
6 | Paint the pumpkins
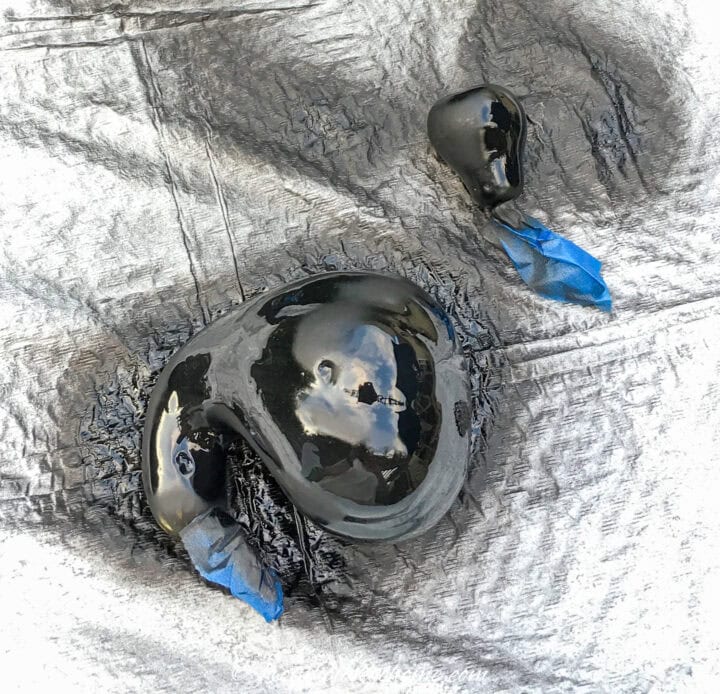
Turn the pumpkins on their sides, hold the paint can about 6 inches away and spray paint the top as well as the sides of each pumpkin.
A thin layer of paint that requires a second coat is better than a thick layer because it is less likely to peel and chip later.
And with spray paint, you don’t have to wait long to re-coat so having to do a second coat isn’t going to add much time to your project (like it would with regular paint).
Once the paint on the side that is facing up has dried, turn the pumpkins over and spray paint the other side. Make sure you are painting far enough down the sides to cover the parts that did not get spray painted in the first go-round.
7 | Repeat if necessary
If you notice that the paint looks uneven or you missed some spots, use the same process to give the pumpkins another coat.
You can paint them right away, starting with the first one that you did.
Spray paint does not need to cure (like regular paint does) before being repainted. In fact, if you wait too long between coats, it will cause problems with the finish. So try to re-coat no more than 1 hour after the first coat.
8 | Remove the tape
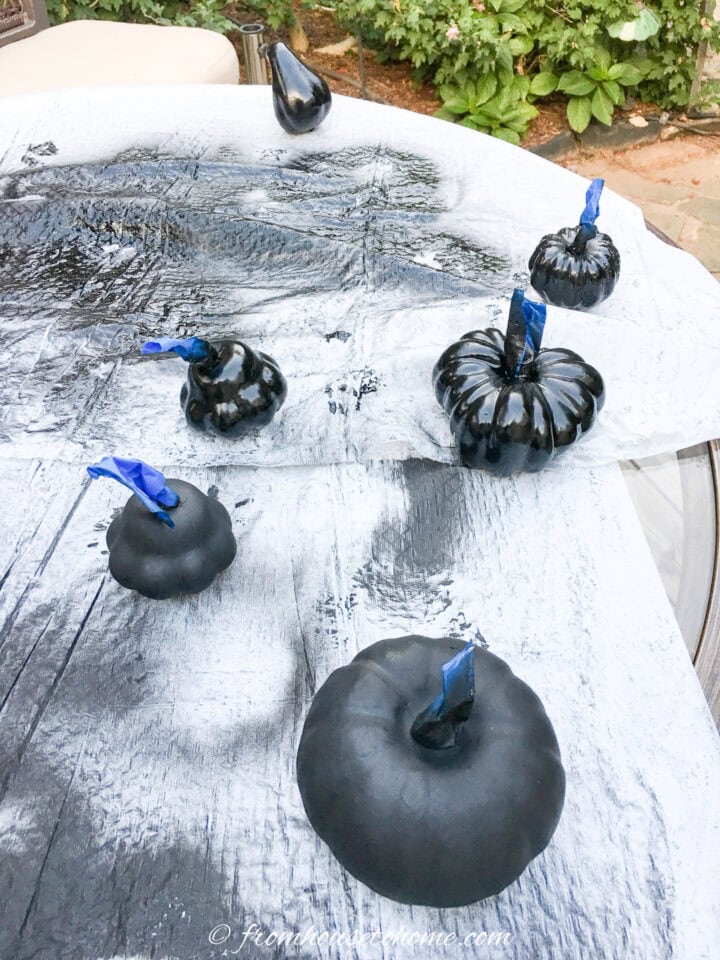
Allow the painted surface to dry for about an hour, until it feels dry to the touch.
During this time, avoid touching or moving the pumpkin to prevent smudges or smears.
Once the paint feels dry, carefully peel off the masking tape. Pulling it off at a 45-degree angle is less likely to take some of the paint with it.
I usually wait 24 hours before putting the pumpkins into a display (like stacking them in a bowl) because the paint is still pretty soft at first and damages easily.
The finished spray painted pumpkins
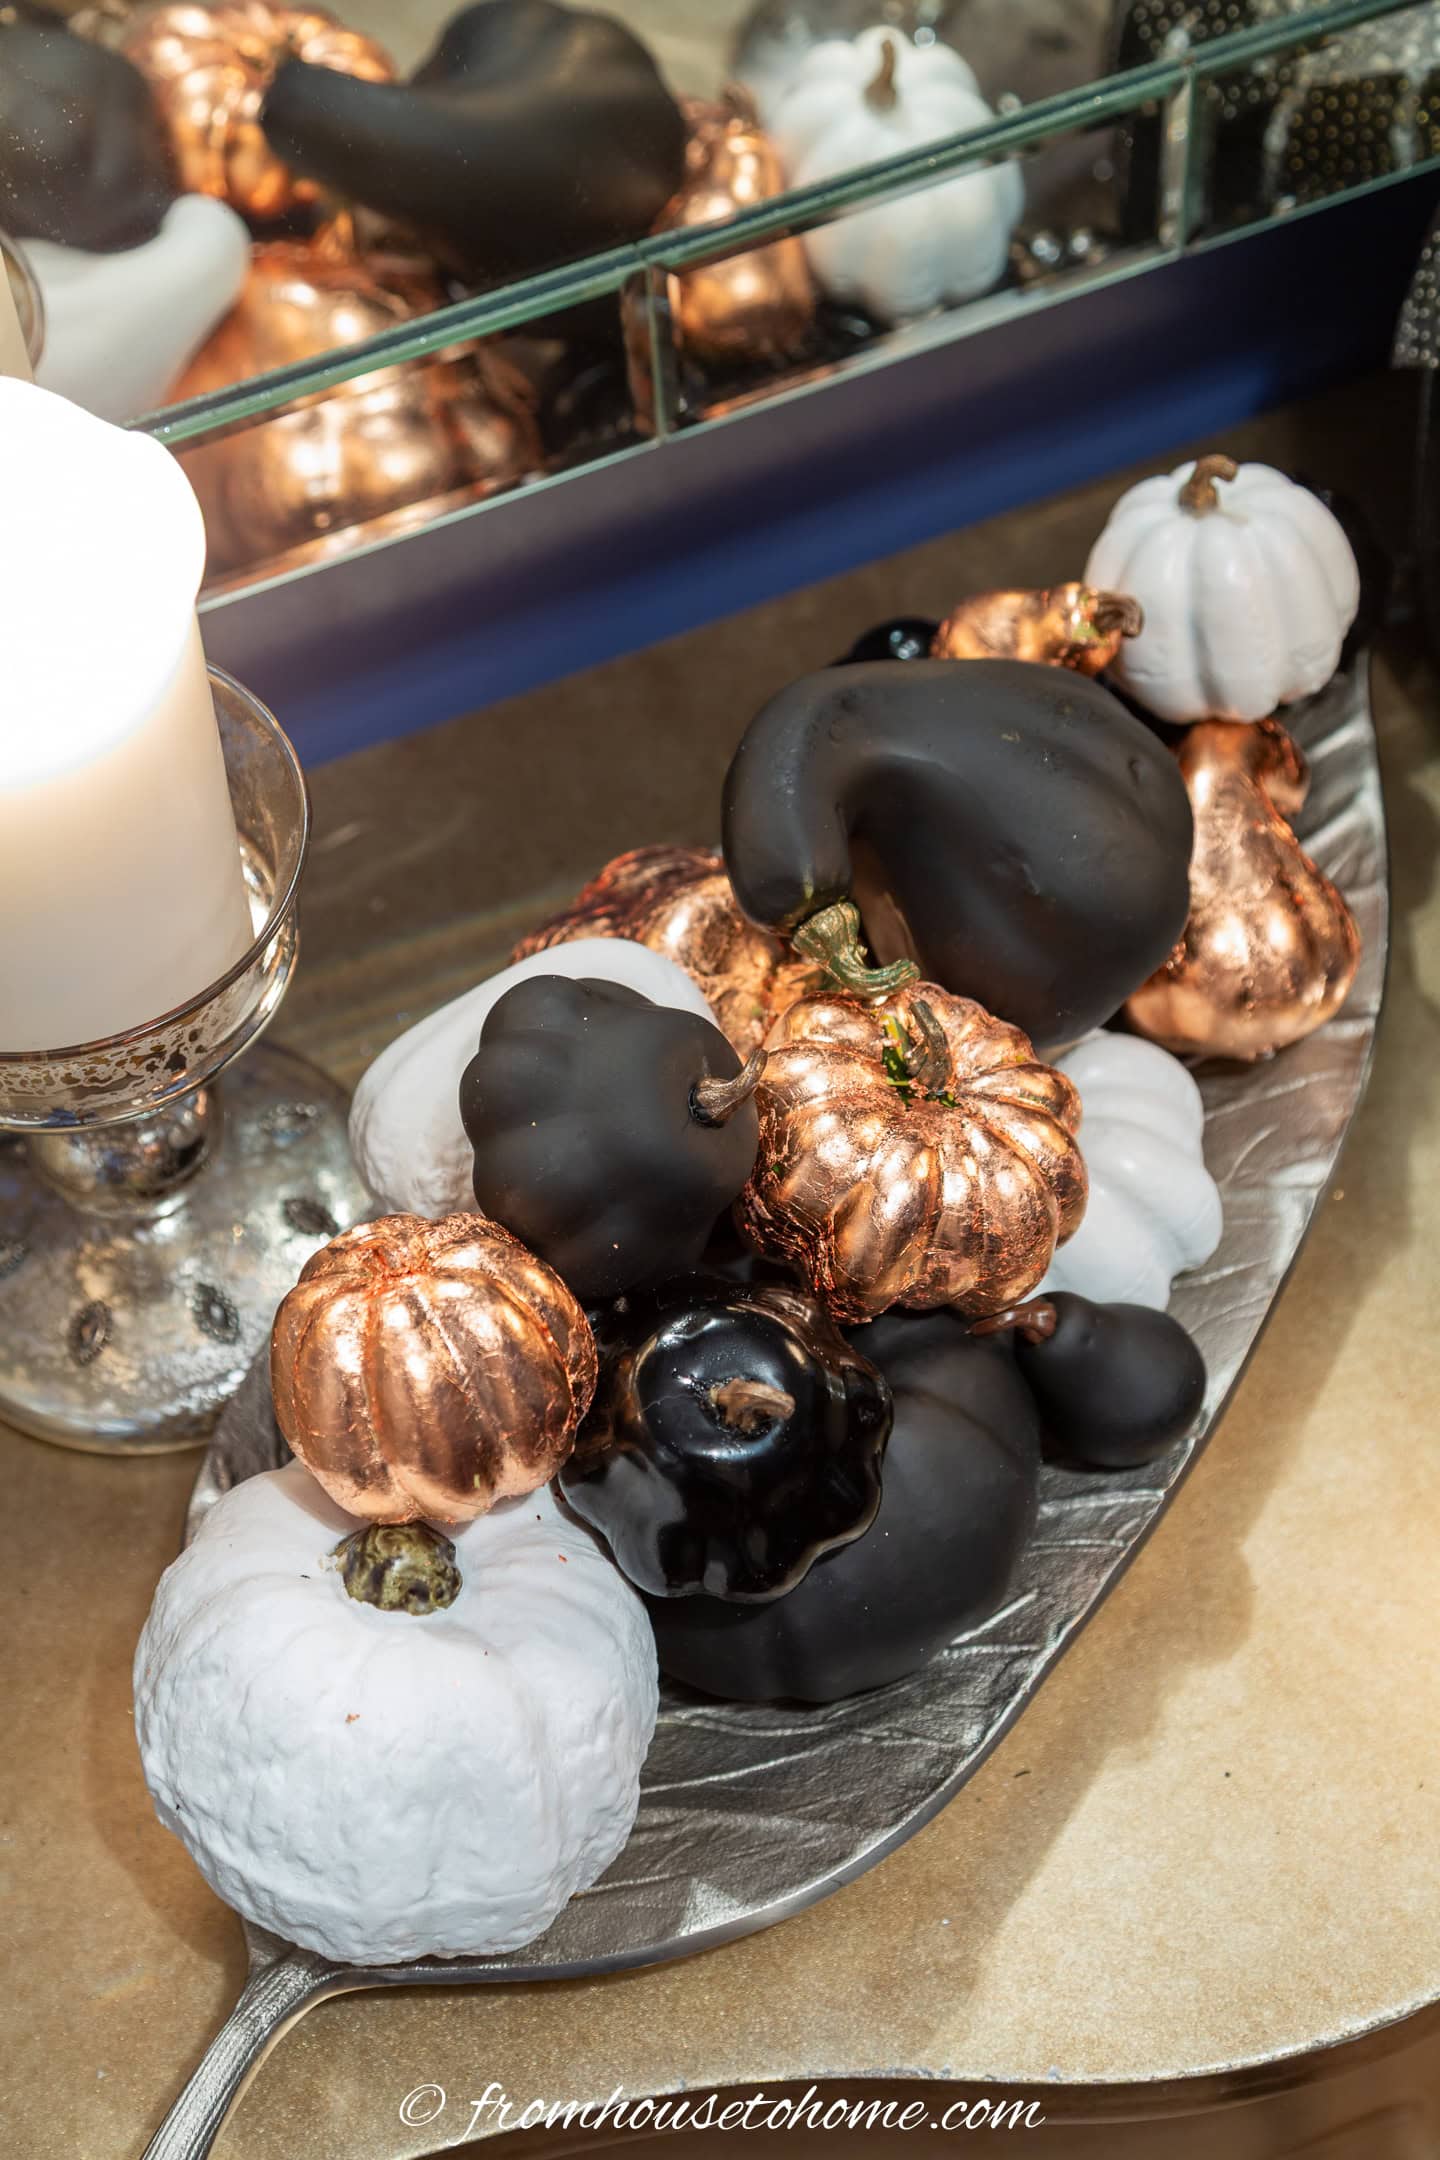
When they are finished, you can’t tell that they are painted (except for the pitted foam one 🙂 ).
I love the contrast between the matte and lacquer finishes. And I think the look great in a tray with my DIY copper pumpkins.
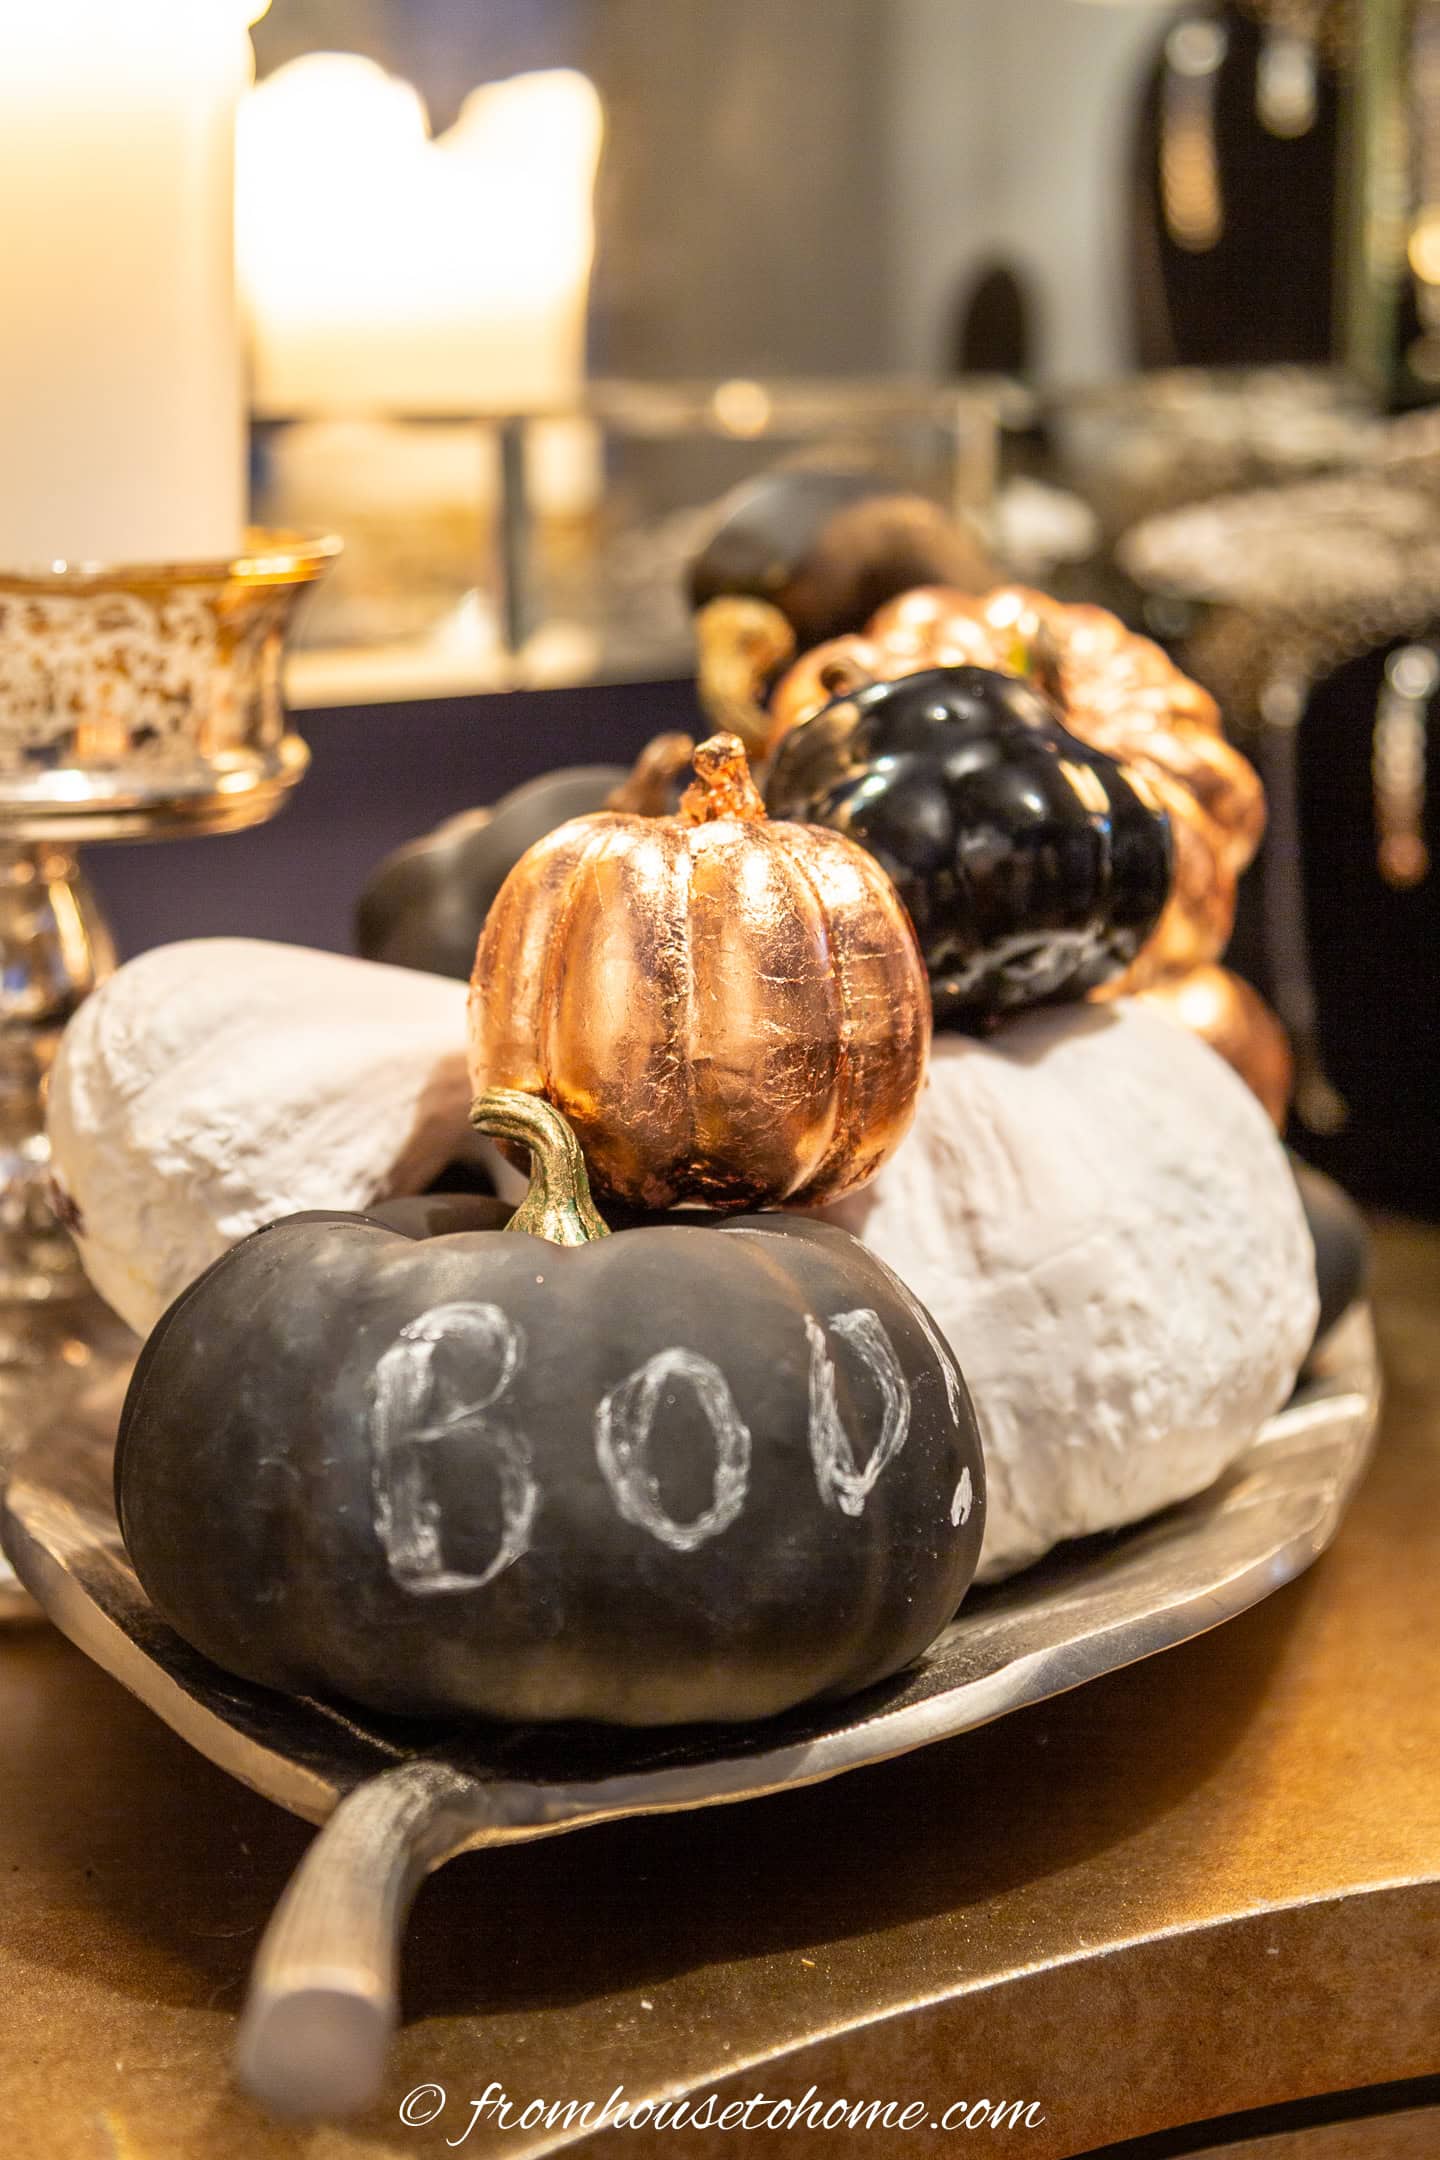
I also love that you can write on the chalkboard paint pumpkins.
So they can easily transition into Halloween pumpkins by writing “BOO!” on the front.
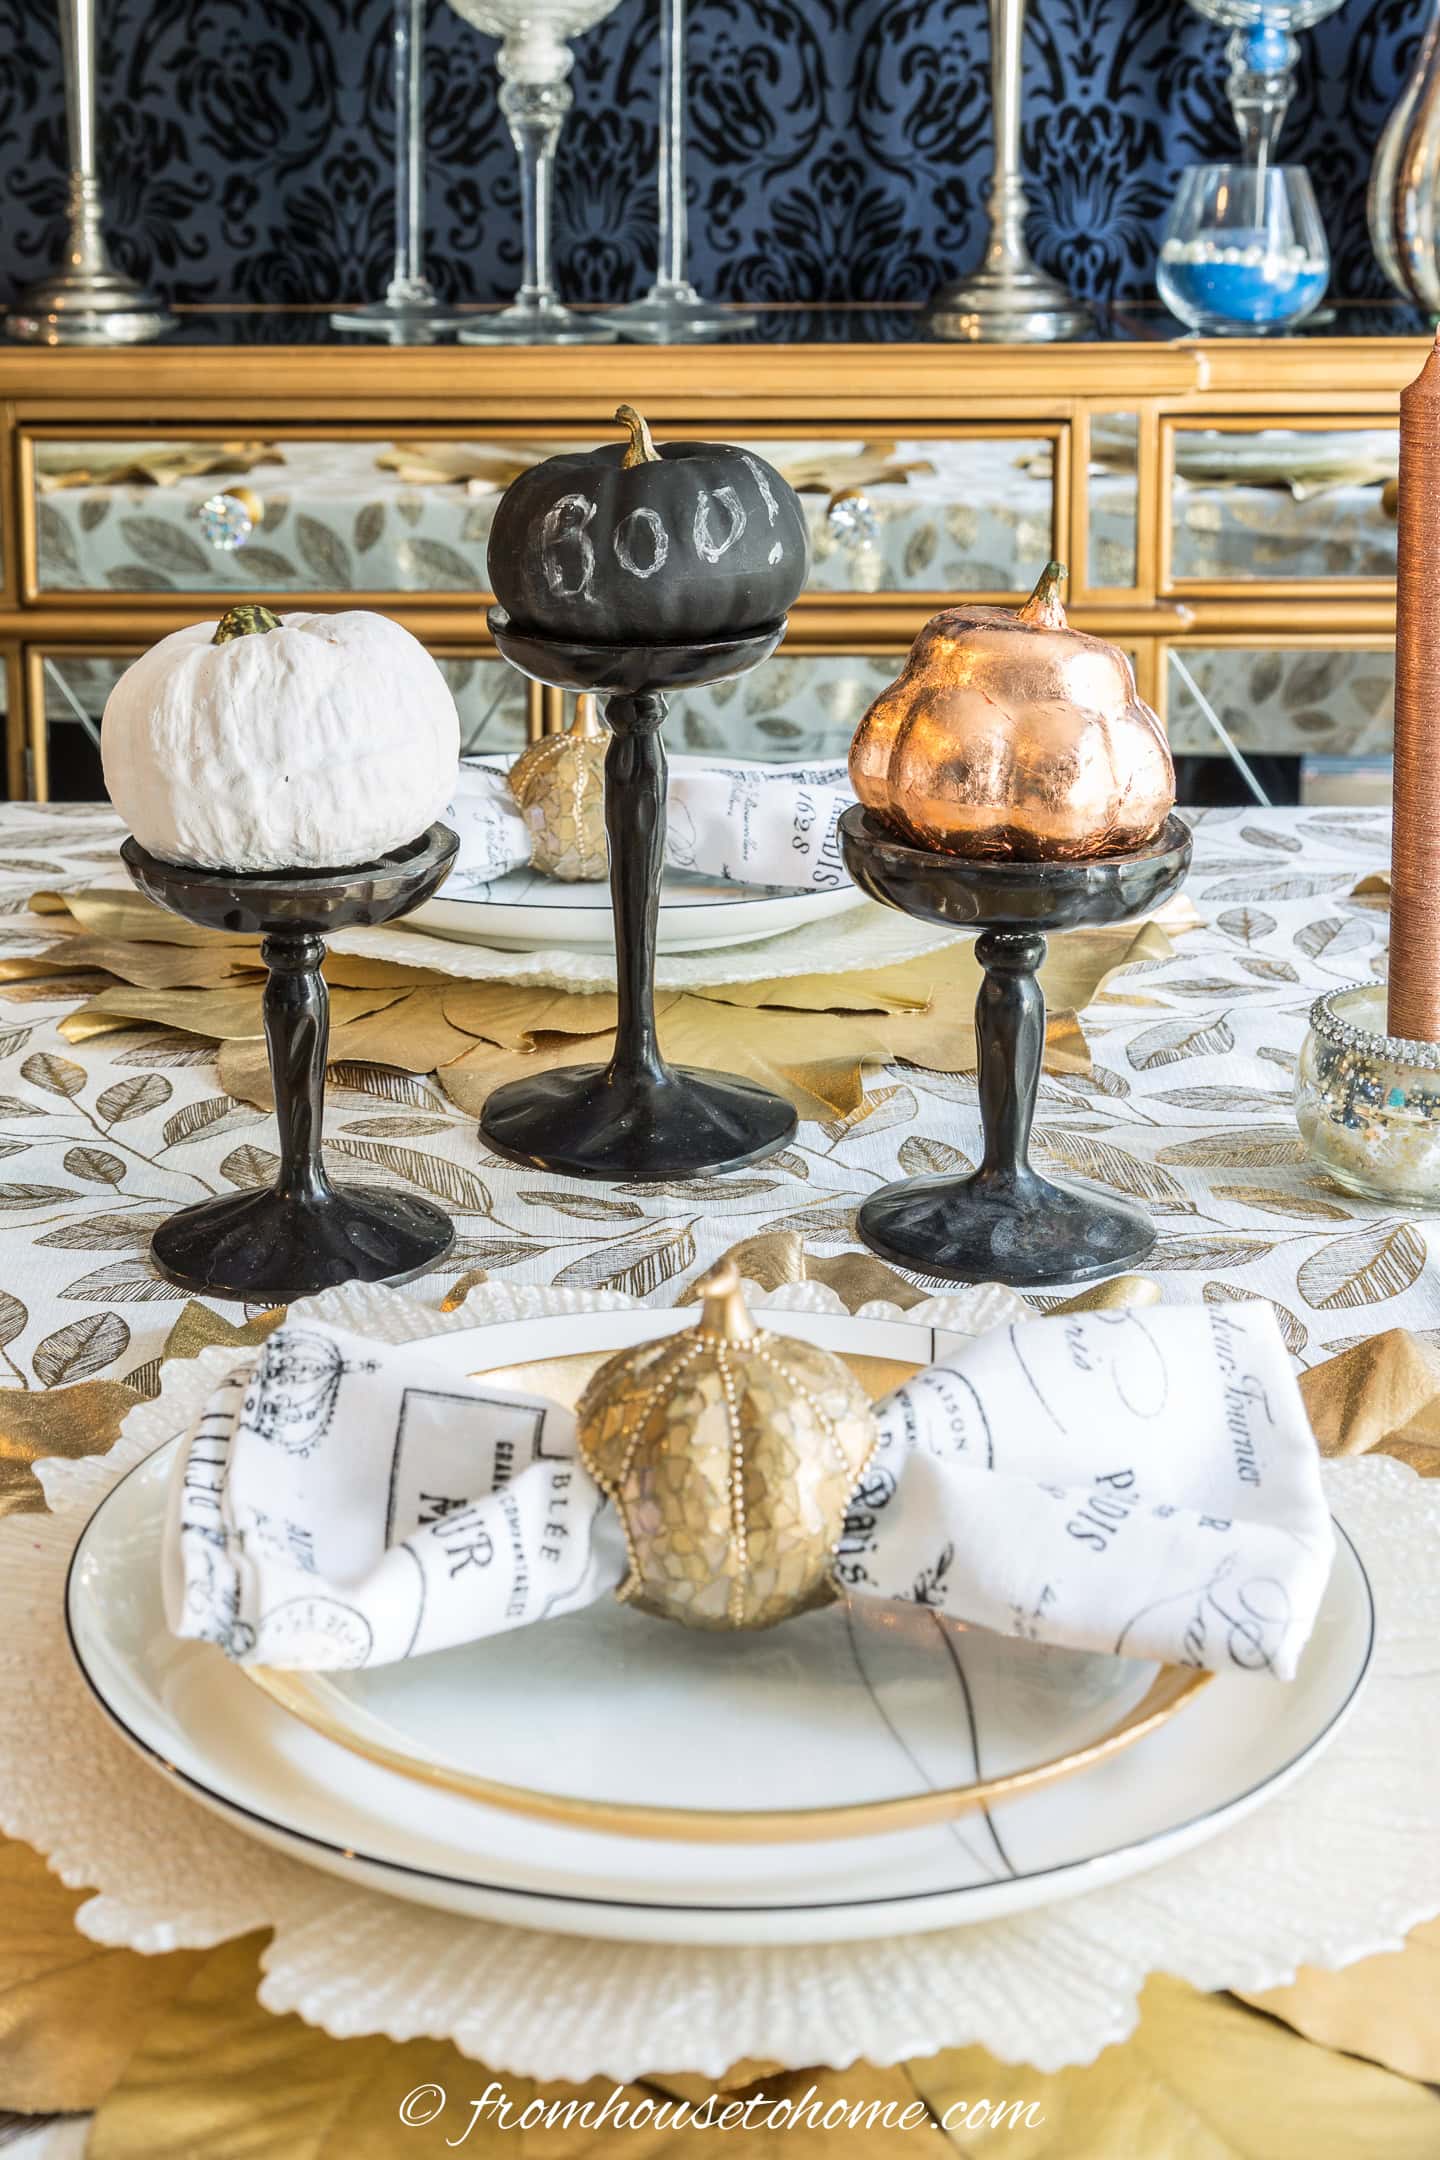
And putting them on pillar candle holders down the center of a fall tablescape is a super simple way to use them in your fall decor.

Have comments or questions about how to spray paint faux pumpkins? Tell us in the section below.