
DIY Blanket Ladder
A DIY blanket ladder is a great way to display your favorite throws or keep larger pieces of fabric organized without taking up much floor space. This easy version is inspired by a Pottery Barn design, but you can customize it to match your decorating style for a fraction of the cost.
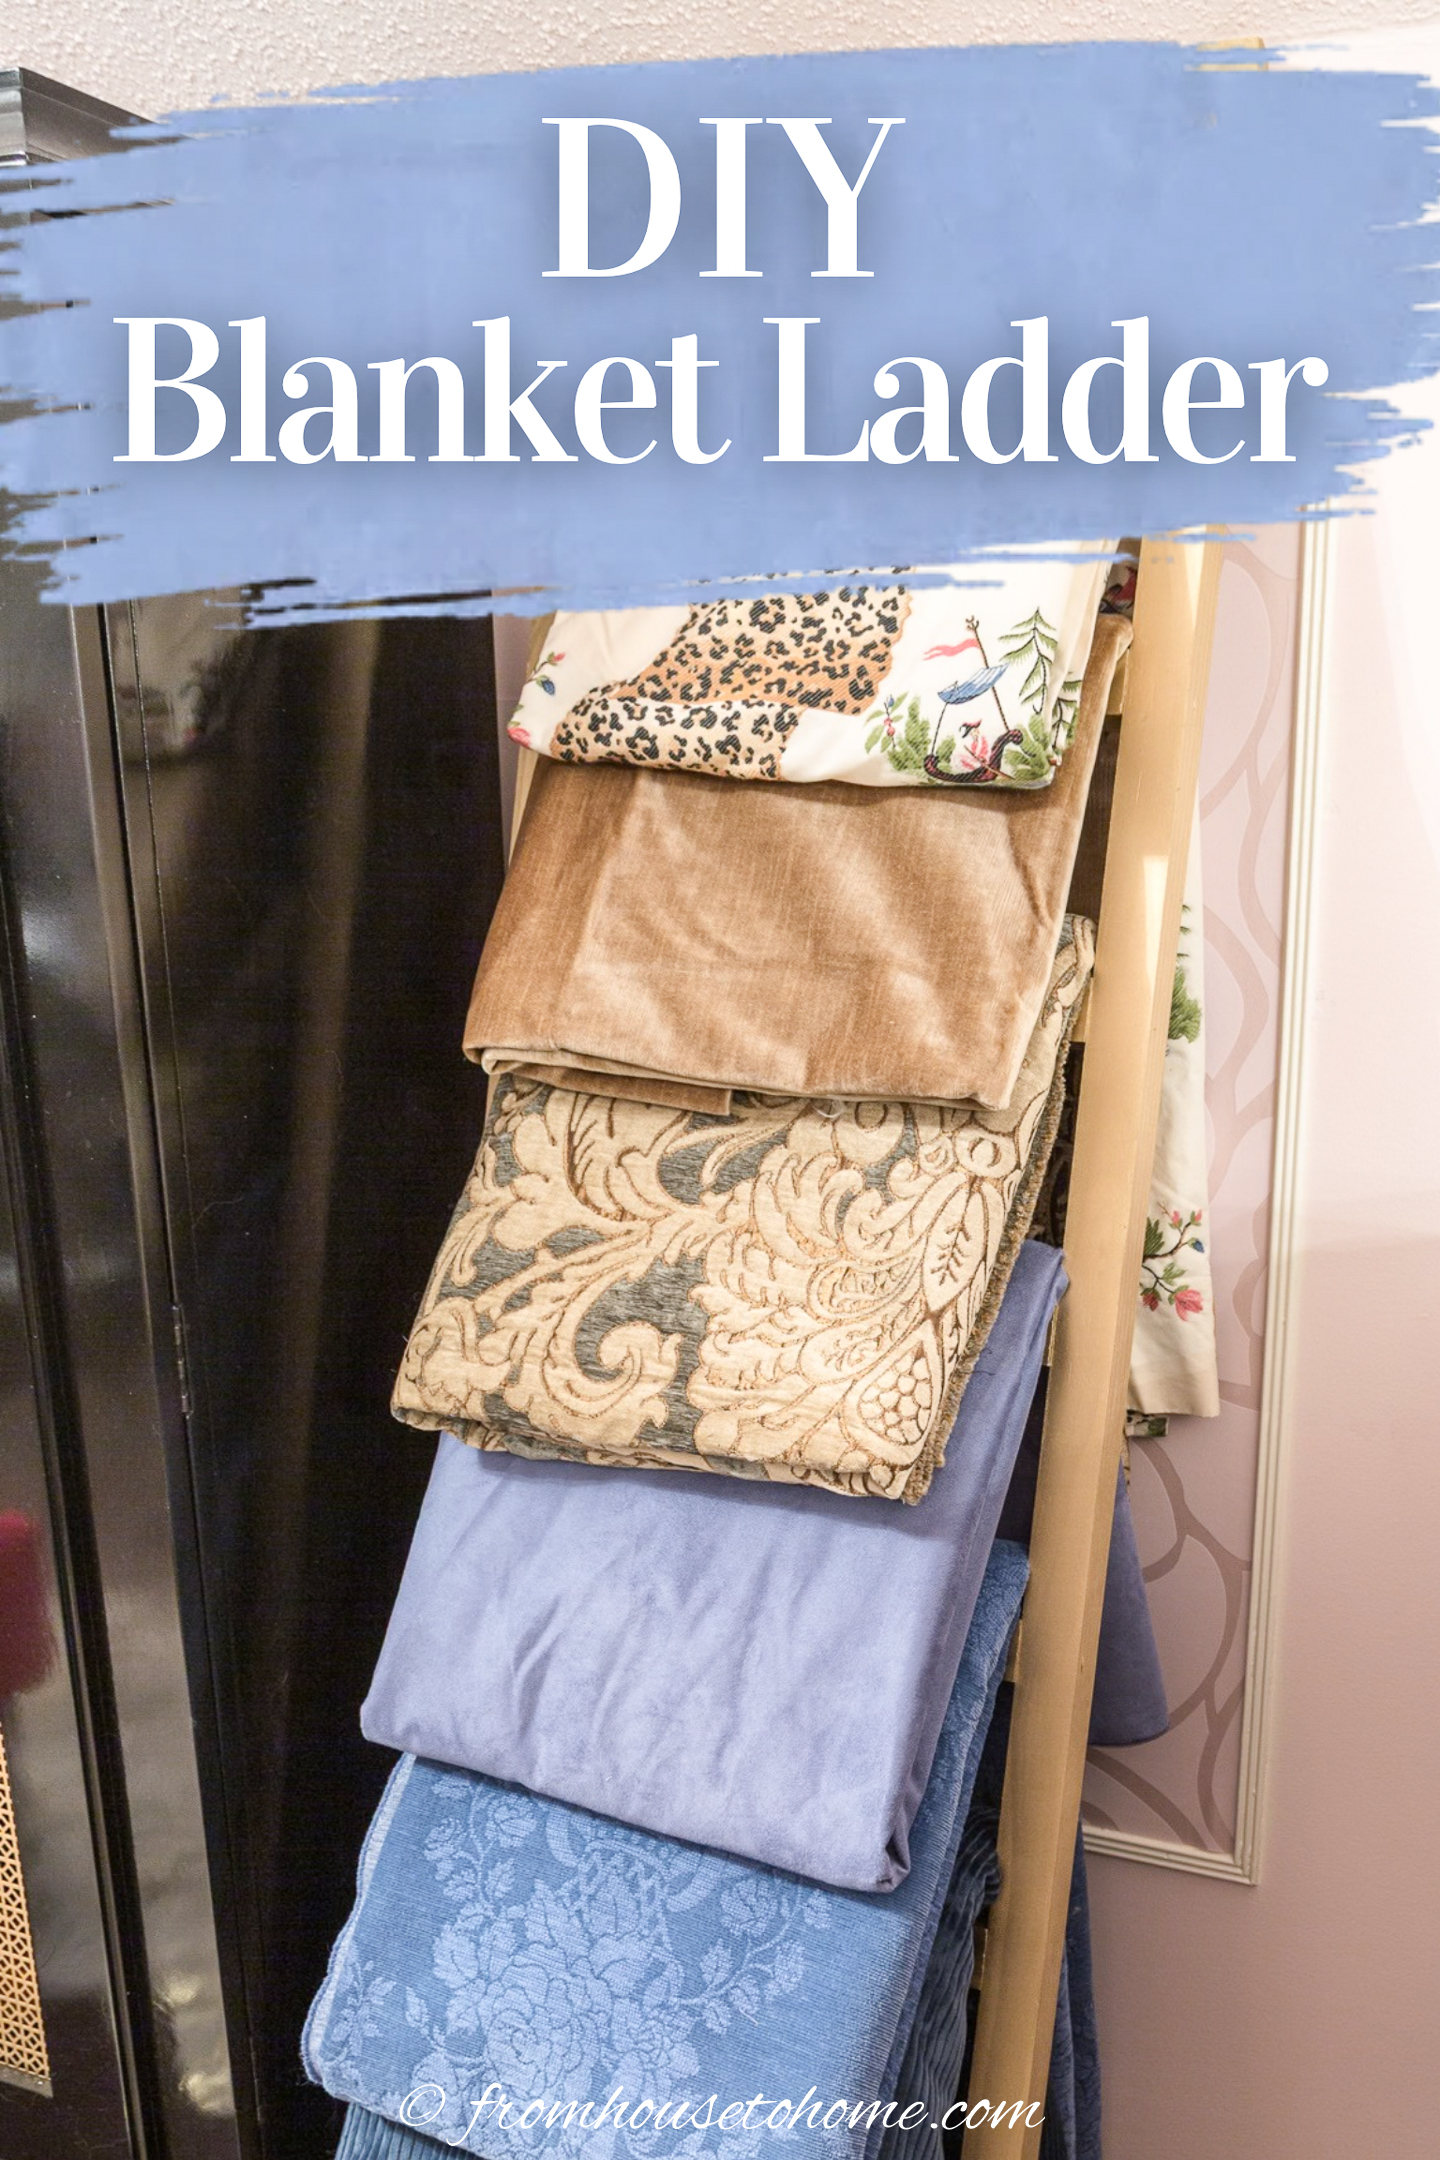
I have a lot of fabric waiting to be used for decorating projects, and I wanted a way to keep some of the larger pieces organized while still being able to see what I had.
A blanket ladder seemed like a great solution since I could simply drape the folded fabric over the rungs.
When I saw this one* at Pottery Barn, I thought it would be perfect.
Except that it didn’t really match my decorating style, and it was more than I wanted to spend.
So I decided to make my own version that I could customize to fit my craft room for a fraction of the cost.
And while I use mine for fabric storage, it would work just as well for displaying blankets or throws in a living room or bedroom.
Keep reading to see how to make a DIY blanket ladder.
What You Need
Materials
- 3 – 8’ x 2” x 2” boards
- Kreg 2″ screws*
- 120 grit sand paper
- Spray Paint
Tools
- Miter Saw
- Construction square
- Orbital Sander
- Kreg Jig*
- Drill
1 | Cut and Sand the Boards
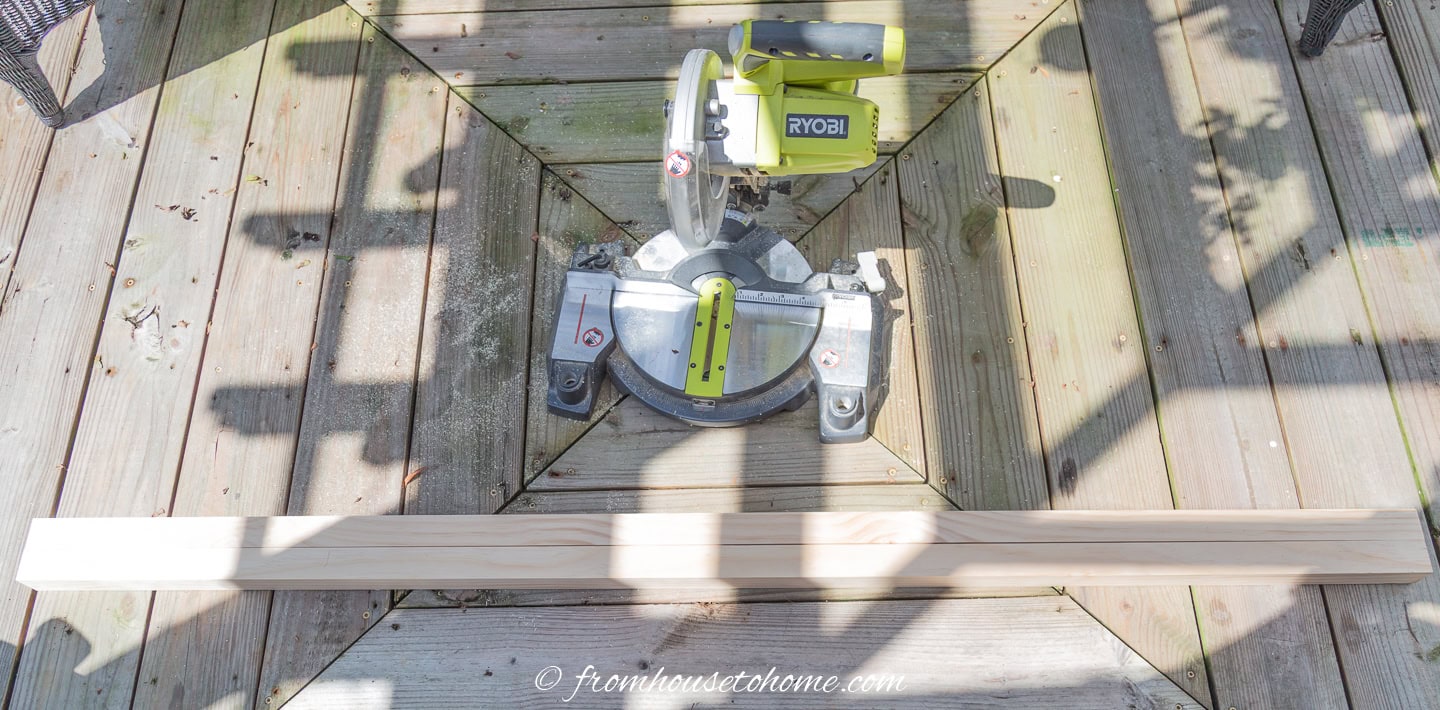
Cut 2 of the boards to the height of the ladder. I made mine 66” high.
But I was making mine for my bonus room office where the walls are only 60” high. So you might want to make yours taller (just make sure you can reach the rungs that the fabric is on).
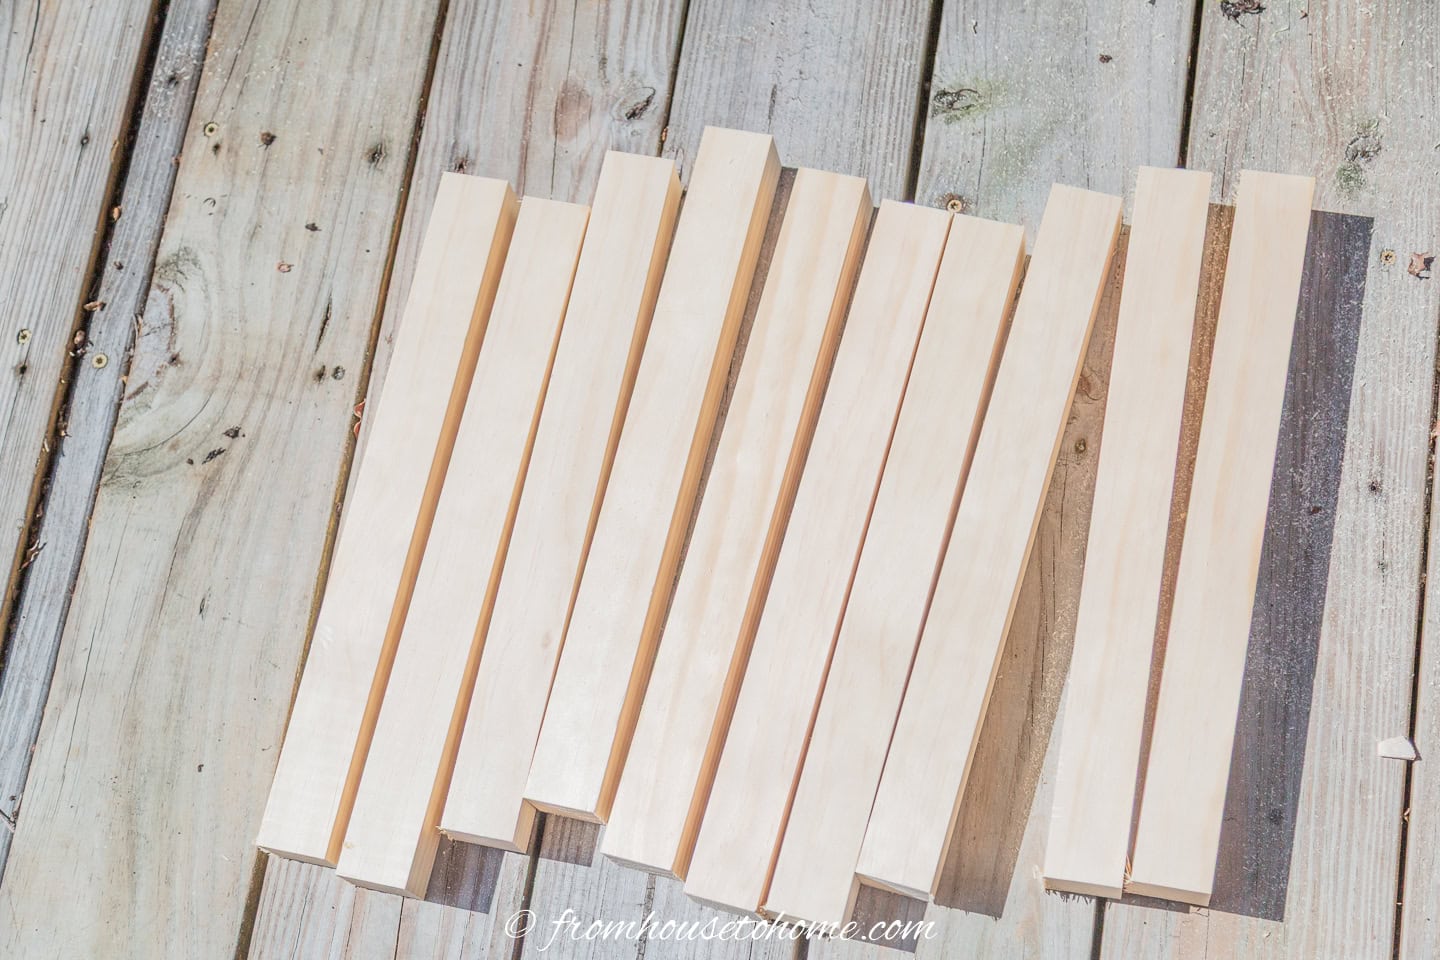
Cut 15” ladder rungs from the remaining board.
Cut a spacer board from scrap wood that is 6″ long
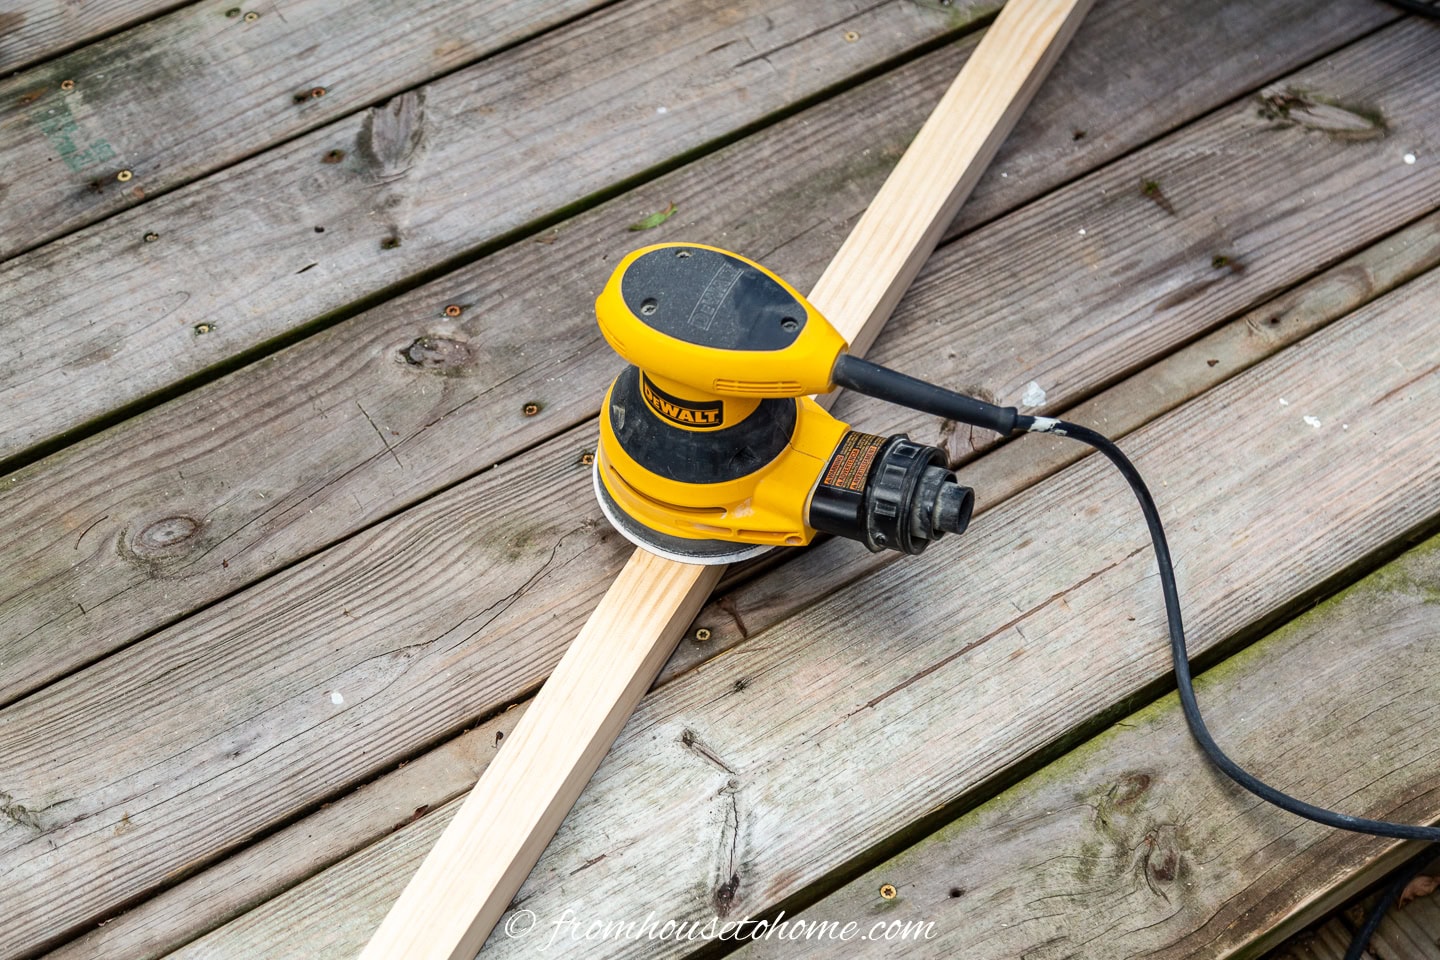
Use the sander to remove any rough edges.
2 | Angle The Ends of the Ladder Sides
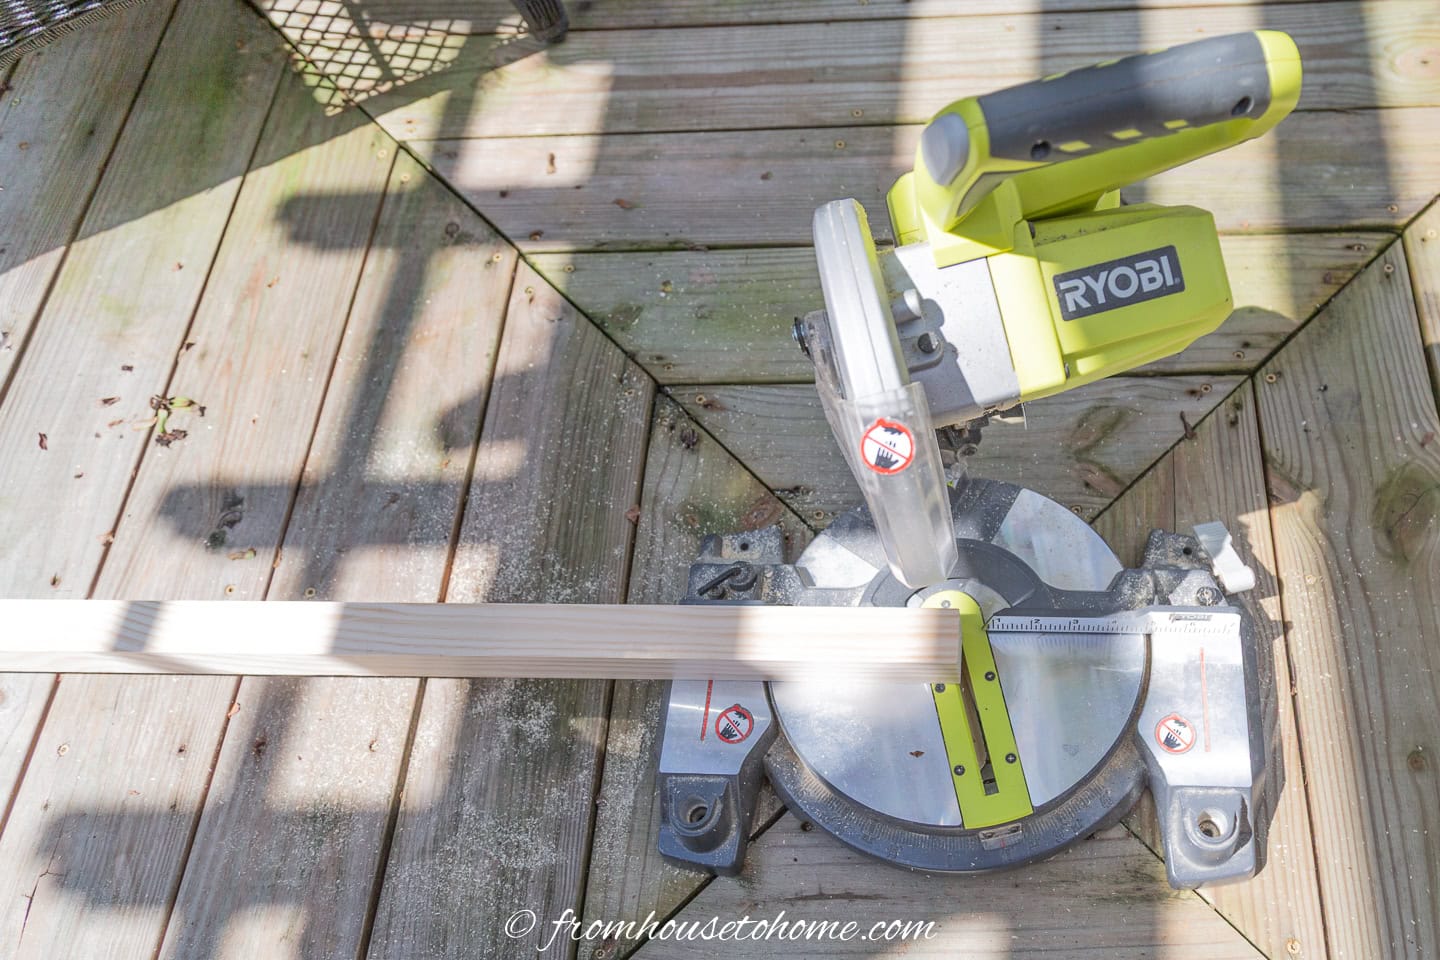
This step isn’t 100% necessary, but it does make the ladder more stable so I think it’s worth the time.
Cut a 15º angle at the bottom of the 2 long boards. This will help them lean up against the wall better.
To make the top of your ladder lay flat against the wall, you will want to cut a 15º angle lengthwise at the top of the 2 long boards.
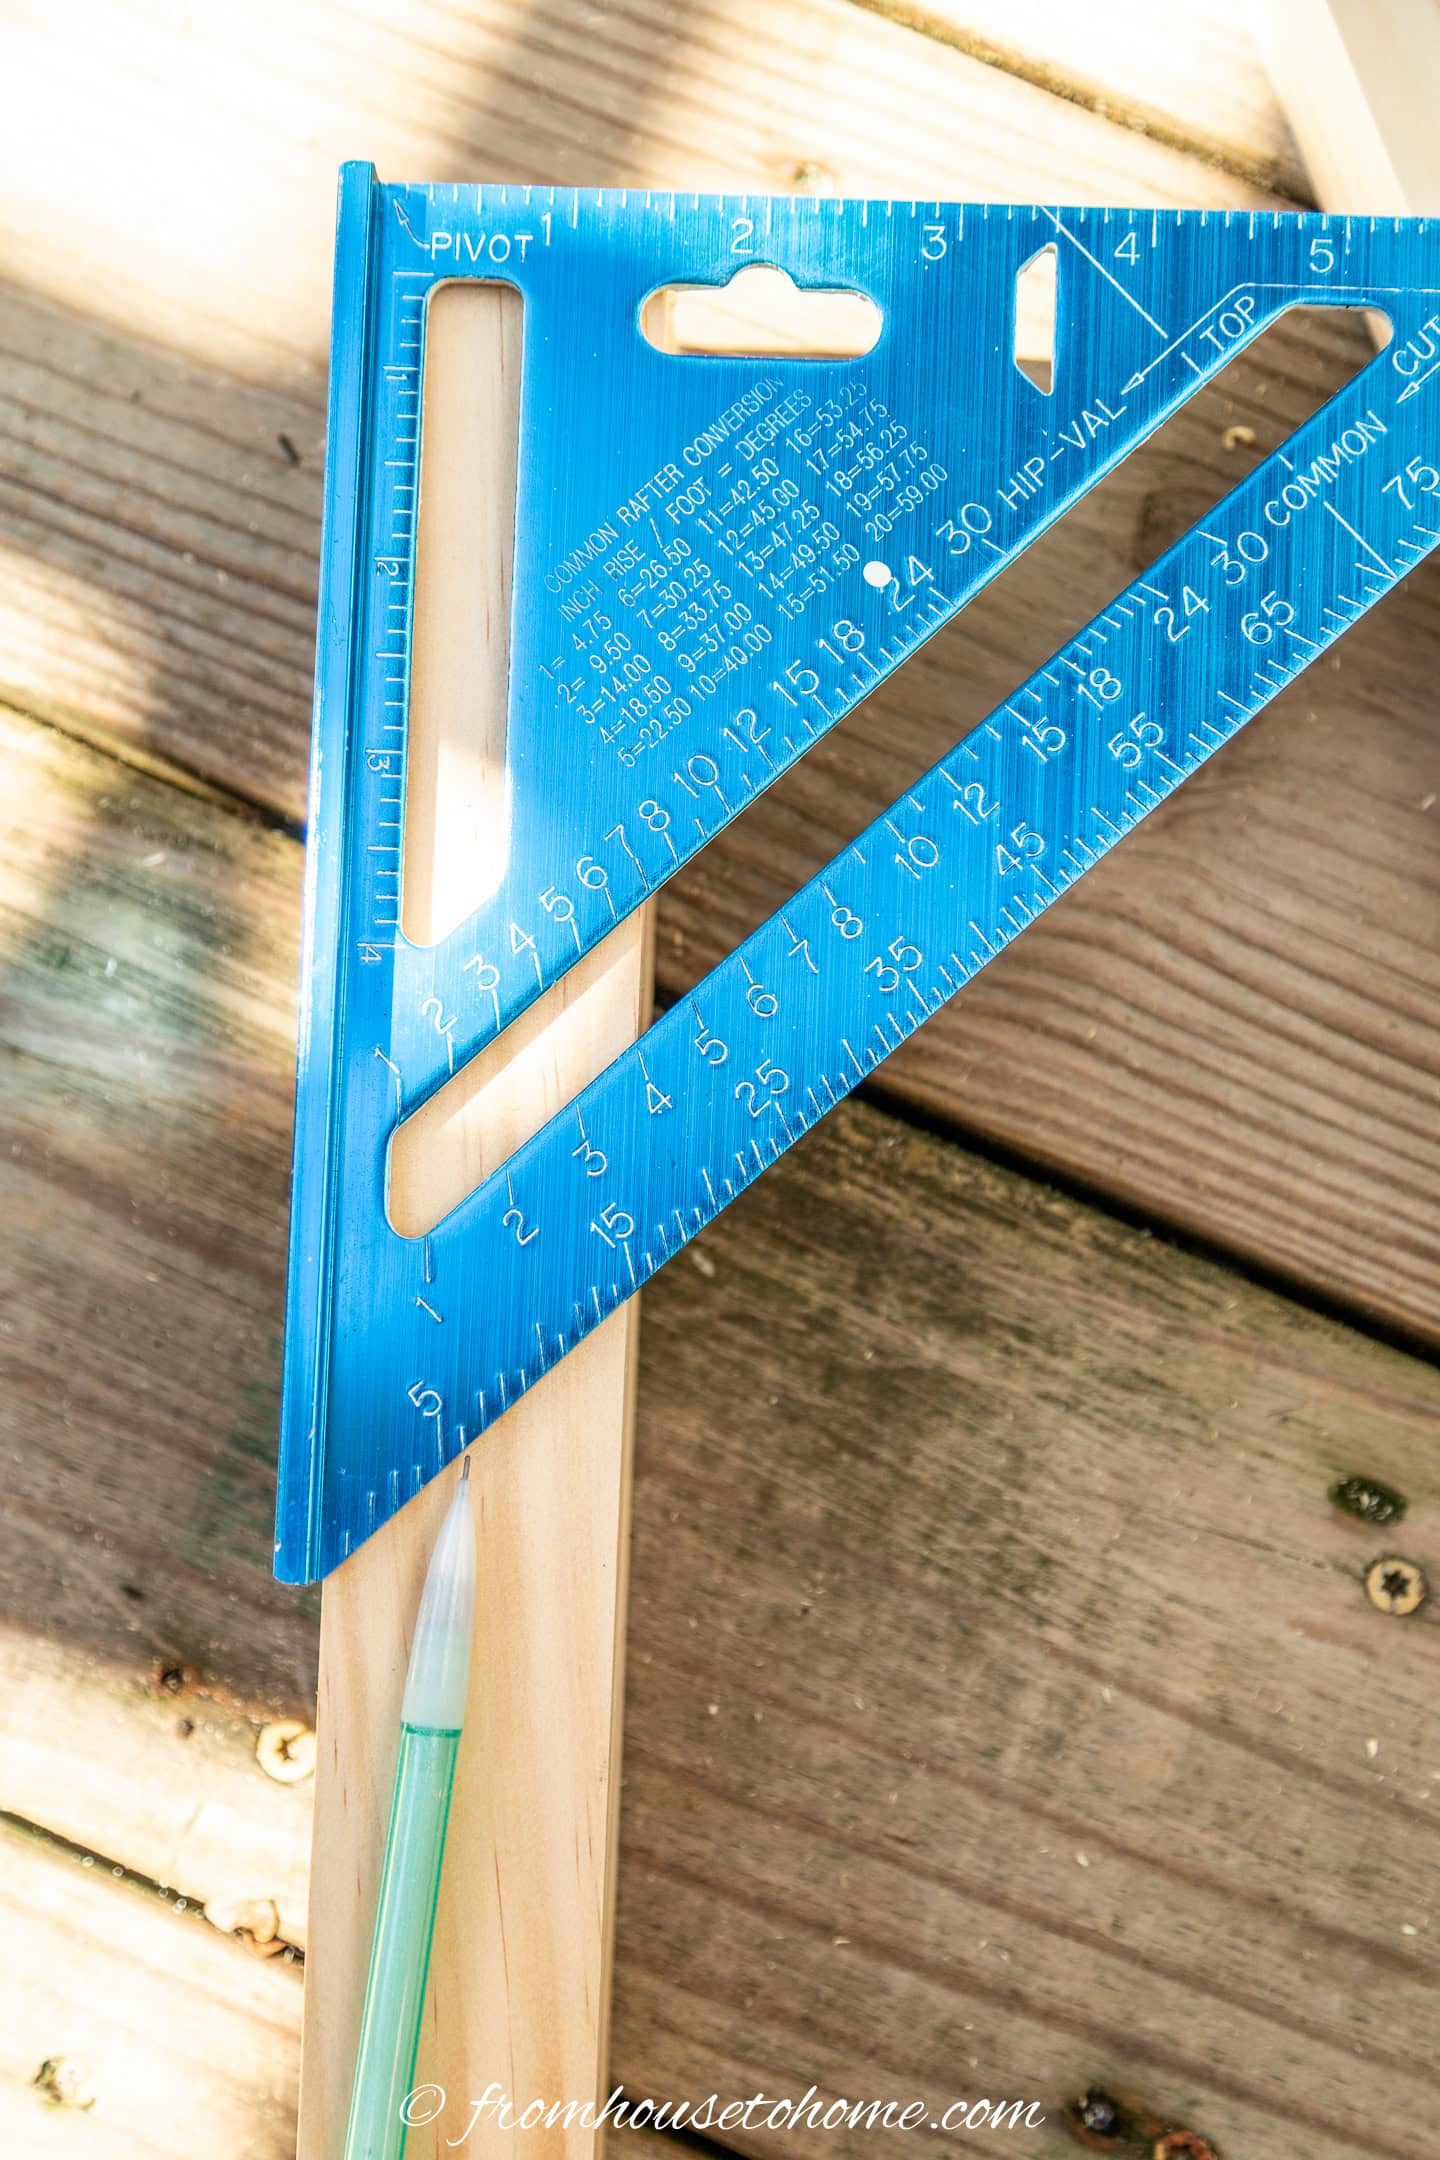
Use a construction square or protractor to mark a 15º angle from the top corner of the board.
The end of the angle should be on the same side of the board as the 15º angle at the bottom of the board.
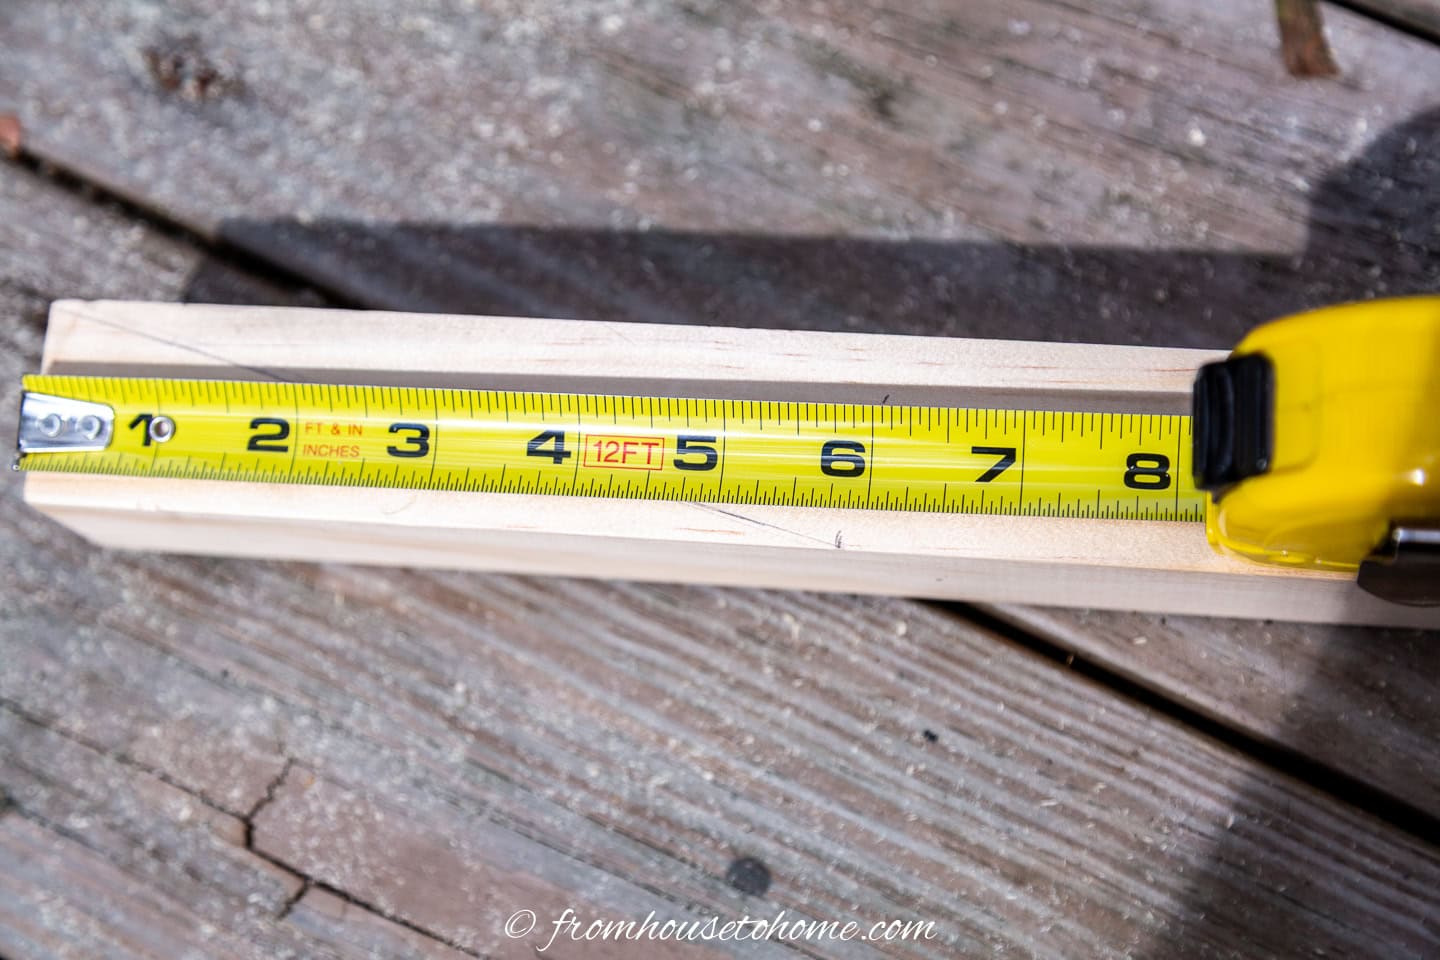
Make a pencil mark at the 3/4″ mark across the top of the board.
Make another pencil mark halfway between the top of the board and the 15 degree angle mark you just drew.
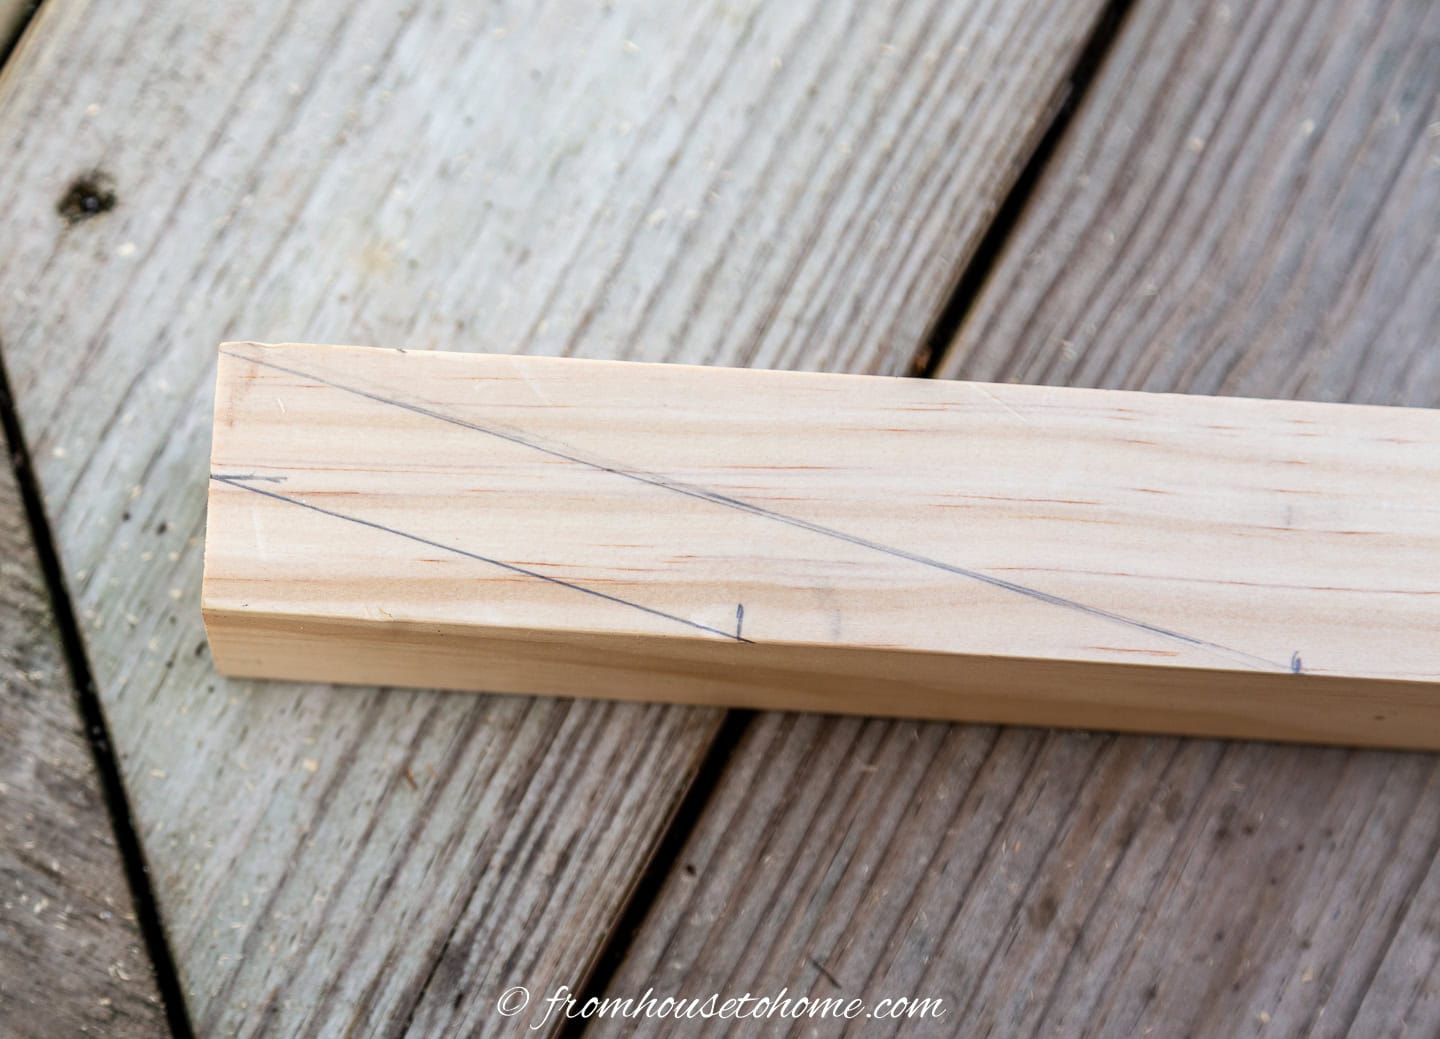
Draw a line that connects these 2 pencil marks together.
This will be where you will cut.
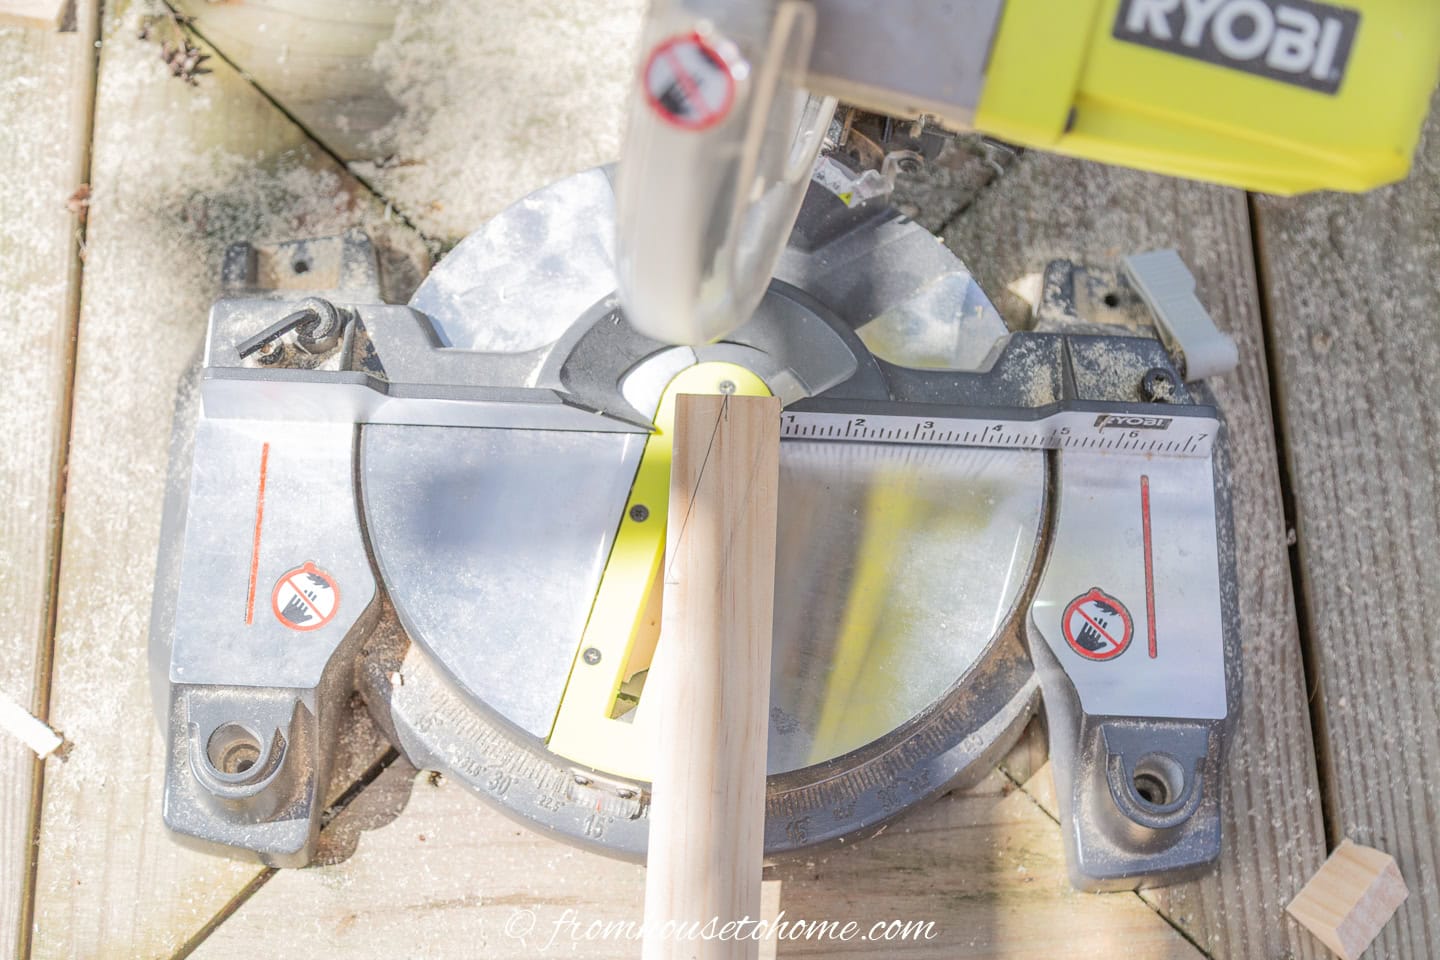
Leave the miter saw at the 15 degree angle.
Position the board so that it is perpendicular to the miter saw.
Line up the blade with the pencil mark and make your cut.
You will probably want to test this by leaning it up against a wall to see if the ends line up correctly.
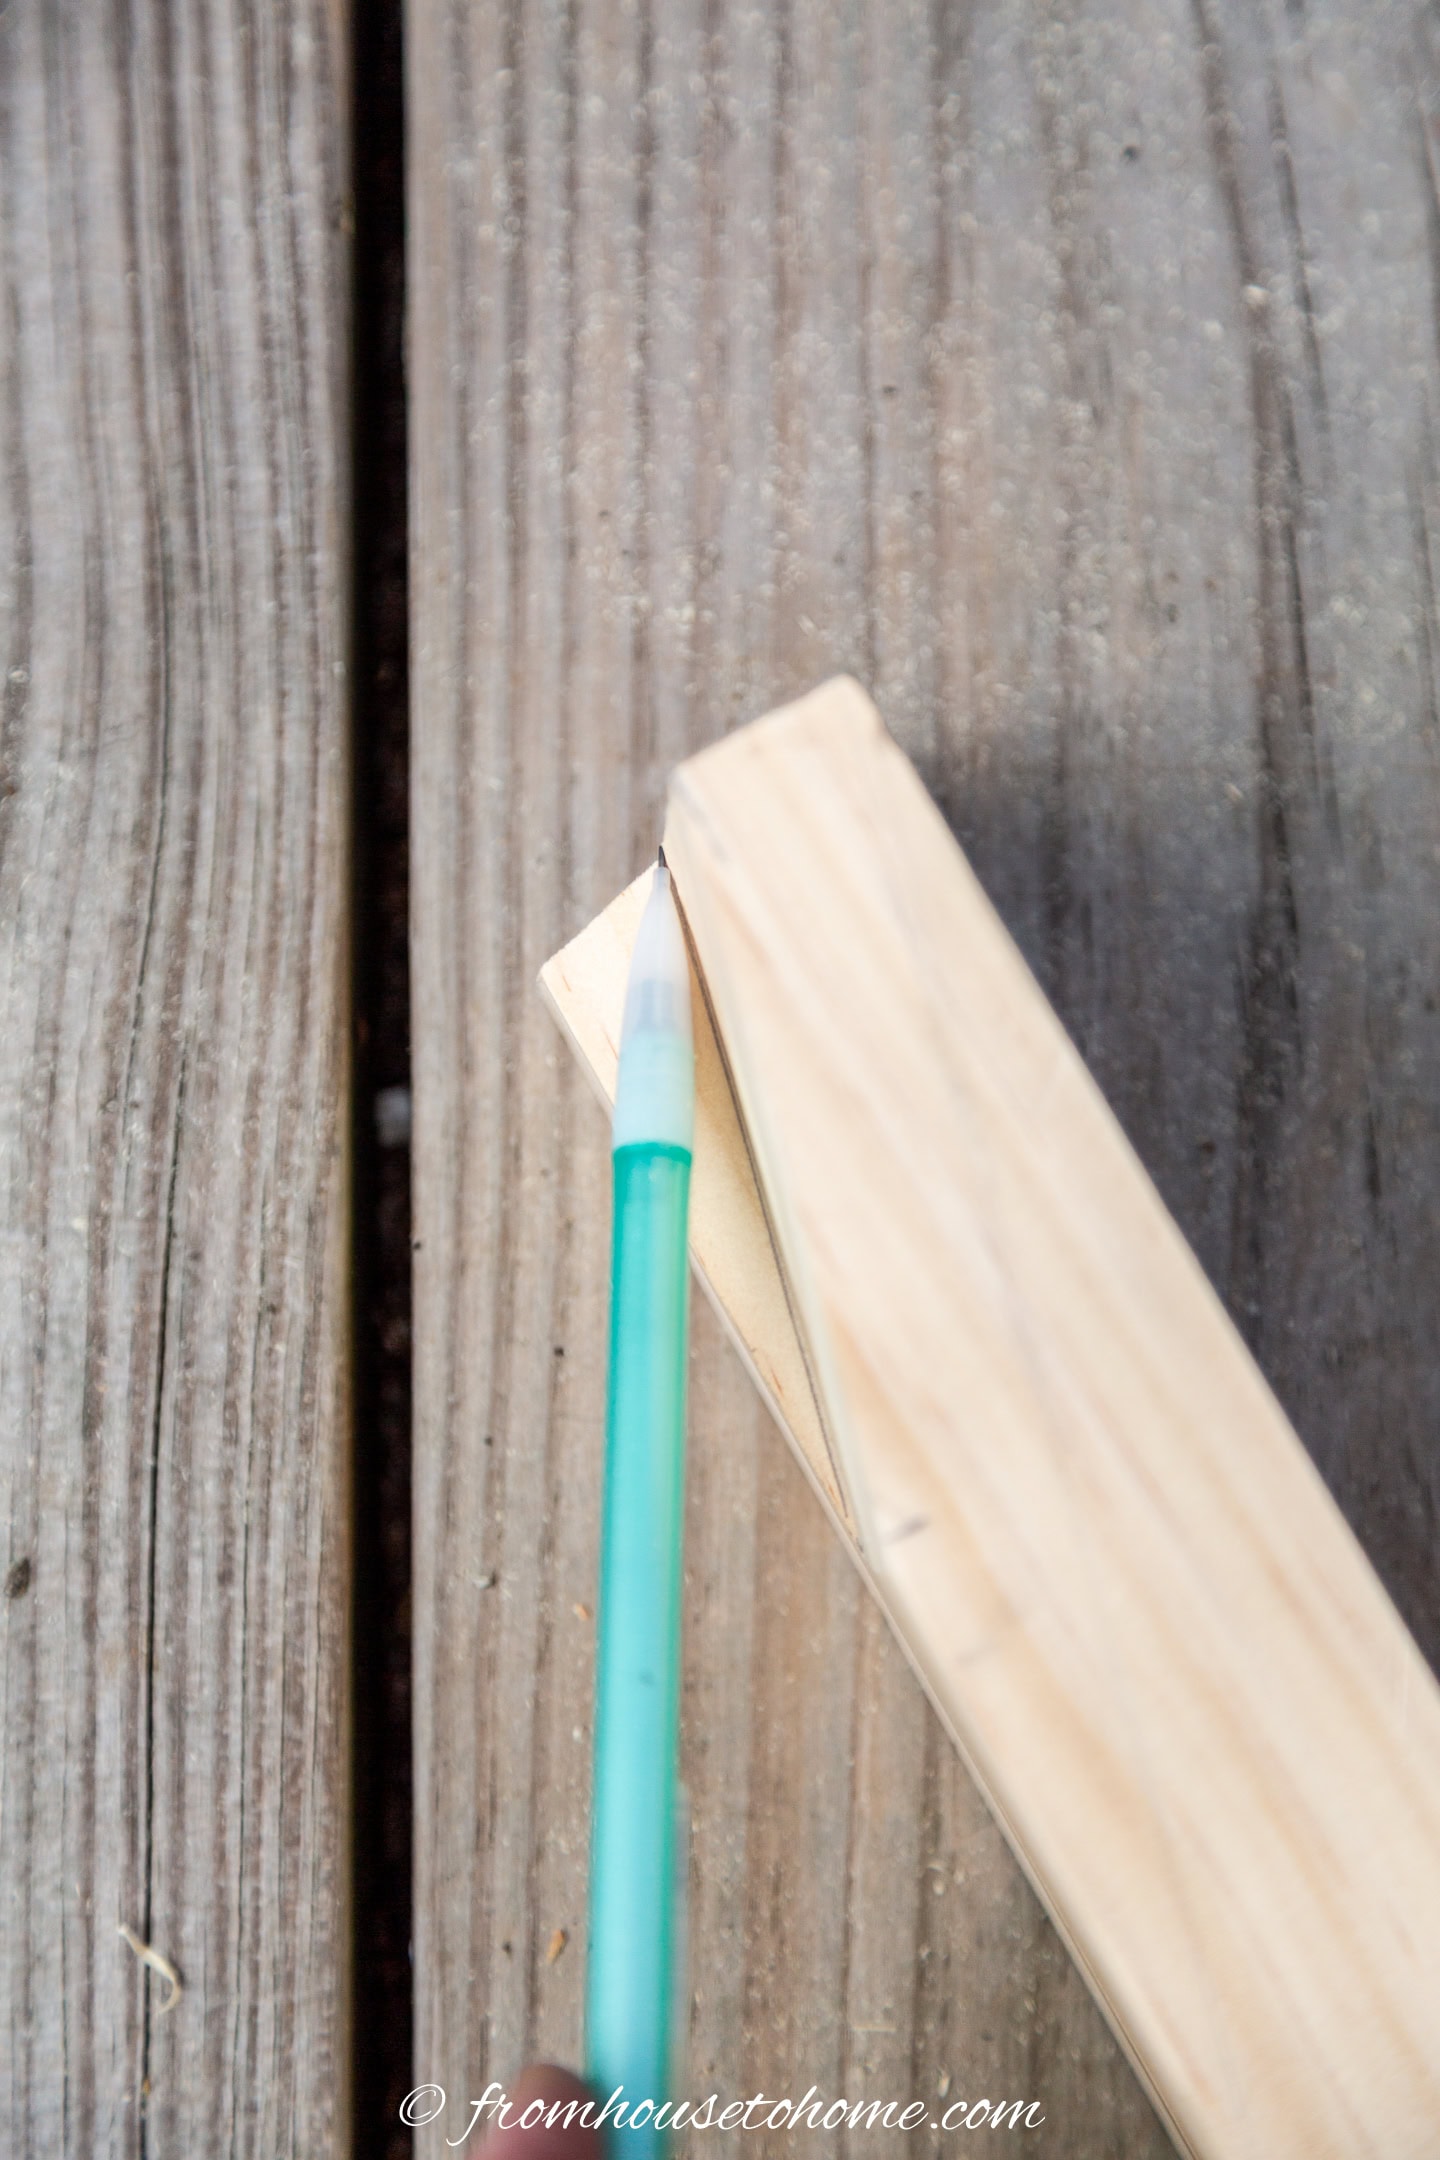
Make the second cut by lining the 2 long boards so that the bottom ends meet.
Then draw the top angle line on to the second board, and cut it as you did for the first board.
3 | Drill the Pocket Holes
Adjust the Kreg jig to fit 1 1/2″ pieces of wood.
Make sure that the clamping mechanism is adjusted to hold the board in place.
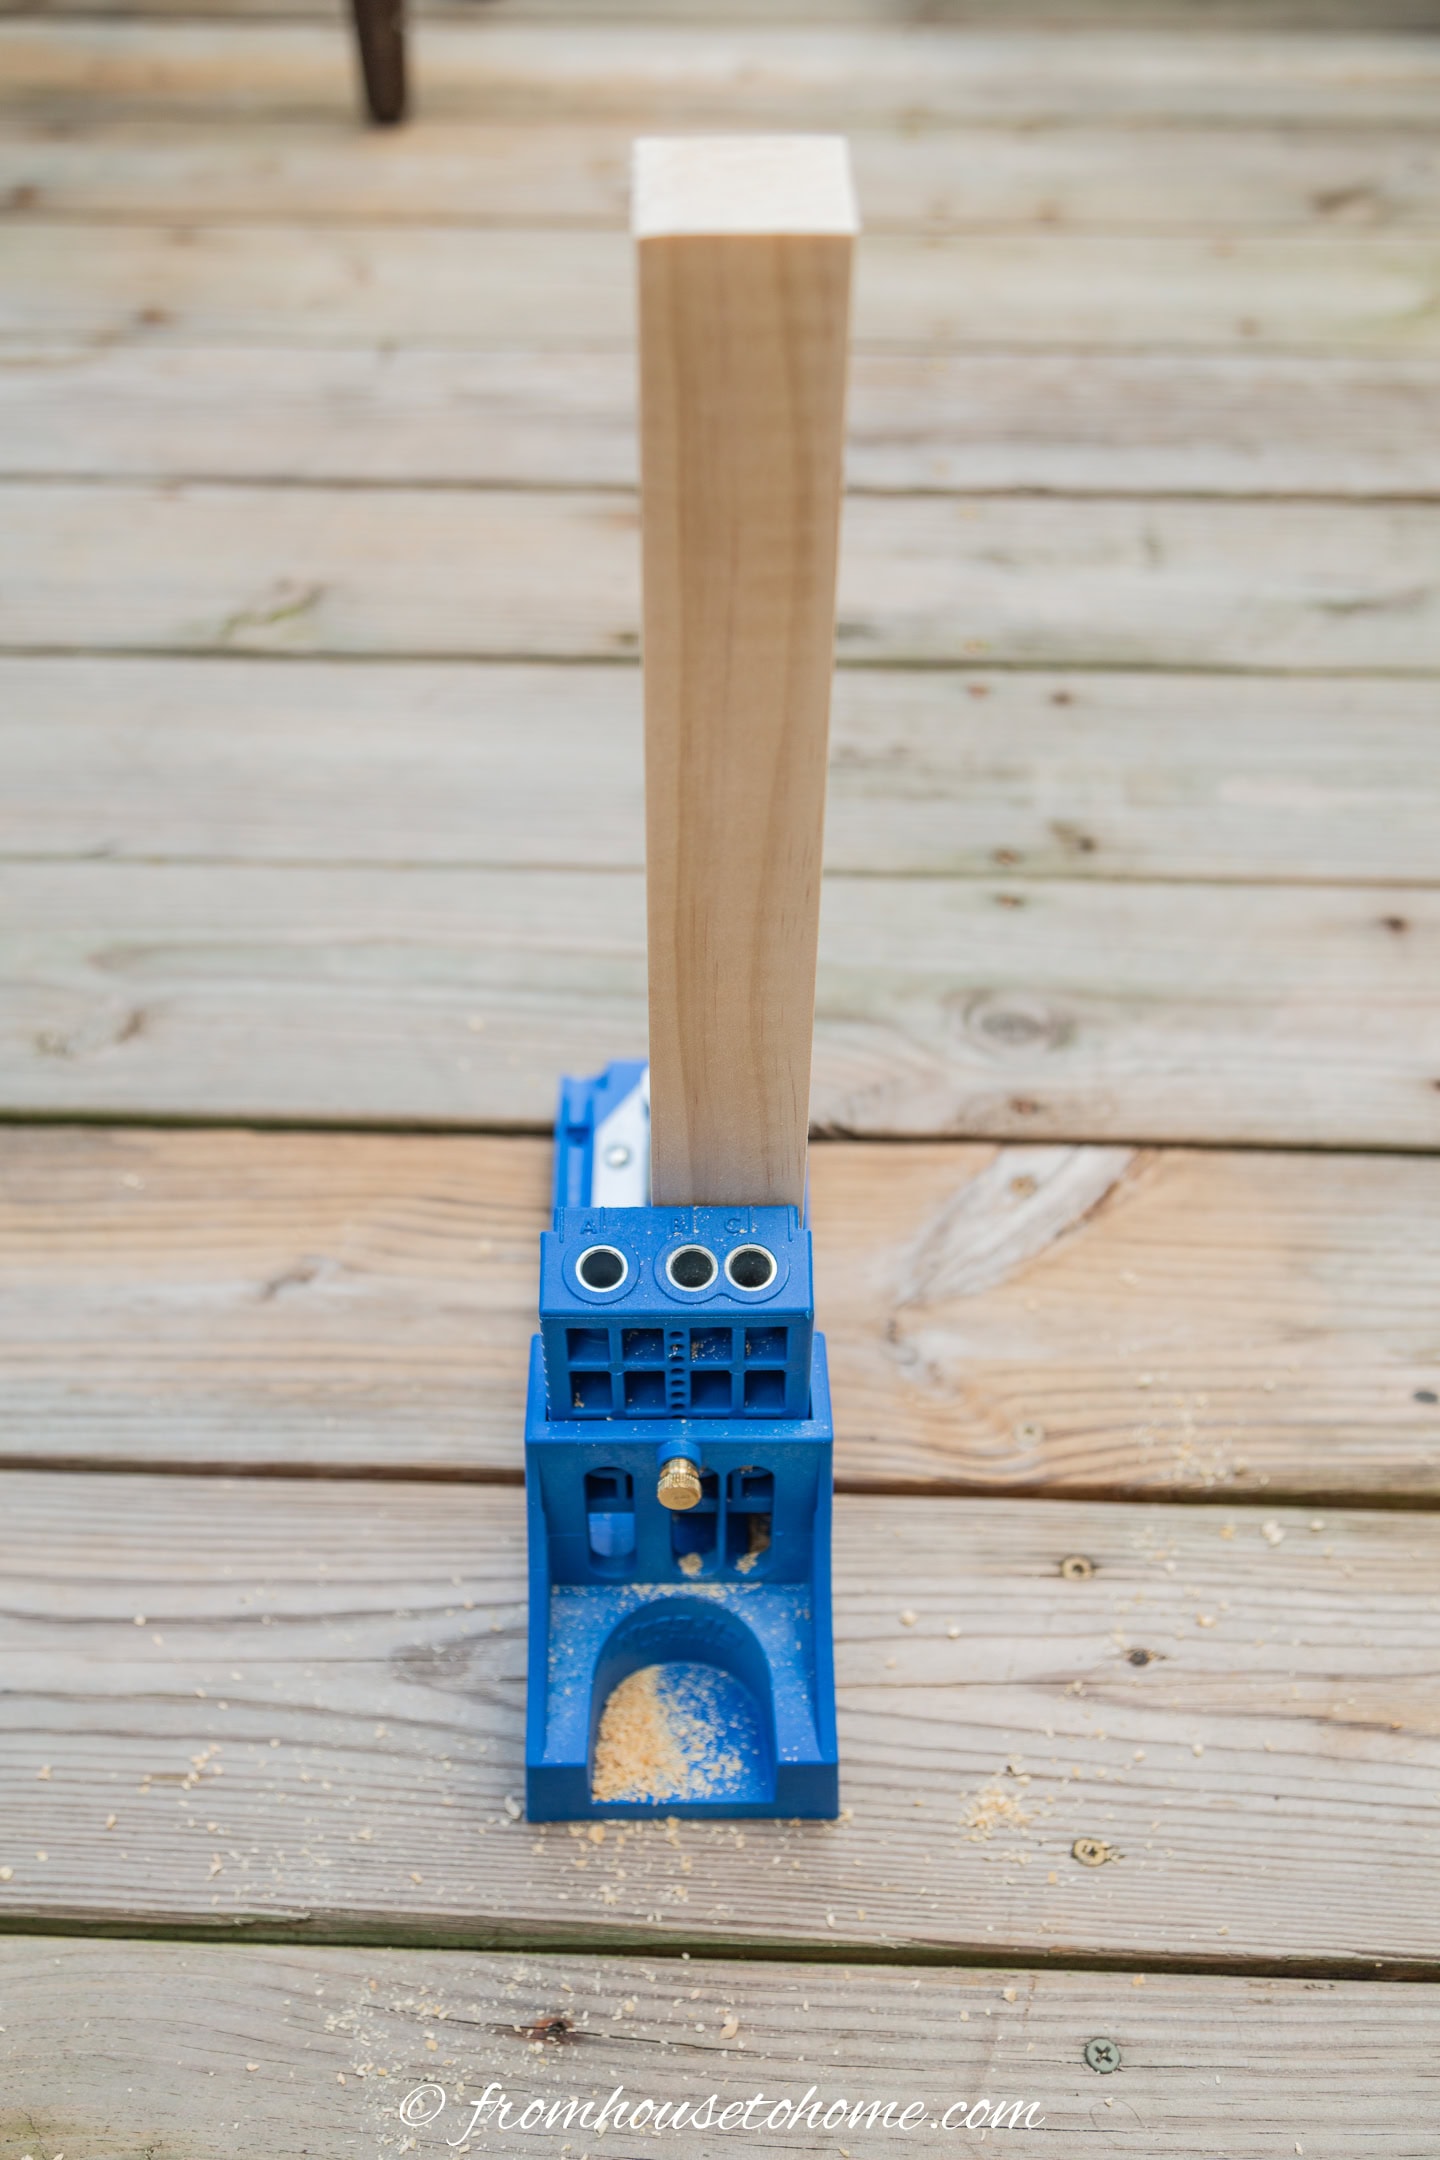
Position the first ladder rung on end with the edge of the board lining up along the right line of the jig.
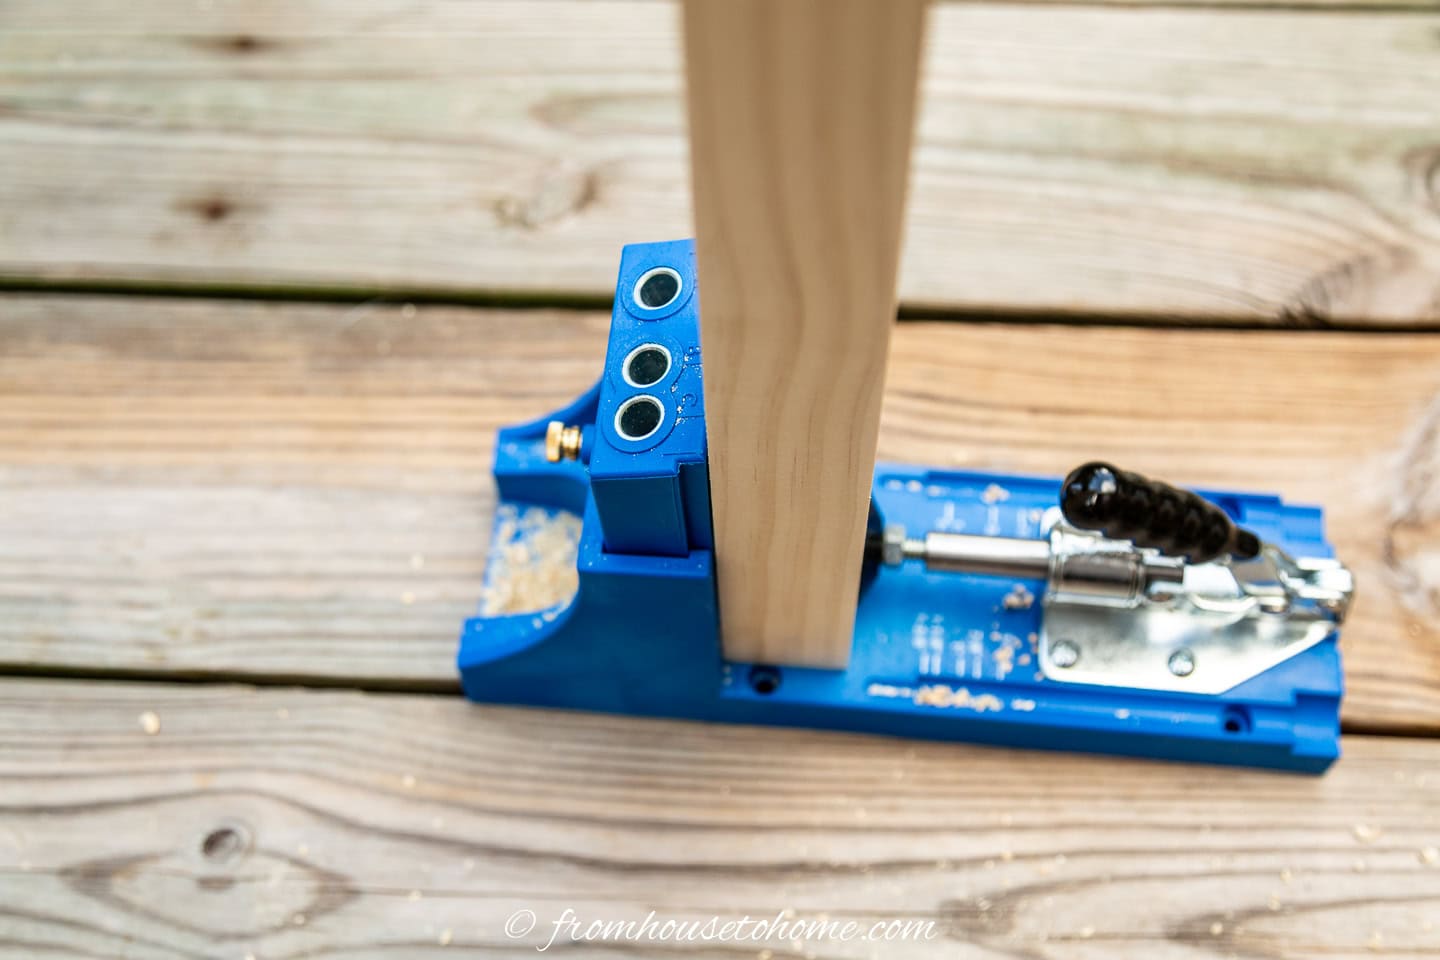
Close the Kreg Jig clamp.
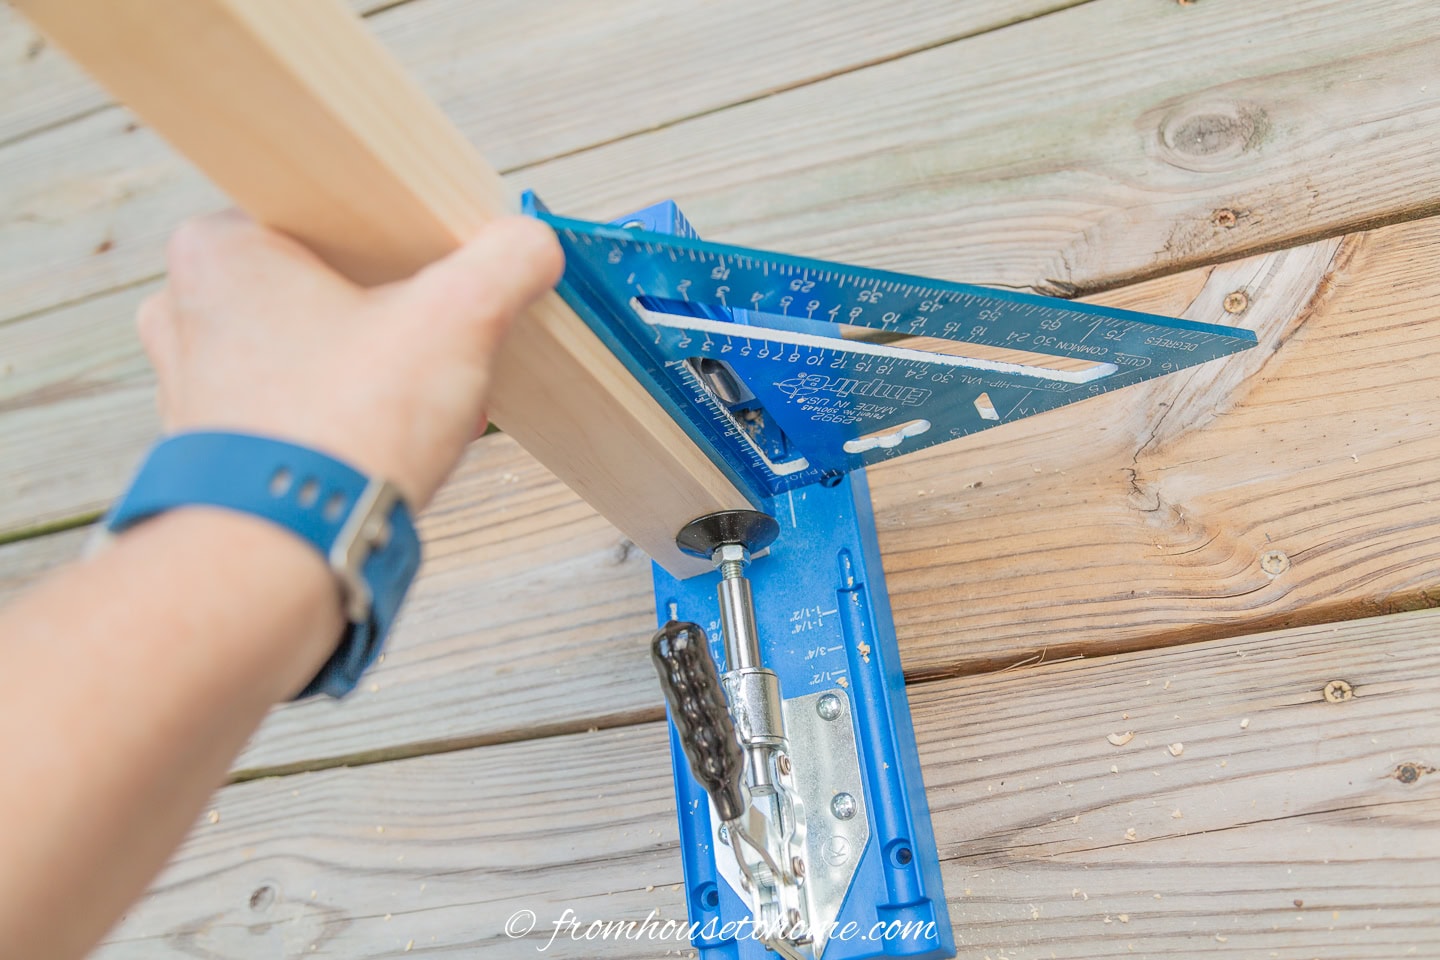
Use a construction square to make sure it is square.
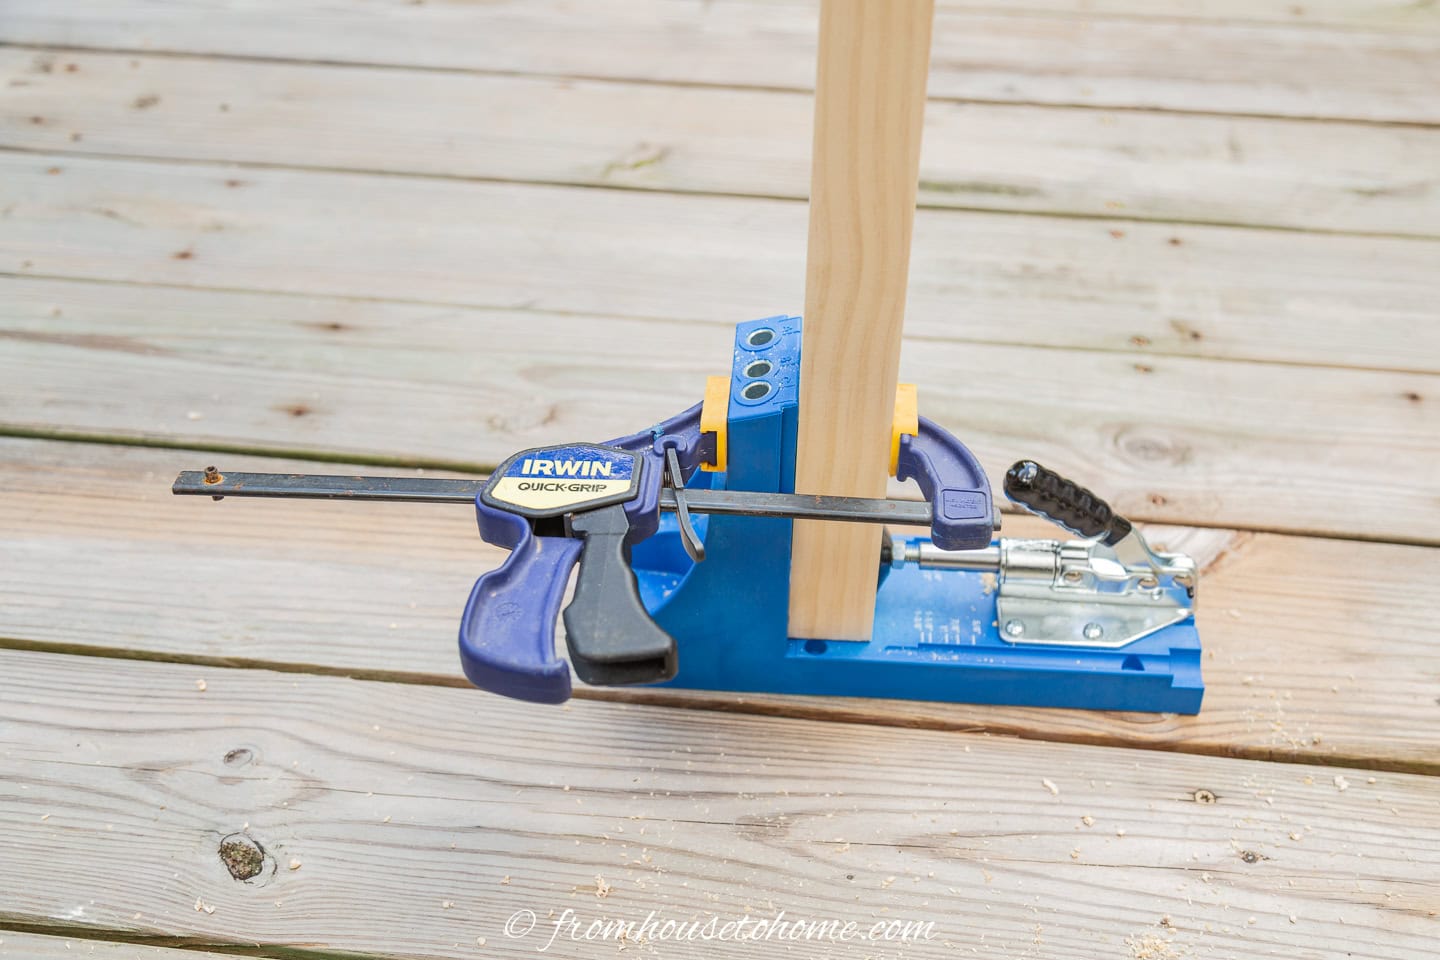
Clamp the board to the Jig to make sure it doesn’t move while you are drilling.
Use the Kreg drill bit in the B and C holes to make the pocket holes.
Repeat these steps for all of the rungs for your ladder.
4 | Figure Out the Top Rung Position
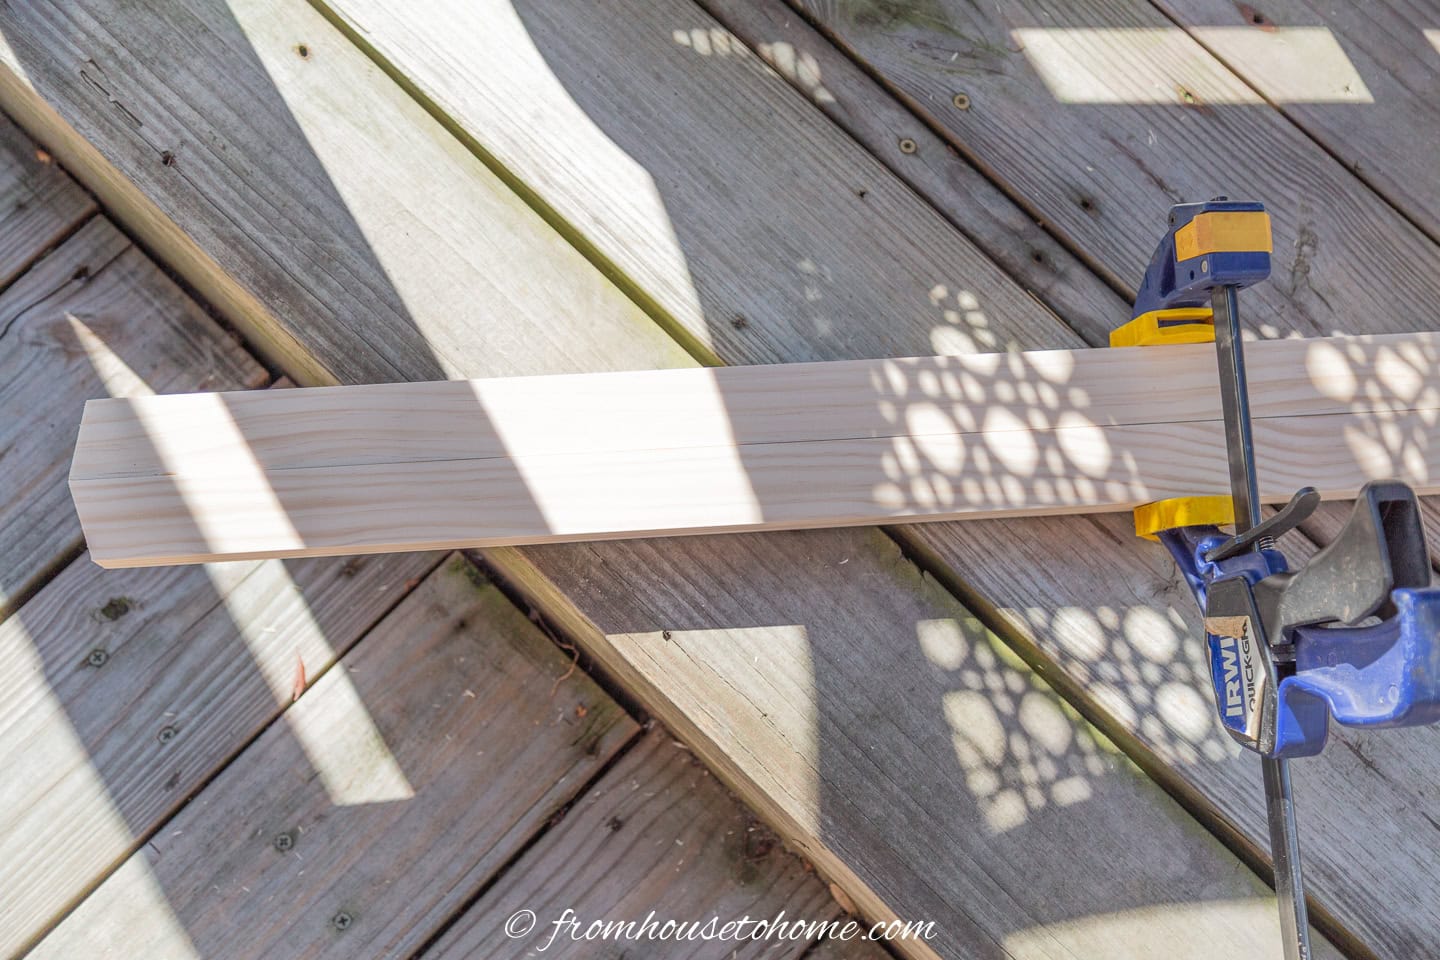
Lay the long boards down so that the long sides are facing each other.
Make sure that the bottom ends of the ladder match exactly (these are the ends with the small angle cut on the bottom).
Clamp the boards together to make sure they stay lined up correctly.
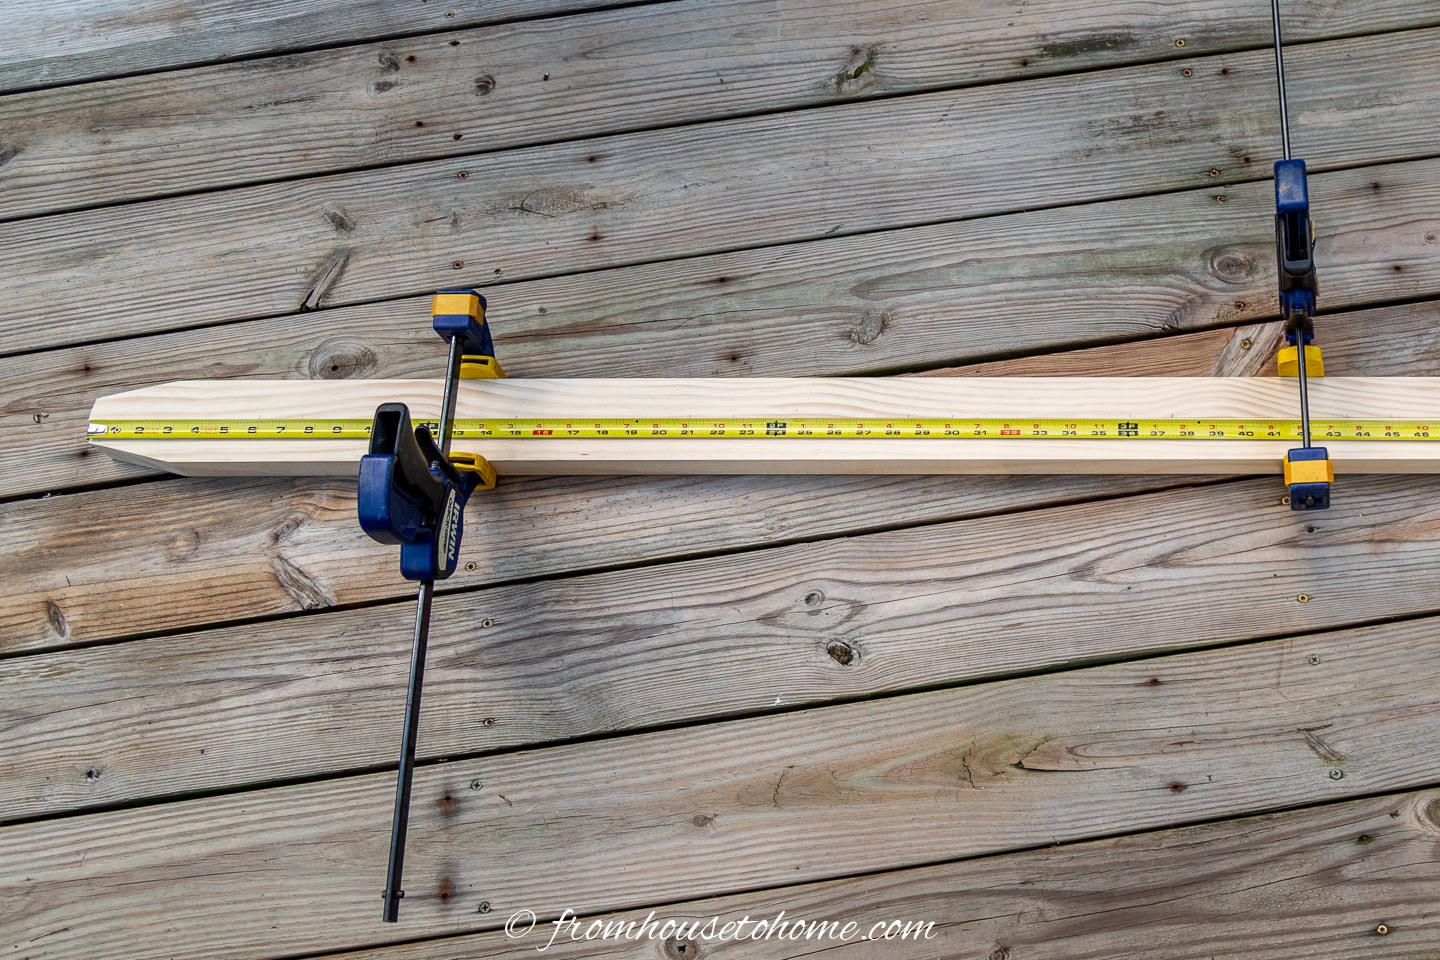
Measure down from the top of the long boards to mark where the top rung should go. I put mine 6″ from the top (but that doesn’t leave a lot of room for fabric so you may want to make it a little lower than that).
Mark straight across both boards to make sure they are at the same distance.
Unclamp the long boards.
5 | Attach the top rung
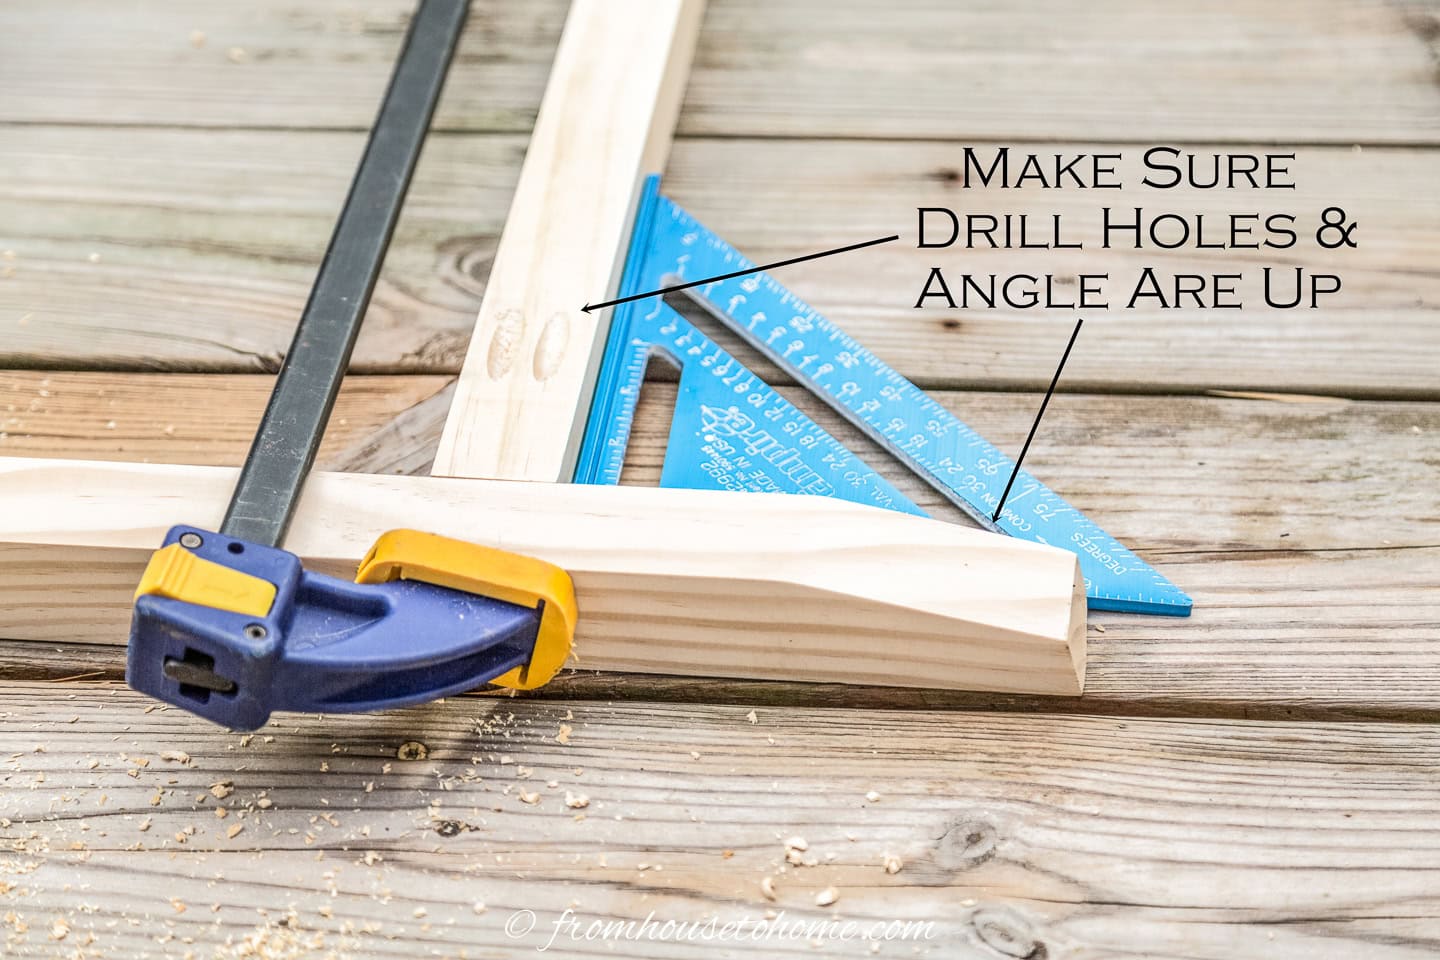
Position the long boards with the angled side up (this will be the back of the ladder when it is finished) and the pencil marks facing each other.
Place the top rung so that the top of it lines up with the pencil mark you just made on one of the side boards. Make sure that drill holes are pointing up.
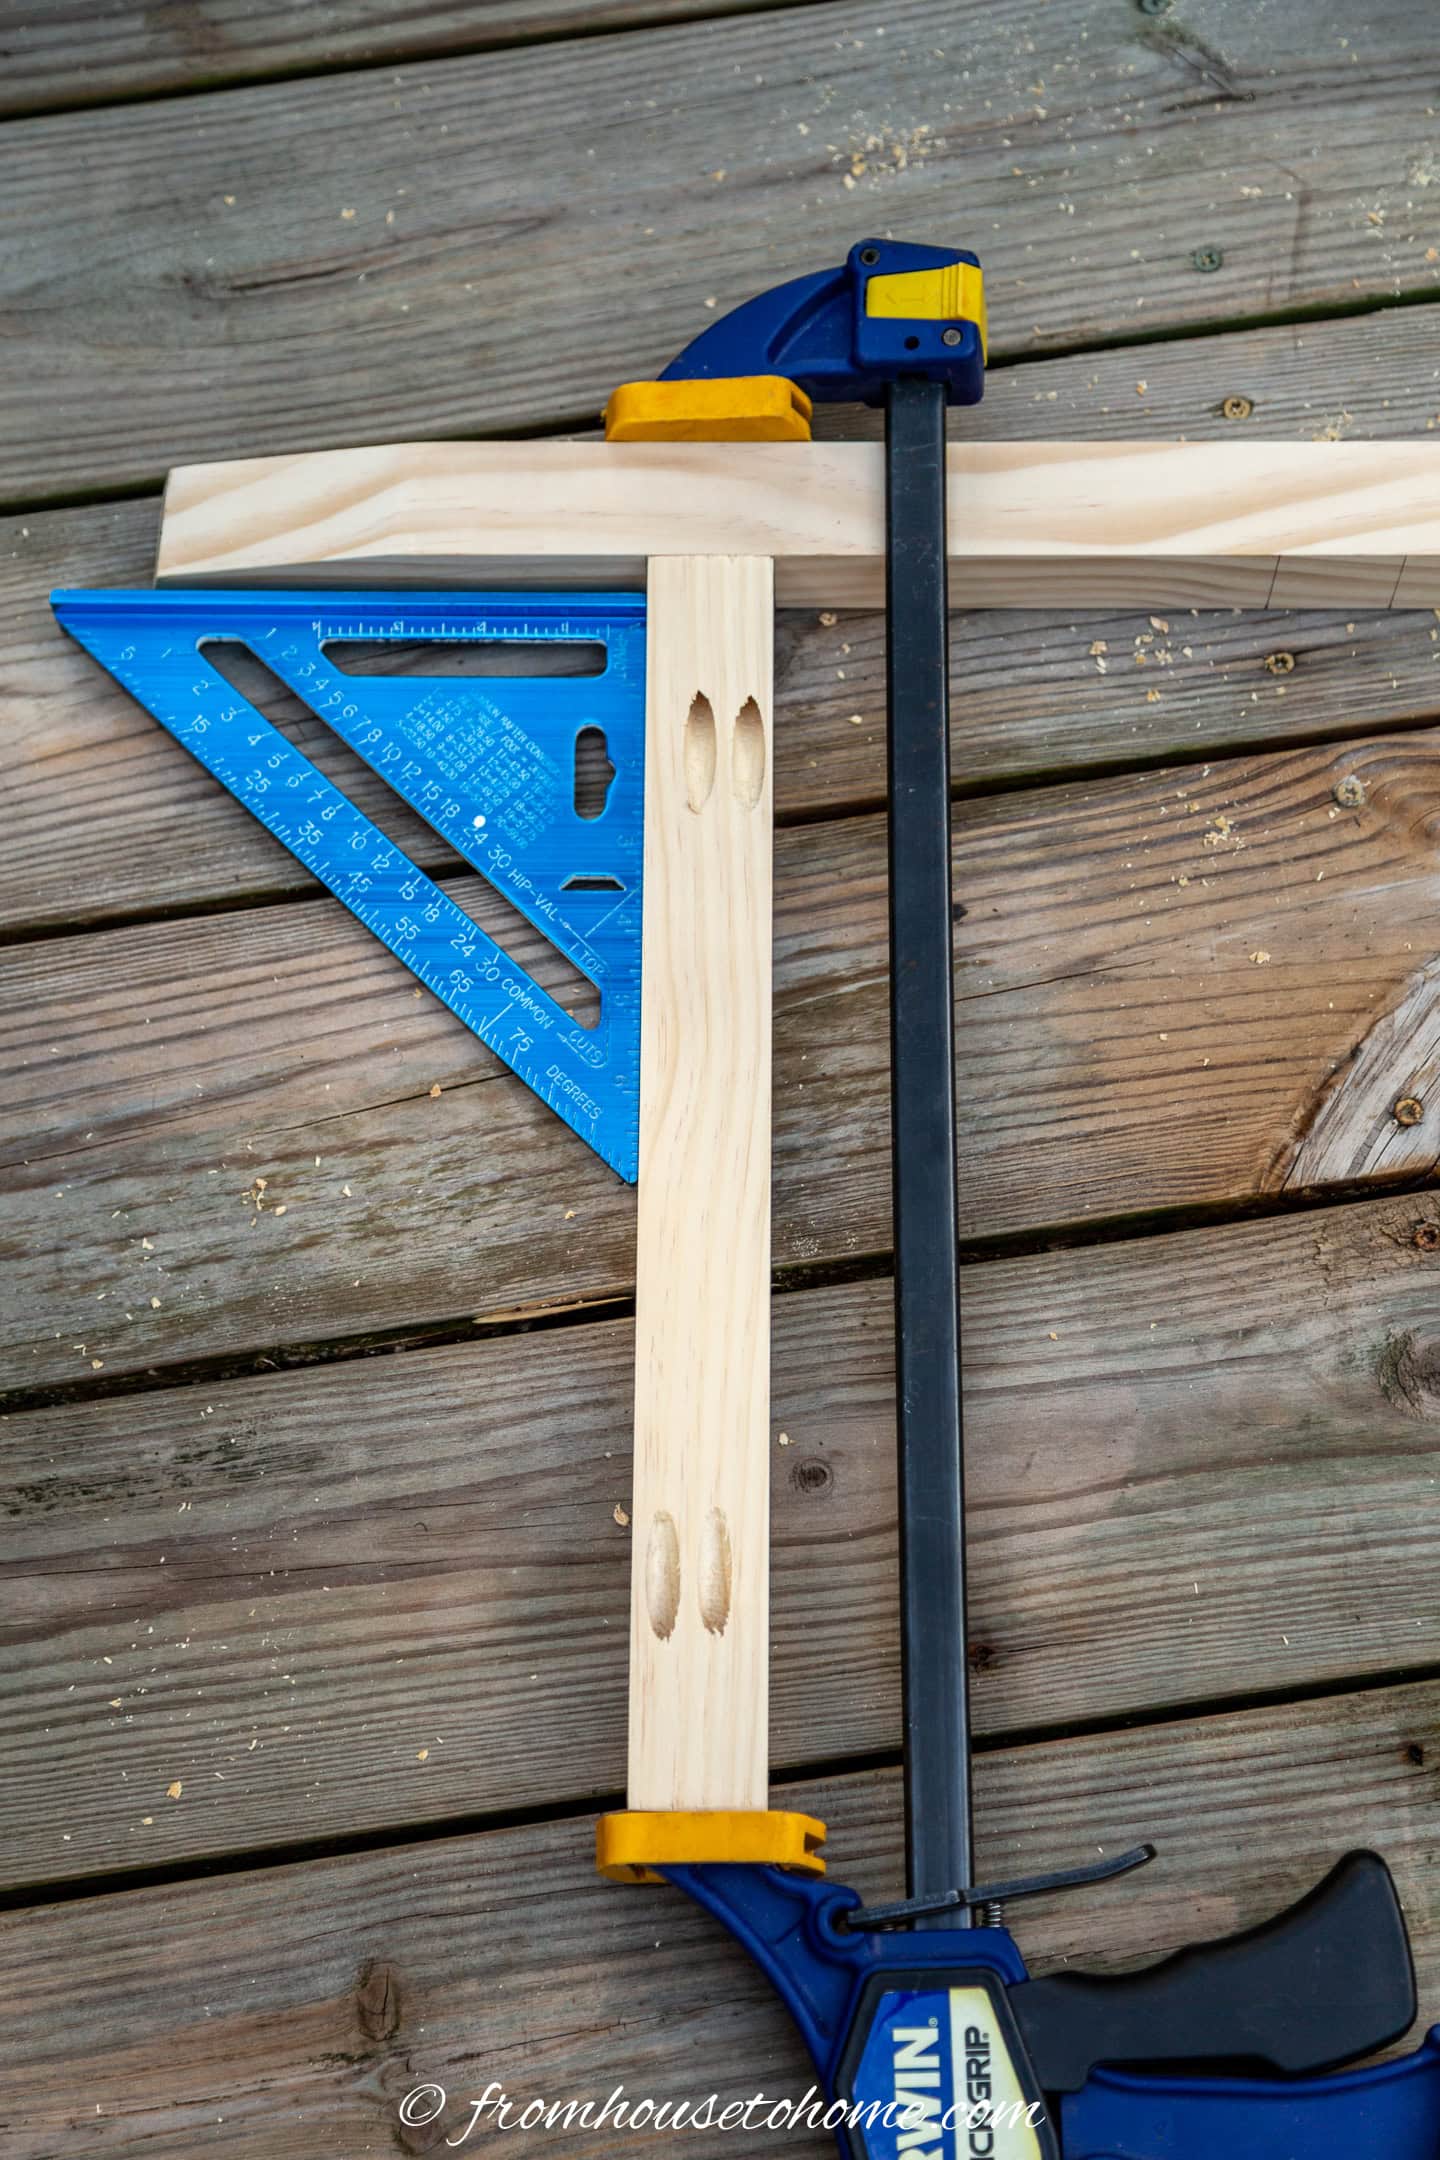
Use the construction square to make sure the rung is square. Clamp the top rung to the side board.
Screw the 2″ screws into the pocket holes.
Remove the clamp.
Position the other long board so that the top of the rung meets the pencil mark that you made on the board.
Like you did with the first one, use the construction square to make sure the rung is straight.
Clamp the boards together to hold them in place.
Screw in the 2″ pocket screws.
6 | Add the rest of the rungs
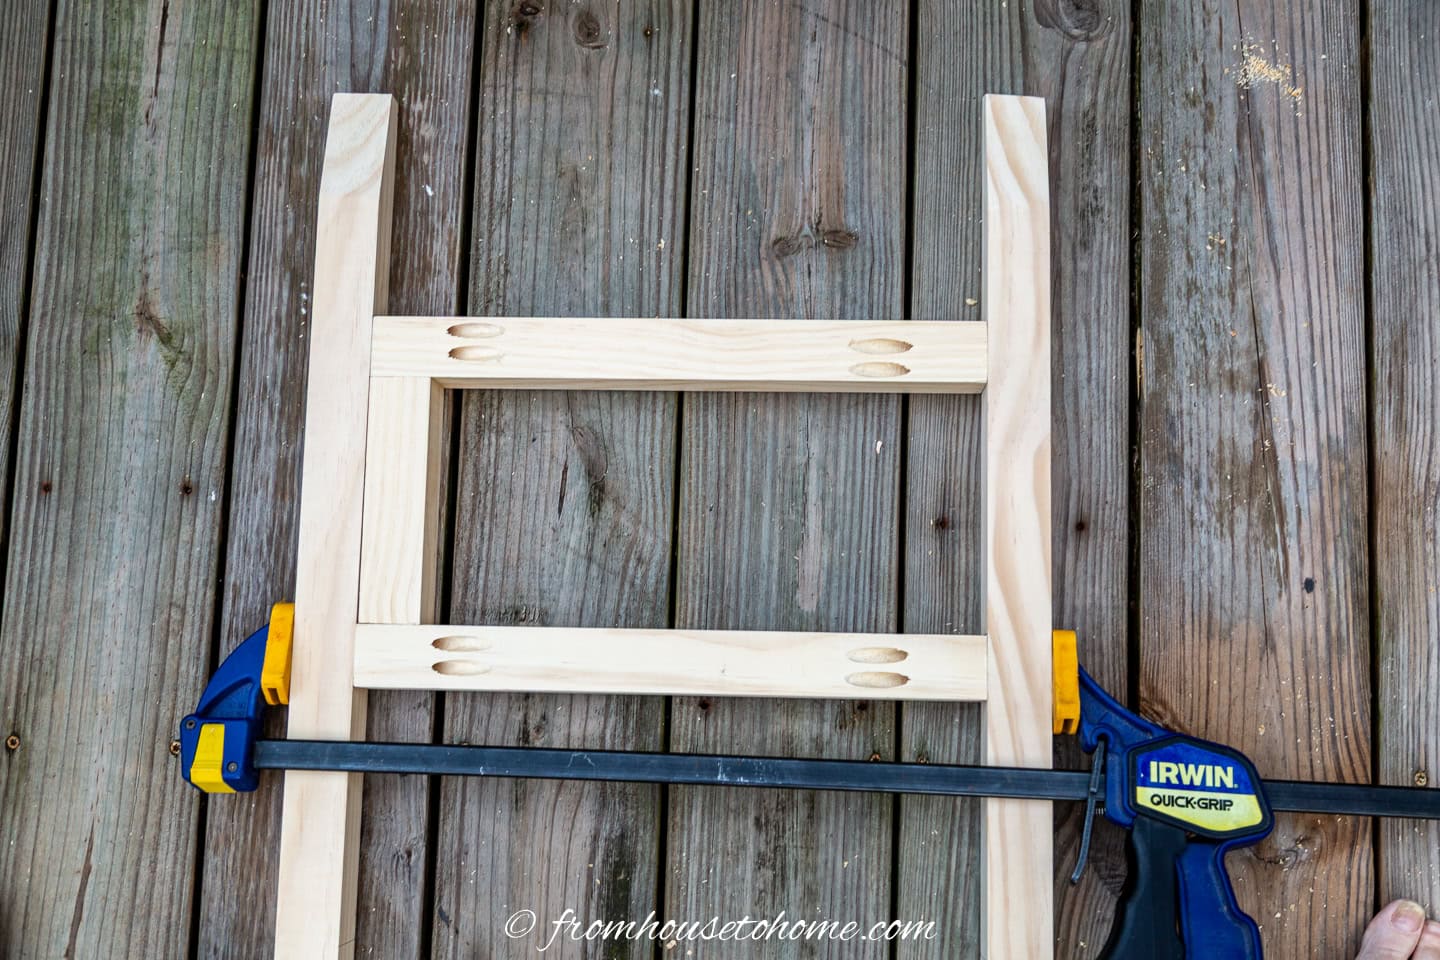
Position the 6″ spacer you cut so that it is next to the rung you just installed.
Then add the next ladder rung using the same method as above.
Repeat to attach all of the rungs to both sides of the ladder.
The lowest rung should be about 12″ from the bottom of the ladder in order to leave enough space so that the fabric won’t hit the floor.
7 | Finish the Ladder
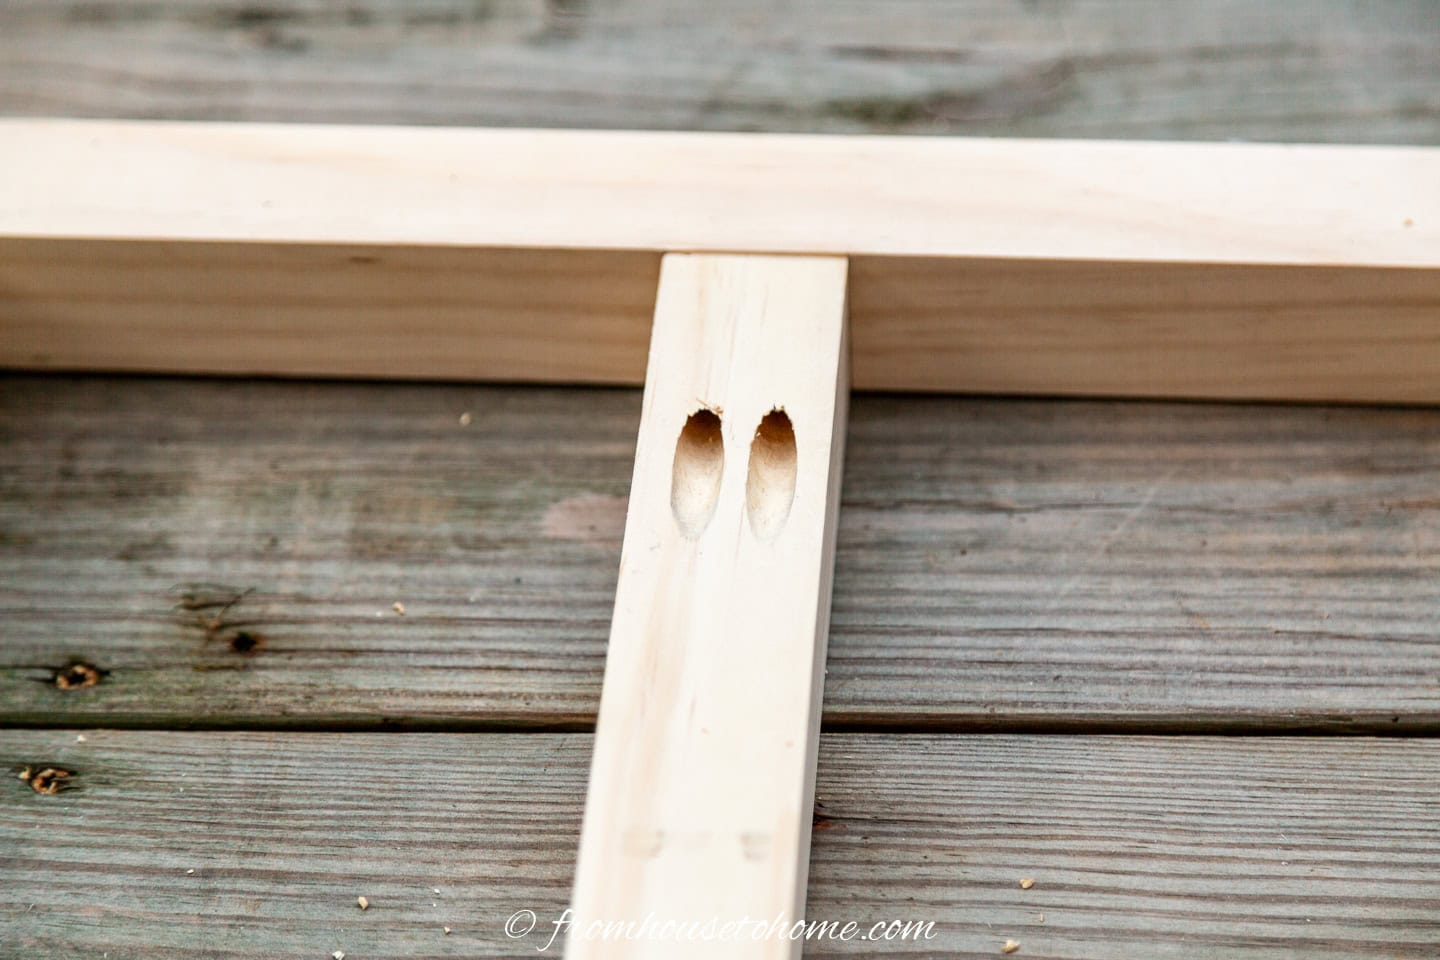
(Optional) Fill the holes with the Kreg spacers.
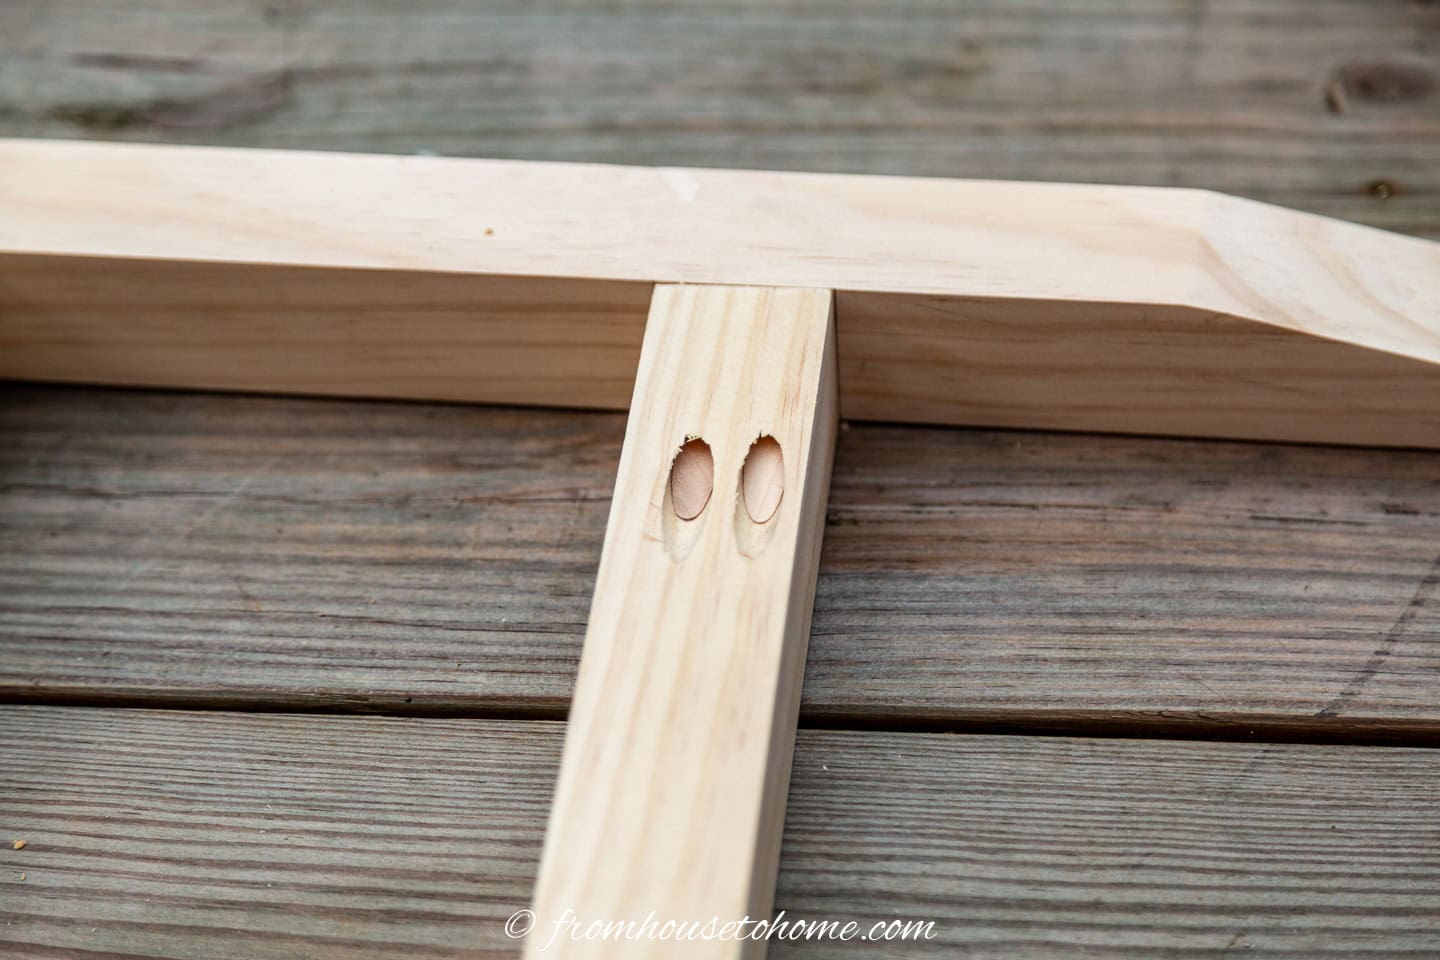
They don’t really fill the entire hole, but do get rid of the “black hole”.
Paint or stain the ladder (I used gold spray paint).
Make sure that it is thoroughly dry before continuing. You don’t want to get paint on your fabric!
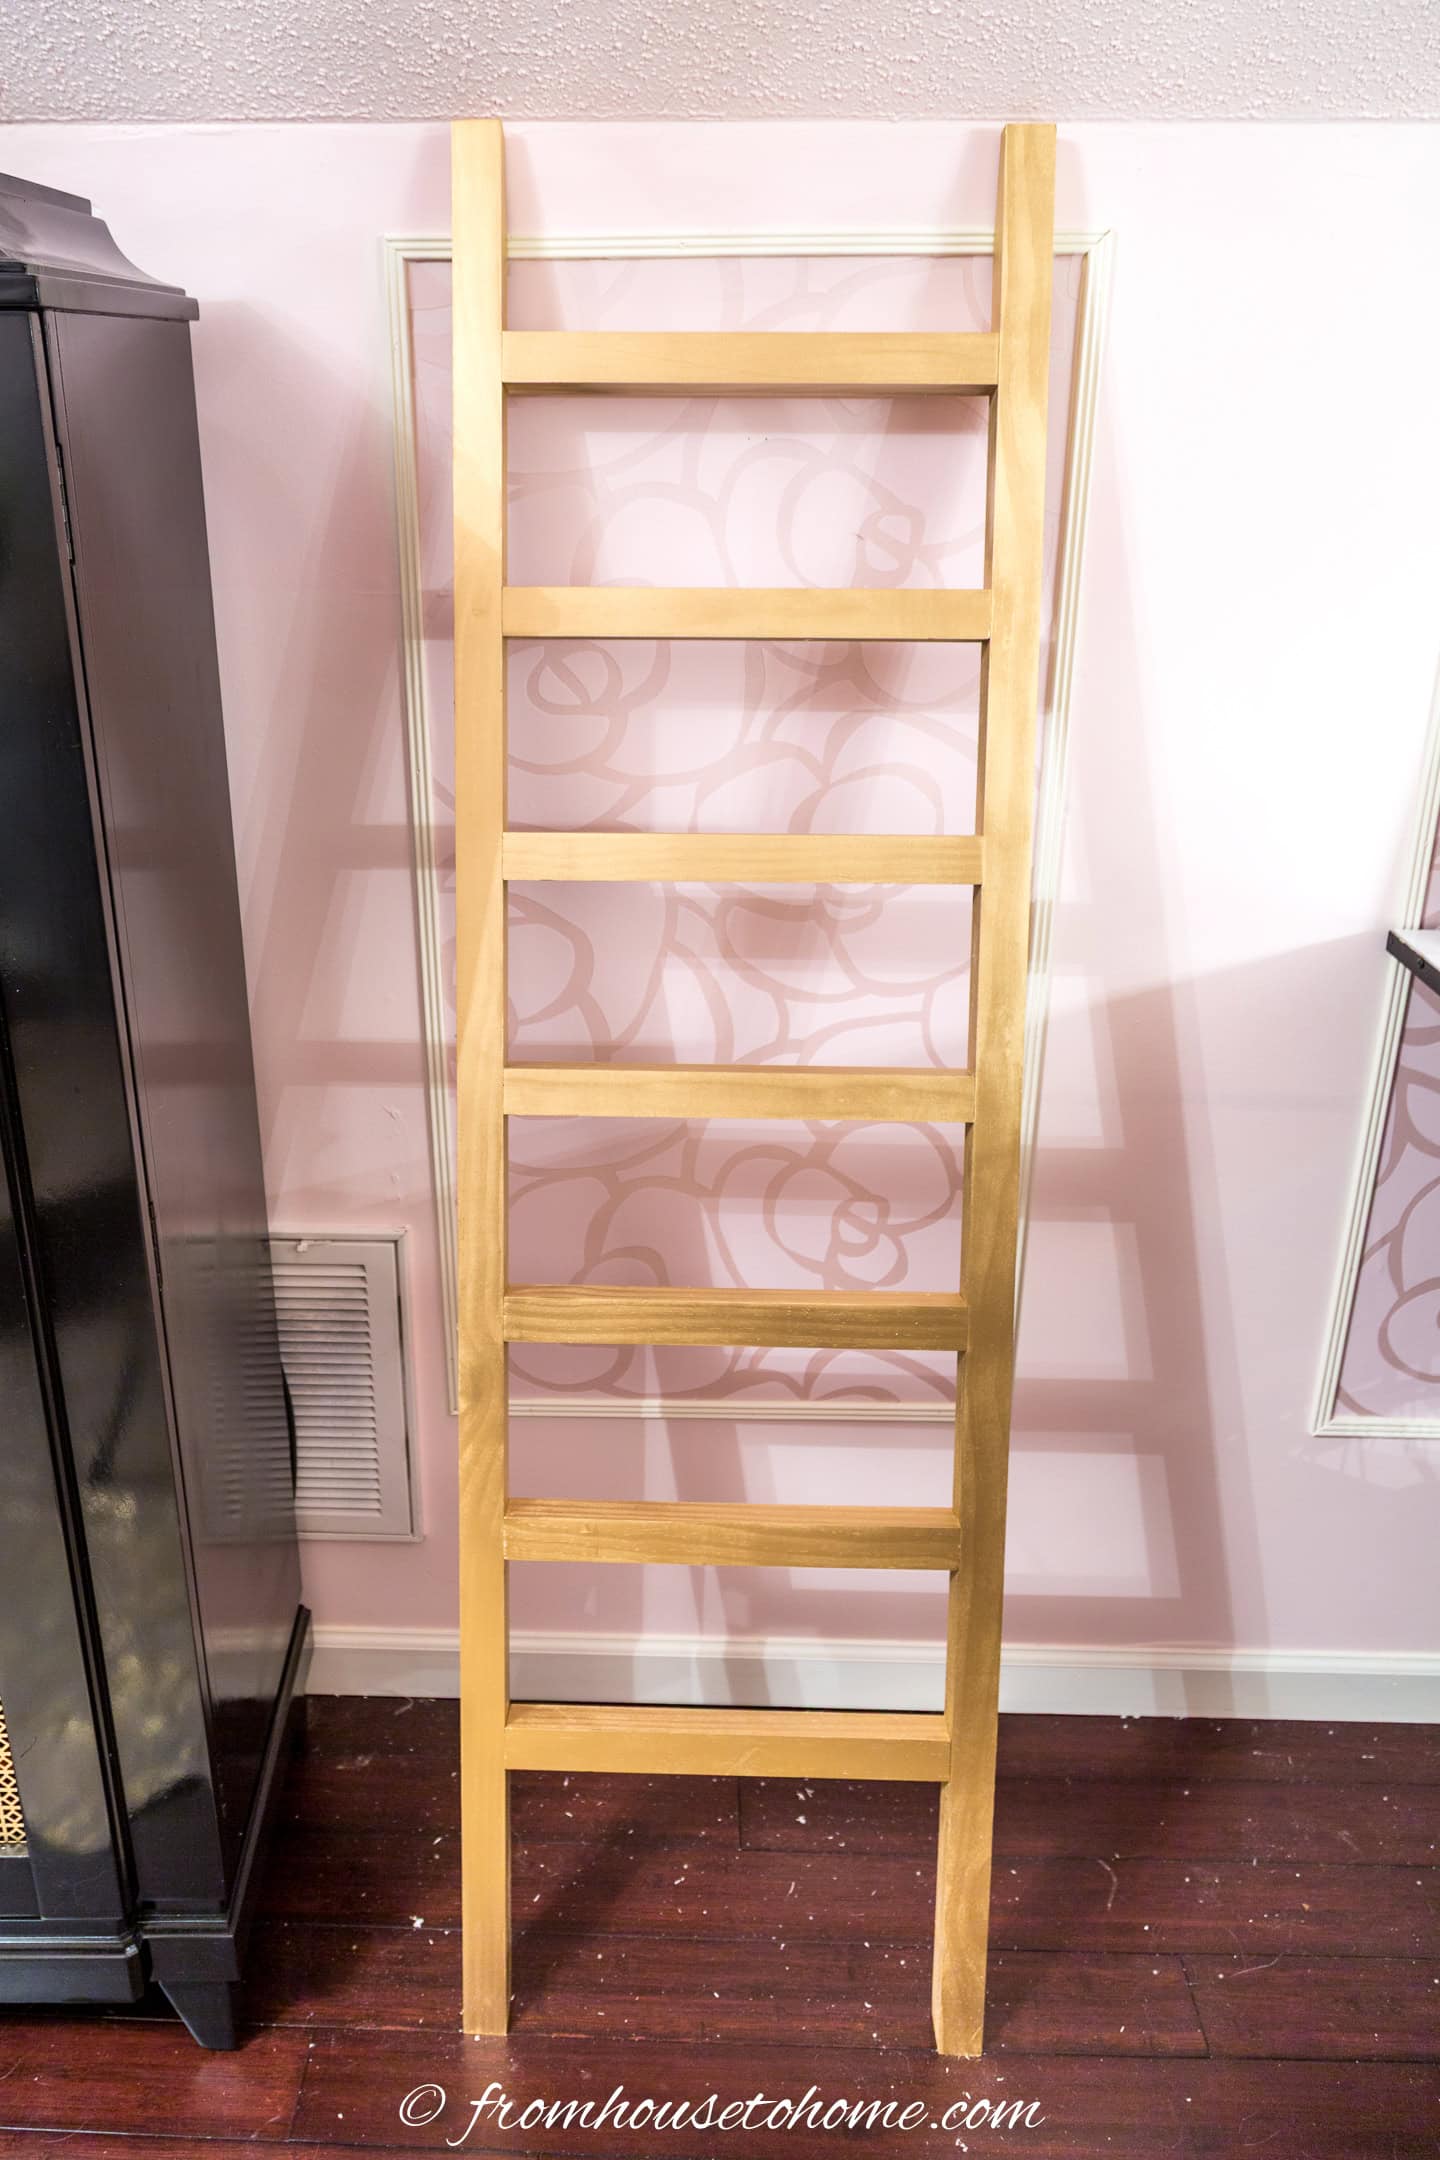
Lean your ladder up against the wall.
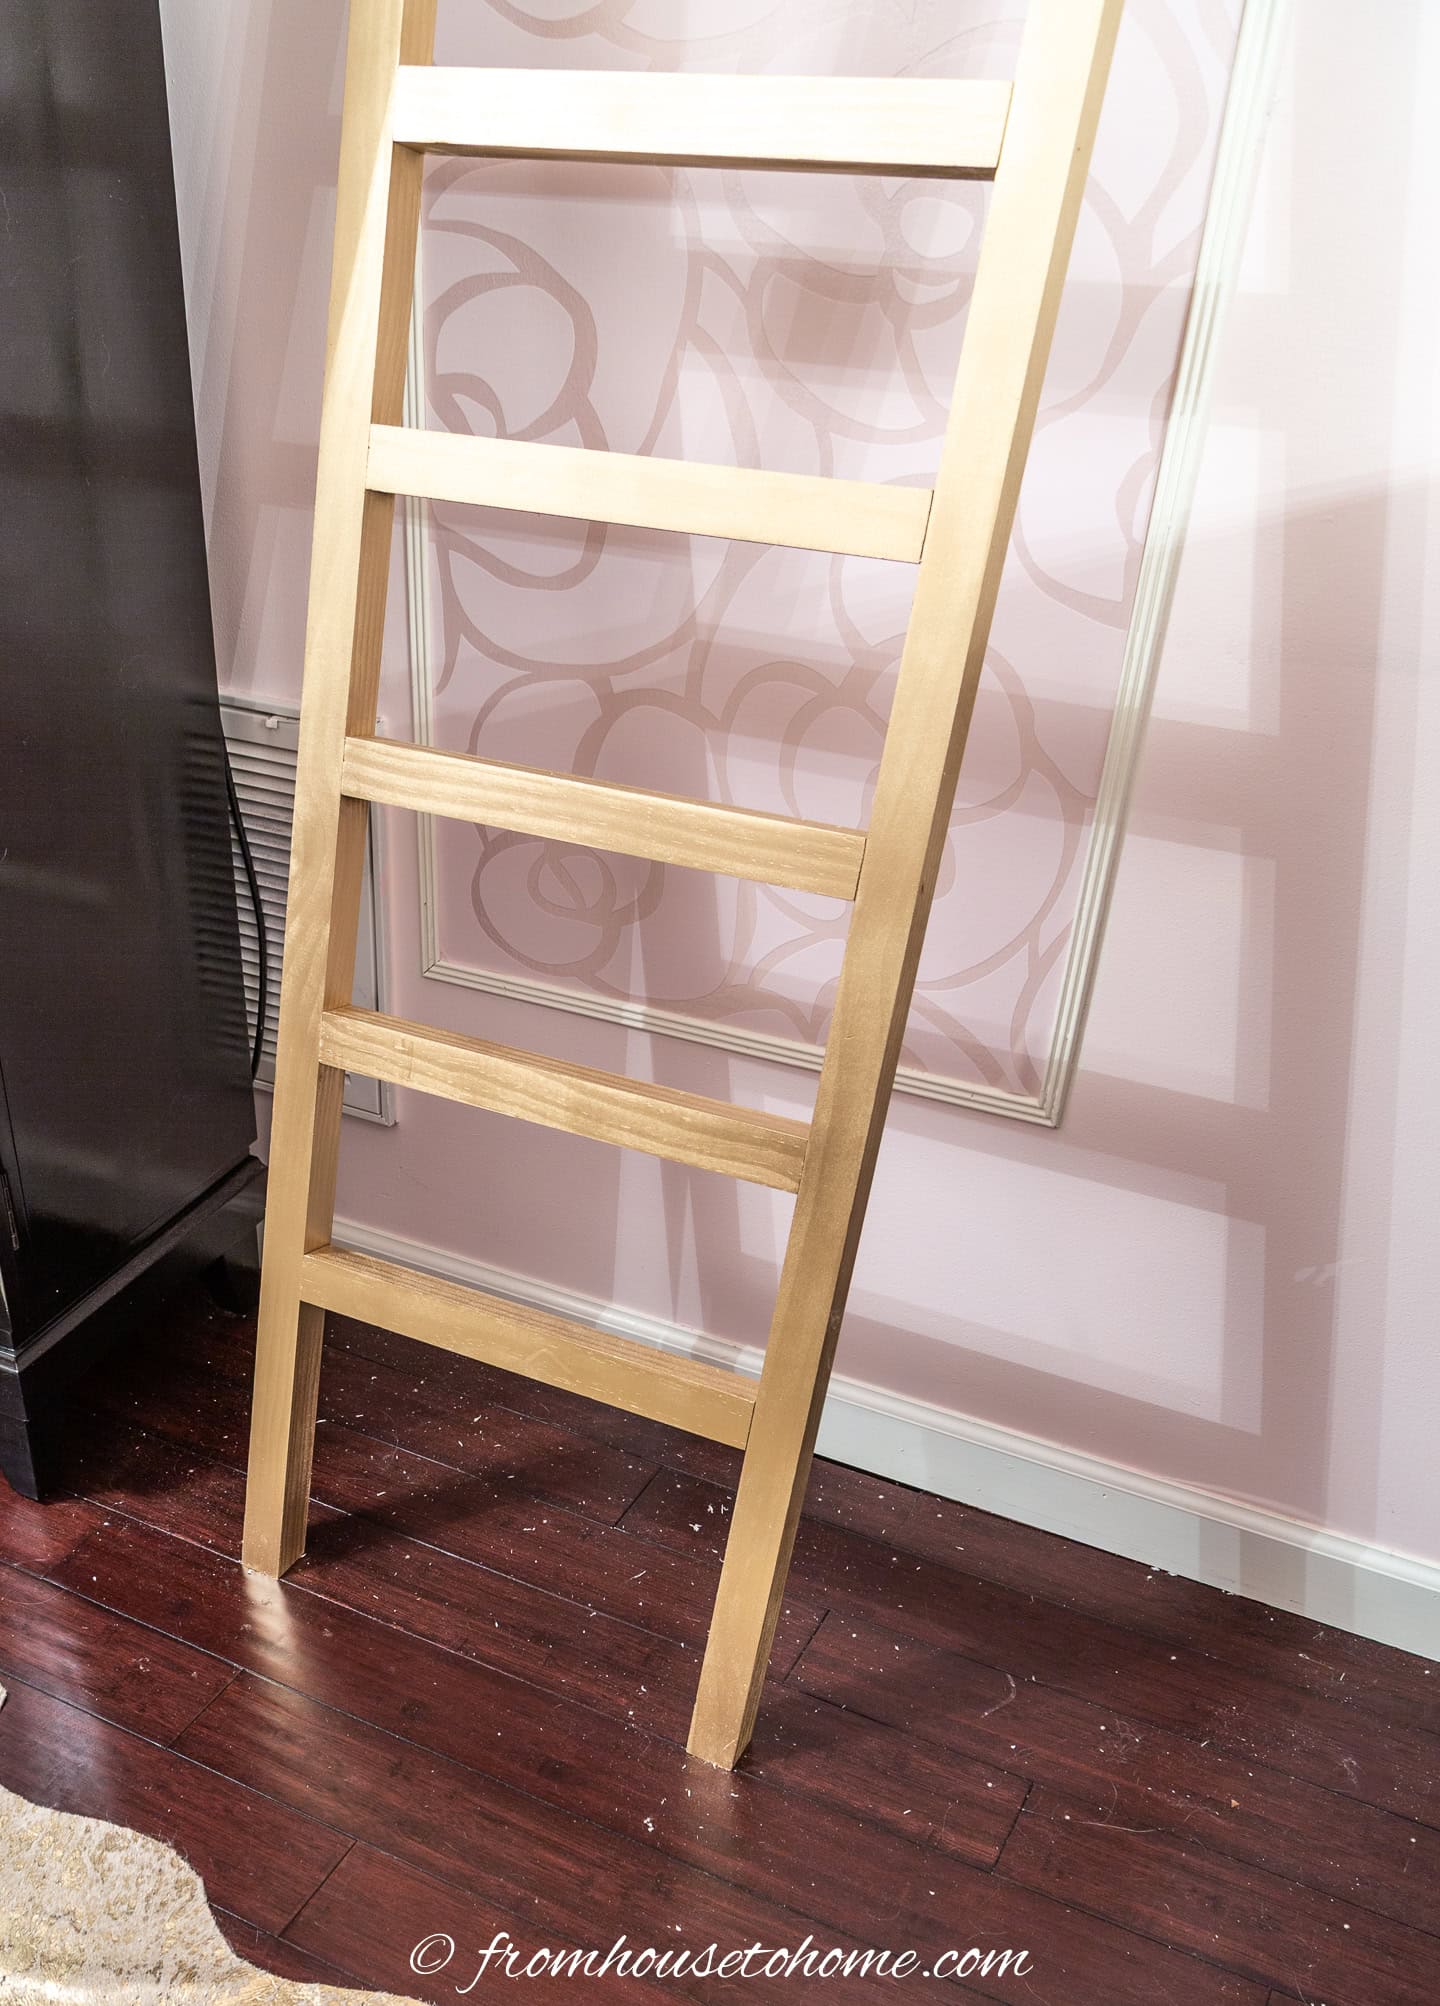
Make sure the bottom angles are laying flat on the ground.
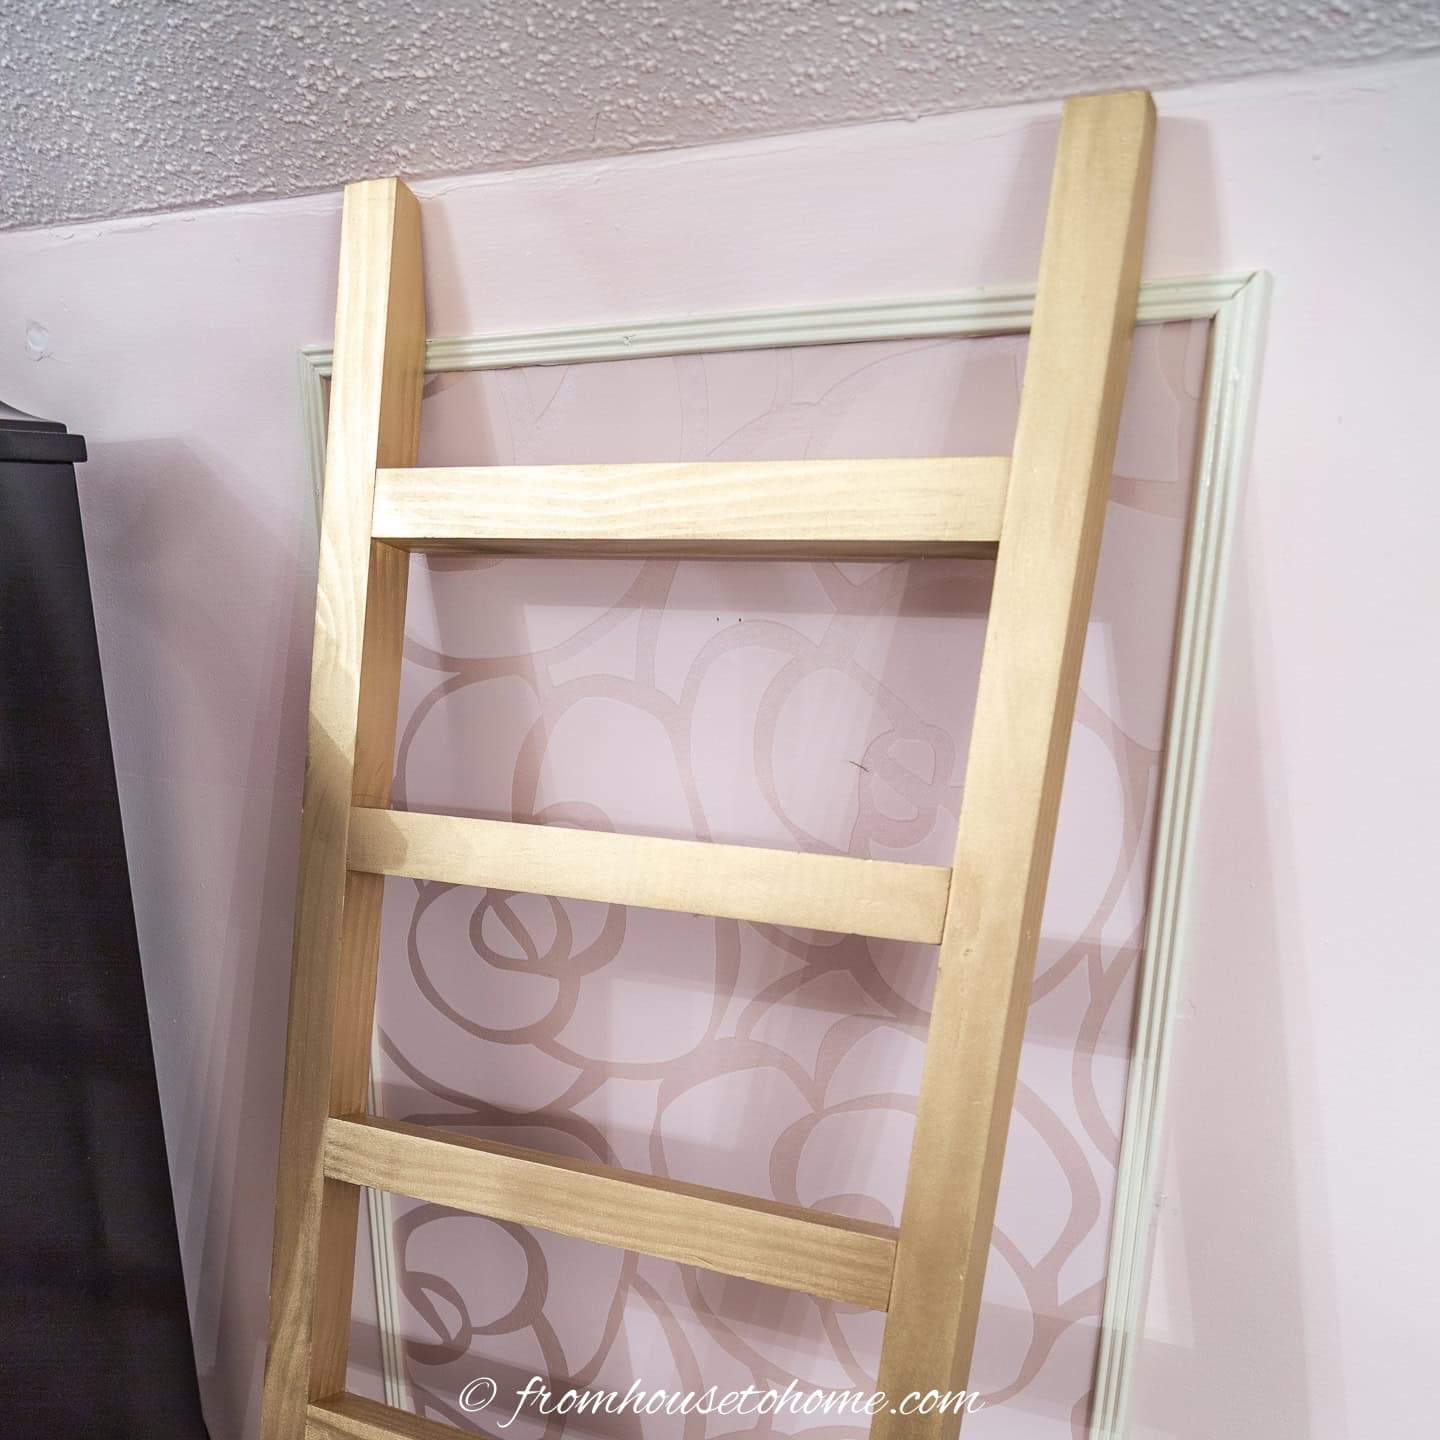
And the top should be flat against the wall (which didn’t work out exactly as planned for me since the molding is in the way).
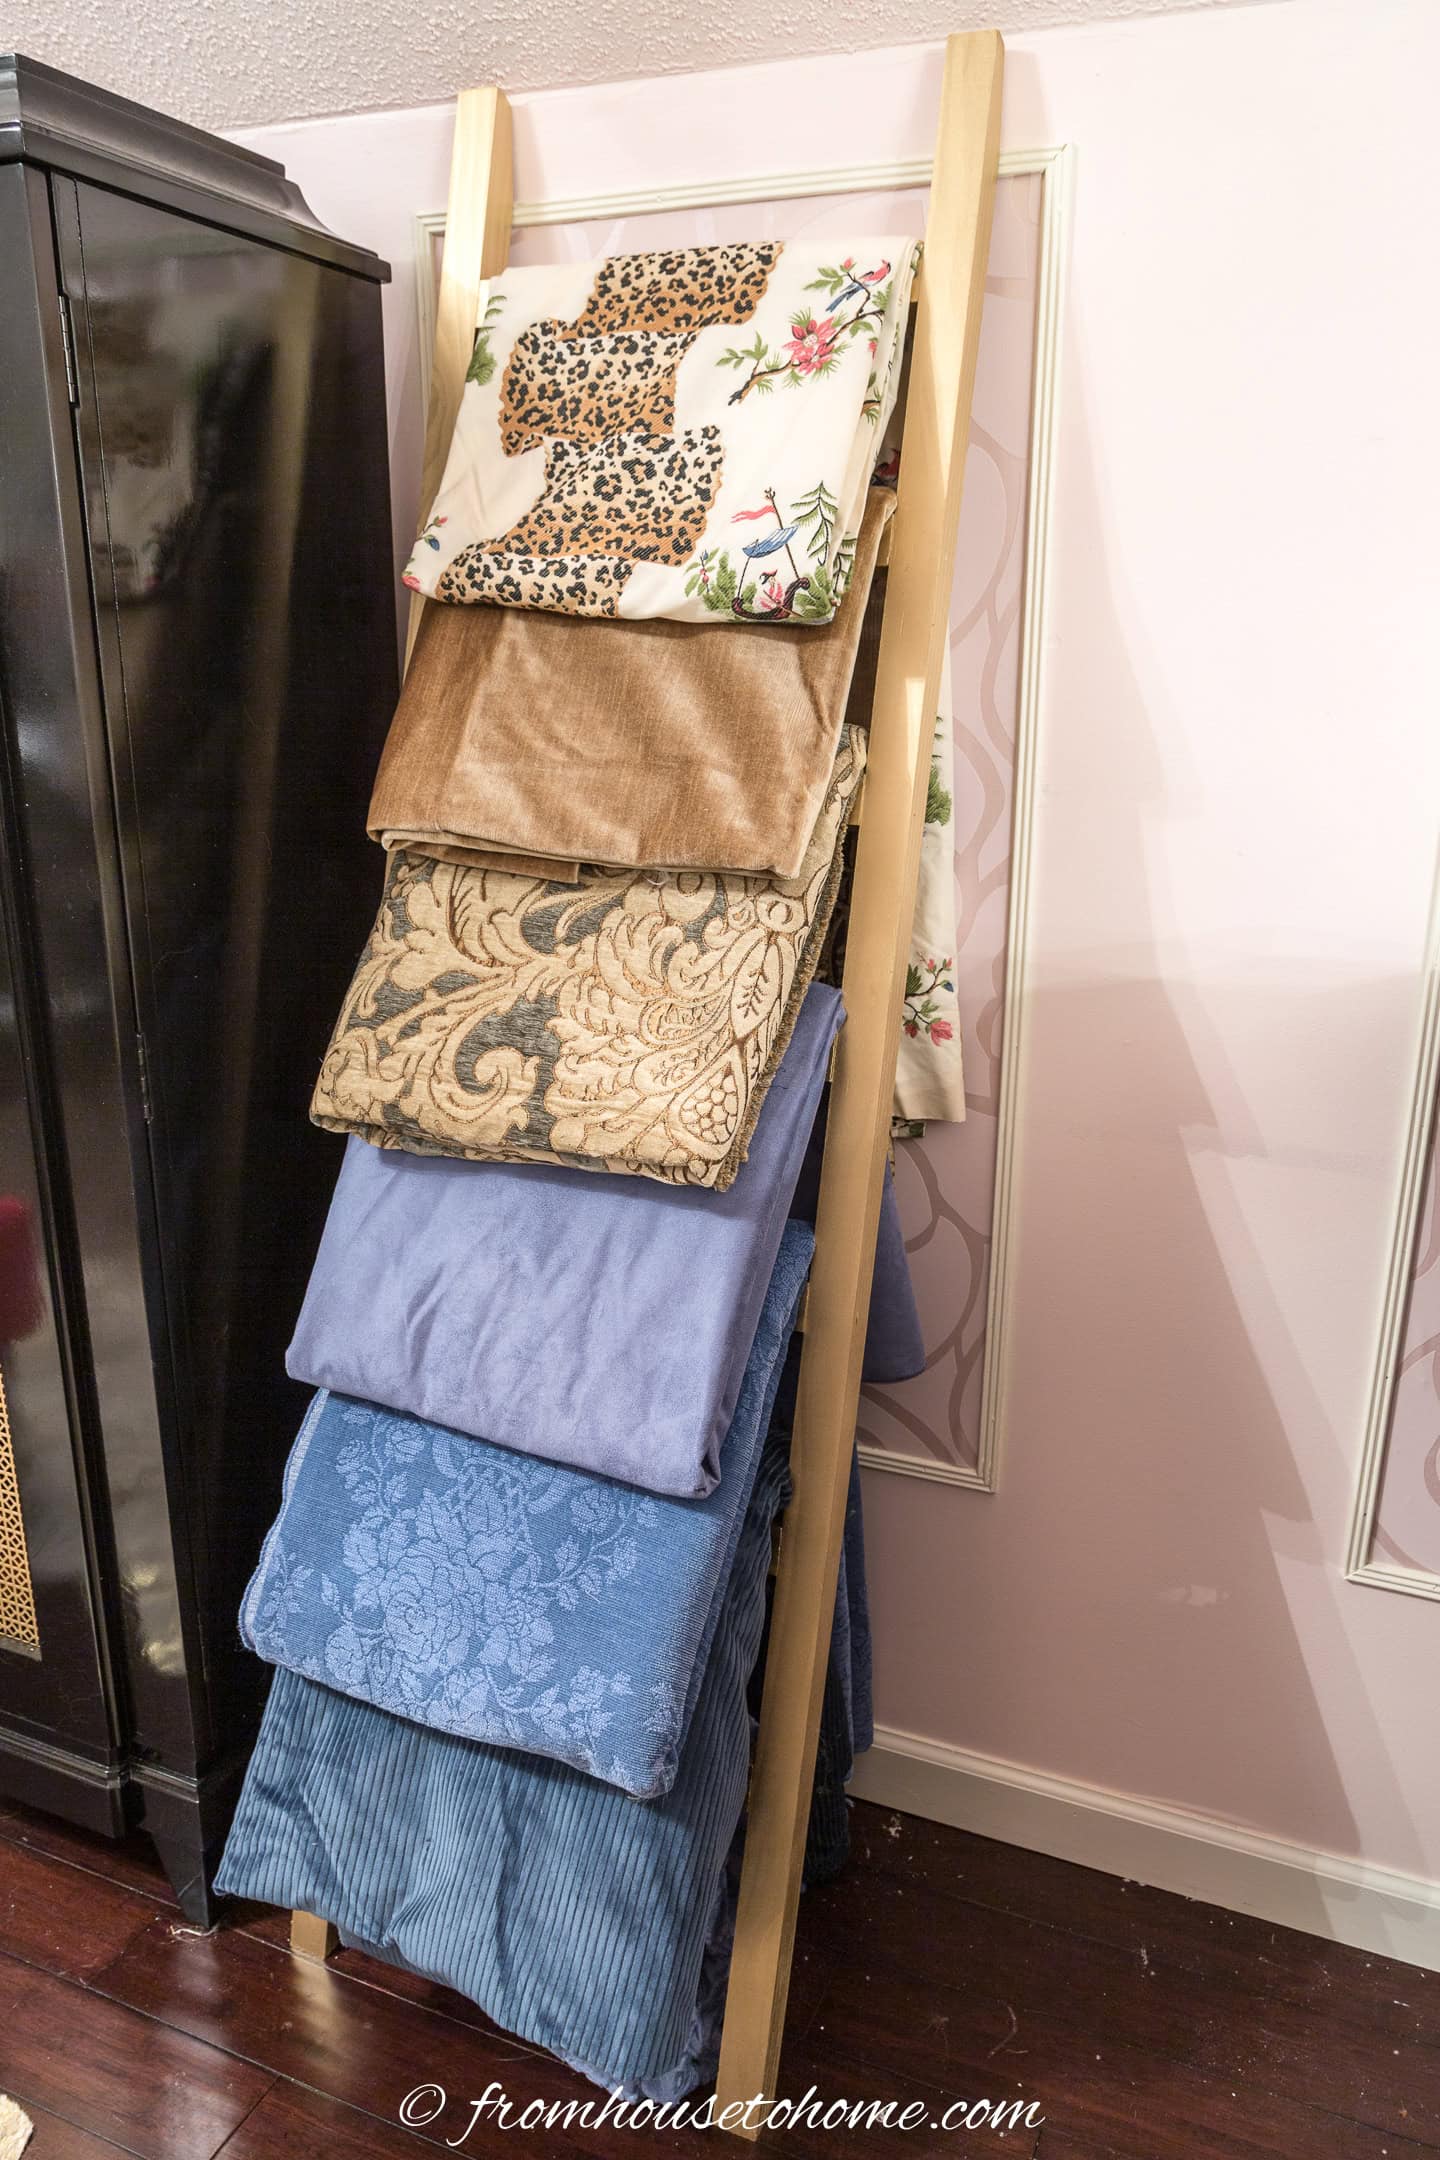
Add your blankets (or fabric) and you’re done!
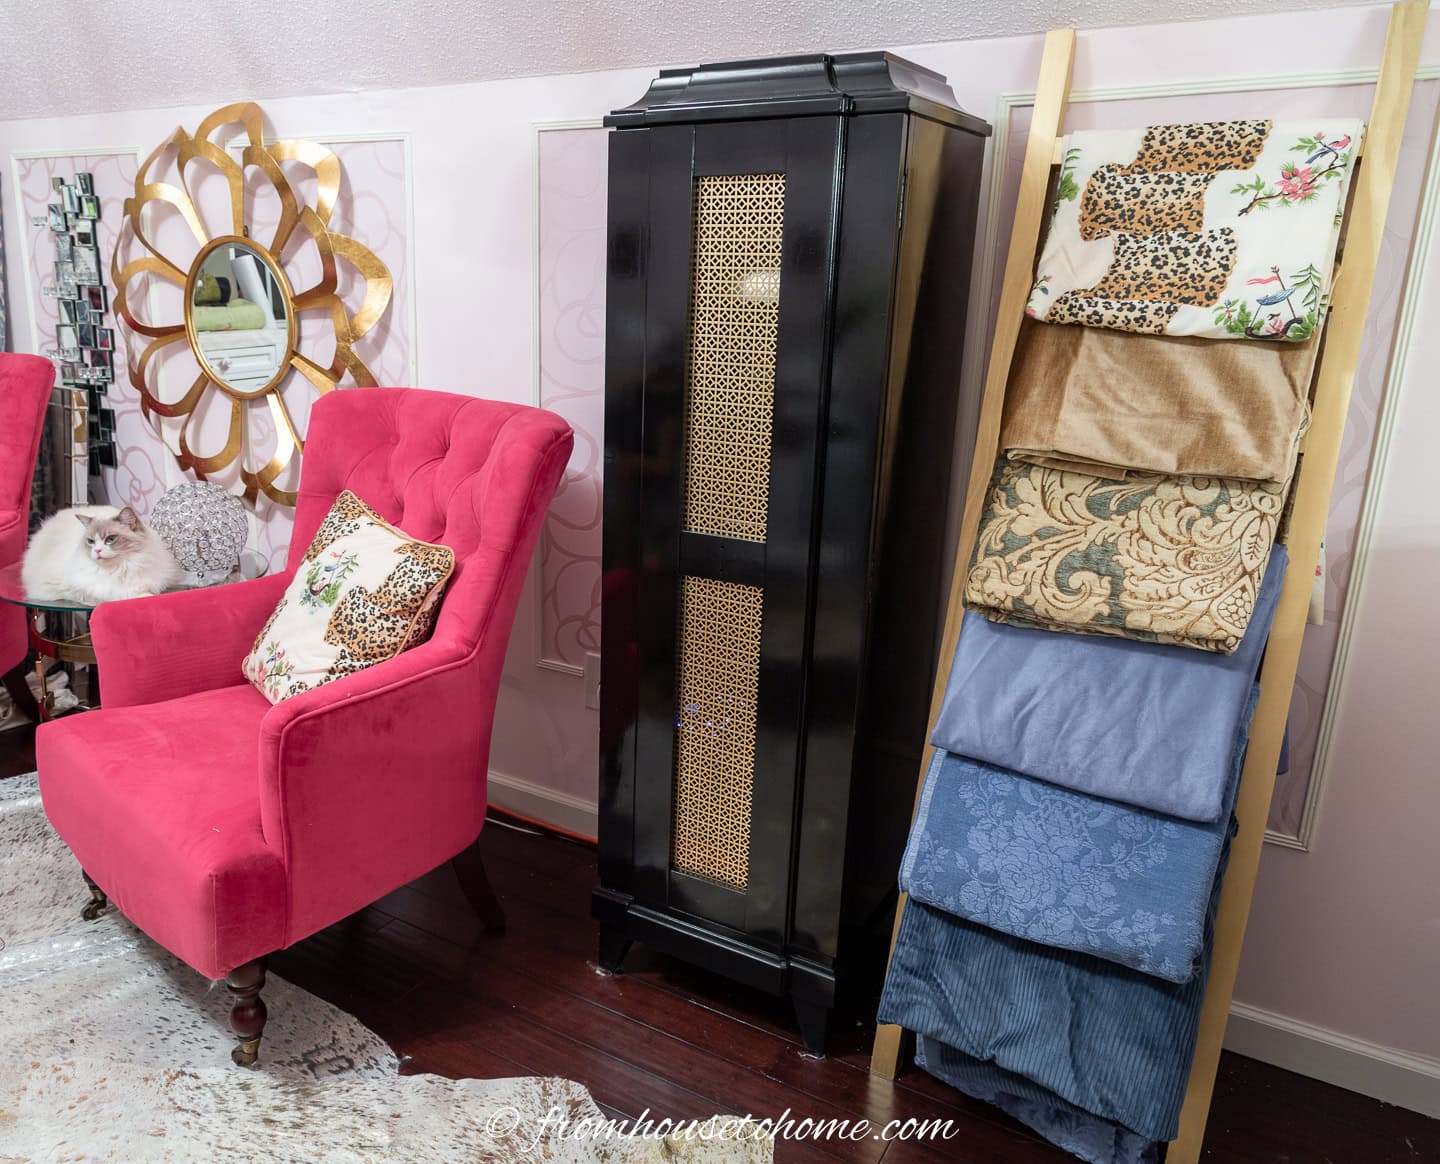
It adds storage and looks pretty at the same time!


Have comments or questions about our DIY blanket ladder? Tell us in the section below.
This post was originally published on September 19, 2016 but was updated with new content on September 23, 2026.
Hi Wanda,
Great job! I wish I was as handy as you are. It looks to me like there is enough room between the rungs to add a second layer folded a little smaller so you could see the fabric behind. Just a thought.
Bonnie
Thanks, Bonnie! You’re right…that’s a good idea! I’ll have to try that 🙂
Love the ladder! I have two comments/ideas for you: 1. Make sure whatever paint you use that it seals the wood, or you may get stains and 2. Consider hanging a large, decorative chain in your room to hook the clothes/fabric hangers in.
Thanks, Lenora! Those are both great suggestions! I’ll have to go find a chain 🙂