How to Sew A DIY Duvet Cover For Beginners
For an easy sewing project that will let you customize your bedroom decor, learn how to sew a DIY duvet cover using sheets or fabric with this step-by-step tutorial.

There are two reasons to sew your own DIY duvet cover.
First, it is an easy, straight-forward project.
You will be doing simple straight line sewing and the most difficult part is dealing with the large volume of fabric involved.
Secondly, you have a vast choice of fabrics to choose from to compliment your décor.
Which takes us to the first step…
Choose Your Fabric
This post may contain affiliate links. We make a small commission if you buy the products from these links (at no extra cost to you). As an Amazon Associate, I earn from qualifying purchases. But we only recommend products we would use ourselves. For more information, click here to see our disclosures.
For help choosing fabric patterns, read our fabric mixing formula.
Option 1 – Flat Sheets
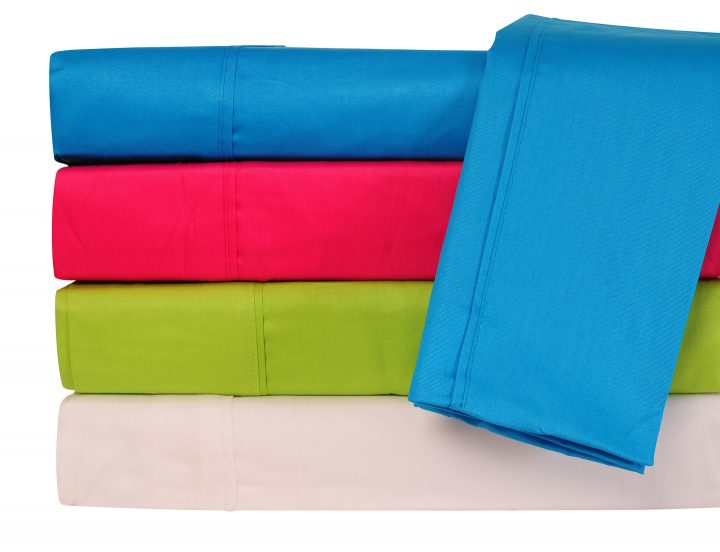
If you can find flat sheets in a color and pattern you like, the very easiest way to make a duvet cover is to buy two sheets the size of your duvet.
They are big enough to cover the whole thing without requiring any fabric joins.
Option 2 – Store-bought Fabric
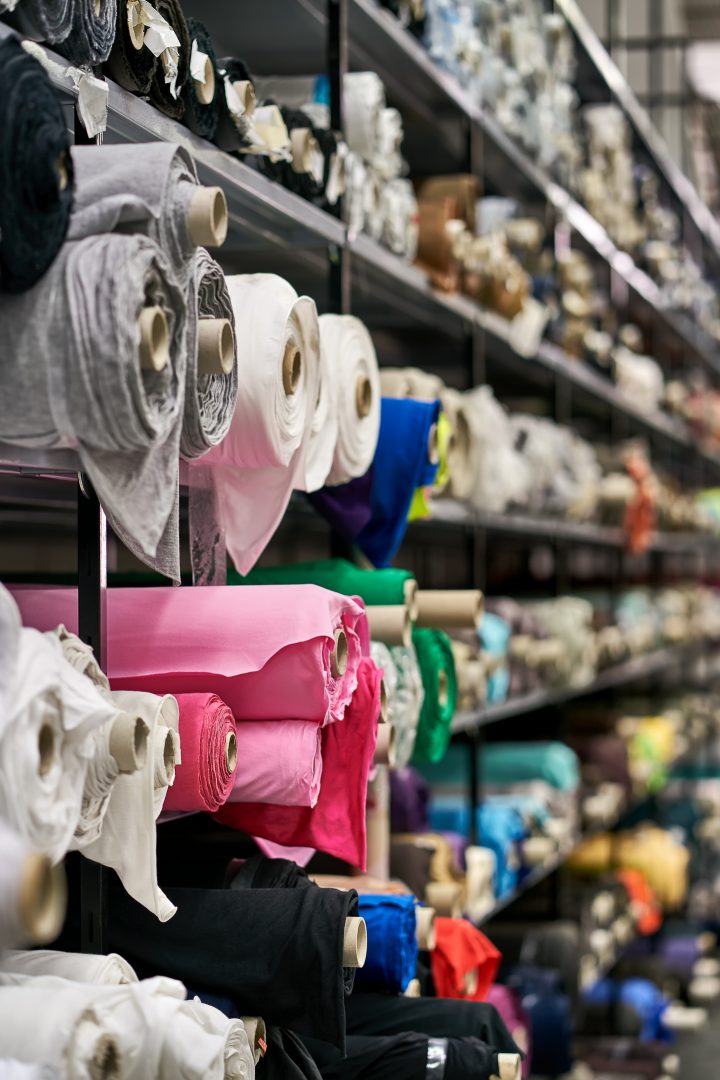
Otherwise, you will need to pay attention to the width of the fabric you are buying.
It will probably not be wide enough to cover the duvet with one piece.
In which case, you will need to buy a longer length of fabric so you can join pieces together to create the right width. (We will cover exactly what you need to do in the instructions below).
Using well-defined patterns like florals or toile is tricky because it’s difficult to get the pattern to match along the seams. So you may want to stick to solids, easy-to-match patterns (like stripes) or all-over patterns where matching isn’t as important.

Another option is to use two different fabrics – you could use a pattern for the center panel and a solid to go down the sides (which is what I decided to do).
Option 3 – Mix and Match
You can also do a mix-and-match approach where you use store-bought fabric for the front of the duvet cover and a flat sheet for the back side. (Or vice versa.)
Supplies
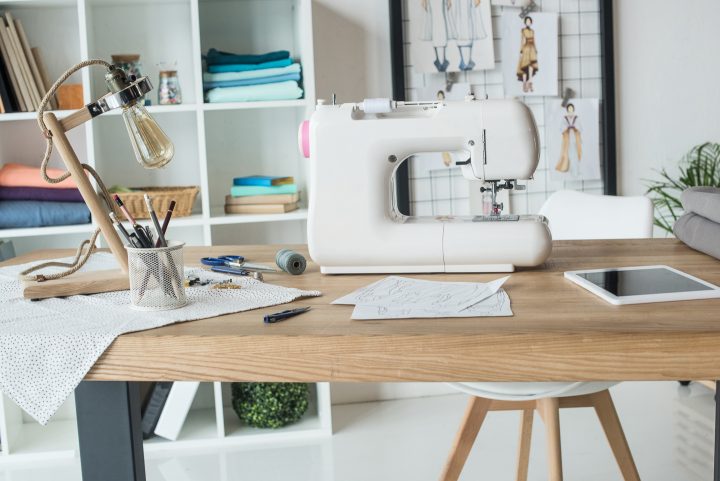
Materials
- fabric for the front – 2 times the length of the duvet (5 1/2 – 6 yards). You can also 1 length of 2 different fabrics. Or use a flat sheet.
- fabric for the back – 2 times the length (5 1/2 – 6 yards). You can also use a flat sheet.
- coordinating thread
- piping (optional) – if you want to edge the front of the duvet cover with piping, you’ll need 2 times the length of the duvet of 1/4″ to 1/2″ thick welting or purchased piping. Or you can buy 1/2 yard of coordinating fabric and make your own. This isn’t necessary if you are using a flat sheet for the front of your duvet cover.
- 1/2″ twill tape – you’ll need 4 pieces that are 8″ long. Four shoe laces would also work.
- velcro*
Tools
- tape measure
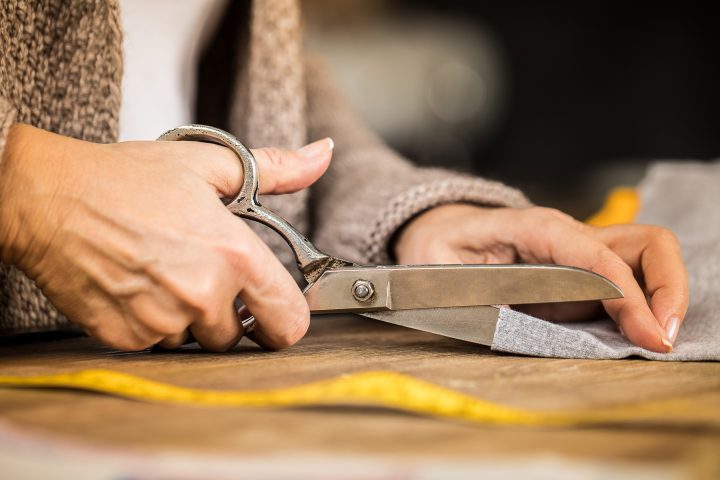
- scissors – these fabric scissors* are the best for cutting cleanly
- straight pins
- sewing machine – this machine* is great for beginners
- iron
1 | Measure Your Duvet
Start by measuring the width and length of your duvet.
This will be the finished size of the duvet cover.
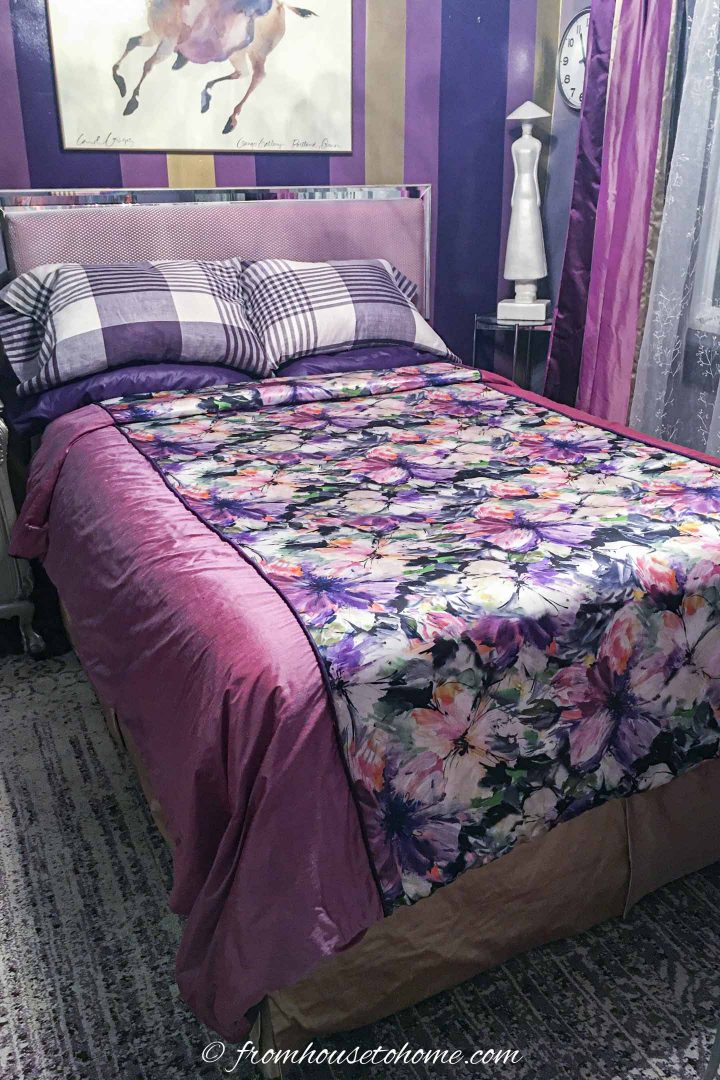
My full sized duvet is 82″ wide by 88″ long. This is the example I will use.
2 | Know The Width Of Your Bed
You will need to know the width of your bed if you are making your duvet cover from joined pieces of fabric.
The standard sizes for mattresses are:
- twin: 39″ x 75″
- full size: 54″ x 75″
- queen: 60″ x 80″
- king: 76″ x 80″
If your mattress is not a standard size, measure the width to find out what it is.
3 | Calculate the Fabric Length
Now we need to calculate the length of the fabric you’ll need for the duvet cover using the following formula:
1″ (for the seam allowance) + the length of the duvet + 2″ (fold over for the bottom gusset).
For my 88″ long duvet, the result was 1″ + 88″ + 2″ = 91″.
This length will be used for both the front and back sides of the duvet cover.
4 | Calculate The Fabric Width For The Front Of The Duvet Cover
The widths you need to cut for the front of your DIY duvet cover will depend on how wide your fabric is.
Using A Flat Sheet
If you are using a flat sheet, you will use this formula to calculate the width you need:
Width of the duvet + 1 1/2″ (for a seam allowance of 3/4″ on each side)
For my 82″ wide duvet, the width I would need is: 82″ + 1 1/2″ = 83 1/2″.
Using Standard Fabric Widths
As I mentioned previously, the standard widths of store-bought fabric are less than the width of a duvet. Therefore, you will need to piece them to create a wider fabric piece.
Because a seam running down the center of the duvet cover doesn’t look very good, you don’t want to just sew the two pieces of fabric together.
So the width will be made up of a center panel and 2 narrower side panels.
a. Calculate The Center Panel Width
I made my cover to be joined 4″ from each edge of the mattress. You can change this if you are going for a different look.
So the center panel calculation is:
The width of the mattress – (4″ x 2). For my 54″ wide mattress, this came to 54″ – 8″ = 46″.
To get the center panel fabric width needed:
Add 1 1/2″ (for a seam allowance of 3/4″ on each side) to the center panel width. In my case that was 46″ + 1 1/2″ = 47 1/2″.
b. Calculate The Width Of The Side Panels
For the 2 side panels, you’ll need to do the following calculations:
i. Width of the duvet (from step 1) – the Width of the center panel before the seam allowance is added (from step a above) . In my case, this was 82″ – 46″ = 36″
ii. Divide by two (since we’ll be making two panels – one for each side). In my case this was 36″ divided by 2 = 18″
iii. Add 1 1/2″ for a 3/4″ seam allowance on both sides. In my case, this was 18″ + 1 1/2″ = 19 1/2″.
5 | Cut The Fabric For The Front
Now you’re ready to cut the fabric for the front of the duvet cover.
Before you start, cut off the selvage edge of the fabric (that’s the strip that runs down both sides which doesn’t have the same pattern/color). For a flat sheet, cut off the hem.
If you’re using a flat sheet, you’ll only have one piece that you need to cut using the length and width you calculated. In my case that would be 83 1/2″ wide x 91″ long.
If you’re using store-bought fabric, you’ll have 3 pieces that you need to cut. A center panel and 2 side panels. These will all have the same length but will have different widths using your calculations from above. In my case these were:
- Center Panel: 47 1/2″ x 91″
- Two Side Panels: 19 1/2″ x 91″
6 | Calculate The Fabric Width For The Back Of The Duvet Cover
Using A Flat Sheet
If you are using a flat sheet, you will use this formula to calculate the width you need:
Width of the duvet + 1 1/2″ (for a seam allowance of 3/4″ on each side)
For my 82″ wide duvet, the width I would need is: 82″ + 1 1/2″ = 83 1/2″.
Using Standard Fabric Widths
If you want to make your duvet cover reversible, then calculate the width of the fabric for the back using the same instructions as the front.
But if you’re not planning on turning your duvet over, you don’t need to worry about the placement of the seam on the bottom.
In this case, use the following calculations:
a. Width of the fabric x 2 (the total width of the fabric when it is joined) – Width of the cover including the seam allowance. My lining fabric was 45″ wide, so my calculation was (45″ x 2) – 83 1/2″ = 6 1/2″.
b. Width of the fabric – the value from a. For my 45″ wide fabric, this was 45″ – 6 1/2″ = 38 1/2″.
Only one of the pieces of fabric will need to be cut to this width. The other will remain at full width.
7 | Cut the Fabric For The Back
Now you’re ready to cut the fabric for the back of the DIY duvet cover.
Before you start, cut off the selvage edge of the fabric or the hem on the flat sheet.
If you’re using a flat sheet, you’ll just have one piece that you need to cut using the length and width you calculated. In my case that would be 83 1/2″ wide x 91″ long.
If you’re using store-bought fabric, you’ll have 2 pieces to cut:
- The first will be cut to the length that you calculated above but the width will stay as it is.
- The second will be cut to the length and width that you calculated above.
8 | Add Piping (Optional)
This step is only necessary if you are adding piping to the front of your duvet cover where the fabric joins.
Pin the piping to both sides of the center panel. It should be on the right side of the fabric and be far enough from the edge that the seam will be at 3/4″.
Using the piping foot attachment on the sewing machine, and right side of the material facing up, machine baste (with a large stitch size) the piping to both side edges of the center panel.
See more details on how to add piping HERE. This tutorial is for adding piping to a cushion but the same principles apply. And our case is easier since the piping runs in a straight line.
9 | Sew The Panels For The Front
This step is not necessary if you are using a flat sheet for the front.
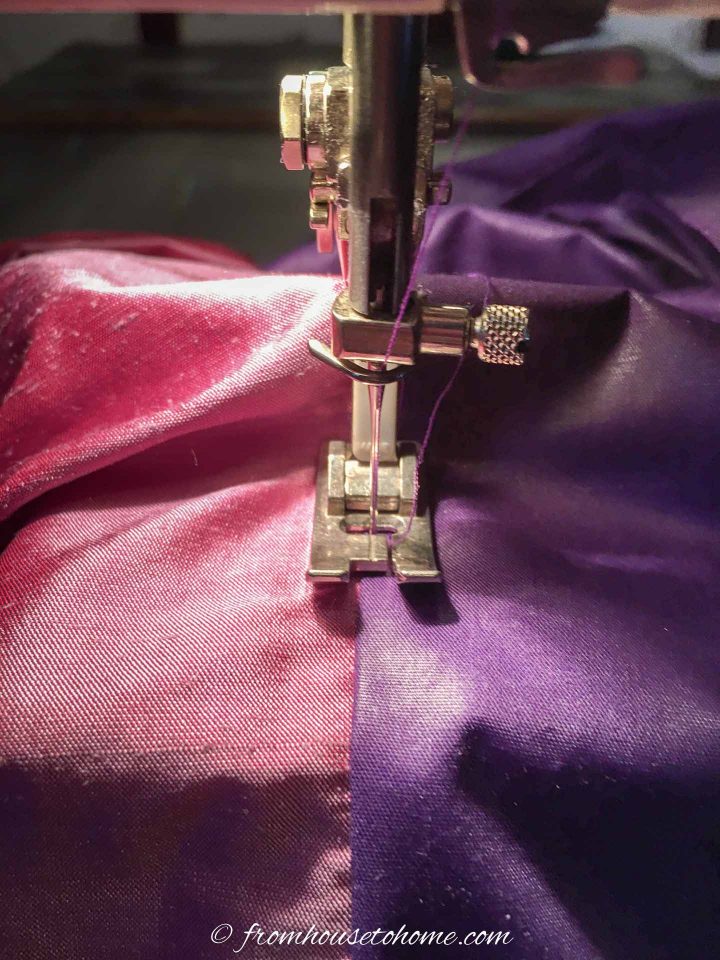
With right sides of the fabric together, pin the long edge of one side panel to the long edge of the center panel. If there is a pattern, make sure it is facing the same way on both panels.
Sew them together with a 3/4″ seam. If you are attaching piping, use the piping foot (or zipper foot) attachment and a longish stitch.
Repeat on the other side of the center panel with the second side panel.
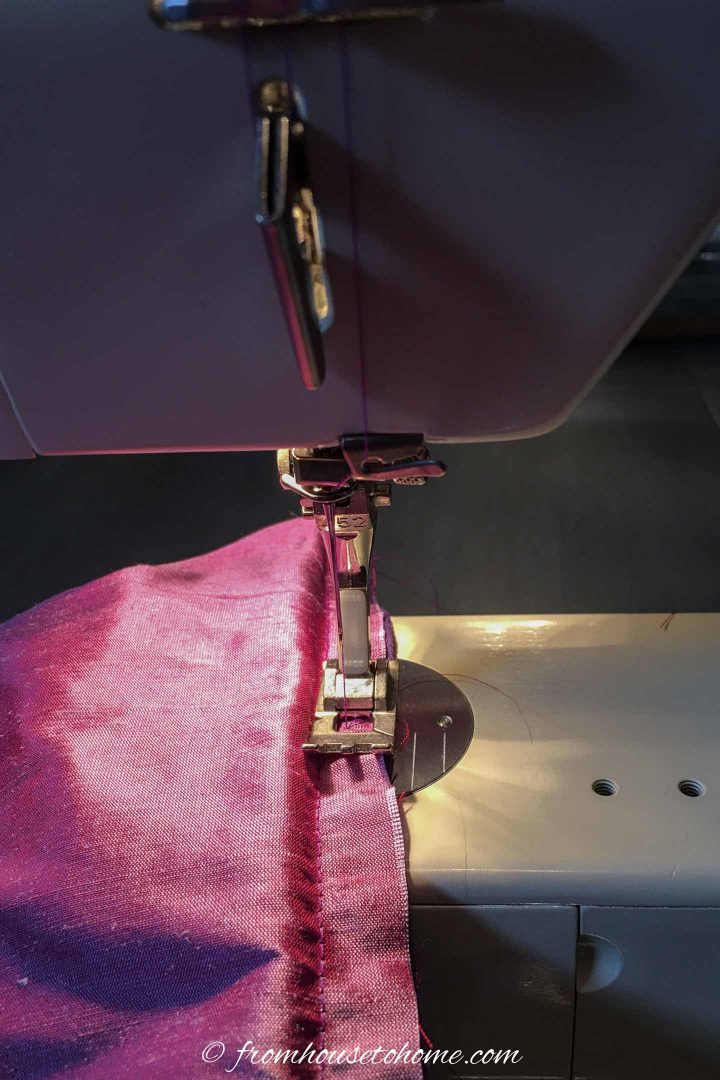
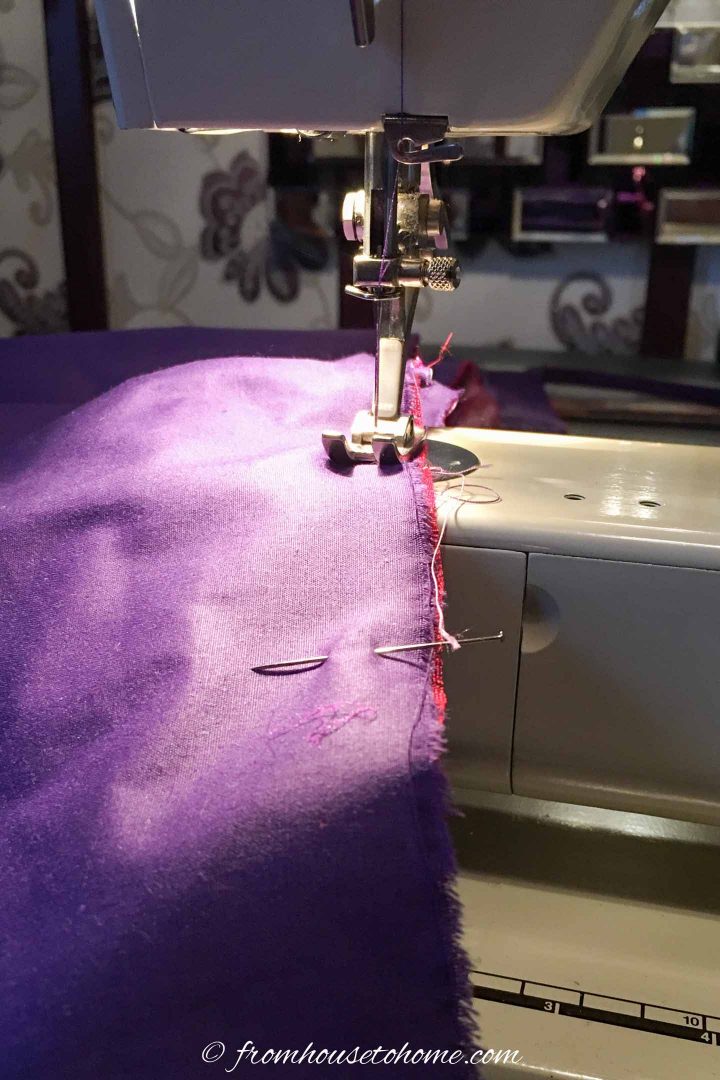
Use a zig zag stitch to sew along the fabric edges. This prevents the fabric from fraying and is called clean finishing the seams .
Press seams toward side panels.
10 | Sew the Back Panels Together
This step is not necessary if you are using a flat sheet for the bottom.
With the right sides facing each other, pin the two pieces of fabric along the long edge.
Sew the two pieces together.
Zig zag along the fabric edges to clean finish the seam.
Iron the seam open.
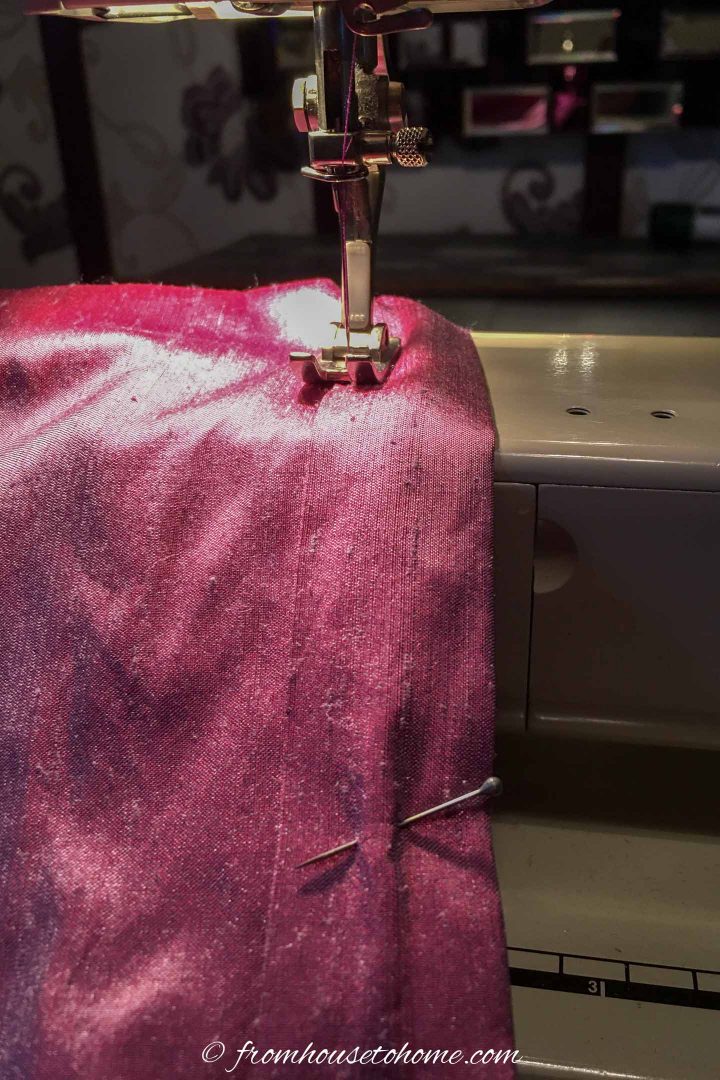
11 | Make the Bottom Fold
If your fabric has a pattern, make sure it is facing the right way up.
Make a double hem at the bottom of the front of the duvet cover:
- Make a 1″ fold at the bottom of the duvet cover so that the wrong sides of the fabric are together.
- Press along the fold with your iron.
- Fold over 1″ again and press again.
Do the same with the fabric for the back of the duvet cover.
12 | Attach The Front To The Back
With the right sides of the material facing each other, pin the lining to the front of the duvet cover along the 2 sides and the top. The side that you just folded over should not be pinned.
Sew the sides and top together using a 3/4″ seam and a straight stitch (with the regular presser foot).
Cut the corners off the seam, being careful not to cut where you sewed. This will help the corners fold out square.
Clean finish the seam edges with a zig zag stitch to prevent fraying.
Press the seams toward the back of the duvet cover. (The direction that it is pressed is important for future steps).
13 | Sew Ties On The Duvet Cover
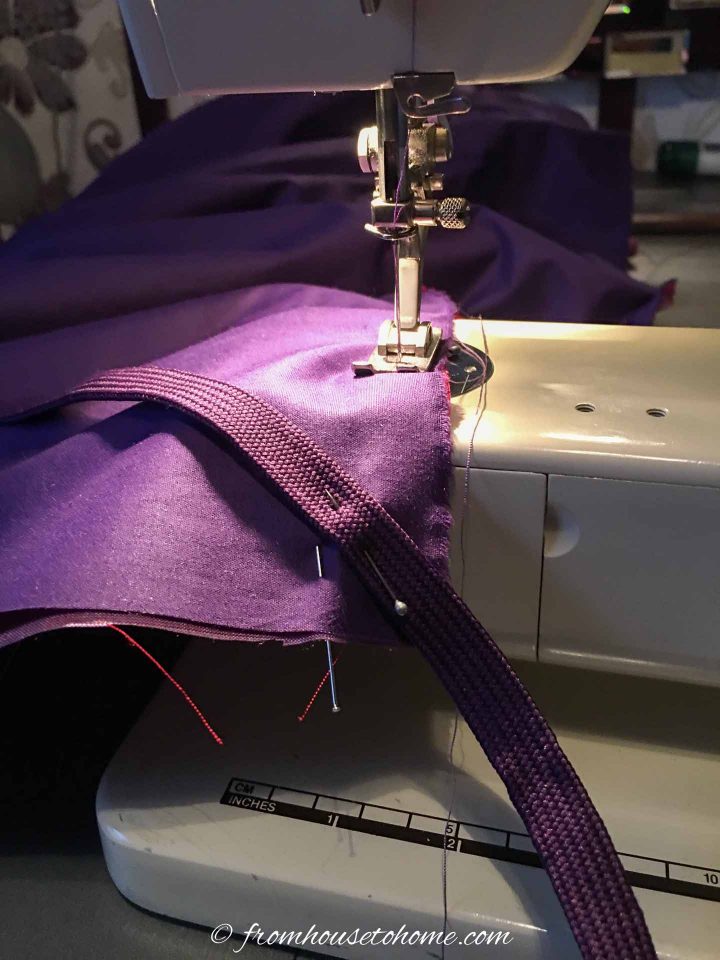
Cut the twill tape into 4 pieces that are 8 inches long.
Find the center of the 8″ twill tape and sew it to the seam allowance of each corner of the duvet cover (on the inside).
These will be used to keep the duvet from moving around inside the cover.
14 | Top Stitch The Back
Turn the duvet cover to the right side out.
This step is a little tricky but it’s necessary in order to keep the lining from showing when the duvet is on the bed.
Find the start of the seam that attaches the back of the duvet cover to the front.
Spread the fabric out so that both the front and the back of the duvet cover are laying flat on either side of the seam.
Make sure the seam allowance under the fabric is facing towards the lining (it should be since you pressed it that way above)
Sew the lining and seam allowance together keeping as close to the original seam as you can. Make sure you are not sewing the front of the duvet cover!
15 | Add The Bottom Closure
Now we need to finish the bottom edge.
This will be the open side where you put in the duvet, so don’t sew the front and back pieces of fabric together.
First, sew along the top of the folded edge of the front fabric to hold it in place.
Do the same for the folded edge on the back of the duvet cover.
This will make a 1″ strip to attach the velcro to.
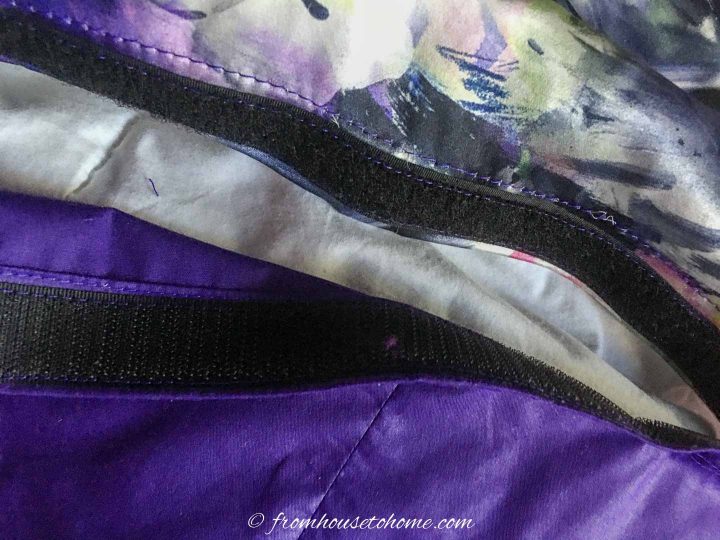
Cut velcro to fit the opening.
Pin it along the inside edges of the folds on the front and back side of the duvet cover.
Sew it in place, making sure that the front and back are evenly aligned.
I put velcro along the whole distance at the bottom but that is really unnecessary and makes the duvet cover a little stiff. One inch pieces of velcro sewed on every 8″ (properly aligned) would also work well.
16 | Insert the Duvet
Turn the cover inside out and put one end of the 2 ties at the top corners through the loops on the duvet and tie a bow.

If your duvet does not come with loops (mine didn’t), sew a piece of tape across each corner of the duvet. Or just tie the corners of the duvet with the twill.
Now reverse the cover over the duvet and pull it down along both sides.
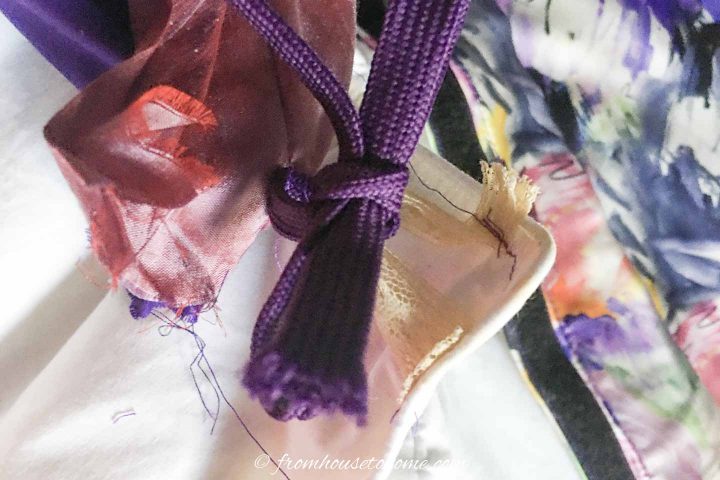
Tie the corners at the bottom.
Fasten the velcro along the bottom of the duvet cover so that it folds toward the back.
Enjoy your new duvet!
Other Decorating Projects You Might Like
Have comments or questions on our DIY duvet cover tutorial? Tell us in the section below
This post was originally published on September 25, 2020 but was updated with new content on February 28, 2022.